This is the ninth week assignment for the Fab Academy 2018.
Molding and casting
There are three steps for molding and castings; these steps are the design & preparation of the mould which to be milled on wax, the preparation and the production of the silicon using the wax and finally the casting process using resin and chocolate to have the Q delicious chocolate bar. The software & tools I have used: Solidworks for the design' fusion 360 for CAM process, PreForm for slicing STL to print it on Form2 and for the milling I used Tormach PCNC 1100 machine.
Design and Preparation of Milling
The software I have used


I thought to have my own chocolate bar for the casting job so I started the design on Solidworks

I took the wax block to put the design on it. first I drew a rectangle then I inserted the dimension of 178.5 x 77 mm. Then I made extrude for it.

I made another rectangle on the surface for cut extrude with a depth of 10 mm and walls 10 mm from one side and 5 mm from the other side.

I drew a square of 20 mm as a piece of the bar and made extrude of 17 mm.

I made a draft angle with 30 degrees taking into consideration the tools to be used and easy removal of the bar after taking its right shape from the silicon.

I made a drawing for the logo of the bar which is Q letter with cut extrude of 7 mm to get the opposite.

I made patterns identify the faces that I’ll use the pattern on it and now I have 3 patterns.

I made another shape on the other side so I made it with a rectangle and made a circle in the center so it will be the center of triangle each side 18 mm. I had some concerns that some of the tools we have will not mill as the smaller diameter we have is 2 mm. My concerns were right as when I went to simulation it shows an error.

I made a draft angle with 30 degrees.

I made patterns also identifying the faces that I’ll use the pattern on it and having 3 patterns as well.

A new shape of circle with 20 mm diameter and extrude 17 mm.

I made patterns also identifying the faces that I’ll use the pattern on it and having 4 patterns as well.
Tormach pcnc 1100

The PCNC 1100 personal CNC millsone of the best selling small CNC milling machines and a proven performer for prototyping, short run production, education, and hobby CNC milling. Thoughtful design and engineering makes the Tormach personal CNC mill an unrivaled combination of performance and affordability in its class, with the precision to do real work and power to cut the toughest materials – stainless, titanium, even pre-hardened tool steel.
CAM process
More information on how to use Fusion 360 can be found on "Computer Aided Design" and "Computer Controlled Machining". After the design was ready, I could proceed to the CAM process.

Since I designed using solidworks, I had to upload the STL file to Fusion360 to use the CAM of Fusion as seen above.

Now that the file is uploaded, I switched to CAM and set the origin for my wax block.
Since I will mill my wax using the Tormach Metal CNC, I used a drill bit they call Fly cutter to surface the wax block as seen in the above video.

Next, I added the drill bit that I will use which is 1/8" flat.

For the first pocket job, I set the parameters as seen above.

As seen in the above photo, it took 5 Jobs to mill my wax into the final result.
The first 3 jobs, I used the same drill bit which is the 1/8" Flat.
For the last 2 jobs, I used a smaller drill bit which is 2mm to have a better smooth finish.


The above photo shows the simulation for the overall process, in reality it took around 3 hours to mill.
Milling
(settings for Tormach machine)


The Tormach read the file from a USB drive, the video shows how the machine reads the g-code line by line.
The above images shows the command I used to go the zeroed x & y.
casting chocolate bar
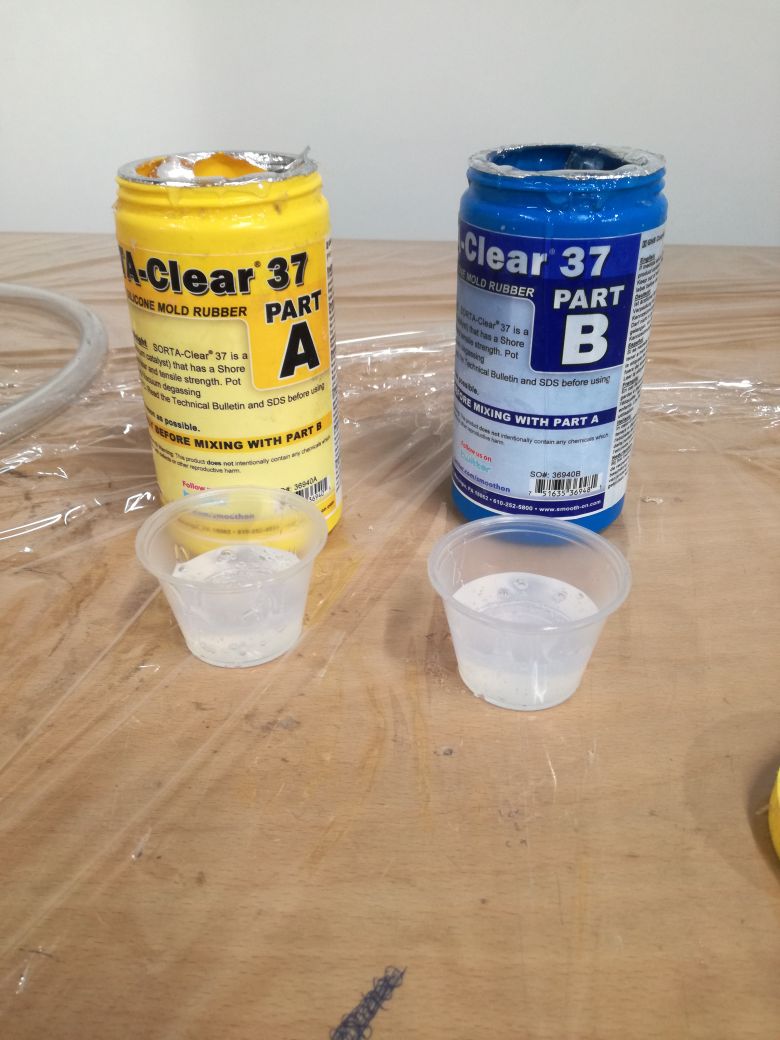
I used Solta Clear 37 materials for the casting of the mould as I am going to make a chocolate bar and this material is food safe. This material comes into 2 containers A & B once removed from the containers you should work on it very fast as it has short time before it becomes hard. As I used small quantity so I made eye estimation but for using larger quantities you need to us a scale. I mixed both A & B and started staring them in a smooth and circular movement so not to cause any bubbles. There is a data sheet for each material which must be read before working on these materials so to be aware of how to handle it and this is the data sheet.
I took it to the degassing vacuum chamber for 10 minutes as shown in the video clip.

I poured it out to the wax block taking into consideration to start from the middle so to be distributed evenly across the mould. It needs six hours to dry but I kept it overnight to make sure it is dried completely.
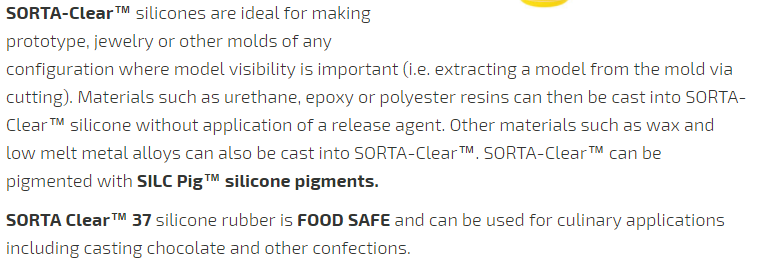
Here we have the chocolate and the mould.
I have melted the chocolate and started casting again starting from the middle of the mould as shown in the video clip.
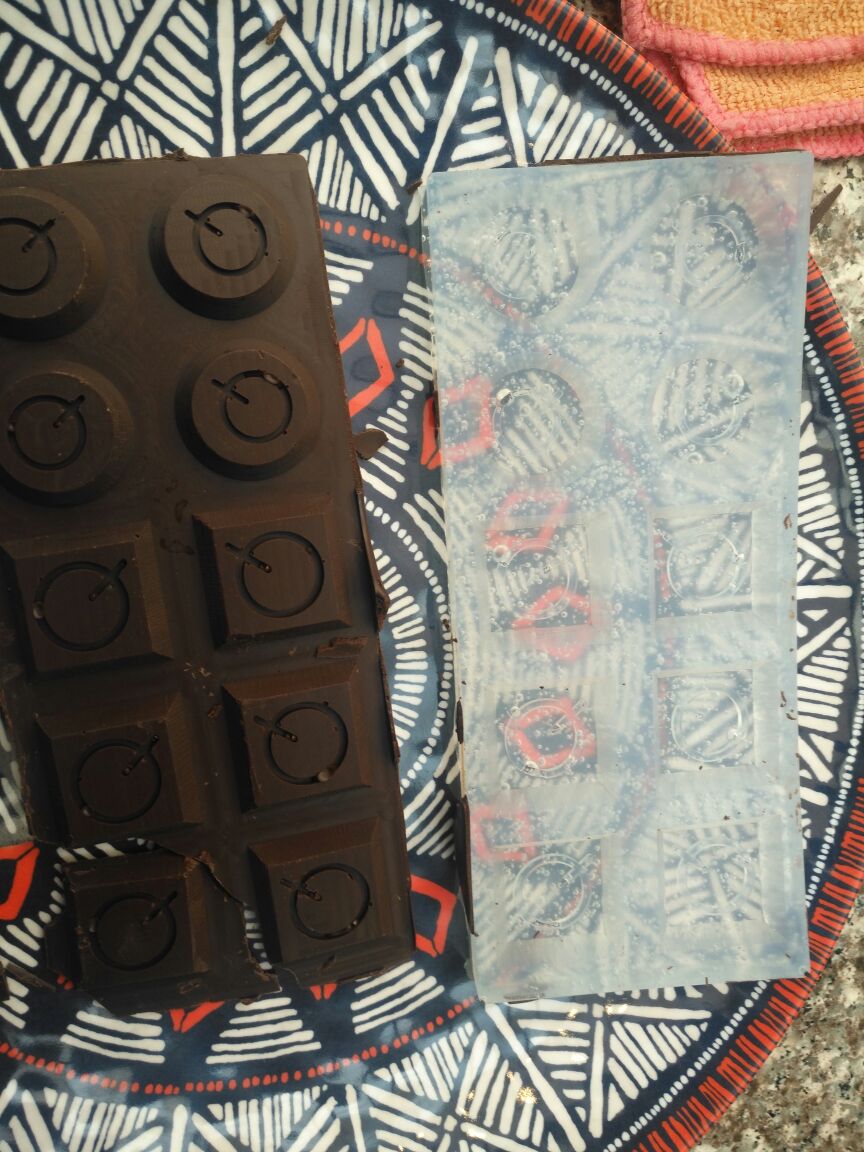
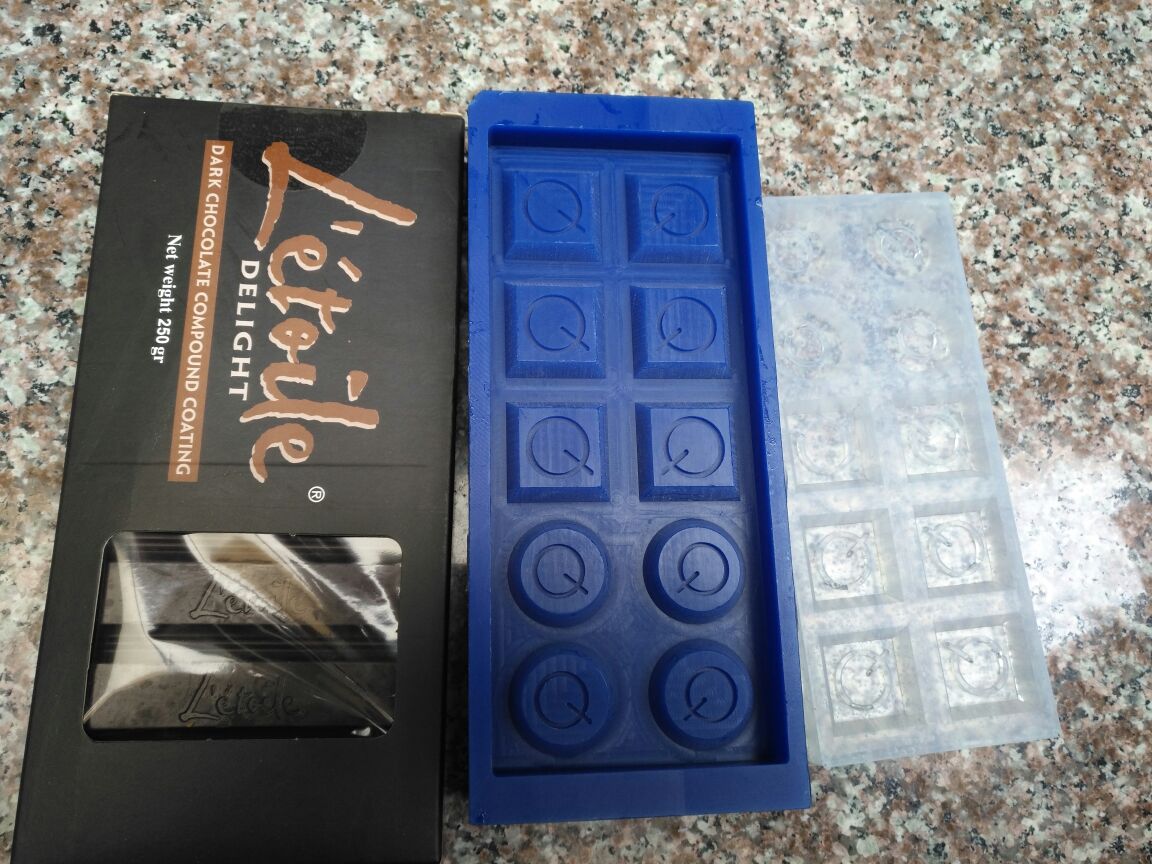
After an hour I removed my chocolate bar from the mould and we eat it
Another test-James Madison
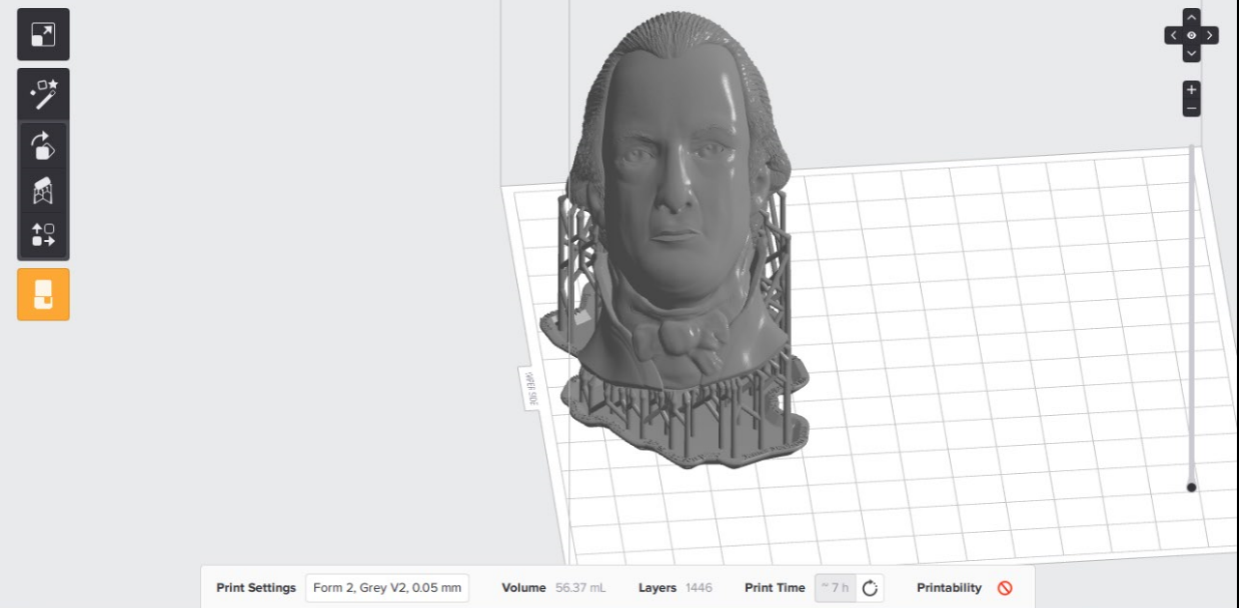
Another test using a ready design for James Madison; I printed this model using SLA printer. . The reason behind me choosing this design and SLA technology as it has many details and I wanted them to be shown.
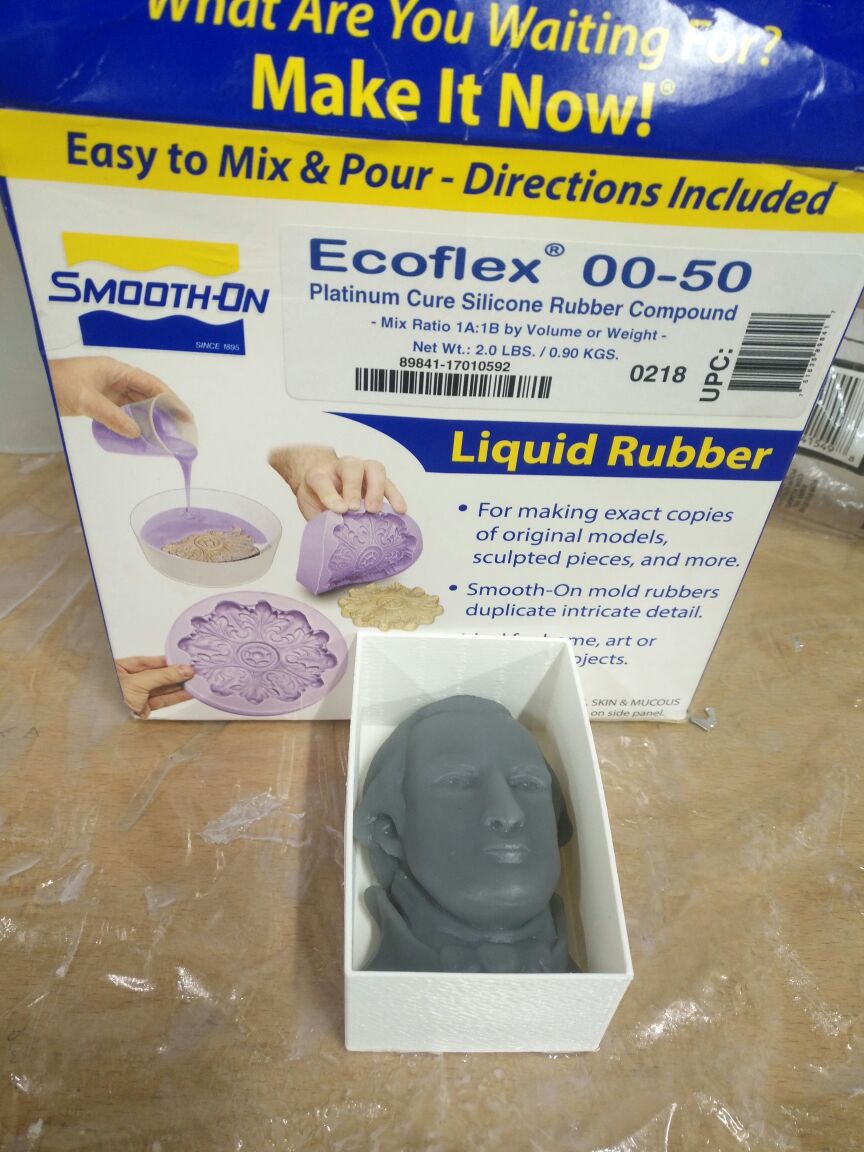
I put the model inside a box which also I have printed then I added Ecoflex 00-50 to it so to get the mould. Here the data sheet for Ecoflex.
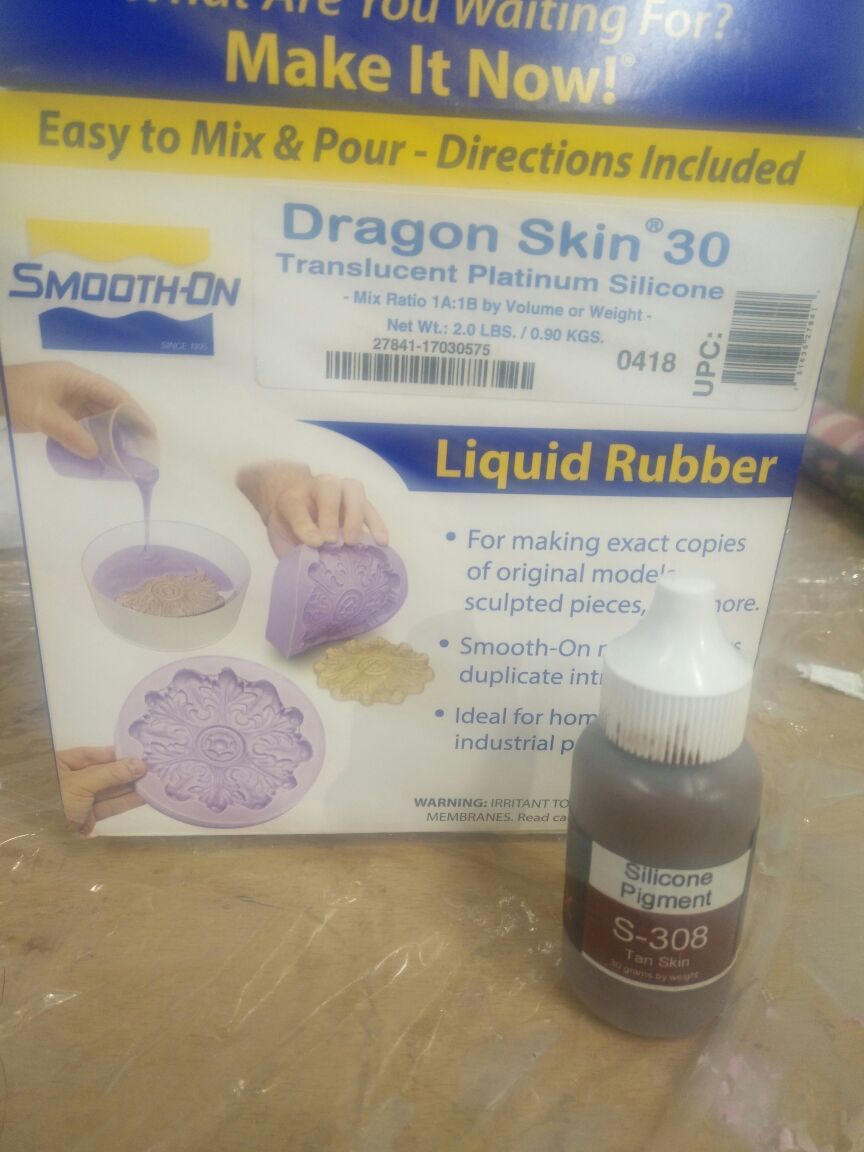
I took the mould and poured into it Dragon Skin 30 also I added some concentrated color; skin like color.
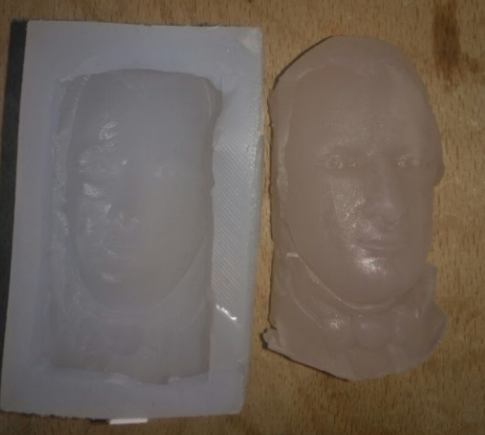
This the final after removing the mould. The details are well shown but I believe that I should have used more colors to get better tan.
Problem
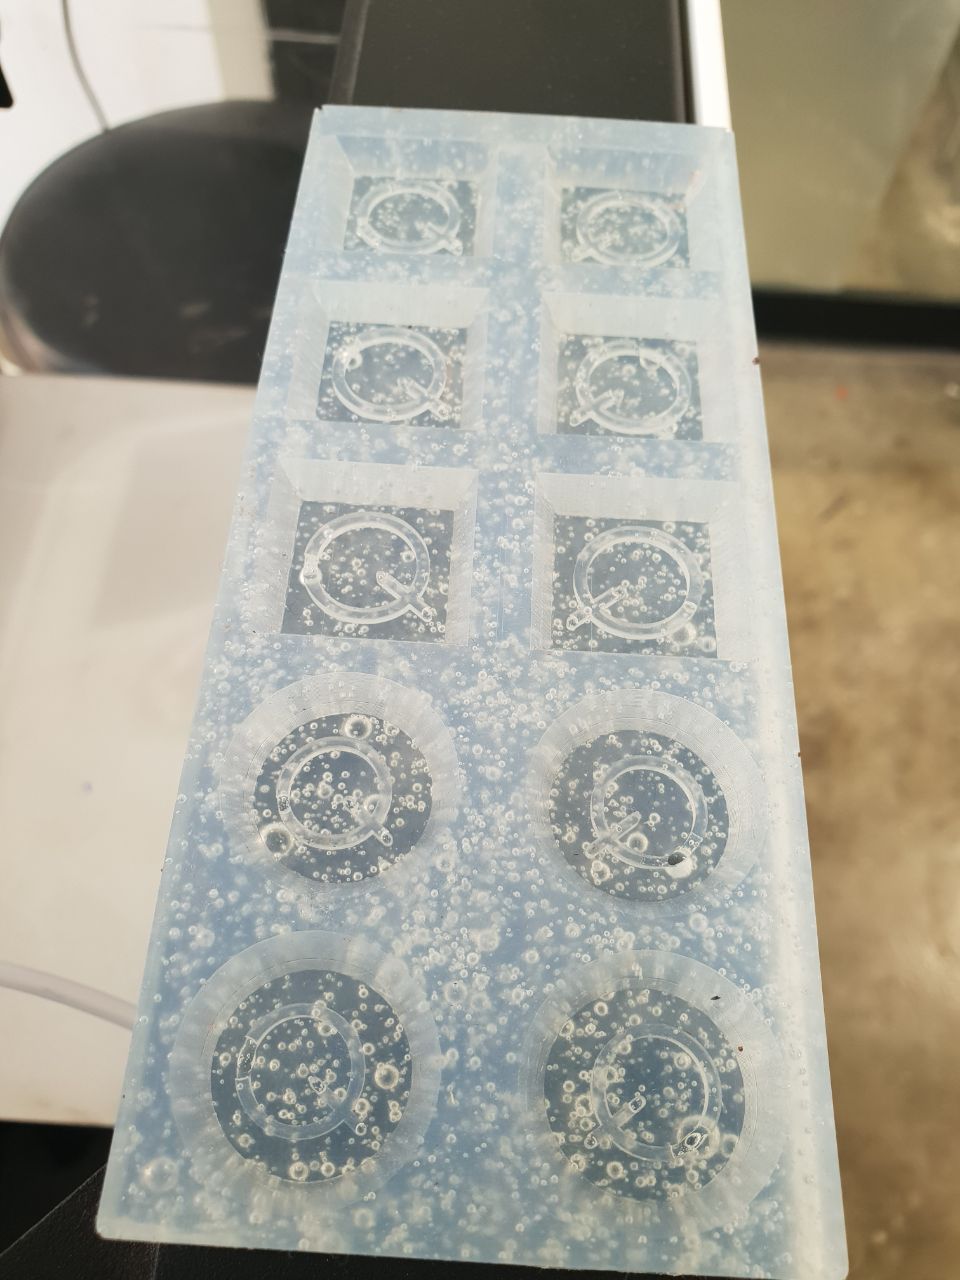
I have used Solta Clear 37 and the mold had lots of bubbles in it and I think this is most likely due to improper storage, but the bubbles were insied the mold so it did not affect the casting process and my chocolate bar looked perfectly fine.
Download The chochlate bar