Week3 : CAD
Design Glass

For Week3 : vector assignment goto:
Week3 raster page
Goal
- model (raster, vector, 2D, 3D, render, animate, simulate, …) a possible final project, and post it on your class page
- Try CAD tools as many as you can (raster, vector, 2D, 3D, etc.)
- Get use to the idea of parametric design (we will be using it next week!)
- Also draw using your hands and physical pen.
Download data
Tools
2D
raster
- Gimp
- Mypaint
Vector
- Inkscape
3D
- fusion360
- FreeCAD
Tutorial - Sketchup
- Tinkercad (cloud based)
easy to use, used to be 123d from Autodesk. - Flooded (cloud based)
parametric / visual programming - Onworks (cloud based)
- Rhino
Has powerful parametric visual programming plugin Grasshopper. - Blender
- OpenSCAD / OpenJSCAD
- Antimony
Making models with visual programming.
MIT graduate developed it, so Neil can connect to the author.
Tutorial
for games
- Unreal engine
- Unity
command-based media handling
-
Image Magik
$ magick wizard: wizard.jpg (convert wizard to jpg)
$ magick wizard.jpg win: (open up img in win preview) -
Graphics Magik
$ gm convert logo: logo.jpg (convert logo to jpg)
$ gm convert logo.jpg win: (open up img in win preview) -
ffmpeg
Capturing screen and audio from PC$ ffmpeg -f avfoundation -list_devices true -i “”
$ ffmpeg -f avfoundation -“:” output.mkv
Convert one file to another format
$ ffmpeg -I input.mp4 output.avi
Other
-
Audacity
Free audio editing software -
VLC
Media player that can play almost any kind of video format.
Resources
-
fusion360
Autodesk design academy -
ffmpeg
Commands
useful Wiki -
for embedding 3D data (such as stl) in web page…
- Sketchfab
Recommended for sculpt type of models. - Partcloud
- Thingiverse
- GrabCAD
for CAD data…
- Sketchfab
Design Glass

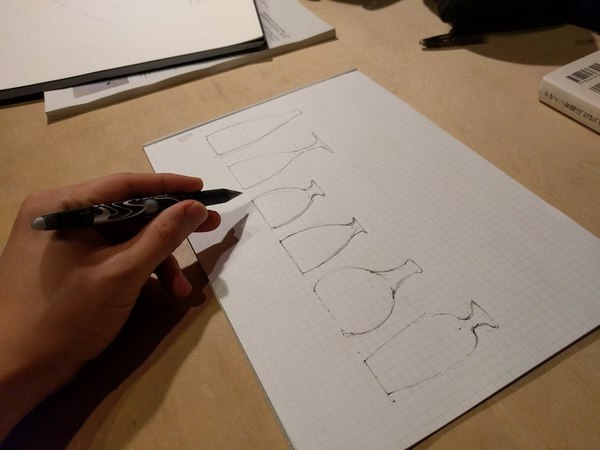
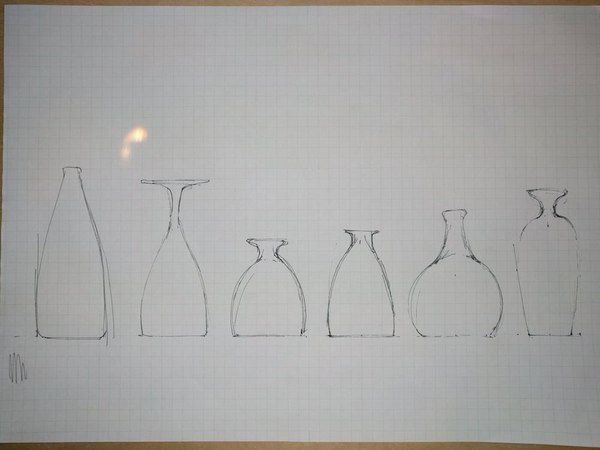
1. Draw some sketches on paper, try many shapes…
You may immediately start drawing lines in vectors, but I rather made rough sketch on blank paper to consider on shapes. In this way you can think with your hands not only brain.
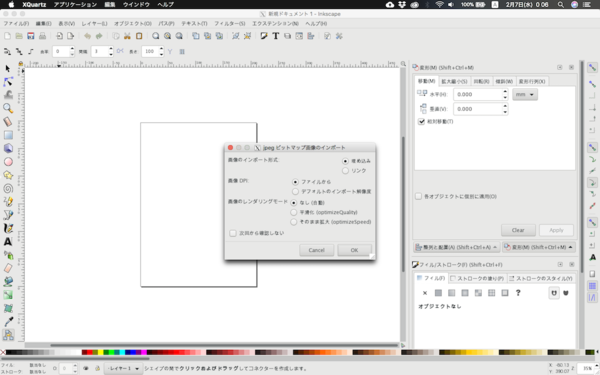
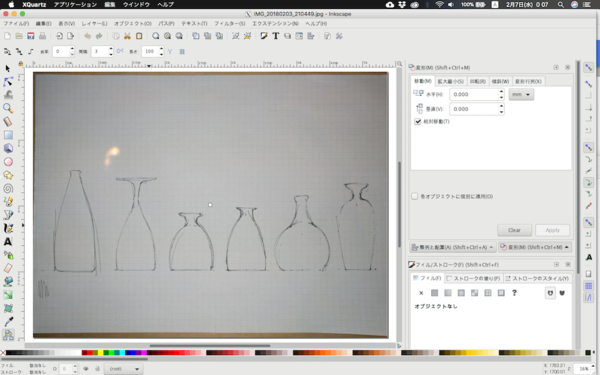
2. Scan and import it to Inkscape
I am much more familiar with Adobe Illustrator, but this time tried Inkscape (free 2D vector drawing tool).
Instead of using scanner I simply took picture with my phone, just make sure to use light equipment that can cast white even light to avoid color change (not necessary important this time) and contrasting.
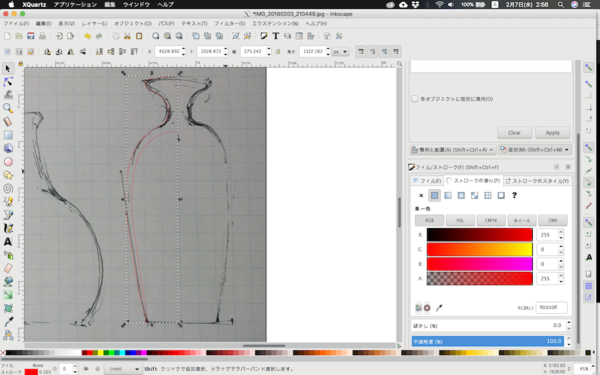
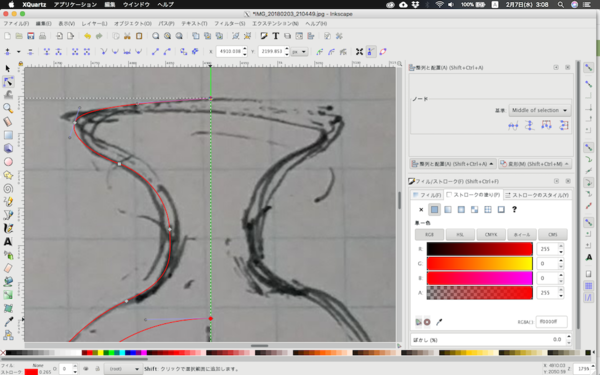
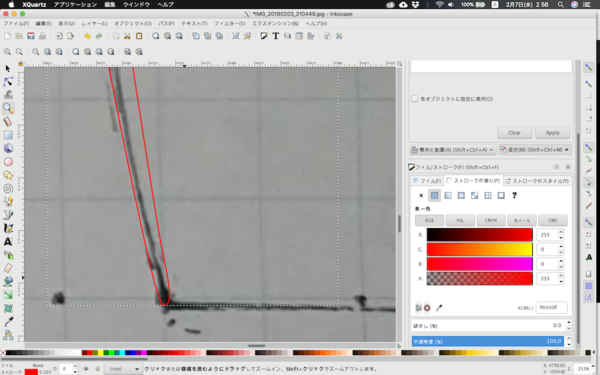
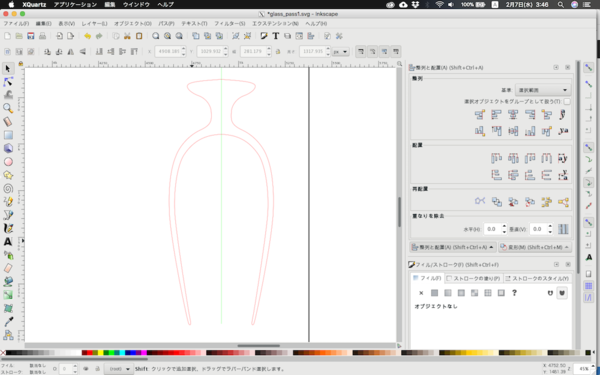
3. Use pen tool trace sketch
By using pen tool in Inkscape you can make bezier curve. Simply click to create control point, click and drag to make control point with handles (to make curves).
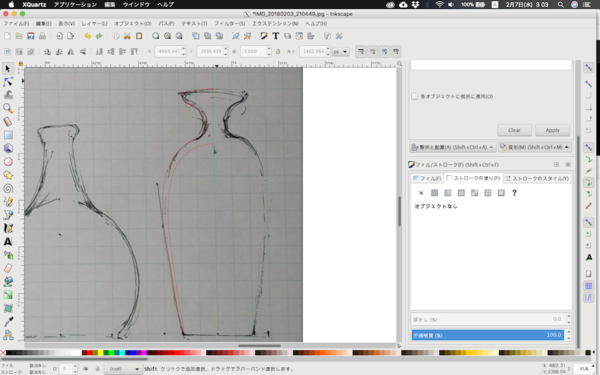
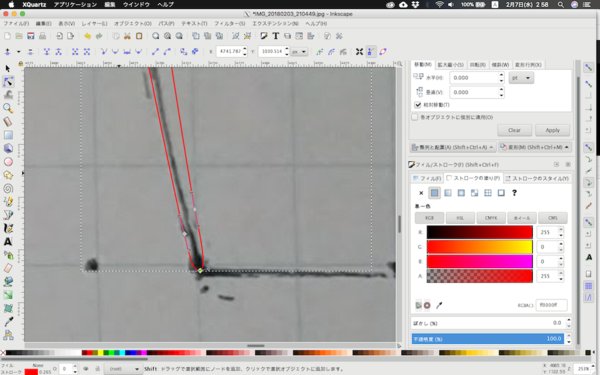
4. Small adjustments
I am gonna import it to 3D CAD to rotate and make a 3D object, so the line has to start and end at the center axis. I made the guide (green line) and (wanted to use snap tool but failed so) manually edited the control point to align with center axis.
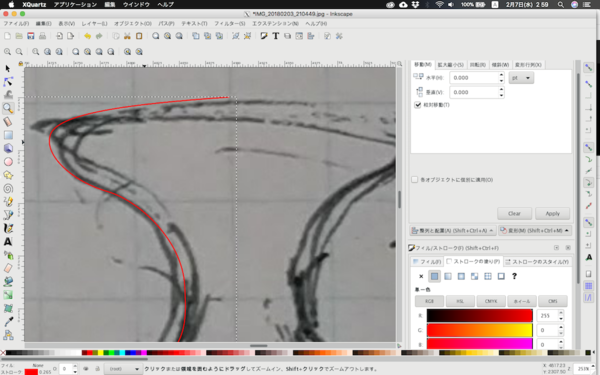
Fixed details…(use zoom/zoom-out tool)
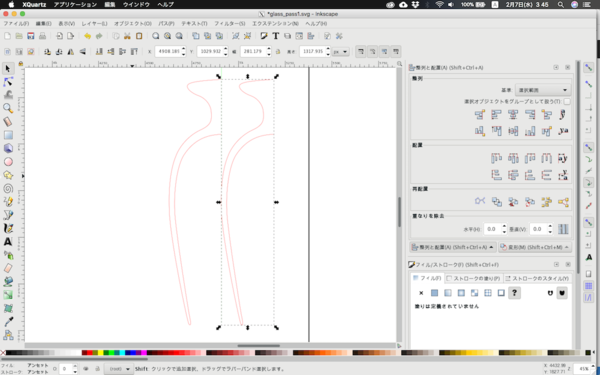
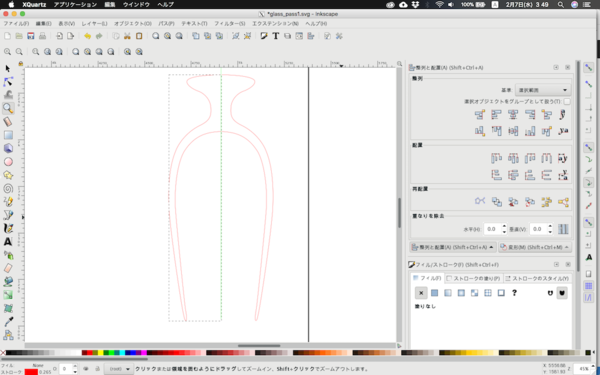
5. Check appearance when rotated
I used clone / mirror to check appearance when it is rotated, and again made some adjustments. Since I cloned it, all the changes I made on the original line immediately reflect to the mirrored line.
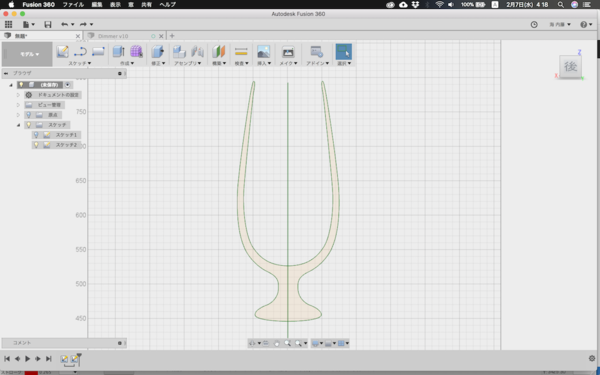
5. Save as svg and import it to Fusion360
Now it’s time to make it 3D.
Save line data as svg, go to Fusion360, import svg by using insert menu from Model mode. Select face and specify the file you want to open.
6. Revolve
Use Revolve tool from create menu to make 3D body. Before doing this, you first should erase lines you will not need.
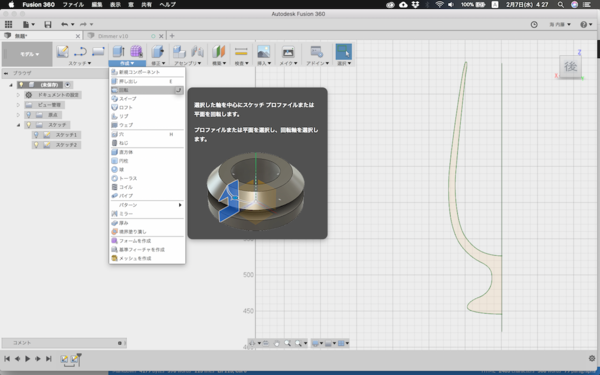
Choose the lines you want to revolve and the axis of rotation.
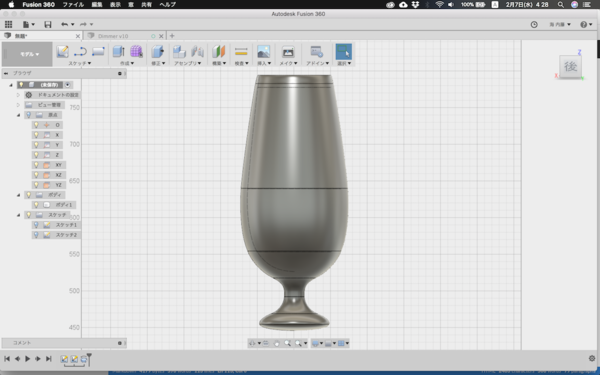
Now you have a 3D model.
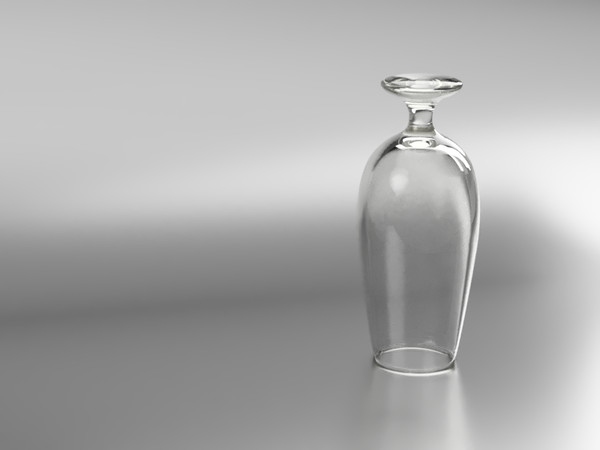
7. Render
Preinstalled fusion 360 renderer
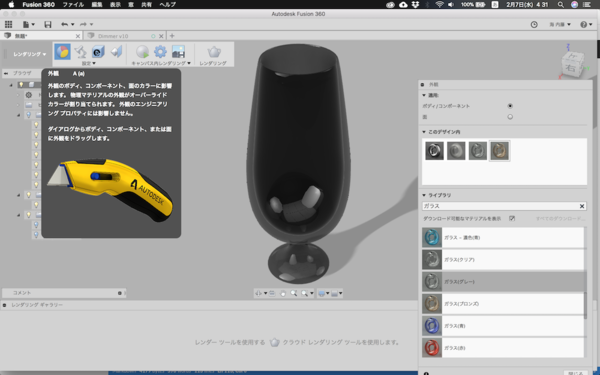
Choose appearance from Rendermode > appearance menu.
Adjust Scene setting, and press Render. You will be asked the size of the output image, quality and which computer you wanna use to calculate (weather Cloud or local).
I played around with valuables in render setting, ended up with following valuables.
| Parameter | value |
|---|---|
| Brightness | 23055lux |
| Perspective | 100mm |
| Exposure | 13.4EV |
| Environment | skylight/sharp highlights |
I also made background surface to show the reflection and nice shadow of the object, and decent gradation in the back.

[tutorials]