Principles and Practice.
Concept.
This is a possible project sketch, which briefly covers the outlook and functionality of the project.
A block module, that is modular and interractive. Has 25 LEDs to display different characters on its matrix.
.png)
It communicates to other modules by means of infrared light.
.png)
Project Management.
Concept.
To begin with the documentation, one needs a website. This website used for navigating this content is the result of this week's assignment.
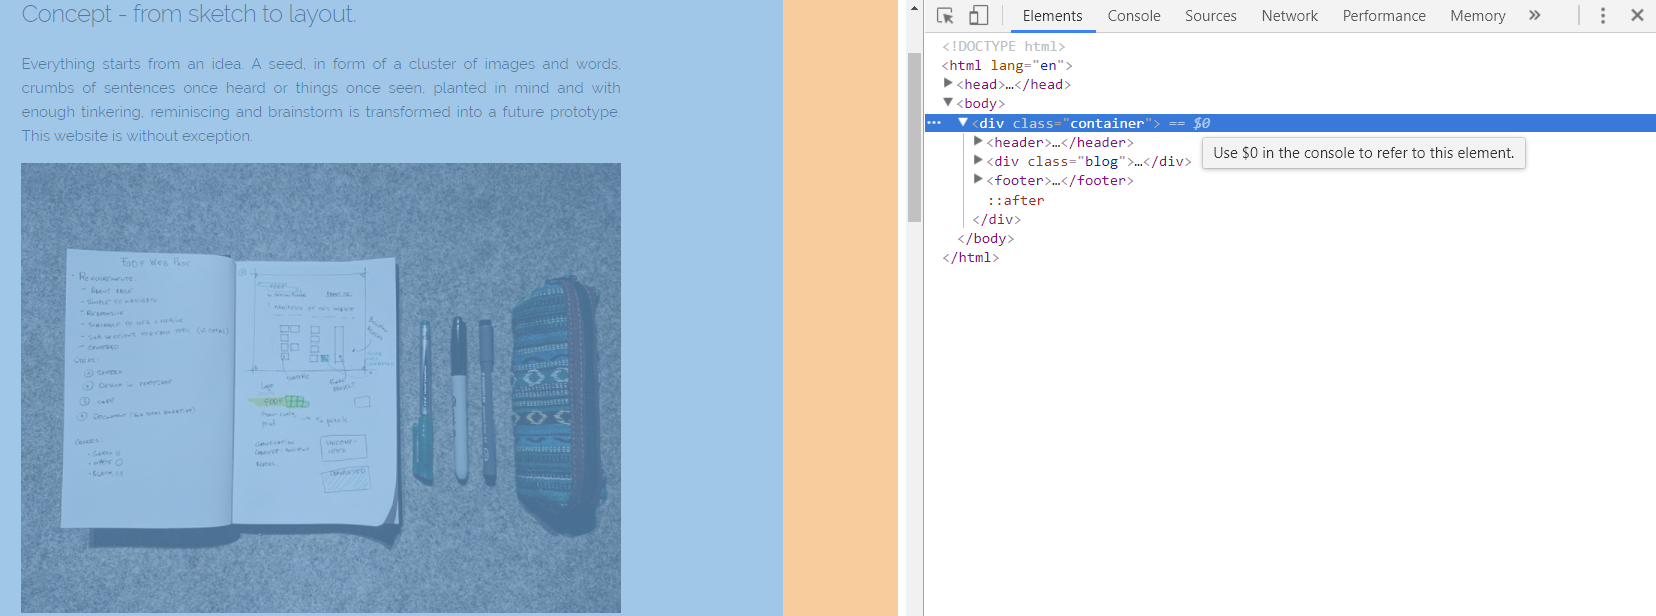
Everything starts from an idea. A seed, in form of a cluster of images and words, crumbs of sentences once heard or things once seen, planted in mind and with enough tinkering, reminiscing and brainstorm is transformed into a future prototype. This website is without exception.
Sketch.
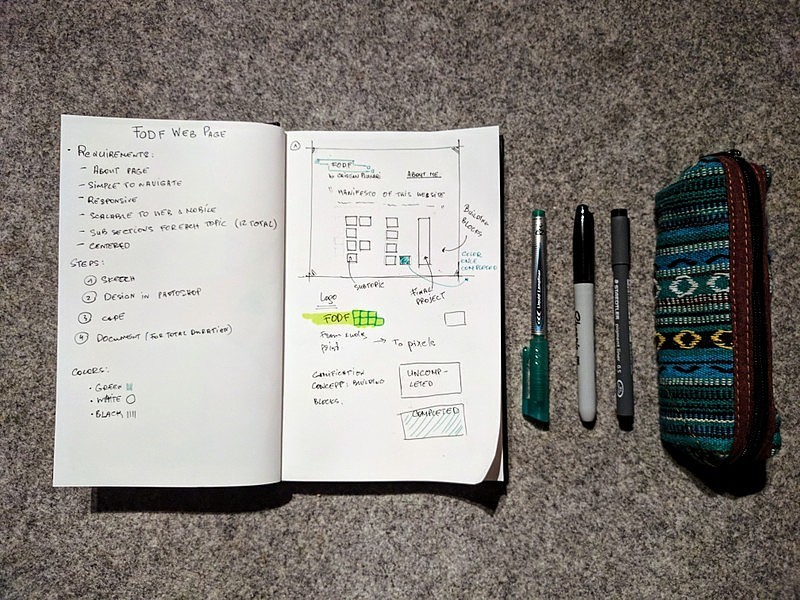
It all started on paper, where I sketched what the roots of this website would look like. I made sure to touch on: requirements, visual aesthetics, scalability for different devices and a rough sketch.
Once the brainstorm and sketch was ready, it was time to translate it into a visual prototype that would be used as a blueprint for HTML and CSS file creation.
Graphic Design.
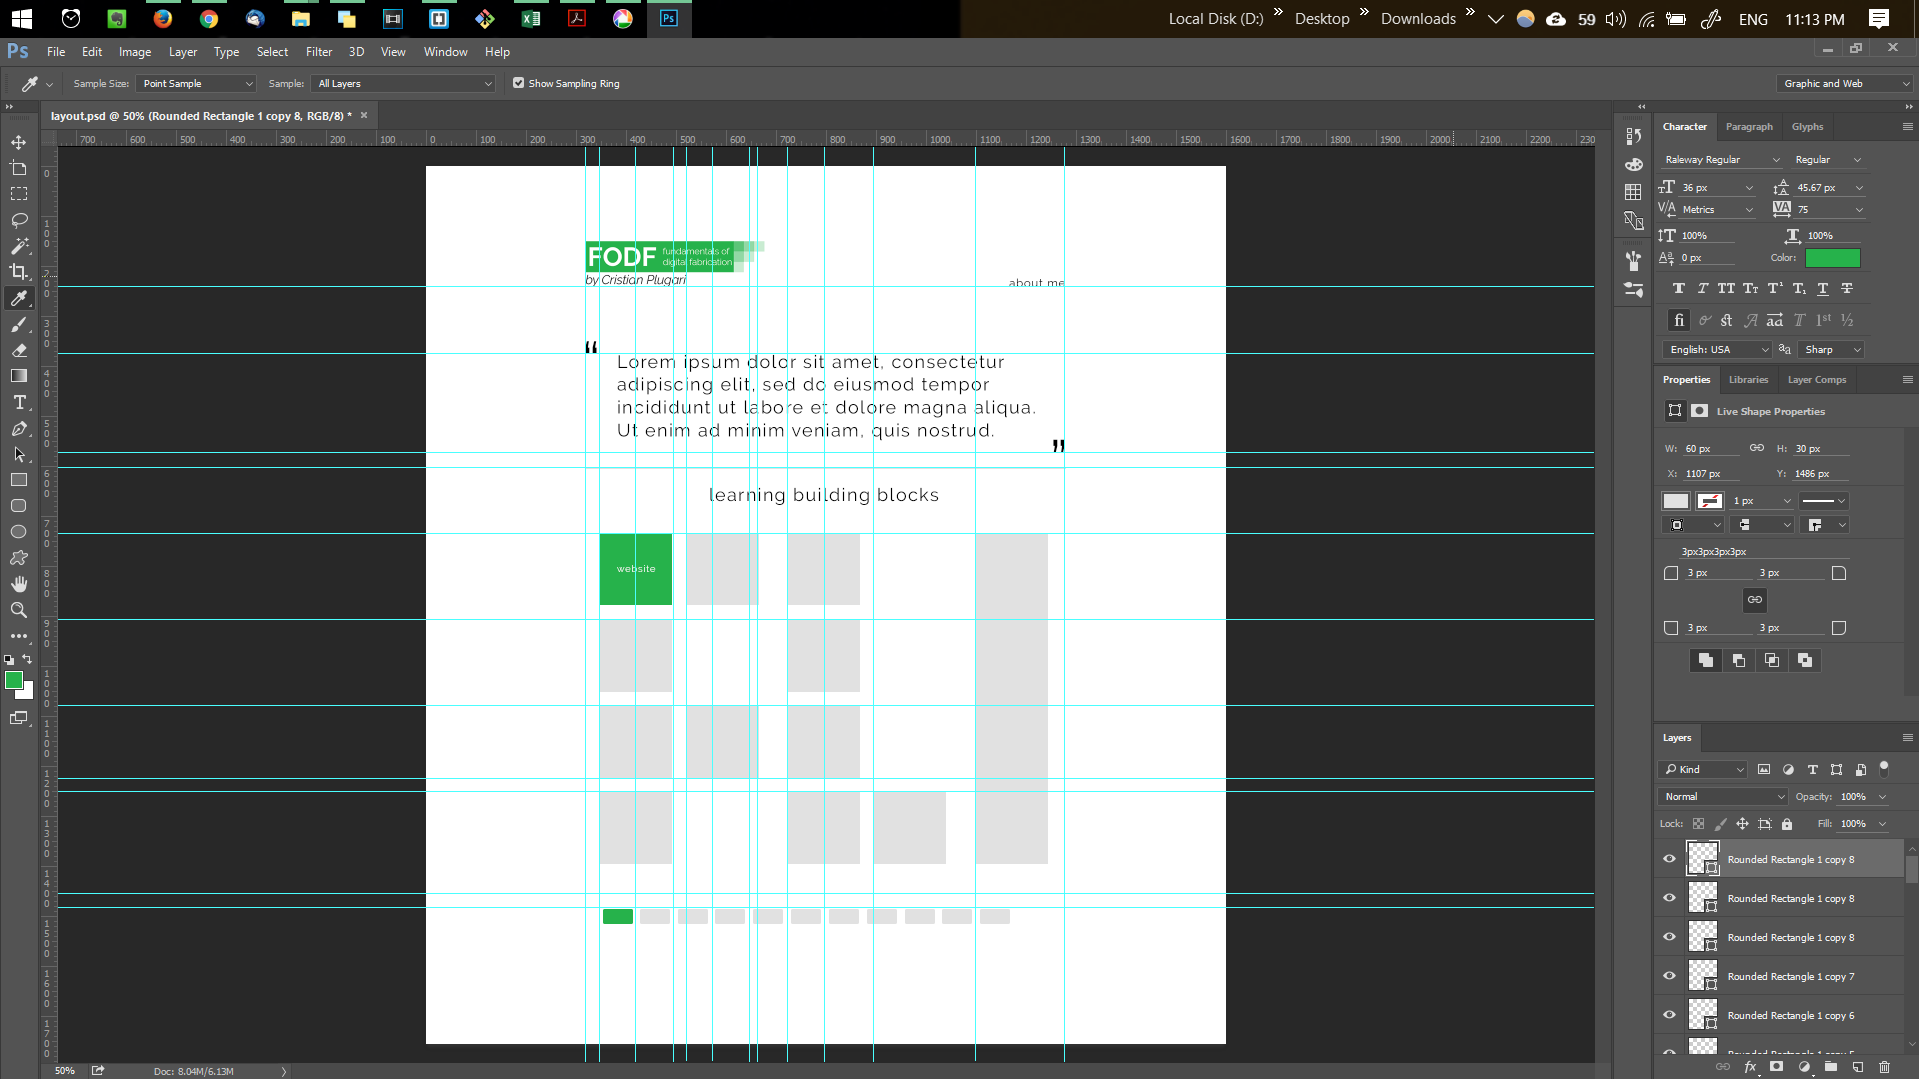
This was accomplished using Adobe Photoshop tool, where using text, blocks and lines I was able to depict a close to final visual look I wanted to obtain.

On the left is the main page blueprint and on the right is the article page blueprint.
Here is the personally designed logo. Not necessary, nice nonetheless.
HTML and CSS.
Coding HTML and CSS files where a straightforward job, however, CSS is known to have a different visual interpretation on the variety of browsers out there. Also, to structure the whole content accordingly and not reinvent the wheel for CSS scalability for different devices, Skeleton architecture was used.
Skeleton is an architecture that serves as a fundament for prototyping websites, licensed under MIT open source initiative. It includes two .css files, normalize.css and skeleton.css that enables the user some predefined structure. Here are some critical parts of skeleton.css style sheet that were used in this website, which can be found under style.css of the download links below:
Main advantage of Skeleton is that it takes the entire predefined "container" block, where the content is entered, and breaks it down into rows and columns(12 in total). In other words, the user has the ability to break down the entire width of the 960px space and sort them evenly depending on how much information goes into each column. For example, if a text would be used next to an image, where the image should take not more than 30% of the "container" block and the text about 70%, about 4 columns are used for the image and 8 columns for the text.
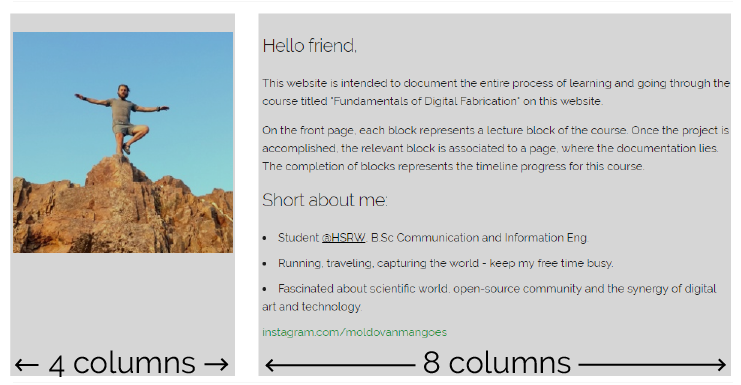
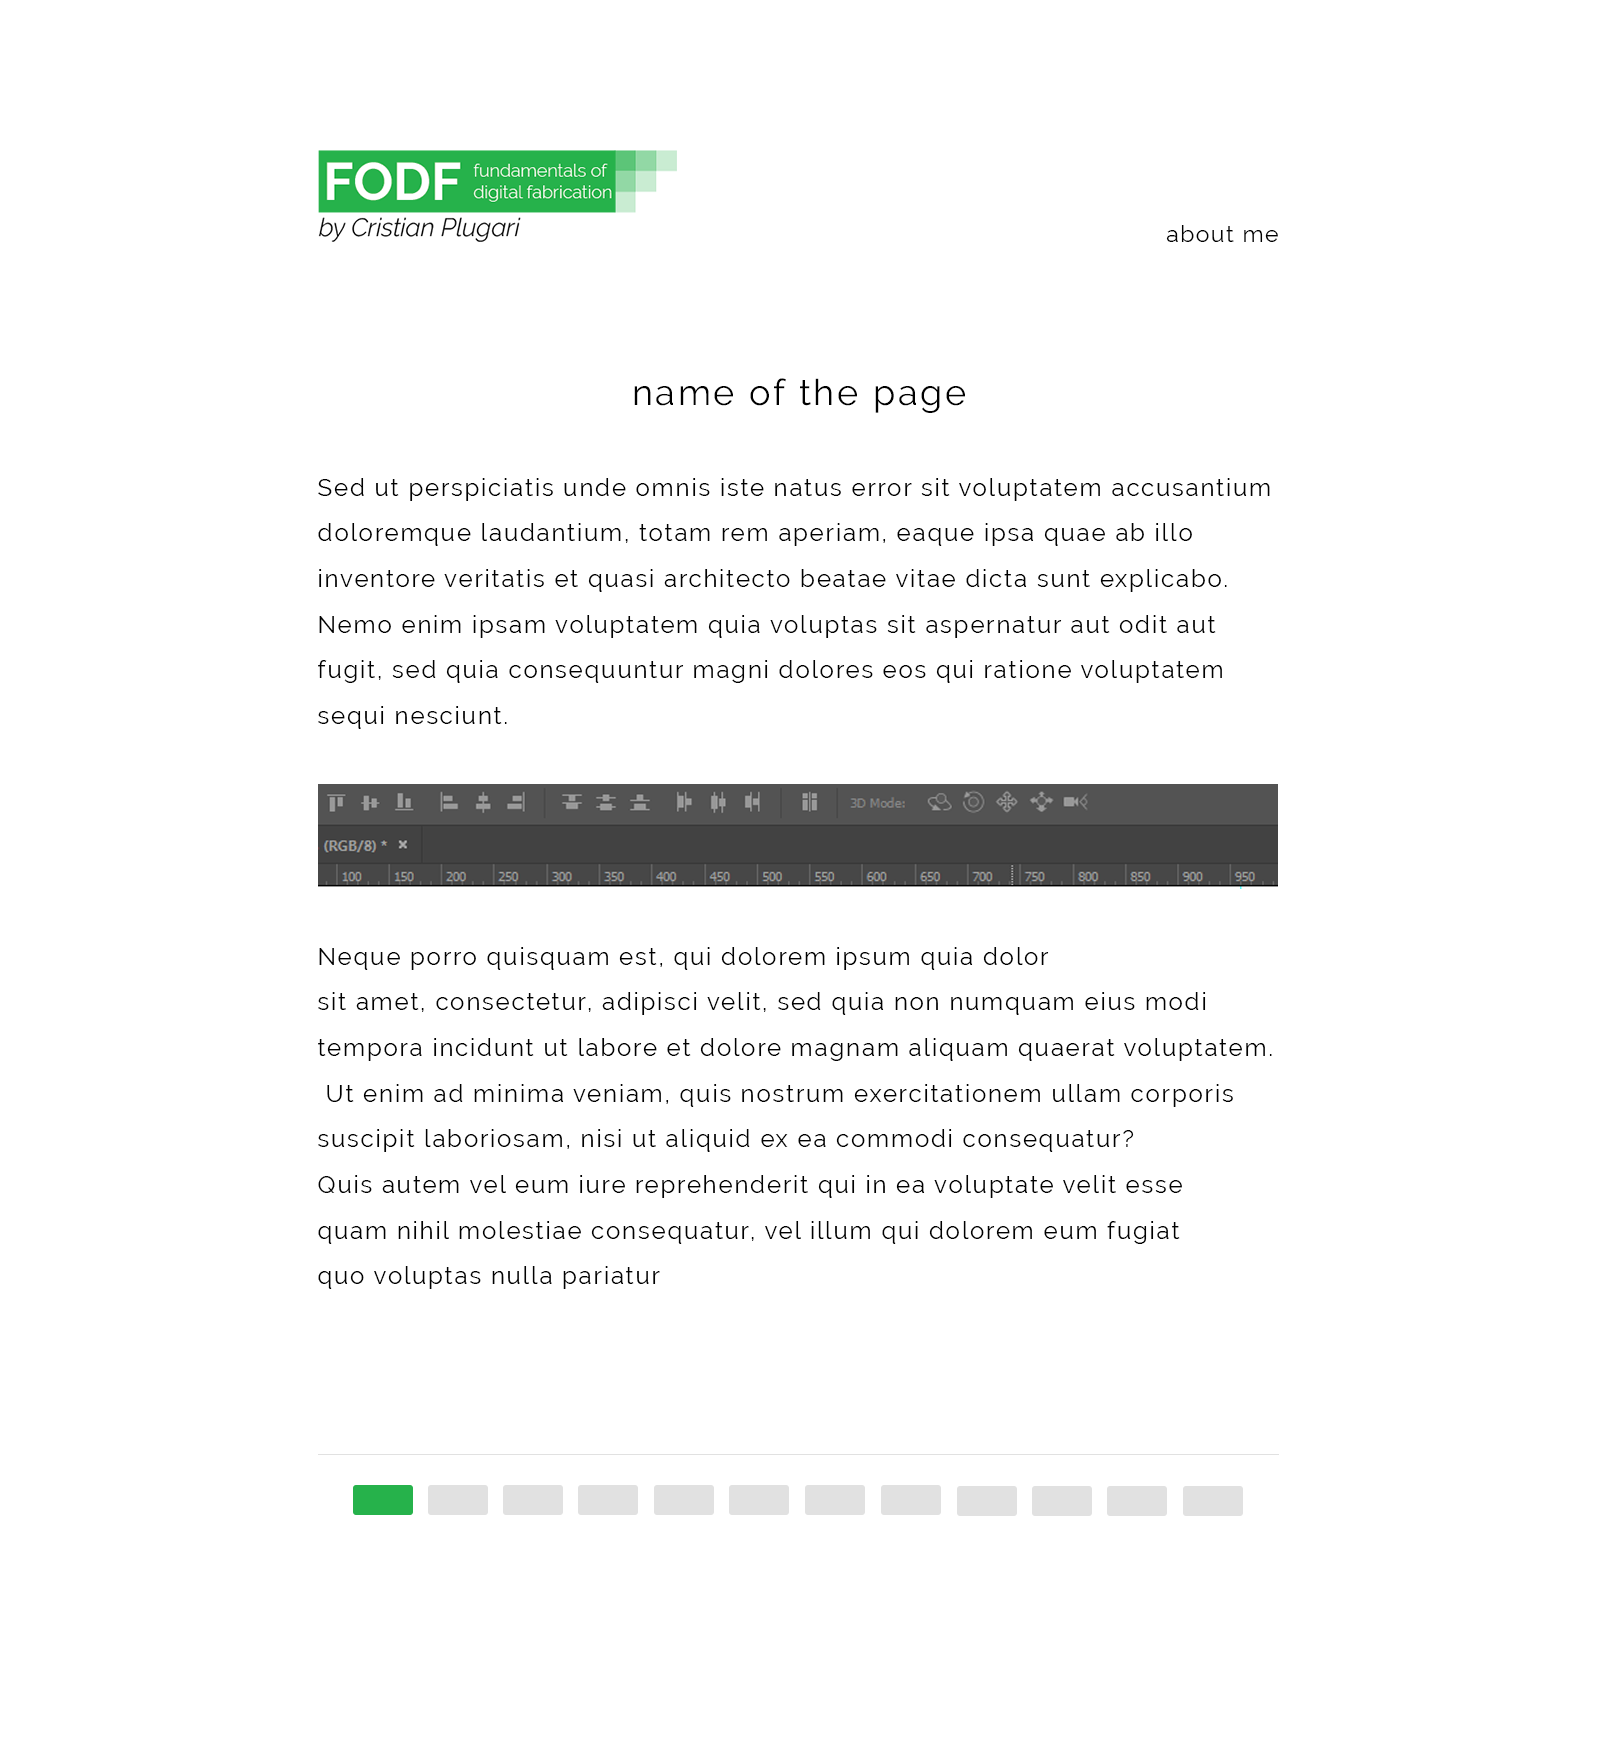
<div class="row">
<div class="four columns">
<img src="images/about.jpg" style=" width:100%" align="center">
</div>
<div class="eight columns">
<h5>Hello friend,</h5>
<p>
    This website is intended to document the entire process of learning
    and going through the course titled "Fundamentals of Digital
    Fabrication" on this website.
</p>
</div>
</div>
<p>
   On the front page, each block represents a lecture block of the course.
   Once the project is accomplished, the relevant block is associated to
   a page where the documentation lies. The completion of blocks represents
   the timeline progress for this course.
</p>
Some elements were coded to accomplish the final visual approach:
Other modifications were done to create a more suitable visual aspect. All these changes can be found in the .css file of the download section.
Challenges.
Main challenges resulted during positioning visual elements on the page and deploying the project onto git.
In order to reach the desired visual aspect during the coding of the HTML and CSS files, I googled most of the necessary code as well as directly implementing it into the design. This resulted in a tedious process, changing line by line. I do not provide the specics for this, since most of the challenges encountered during this process were solved in a matter of minutes.
A couple of tools helped me to highlight my mistakes as well as tinker around before reaching the desired state. These are:
The embedded "Inspect" tool of Google Chrome
The embedded "Live Preview" tool of Brackets software
Deploying the project for git is a straight forward job, however doing it for the first time resulted in a bit of a time spending in the bash of the git.
It all starts from set up of the account, username and email respectively.
git config --global user.name "John Doe"
git config --global user.email johndoe@example.com
Then we create an SSH key, private and public keys of which are stored on our computer. The public key is used to give us access to the remote git repository located on the server. This is accomplished by copying the public key from .ssh/id_rsa.pub and pasting it on the HSRW git adress
To generate the key we use:
ssh-keygen -t rsa -C "email"
Using the "clone" command we can now indicate the local repository which we would like to use for later uploading to the server.
git clone /path/to/repository
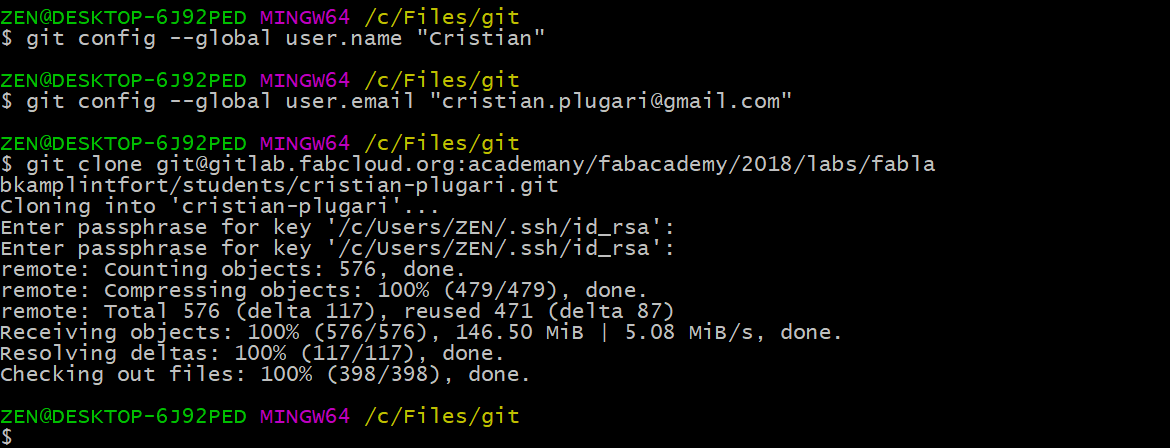
Here is where I encountered the problem. I have previously indicated a different path for git and whenever I was trying to upload the files to the server, it would state that no files are located in the current repository "an empty repository". For that I had to change the repository and reclone using the previously stated command. In the end the cloning was done with success.
After the creation of current repository, I have copied the website files into the repository created. Three code of lines separate us from successfully upload the files or implement and modifications on the files.
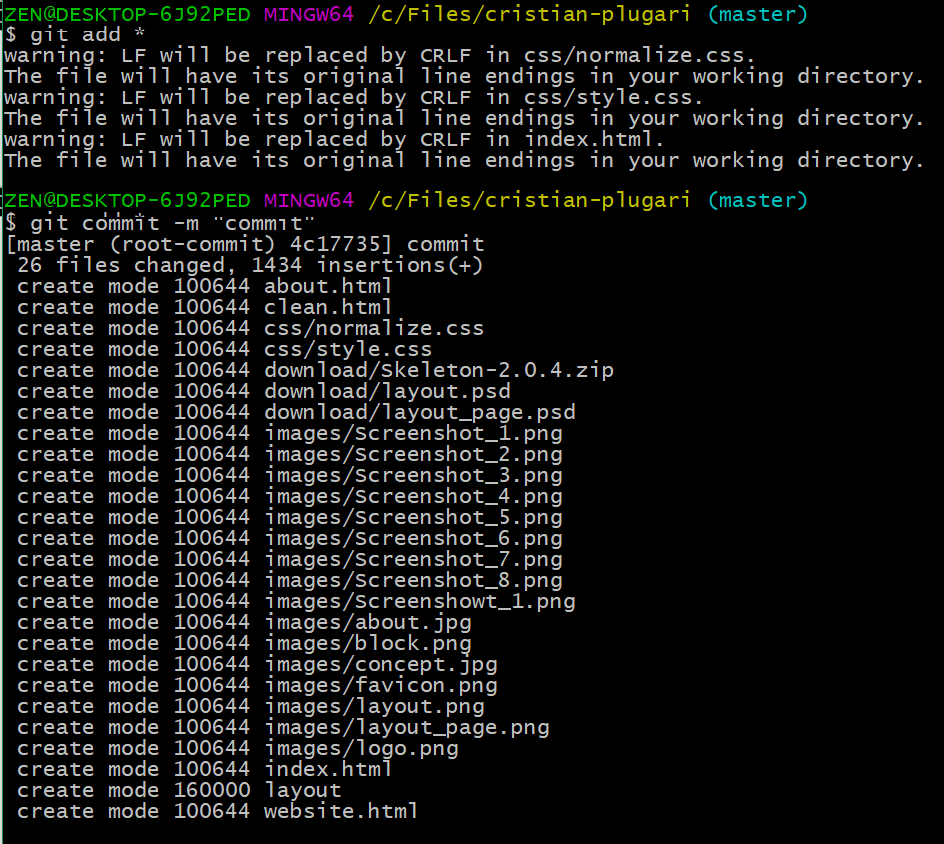
"Add" command, simply indicates the files that are about to be added to the current repository. To add all files in the current repository * is used.
git add *
"Commit" command states that the user is aware about the current modifications, by first stating them as well as giving a description of the modifications. This command also displays the previously added/modified files.
git commit -m "comment"
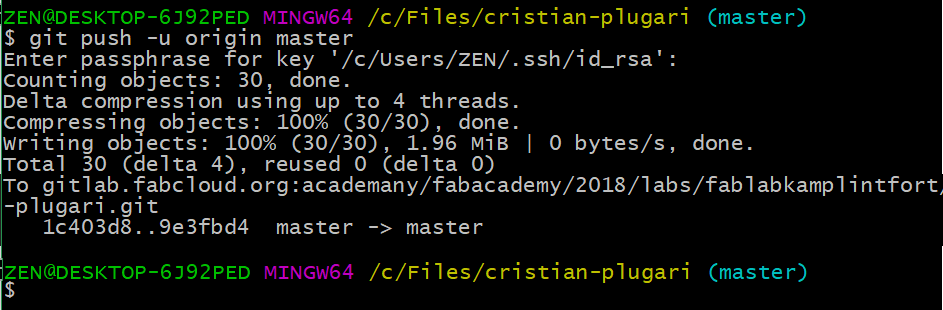
"Push" command results in deploying the added/modified files onto the server.
git push -u origin master
Results.
End result are the three pages that can be navigated: index.html , about.html , website.html, as well as the documentation presented on the current page.