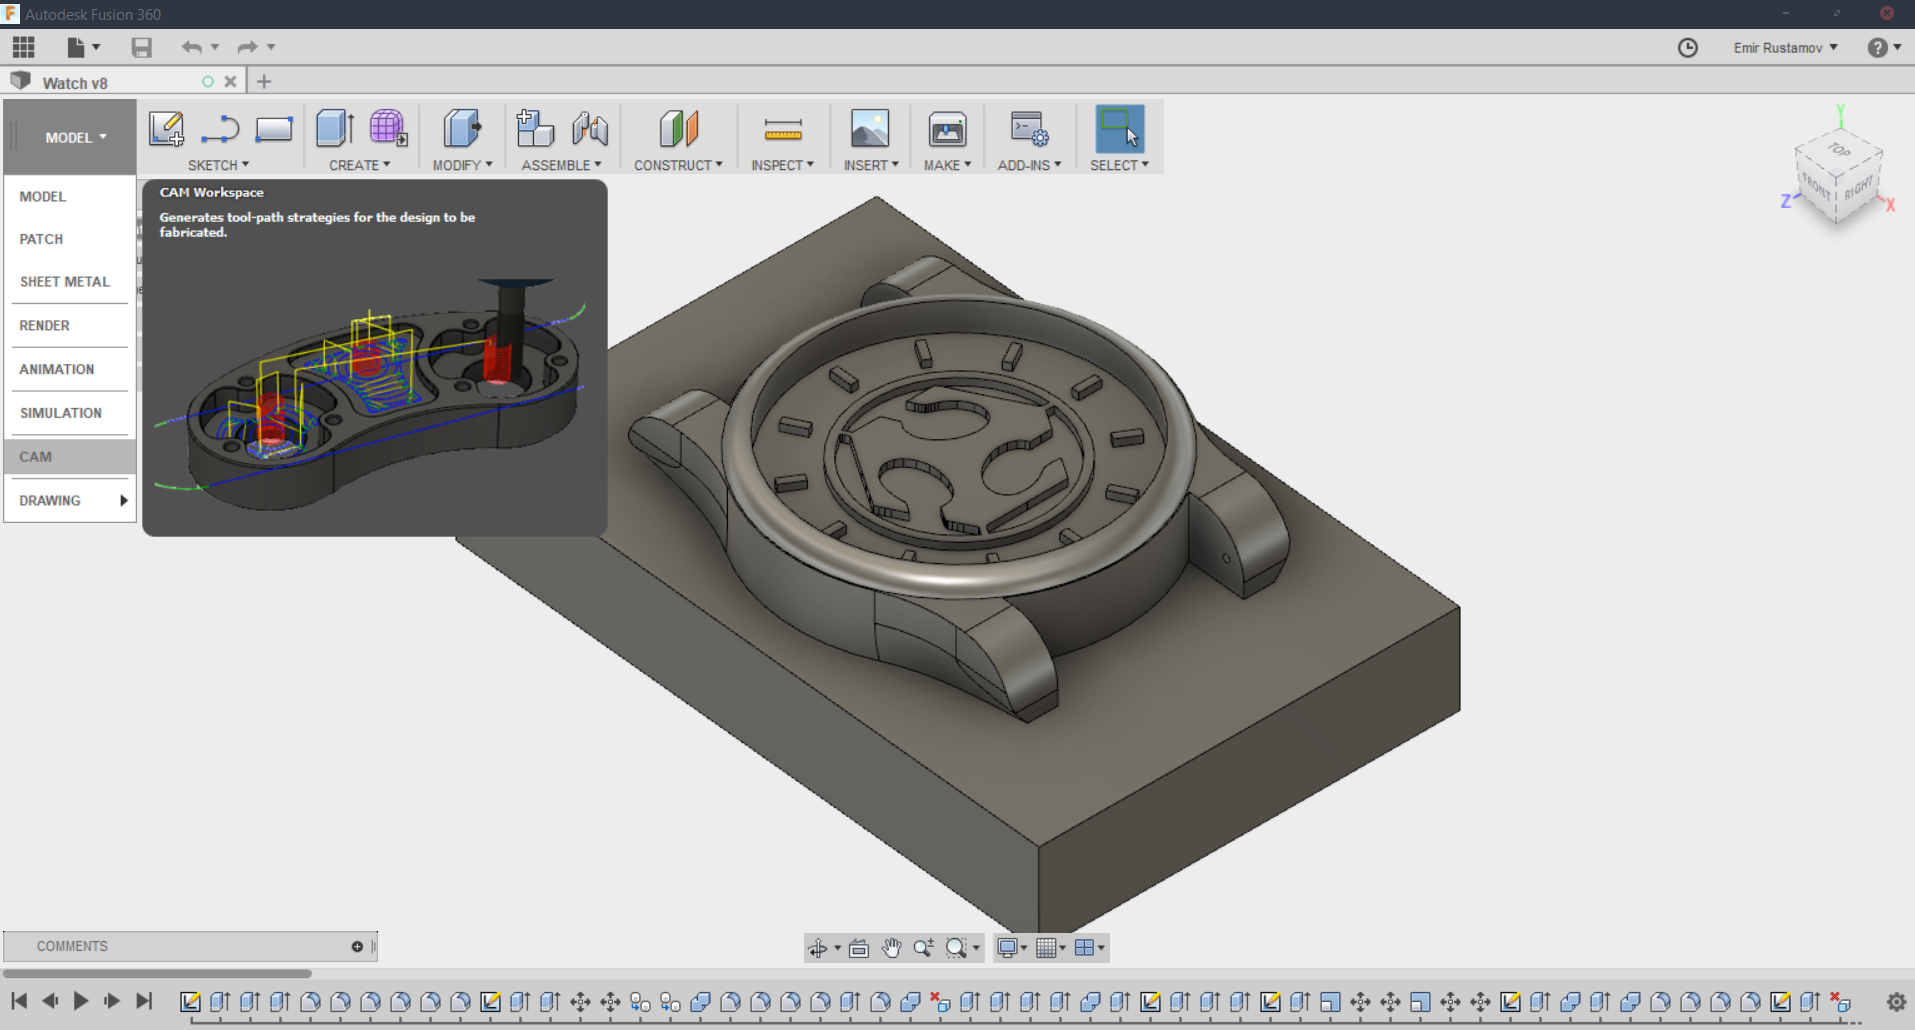
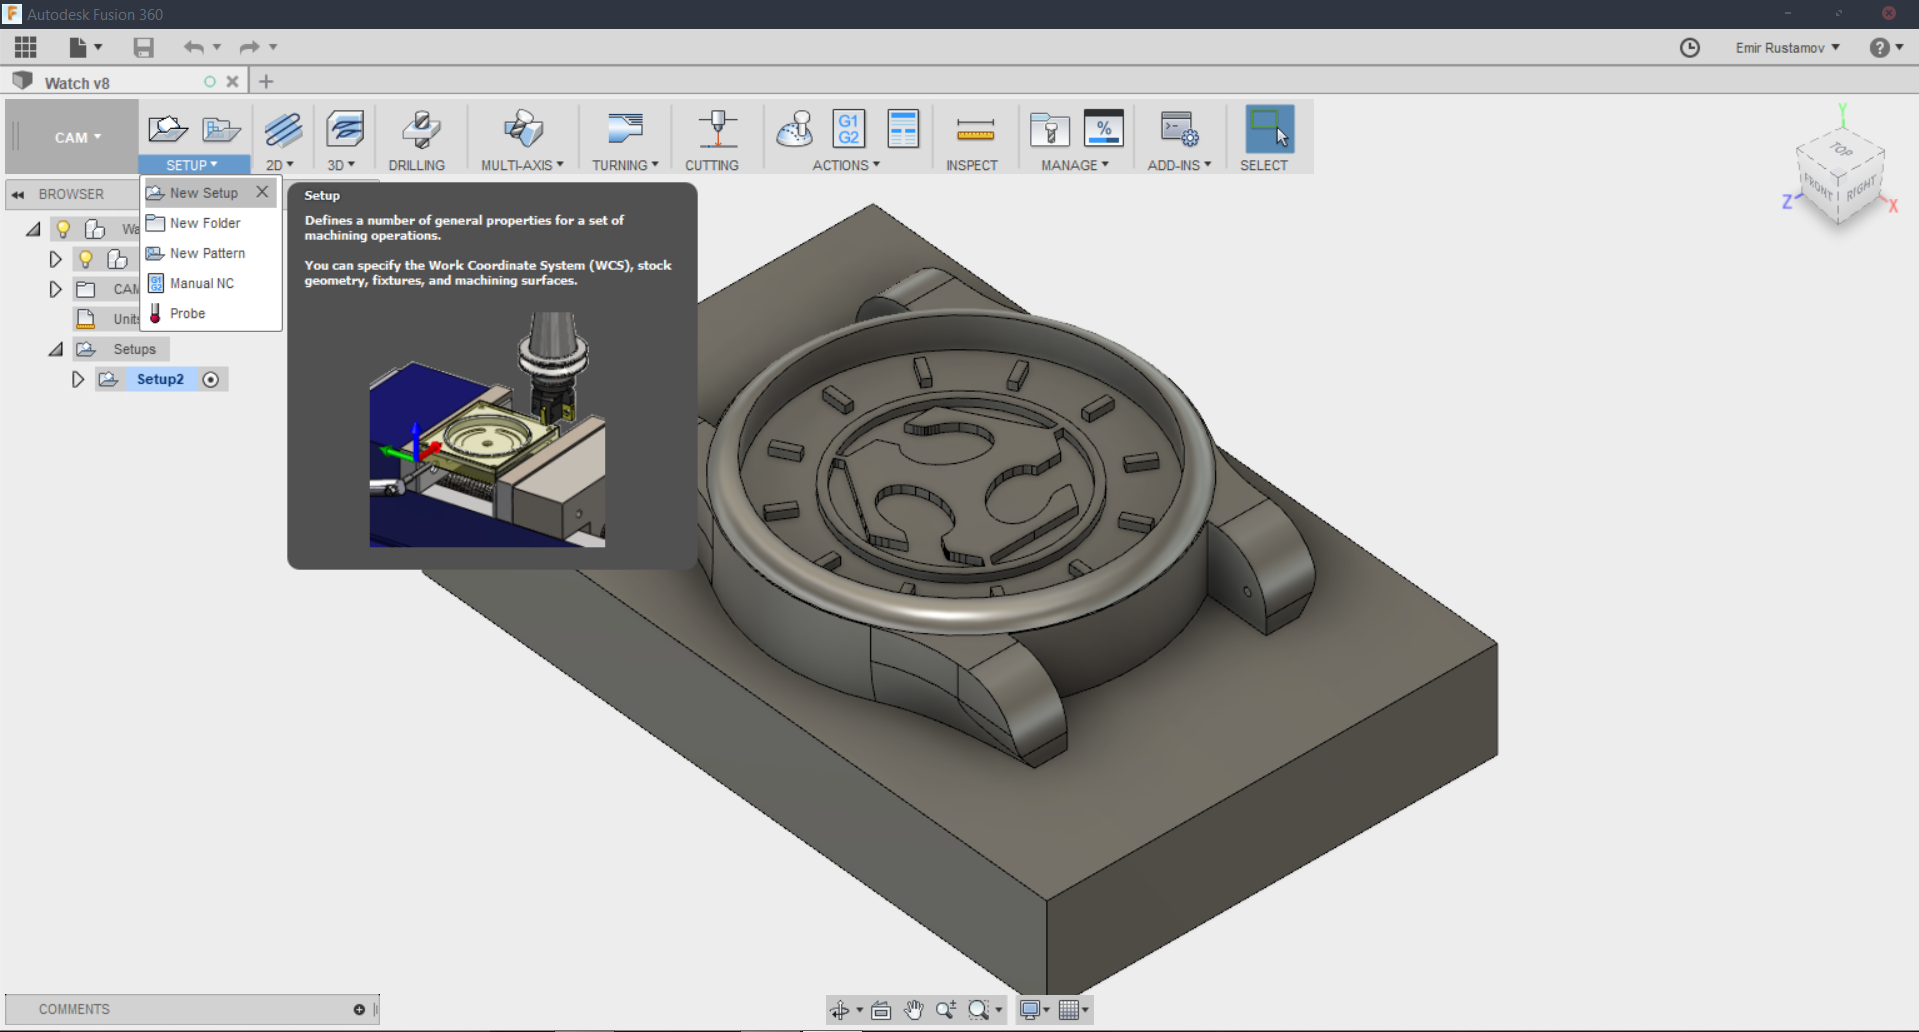
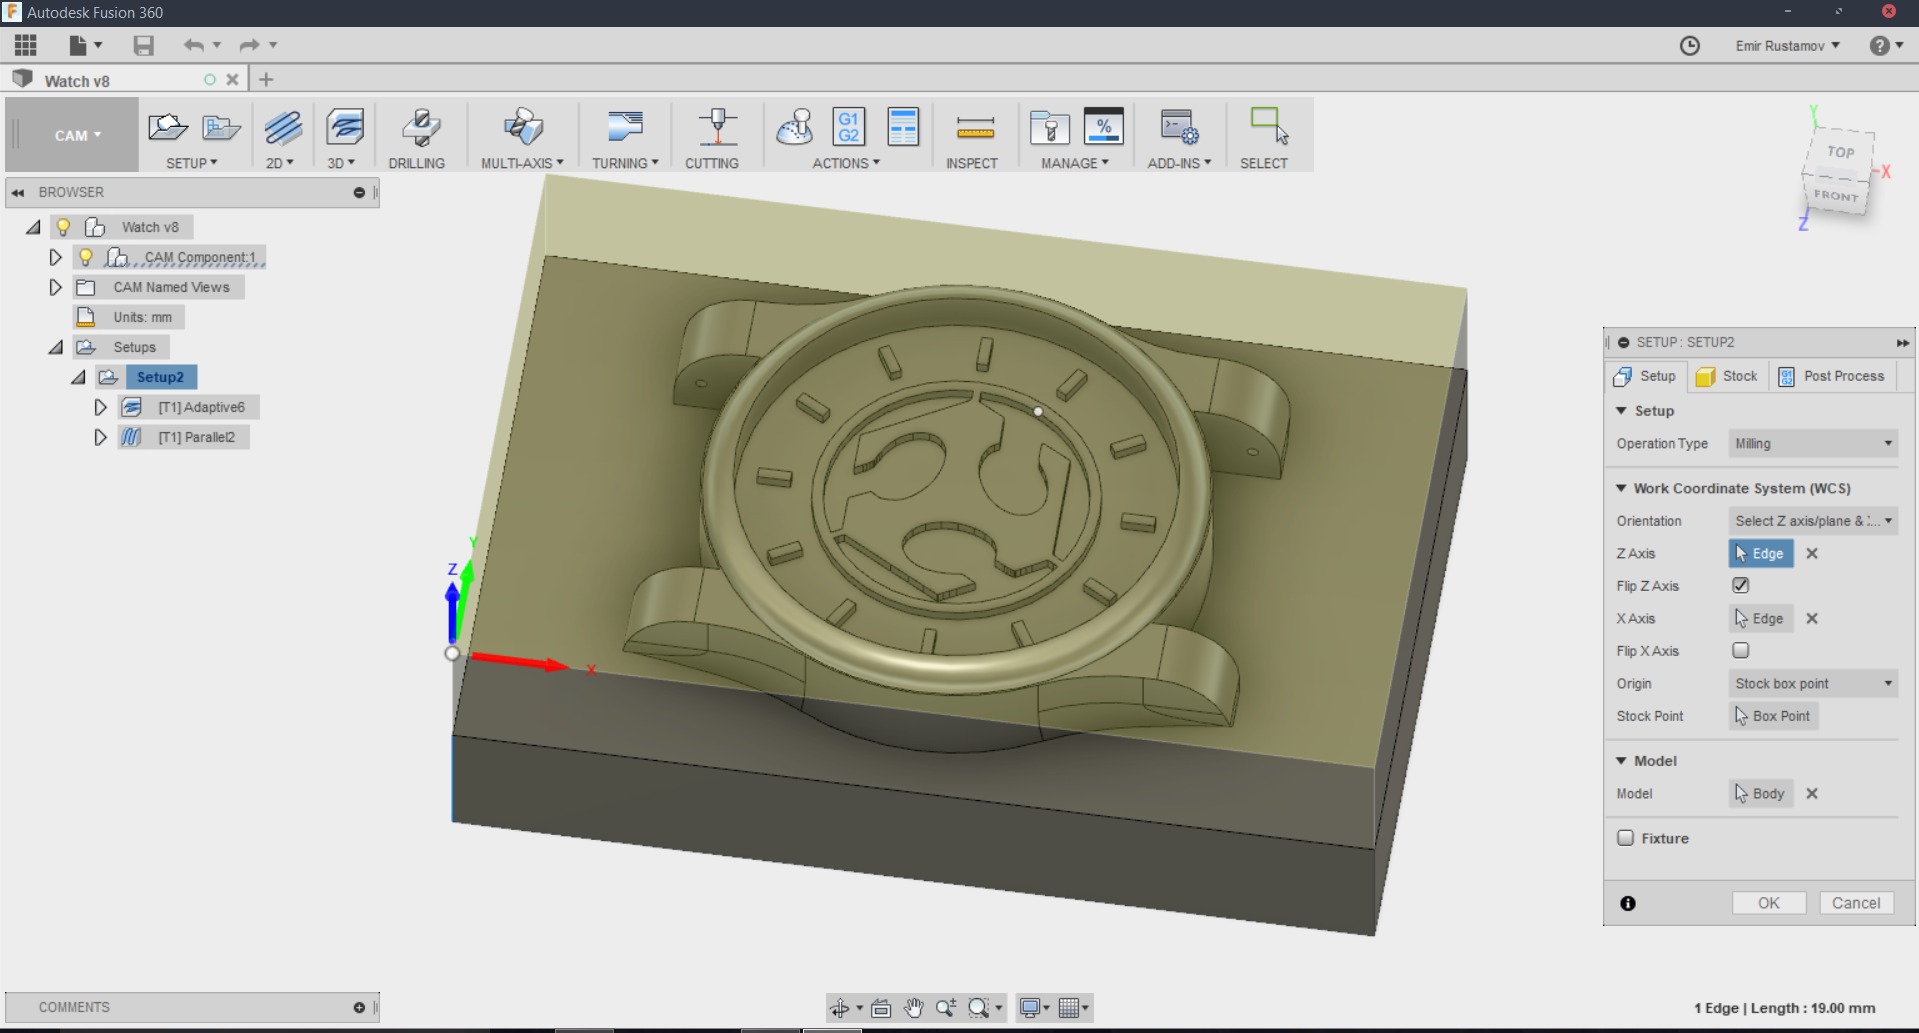
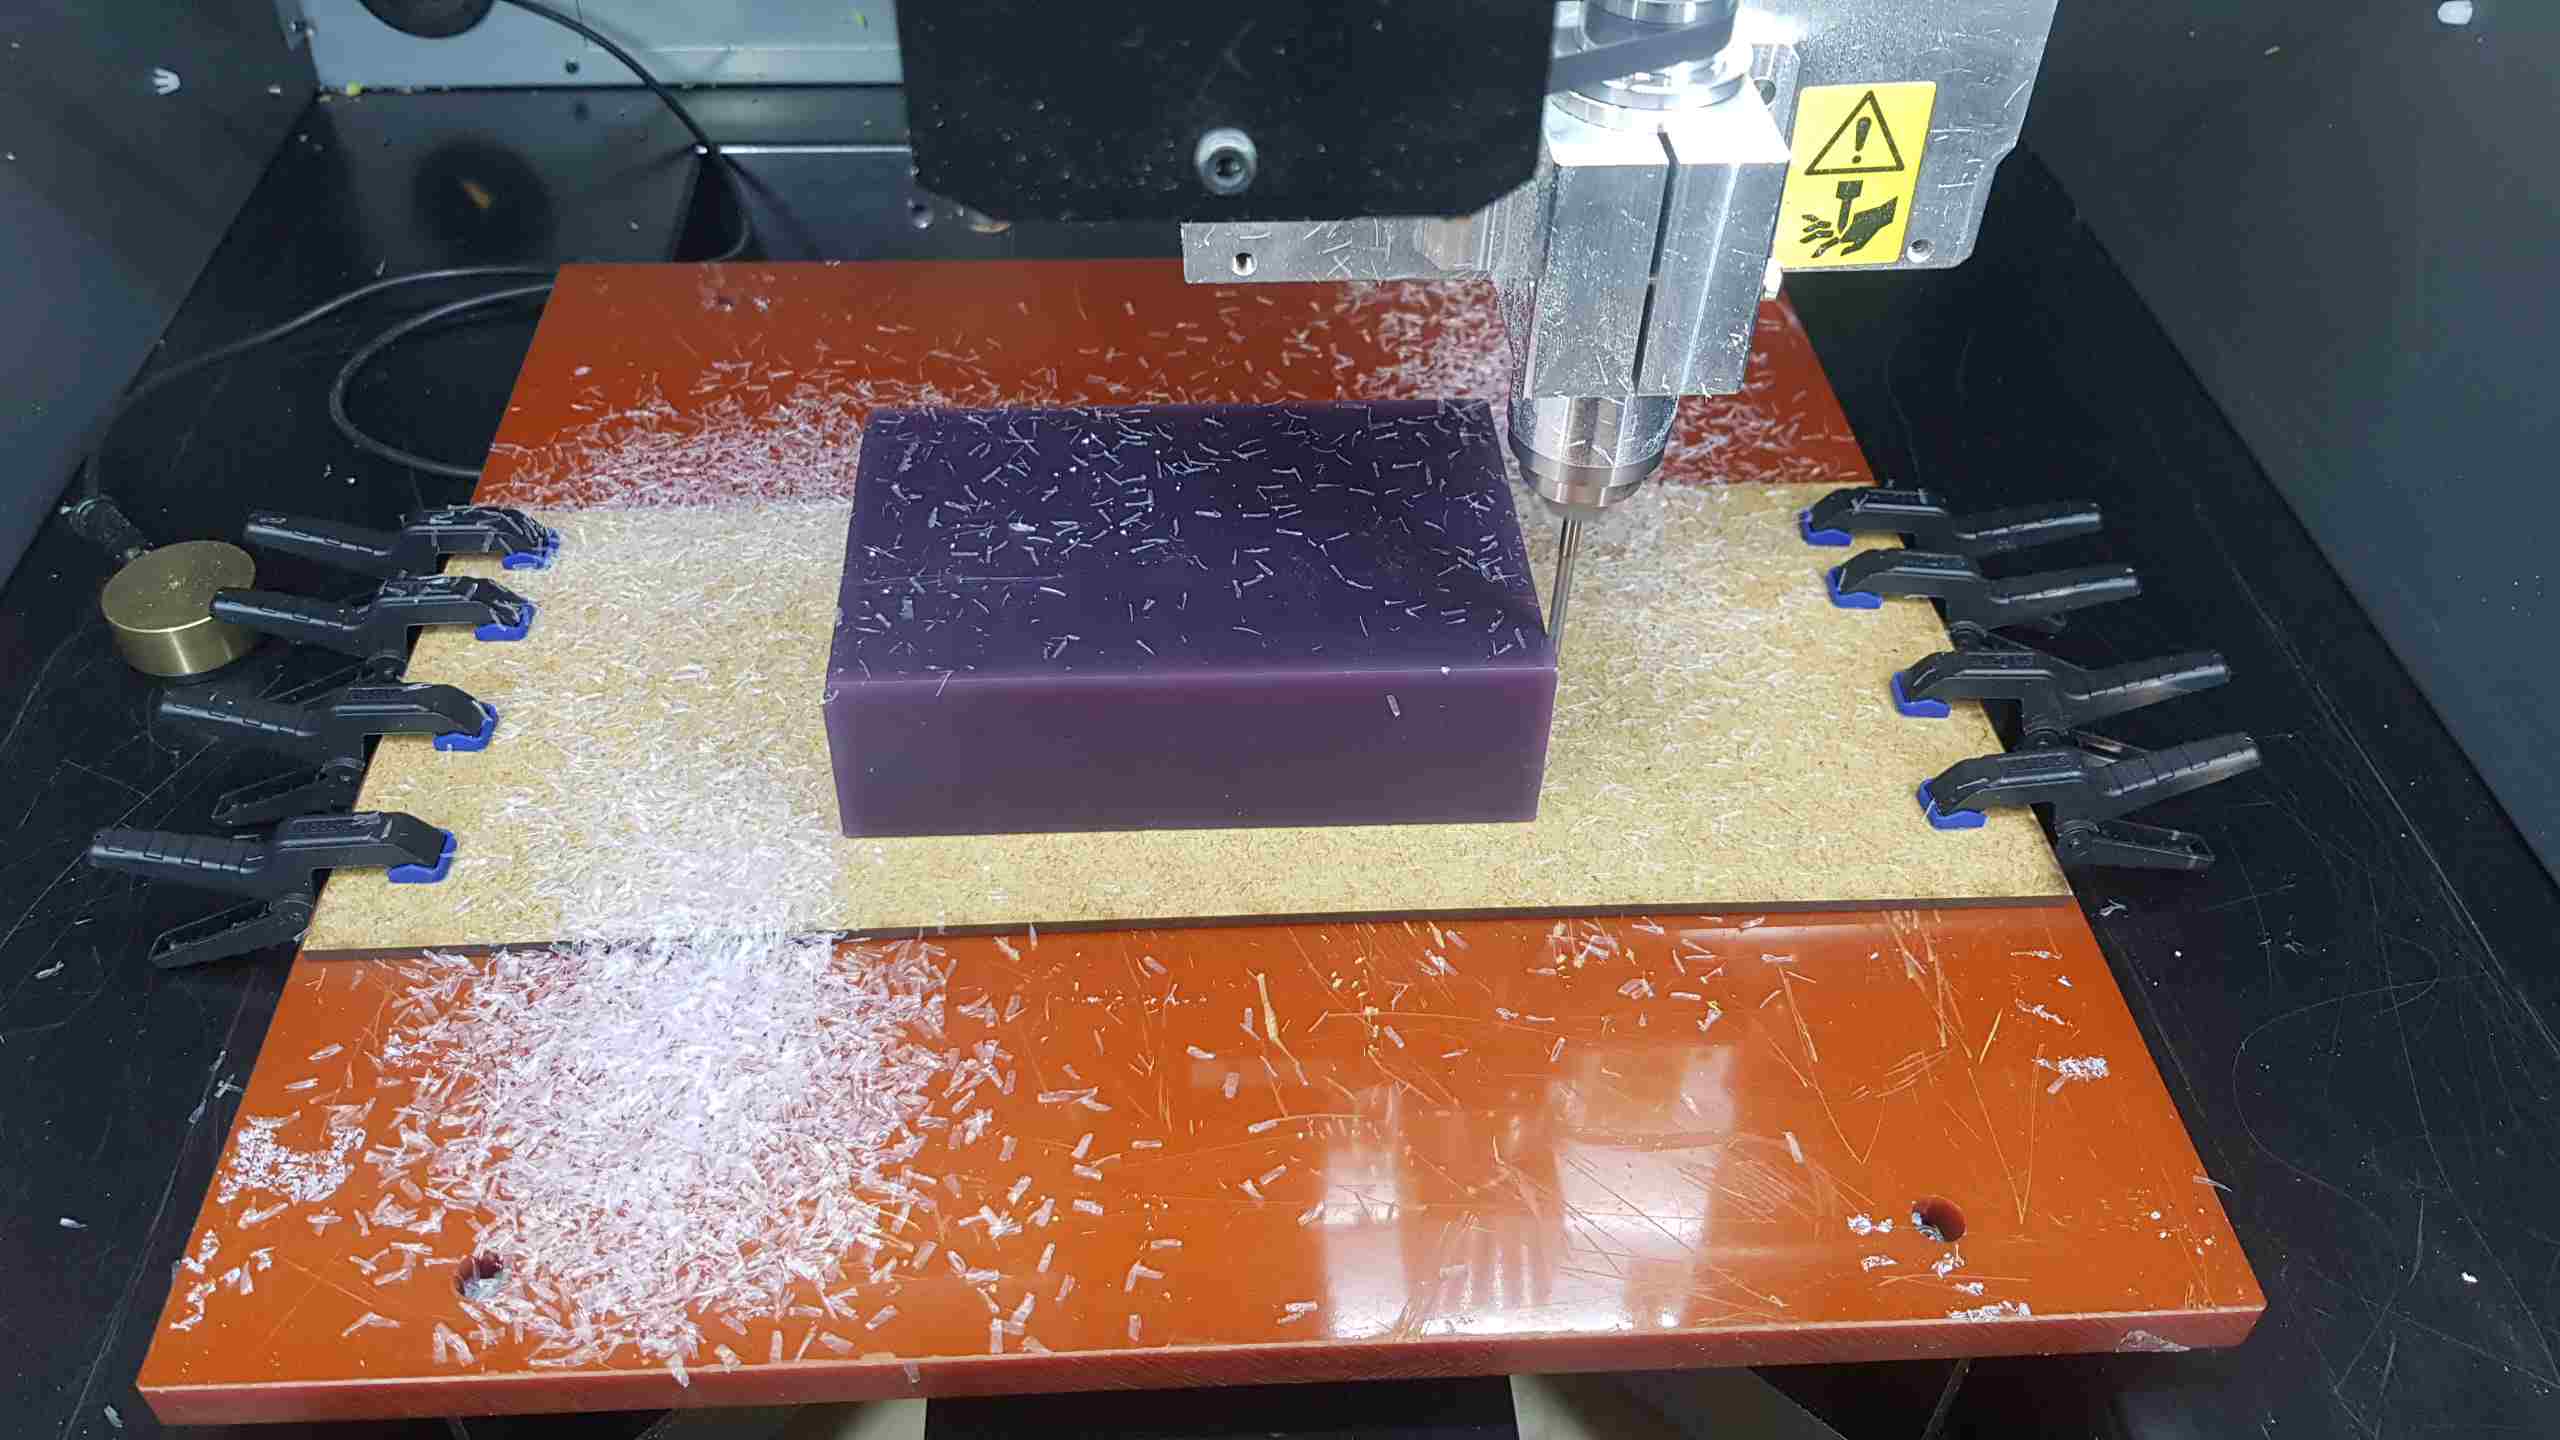
3D ModelWell this is my model, that i have made for this week, it is a Watch.This is how I have designed the watch.Okay, after we have our model, we have to cut it with the CNC machine, in my Case it is a Roland MDX-40a. To do this we need a GCode -> therefore we need to go to the CAM Workspace.At the beginning, we don't have setup, so we create one.Setup settings-The operation type is milling
-With the orientation we choose, which axies we will use as the reference.
-Then choose the proper axies.
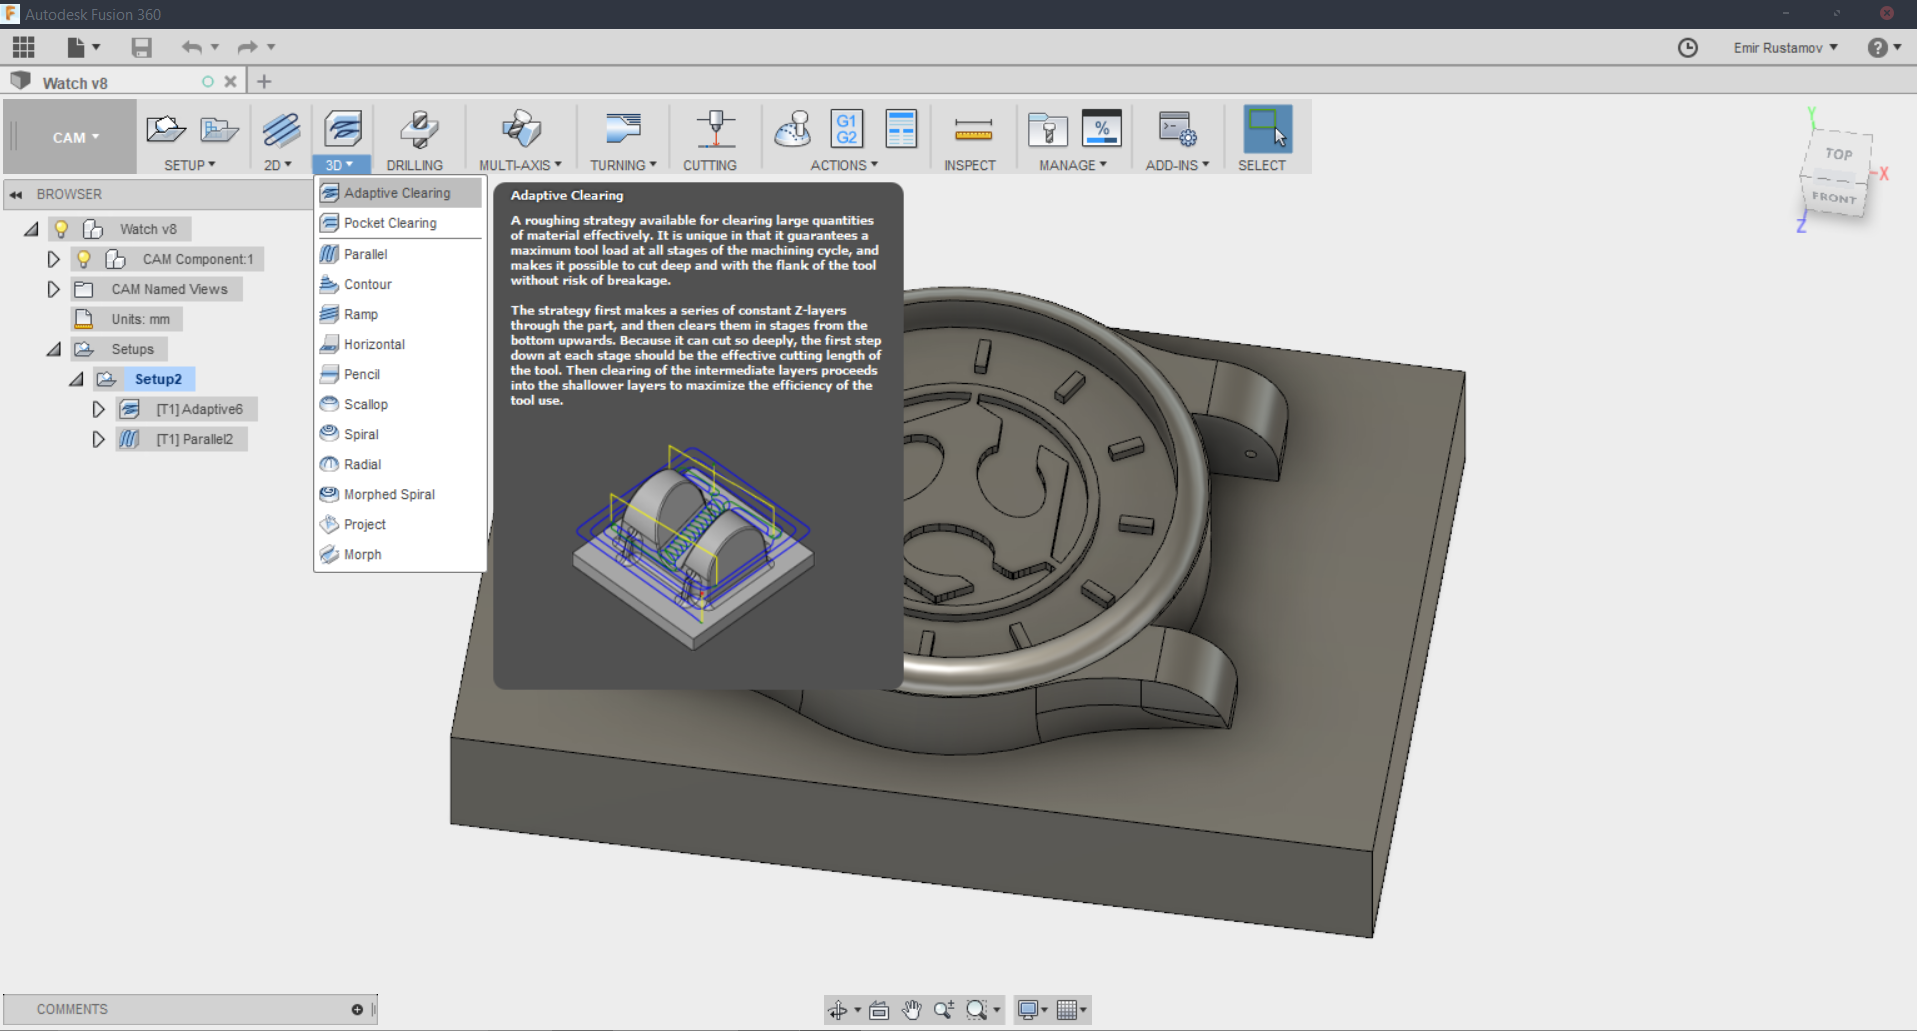
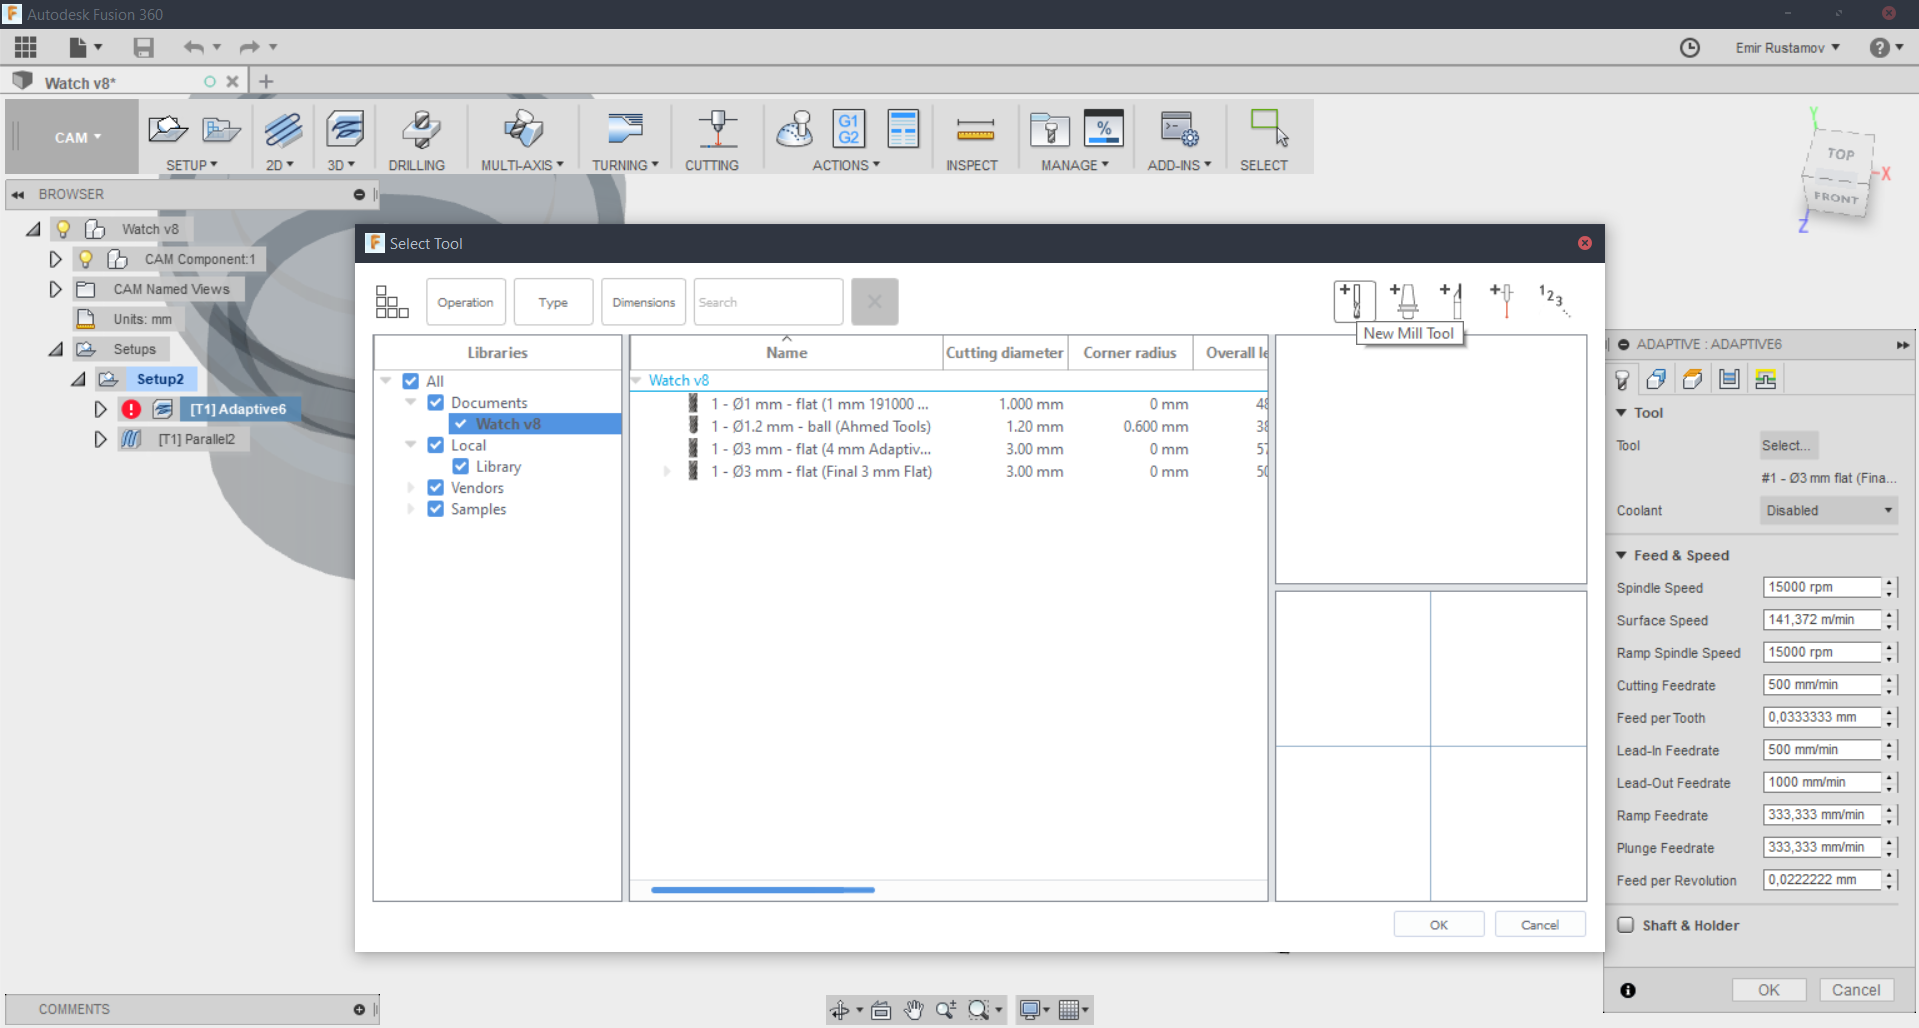
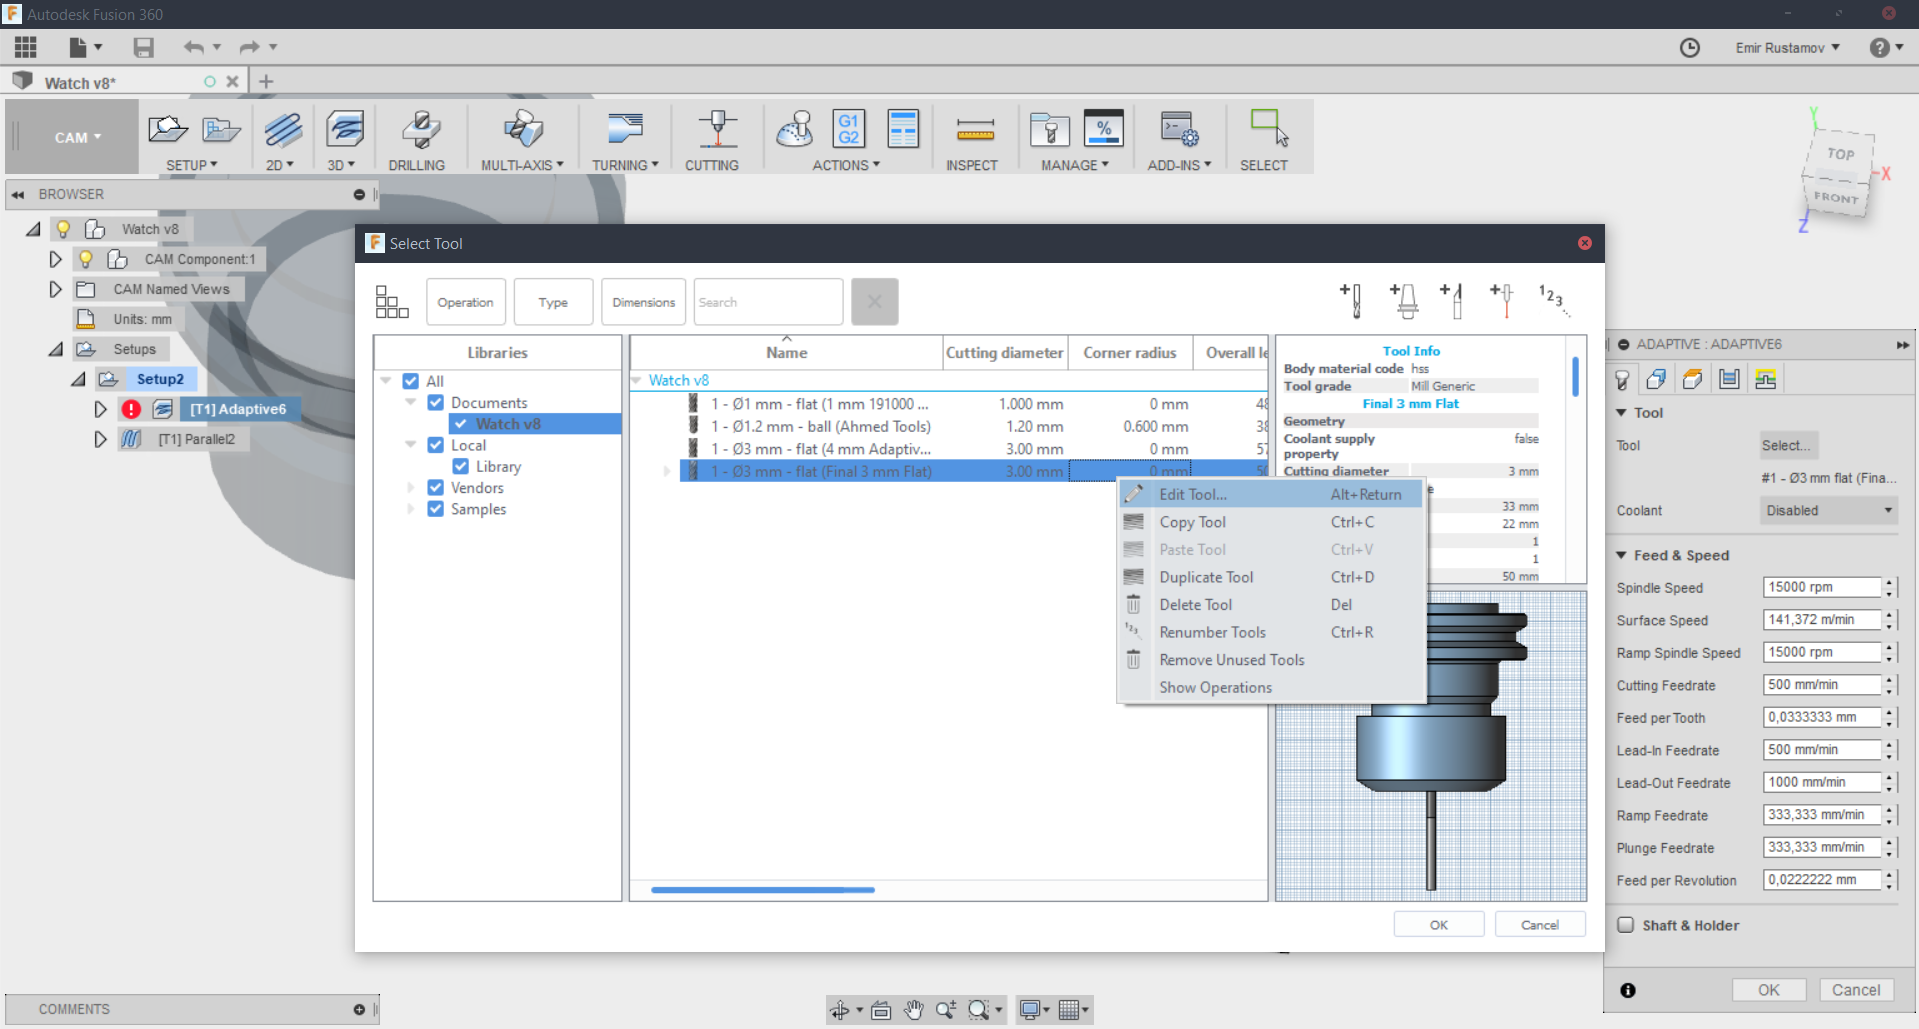
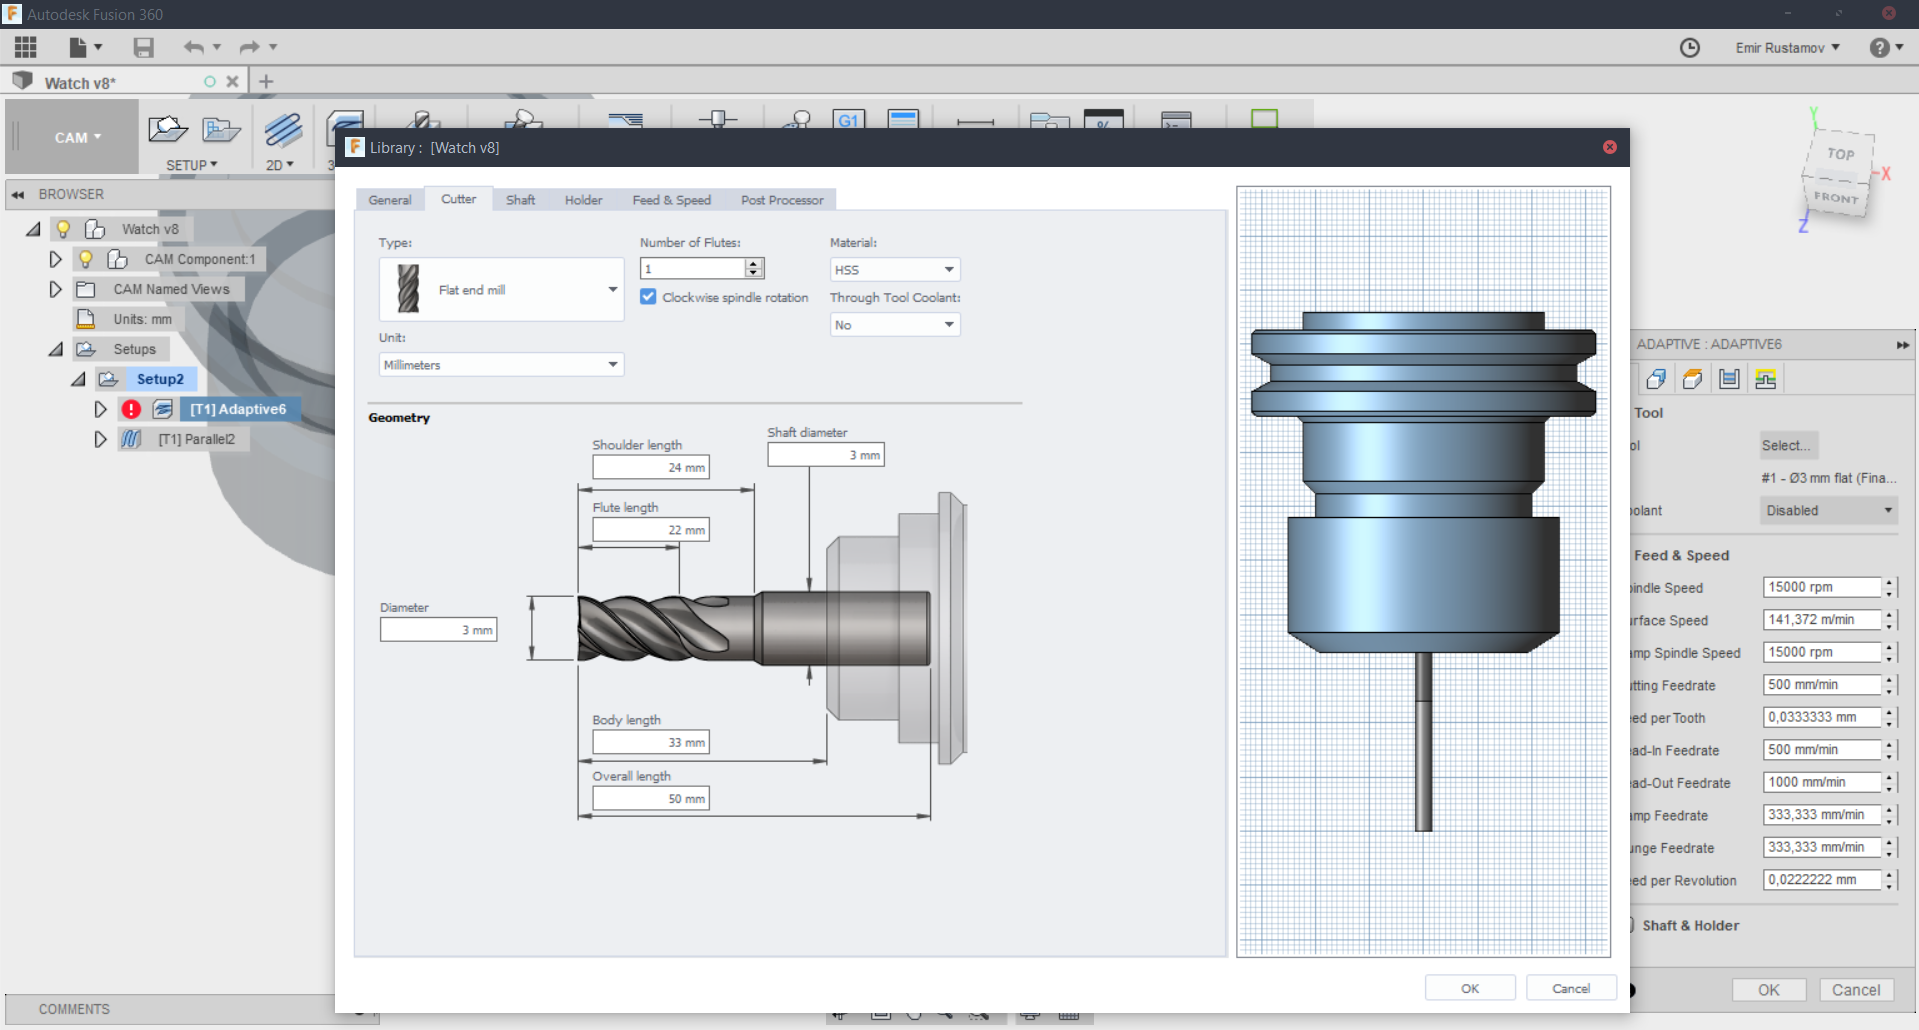
-And than set the Stock Point accortinng to the Zeropoint of the CNC machine in the future.Here we define the size of our stockOkay, now the have to add the milling techniquesToolOkay, first of all we have to select a toolWith the button above we can add some tool, if we don't have any.Or we can change the tool, that we already have. This is very usefull, we Here we have to measure our tool and enter the values. But be carefull, we can not determine the bodylength of the tool, until, it is in the collet.Now we will take a look to some parameters. That can be usefull(in my opinion)
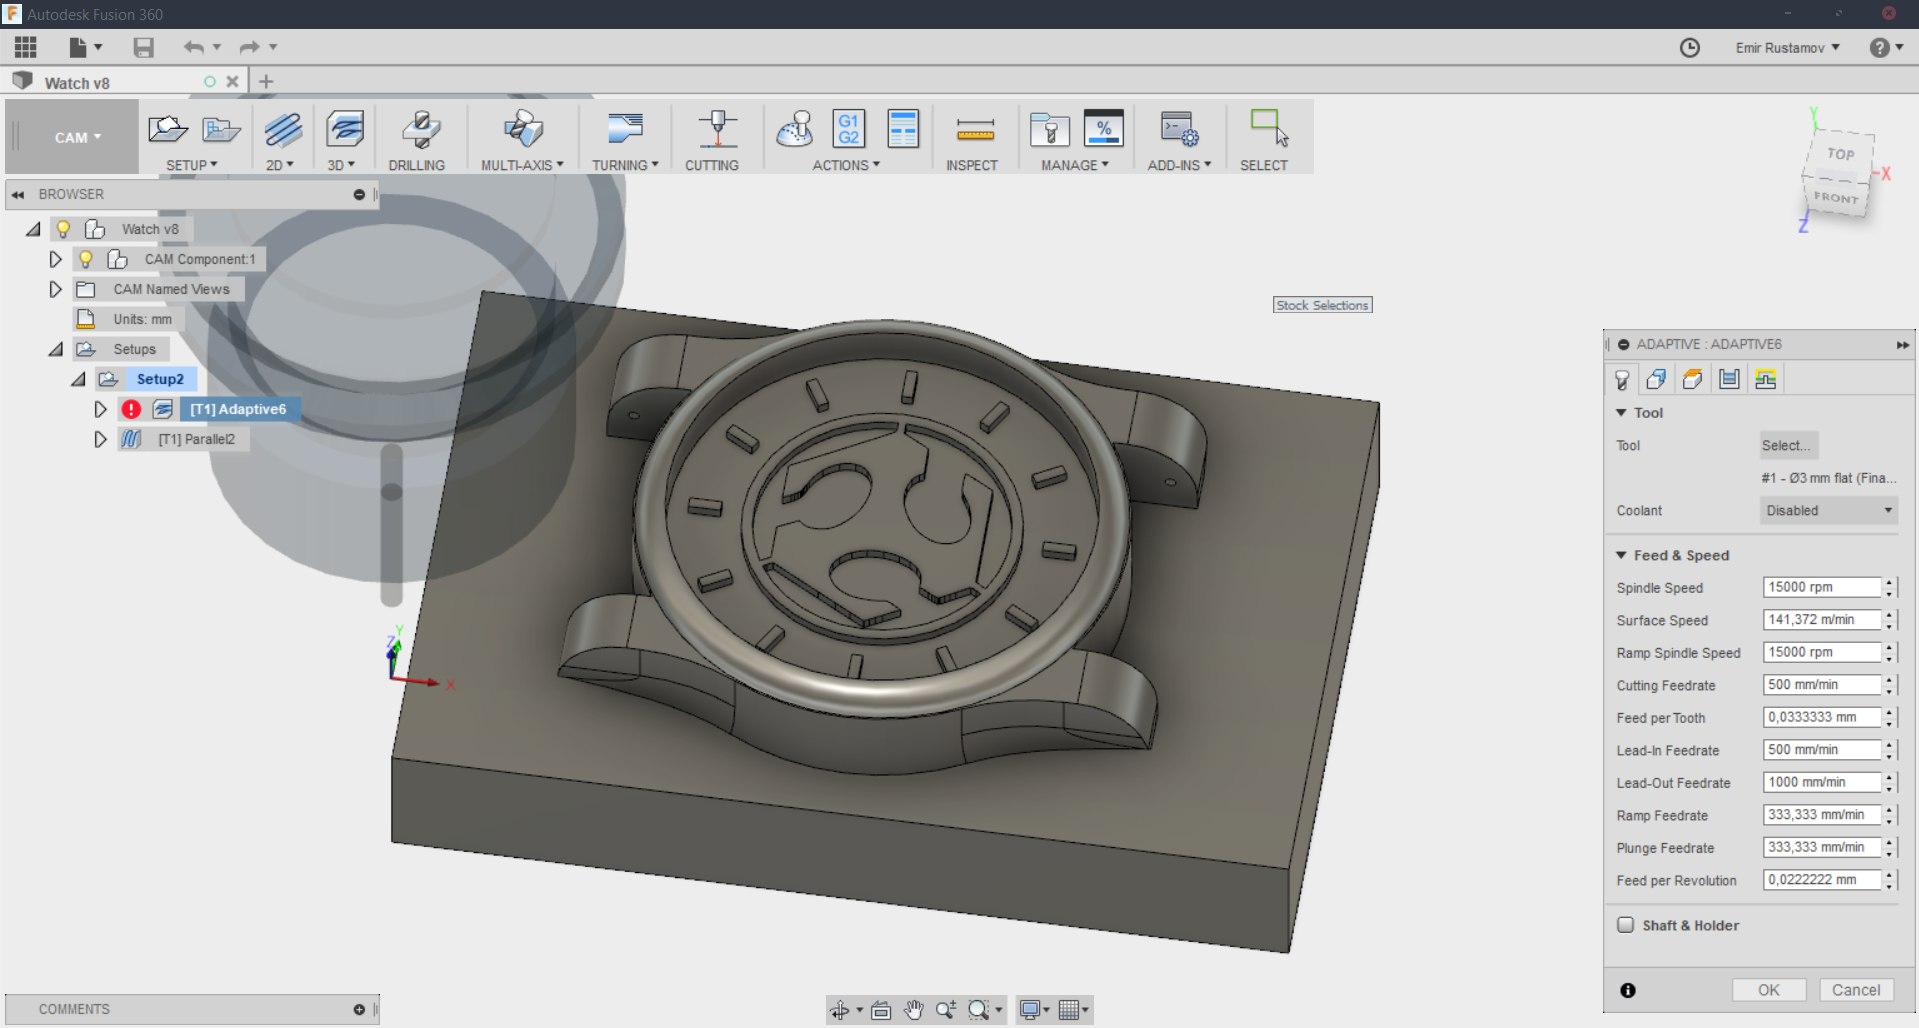
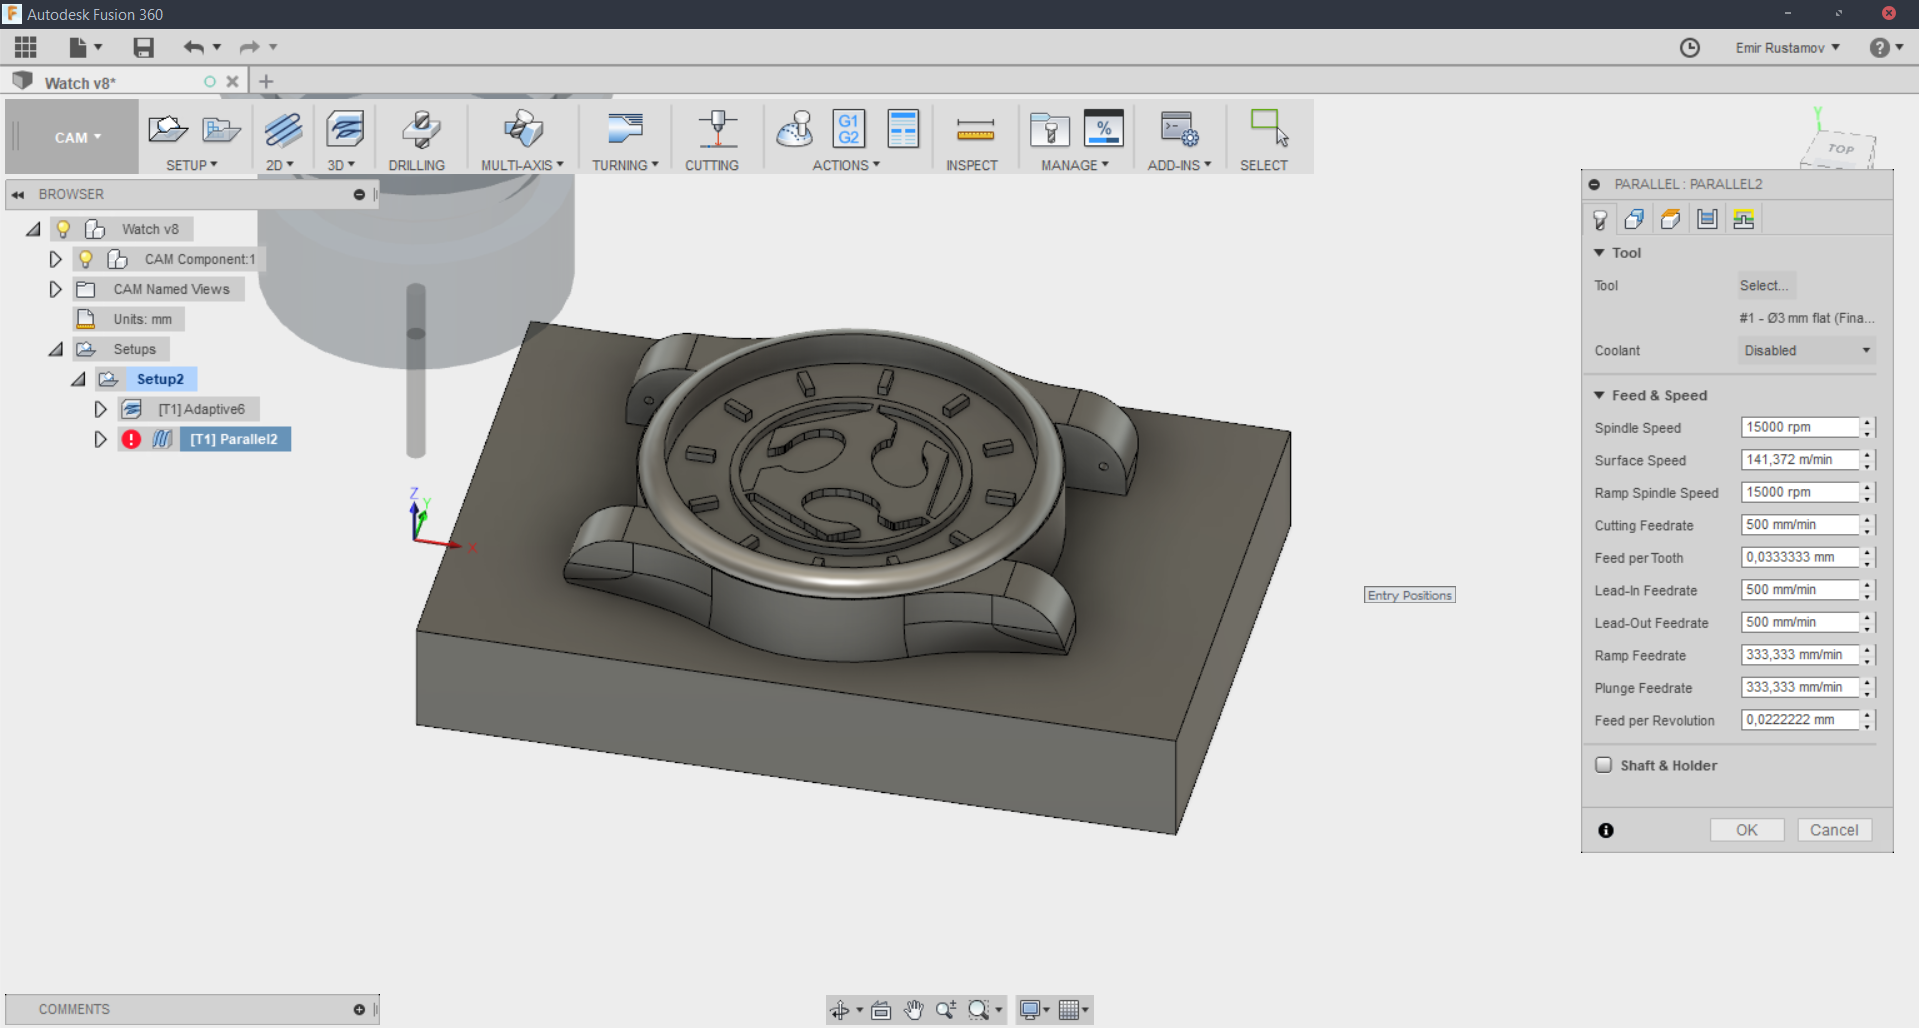
-Our Roland doesn't have any coolant, so we disable this feature.
-Spindle speed: I put it to the maximum spindle speed of the Roland, because I have only 1 flute in my tool.
-Surface Speed: Speed of the tool on the surface -> haven't changed it.
-Ramp Spindle Speed: Spindle speed, during thee ramp -> haven't changed it.
-Cutting Feedrate 500 mm/min, it is really low, again because of the 1 flute.
-Lead-In Feedrate: Feed used, when leading in to the cutting move -> again 500mm/min, because of the 1 flute
-Lead-Out Feedrate: oposite of Lead-In Feedrate.
-Ramp Feedrate: Spindle speed, while doing a helical ramp into stock. -> haven't changed
-Plunge Feedrate: Plunging Speed -> haven't changed
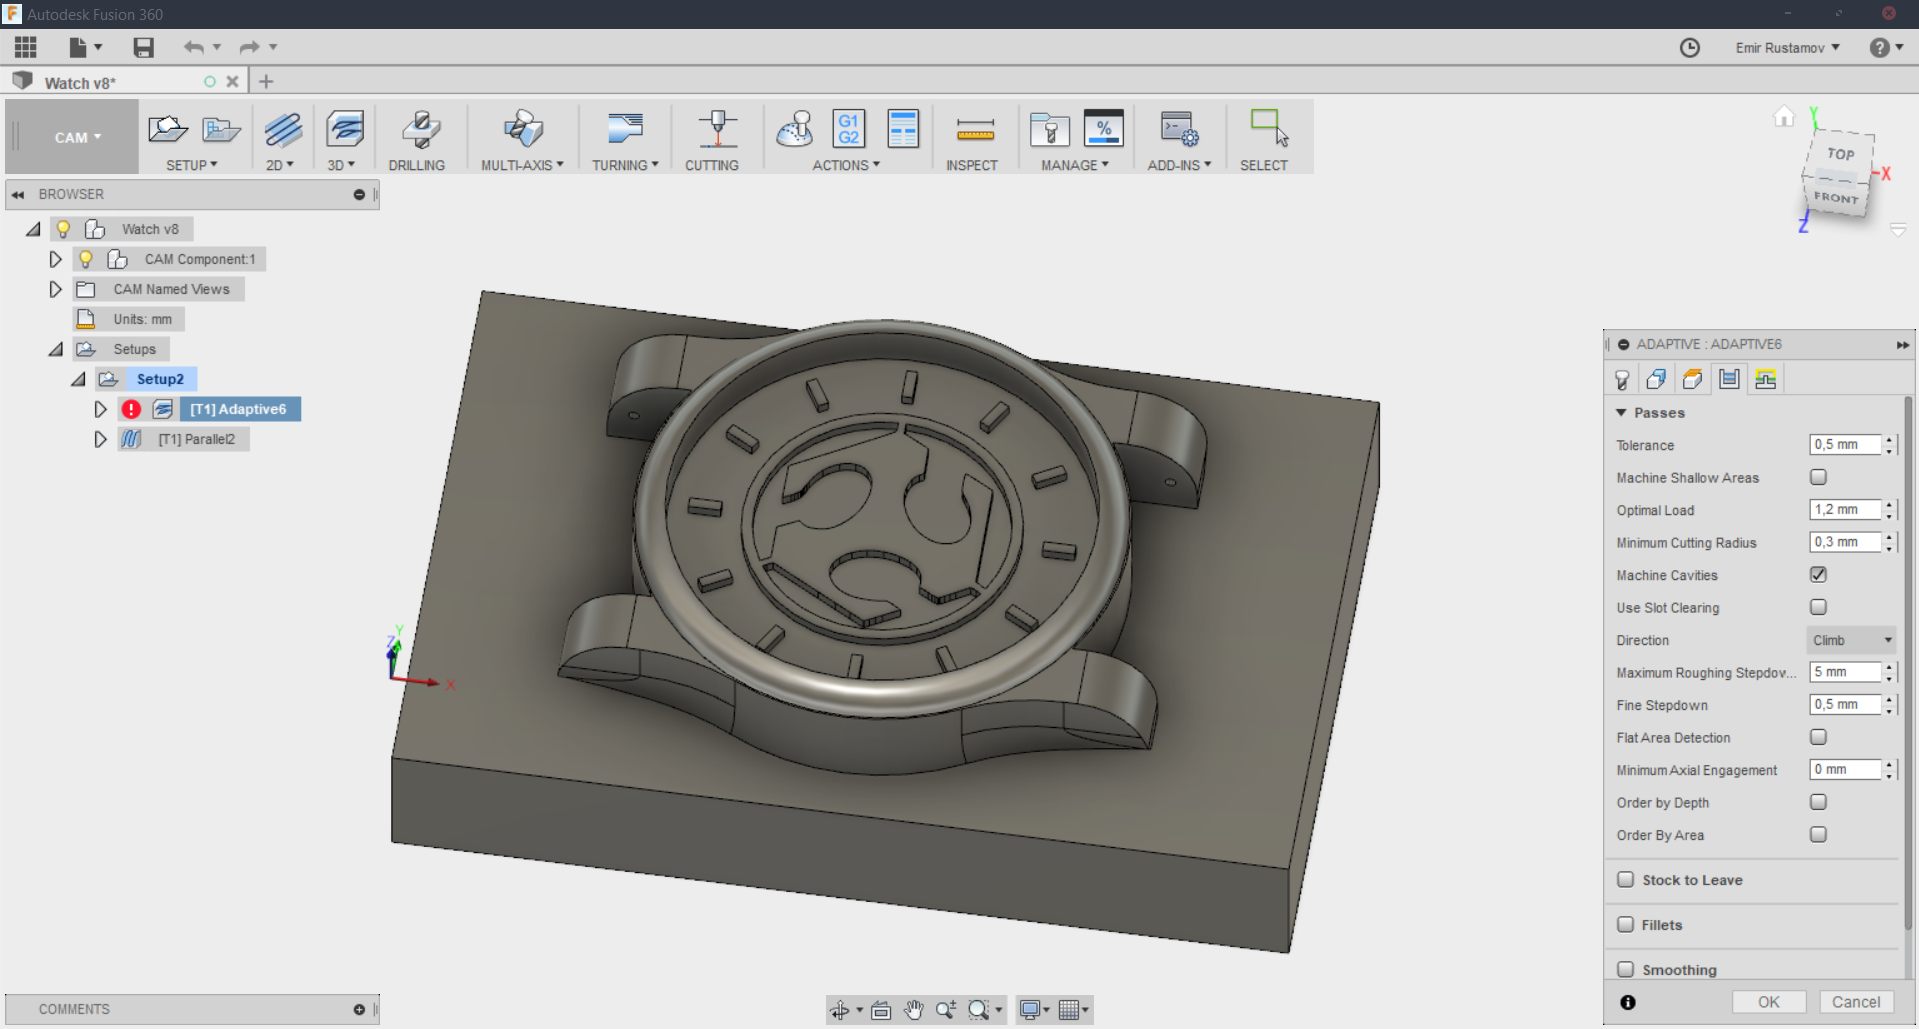
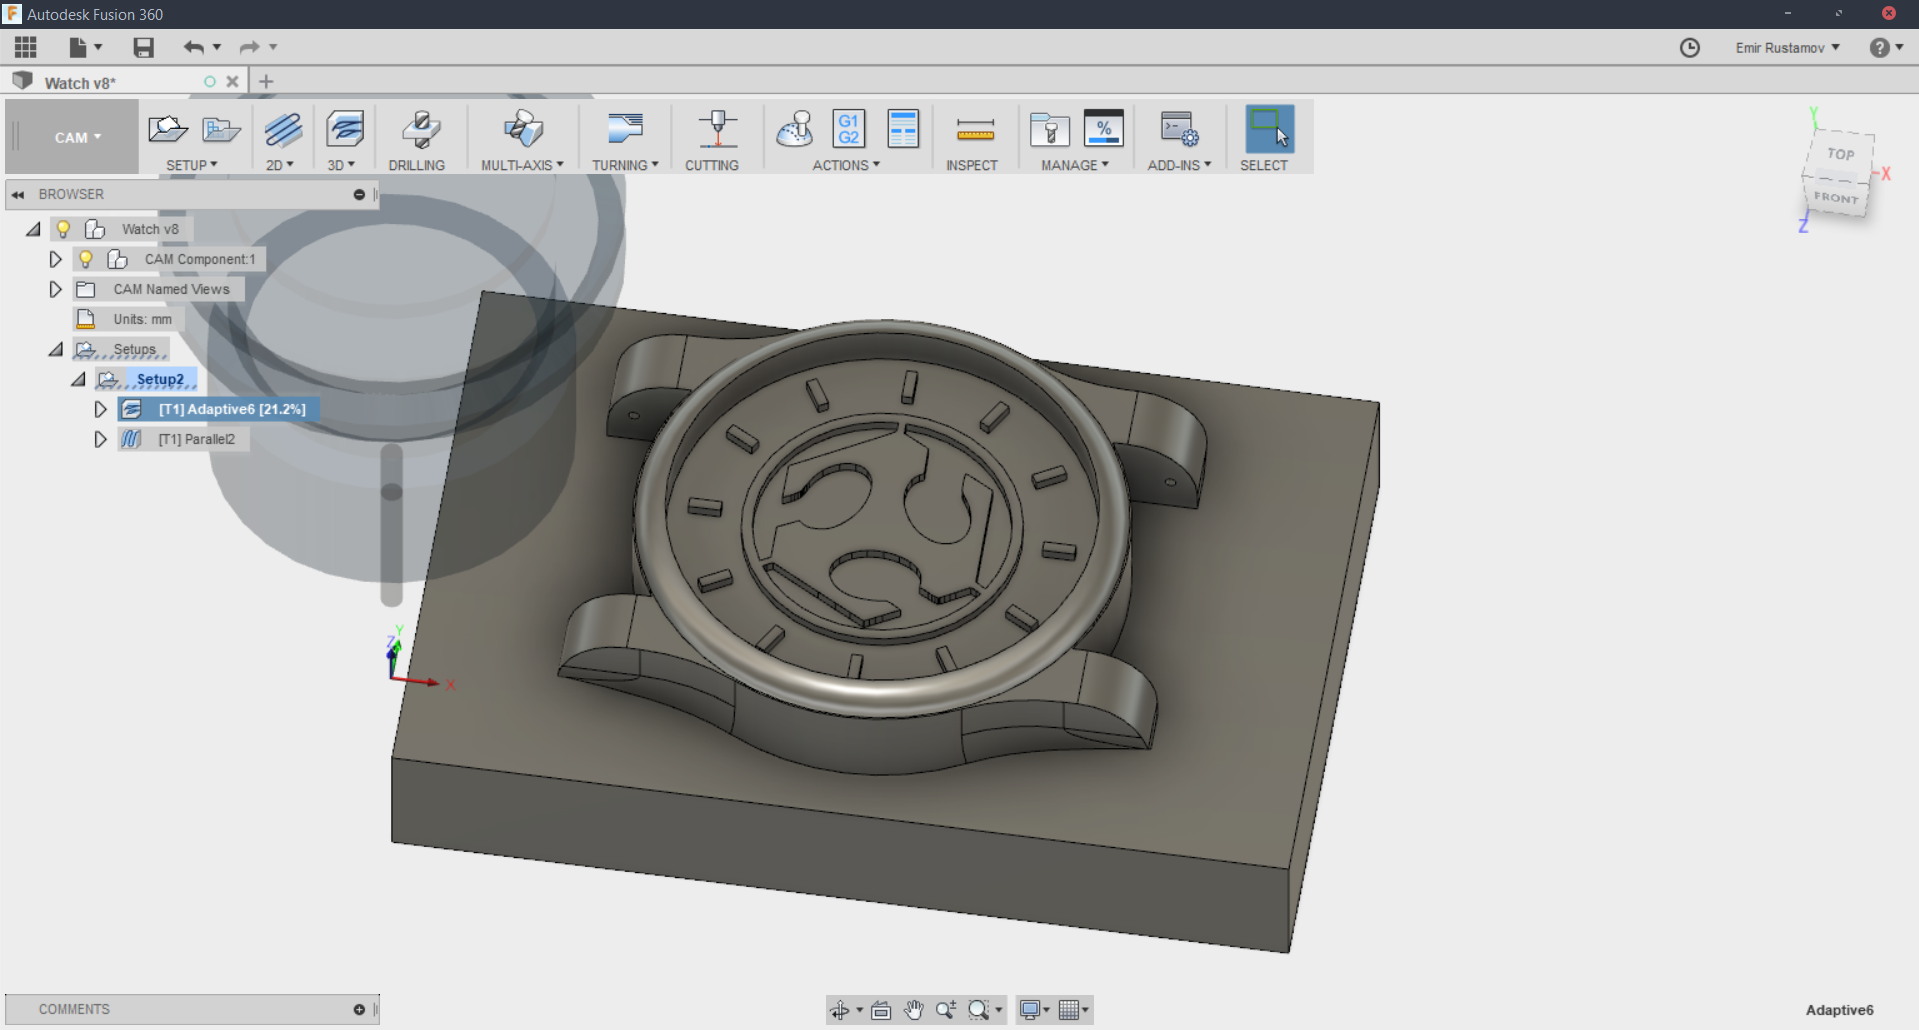
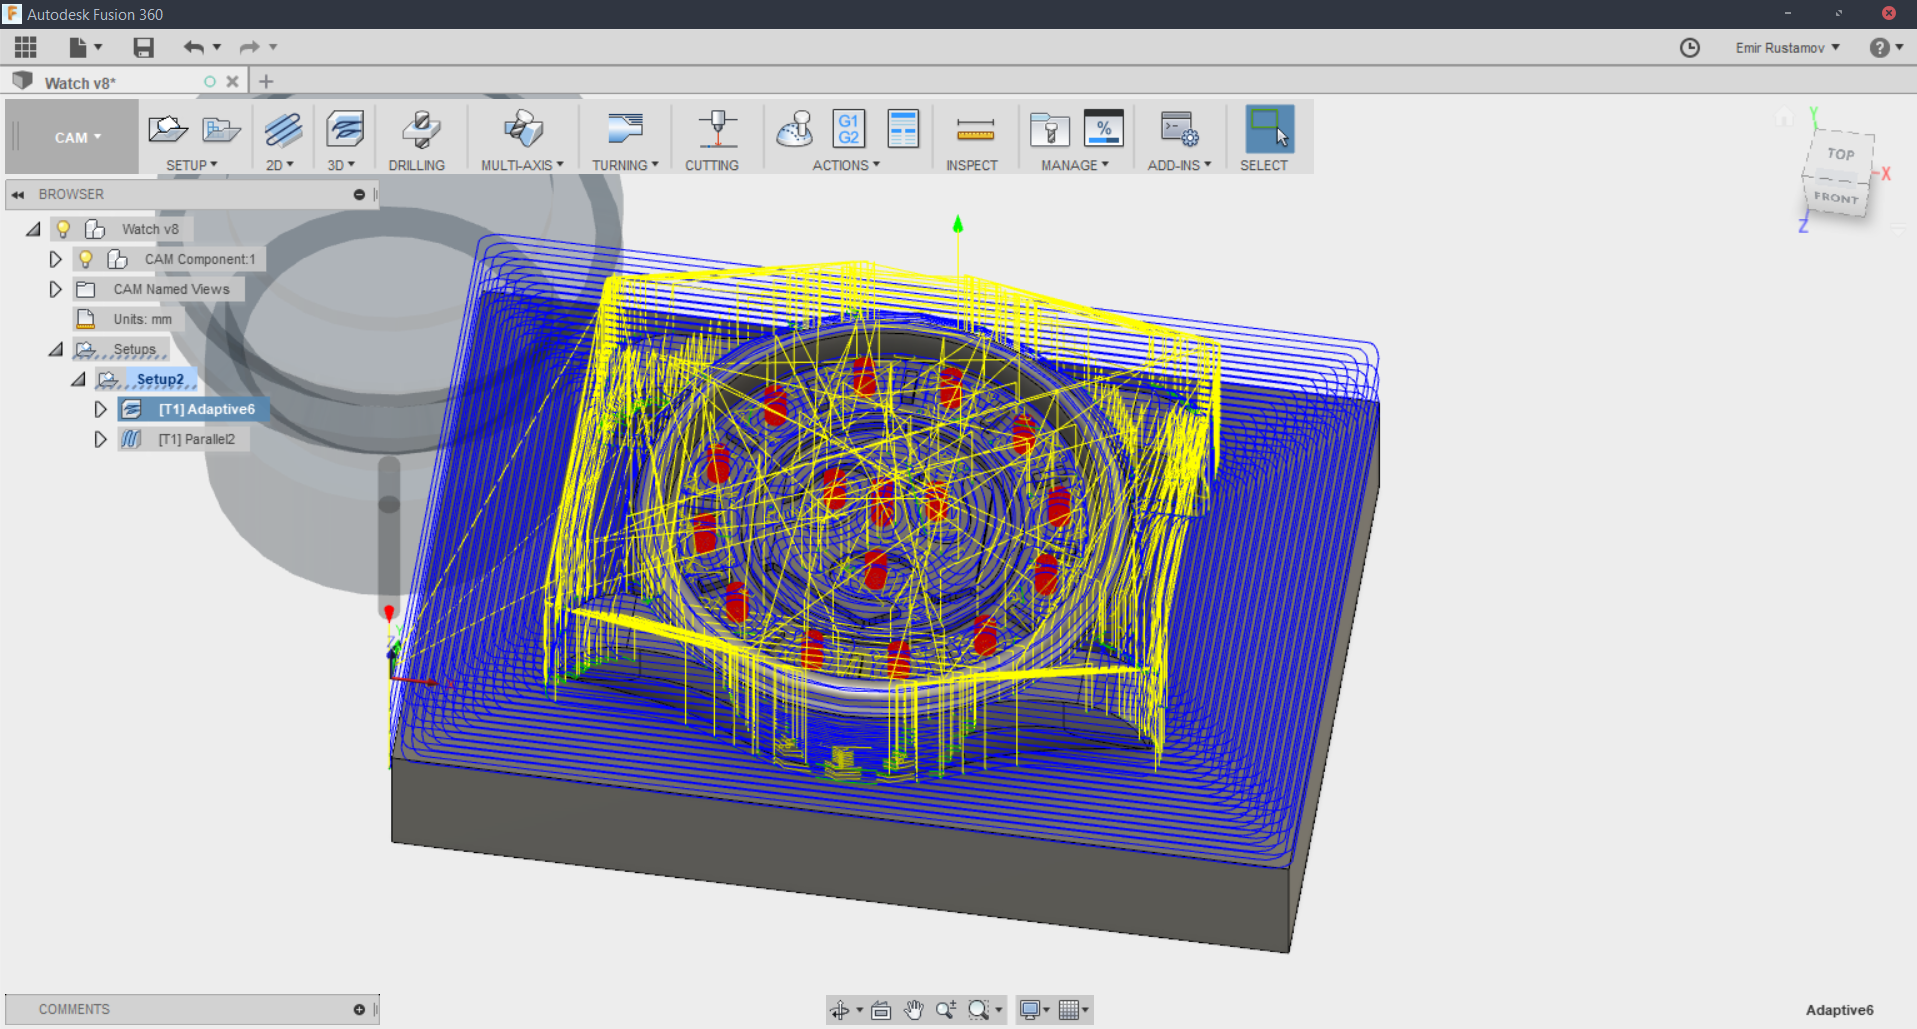
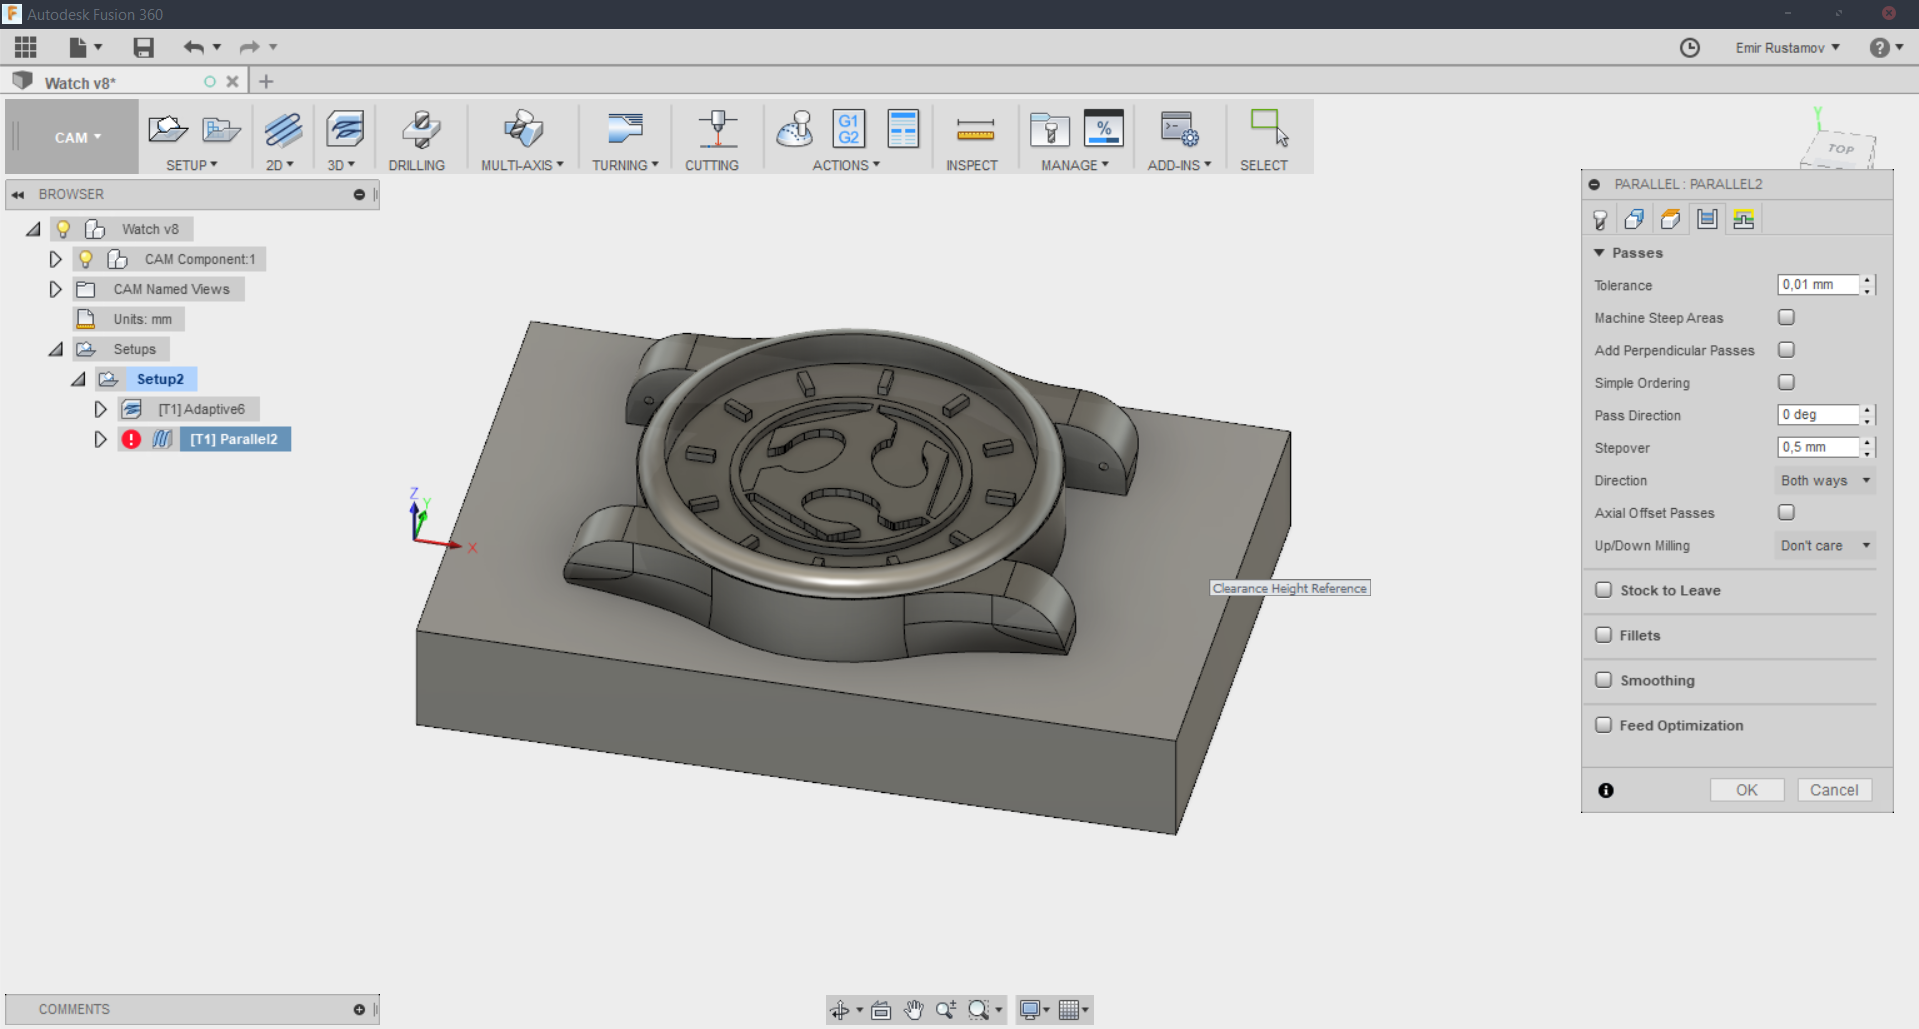
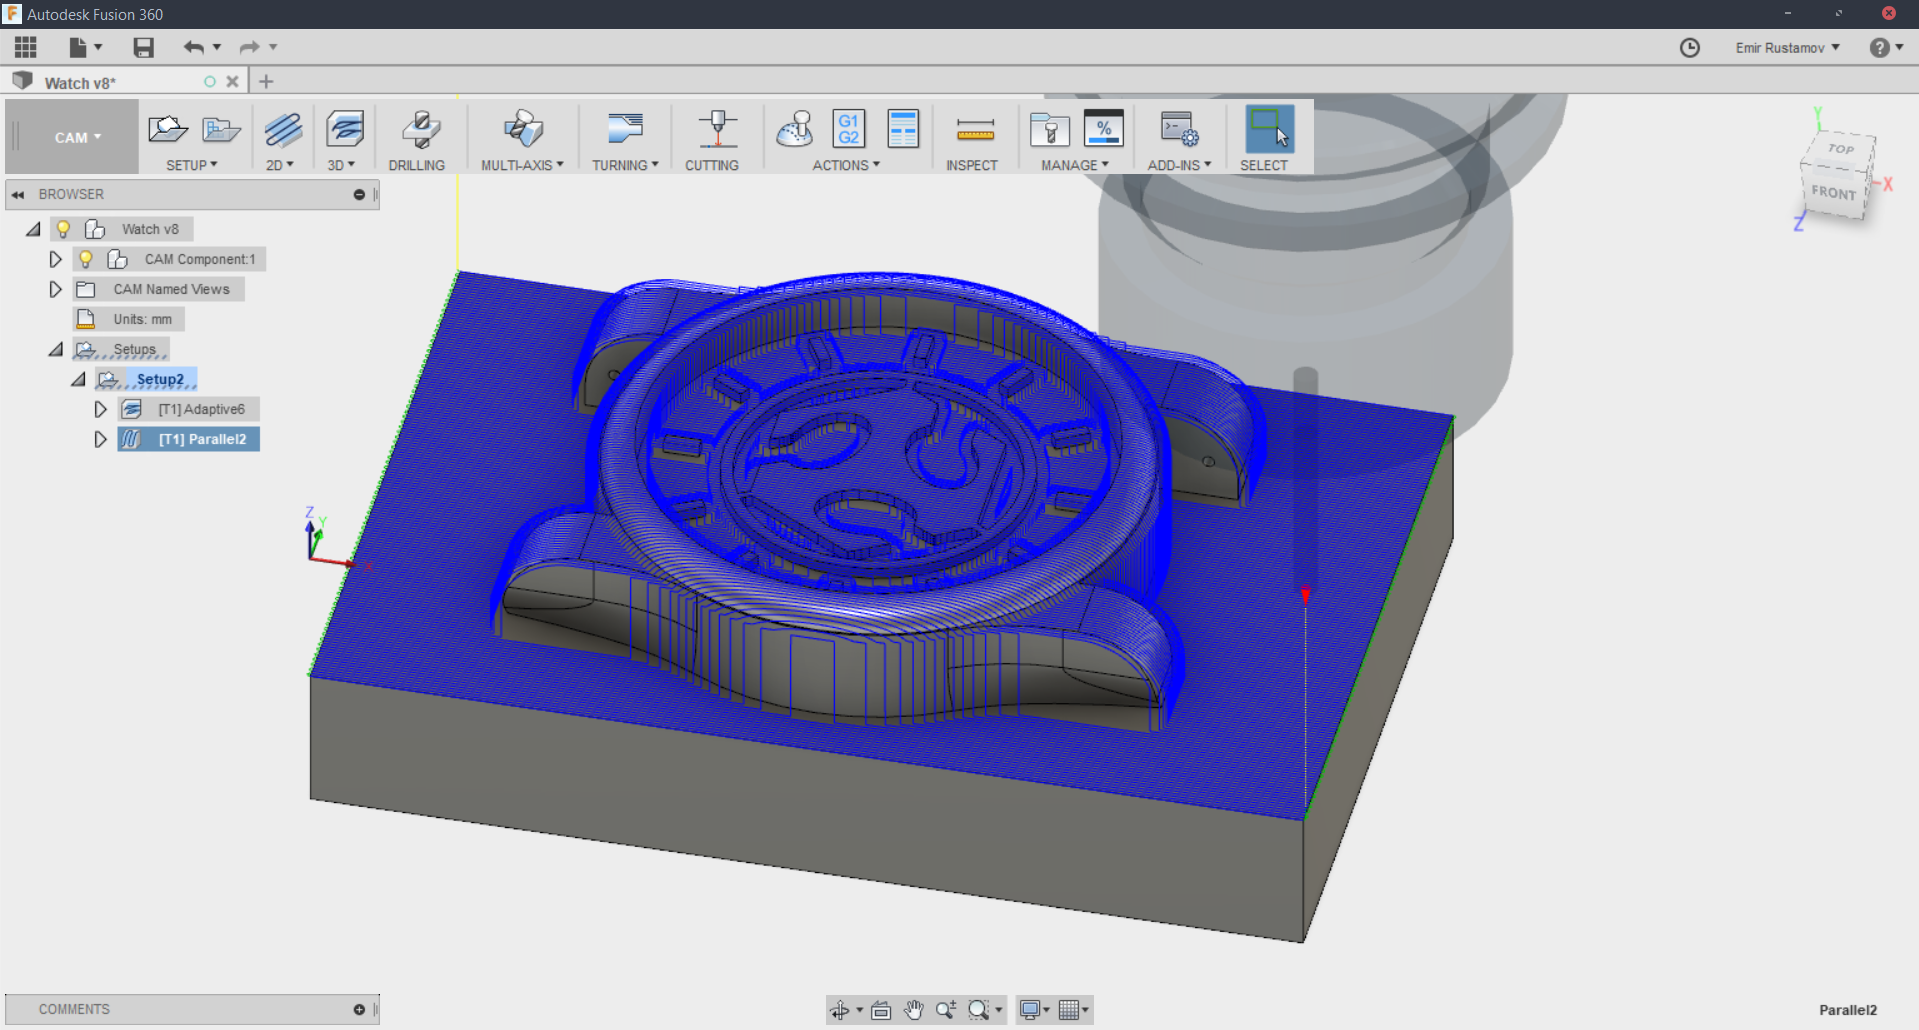
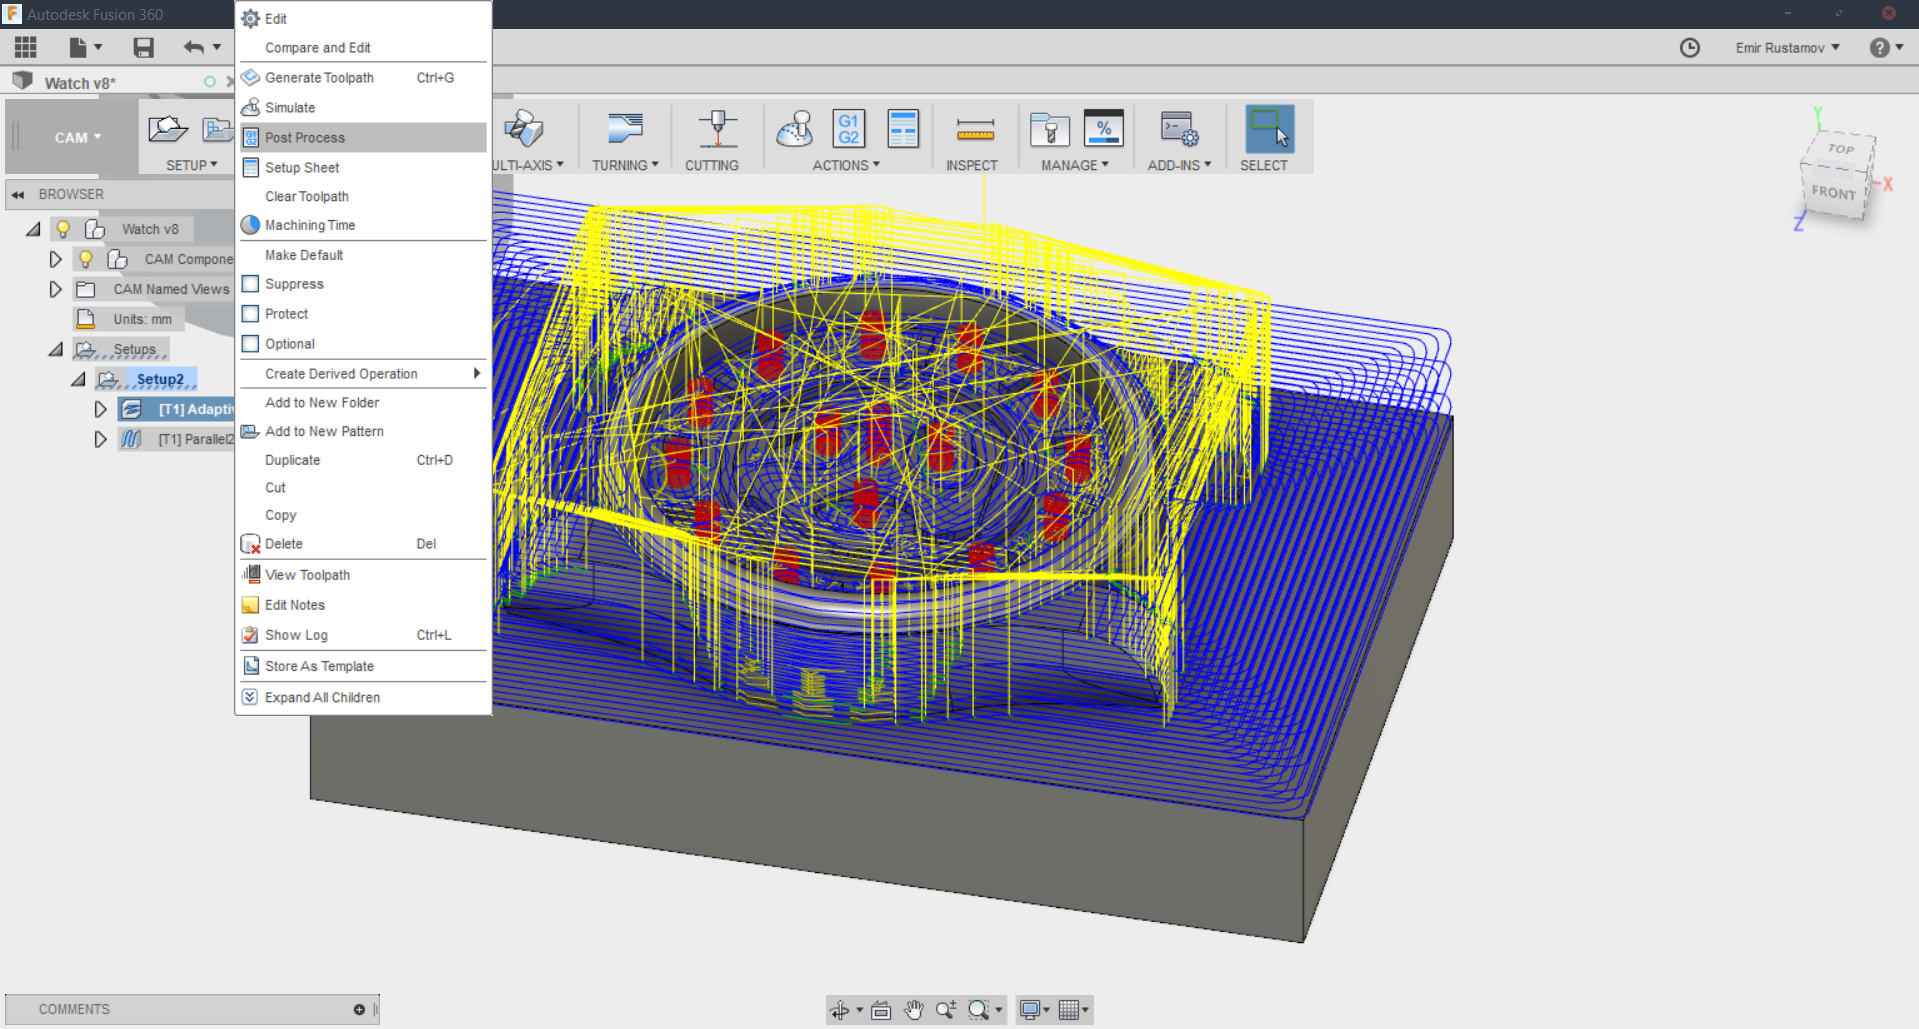
Now we go to the Passes. Because it is only a rough cut -> we are interested in Tolarane, we will set it by 0,5 mm, to be more efficient.After we press "okay", the CAM processor will generate the toolpath. After we the CAM finisches the work, we can see the toolpath of the Machine.
Blue: removing
Yellow: Jumps
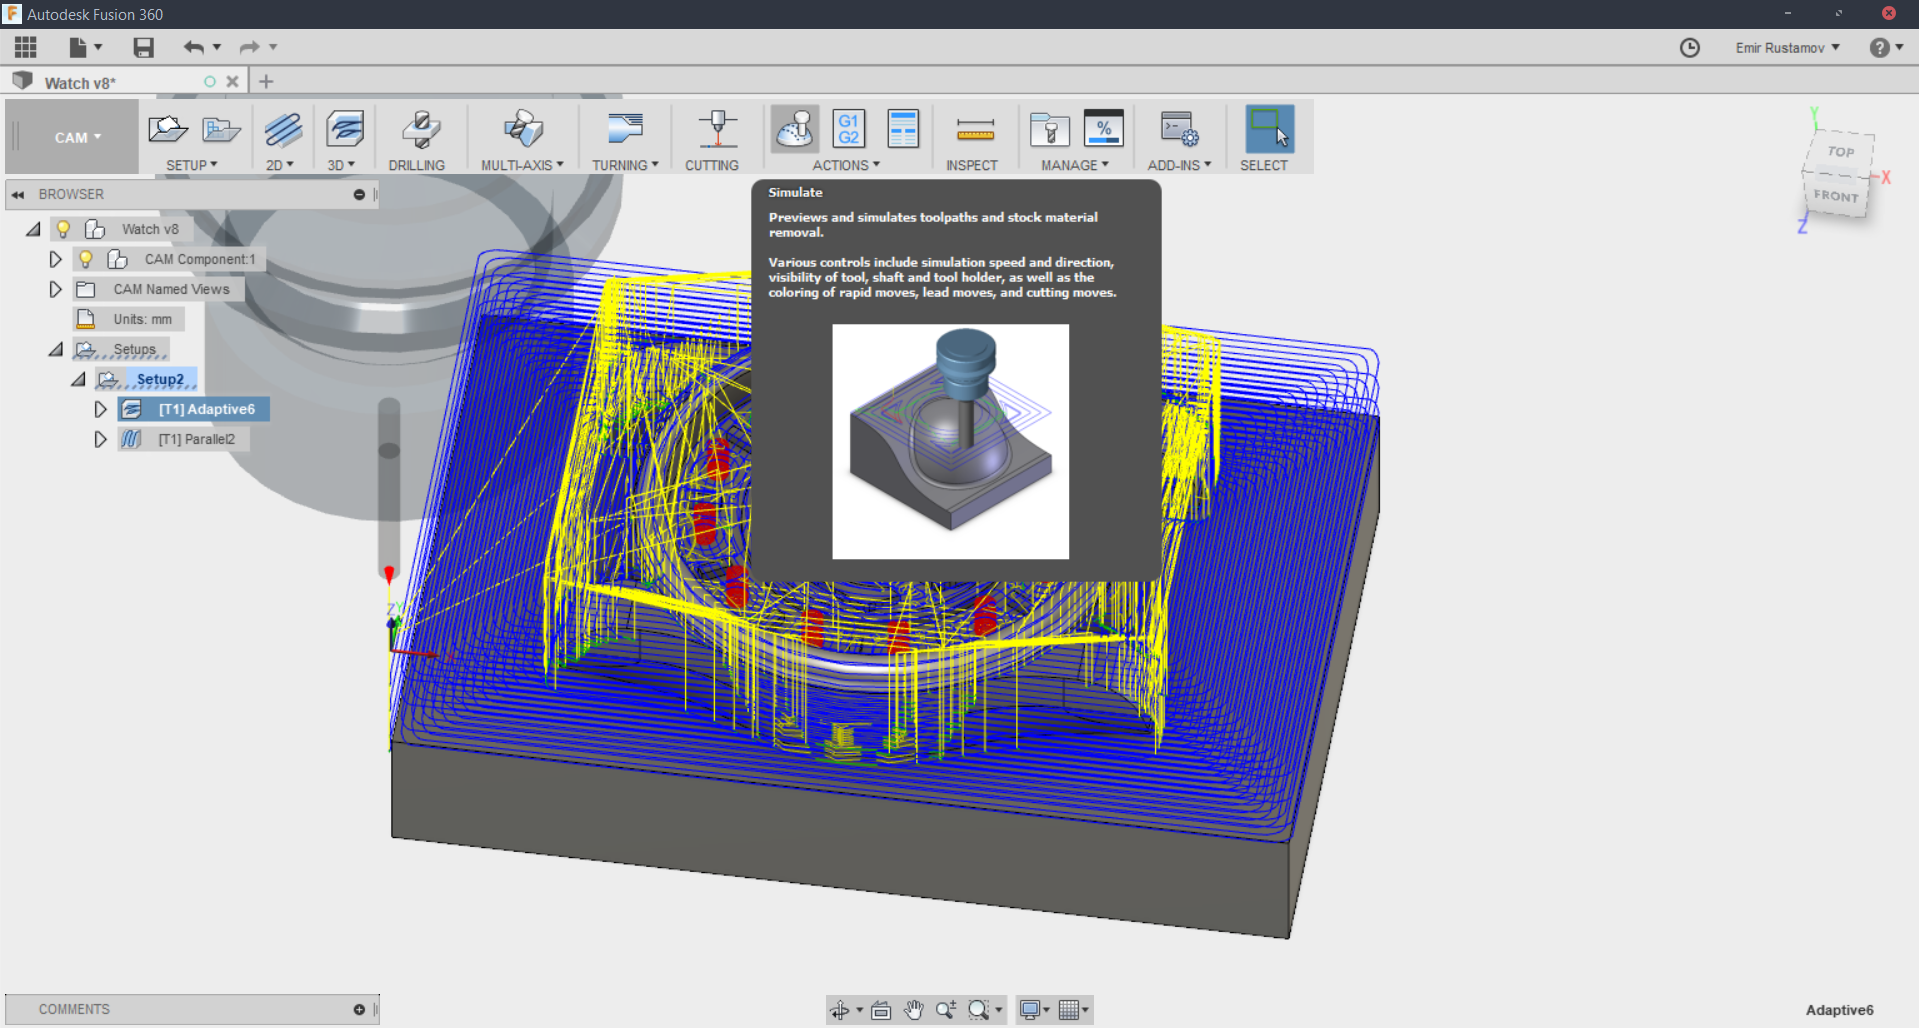
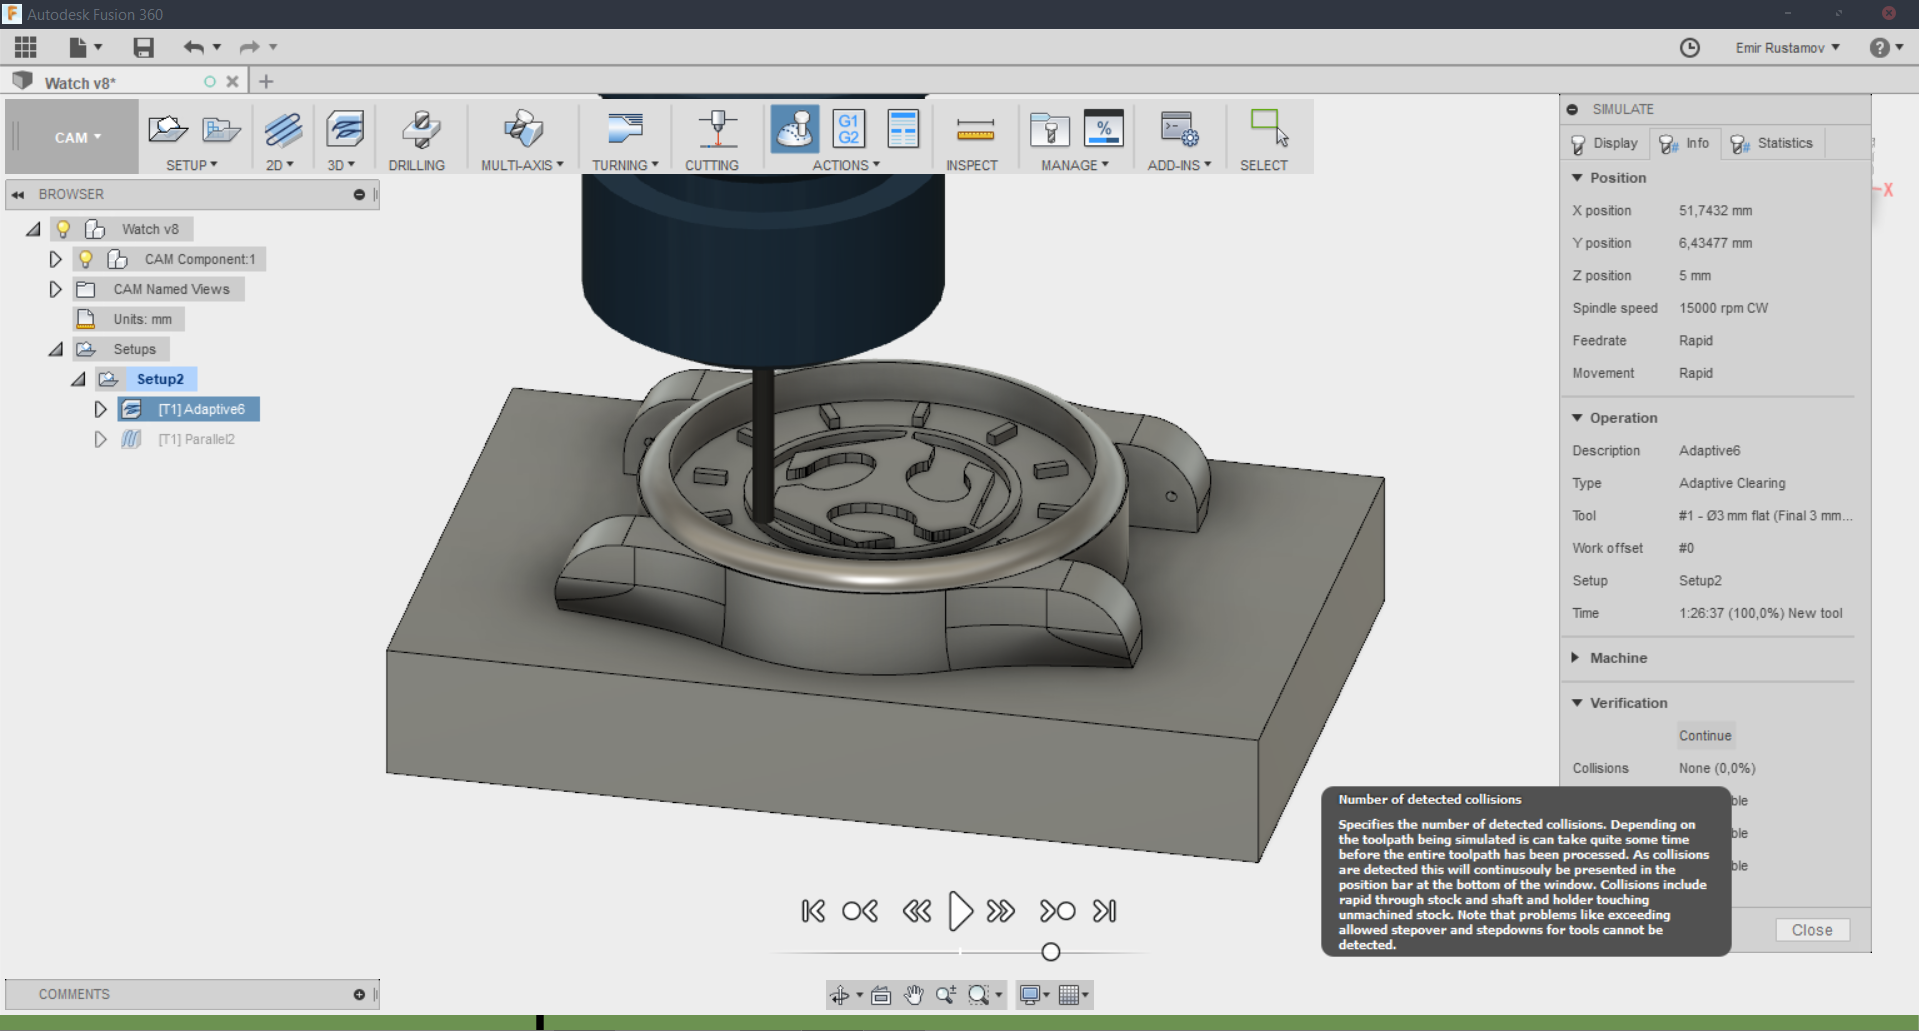
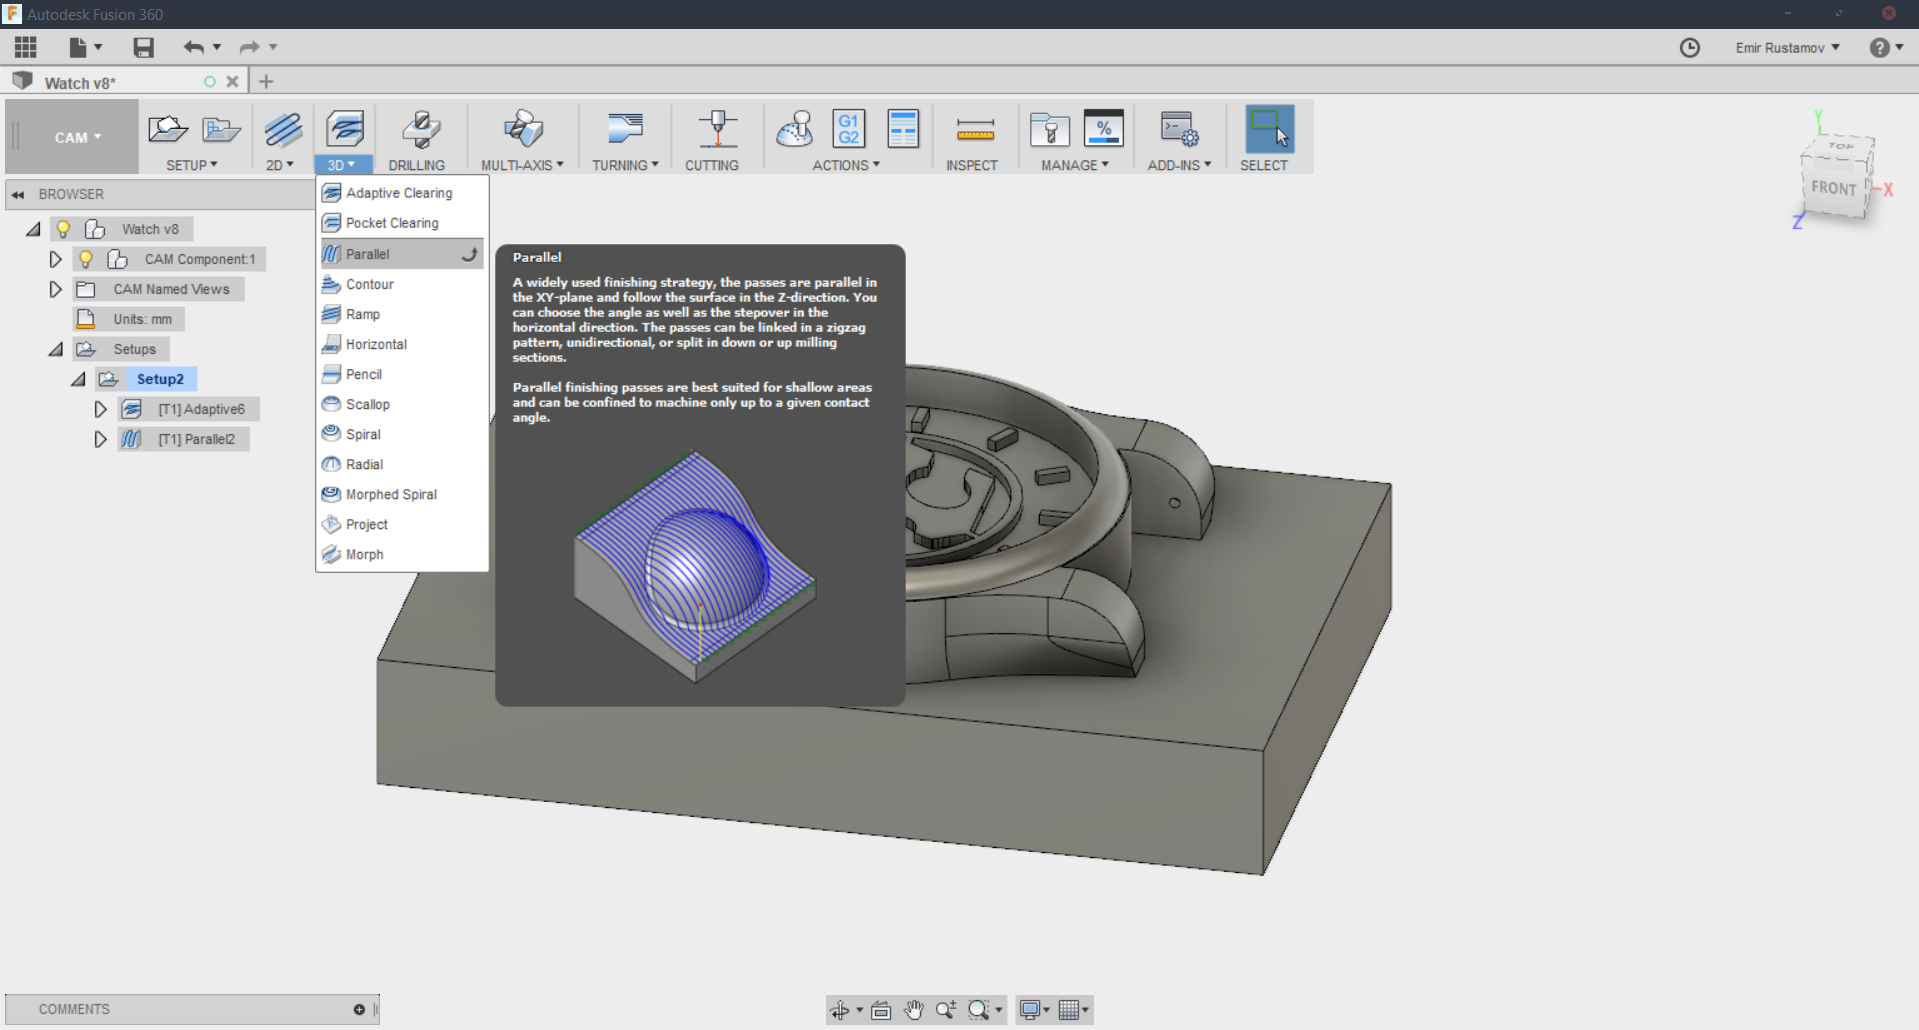
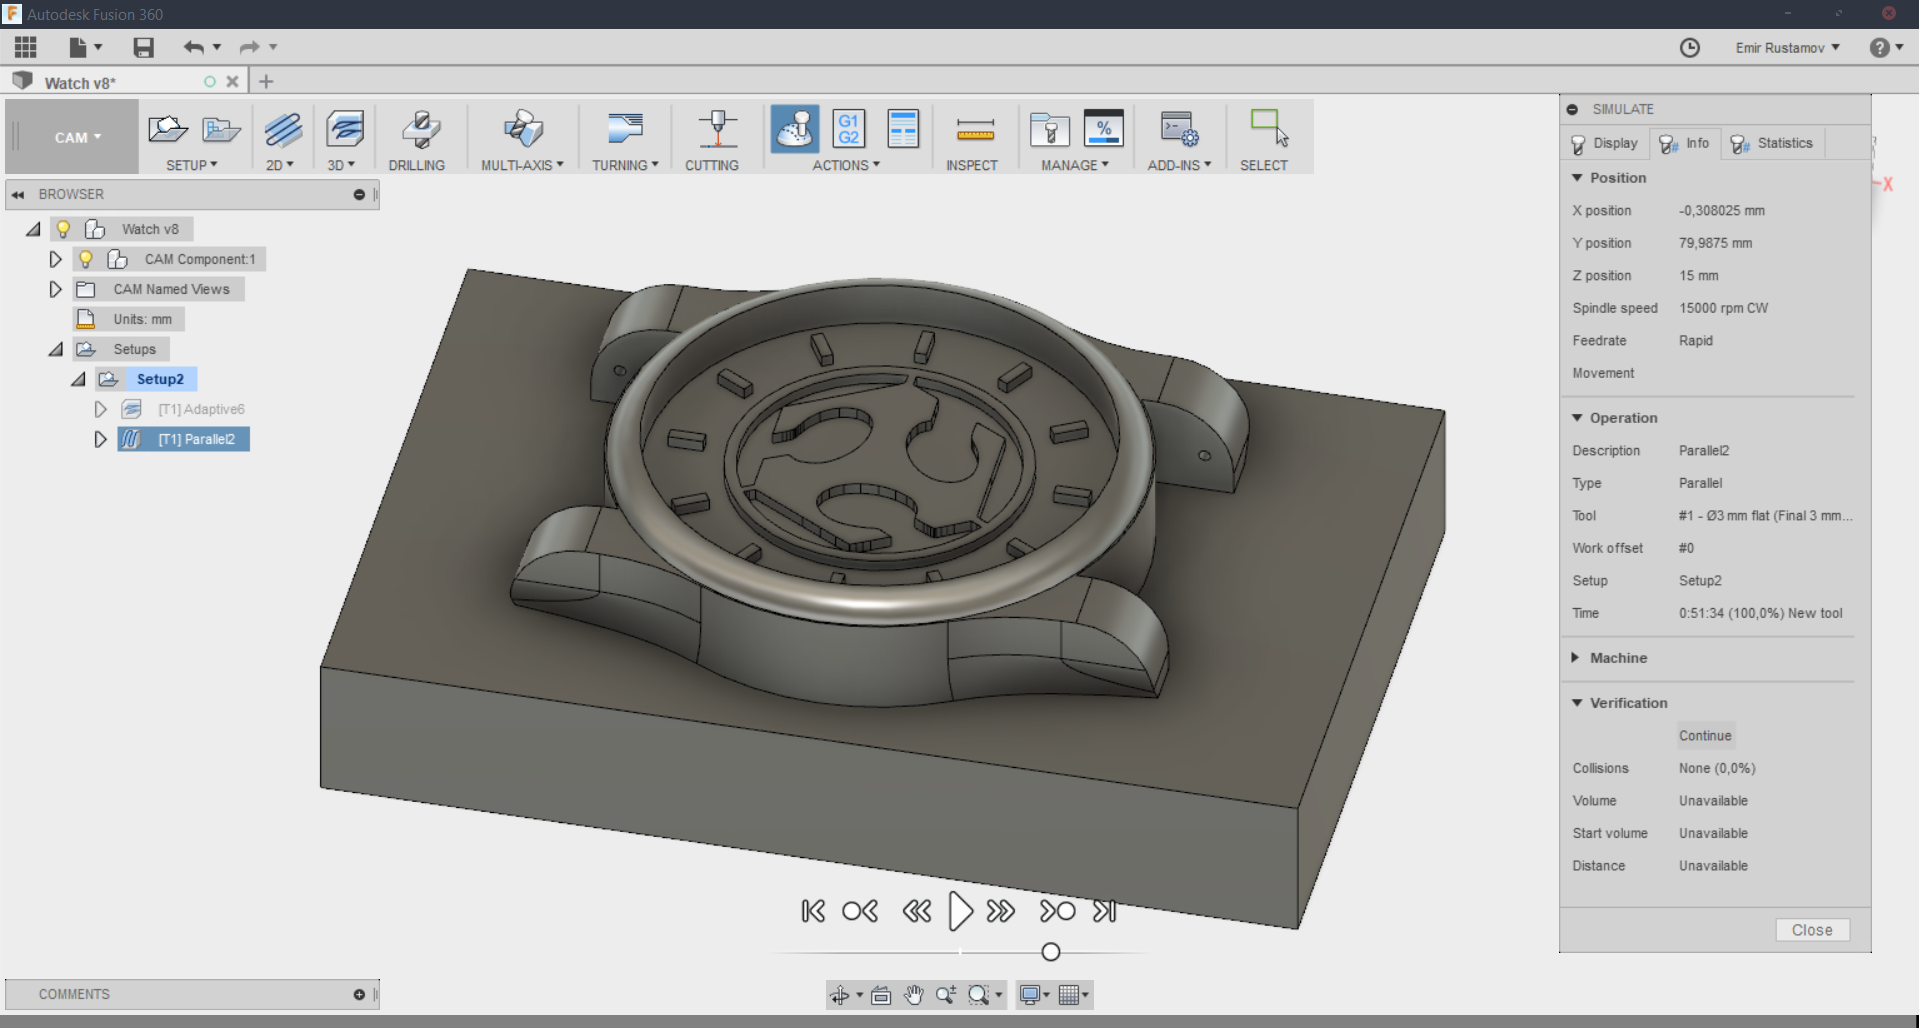
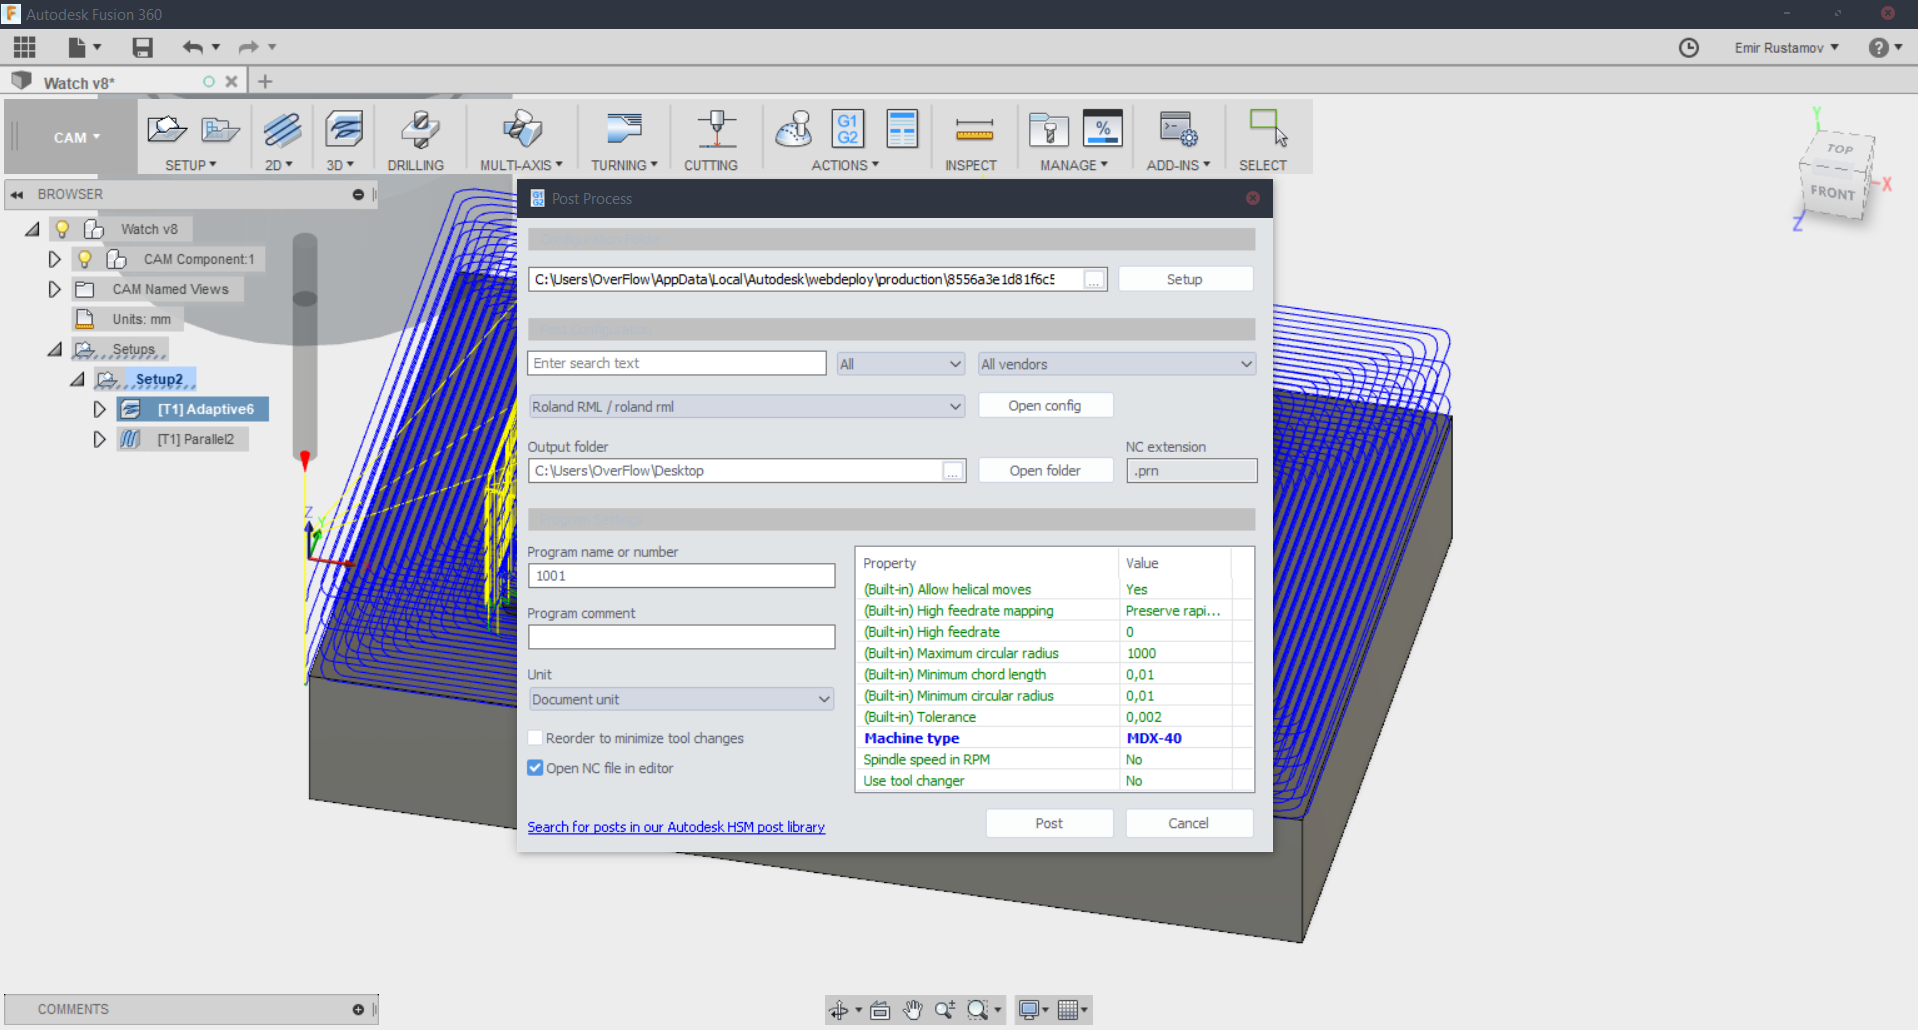
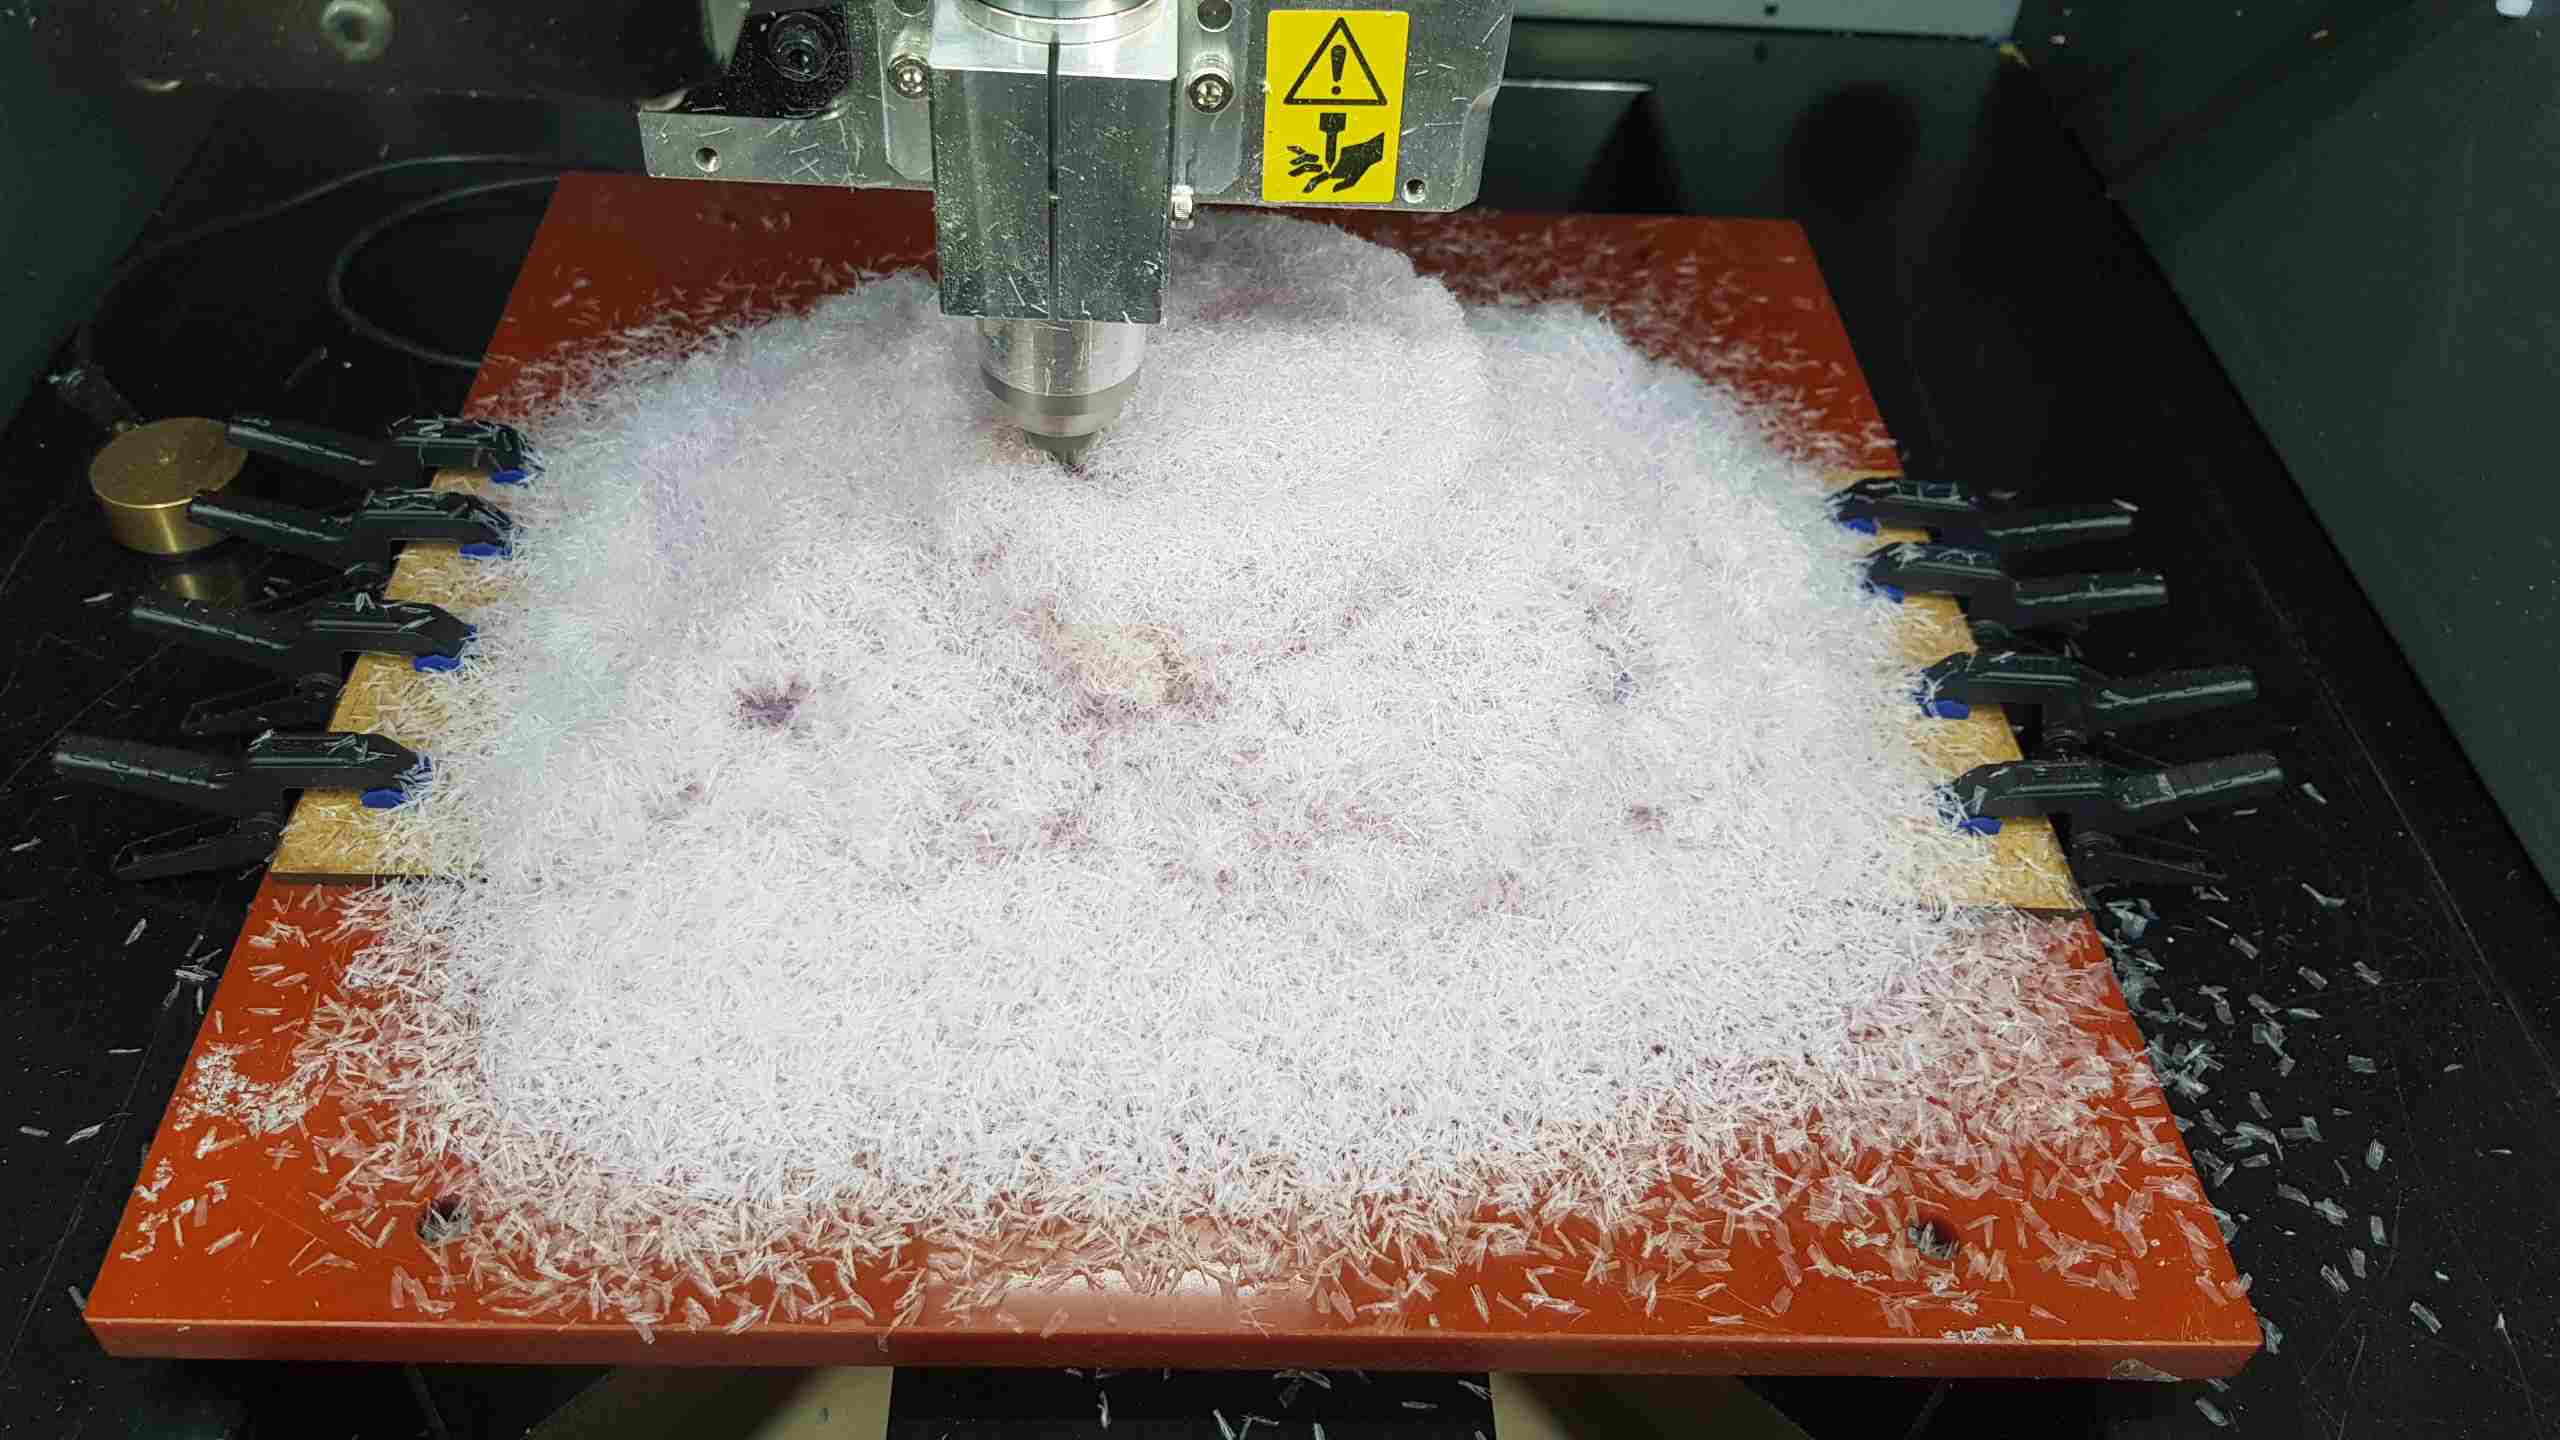
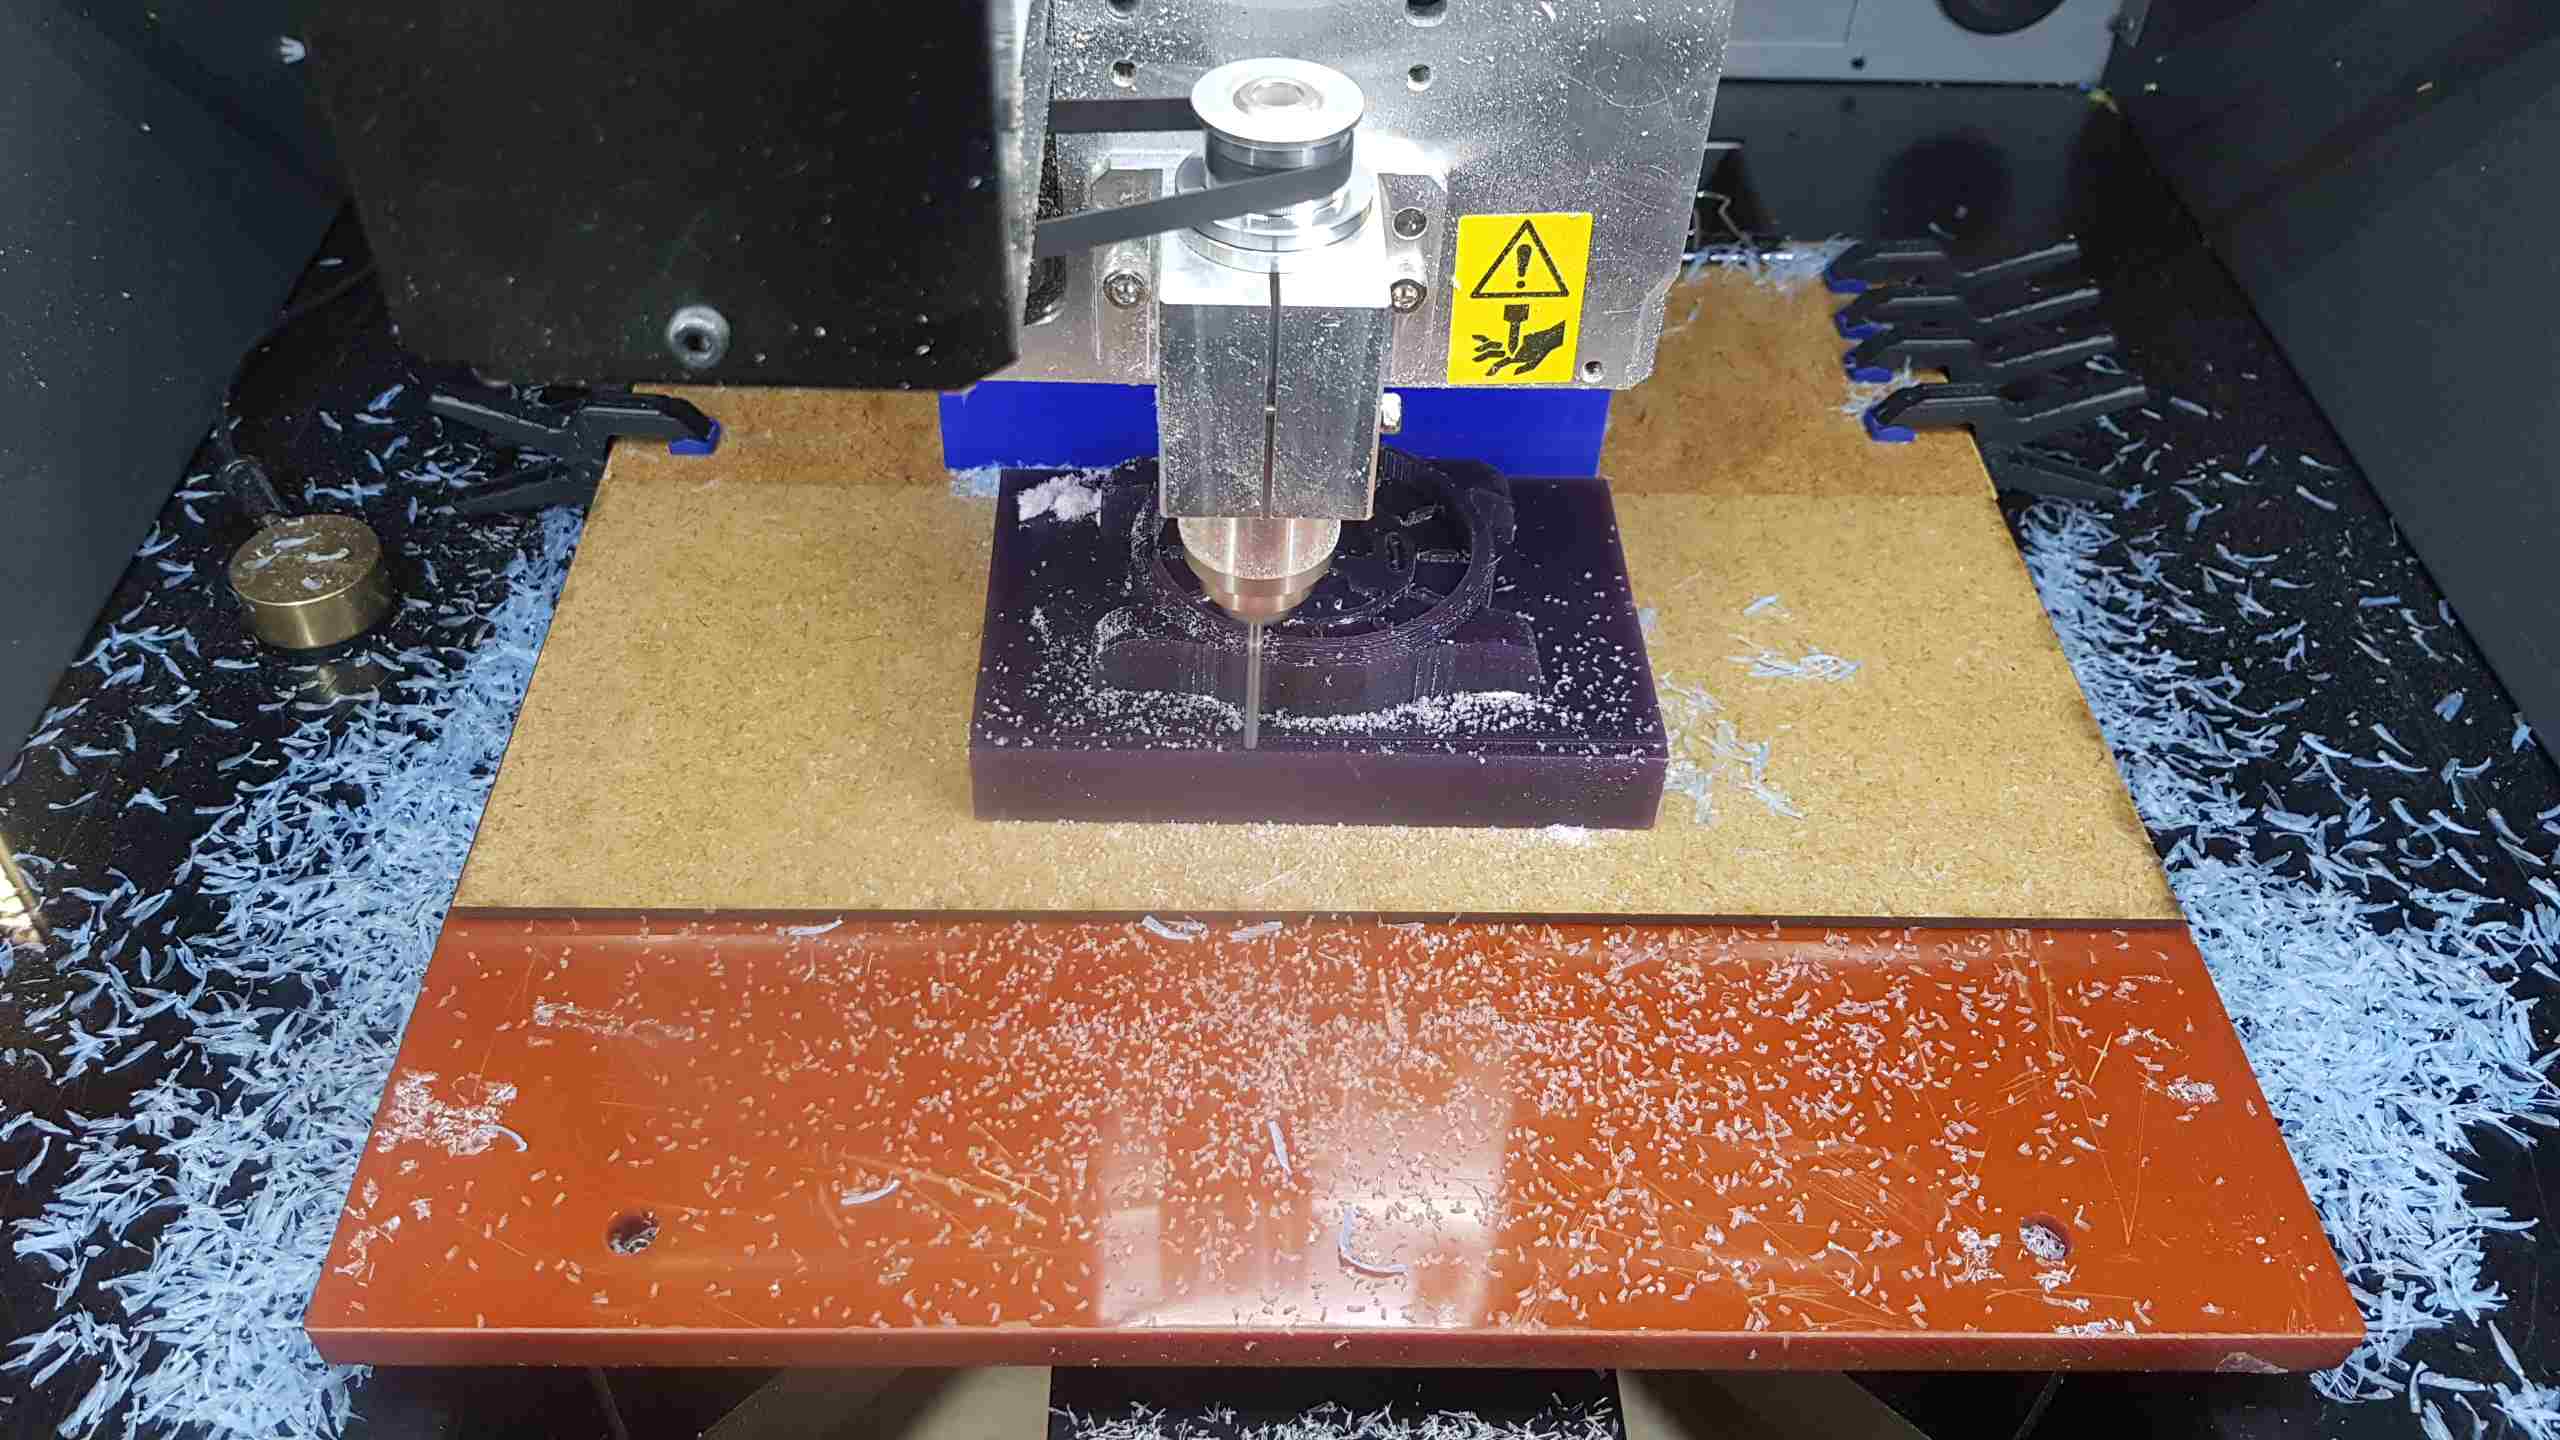
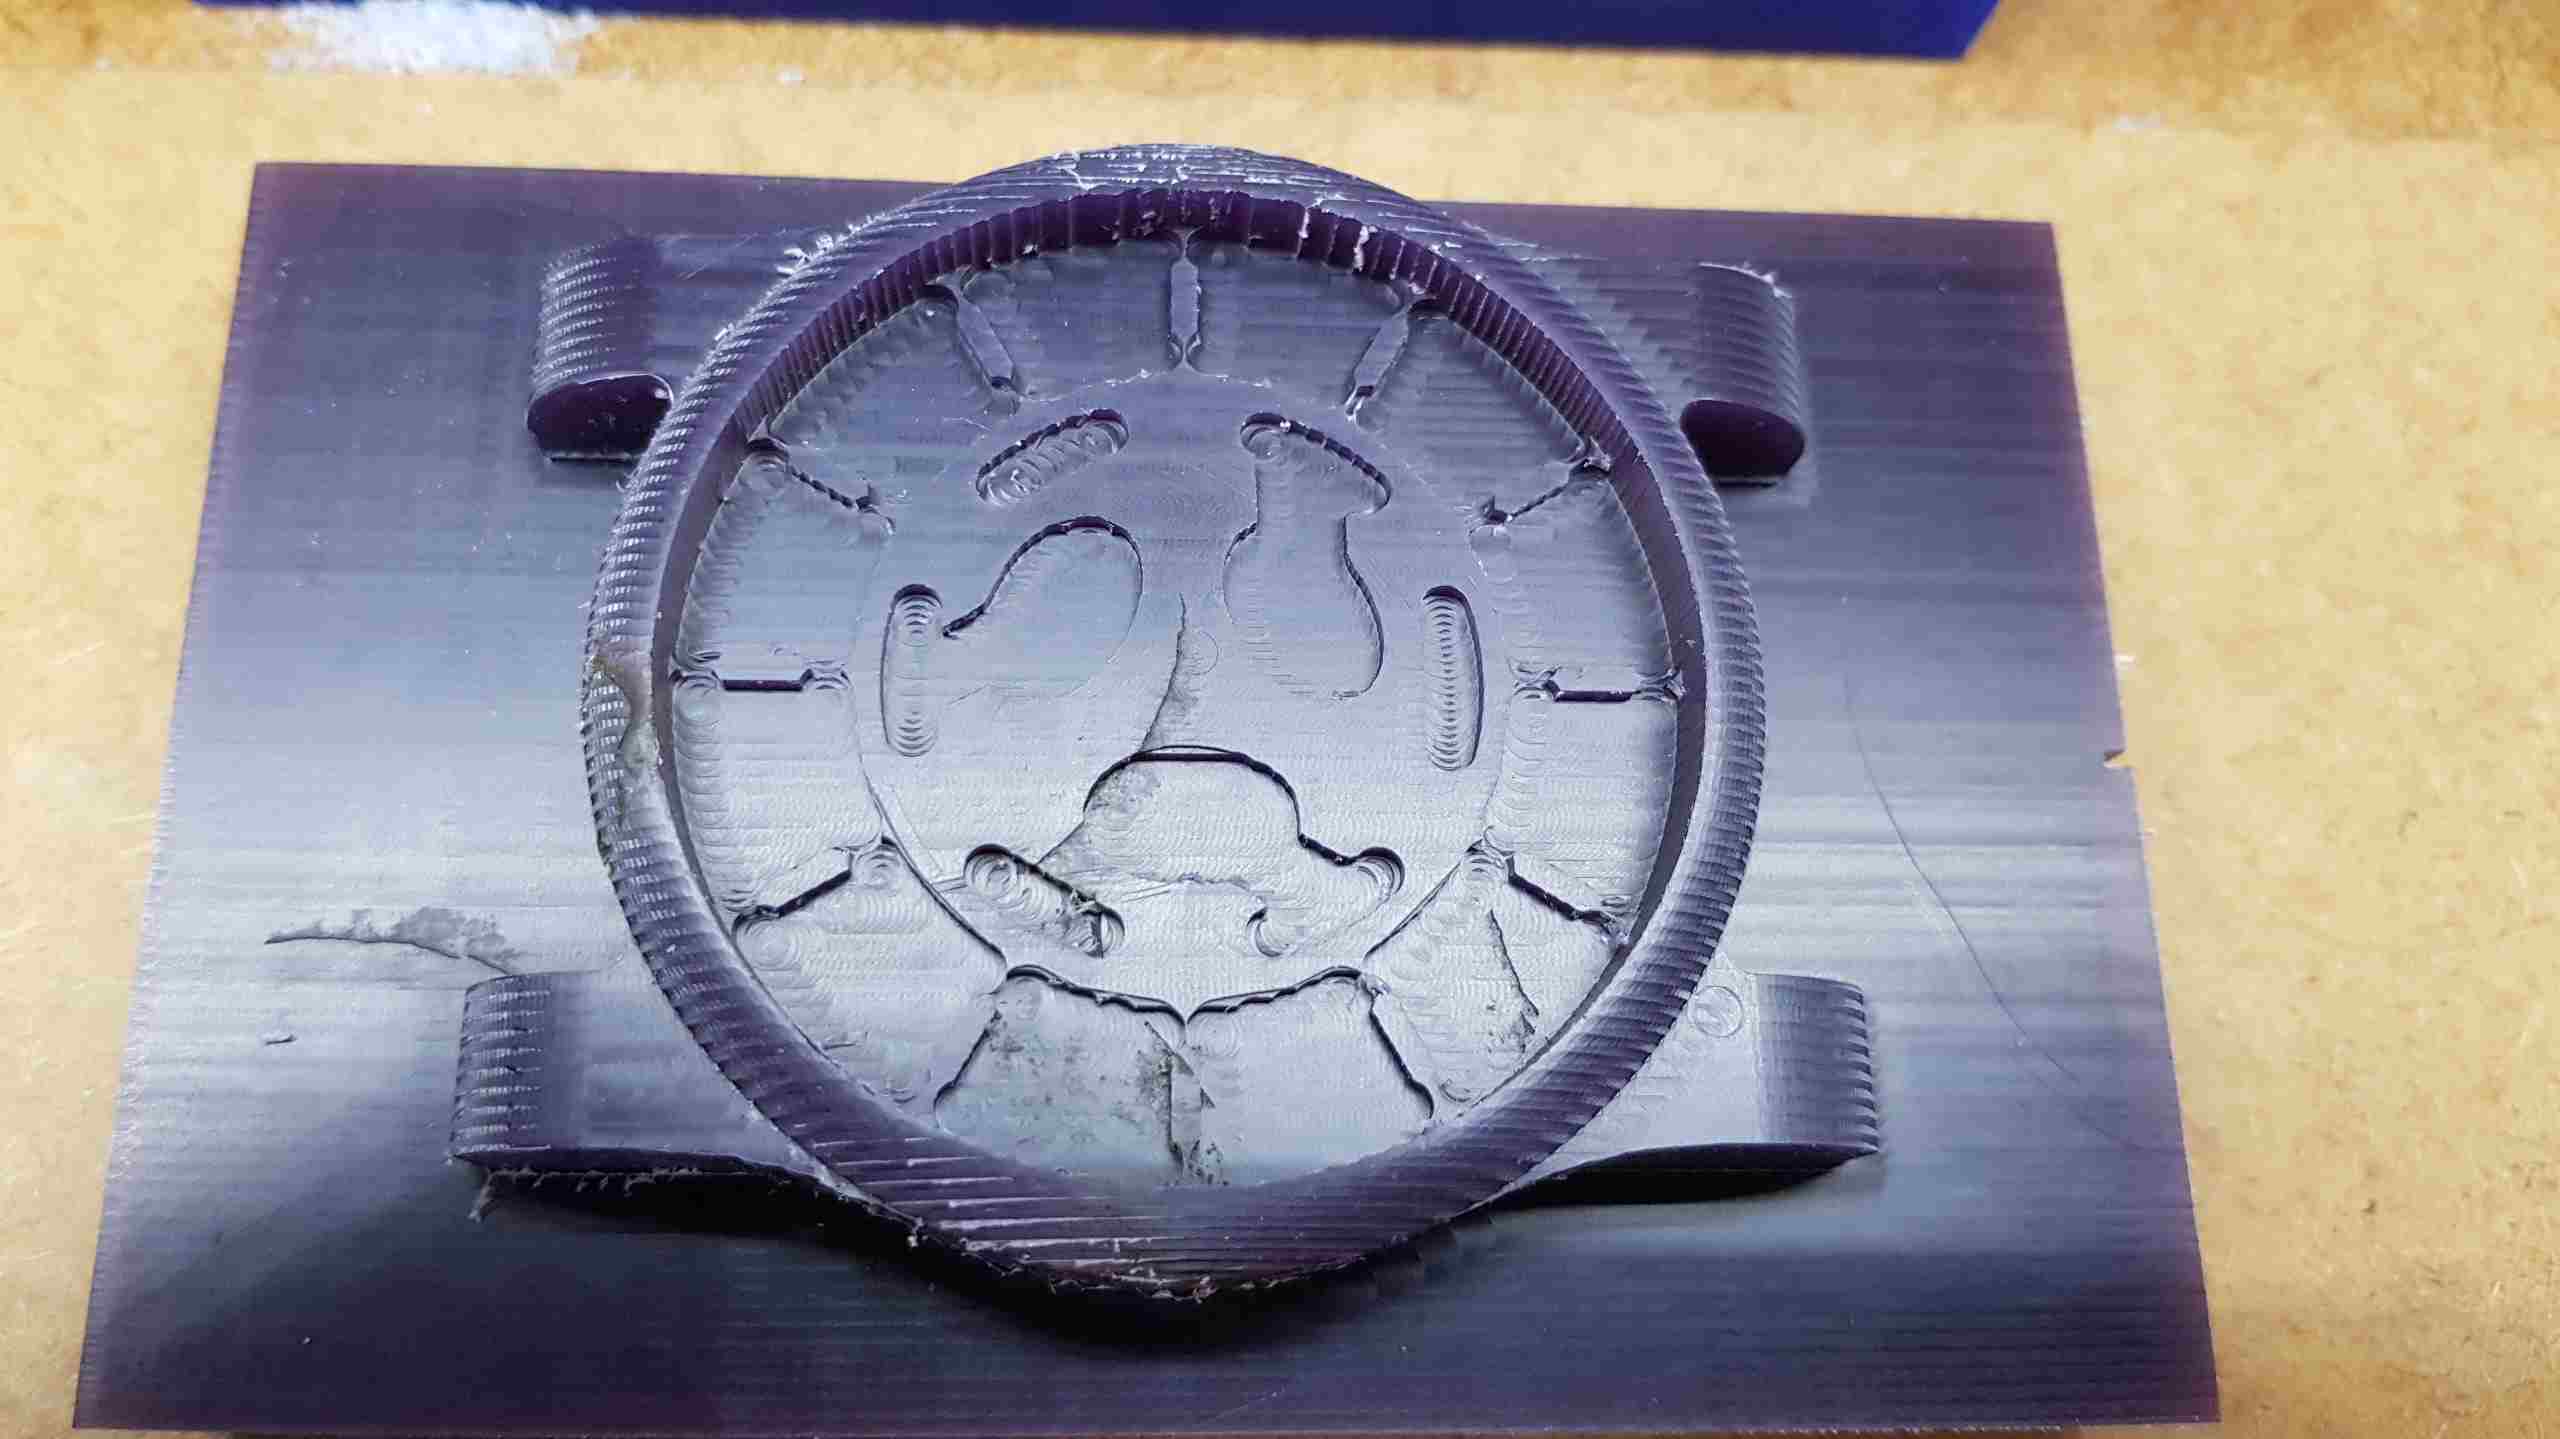
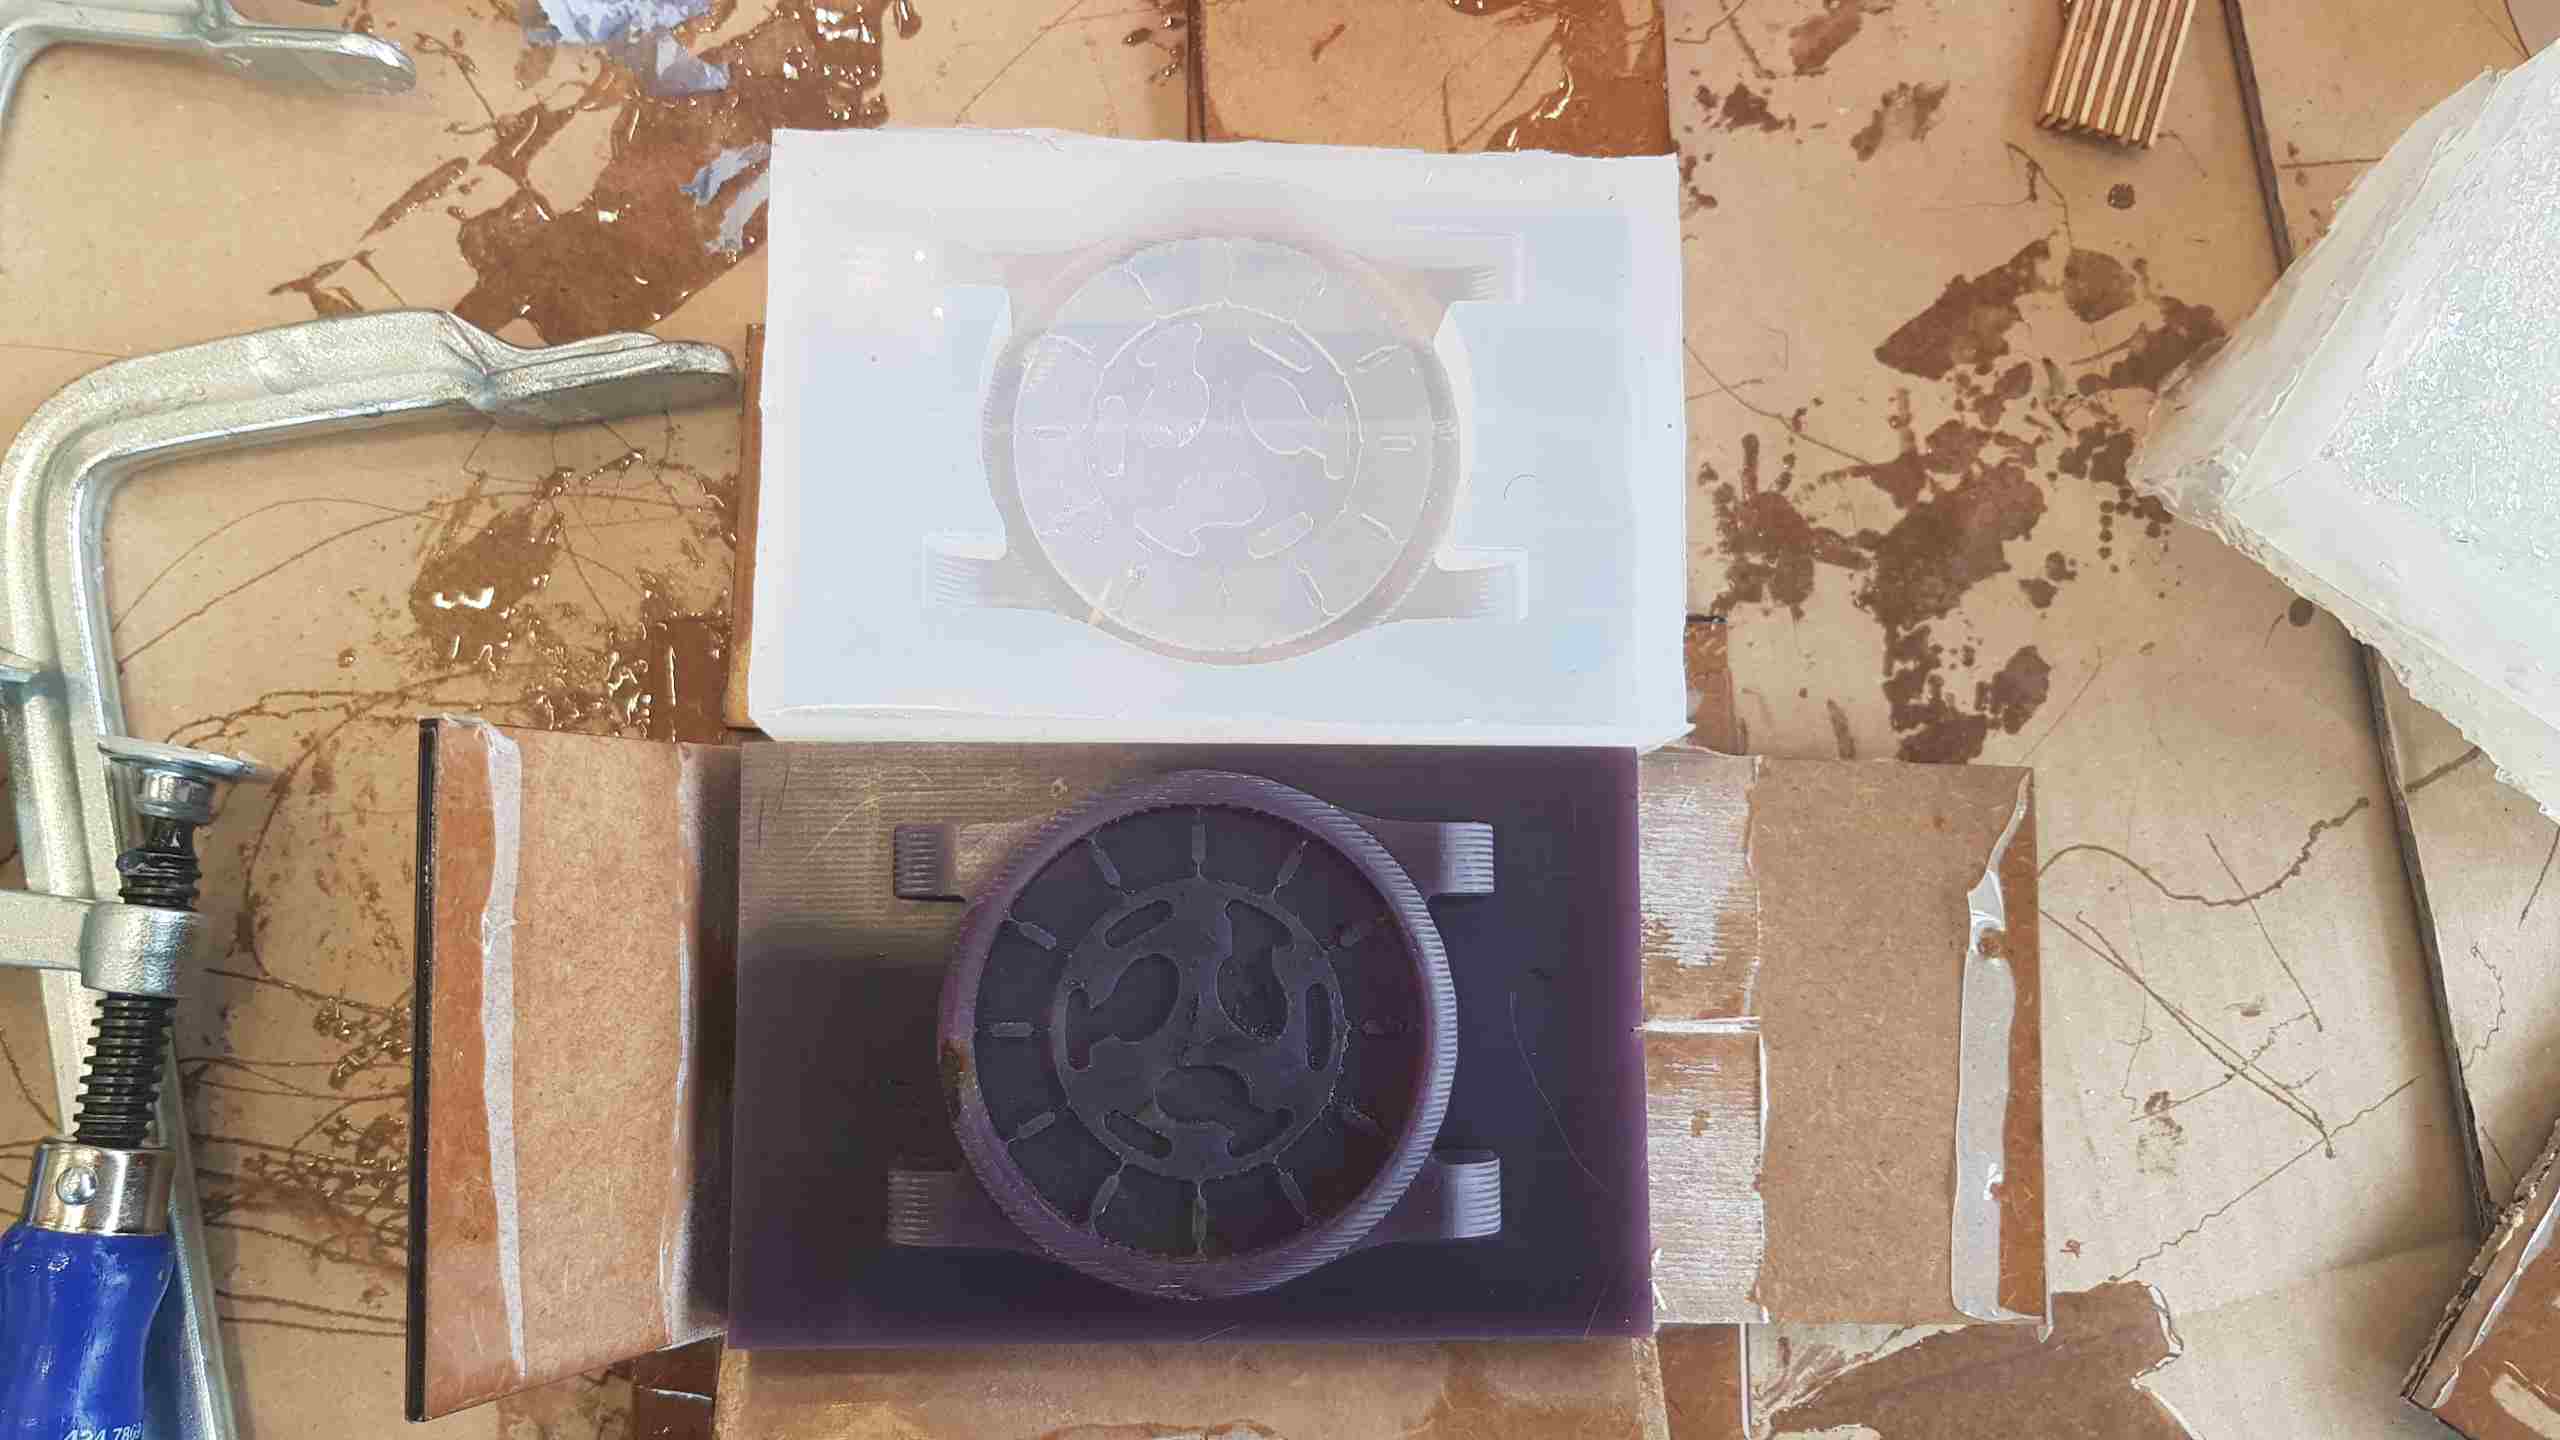
Red: Plunging SimulationNow we can Simulate the job, with the button above.This is how it works. Here you can disable and enable the toolpath and the stock, for the better overviewNow in the simulation, we can see the amout of the collisions, if they exist. It is ofcourse better, if there is no collisions.Parallel ClearingWell I made the finishing cut, with the parallel clearingSettings for the Parallel ClearingBut here we have to change the Tolerance to 0.01mm, because it is a final cut.Here how the parallel clearing looks like after the generated toolpathAgain, it is important to have no collisions.After we have finisched will all this settings, we have to post the process.Here we have to choose the proper Machine and Machine type.Milling ProcessAfter some timeAnd now the finishing CutDone Millig ProcessesMoldingOkay, now we have to make a case for our stock, so that me can pour the proper liquid, and be sure that are no leaks.
/*
          Well for the mold, I have used Proto Sil.

          The mixing ratio: 100A to 10B1

          Pot Life: 80 min

          Vulcanisation: 24 Hours.
          */
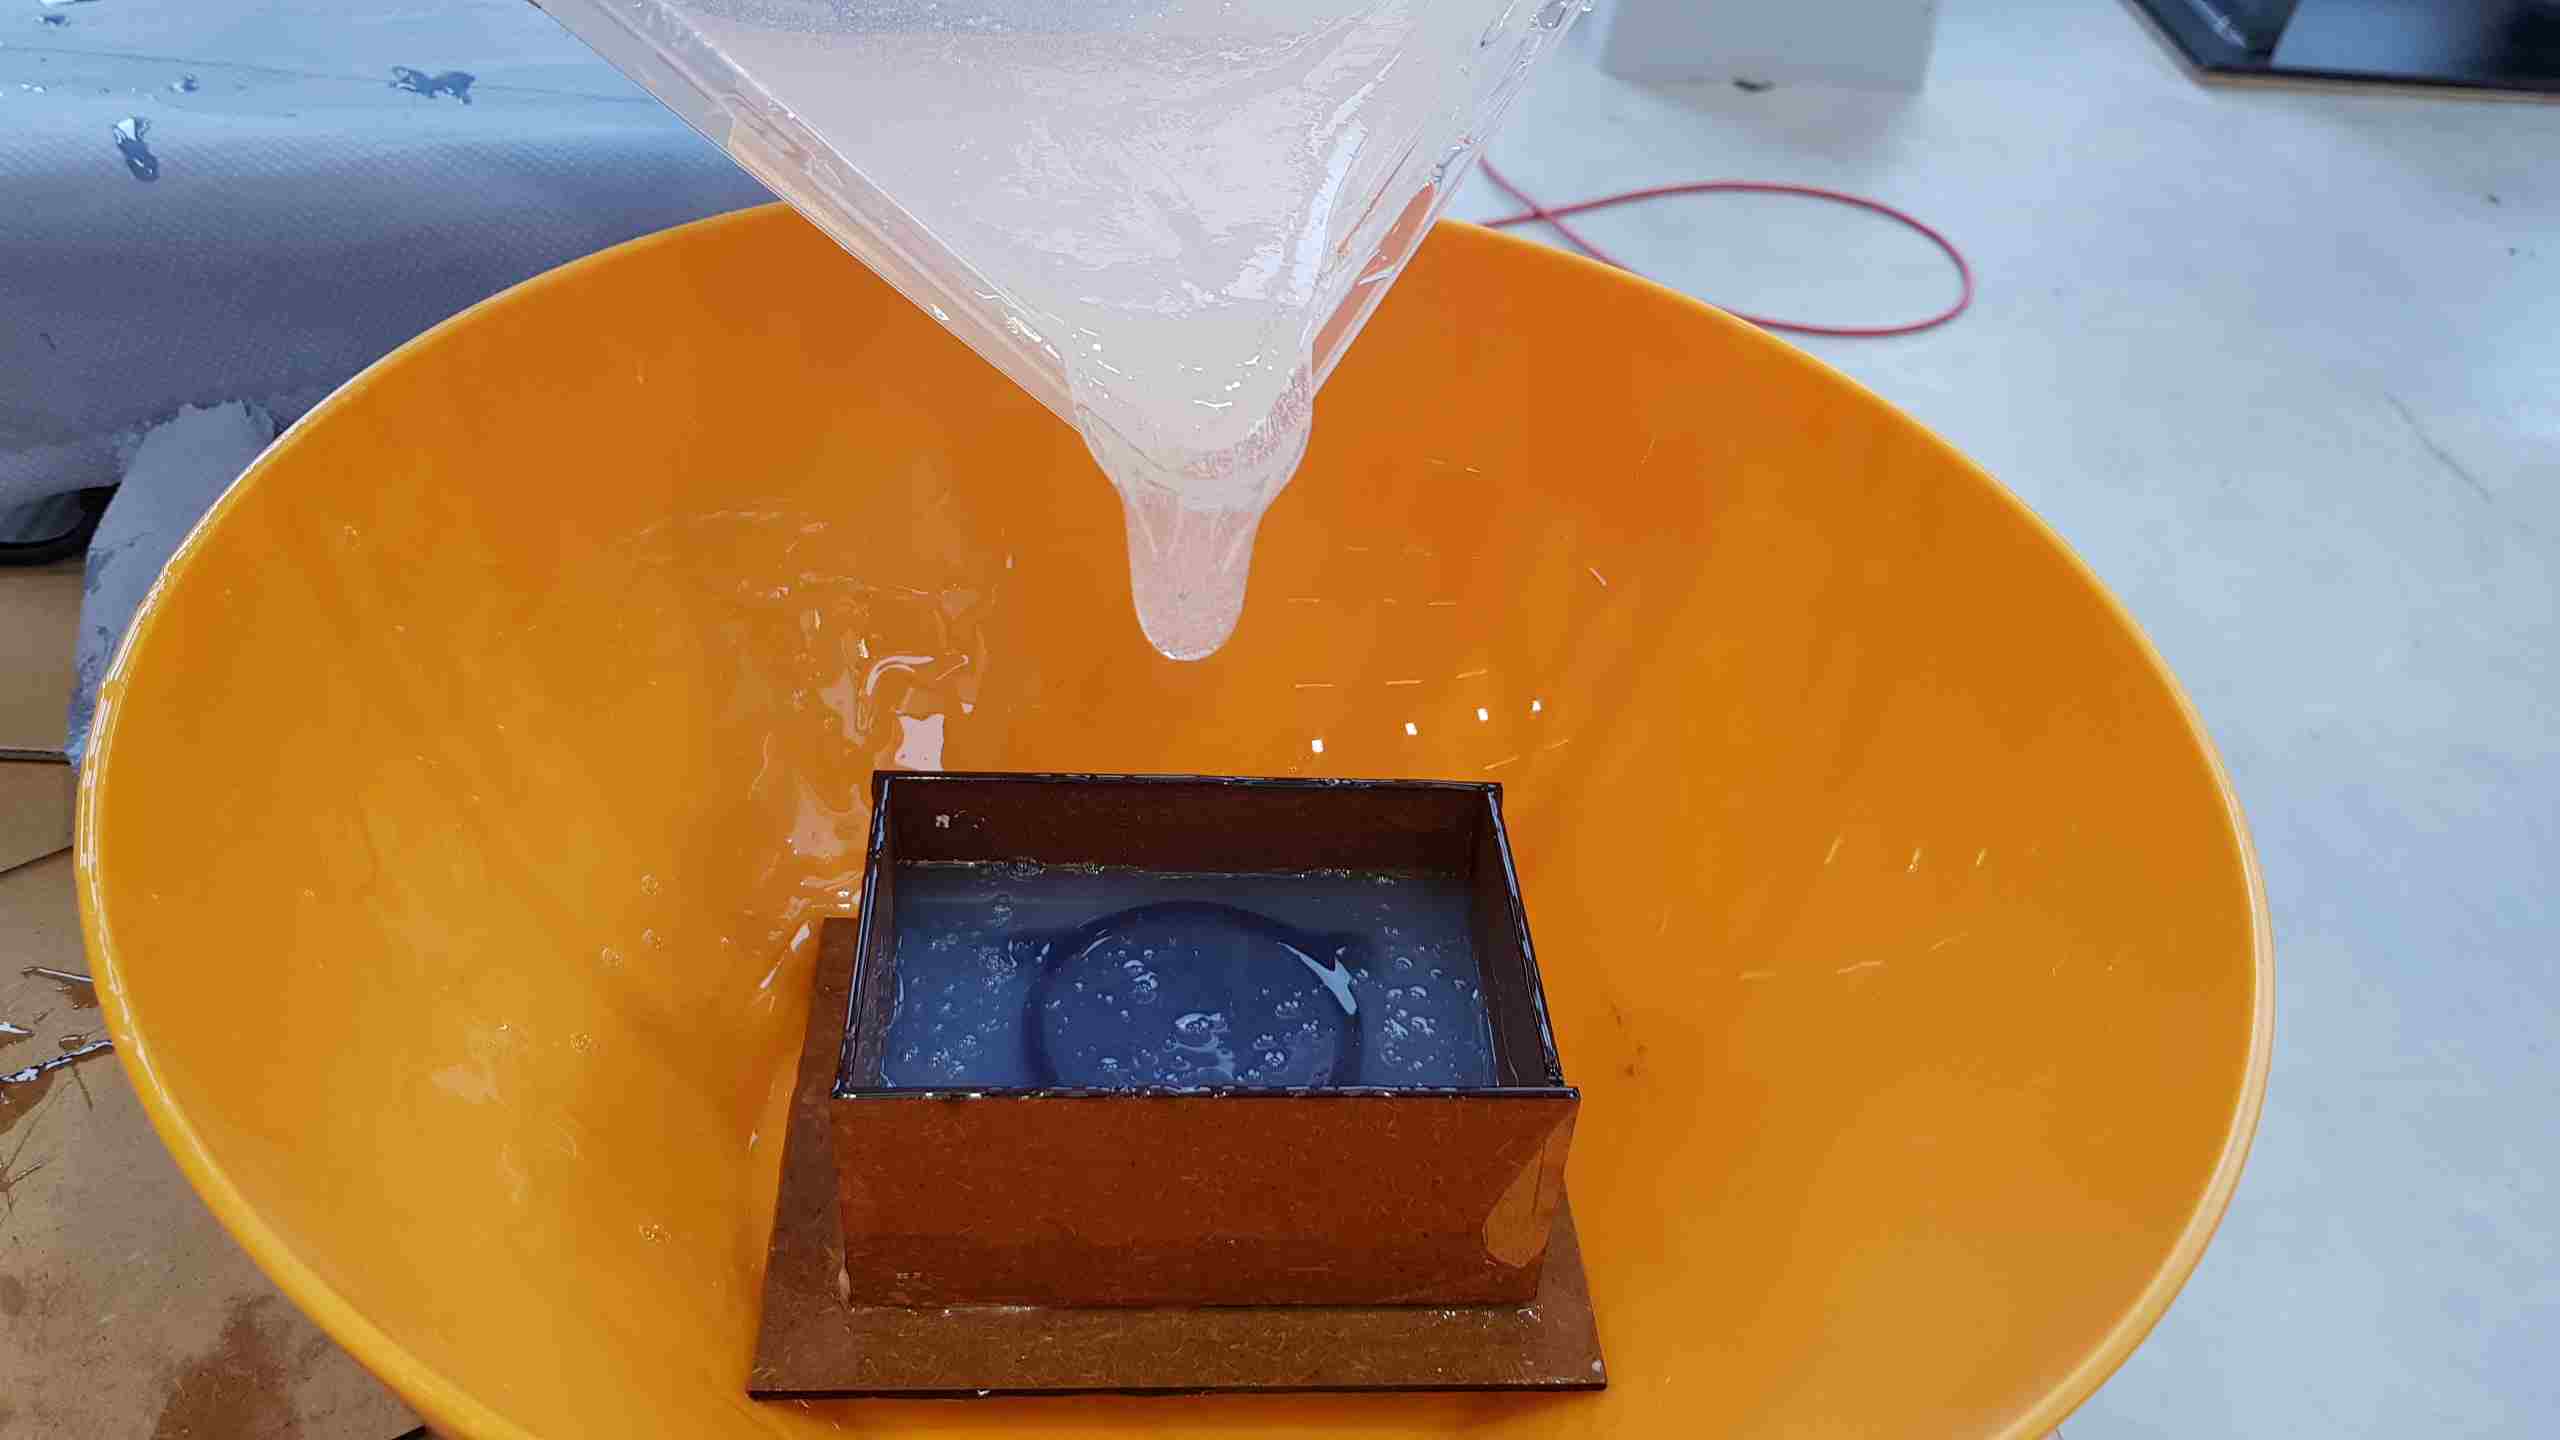
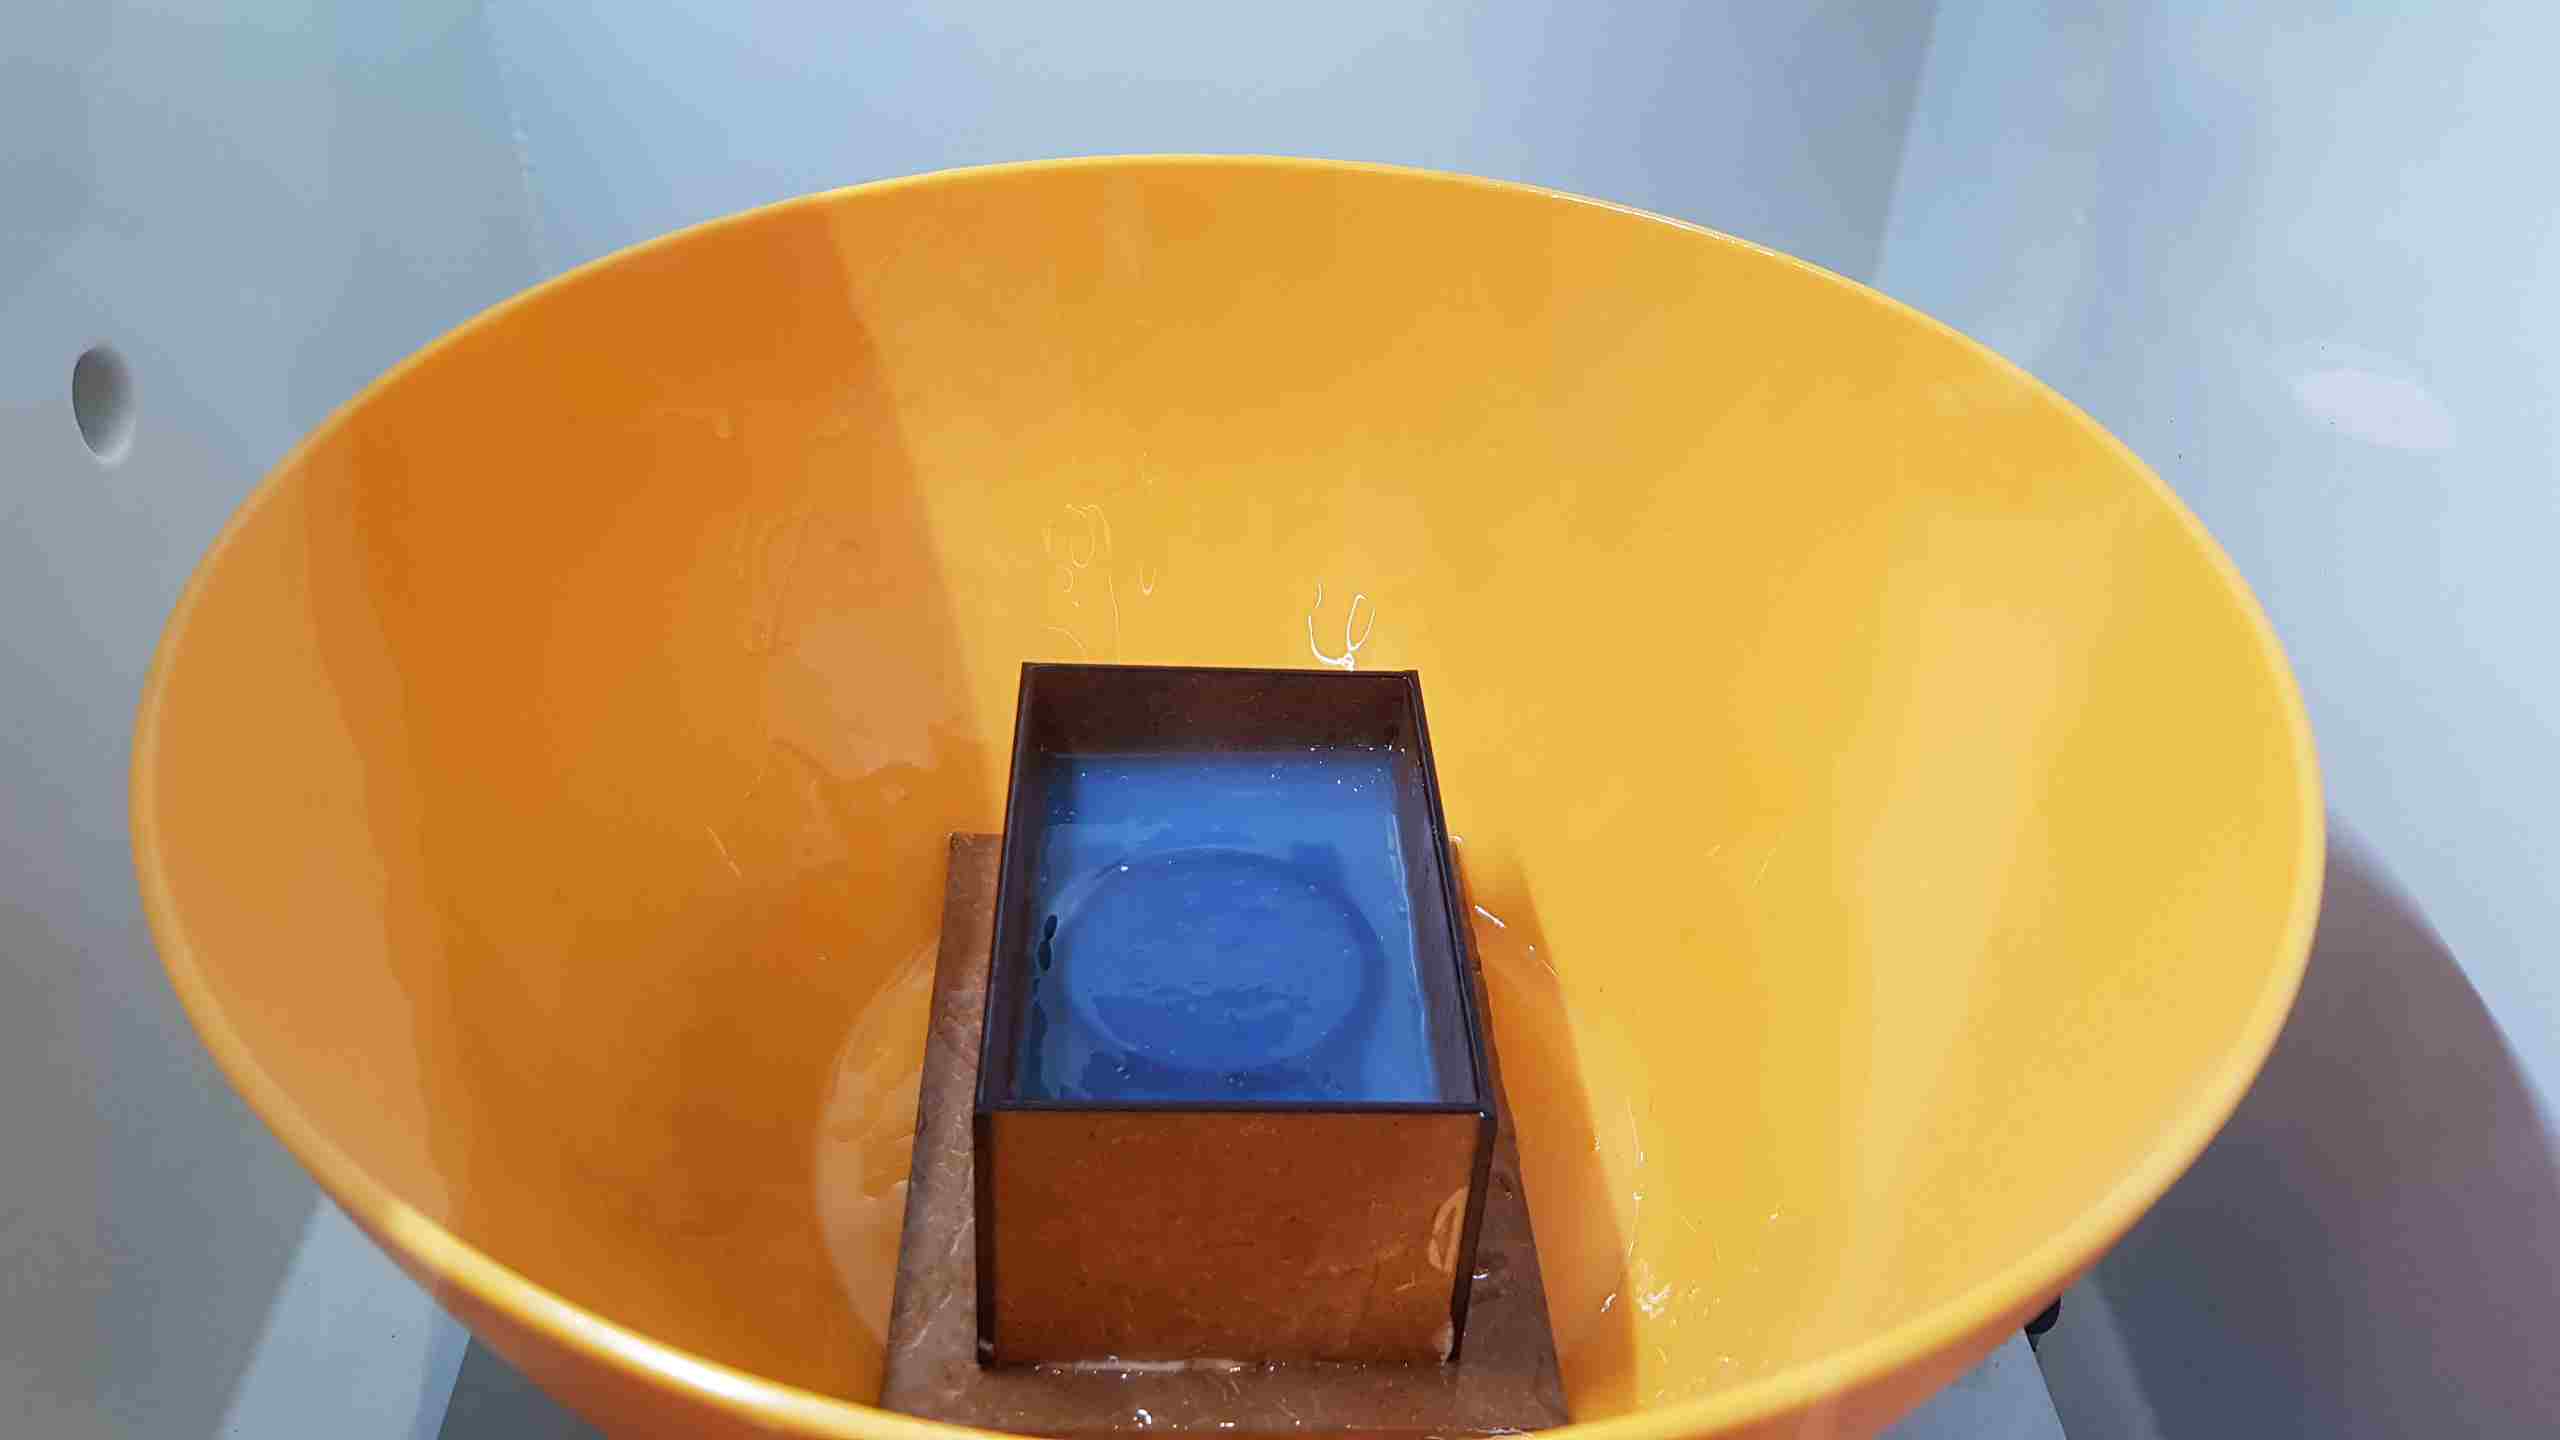
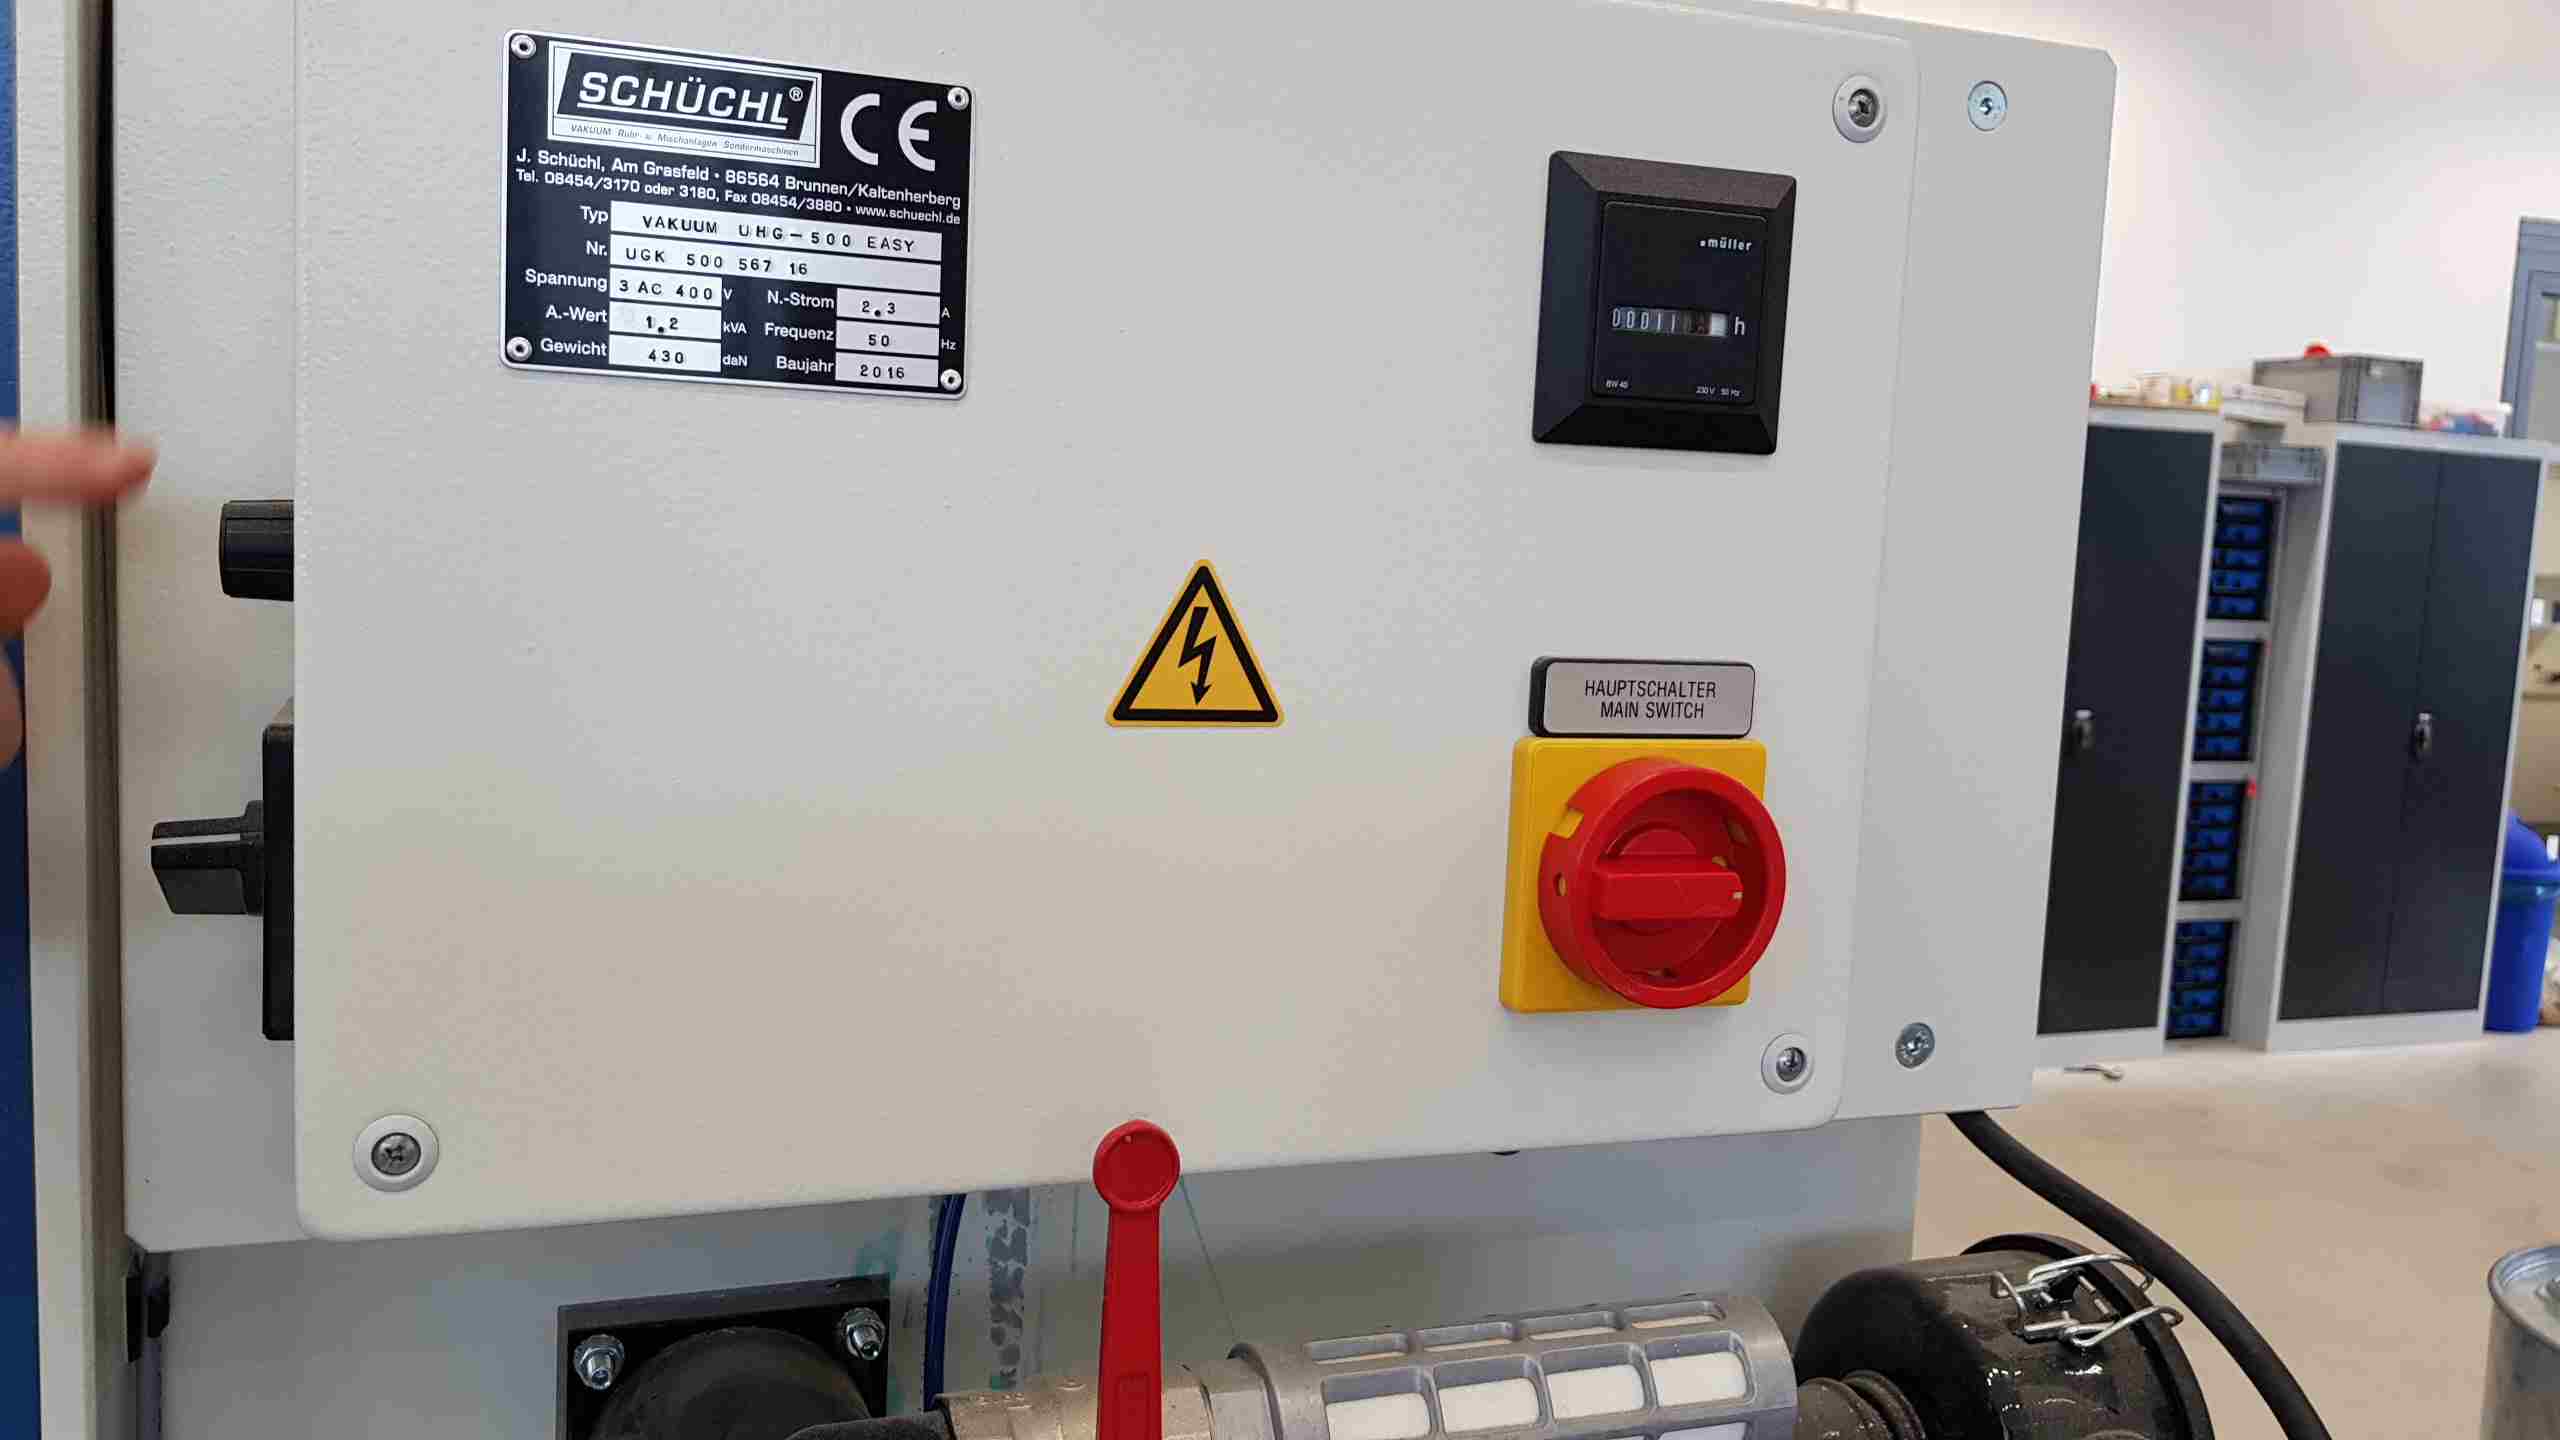
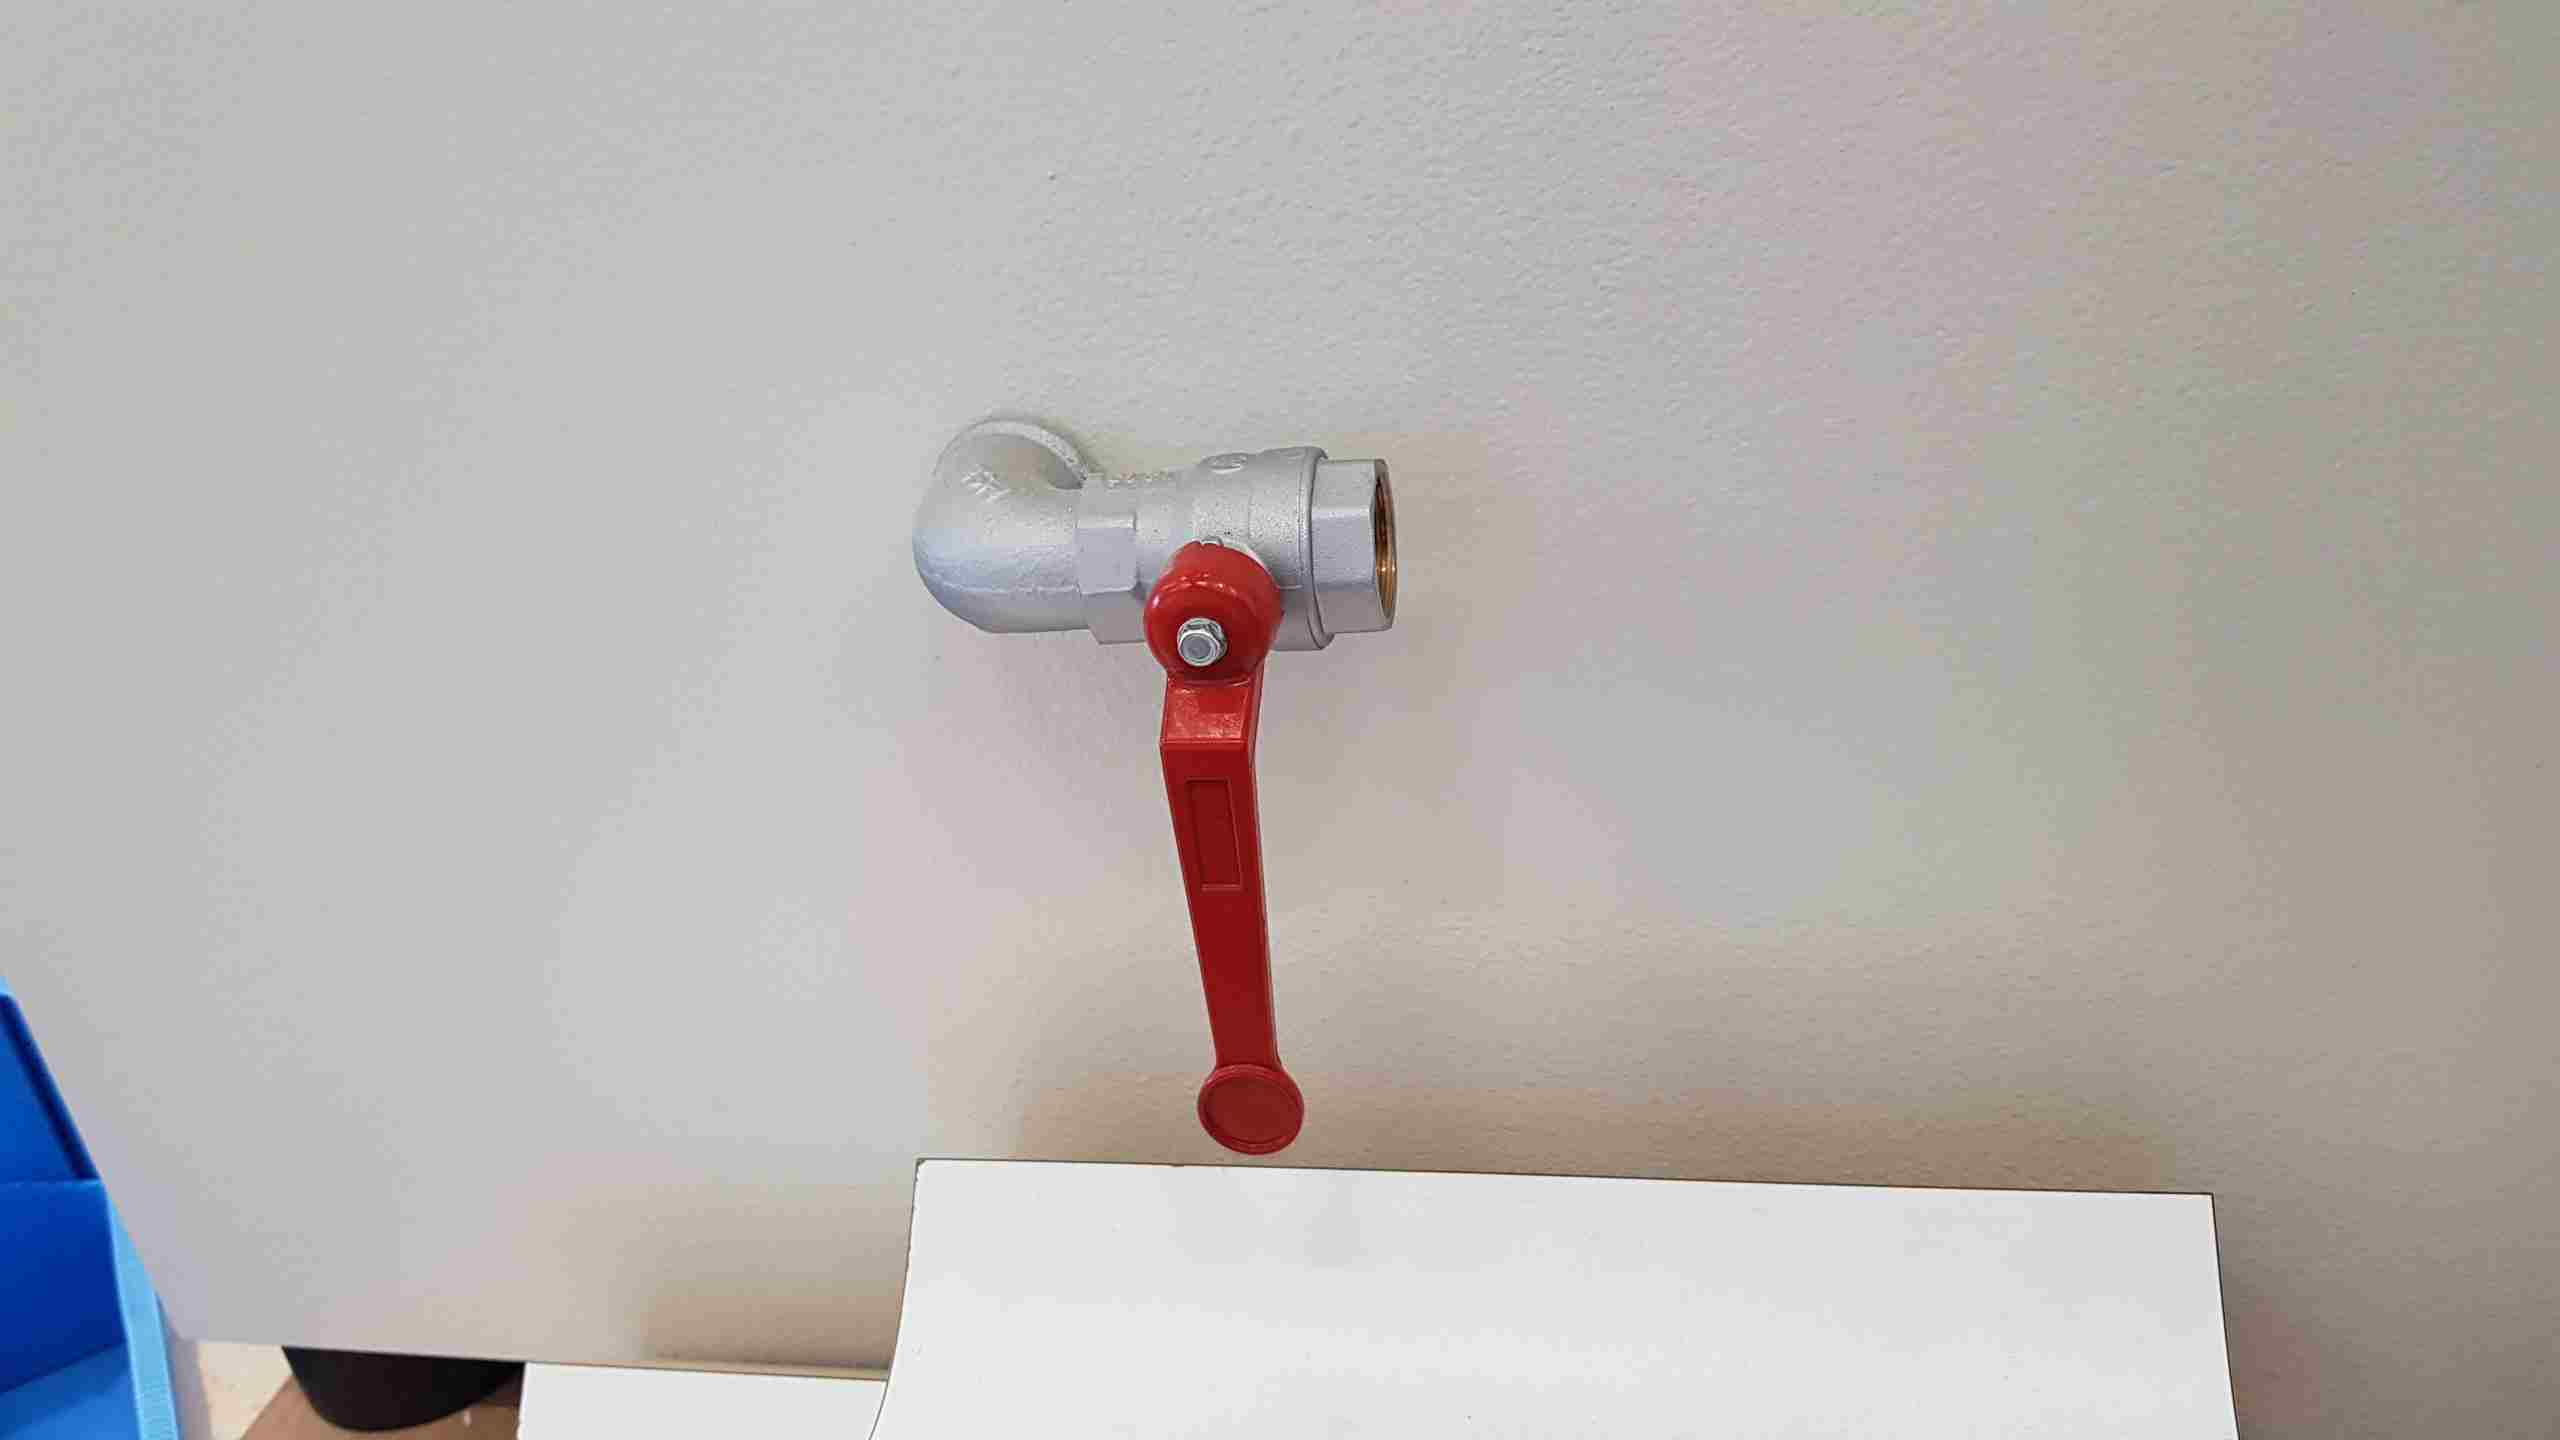
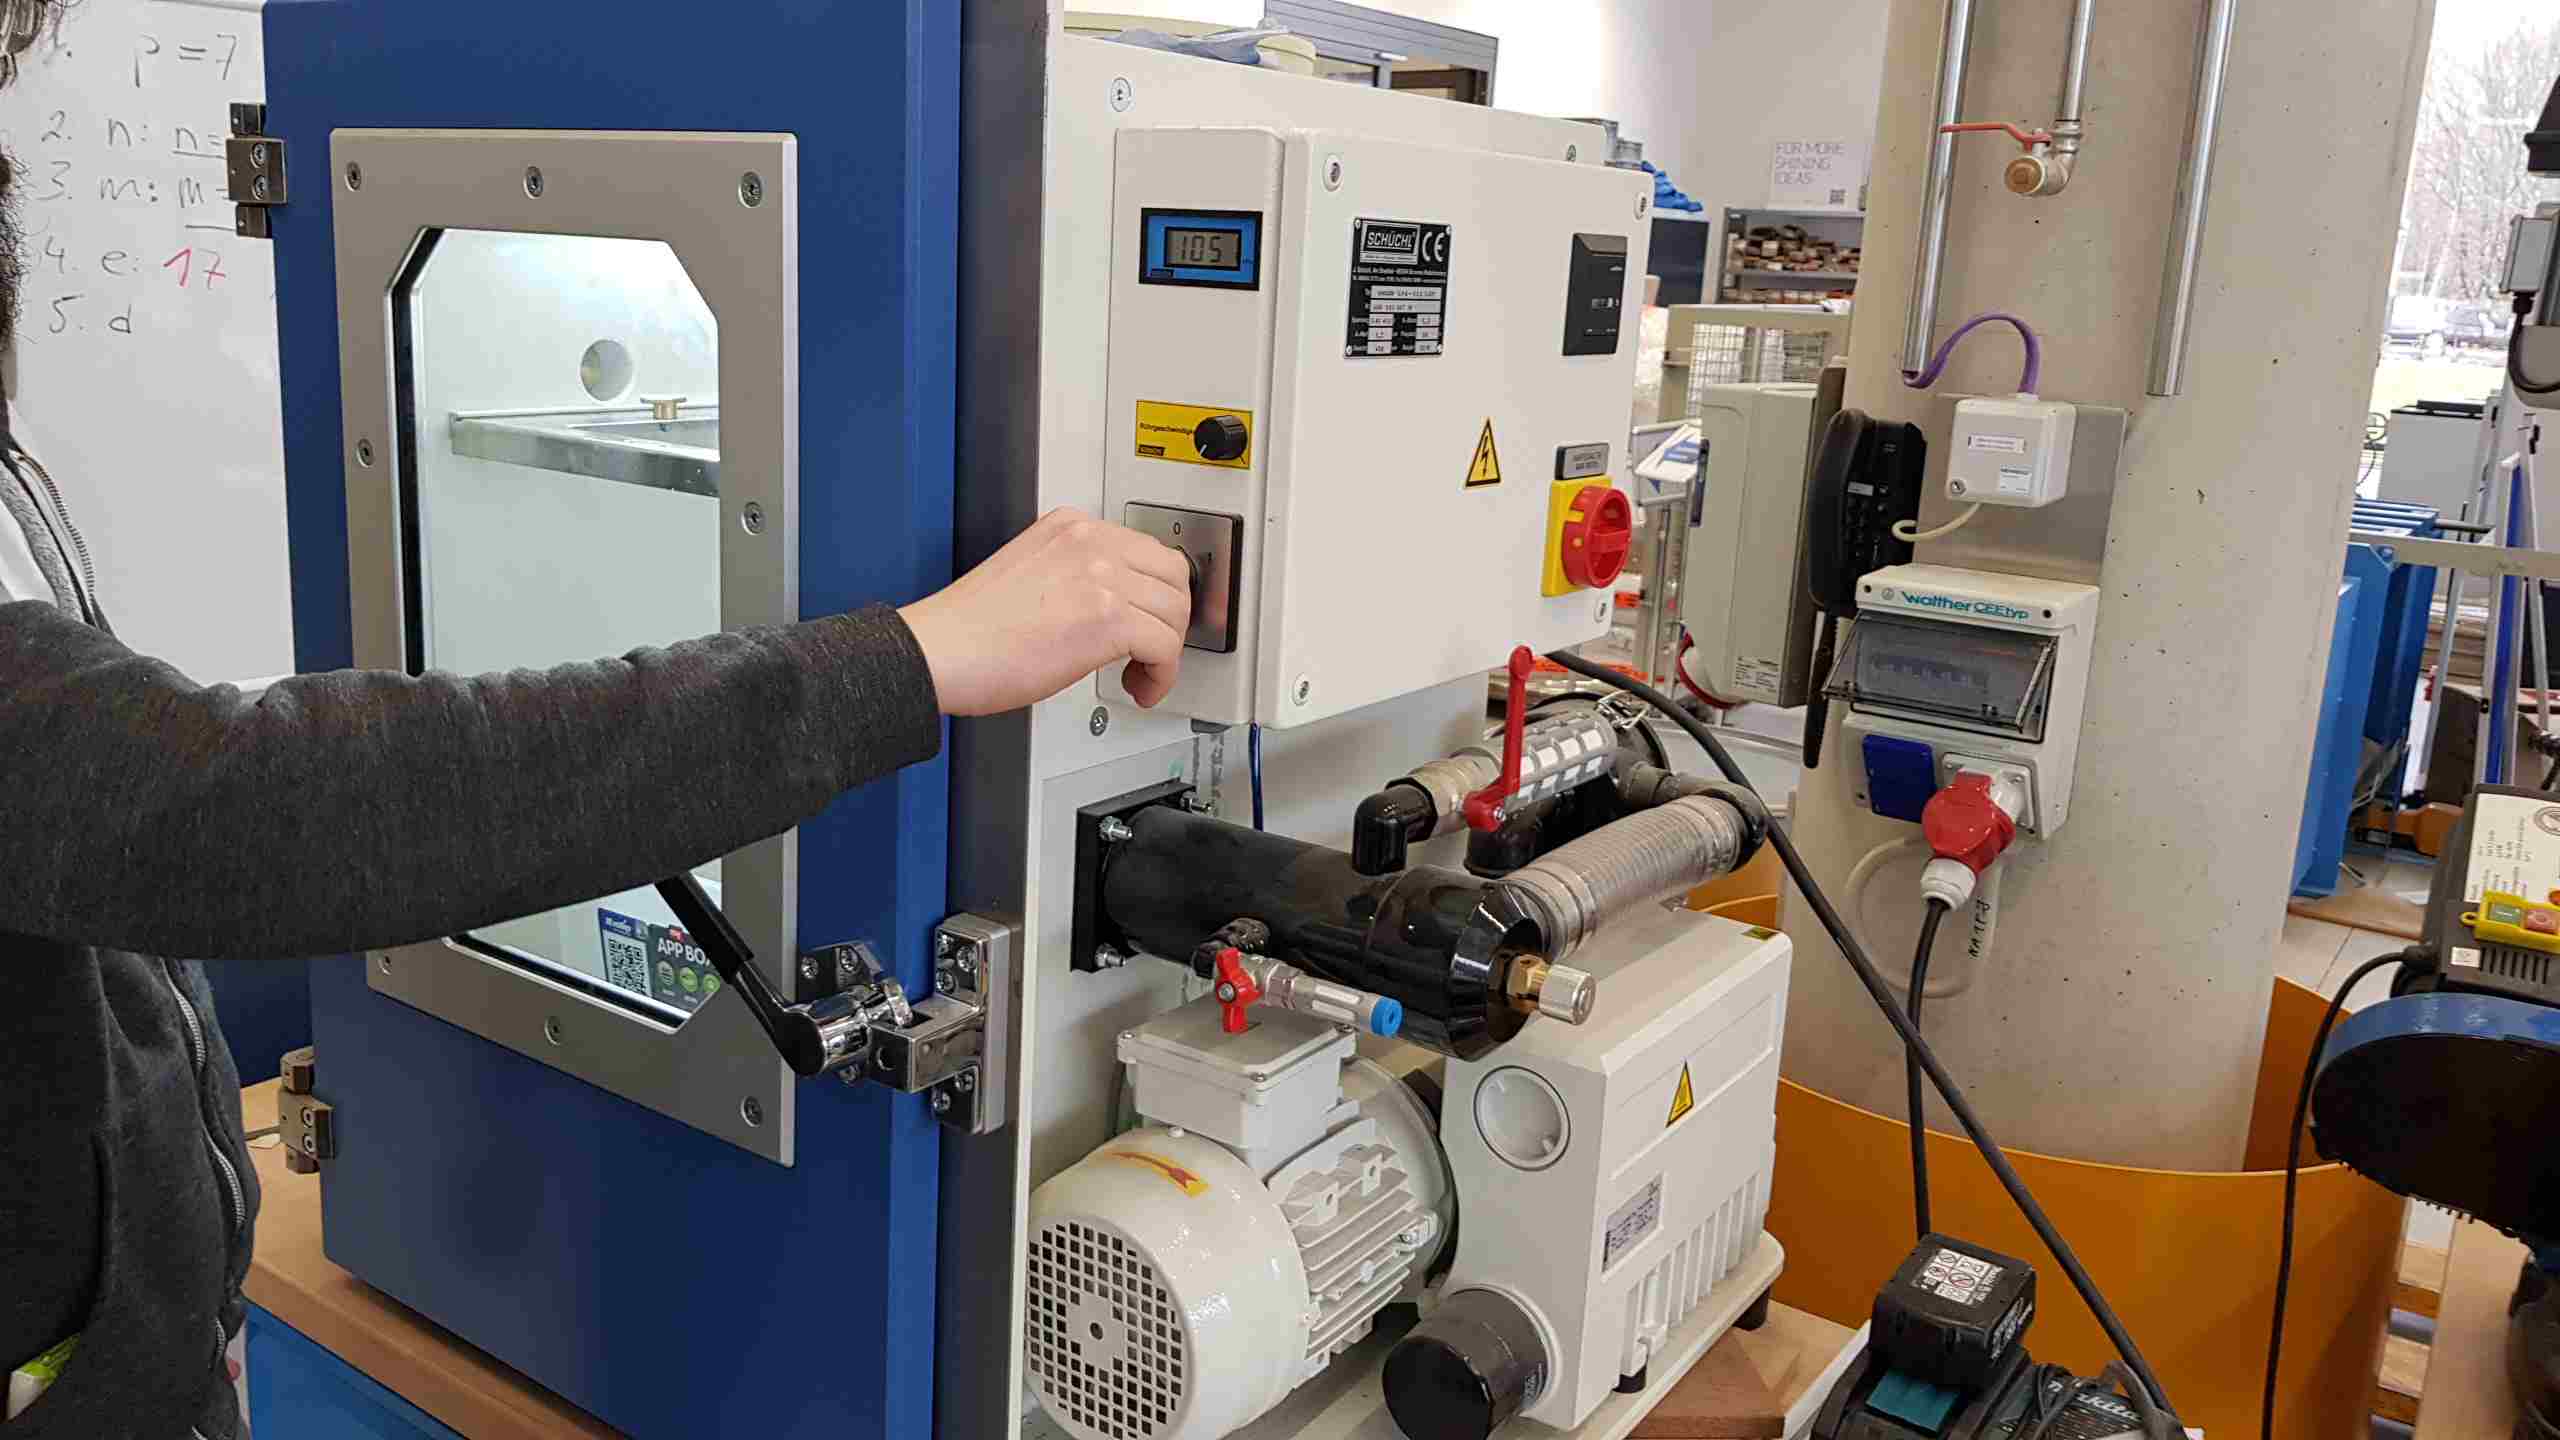
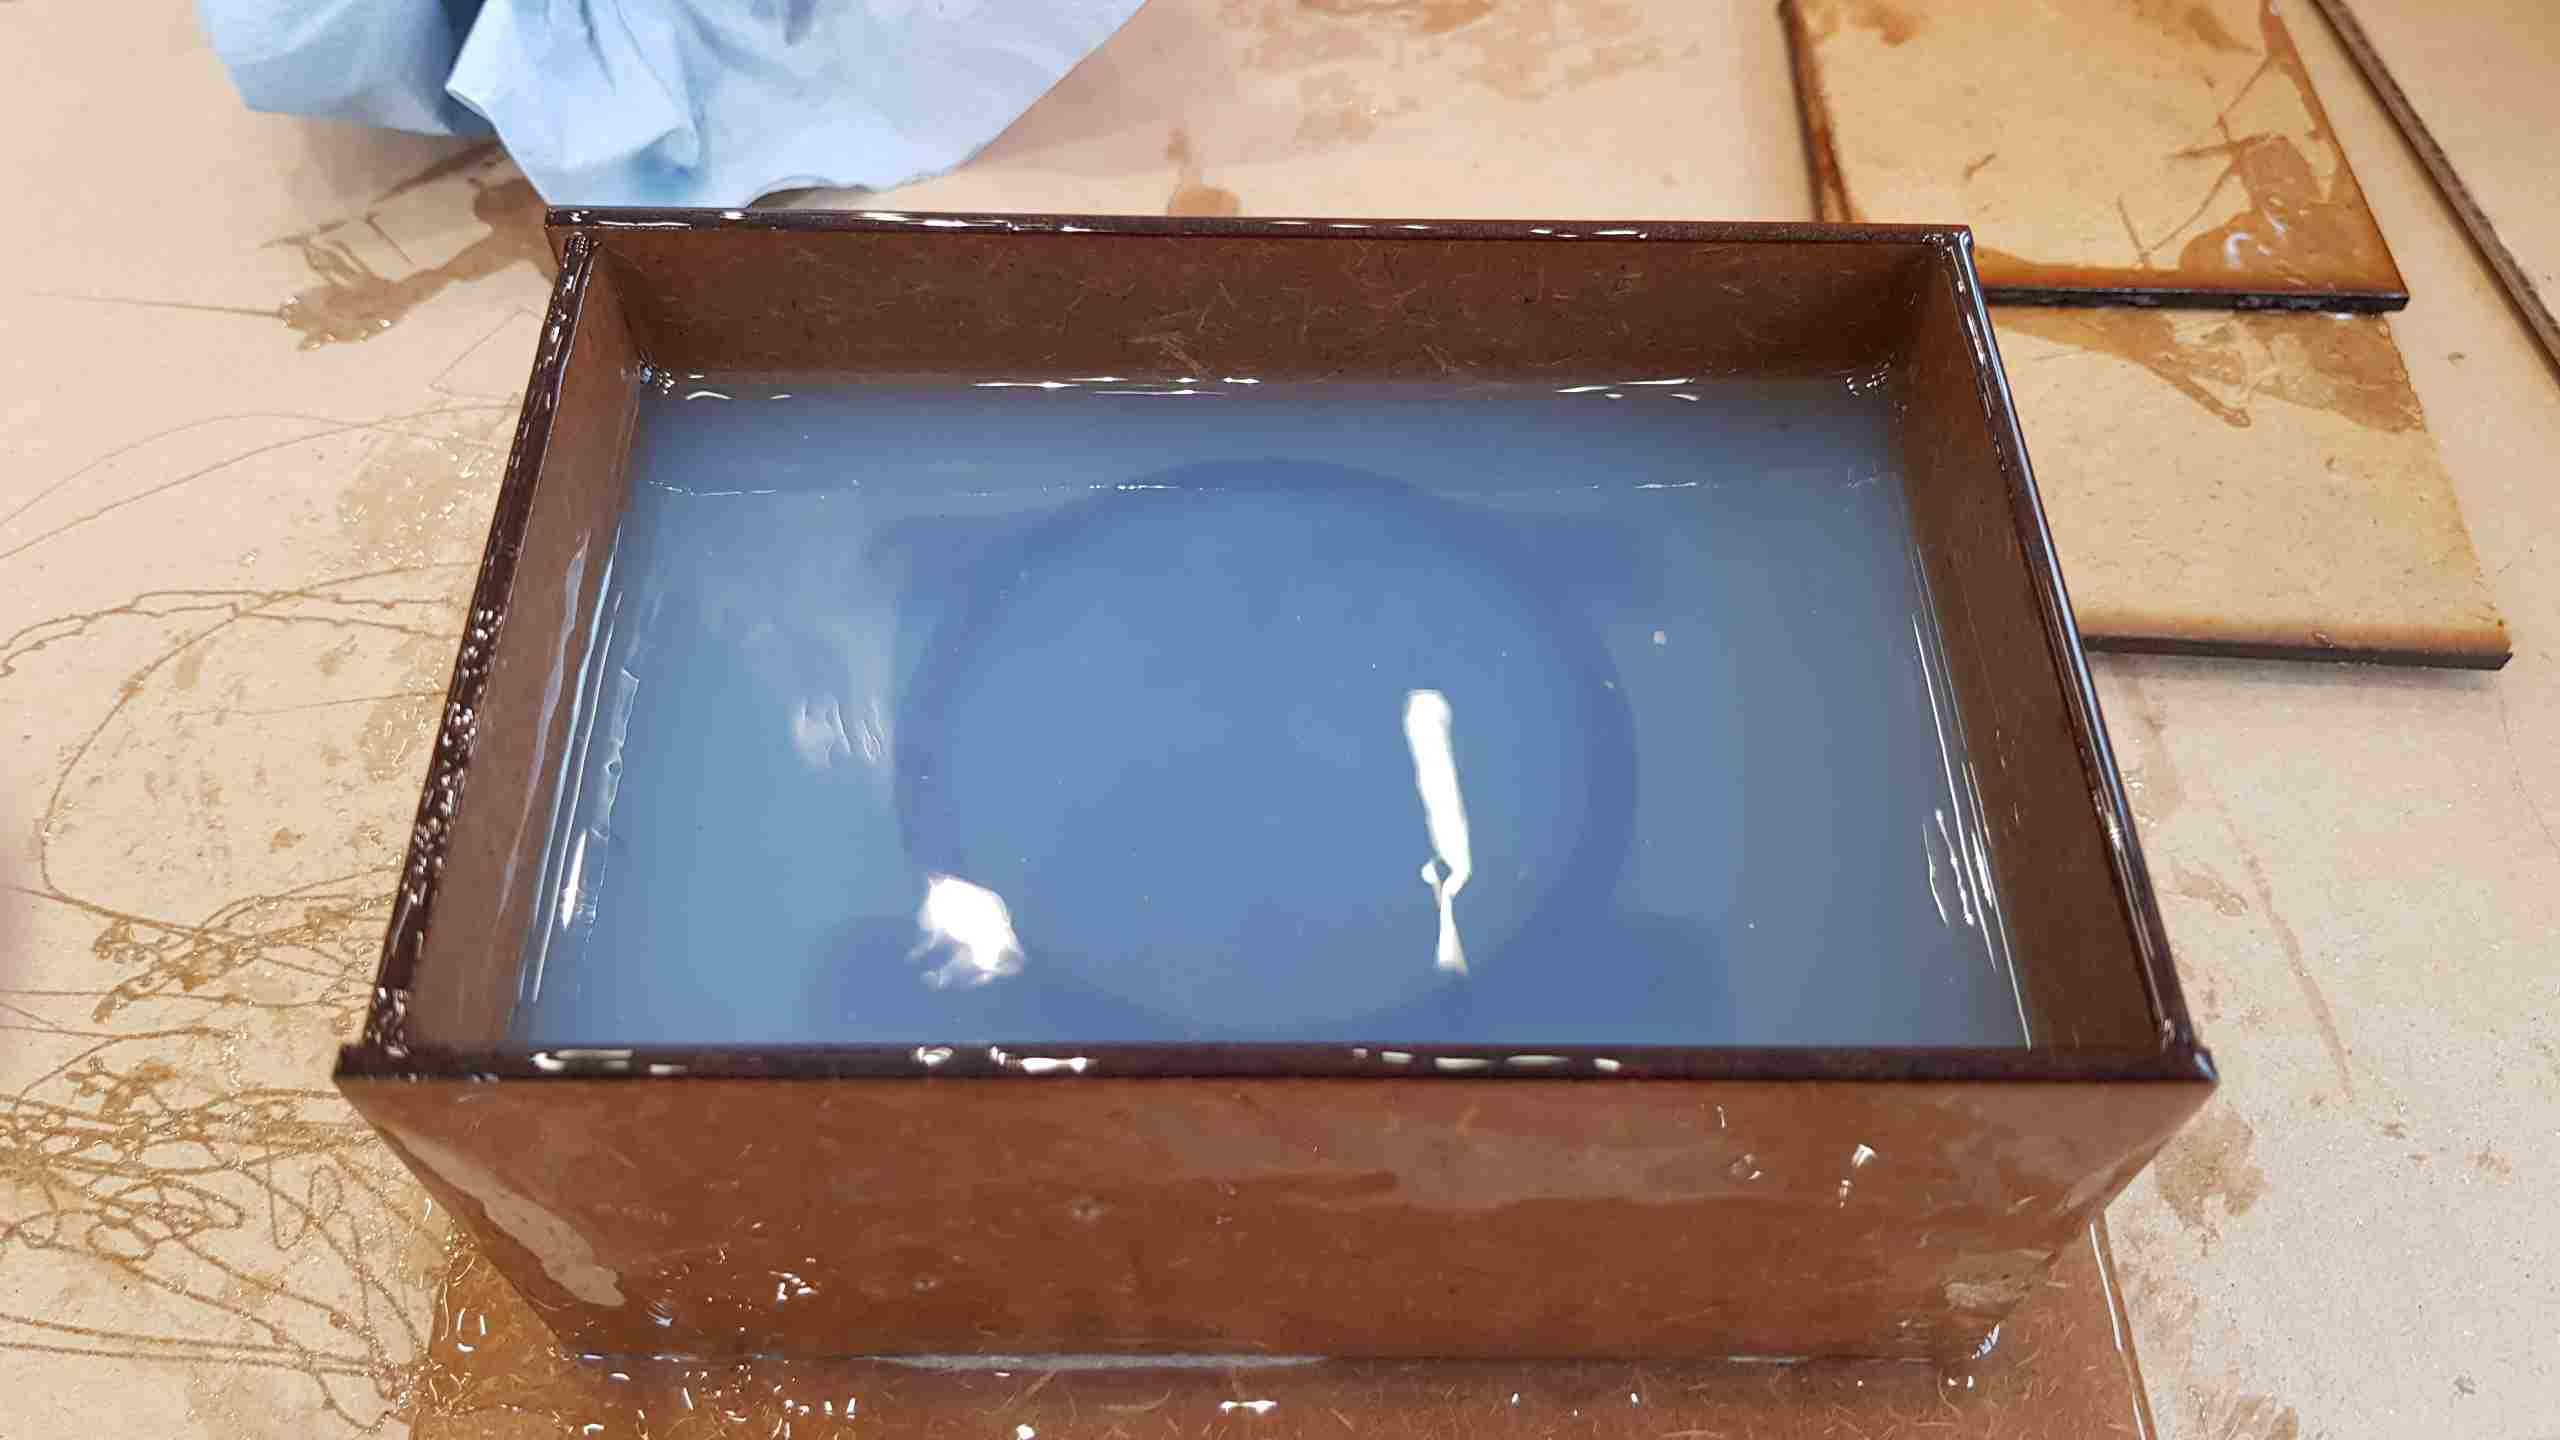
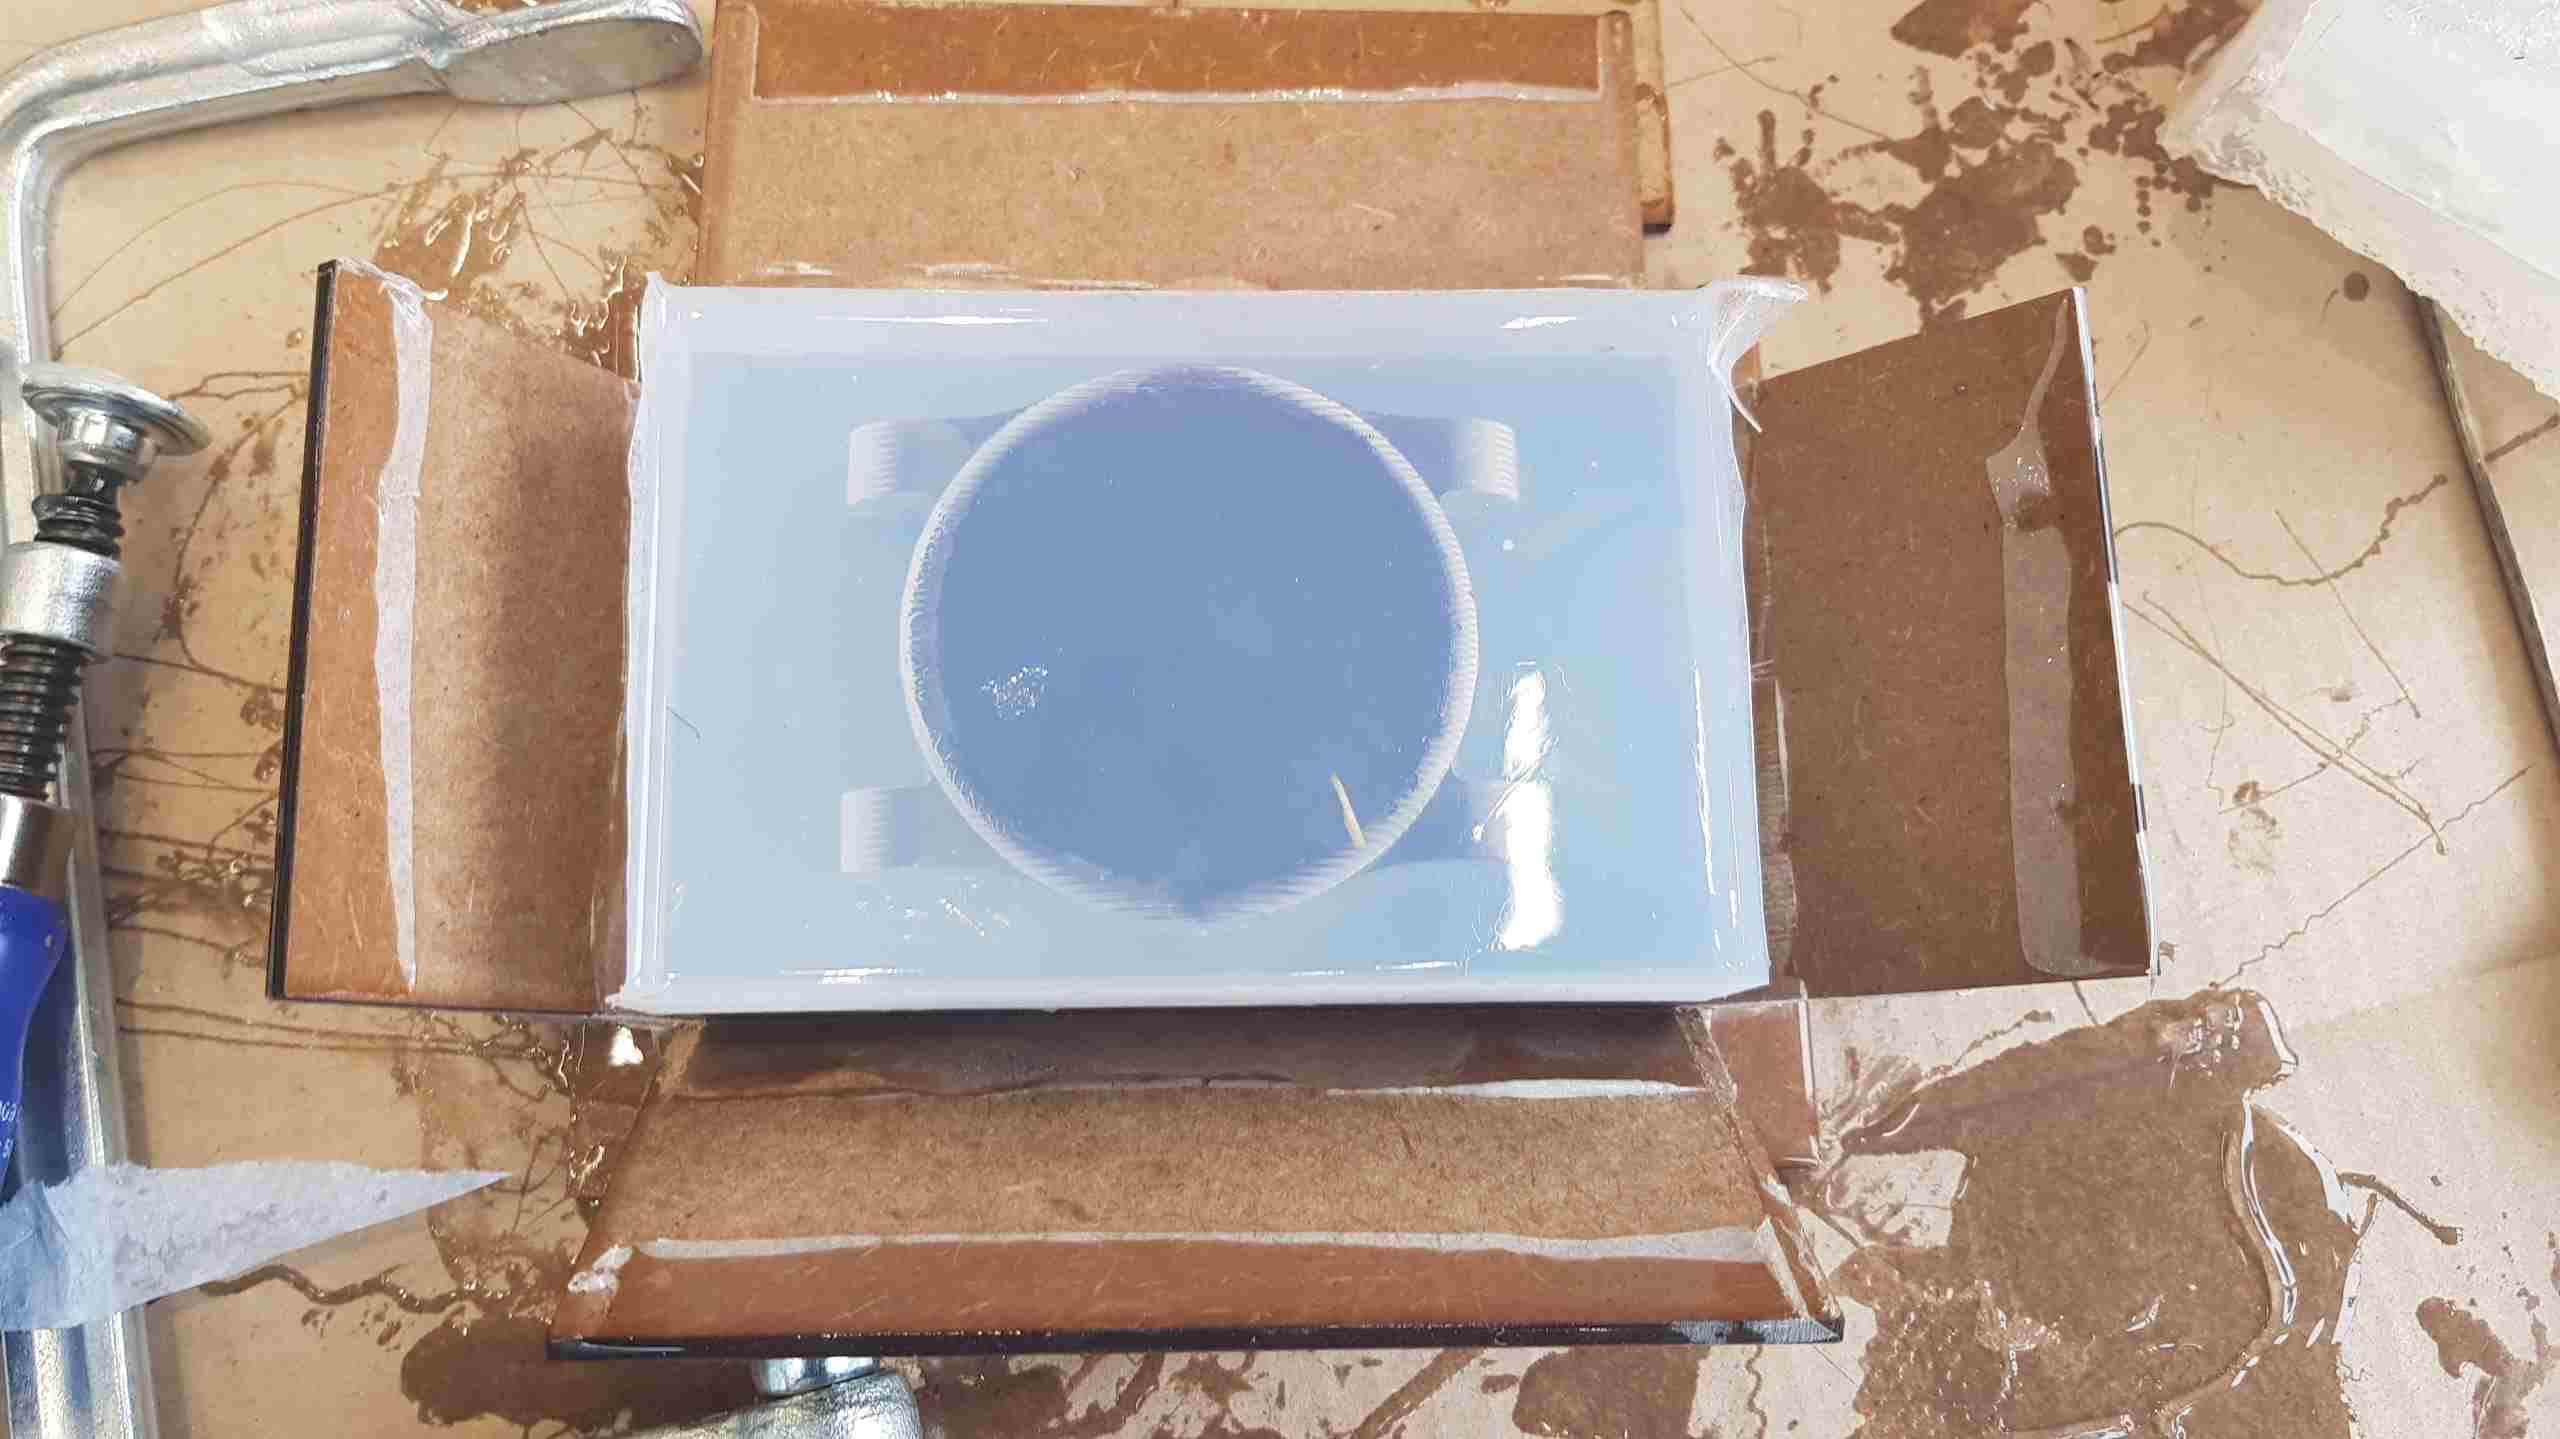
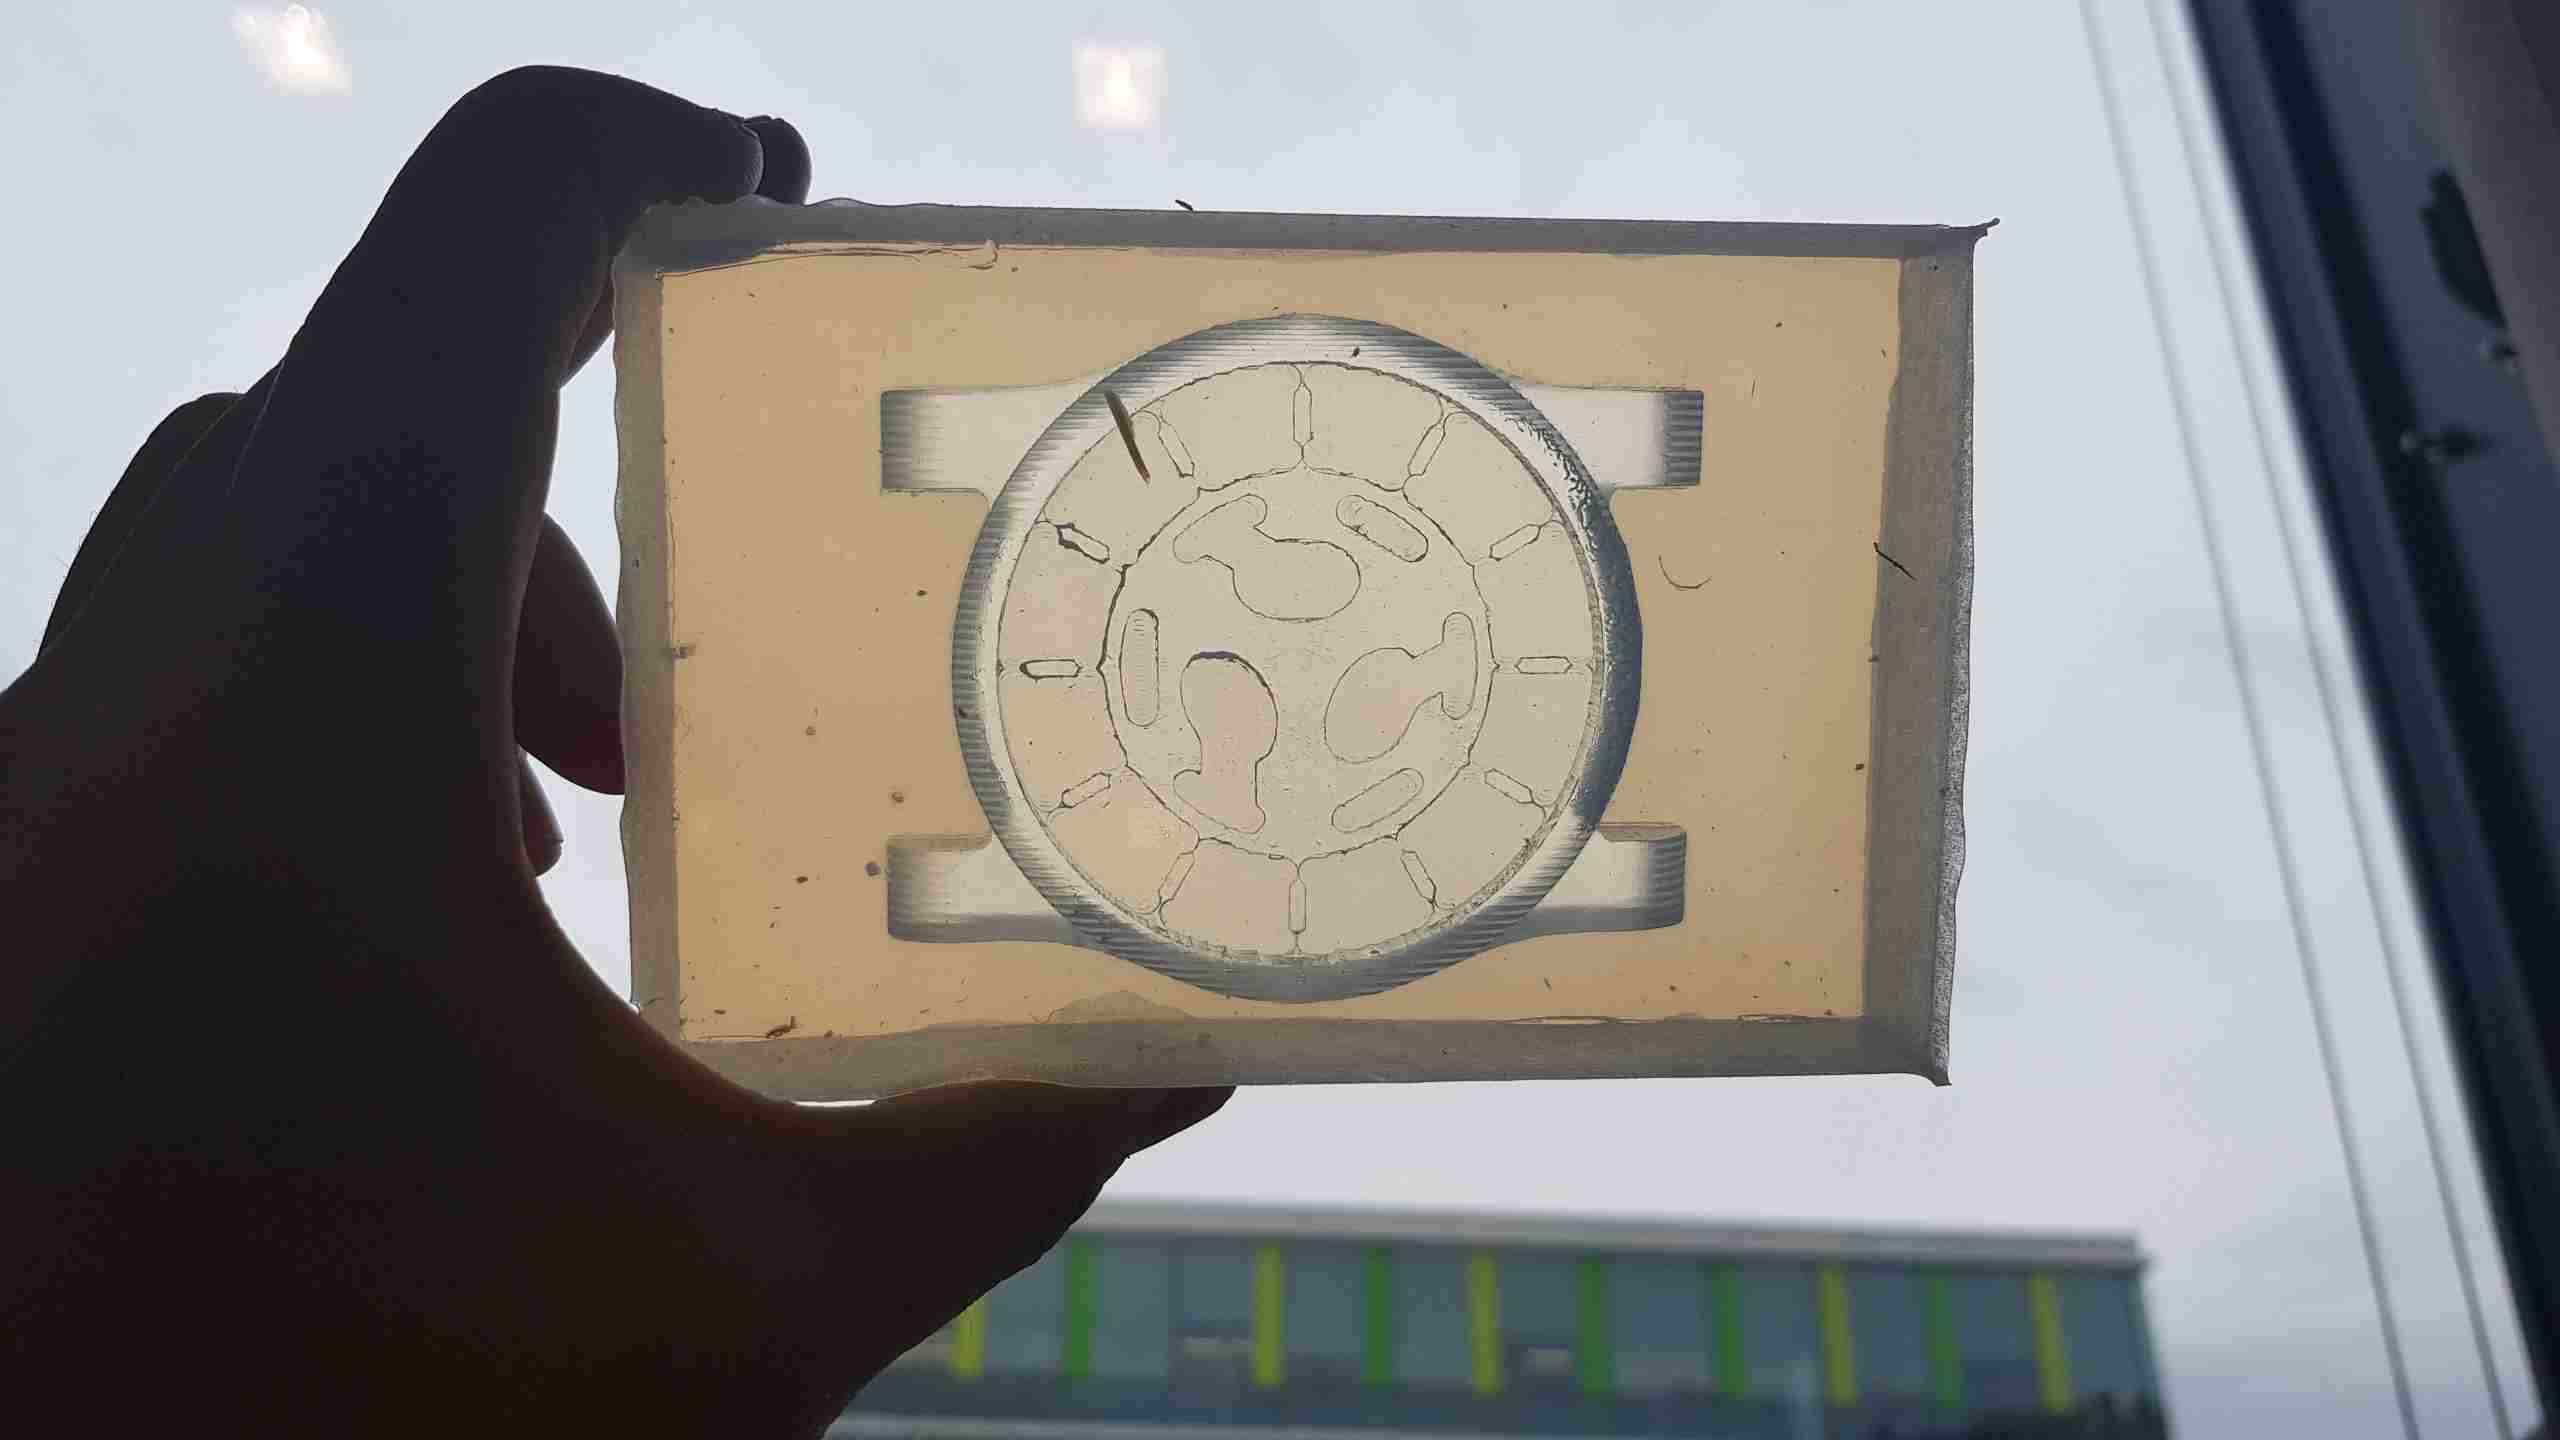
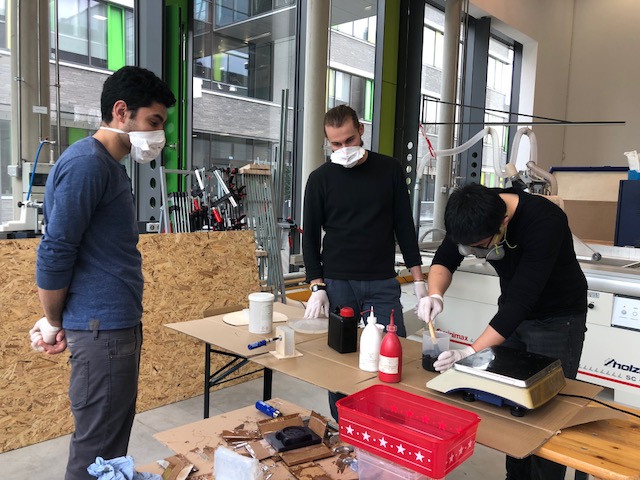
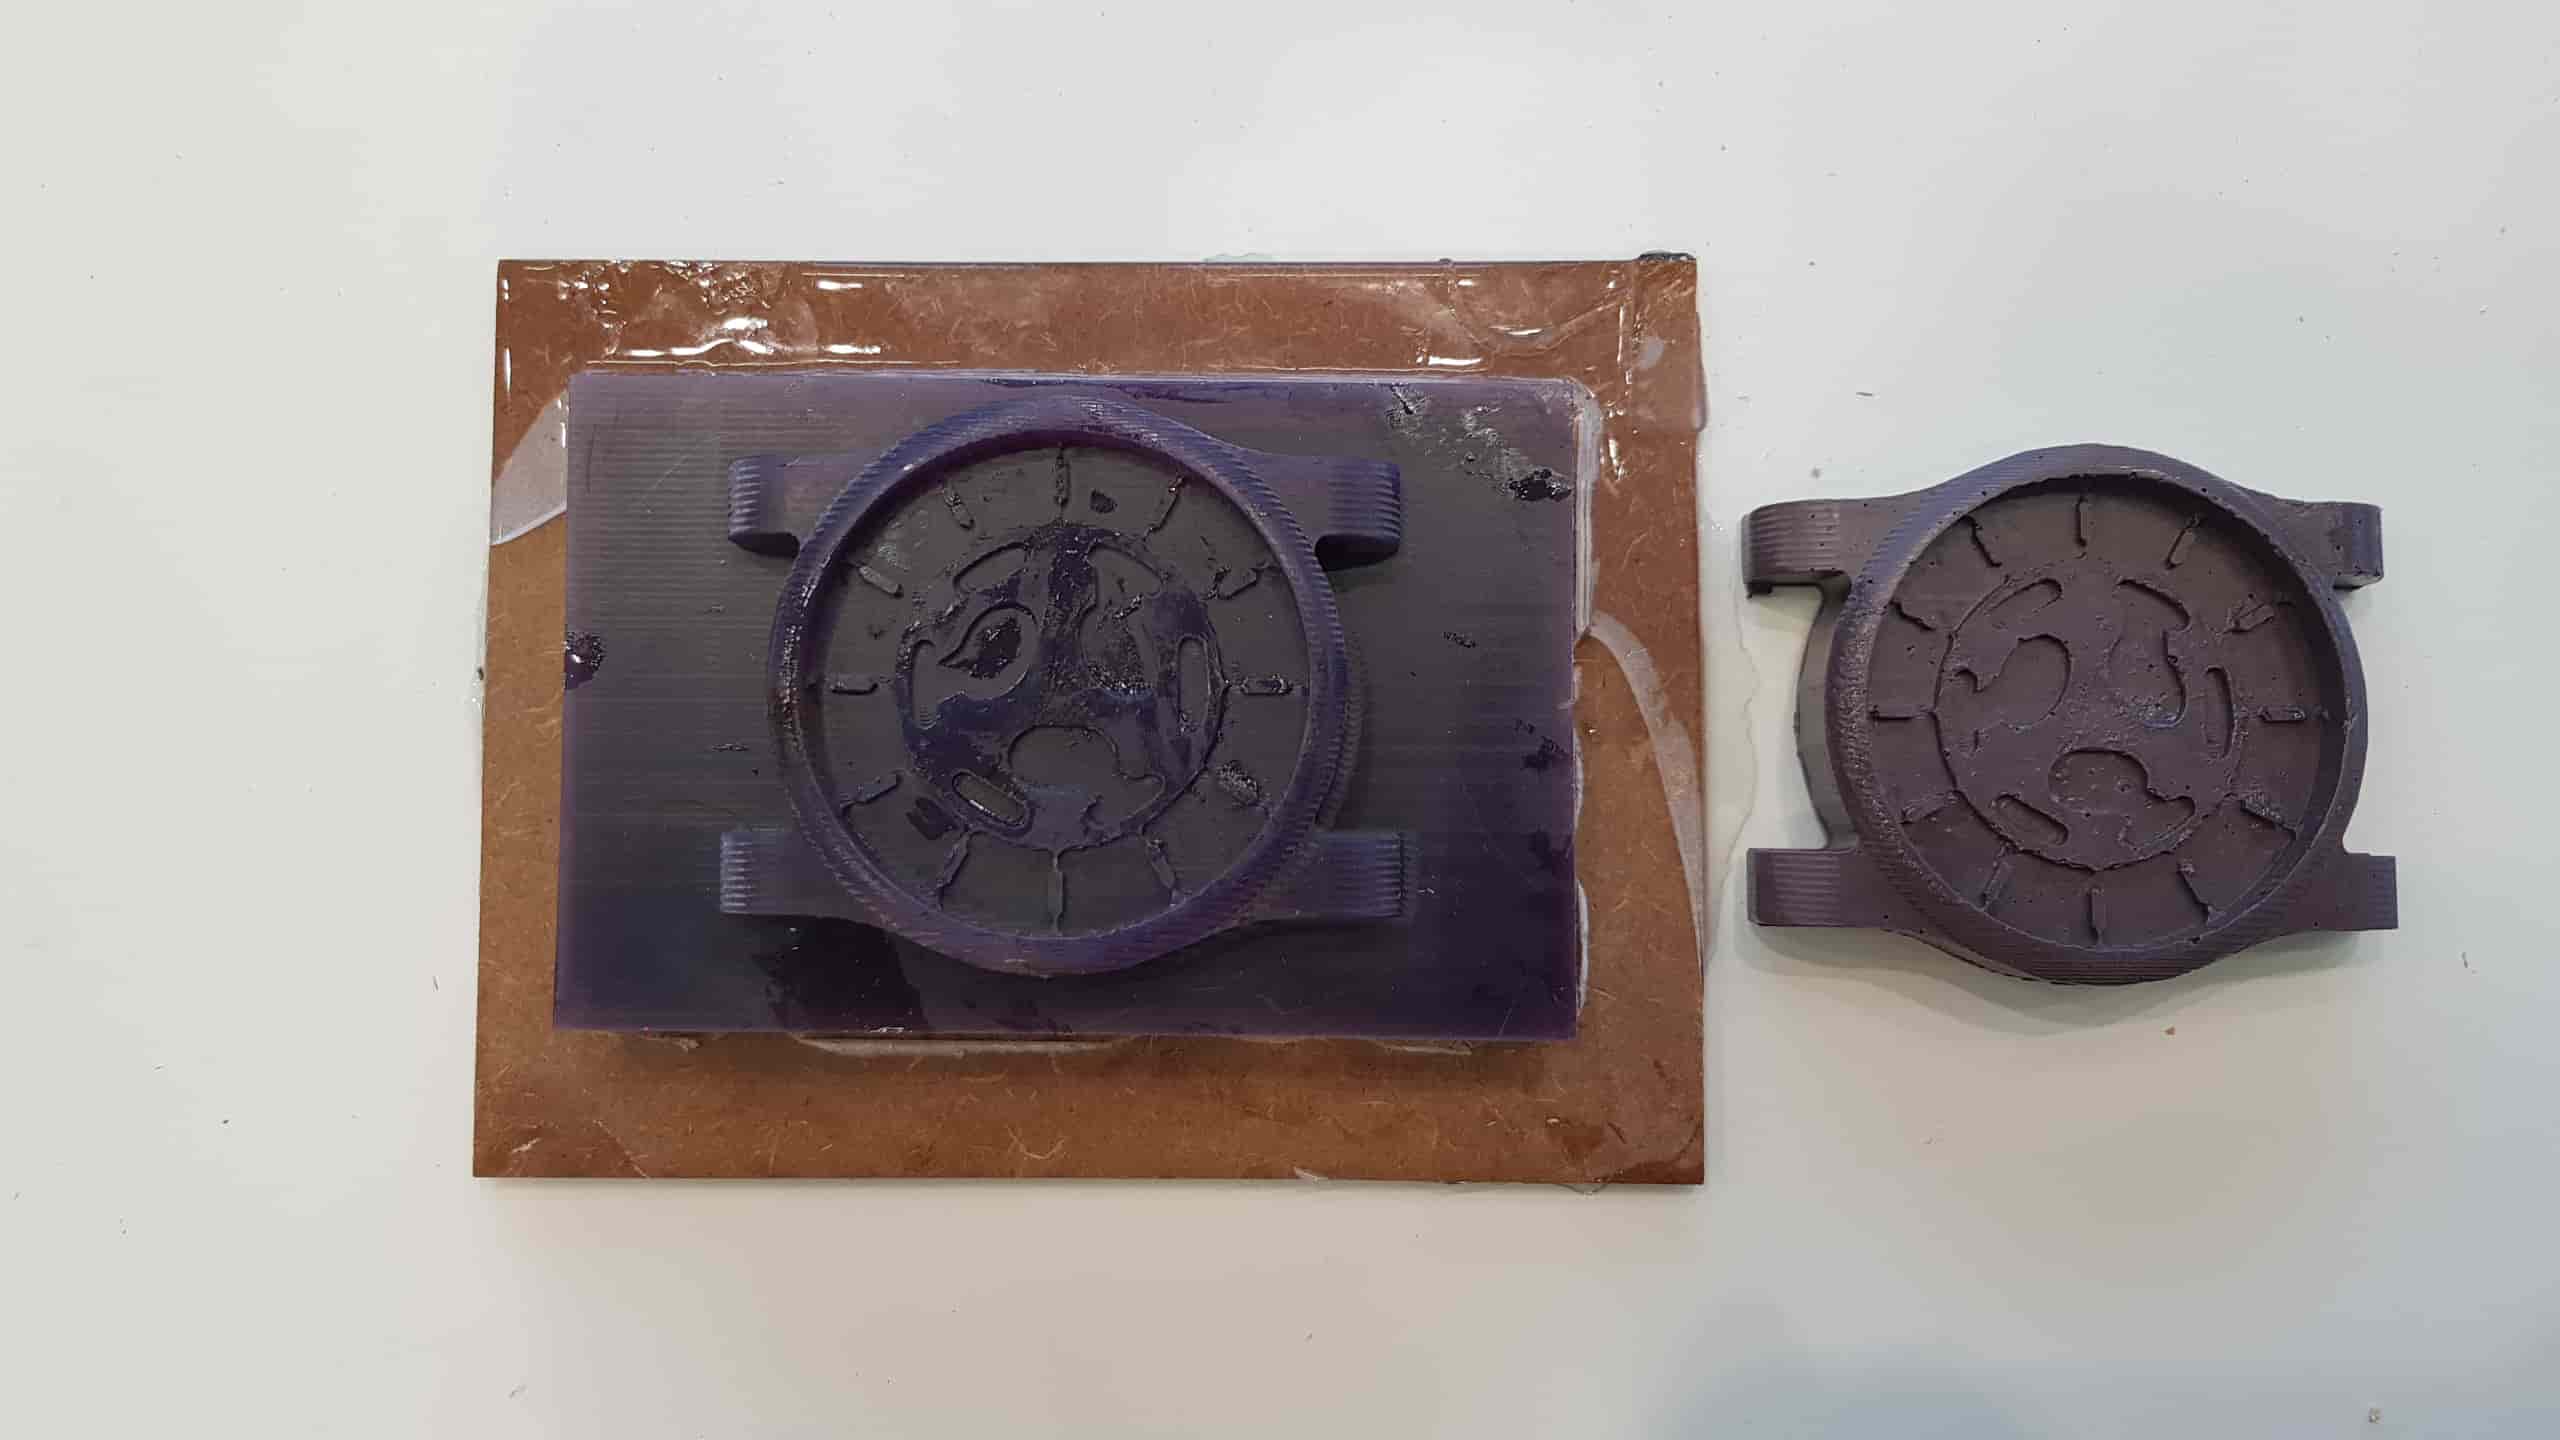
Pouring the siliconNow pour the liquid very carefully to the case.Vacuum MachineTo remove the bubbles, I have used th vacuum machine. Here you can see the main Switch. First, turn it on.At the other side of the vacuum machine we have a valve, to stabilize the press iside. Be sure, that it is closed at the beginningClose the door, and start the vacuum process.Here we can see how much atmospheric pressure is it now. Inside of the VideoThis is how it works. Here you can see, how all the bubbles, are commig up, they will collapse after some time.Here, how it looks after the vacuum machine, no bubbles.After the vuclanisation of the silicon.CastingFor the Casting I have used ProtoCast 120
Datasheet: ResinThis is the resin and the catalystMixingFinal ResultDownloadsWatch.f3d