Week 01: Principles and Practices
To be honest: I found it quite challenging to find my way through this mass of new pieces of software, of templates, and add-ons. For a first-timer in html coding and git it takes a keen spirit not to get swamped. Fortunately, in Kamp-Lintfort we have a phantastic tutor in Daniele who is doing an excellent job in giving me the necessary orientation.
Initially, after the first meetings with Daniele in early January, I set off to work myself through the git jungle. Over the days before I received my FabAcademy credentials and thus full access to FabCloud and GitLab, I tried GitHub and GitHub Desktop to start working on my personal website - but with very limited success. Whenever I thought I had a bash command ready to go, I received yet another cryptic error, indicating that I need to install some further software in order to run the previous. Fig.01 gives an idea of those rough first encounters. In order to get really confused, I then tried installing CodeHub on my iPadPro, because I wanted to be able to work not only on my MacBook, but also on the tablet. I guess it must have been around that time that I seriously lost track on anything even remotely being considered as progress. I later learned from Daniele that it is highly recommended not to switch machines for the coding. I may still give it another shot, though; the idea of coding-a-go-go on the tablet is just too tempting. Switching to GitLab and starting to work on my personal repository was quite a relief after that. I also let go of Bootstrap as a source for website templates and of Xcode as my html editor. With some guidance from Daniele I was able to get the repo running on the FabCloud - which in combination with installing Brackets as html editor (see Fig.02) was my breakthrough. |
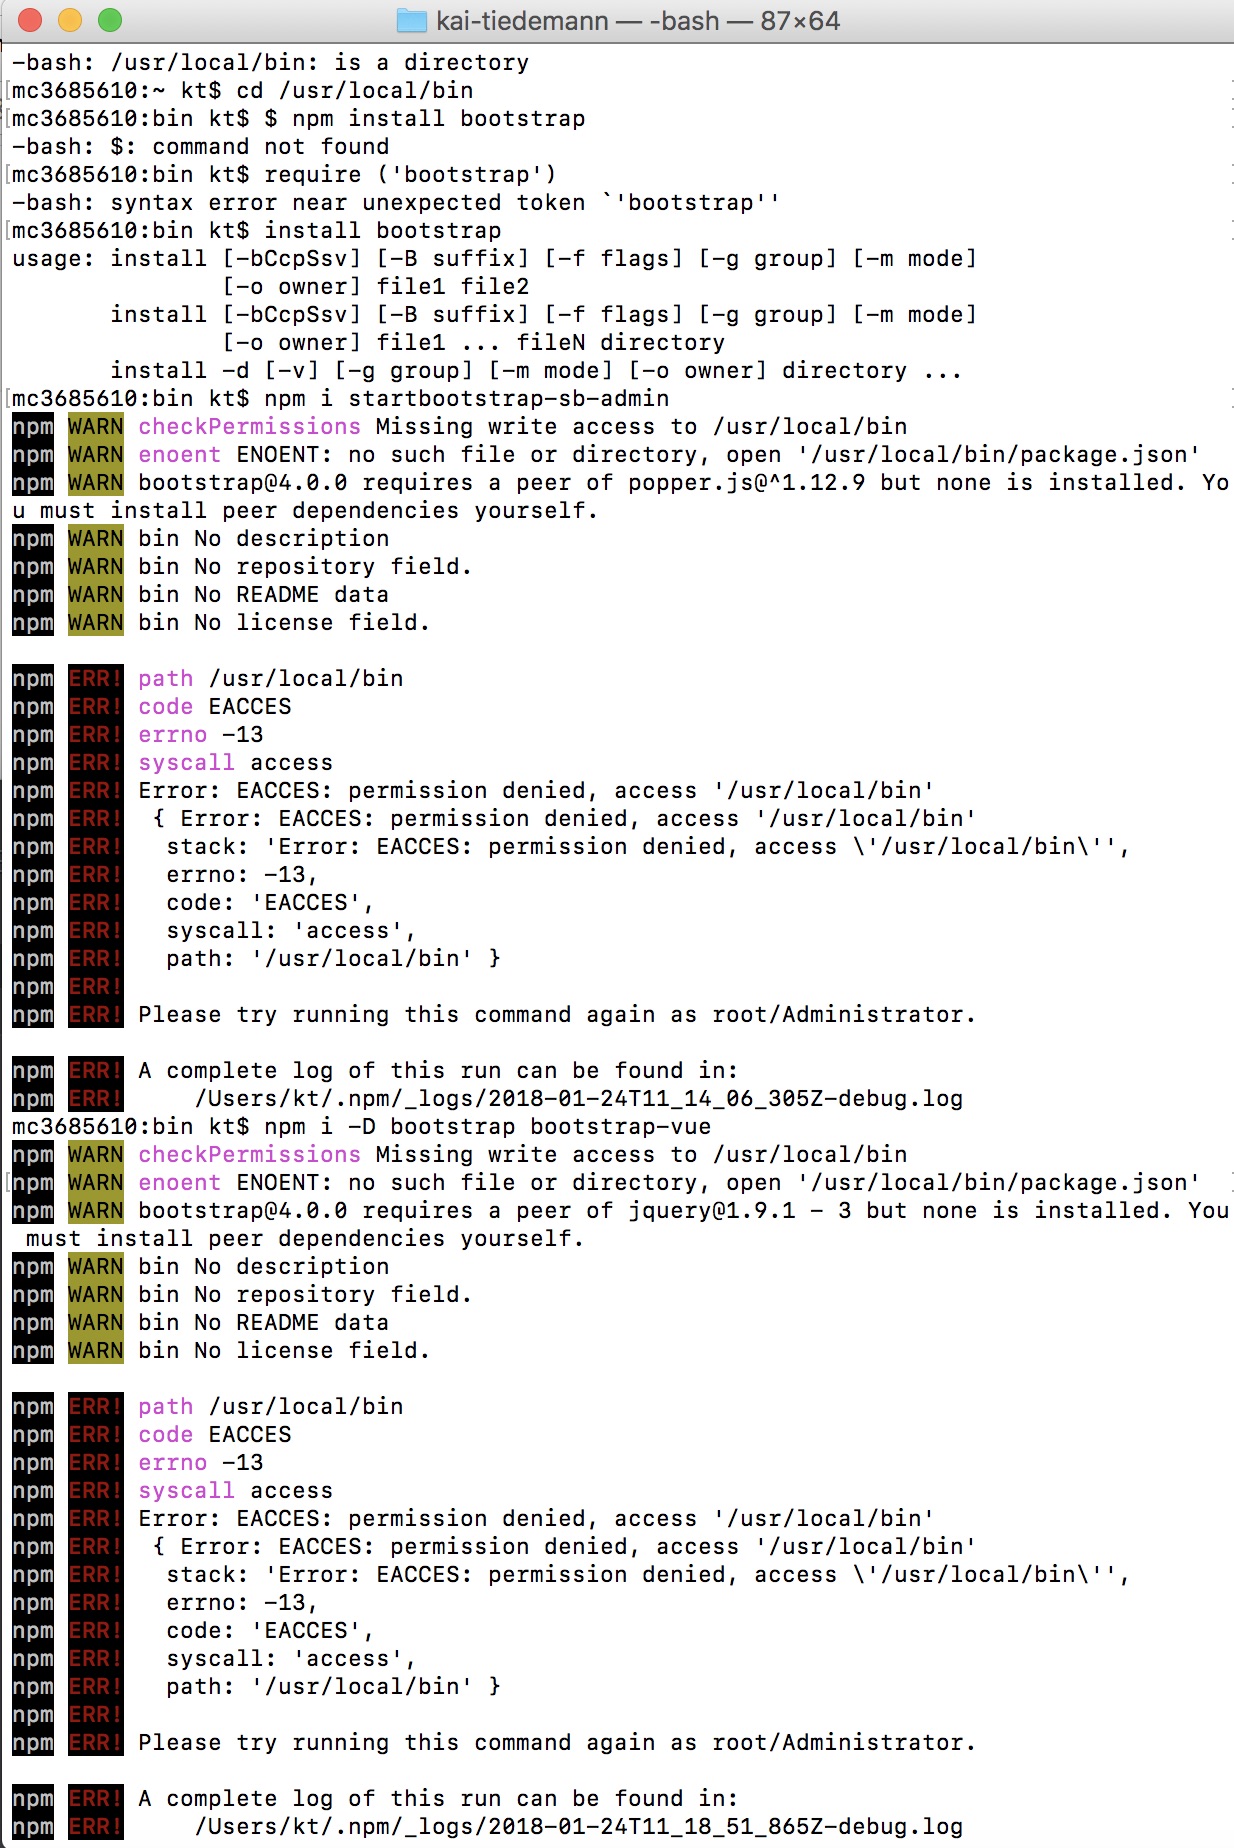 Fig.01: A screenshot of my first bash encounters |
With this package I currently feel like being in control of what I am doing. Of course, a lot of CSS and JavaScript remains yet to discover, but for the time being, I am quite comfortable with the sensation to be able to find solutions in forums and tutorials in case I get stuck.
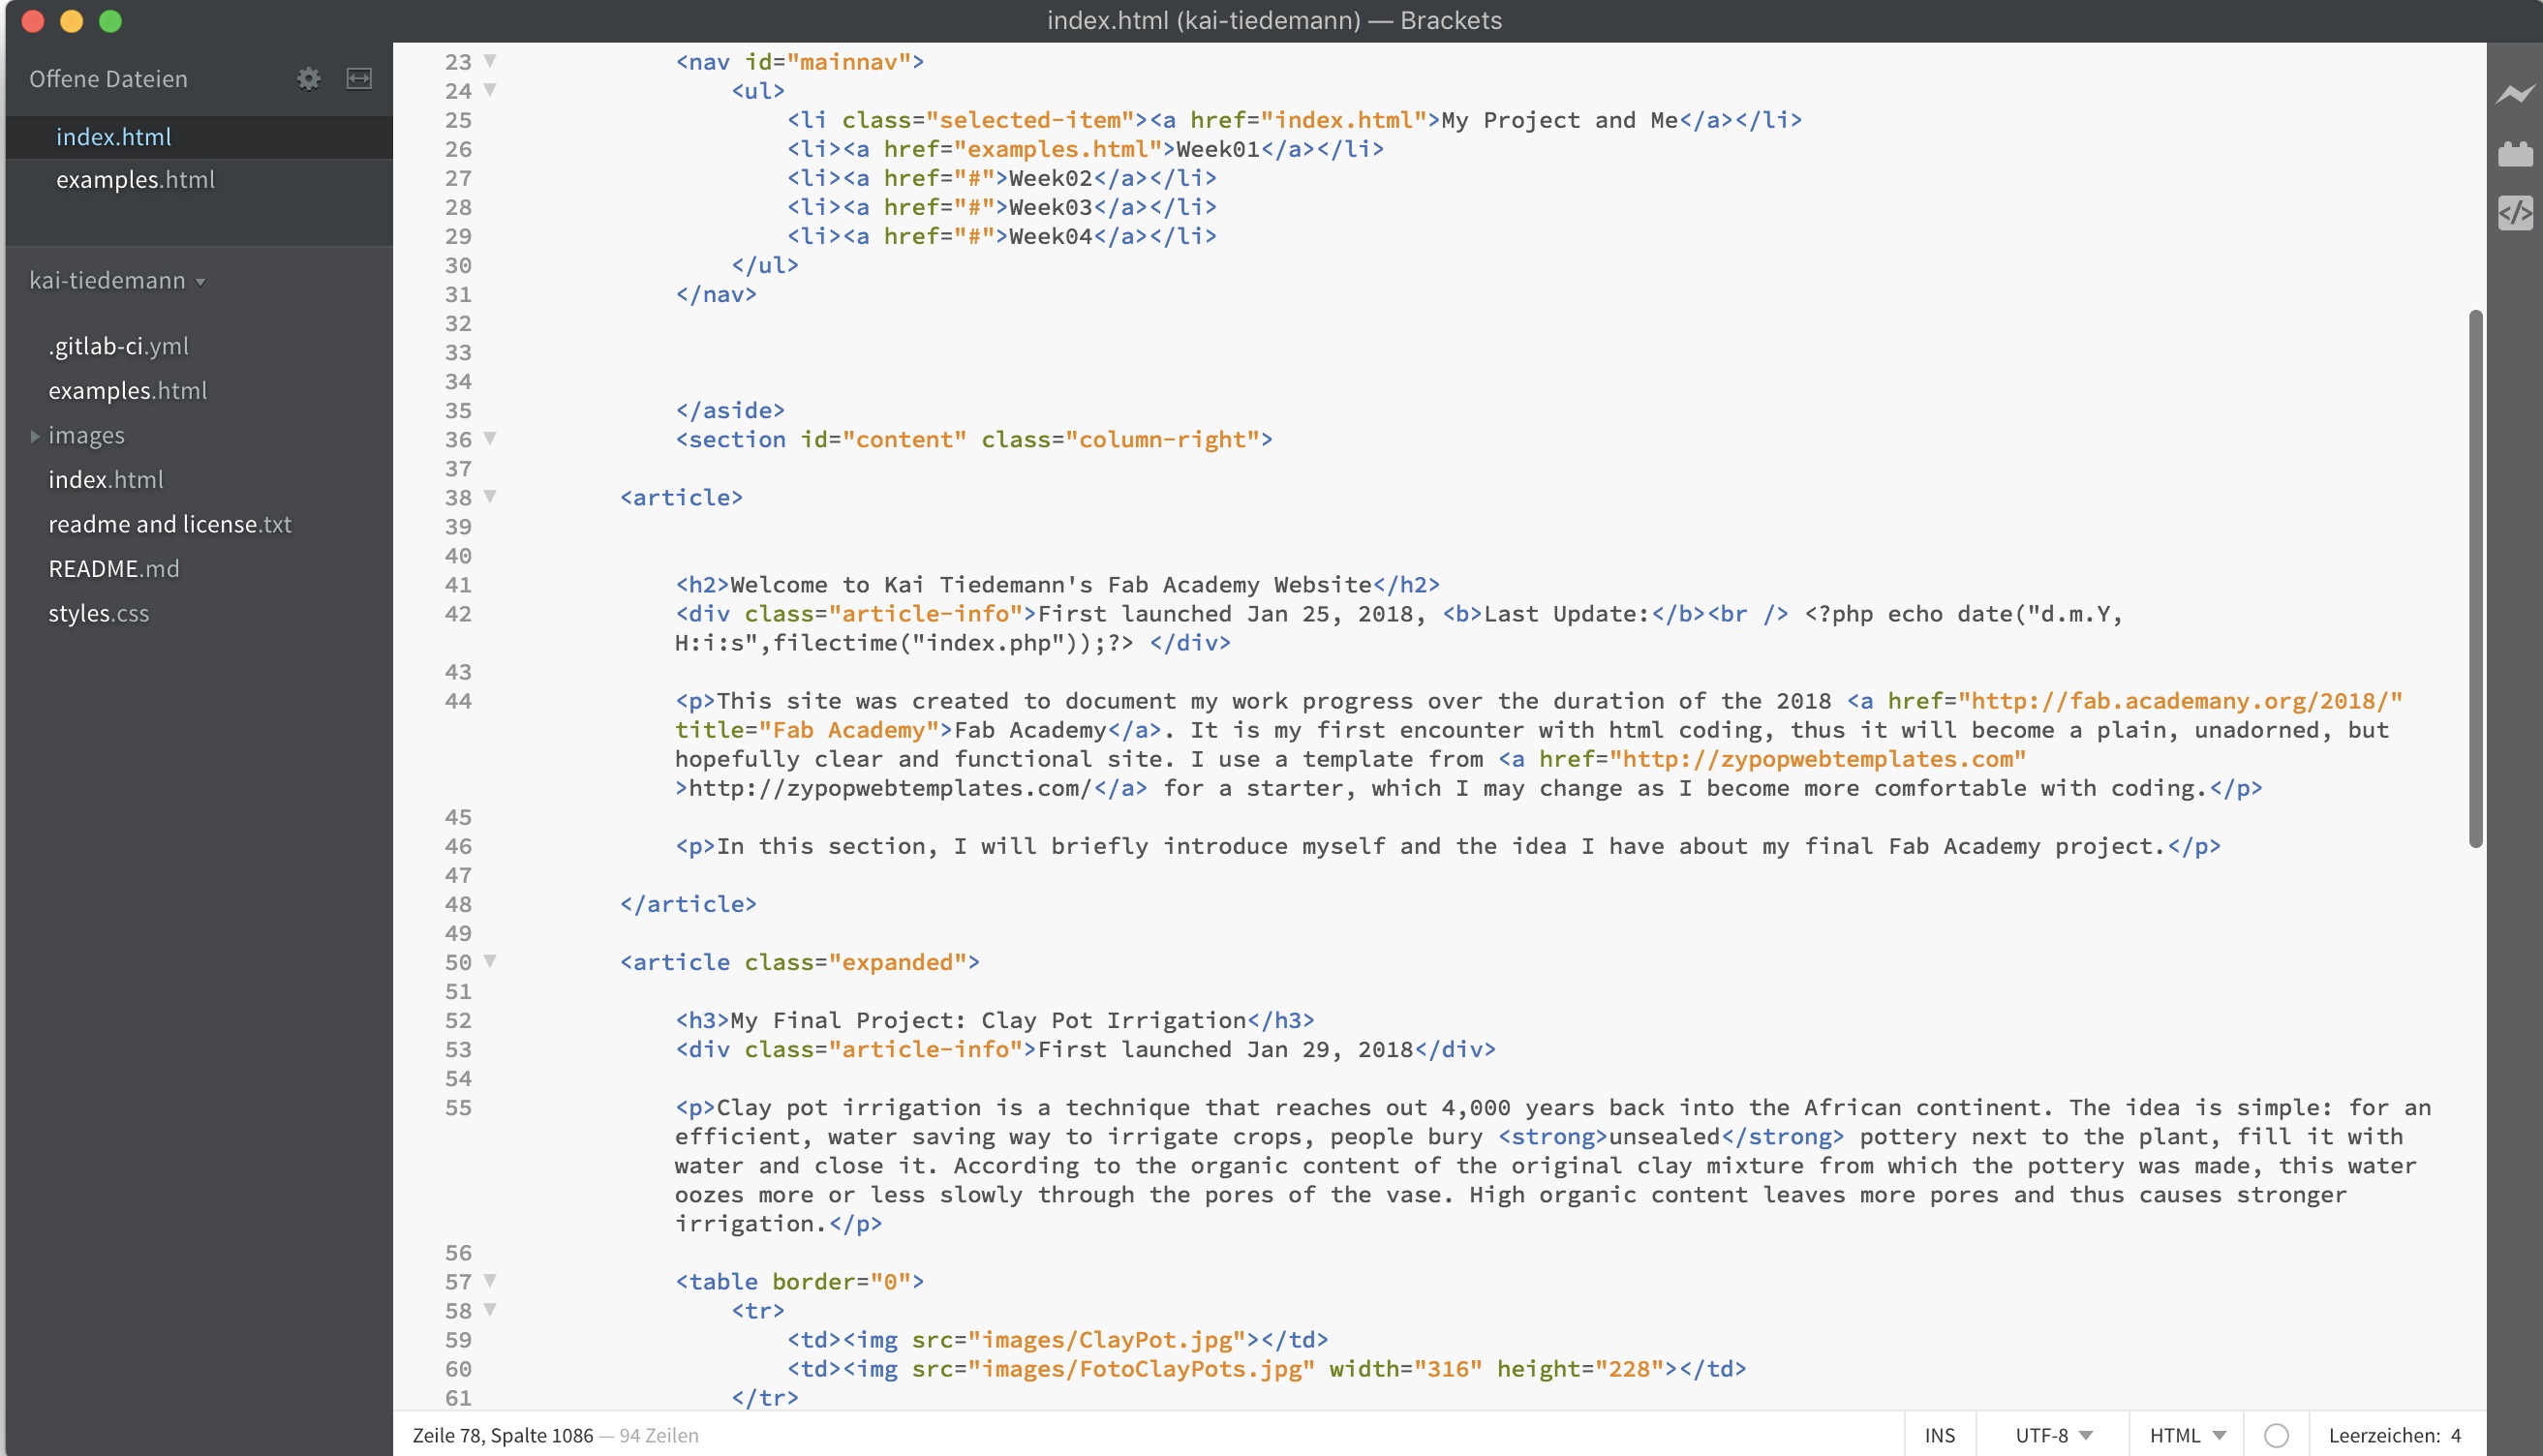
Fig.02: A screenshot of early Brackets usage
There are, however still issues with bash commands. In particular, it happened when I tried to download and install ImageMagick, following Neil's recommendation regarding a powerful software to convert image formats. For me as what I would call an advanced Windows user, it is always a challenge to install from shell. In this particular case, however, I simply could not muster the patience to backtrace yet another error message indicating a failed installation attempt. Fig.03 displays the situation: trying to execute the guidelines provided on ImageMagick.org in the window on the right side of the screen, my shell gave me the "Failed to Open"-error you see in the upper left window. I guess these shell issues will have to wait for less busy times - unless they might just resolve as I gradually improve my skills.

Fig.03: My screen during the ImageMagick episode.
The chosen template had some shortcomings, though: 1) I was not confident with the Responsive Web Design, since this messed up my layout (Fig.04) - which I could solve by setting the width parameter from auto to 1500px (see top red circle in Fig.07); 2) having solved the previous I found that scrolling sideways produced an overlay between the body and the navigation bar (Fig.05) - which I thought I could solve by introducing the position parameter in the body section set to fixed (see bottom red circle in Fig.07). This, however, blocked any scrolling, including vertically, so I had to drop it. I hope I may find a different way eventually; 3) another result of that fixed width was a black bar on the right page margin (Fig.06) - which could simply be solved by setting the background color in the global body section to #fff for white instead of #222 for black. Of course the result is certainly not the most elegant way, but it works for the time being.
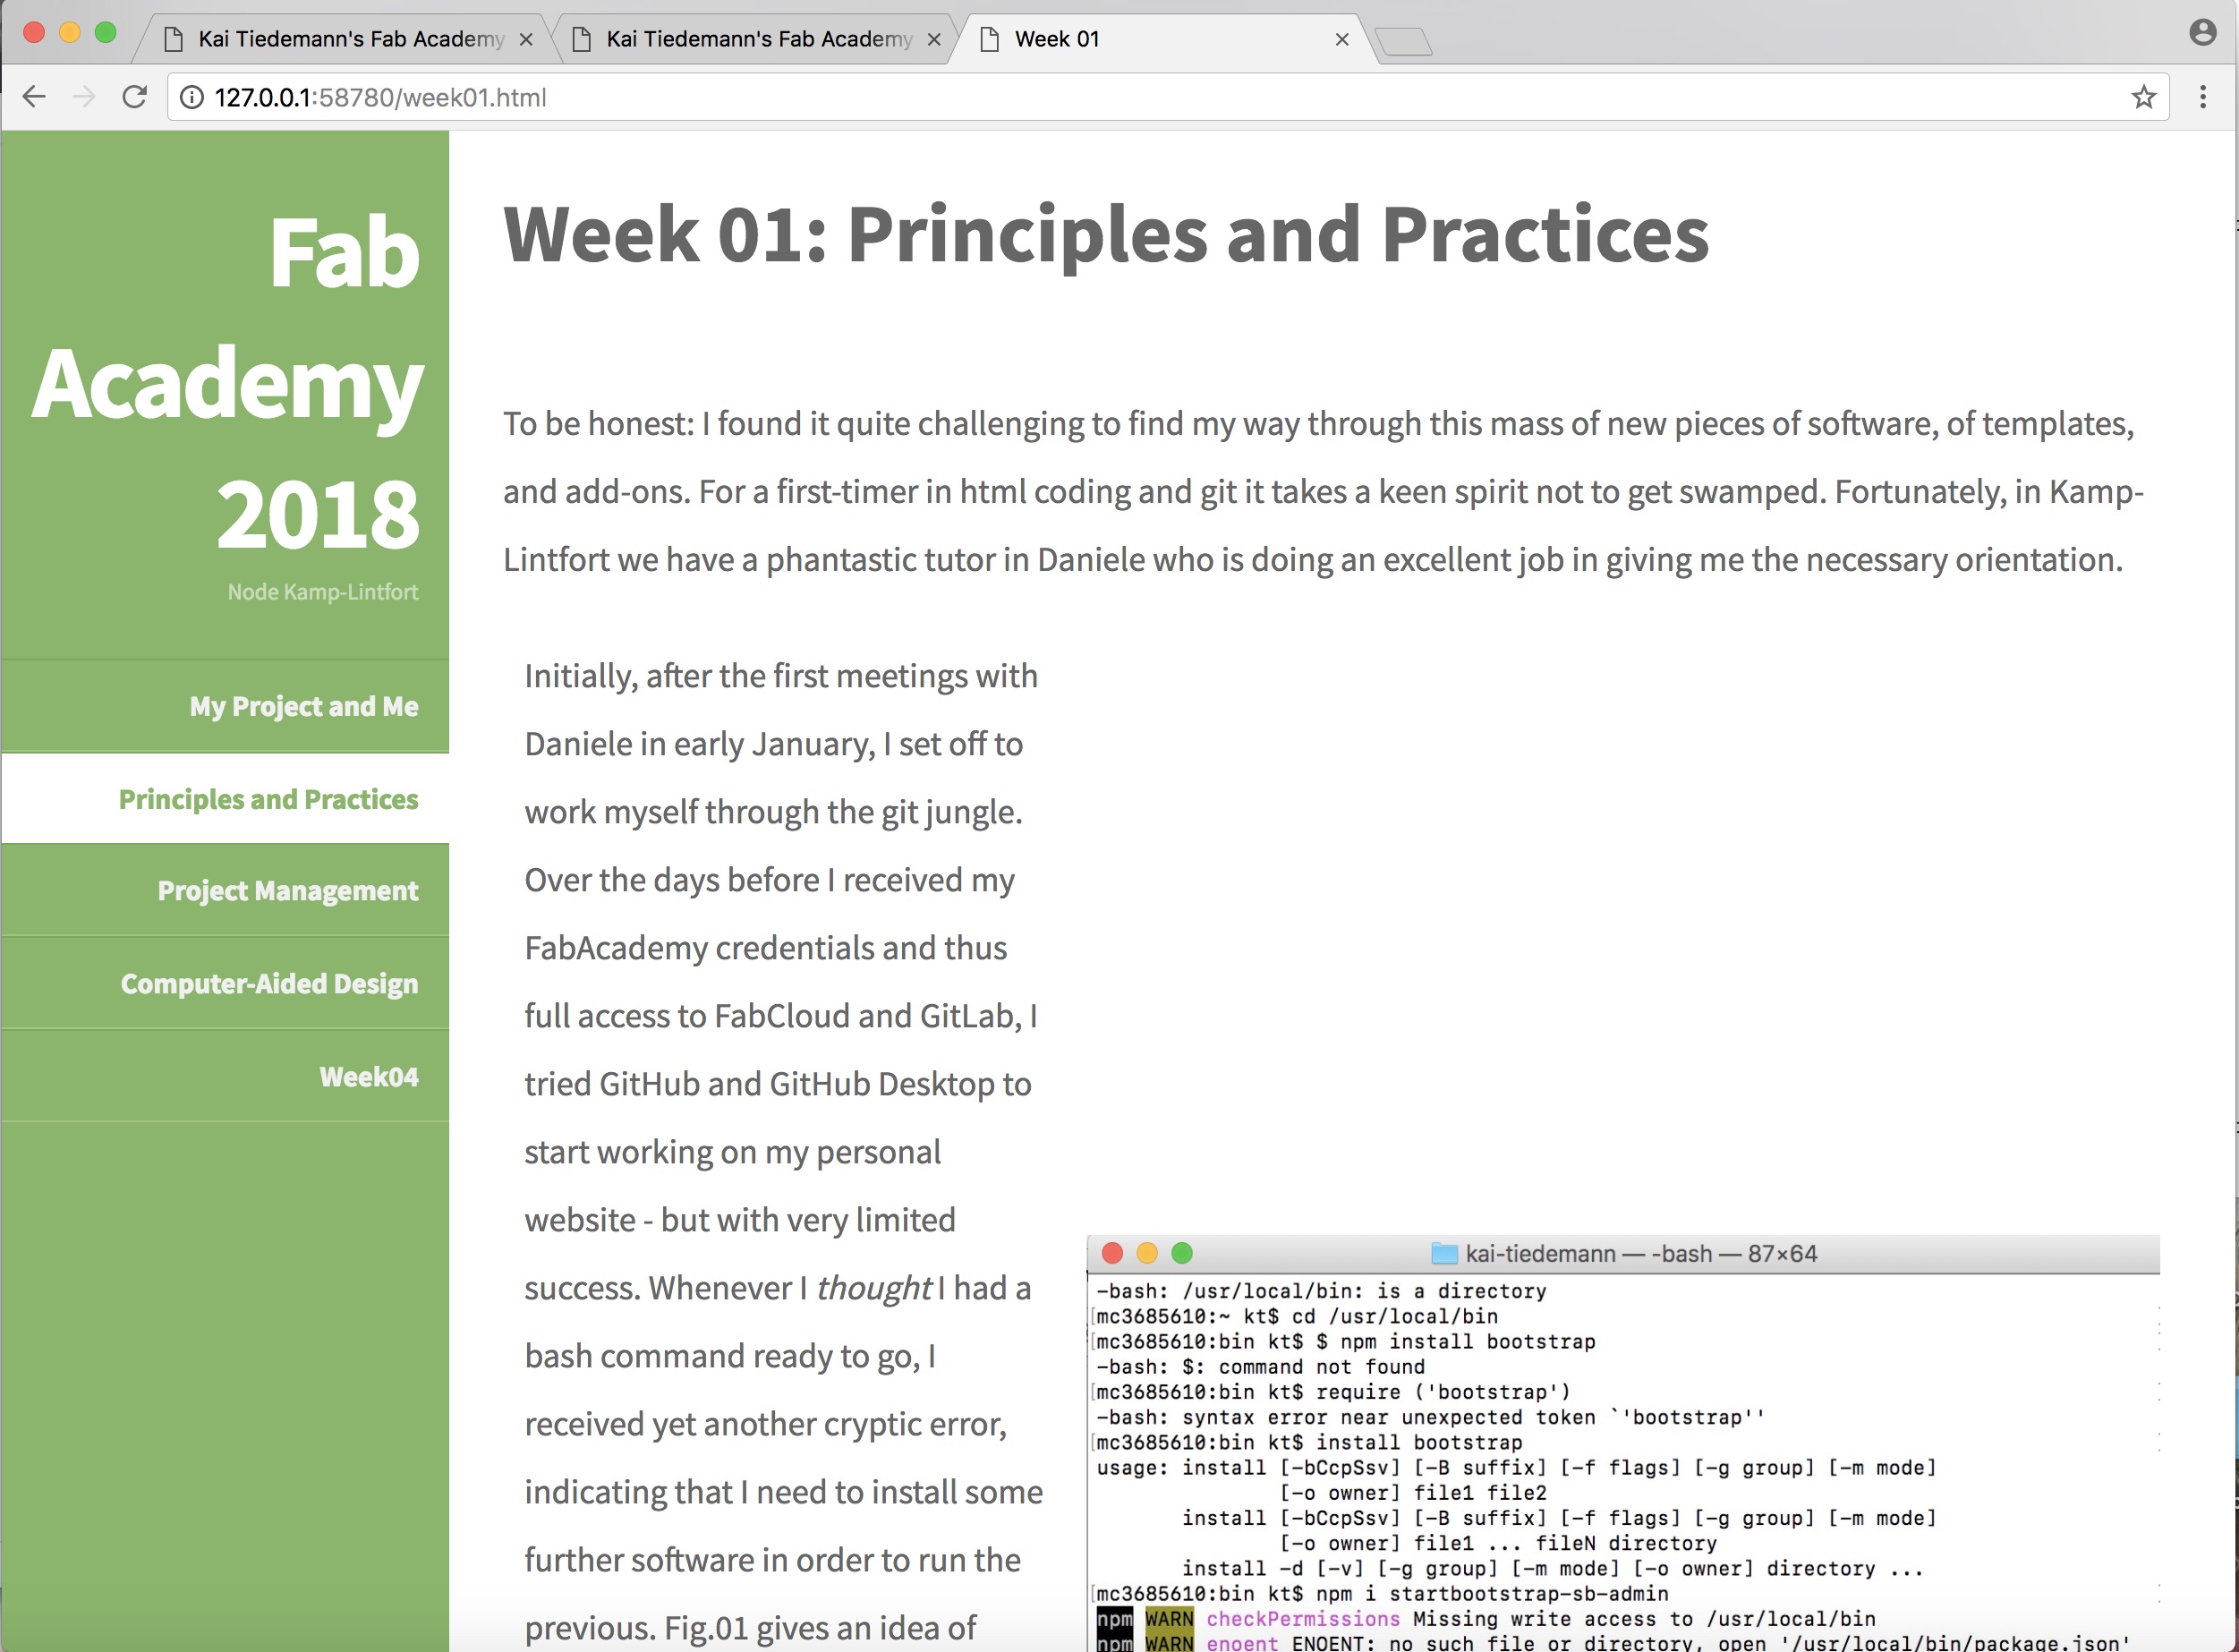 Fig.04: Layout trouble due to RWD. |
 Fig.05: Overlay between body and sidebar. |
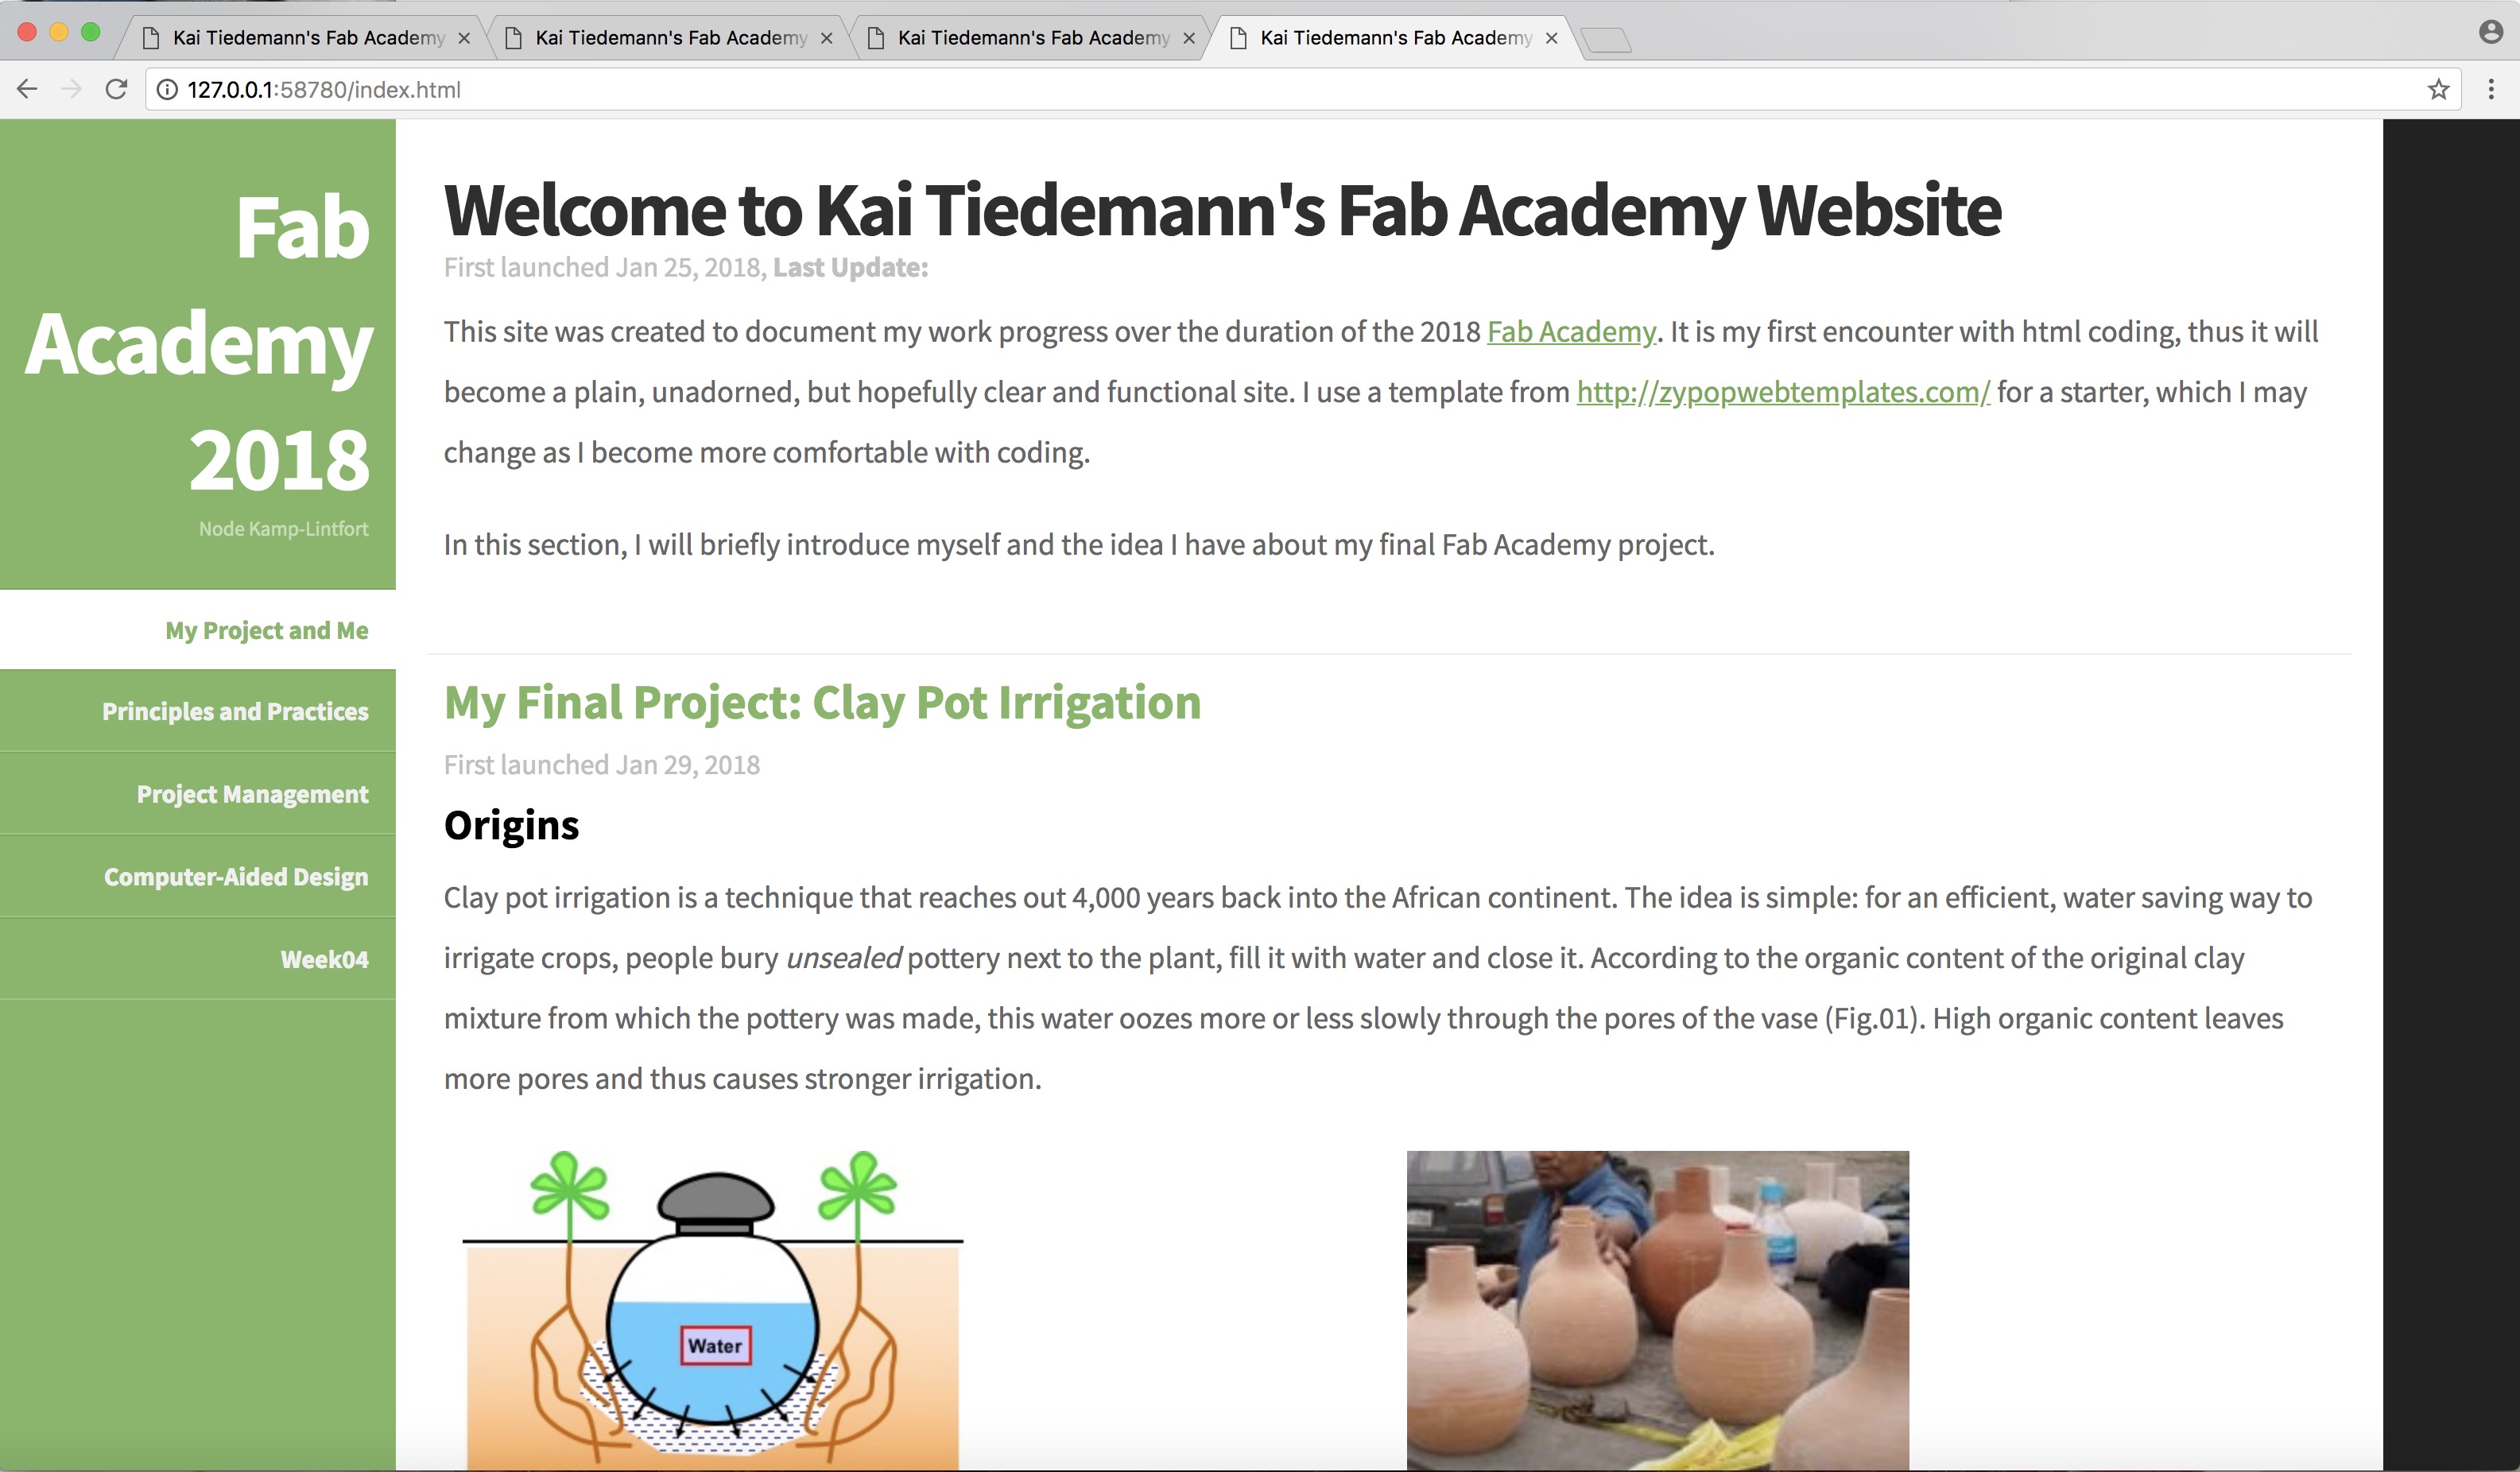 Fig.06: Black bar on right margin. |
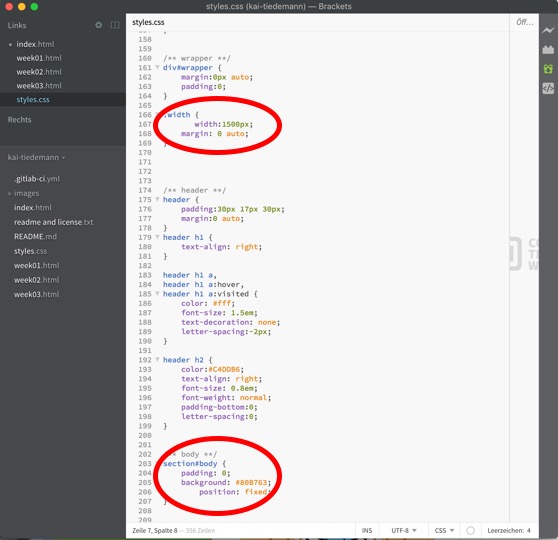 Fig.07: Changes in CSS code. |