Week 06: 3D Scanning and Printing
For my individual assignment I chose printing a downscaled model of the vases I want to print in clay for my final project. I took the design from my week03-assignment on Computer-Aided Design in Fusion360 (Fig.01), since this is a simple (hence supposedly uncomplicated to print) object, which at the same time displays the requested feature that it cannot be produced subtractively. This refers to the processing of a workpiece in a conventional mill: an object that is produced subtractively can only be worked on from the top, hence there is no way to carve voids with overhanging structures - unless the facility is operating a 5-axis device, which is not the case in Kamp-Lintfort. The design was delivered from Fusion360 to Cura as a .stl-file (Fig.02).
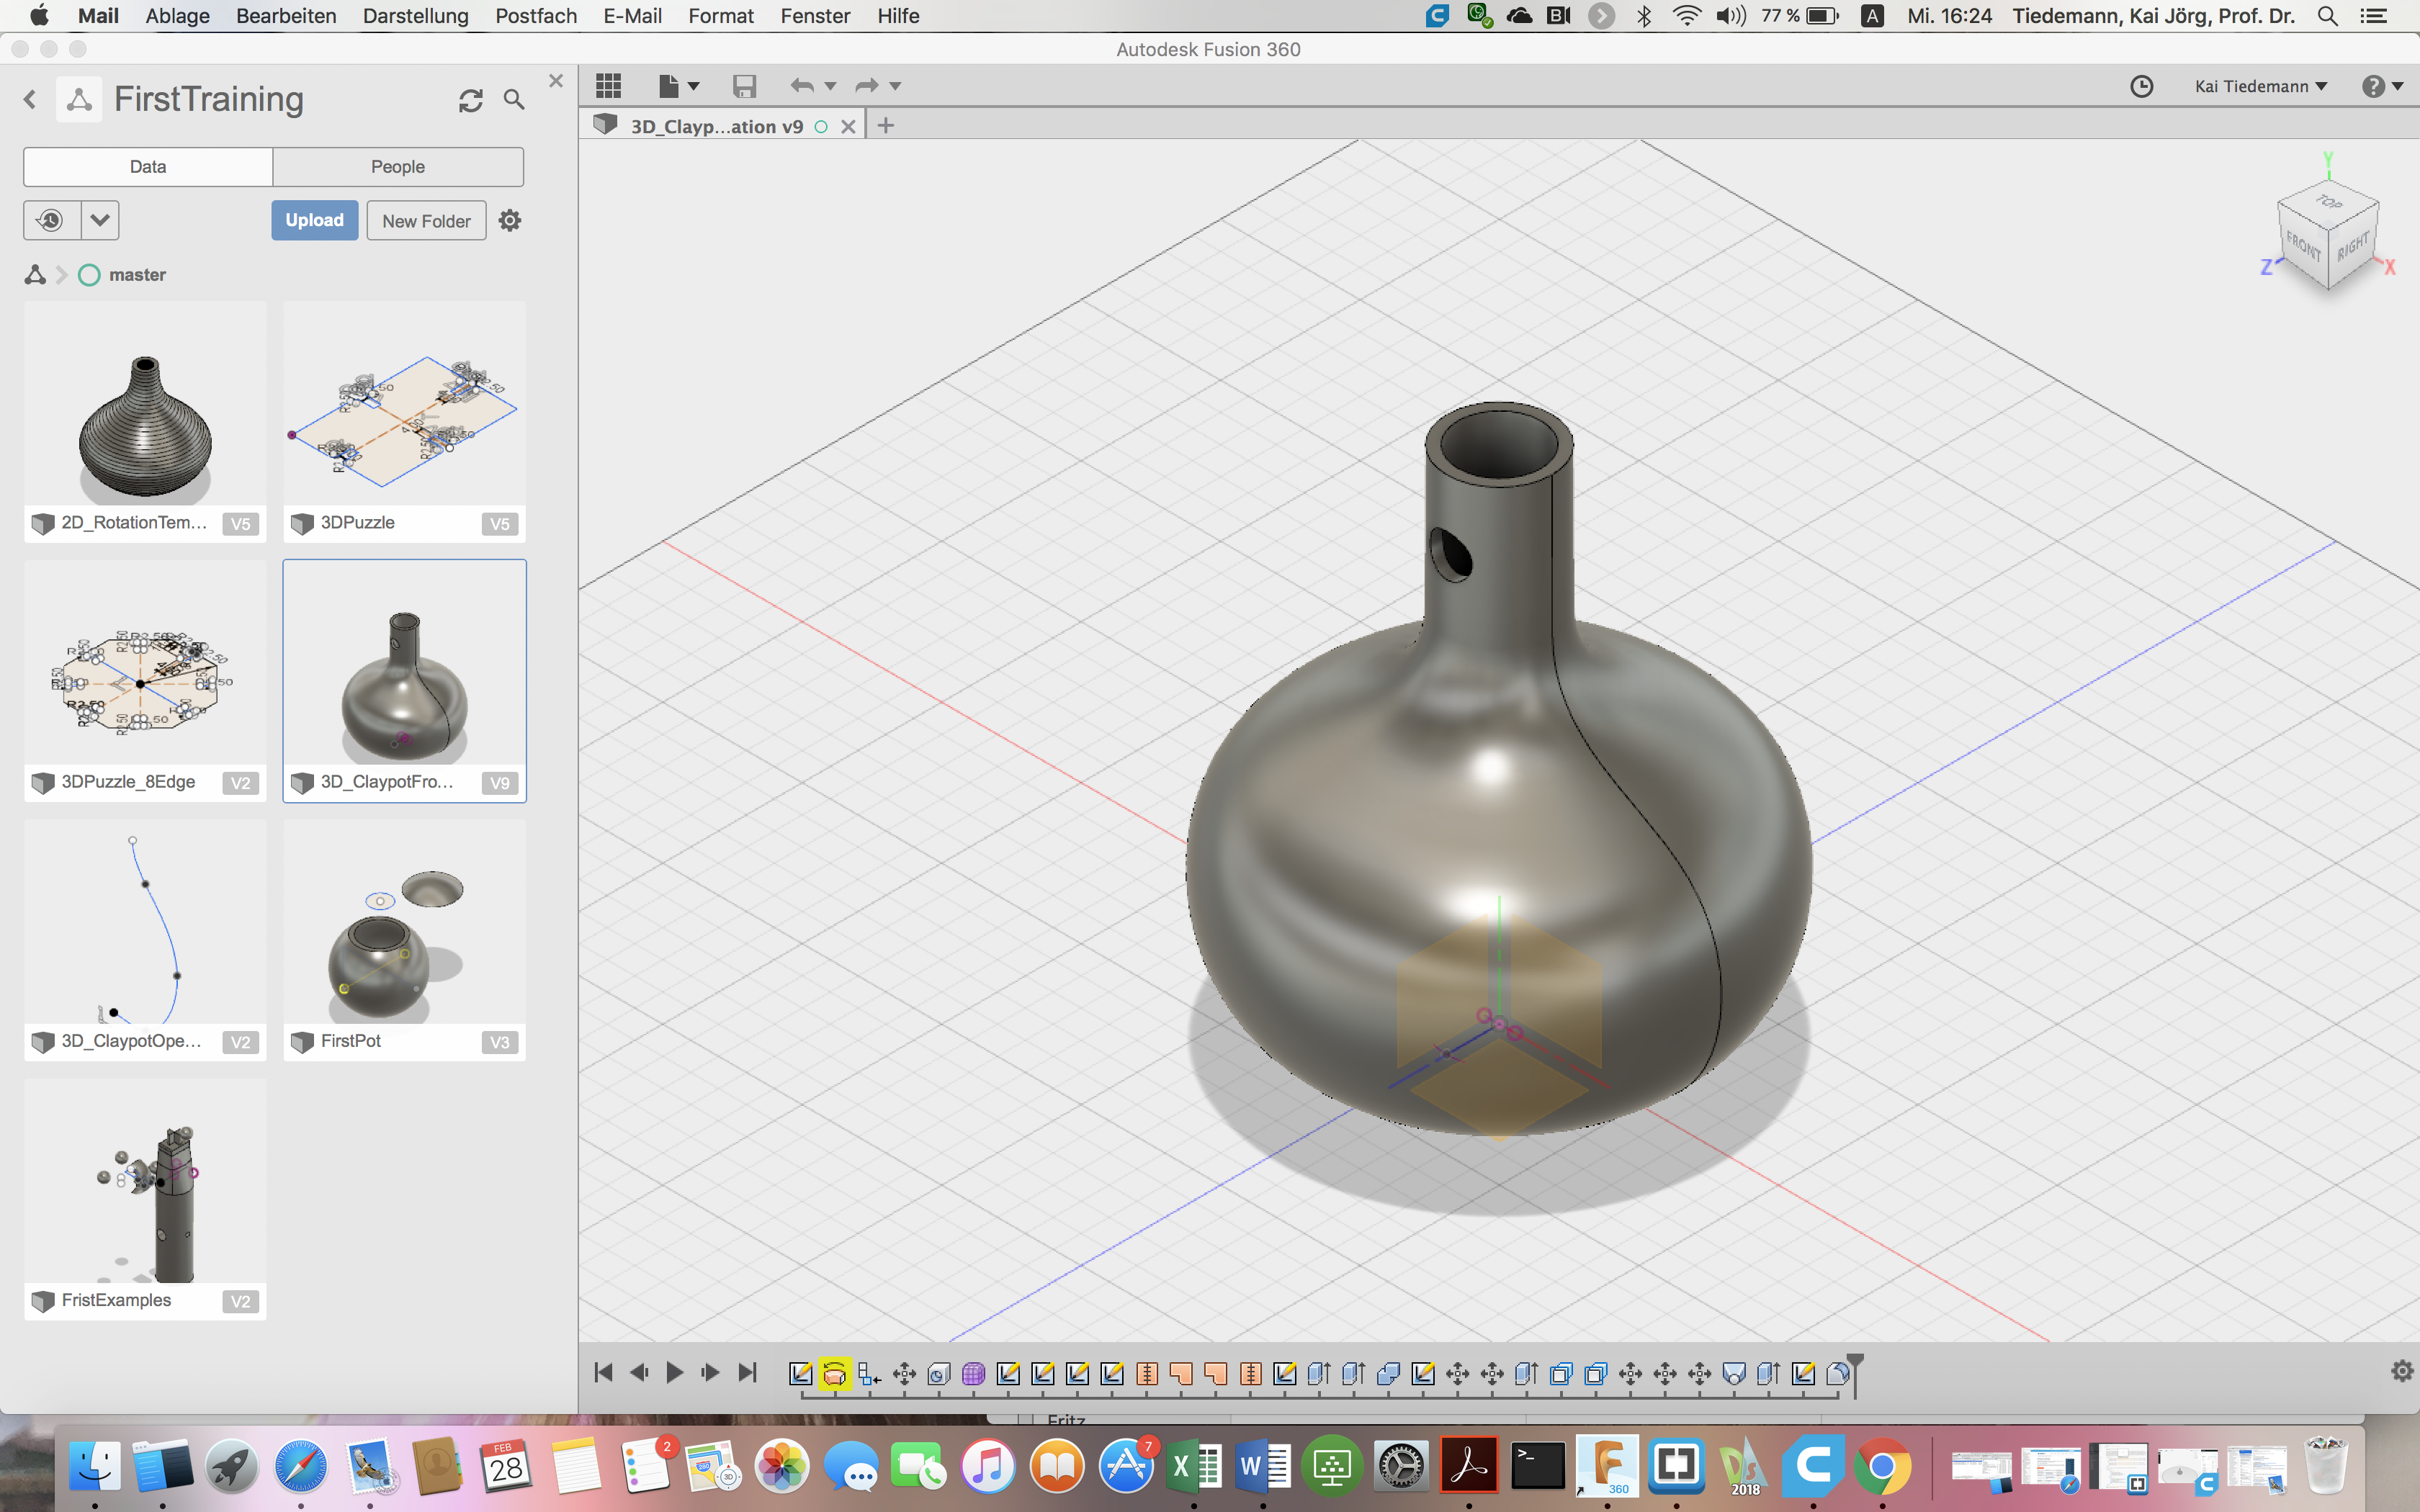 Fig.01: Pot design in Fusion360. |
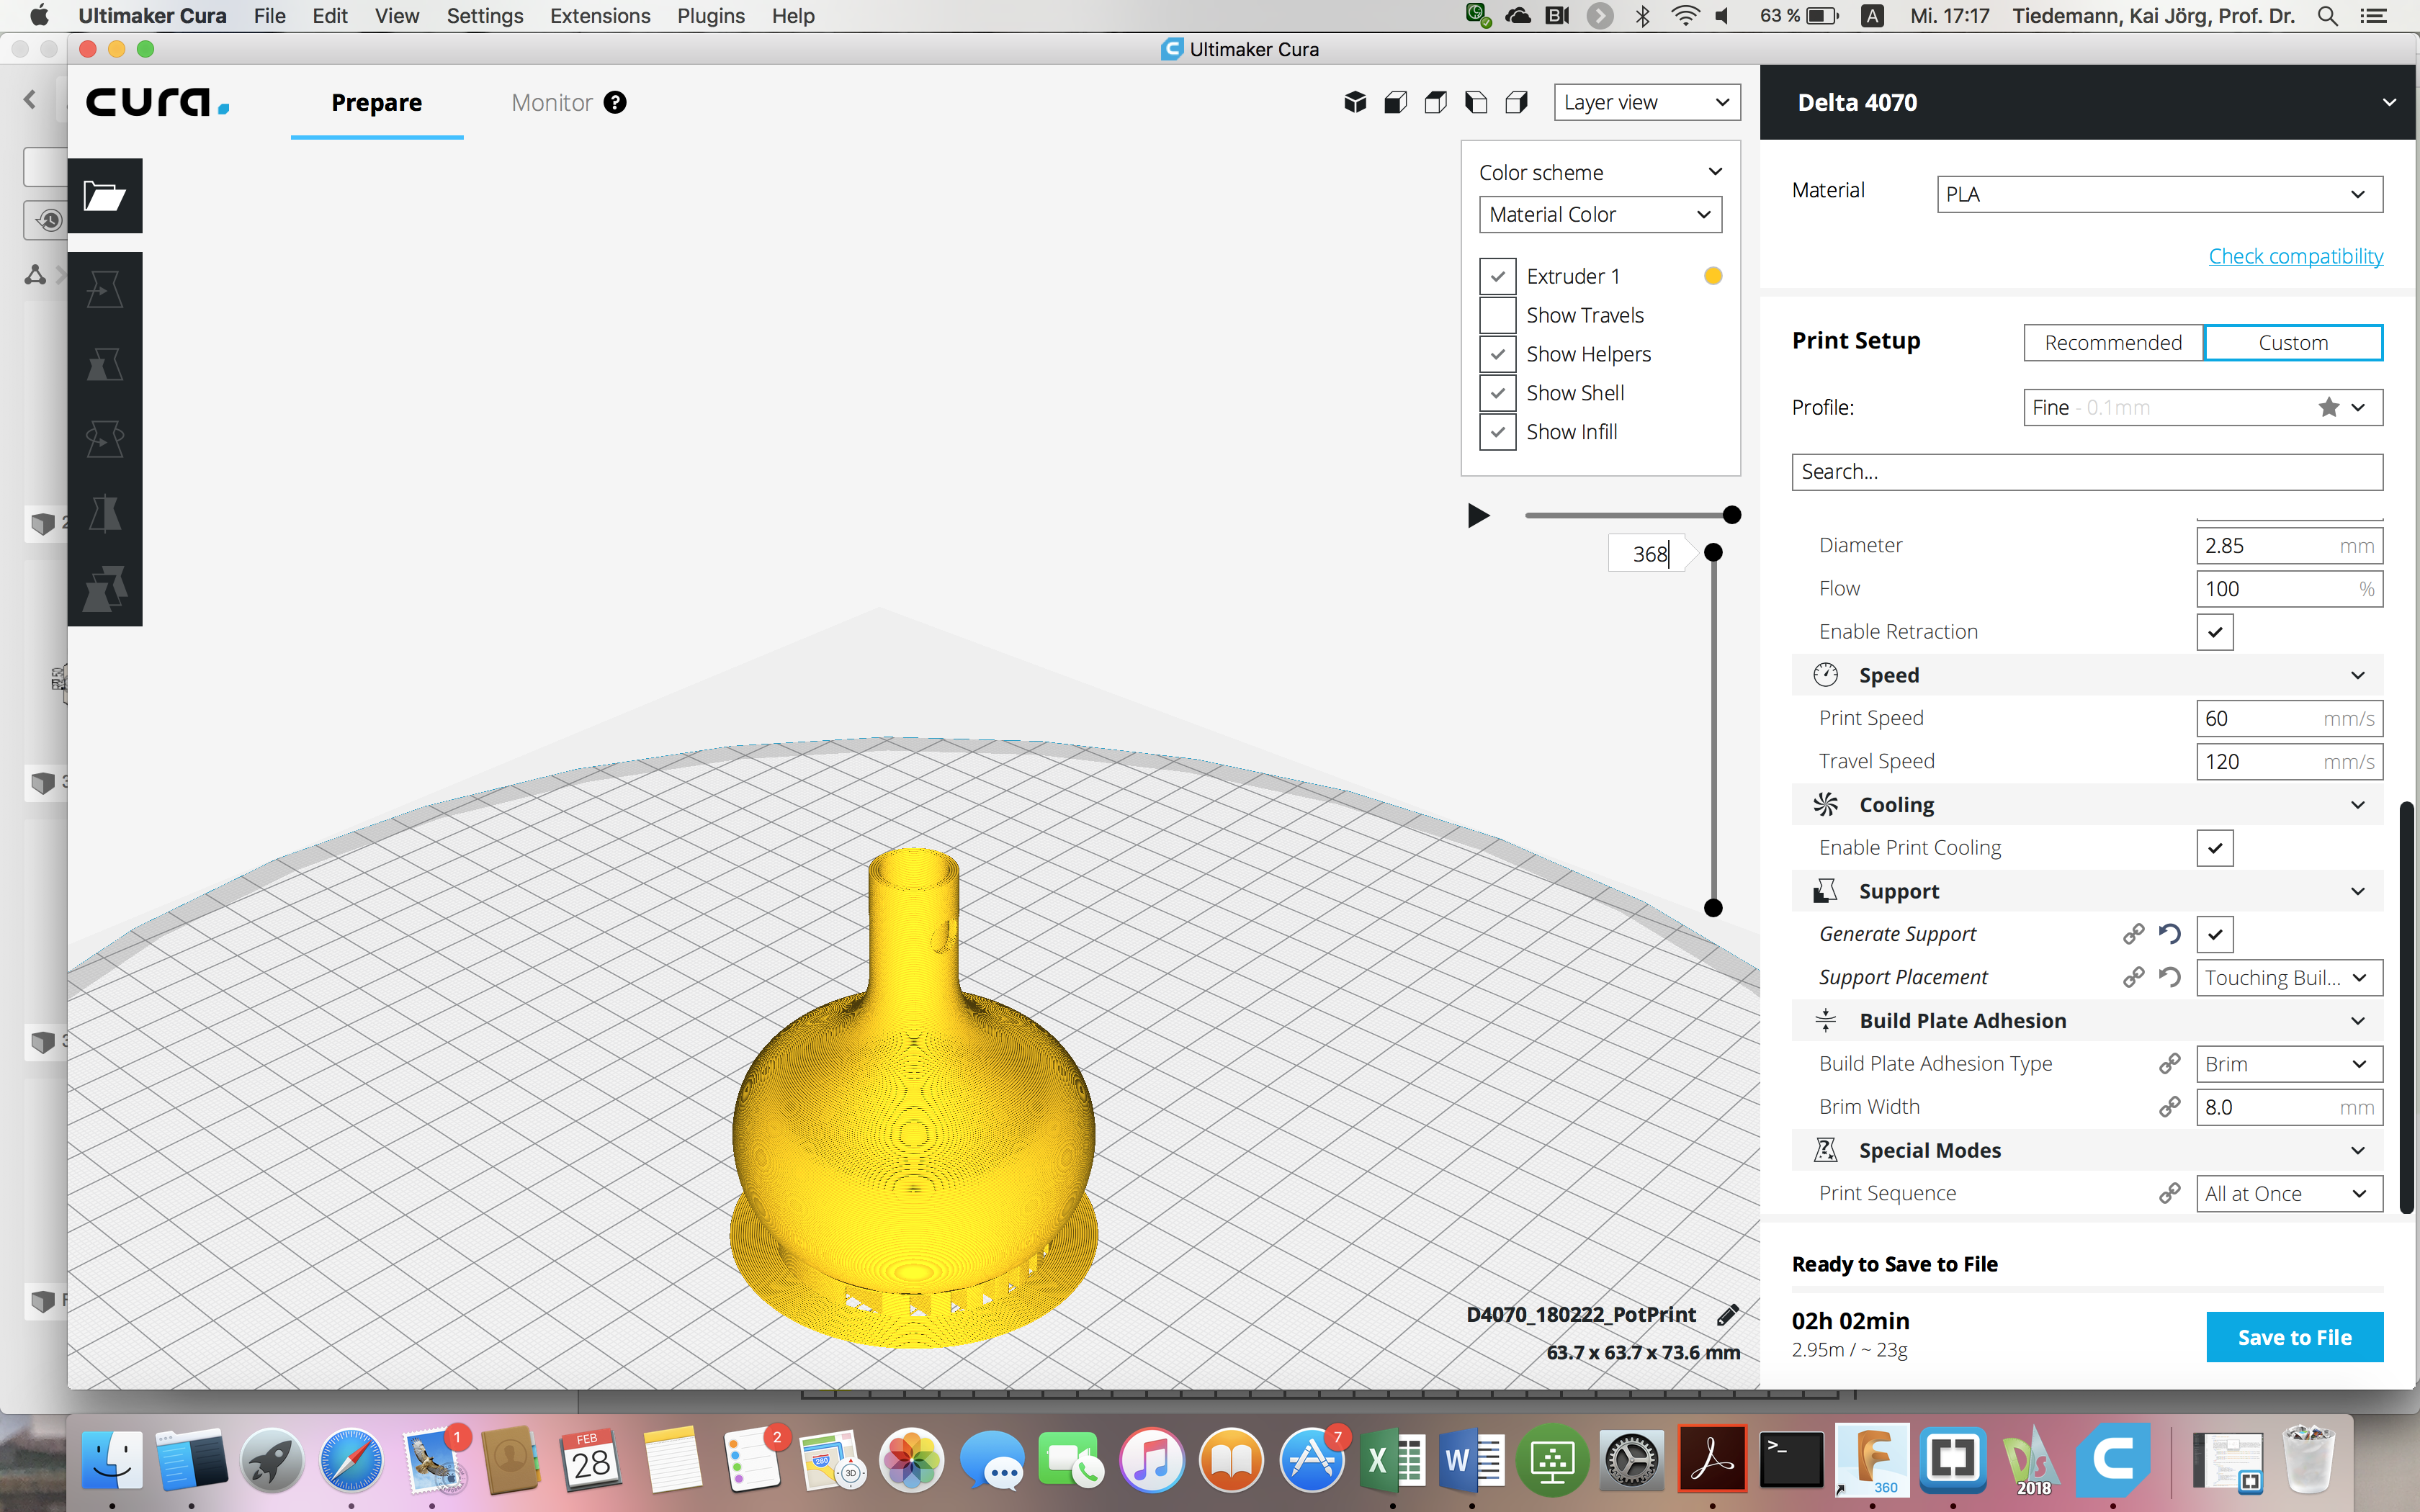 Fig.02: Layer view of pot design in Cura. |
Cura was adjusted to using a Delta WASP 4070 printer with the following settings:
|
|
|
The printer's base plate was prepared with adhesive tape (Fig.03). Unfortunately, the settings did not work very well with the Delta Printer, Fig.04 & 05 show the initial mess. The outcomes improved slightly after increasing the printing temperature manually on the printer to 215°C (Fig.06), still the vase's neck did not come out (Fig.07). Finally, switching the printer to an Ultimaker 2+ Extended with a 0.8mm nozzle did the job after changing the width of the wall from 0.8mm to 2.5mm (Fig.08).
 Fig.03: Printer preparation with adhesive tape. |
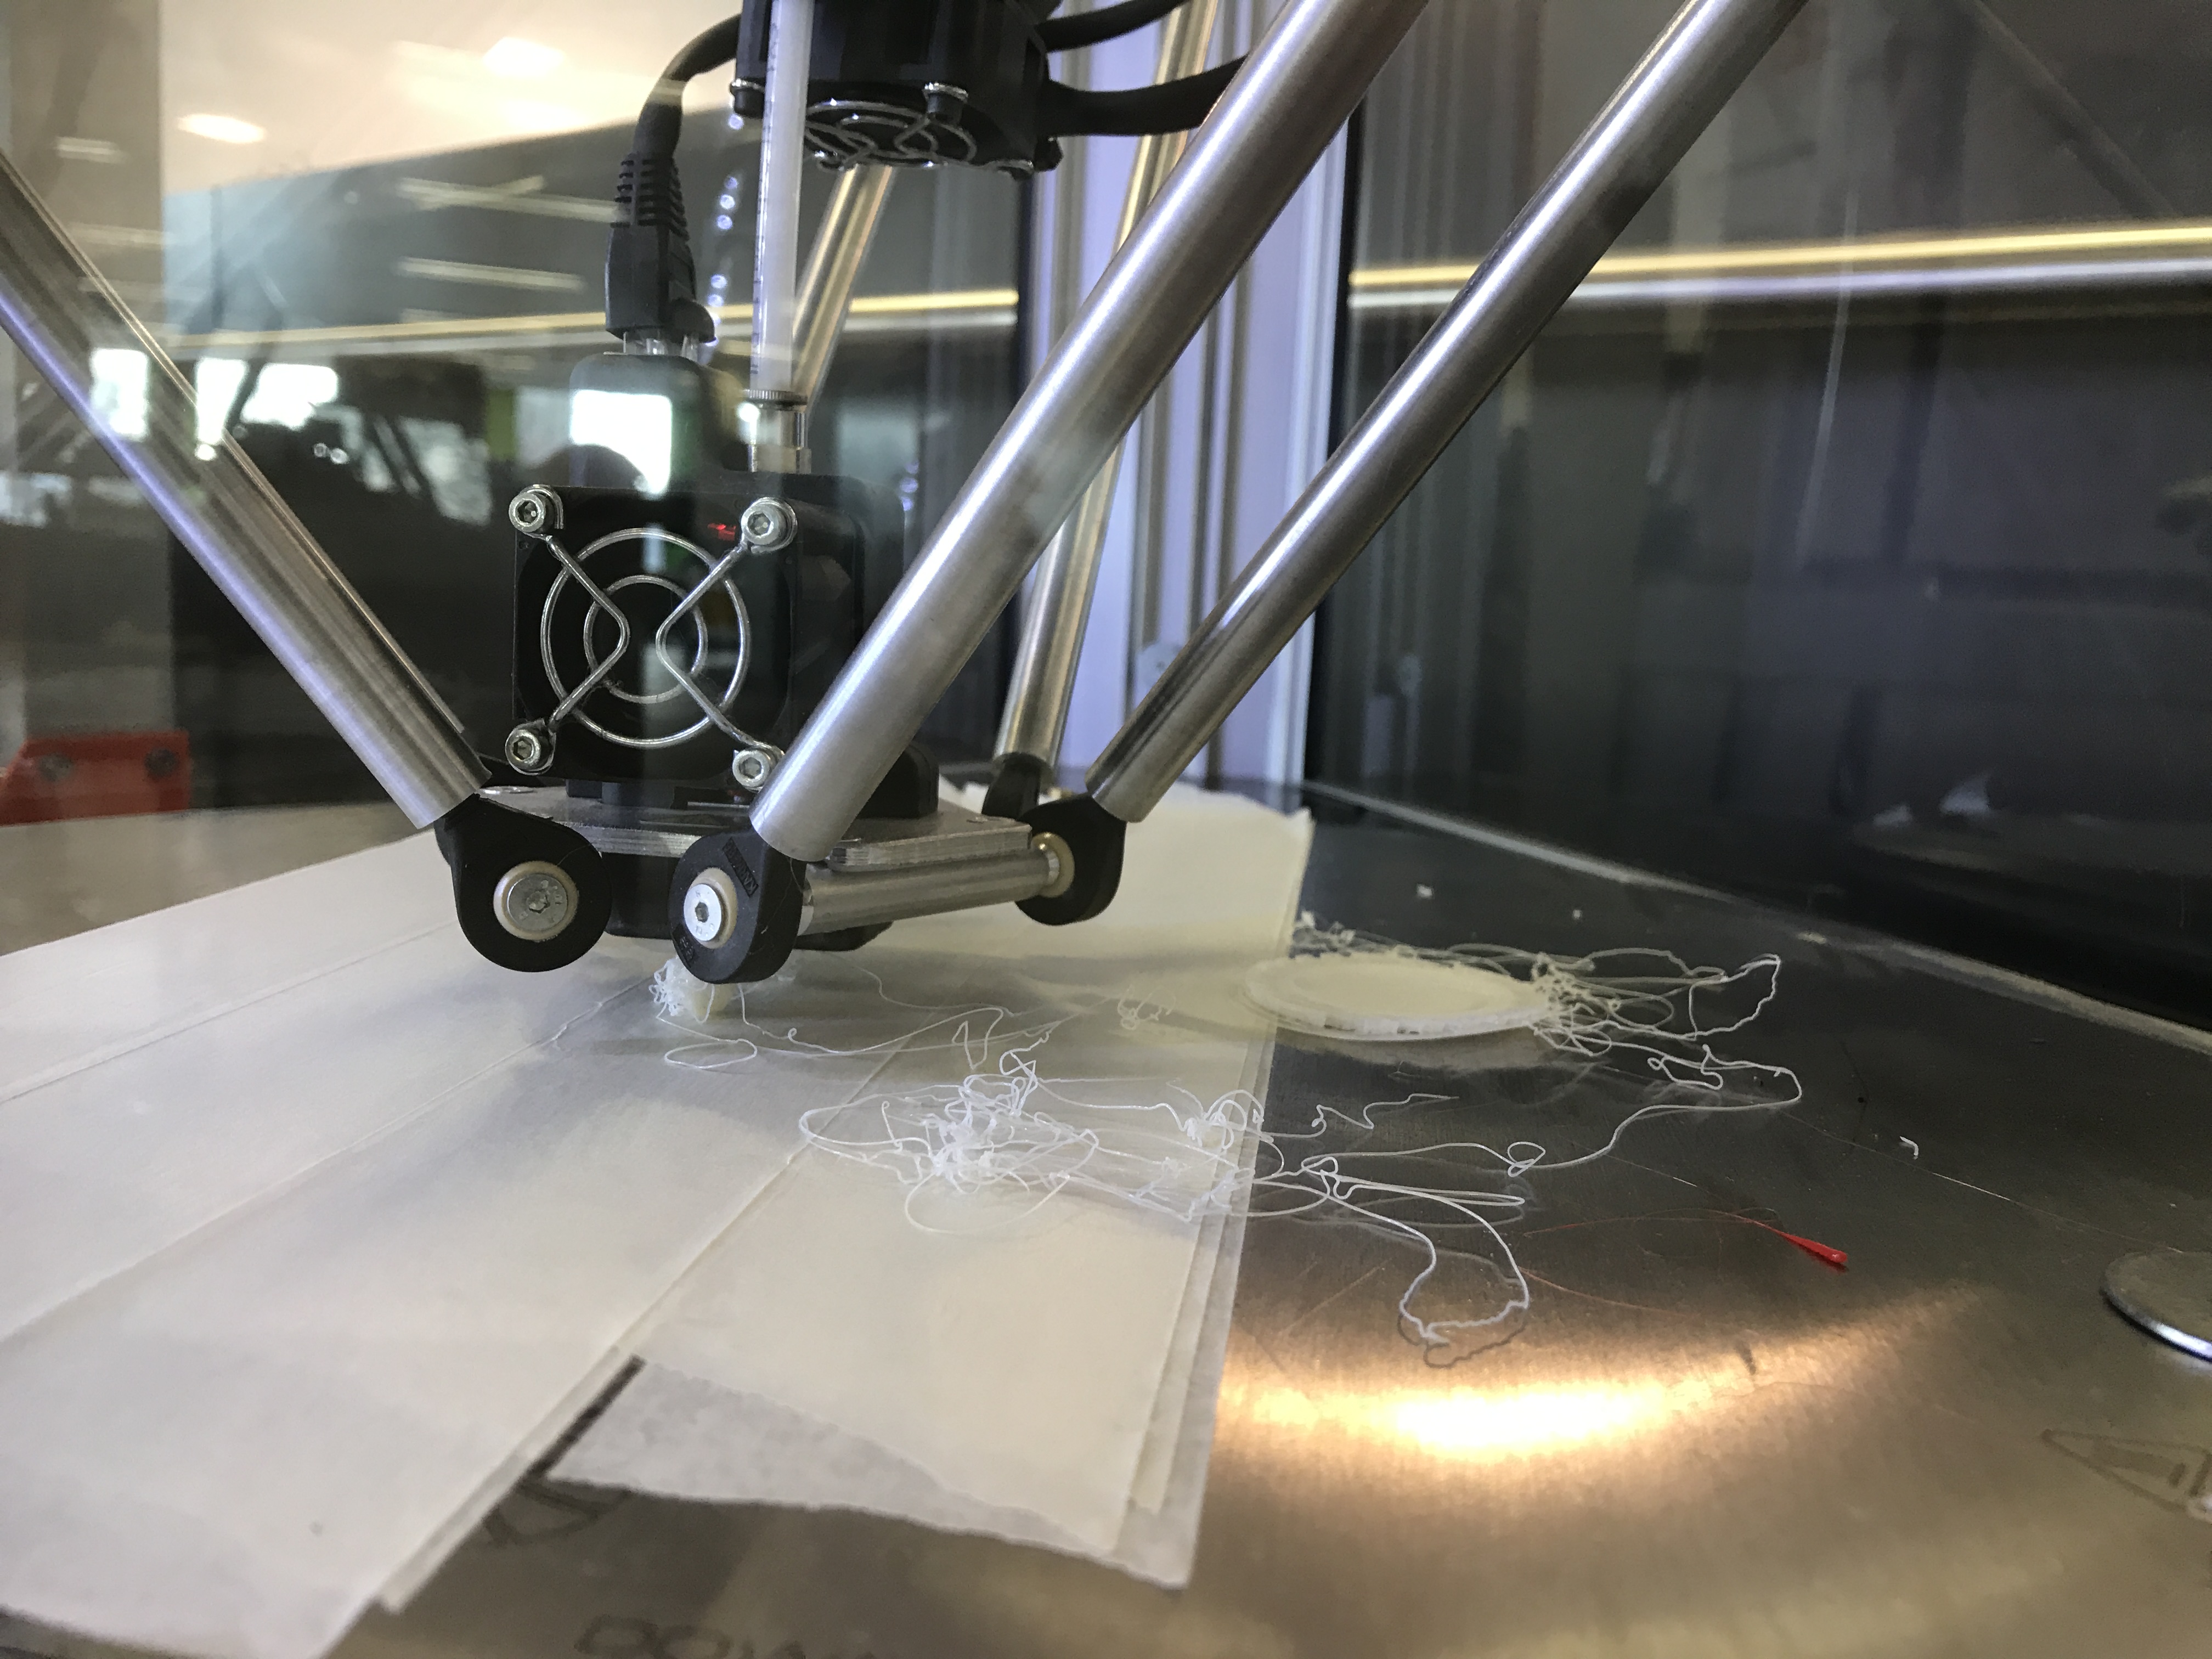 Fig.04: Misprint in action. |
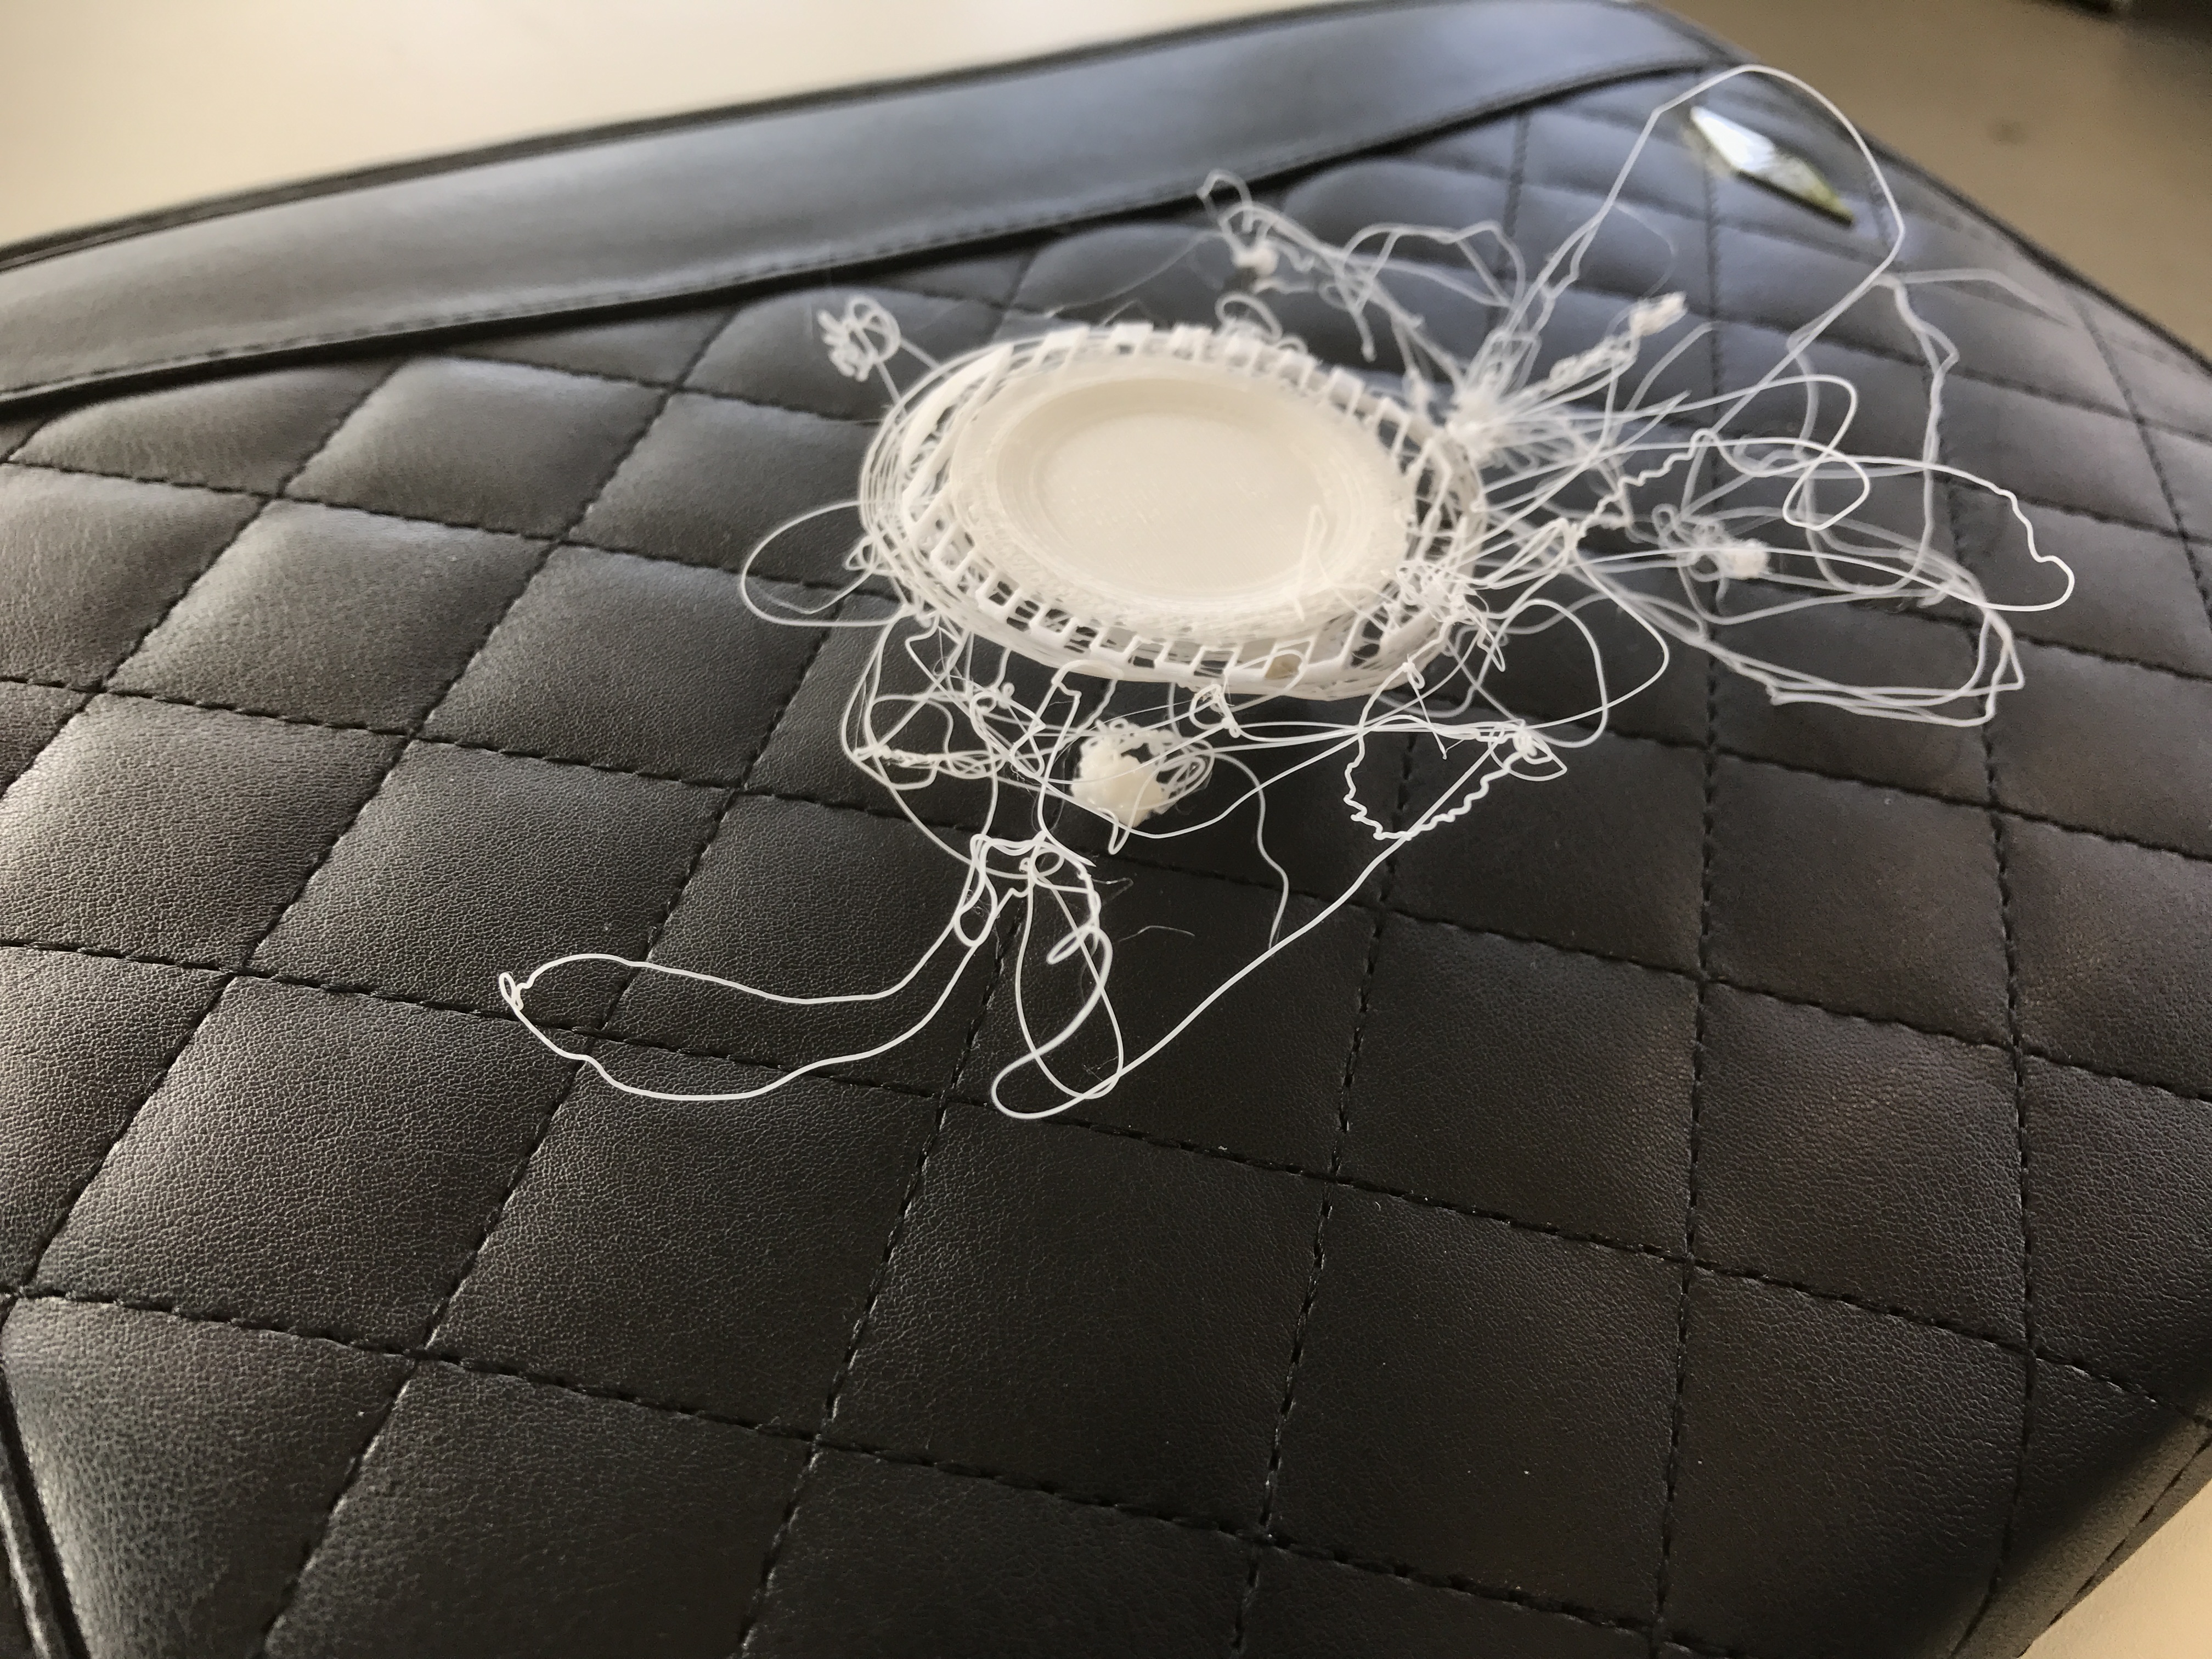 Fig.05: Misprinted filament from Delta WASP. |
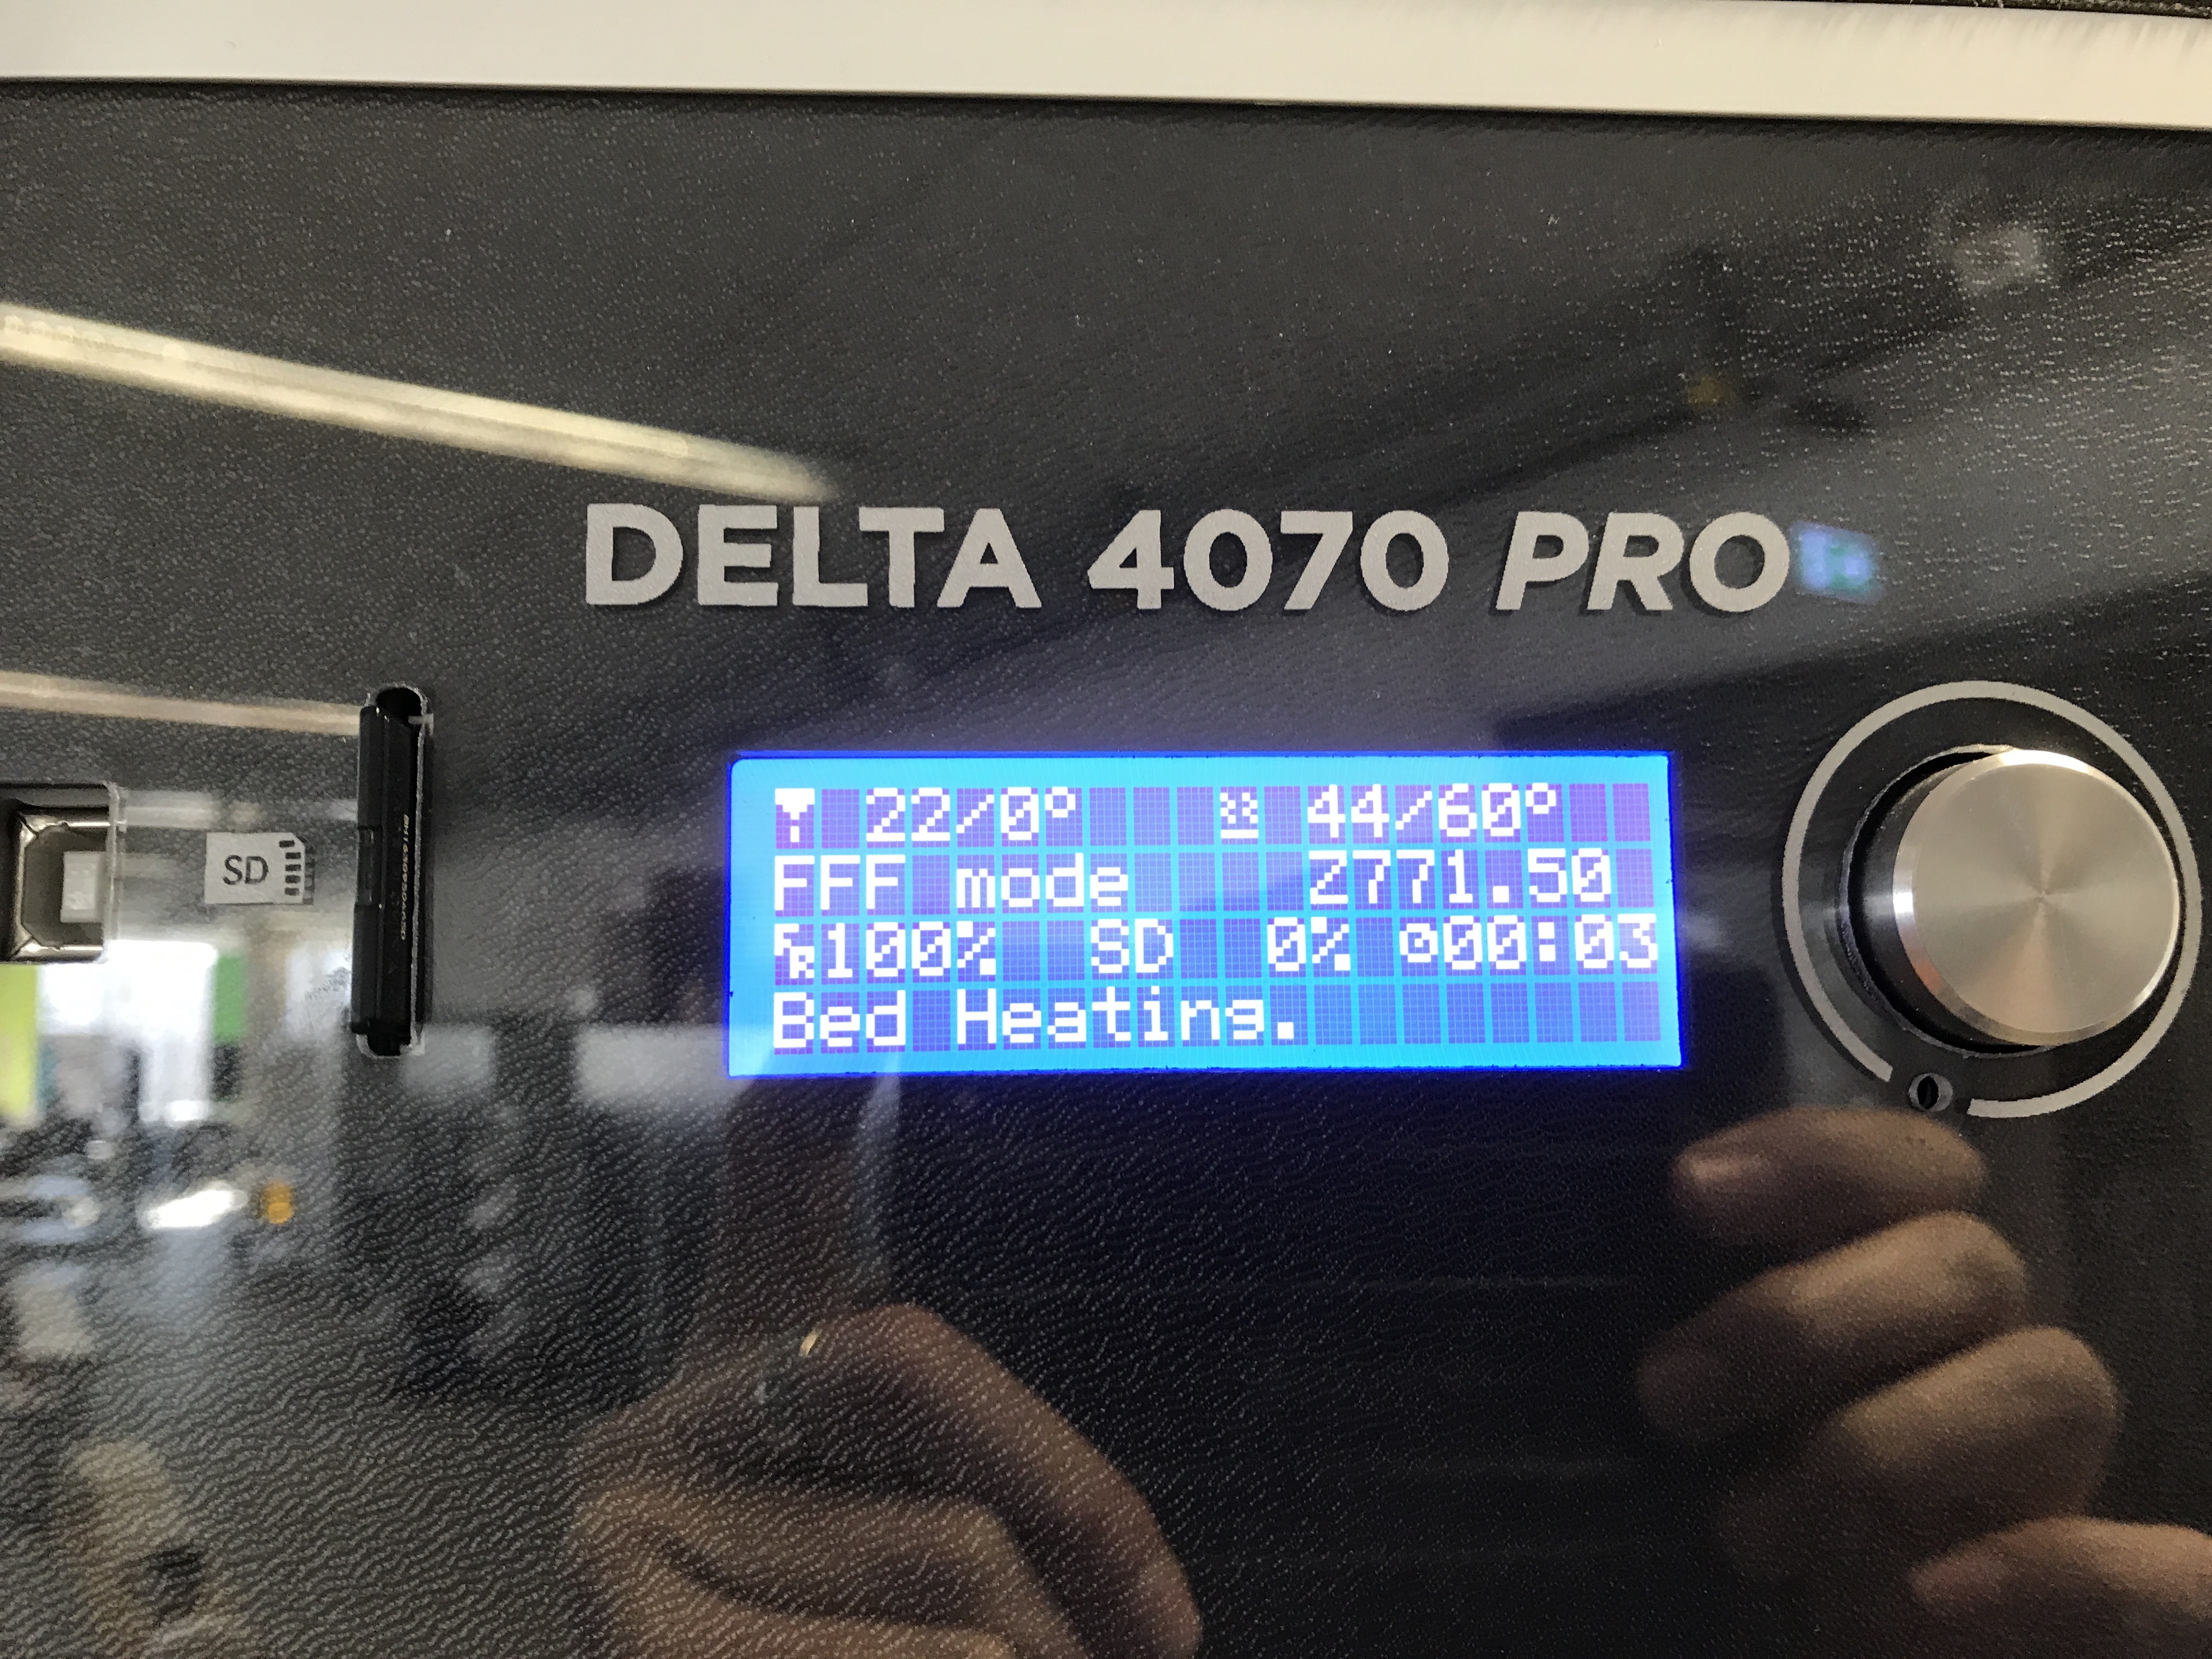 Fig.06: Delta WASP display to be adjusted from 200°C to 215°C print temperature. |
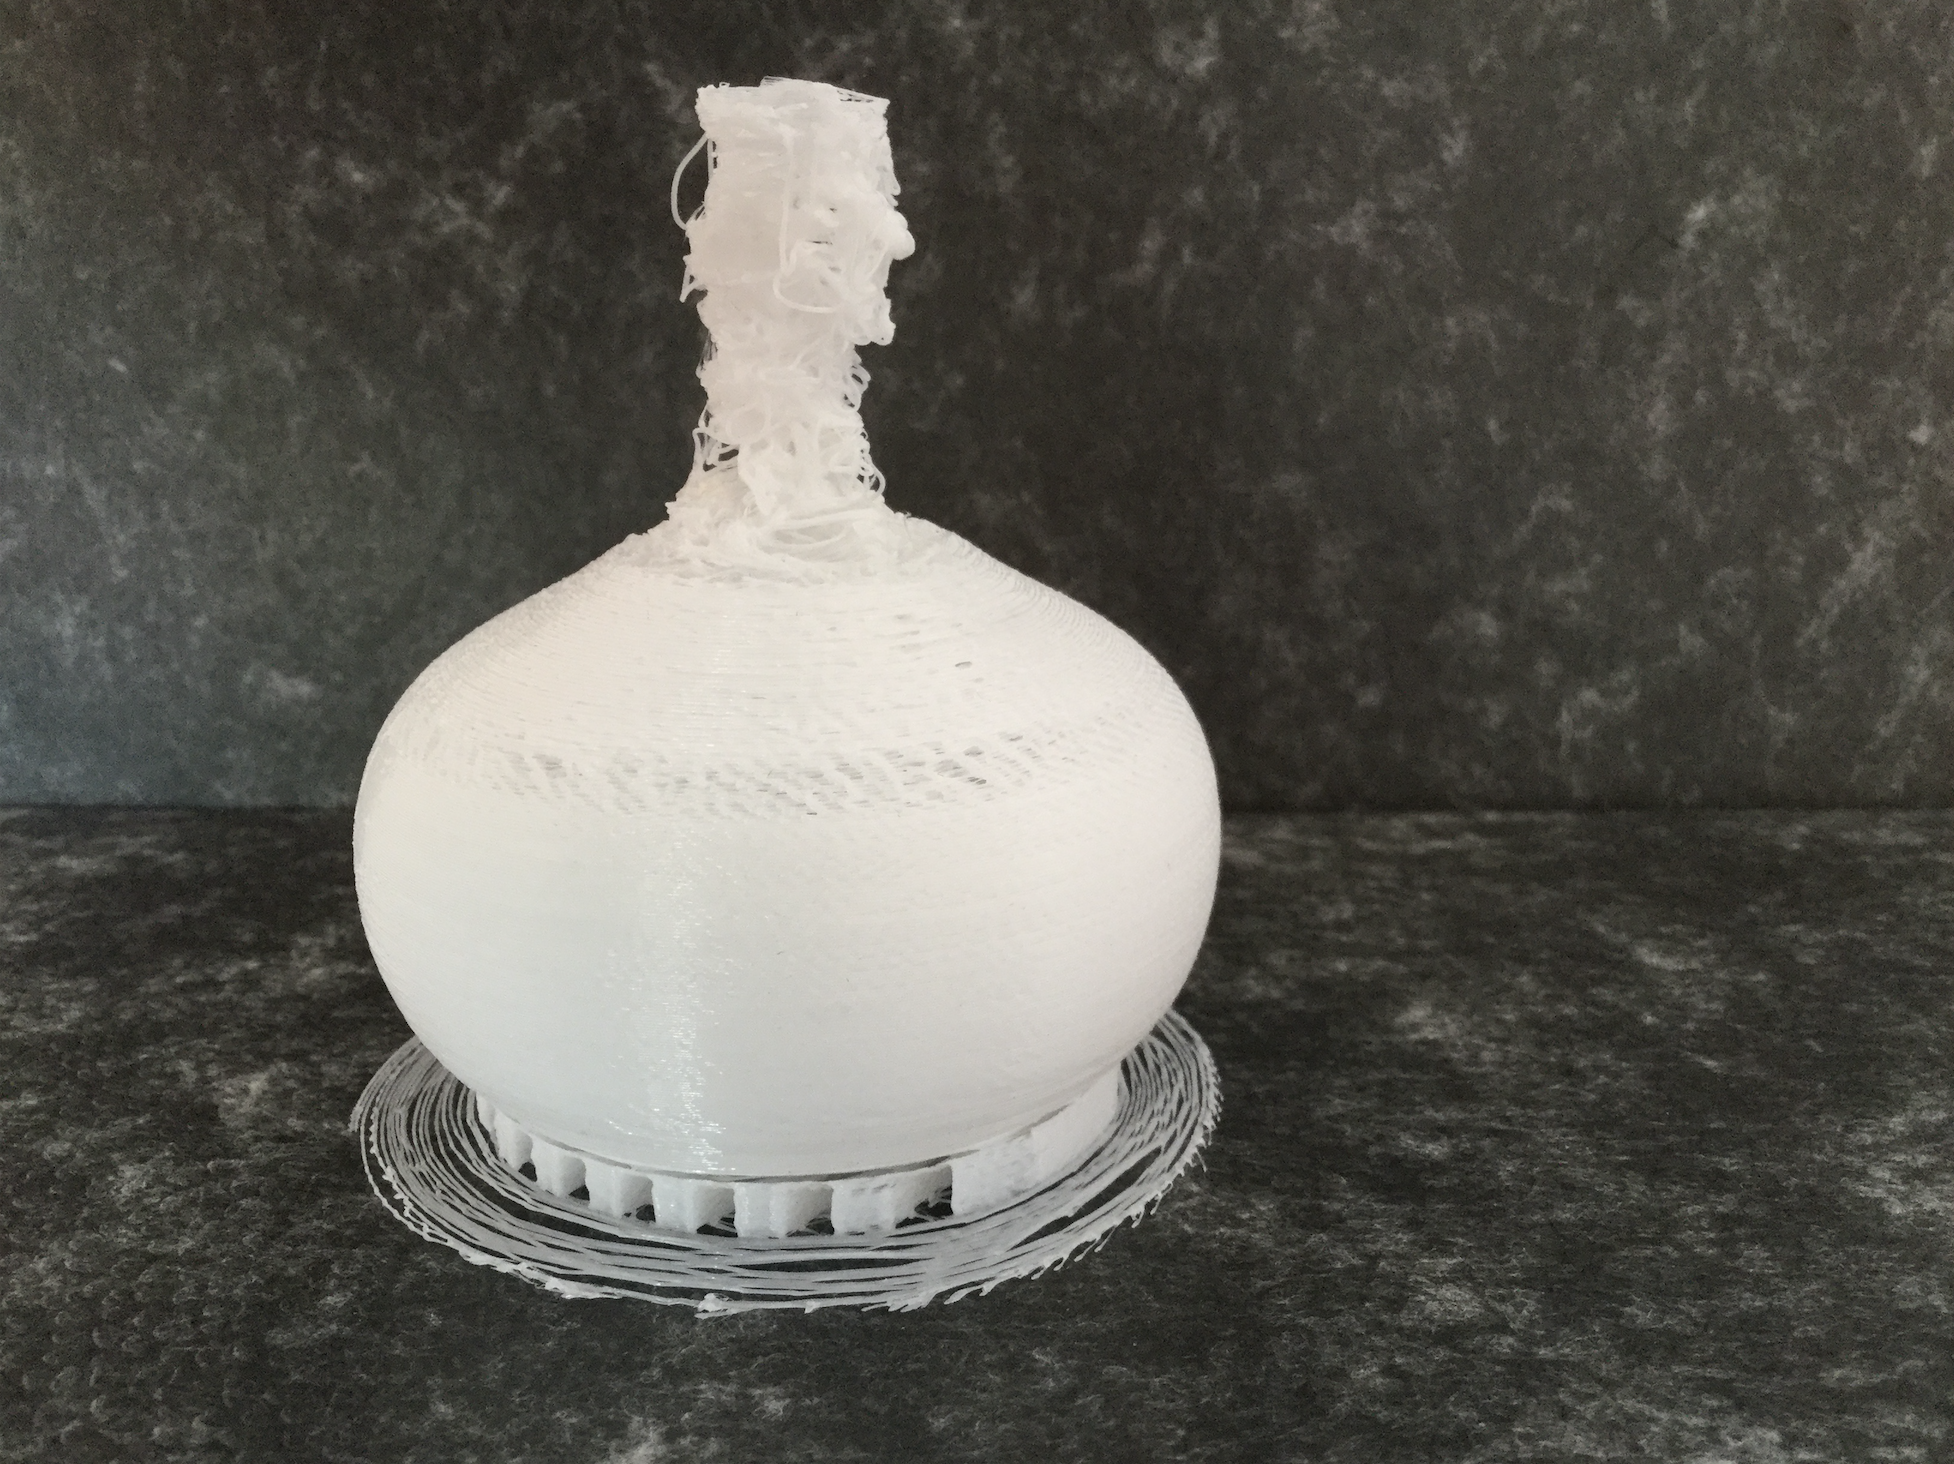 Fig.07: Complete vase with misprinted neck. |
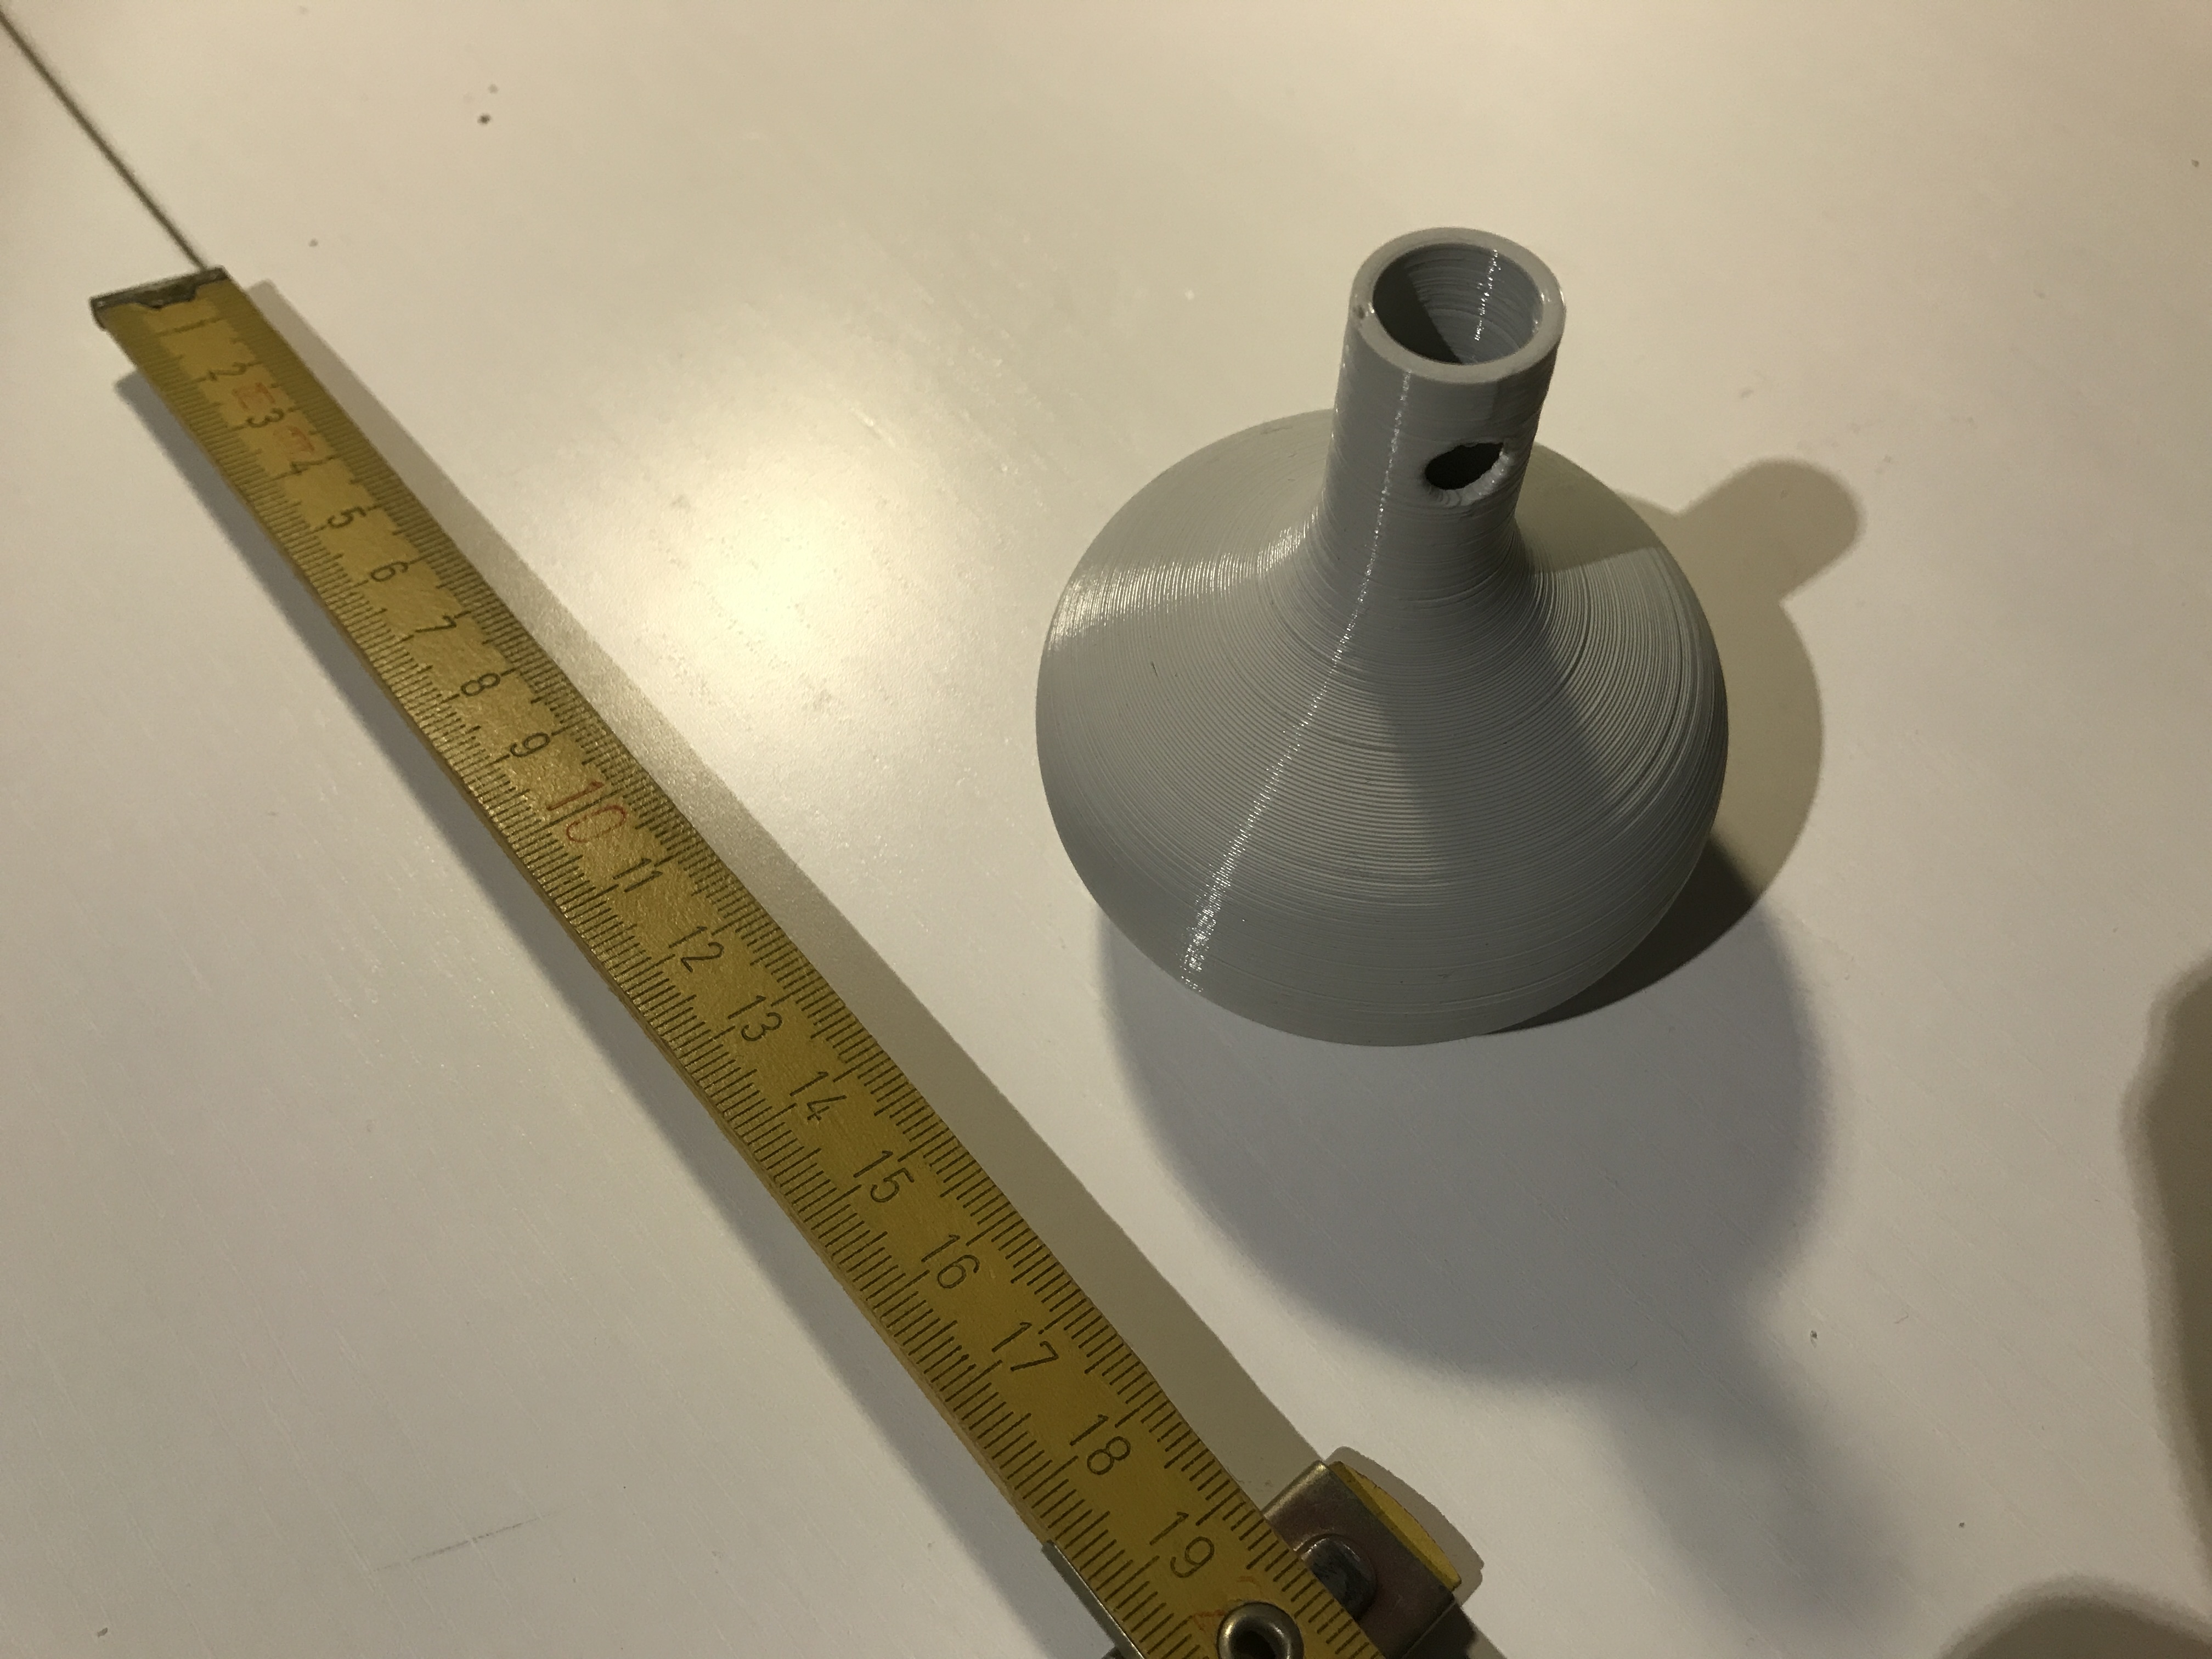 Fig.08: Final print. |
The scanning assignment was performed on my original hand crafted claypot that I brought from Peru (Fig.09), using a Mini iPad with an iSense lens (Fig.10).
Fig.09: Handcrafted claypot for scanning. |
Fig.10: iPadMini with iSense lens as scanning device. |
Fig.11: Imported scan in Fusion360. |
Fig.12: . |