


Molding and Casting
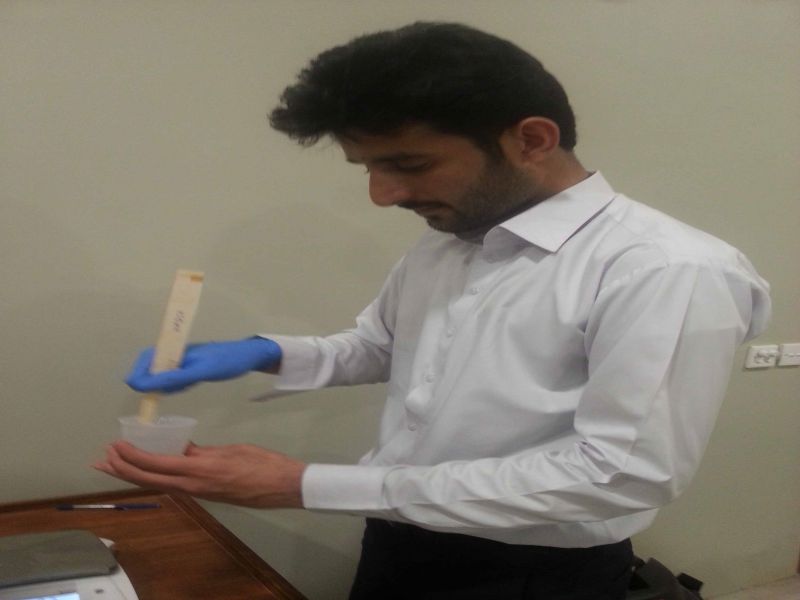
This week is all about Molding and Casting. On 21st of the March 2018, Professor Neil gave us a detailed lecture on the whole process of Molding and Casting. This is unique thing for me to do mold any design then cast it, I have never been through such process before. I am very much thankful to my instructors here at FabLab Khairpur, who guided us on many steps where we stuck. this whole process is very interesting and interactive for me.
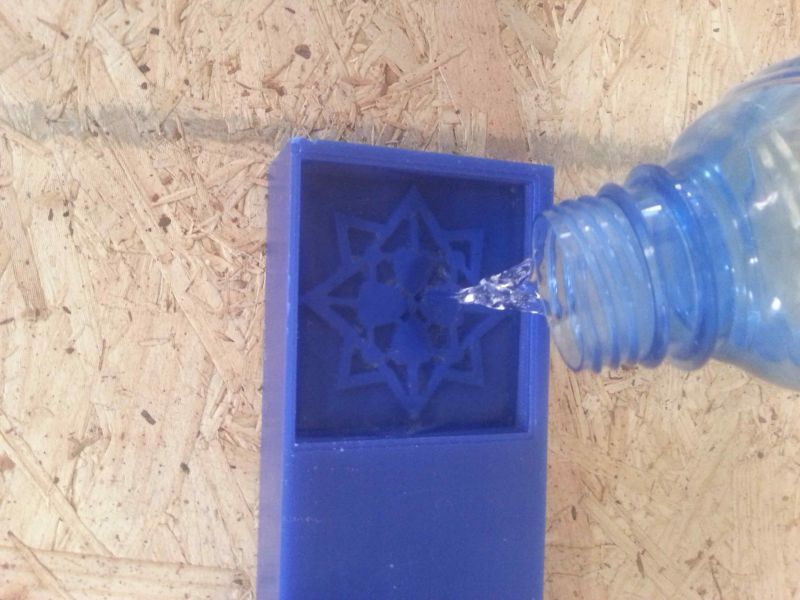
Molding and Casting are two different things, where Molding means to make a hole or empty space on a block of any solid material (I used wax block) used to give shape any liquid material (I used liquid rubber). Where as Casting is the process which involves introducing of liquid material into the molded part and wait till the material solidified well then ejected from the mold. To complete the process, we have to fill the hollowed empty spaces of the resulted solidified (liquid rubber in this case) material. which we got just before by pouring liquid material into mold. The material which we can use for casting are plastic, metal, rubber, clay and many more. The end product will be in our hands as soon the material solidified.
So, roughly I can define these both terms as:
Molding refers to shaping a soft material (but not fully liquid) according to the design which actually we want.
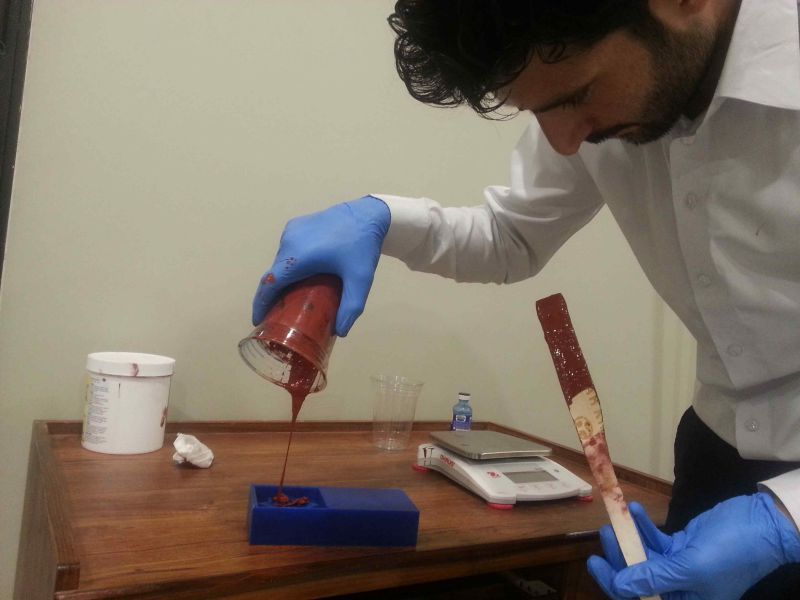
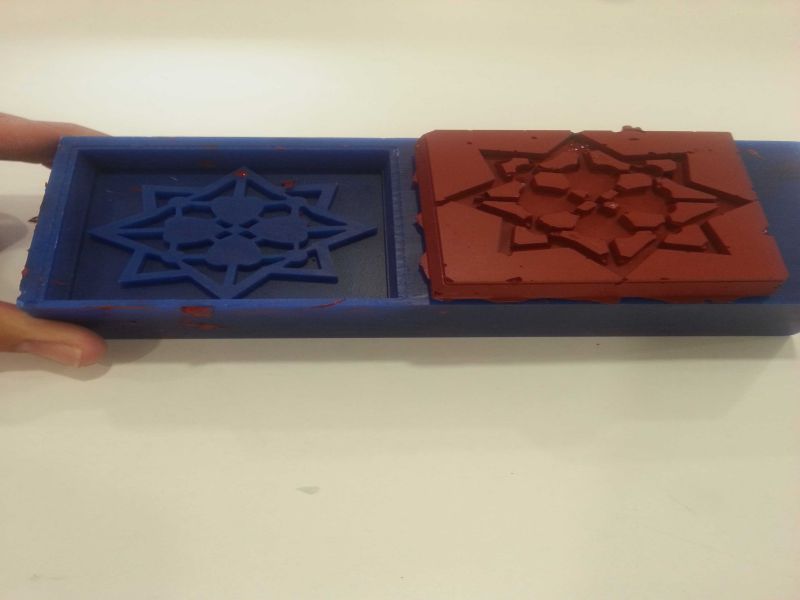
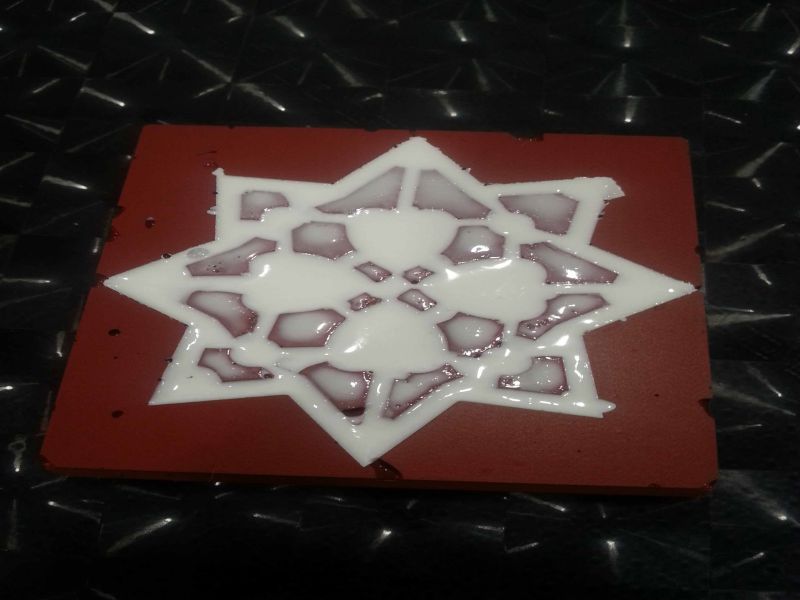
Casting involves pouring of the liquid material into the solid mold and allowing to cool and solidify.
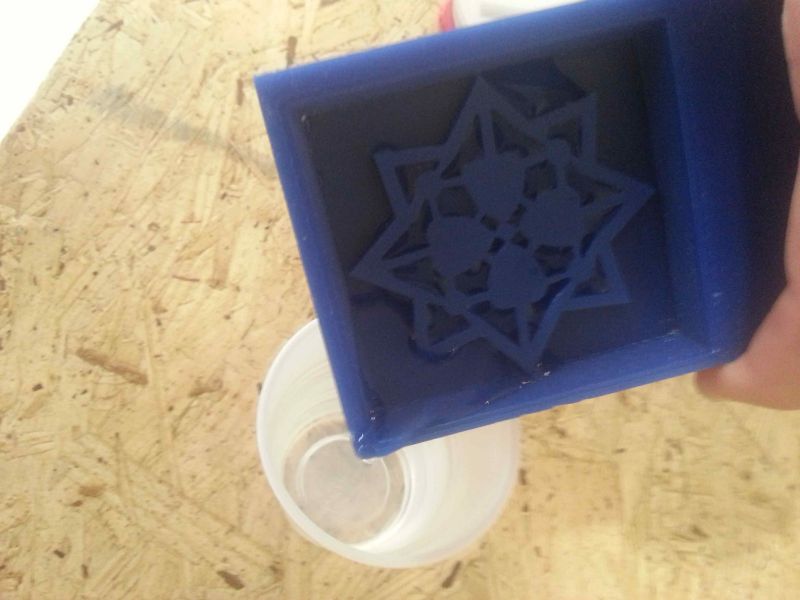
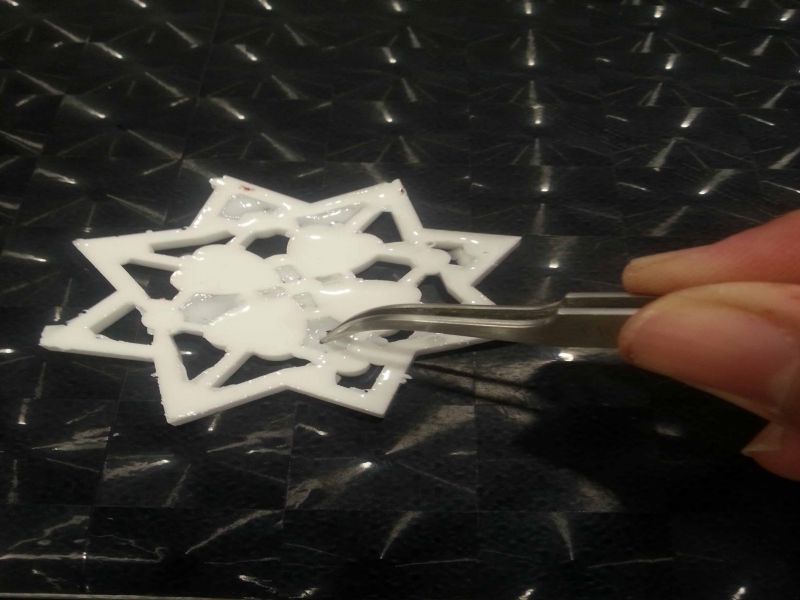
Then the solid materials takes the shape of the mold. The resulted shape is known as casting which then eject out from the mold to complete the process.
Tasks of the week
-
Group Assignment:
- Review the safety data sheets for each of your molding and casting materials, then make and compare test casts with each of them Individual Assignment:
- Design a 3D mold around the stock and tooling that you'll be using, machine it, and use it to cast parts
This week group assignment is to review the datasheets of the materials we are using in making mold and cast. Below we are sharing some important points after reviewing safety datasheets of Mold Max 60 for molding and Smooth-Cast 305 for casting materials.
Mold Max 60 Safety DataSheet Review:
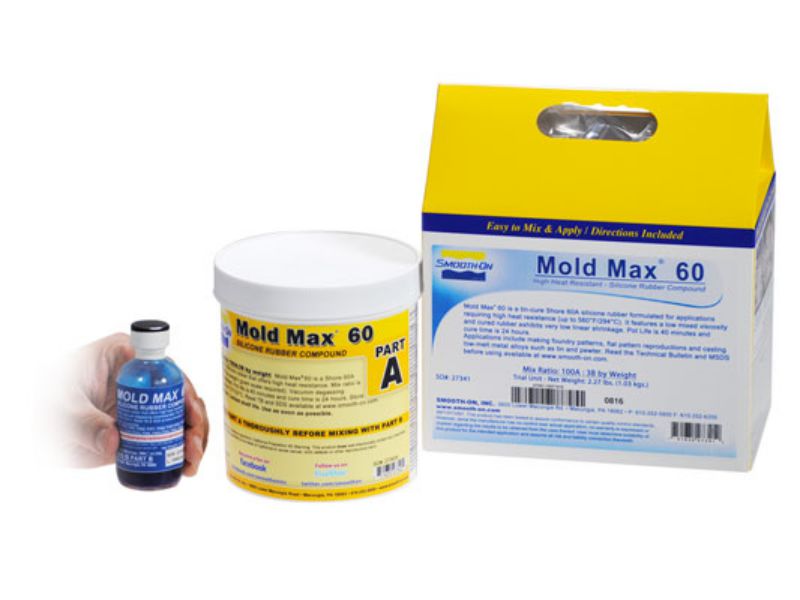
Product/Chemical Name: Mold Max® 60 Part A:
- Hazards Identification - Not hazardous according to United States Occupational Safety and Health Administration (OSHA).
- Inhalation - Remove source(s) of contamination and move victim to fresh air.
- Eye Contact - Flush eyes with plenty of water. If irritation persists, seek medical attention.
- Skin Contact - In case of skin contact, wash thoroughly with soap and water; remove contaminated clothing and launder before reuse.
- Ingestion - Do not induce vomiting unless instructed by a physician. Contact physician immediately.
- After first aid, get appropriate in-plant, paramedic, or community medical support.
- Flash Point - 300 °F.
- Handling Precautions - Minimize breathing of vapors and avoid prolonged or repeated contact with skin. Wear proper protective equipment. Use good general housekeeping procedures.
- Storage Requirements - Store in cool dry, well-ventilated area.
- Protective Clothing/Equipment - Wear chemically protective gloves to prevent prolonged or repeated skin contact. Wear protective eyeglasses or chemical safety goggles, per OSHA eyeand face-protection regulations 29 CFR 1910.133 and European Standard EN166. Contact lenses are not eye protective devices. Appropriate eye protection must be worn instead of, or in conjunction with contact lenses.
- Toxicological Information:
- Eye Effects: Irritation
- Skin Effects: Irritation
- Carcinogenicity: None Determined
- Mutagenicity: None Determined
- Teratogenicity:None Determined
Product/Chemical Name: Mold Max® 60 Part B:
- Hazards identification
- Harmful if swallowed
- Irritating to eyes, respiratory system and skin
- Harmful to aquatic organisms may cause long term adverse effects in the aquatic environment
- Inhalation - Remove source(s) of contamination and move victim to fresh air. If breathing has stopped, give artificial respiration, then oxygen if needed. Contact physician immediately.
- Skin Contact - Eye Contact - Flush eyes with plenty of water. If irritation persists, seek medical attention.
- Skin Contact - In case of skin contact, wash thoroughly with soap and water; remove contaminated clothing and launder before reuse; seek medical attention if rash develops.
- Ingestion - Do not induce vomiting unless instructed by a physician. Contact physician immediately.
- After first aid, get appropriate in-plant, paramedic, or community medical support.
- Flash Point - 150 °F.
- Handling Precautions - Minimize breathing of vapors and avoid prolonged or repeated contact with skin. Wear proper protective equipment. If ventilation is not sufficient, wear proper respiratory equipment. Reseal partial containers. Use good general housekeeping procedures.
- Storage Requirements - Store in cool dry, well-ventilated area.
- Protective Clothing/Equipment - Wear chemically protective gloves and aprons to prevent prolonged or repeated skin contact. Wear protective eyeglasses or chemical safety goggles, per OSHA eye- and face-protection regulations 29 CFR 1910.133 and European Standard EN166. Contact lenses are not eye protective devices. Appropriate eye protection must be worn instead of, or in conjunction with contact lenses.
- Toxicological Information:
- Eye Effects: Irritation
- Skin Effects: Irritation
- Carcinogenicity: None Determined
- Mutagenicity: None Determined
- Teratogenicity: None Determined
Smooth-Cast 300 Series Safety DataSheet Review:
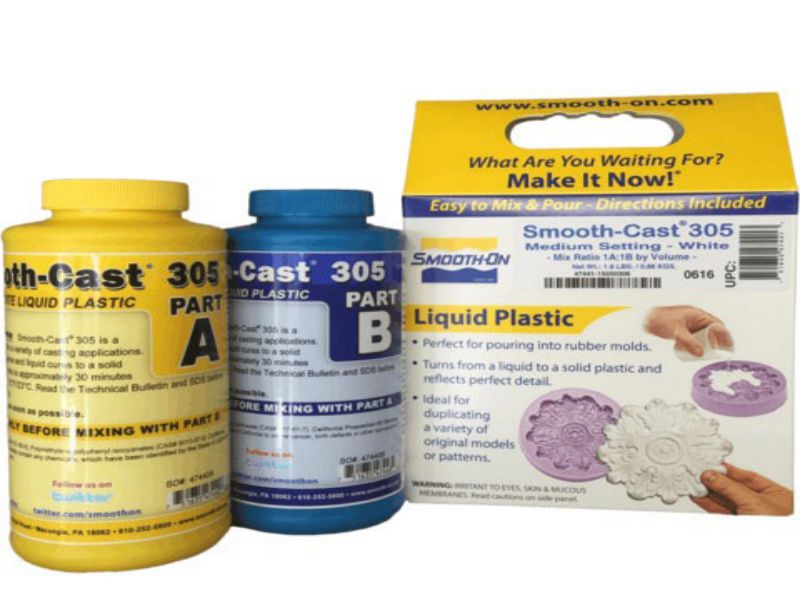
Product/Chemical Name: Smooth-Cast 305 Part A:
- Hazards identification
- Harmful by inhalation
- Irritating to eyes, respiratory system and skin
- Carcinogenic effect: Limited evidence
- Harmful danger of serious damage to health by prolonged exposure through inhalation environment
- Inhalation - Remove source(s) of contamination and move victim to fresh air. If breathing has stopped, give artificial respiration, then oxygen if needed. Contact physician immediately.
- Eye Contact - Flush eyes with plenty of water. If irritation persists, seek medical attention.
- Skin Contact - In case of skin contact, wash thoroughly with soap and water; remove contaminated clothing and launder before reuse; seek medical attention if rash develops.
- Ingestion - Do not induce vomiting unless instructed by a physician. Contact physician immediately.
- After first aid, get appropriate in-plant, paramedic, or community medical support.
- Flash Point - 262 °F.
- Handling Precautions - Minimize breathing of vapors and avoid prolonged or repeated contact with skin. Wear proper protective equipment. If ventilation is not sufficient, wear proper respiratory equipment. Reseal partial containers. Use good general housekeeping procedures.
- Storage Requirements - Store in cool dry, well-ventilated area.
- Protective Clothing/Equipment - Wear chemically protective gloves to prevent prolonged or repeated skin contact. Wear protective eyeglasses or chemical safety goggles, per OSHA eyeand face-protection regulations 29 CFR 1910.133 and European Standard EN166. Contact lenses are not eye protective devices. Appropriate eye protection must be worn instead of, or in conjunction with contact lenses.
- Toxicological Information:
- Hazardous Component: 4,4’ Methylene, bis(phenylisocyanate)
Product/Chemical Name: Smooth-Cast 305 Part B:
- Hazards Identification - Not hazardous according to United States Occupational Safety and Health Administration (OSHA).
- Inhalation - Remove source(s) of contamination and move victim to fresh air.
- Eye Contact - Flush eyes with plenty of water. If irritation persists, seek medical attention.
- Skin Contact - In case of skin contact, wash thoroughly with soap and water; remove contaminated clothing and launder before reuse.
- Ingestion - Do not induce vomiting unless instructed by a physician. Contact physician immediately./li>
- After first aid, get appropriate in-plant, paramedic, or community medical support.
- Flash Point - 262 °F
- Handling Precautions - Minimize breathing of vapors and avoid prolonged or repeated contact with skin. Wear proper protective equipment. Use good general housekeeping procedures.
- Storage Requirements - Store in cool dry, well-ventilated area
- Protective Clothing/Equipment - Wear chemically protective gloves to prevent prolonged or repeated skin contact. Wear protective eyeglasses or chemical safety goggles, per OSHA eye- and face-protection regulations 29 CFR 1910.133 and European Standard EN166. Contact lenses are not eye protective devices. Appropriate eye protection must be worn instead of, or in conjunction with contact lenses.
- Toxicological Information:
- Acute Inhalation Effects: None Established
- Acute Oral Effects: None Established
- Reproductive Toxicity: None Established
- Mutagenicity: None Established
- Teratogenicity: None Established
- Sensitization: None Established


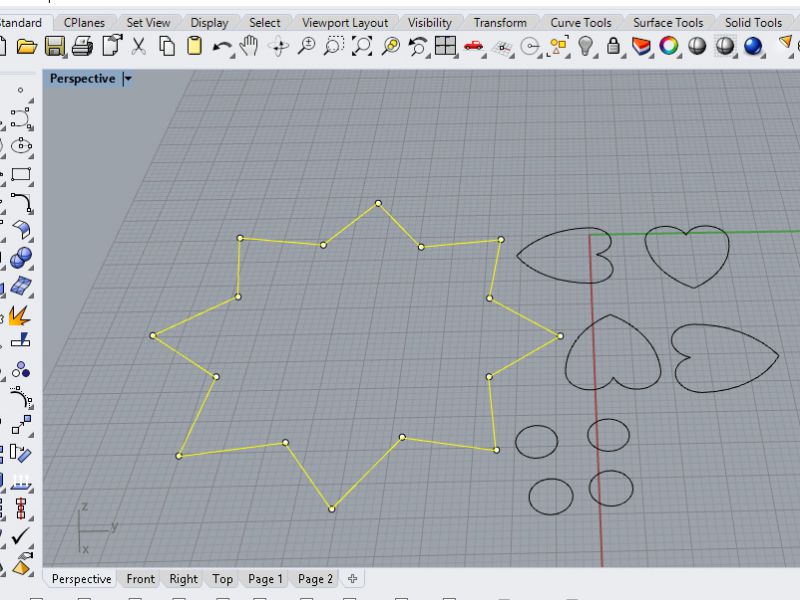
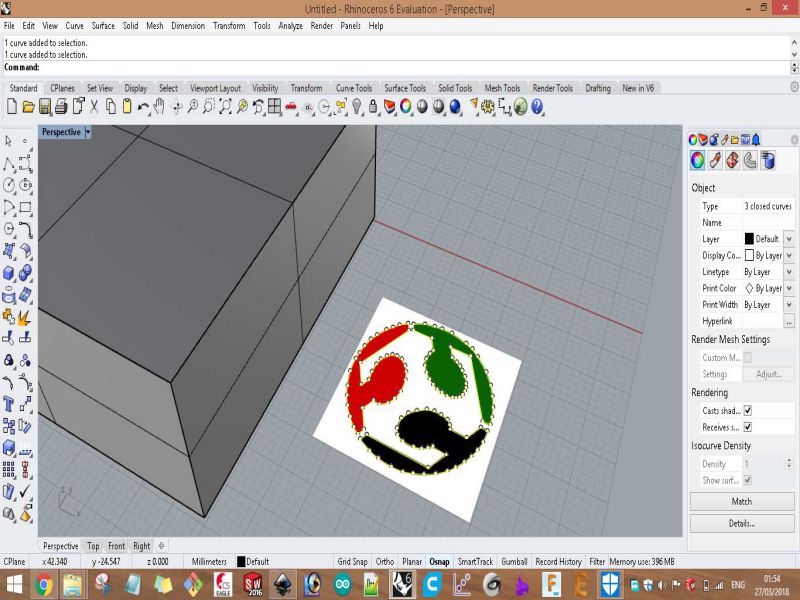
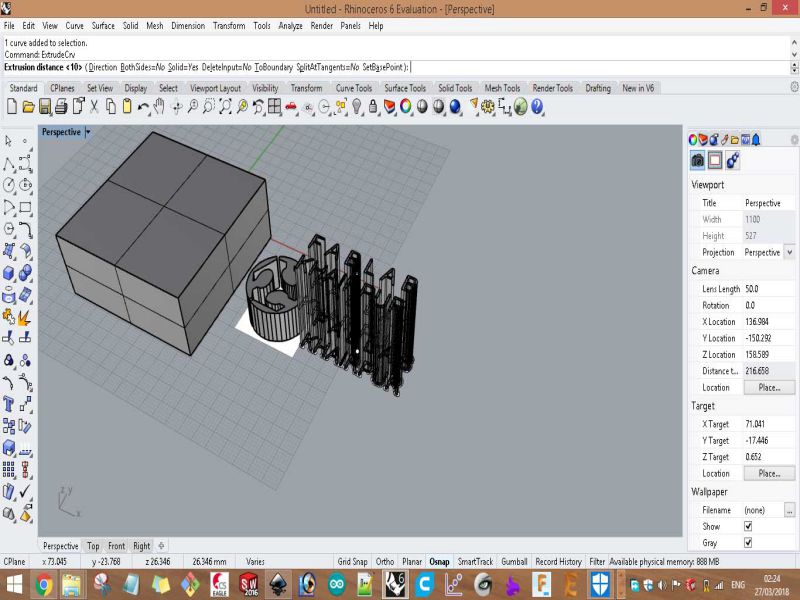
For designing its model in CAD software, I used Rhino 3D for this purpose. Here few snapshots are given:

Now, its the time for generating .prn files from "Modela Player 4" by importing .stl file.
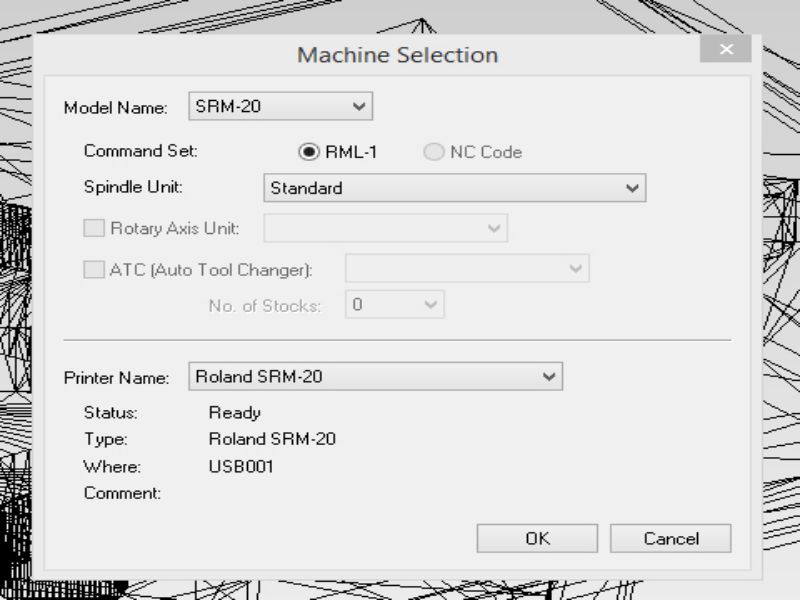
01. I opened modela player 4 in lab's PC.~~~~~ 02. Go to "file" and select 'Select Machine'.

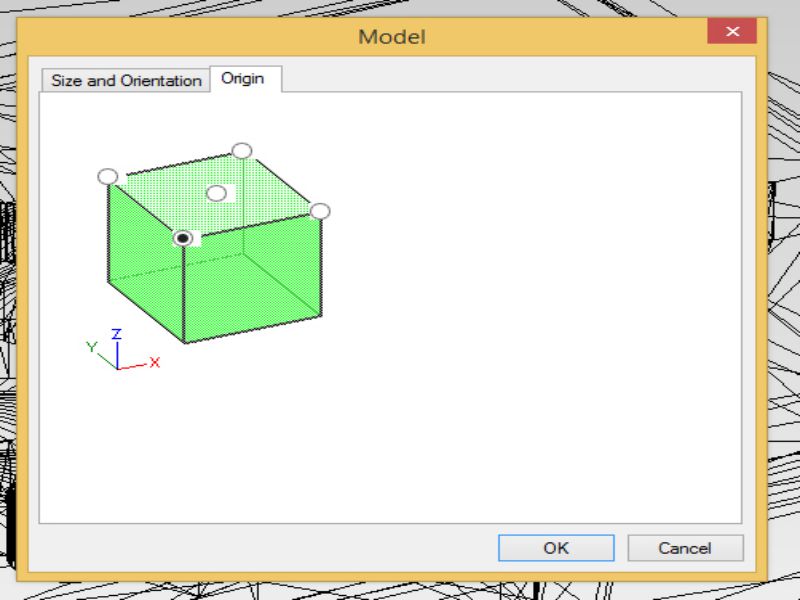
03. Go to "Set" and 'Model'.~~~~~ 04. Check on 'Origin'.
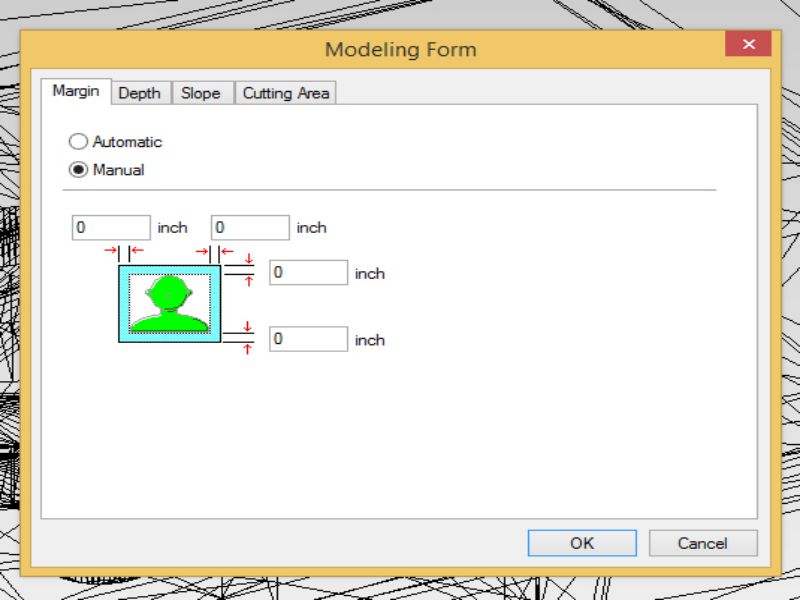
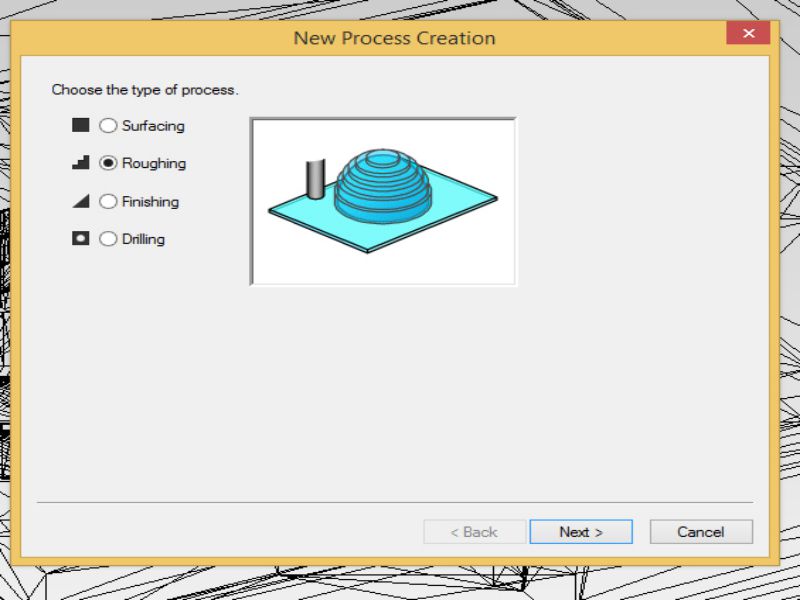
05. Go to "Set" and 'Modeling Form' then check on 'Manual'.~~~~~ 06. Go to "Set" and 'New Process' then check on 'Roughing', then Next.

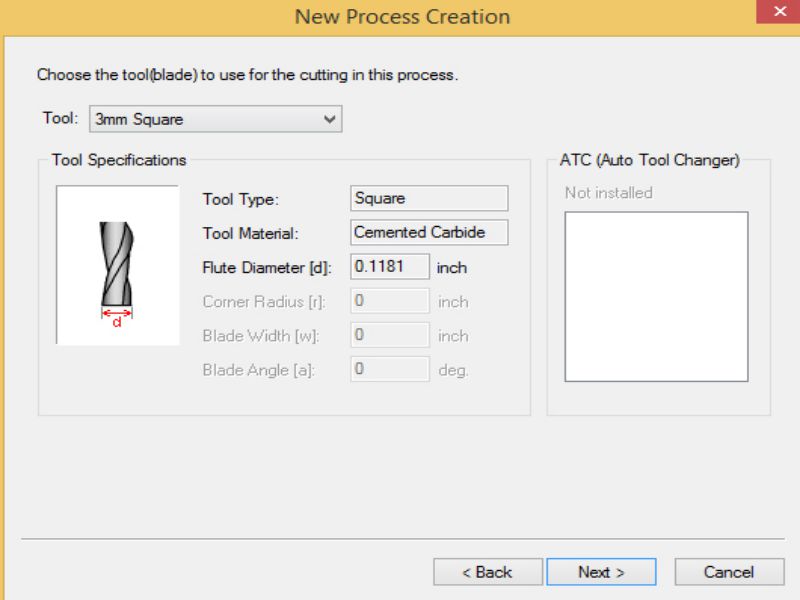
07. Check on 'Top [+Z]' then 'Next'.~~~~~ 08. Select '3 mm Square' then 'Next'.
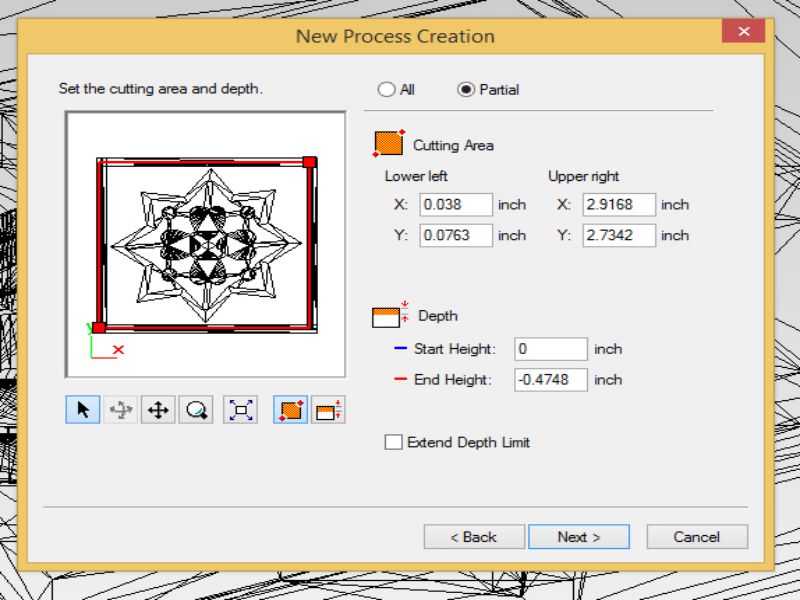
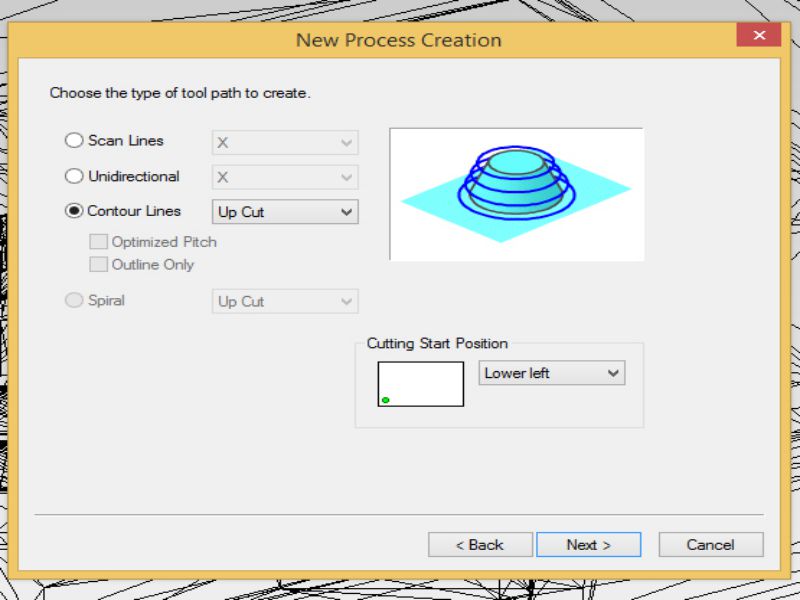
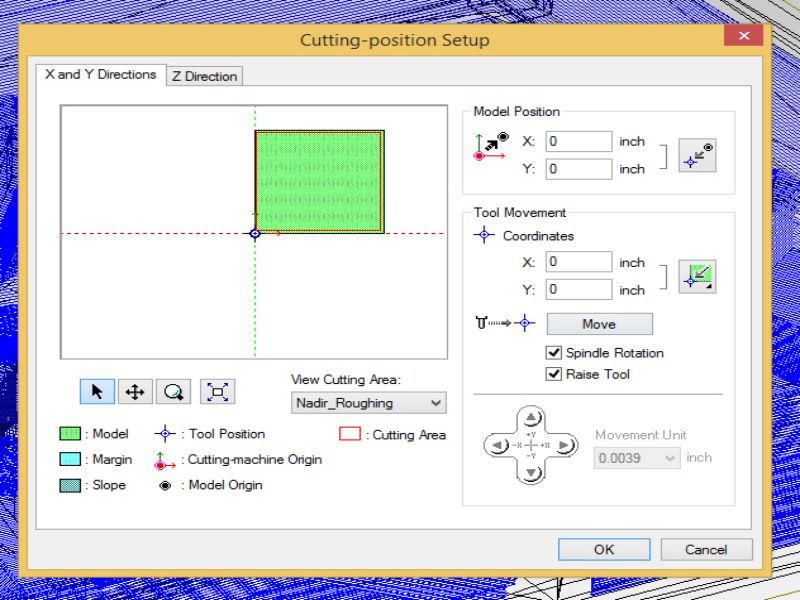
09. Check on 'Partial' then resize the red boundary line inside the box, then 'Next'.~~~~~ 10. Check on 'Contour Lines','Up Cut', then 'Next'.
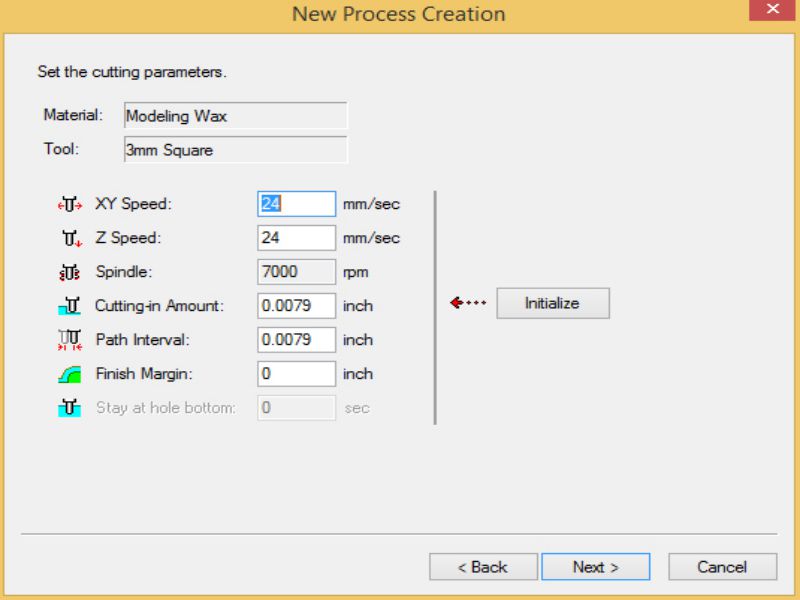
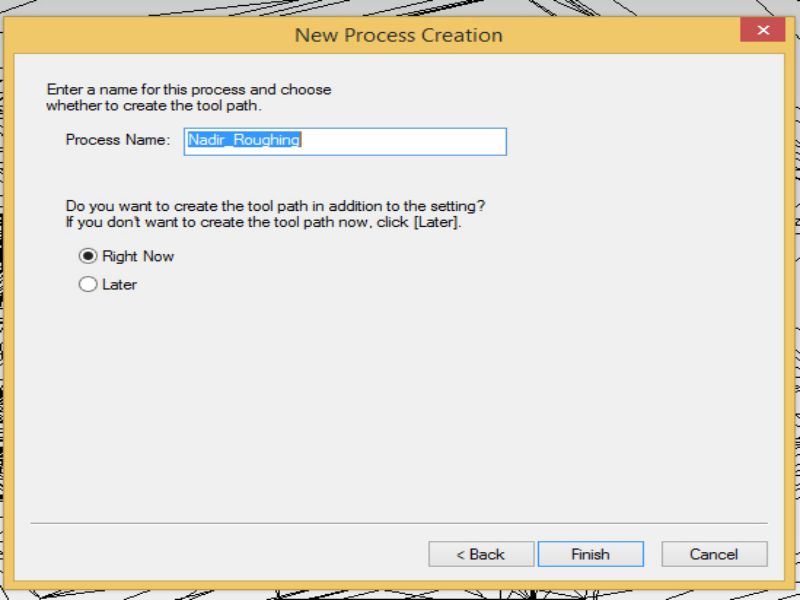
11. XY speed as '24' mm/sec, then 'Next'.~~~~~ 12. Name it, like 'Nadir_Roughing', then 'Finish'.
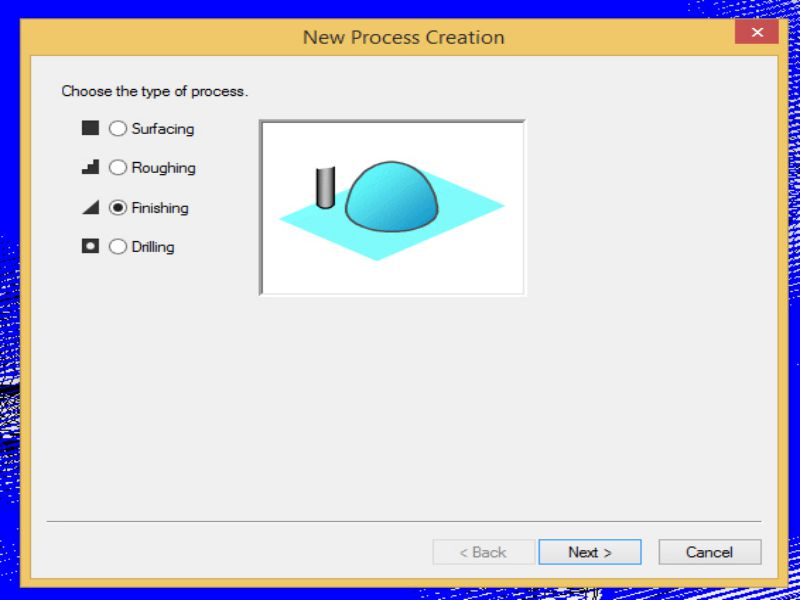
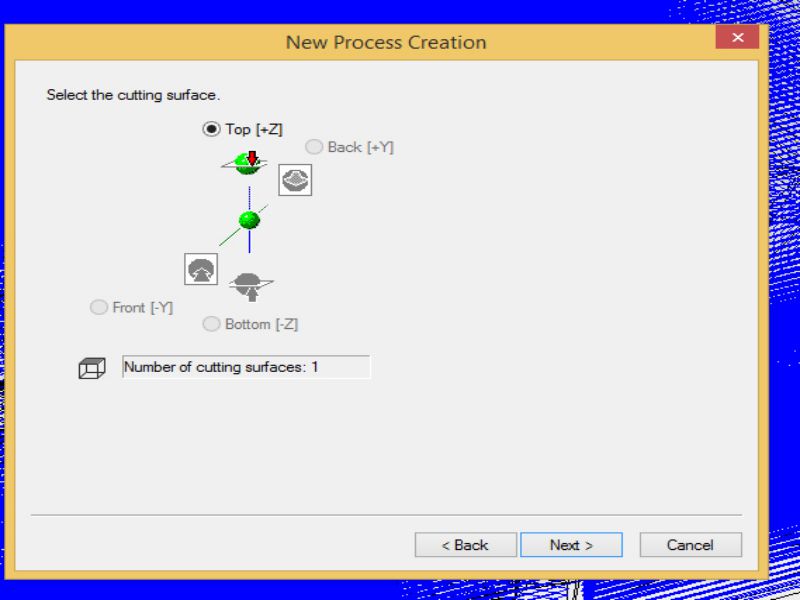
13. Again, go to "Set" and 'New Process' then check on 'Finishing', then 'Next'.~~~~~ 14. Check on 'Top [+Z]' then 'Next'.
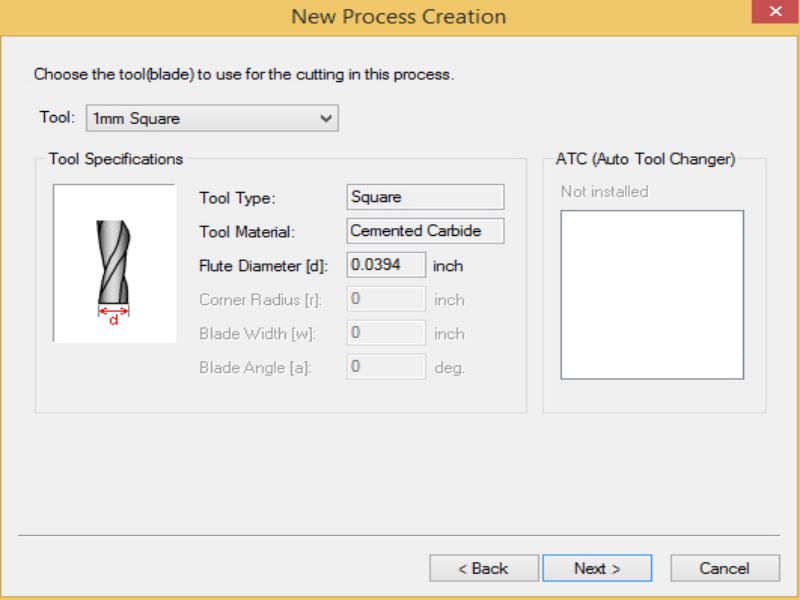
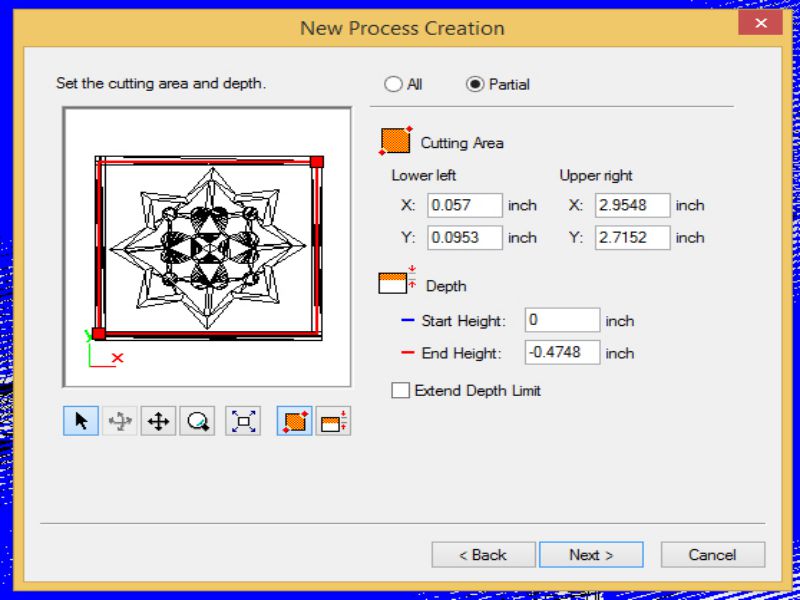
15. Select '1 mm Square' then 'Next'.~~~~~ 16. Check on 'Partial' then resize the red boundary line inside the box, then 'Next'.
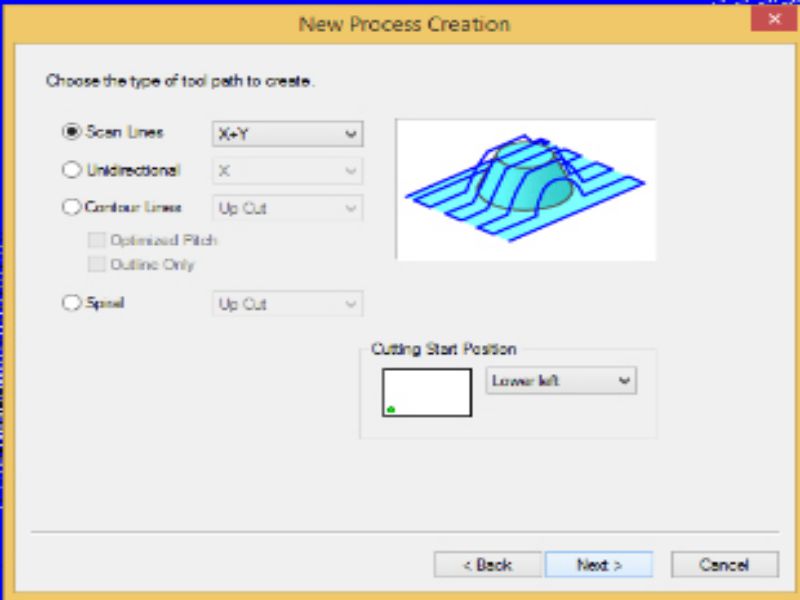
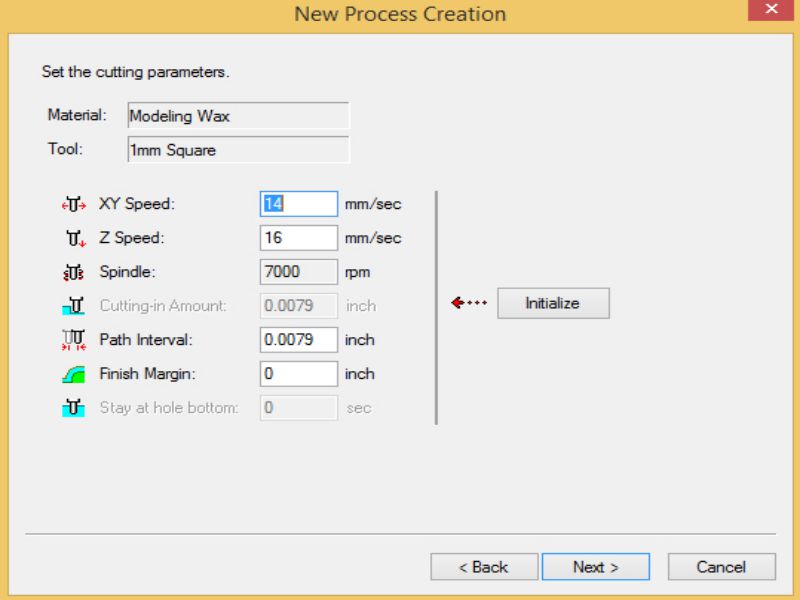
17. "Scan Lines" as 'X+Y', "Contour lines" as 'Up Cut', then 'Next'.~~~~~ 18. XY speed as '14' mm/sec, then 'Next'.
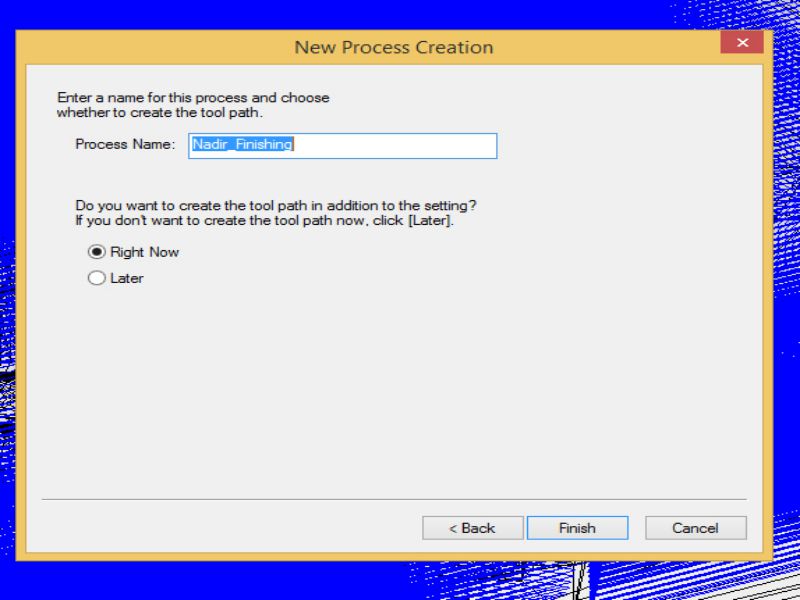
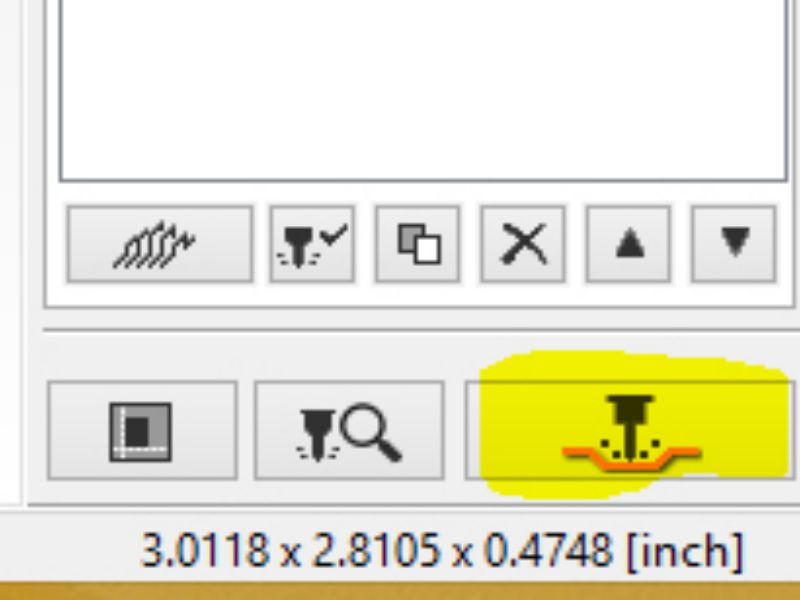
19. Name it, like 'Nadir_Finishing', then 'Finish'.~~~~~ 20. click on "Cut",which can be found on right bottom of the main page.
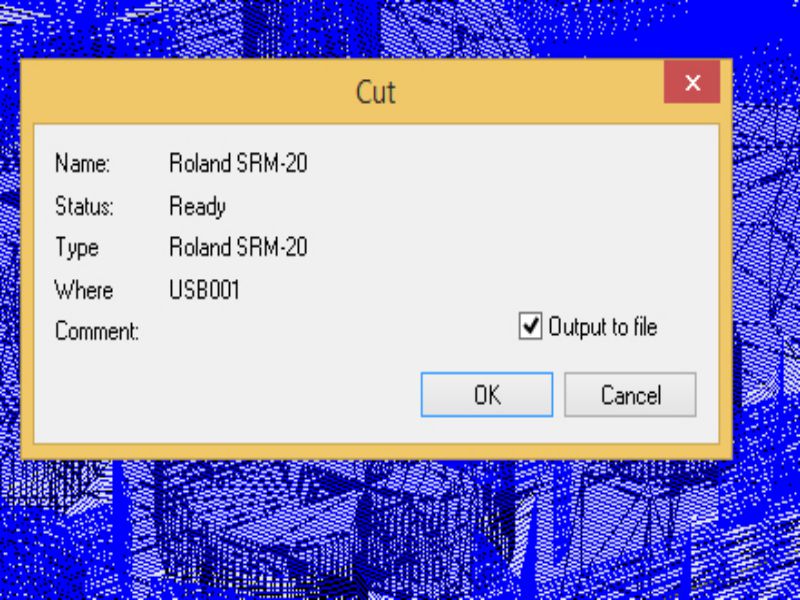
21. Click on 'OK'.~~~~~ 22. Check 'Output to file' and then 'OK'.
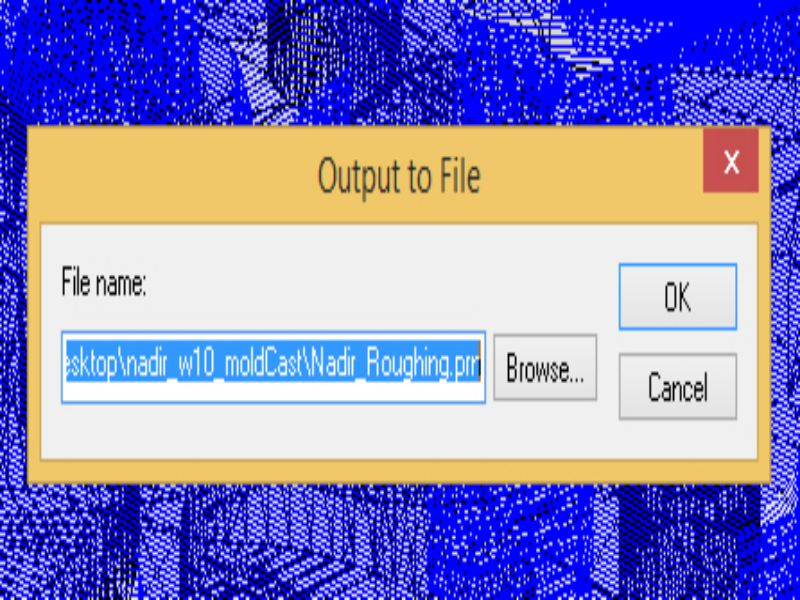
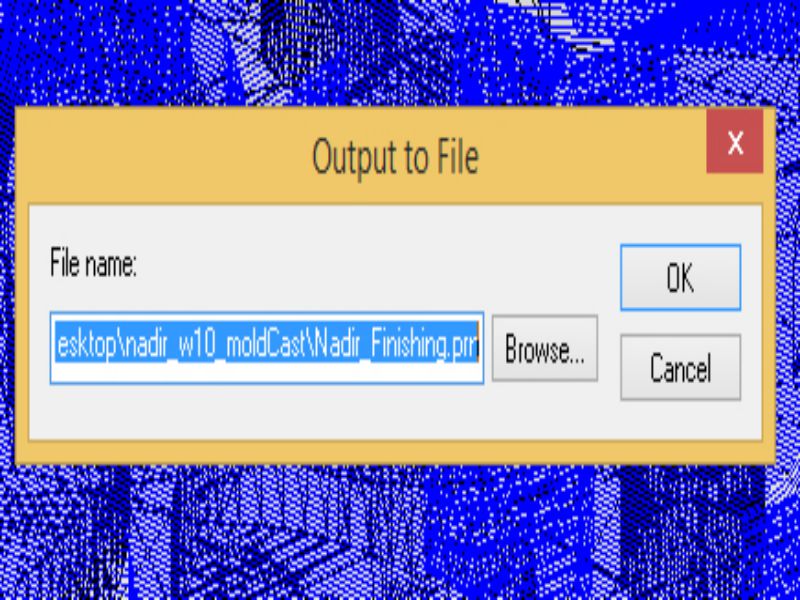
23. .prn file for Roughing is created, set the path to save file, then 'OK'.~~~~~ 24. Set the path to save .prn file of Finishing , then 'OK'.
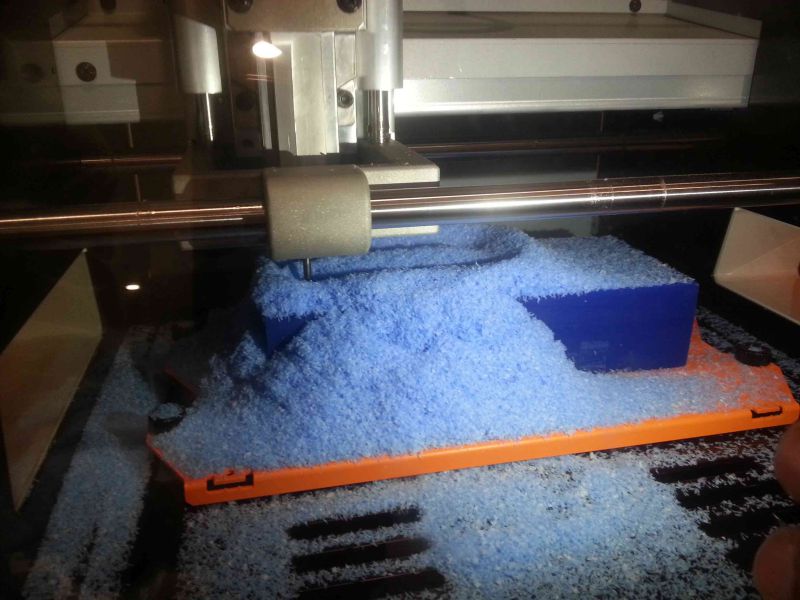
Now, I fed the resulted .prn files of Roughing and Finishing one by one to "Roland SRM 20".

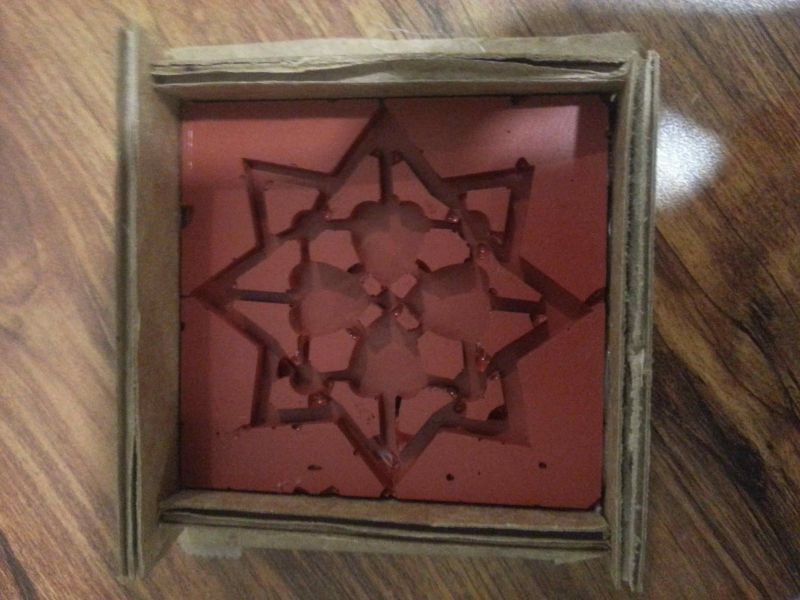
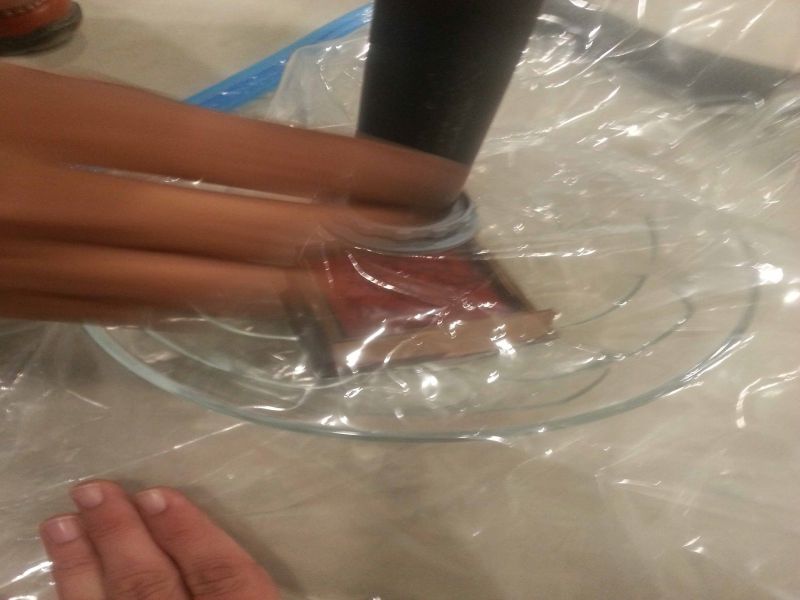
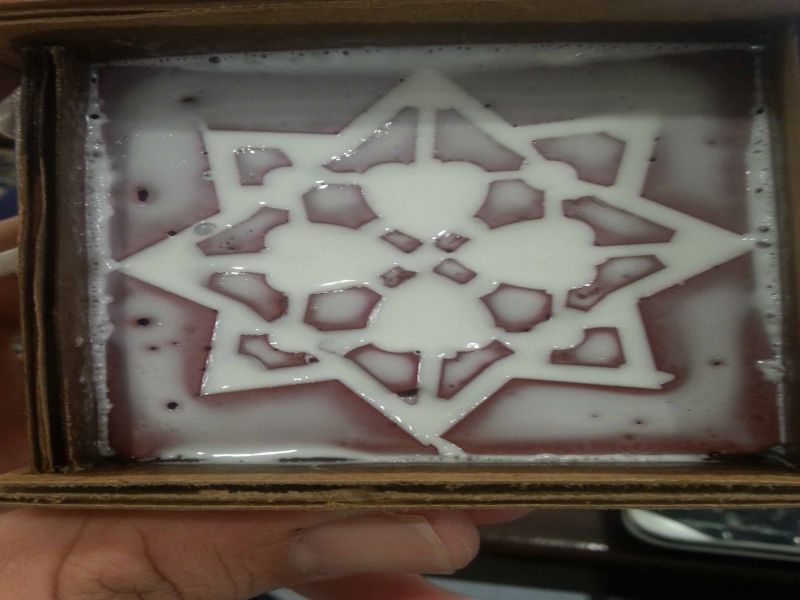
Use of cardboard walls:
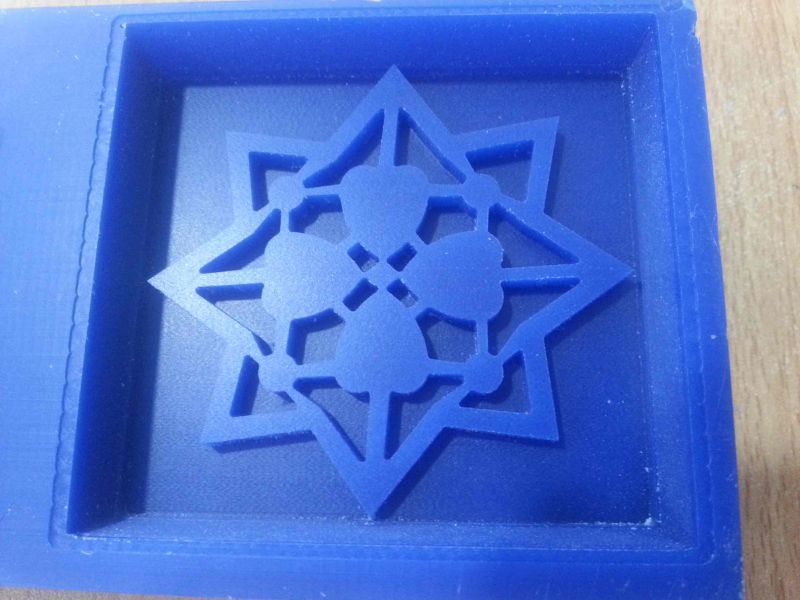
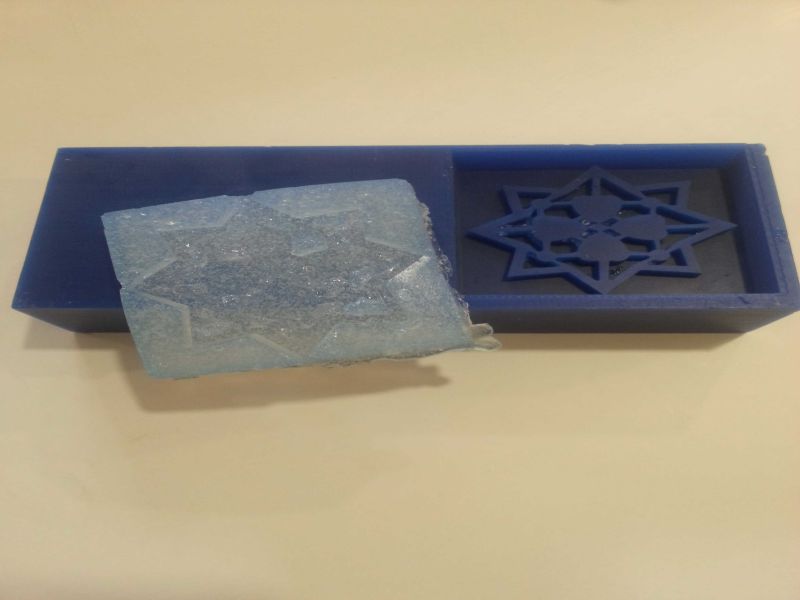
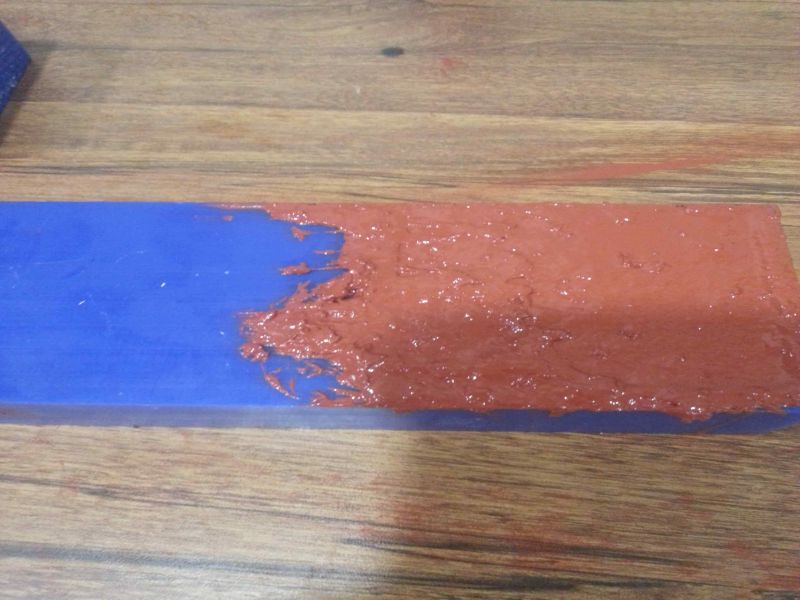
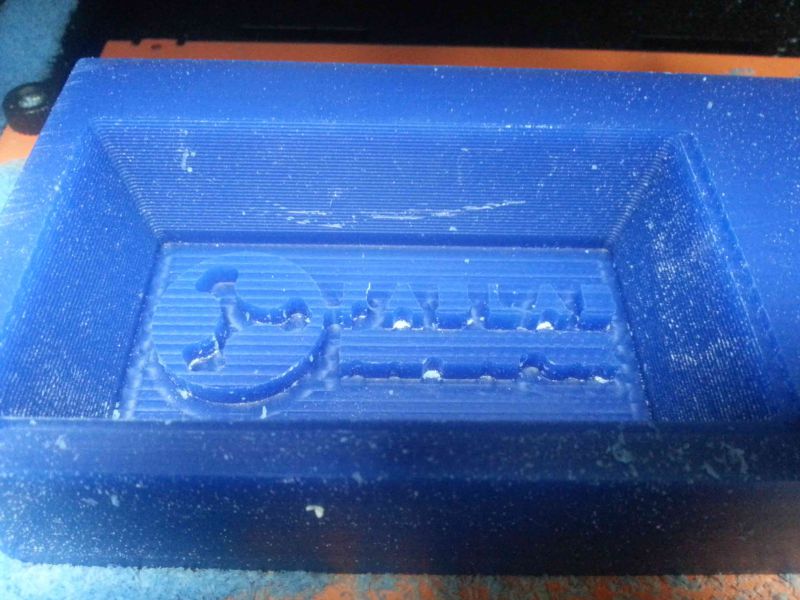
Here is the time for filling the silicon mold with final product's liquid material of casting. As, the liquid was thin, if I flow that liquid on the silicon mold then there was a chance of material to flow down through the edges of the design on mold. The corners of design from where there was a solid chance of liquid to flow out of the mold are shown in below image.
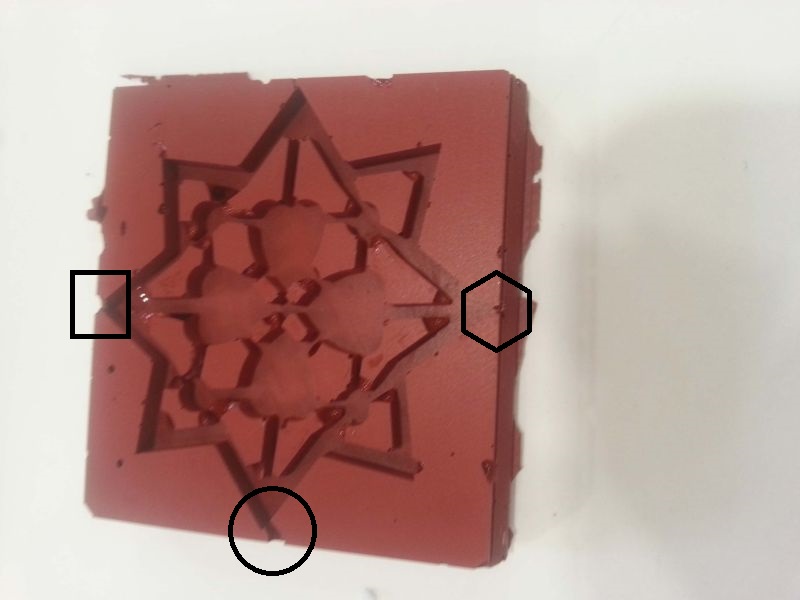
This was my mistake in designing the mold. I must increased the extra space where the edges of the design ends. So, by recovering this, I used cardboard walls for not flow the casting material from the design on silicon mold.
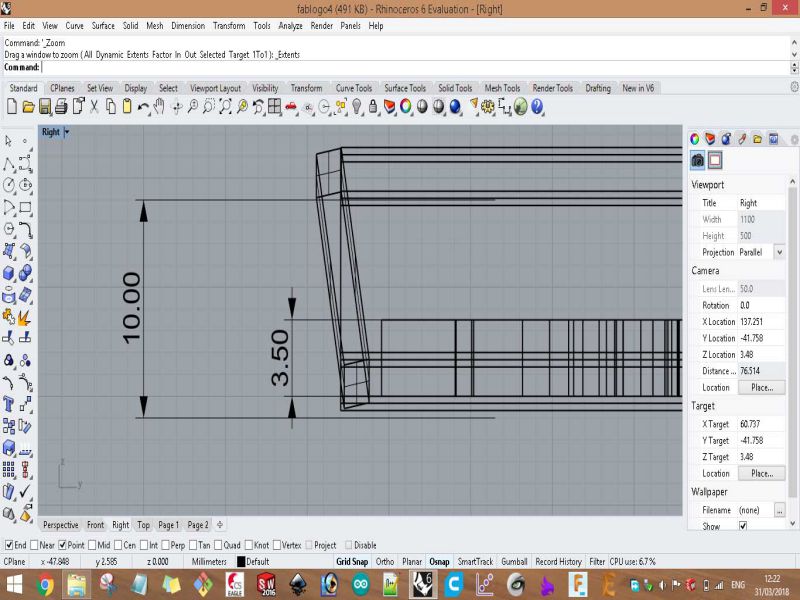
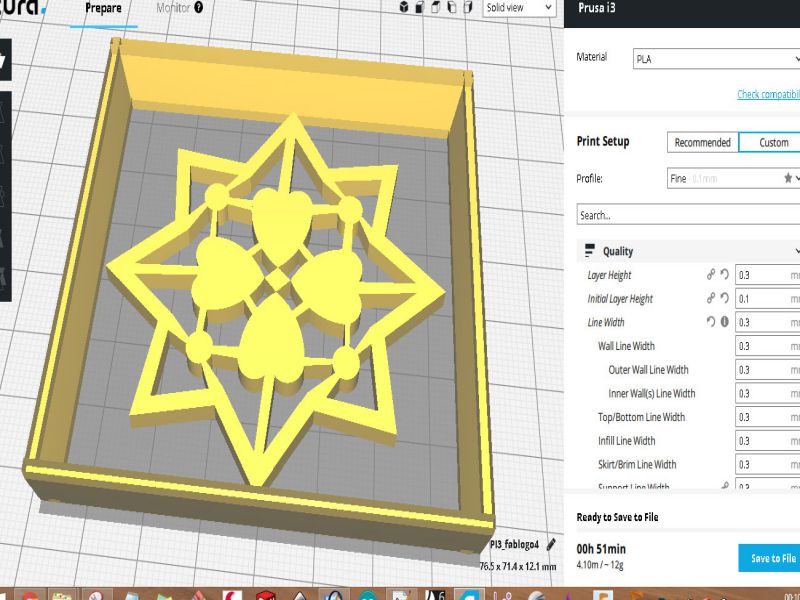
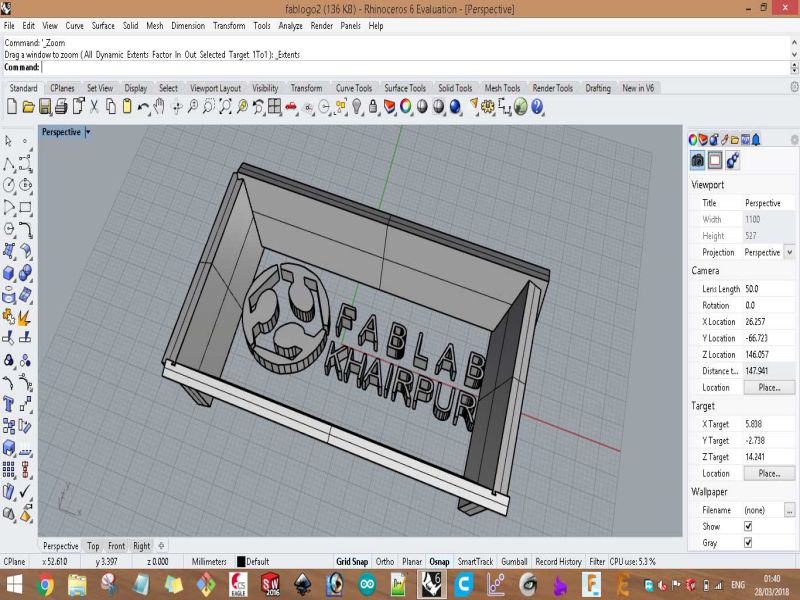
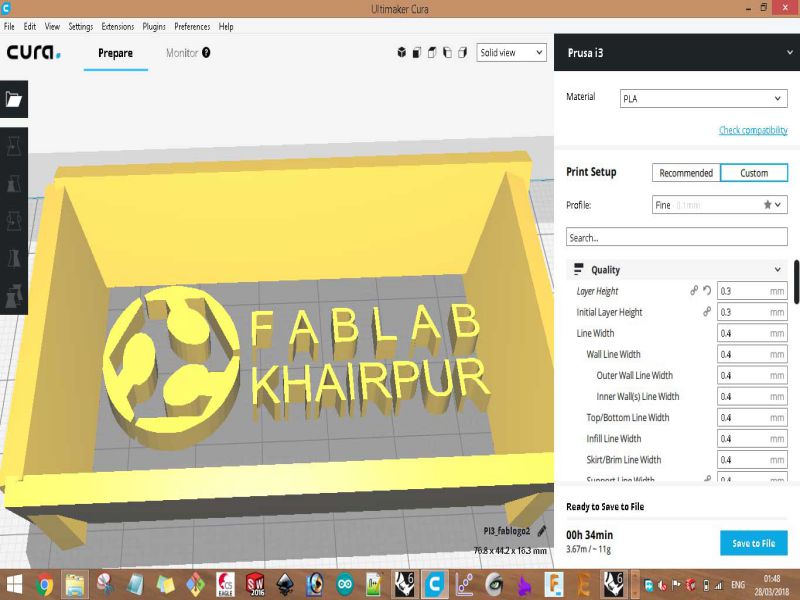
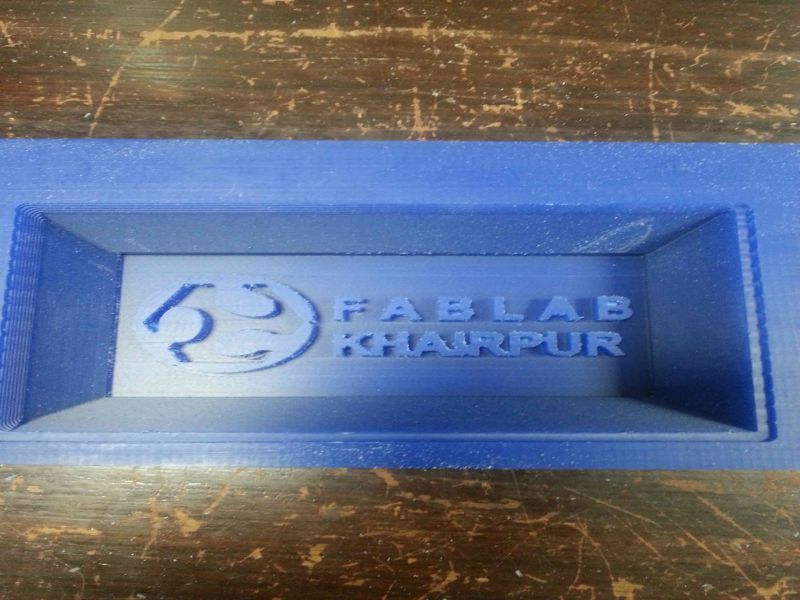
Again I decided to design the logo of our FabLab Khairpur for molding and casting. I import the 2D image of FabLab logo in "Rhino 3D" then following the line command I drew the boundaries of imported image and then I used extrudeCrv command to extrude it upto 3.75 mm up in z-axis. I used "text function" in "Rhino 3D" and wrote the text as "F A B L A B KHAIRPUR", again used line command, extrudeCrv command, and extrude the text upto 3.75 mm up in z-axis.
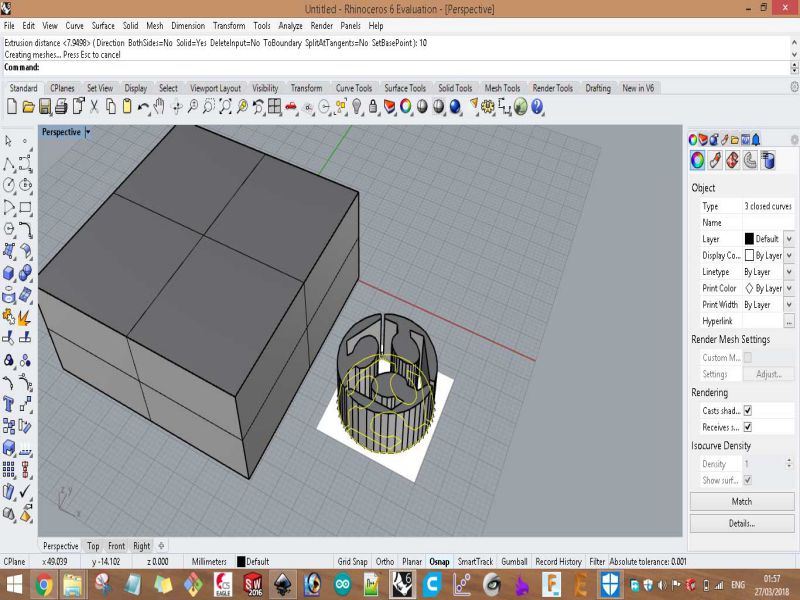
Following the line command on FabLab Logo, and then extrude it upto 3.75 mm using extrudeCrv command.
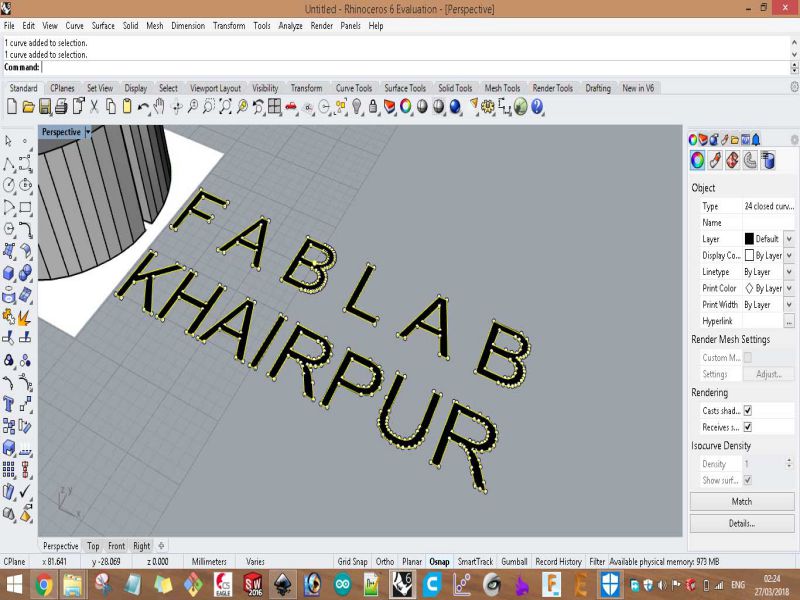
Following the line command on the text of FABLAB Khairpur, and then extrude it upto 3.75 mm using extrudeCrv command.
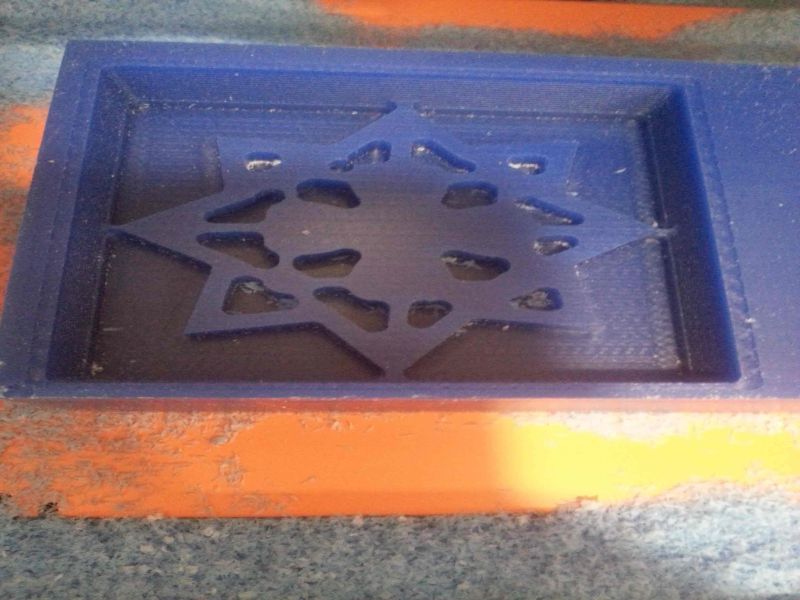
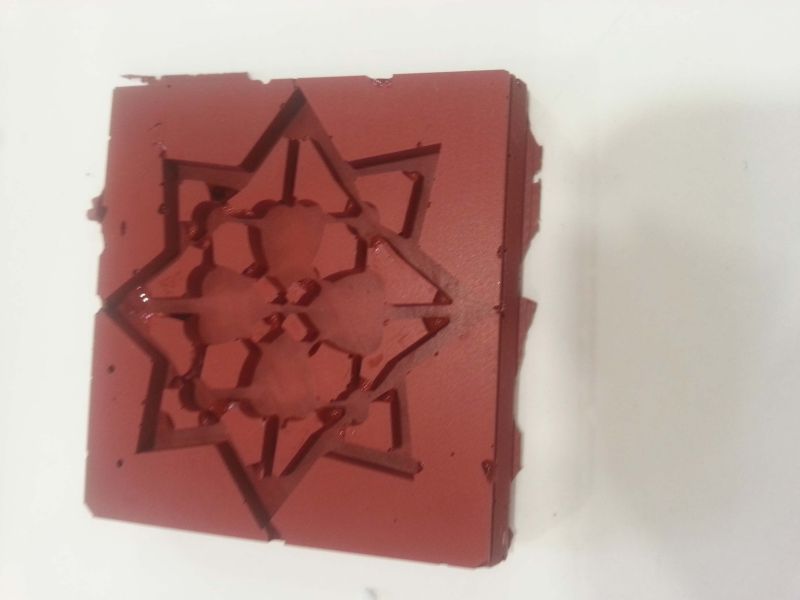
Result of Roughing and Finishing process respectively.
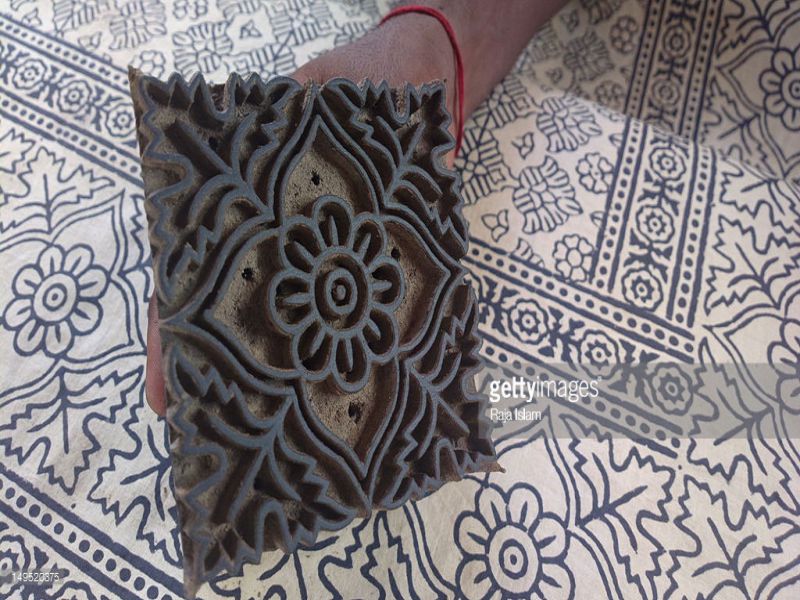
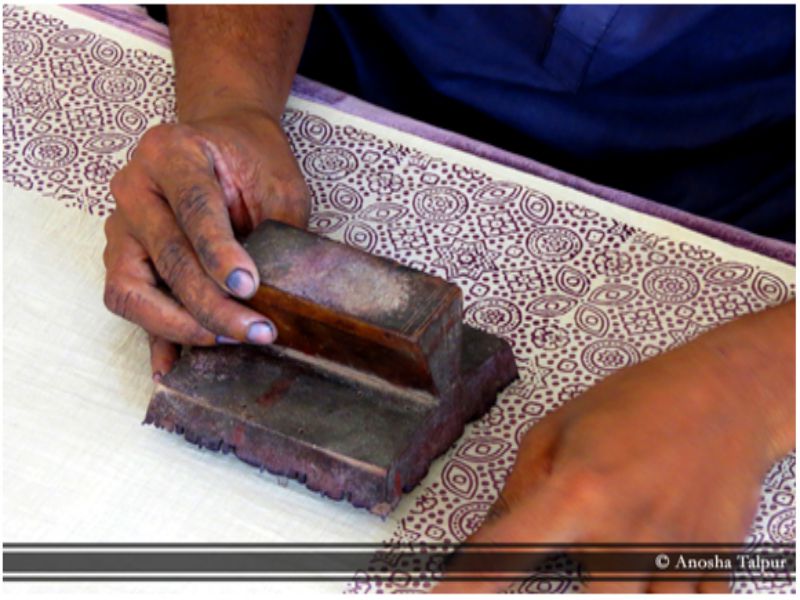
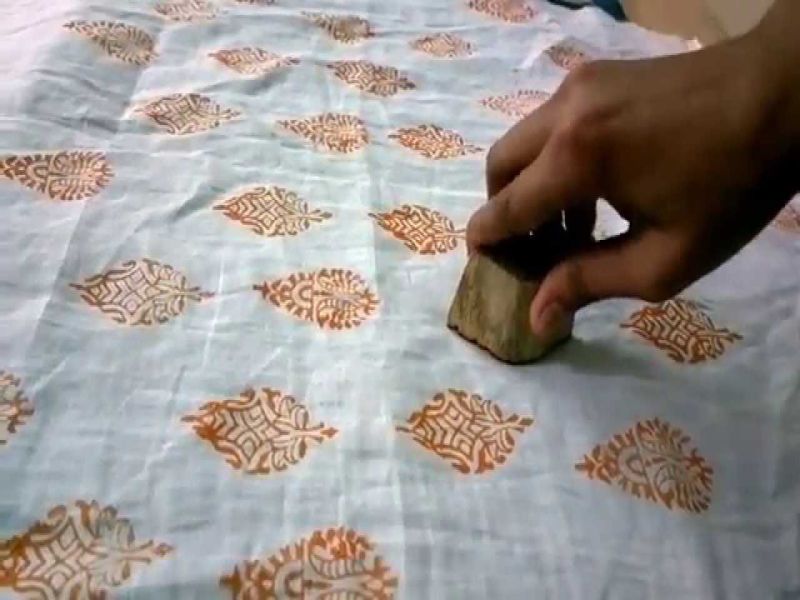
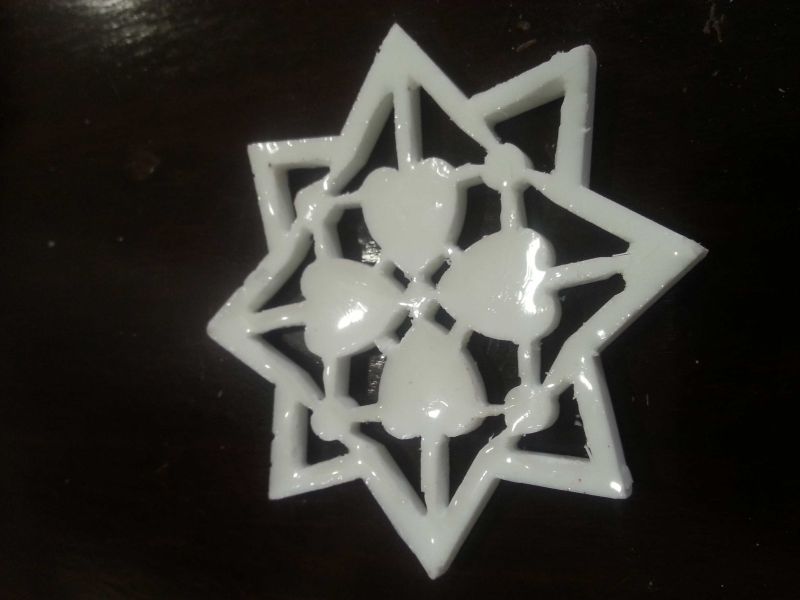
As, my assignment of the week is complete by molding and casting an "Ajrak block/stamp". For more learning of this process I decided to mold another thing like FabLab Khairpur Logo. I just Mold the Logo of FabLAb Khairpur, I will cast it when I get free slot of time. I am happy with my this week's molding and casting.
Download all files from here
This work is licensed under a Creative Commons Attribution-NonCommercial 4.0 International License.