
|
| Sukkur IBA University Merit, Quality, Excellence |
WEEK-17
Wildcard Week
Lecture & Recitaton of a Week:
Lecture on 16th of May, 2018: Wildcard week by Neil Gershenfeld
Recitation on 21st of May, 2018: FABx
Tasks for a Week
- group assignment: produce test coupons for your composite fabrication process(es)
- individual assignment: read the safety data sheet (SDS) and technical data sheet (TDS) for the resins that you're using design and fabricate a 3D mold (~ft2) and produce a fiber composite part in it, with resin infusion and compaction
For making a test design we made a simple curvy shape in solidworks.The Curve was saved as .stl file and the tool path was generated in Vcarve. All the steps for making the composite are given below and also illustrated through pics.
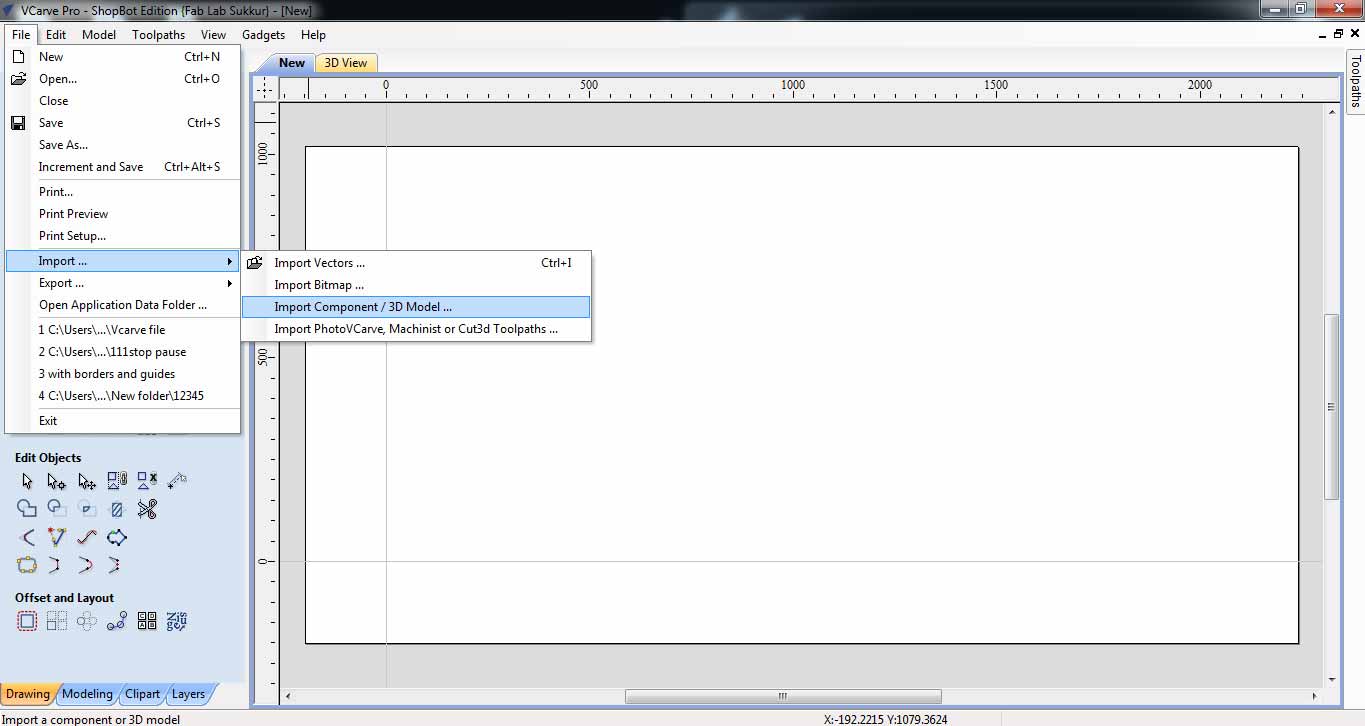
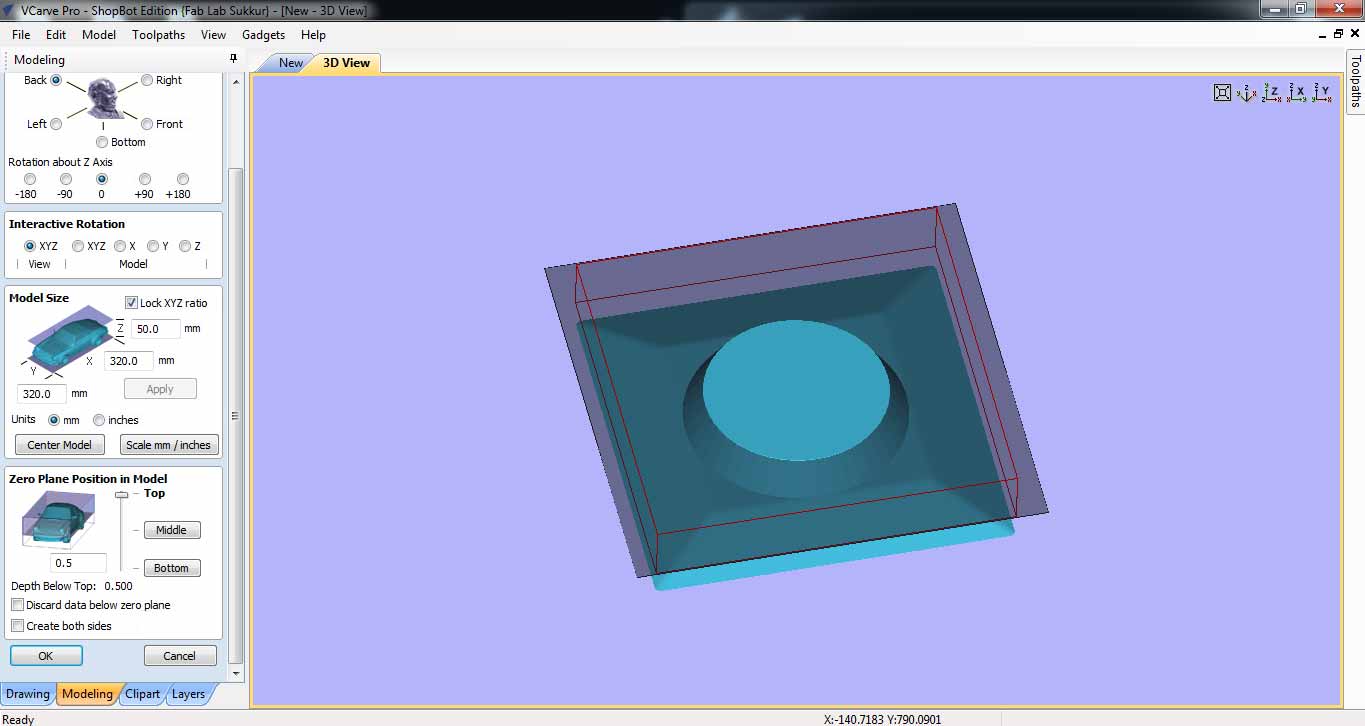
Initially, a new Vcare file was opened and the dimensions were set according to the size of the model (370 by 370mm).Then by importing the Component/ 3D model , the model is imported. Here we make some settings as described in the video attachd for individual assignment section.
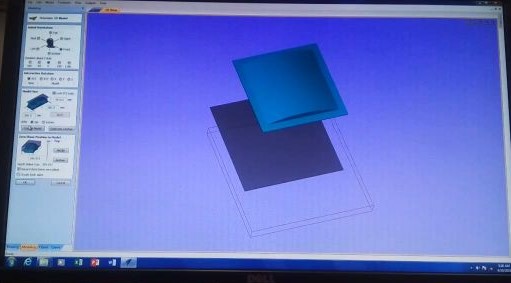
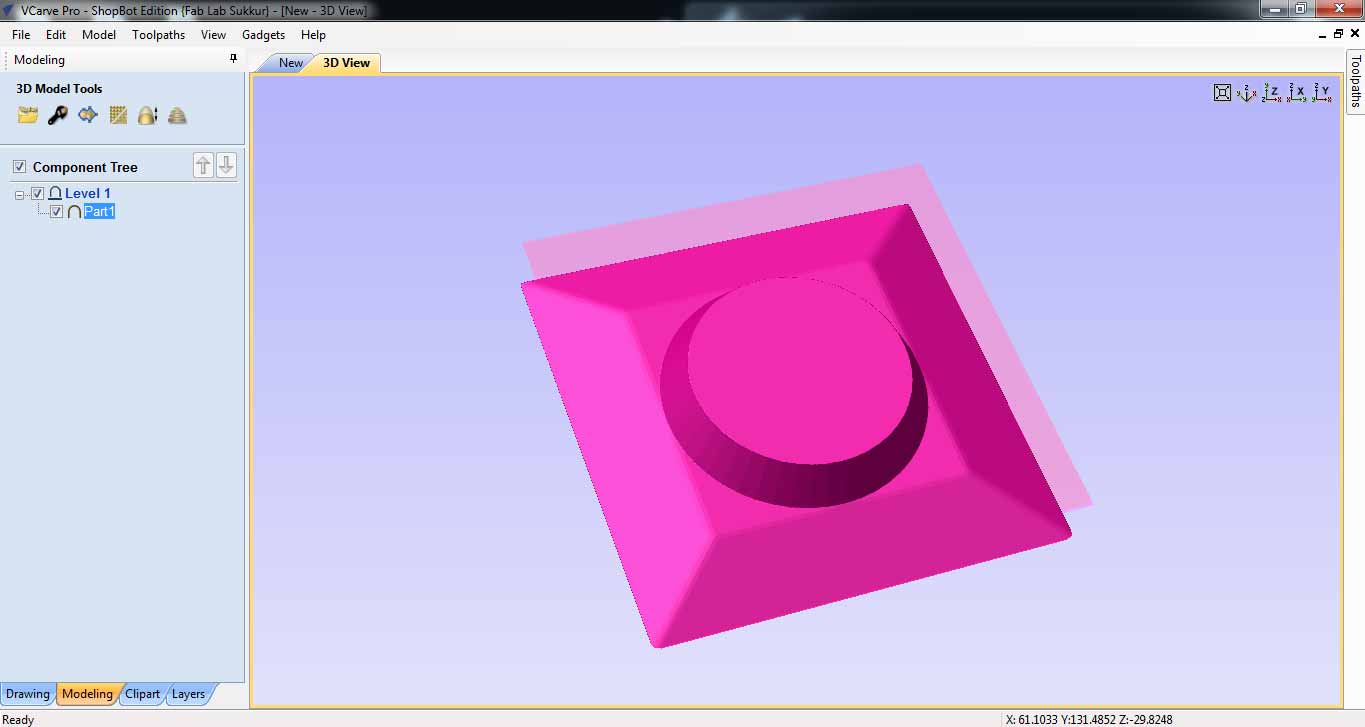
The 3D model is being set in the proper plane
In the next step we place the model at center so that the model comes inside the dimesnions we set.
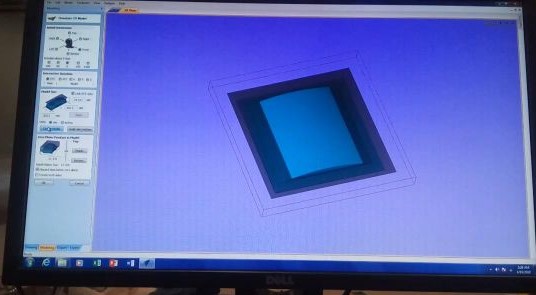
The 3D model is placed at the center
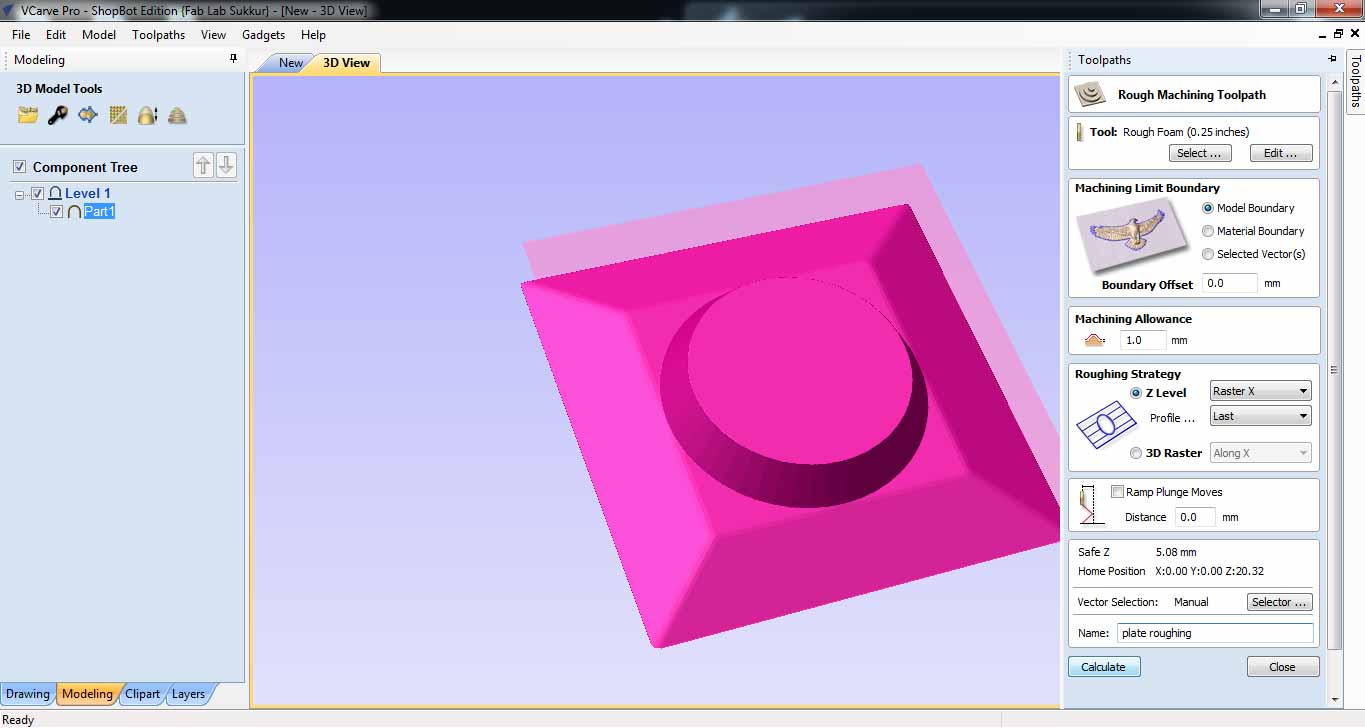
From the toolpath tab, we generate the toolpath for roughing and finsihing.
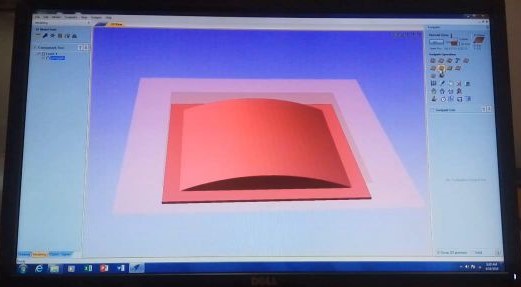
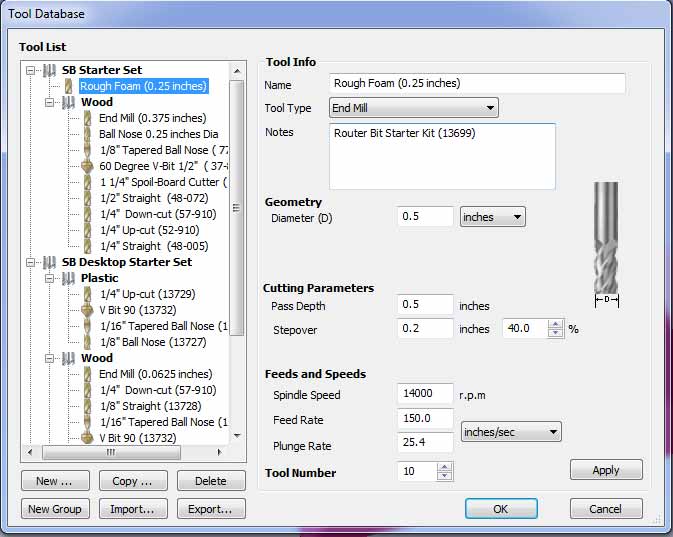
The roughing is being done with the tool foam roughing 0.5 inch tool which is already added in the tool list

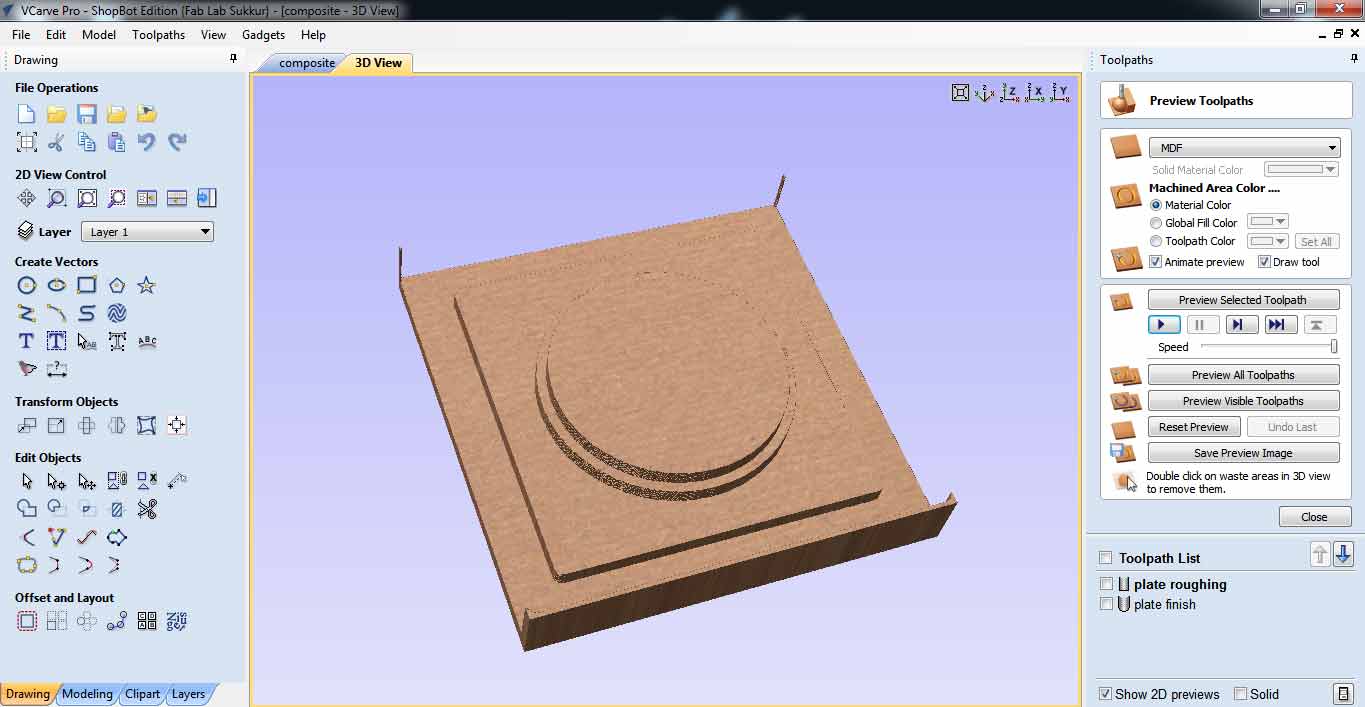
The preview of model after roughing
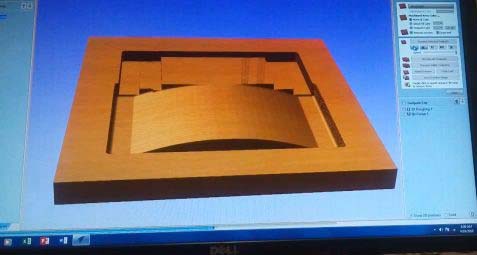
The preview of model while finishing
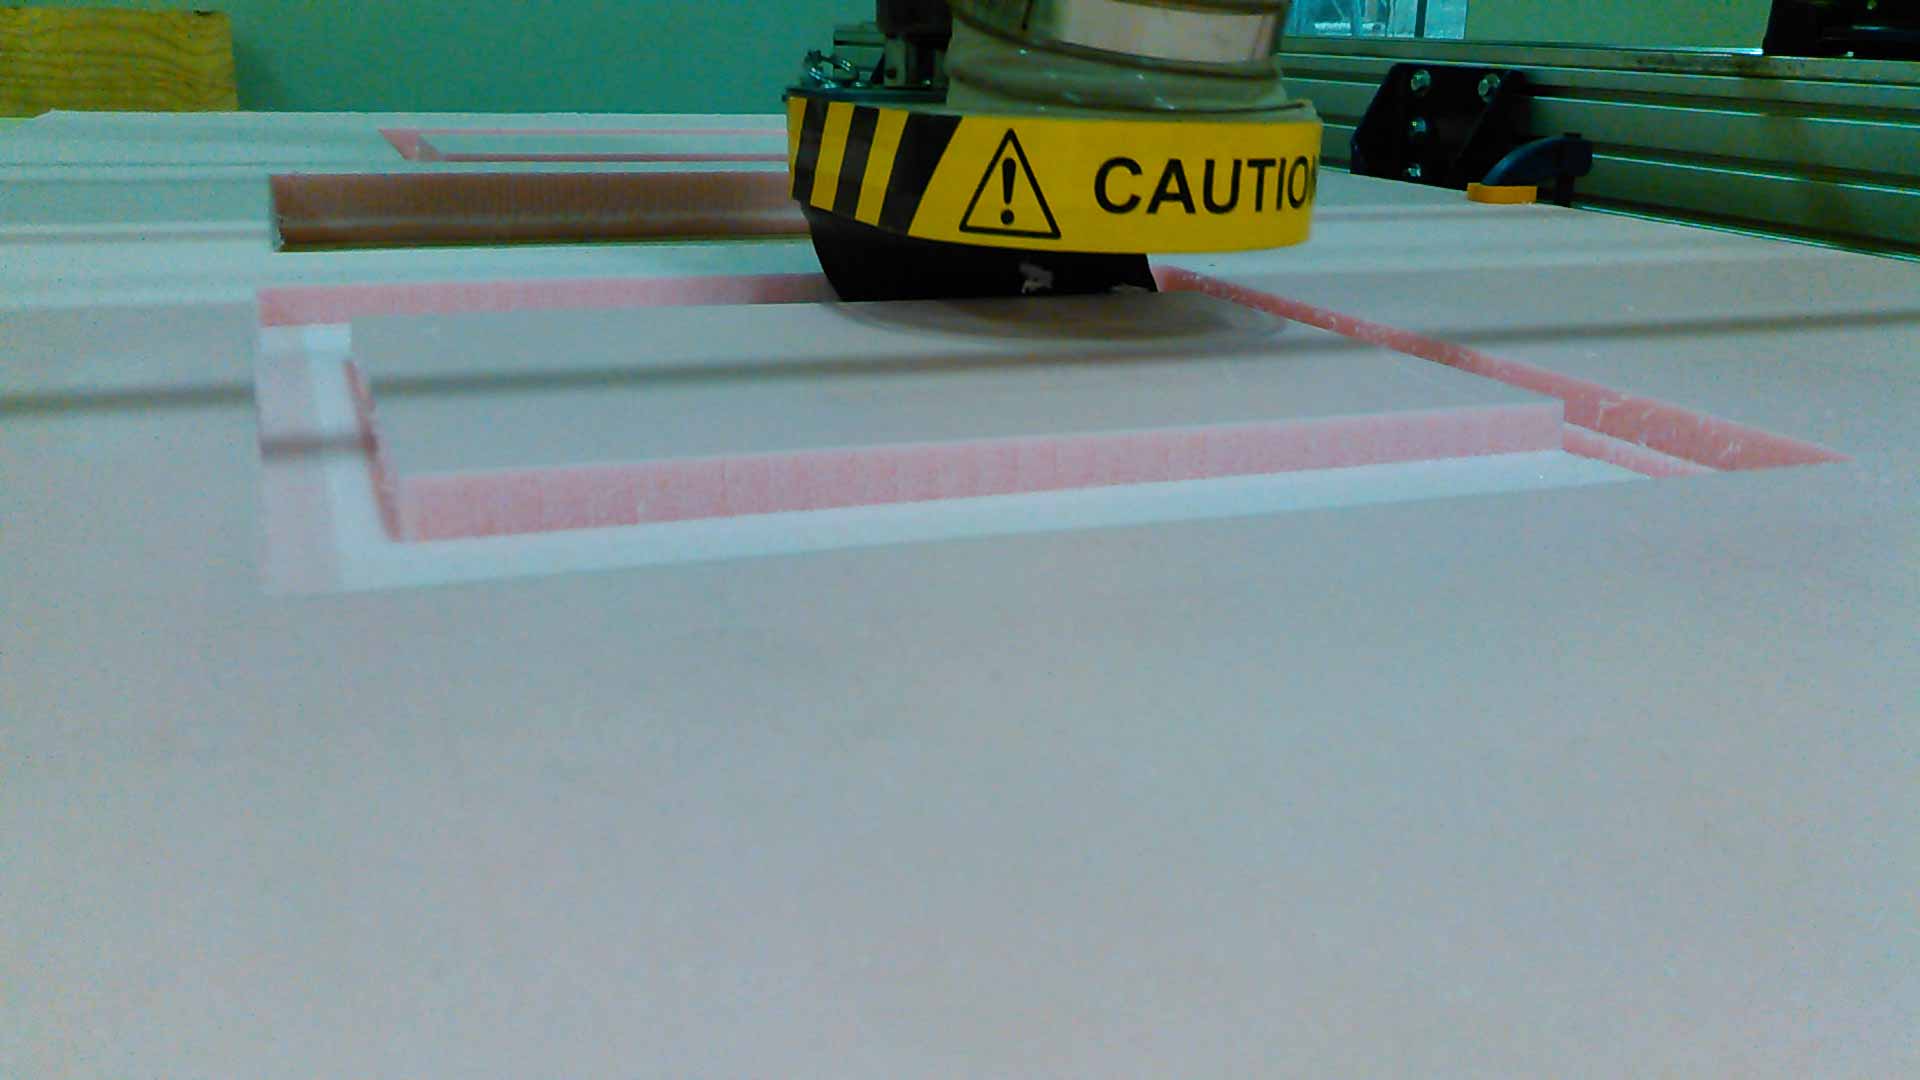
The next step was to cut the model on the 50mm foam, the toolpaths were generated and then used in cutting on shopbot.
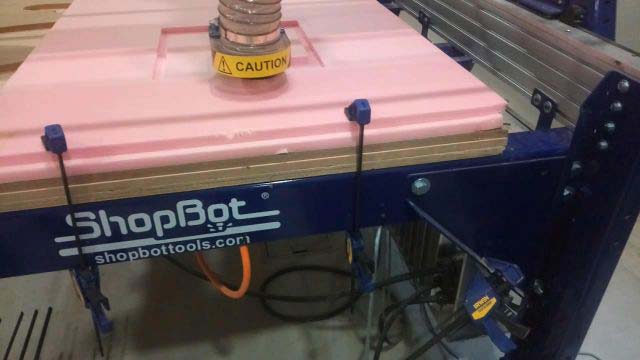
shopbot at work of roughing the model
We are using Jute as the fiber, we already cut the two pices on Laser cutter. The arrangement of the composite is shown below:
- Layer1: Food wrapping plastic
- Layer2: mold of oam covered with wrapping plastic
- Layer3: 2 pieces of jute fiber mixed in resin
- Layer4: wrapping plastic
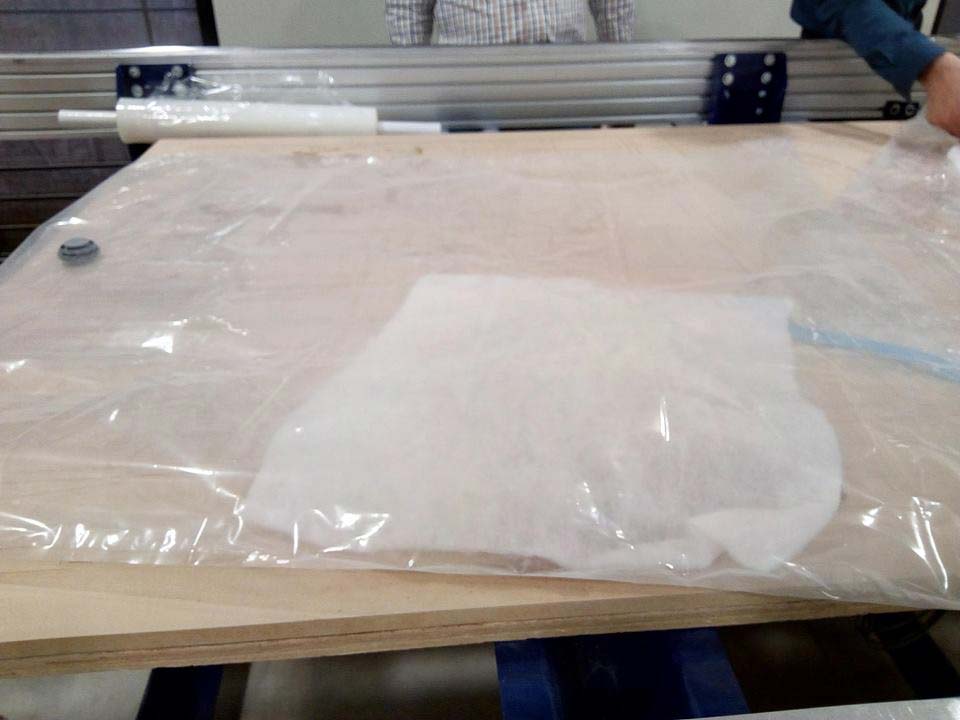
- Layer5: Breather for vaccum
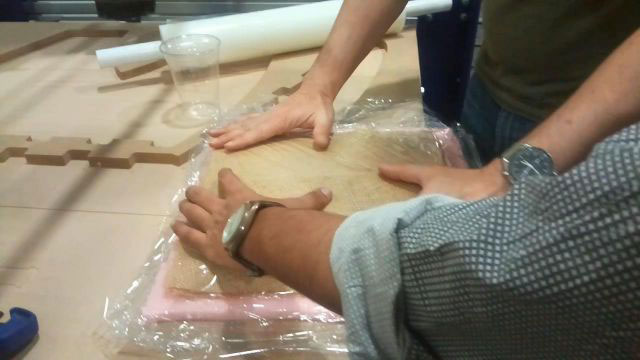
The arrangement of different layers for making composite
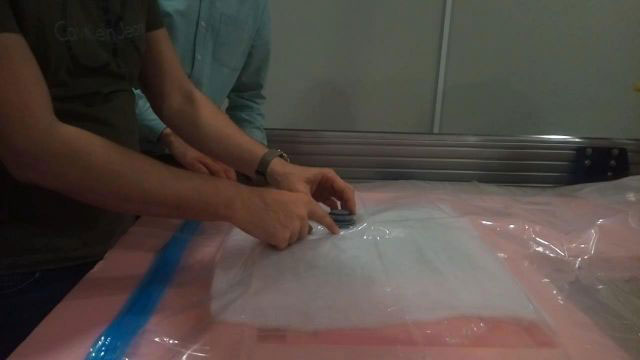
The arrangement of vacum for the model
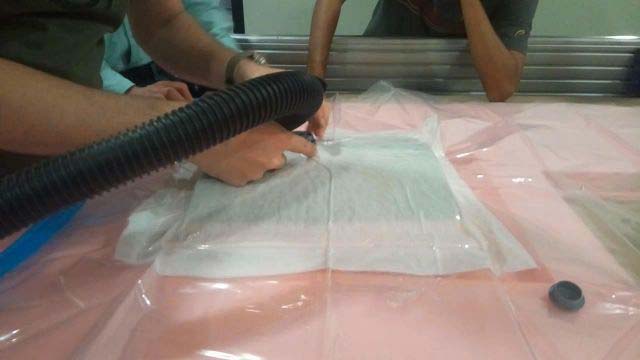
The model is being put in the vaccum for curing for at least one day
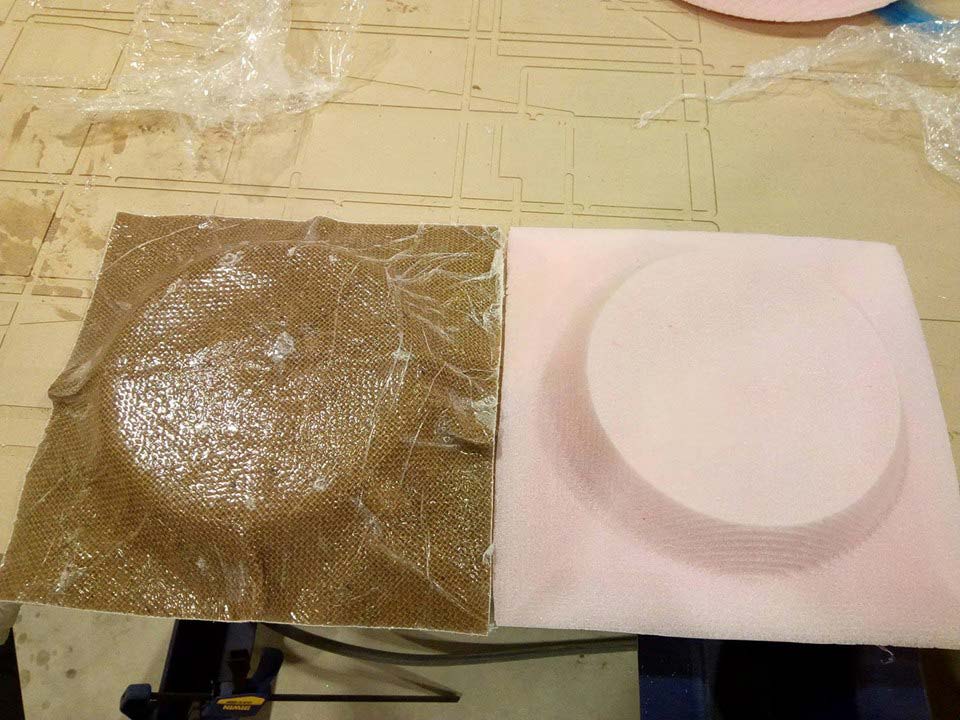
The model ws put for curing for the whole day and then the next day, we removed the mold and removed all the extra layers.
The mold is removed and the hardened composite is ready
Individual Assignment
Reading Datasheet
I extract some important points from both Safety and Technical datasheets of Epoxy Solution we are using to complete oure this week task:
Part A
here are some safety measures and warnings before using this material:
- Causes serious eye irritation
- Causes skin irritation
- Toxic to aquatic life with long lasting effects
- Wear protective gloves
- Wear eye/face protection
- Wash thorougly after handling
- if ON SKIN: wash with plenty of soap and water. If skin irritation or rush occurs: Get medical attention.
- if IN EYES: RInse cautiously with water for several minutes. If eye irritatipon persist. Get medical advice and attention
- Take off contaminated clothing and wash before reuse
Part B
here are some safety measures and warnings before using this material:
- Causes serious eye damage
- Causes severe burns and eye damages
- May cause an allergic skin reaction
- Harmful to aquatic life with long lasting effects
- Wear protective gloves/protective clothing
- Wear eye/face protection
- Wash thorougly after handling
- If SWALLOWED rinse mouth
- If IMNHALED Remove victim to fresh air and call a POISON Center or doctor/physician
- if ON SKIN: wash with plenty of soap and water. If skin irritation or rush occurs: Get medical attention.
- if IN EYES: Rinse cautiously with water for several minutes. If eye irritatipon persist. Get medical advice and attention
- Take off contaminated clothing and wash before reuse
Important Points from Technical Datasheets
- The solution is mixed with 2:1 Ratio
- Mix components thorougly till 10 minutes when it starts heating it is good for nexgt process
- it takes 24 hours to dry
Designing 3D Model
I design a plate in this week for safely place my Wallet, keys and other stuff. I used SolidWorks to design my model and below I mentioned steps:
- First I made a square using rectangle tool
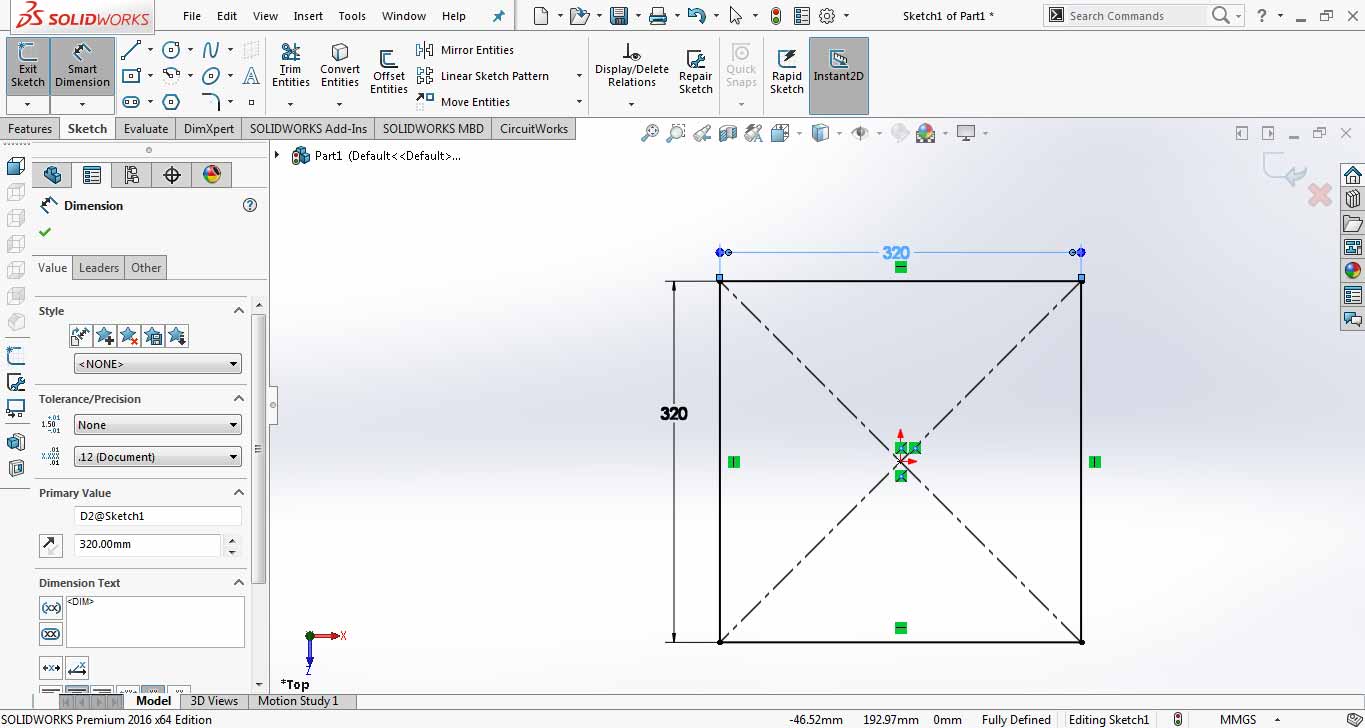
- Then I extrude it to 20mm while setting draft to inside 72degree

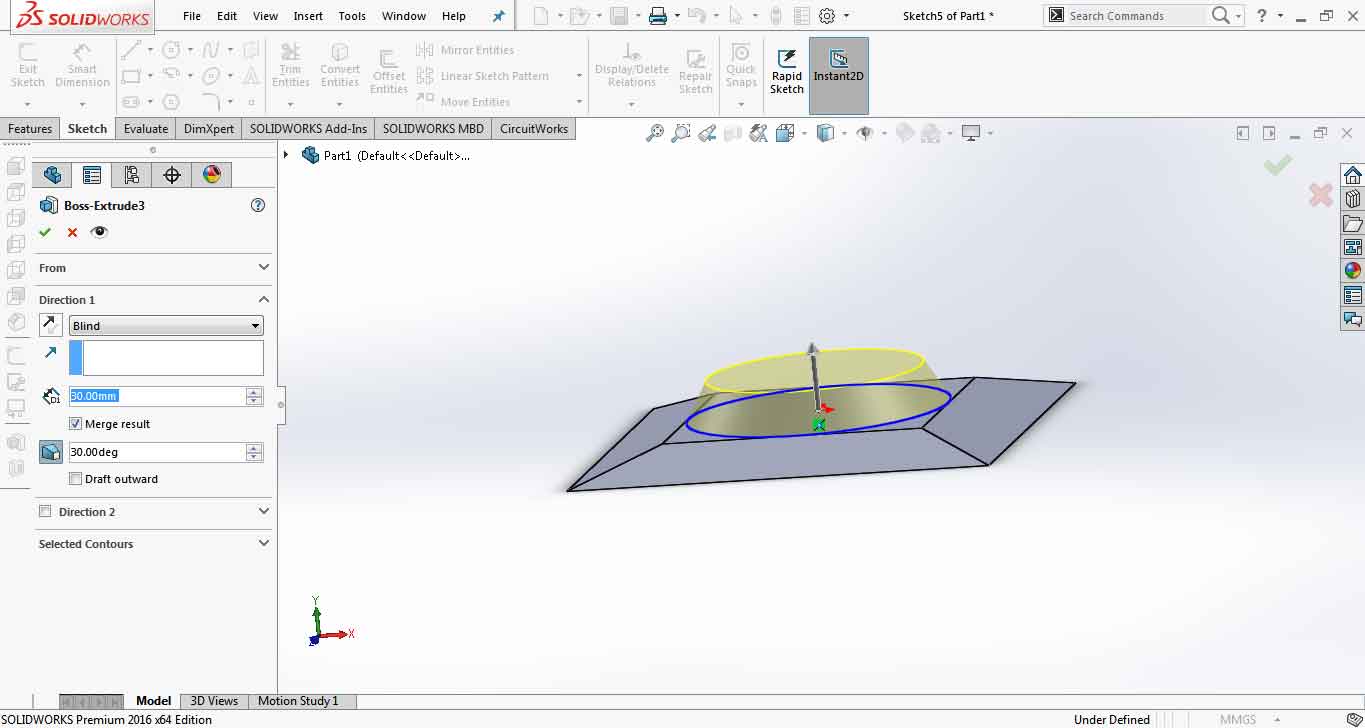
- Then I make another sketch on top plane and draw a circle on it
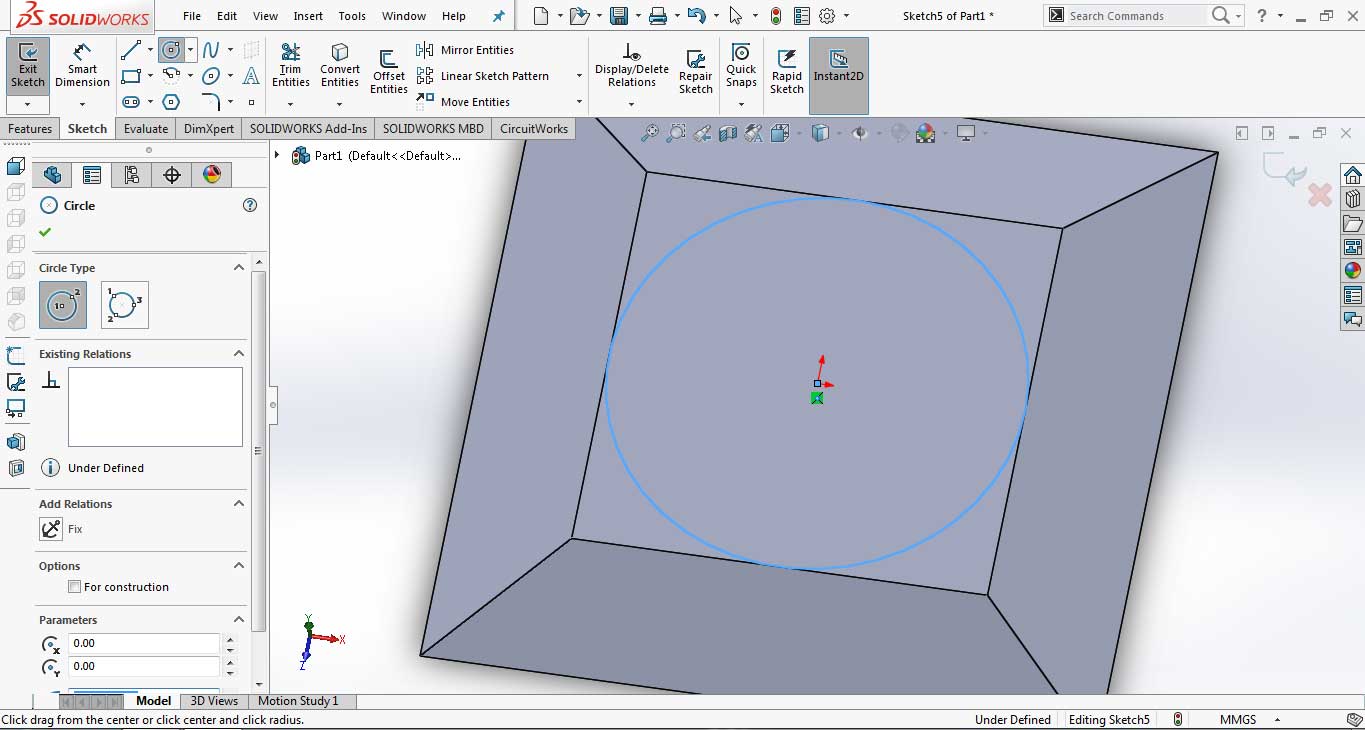
- Extrude it to 30mm setting draft inside to 30degree
- In last for round edges I select each edge and gave them command to 20mm fillet

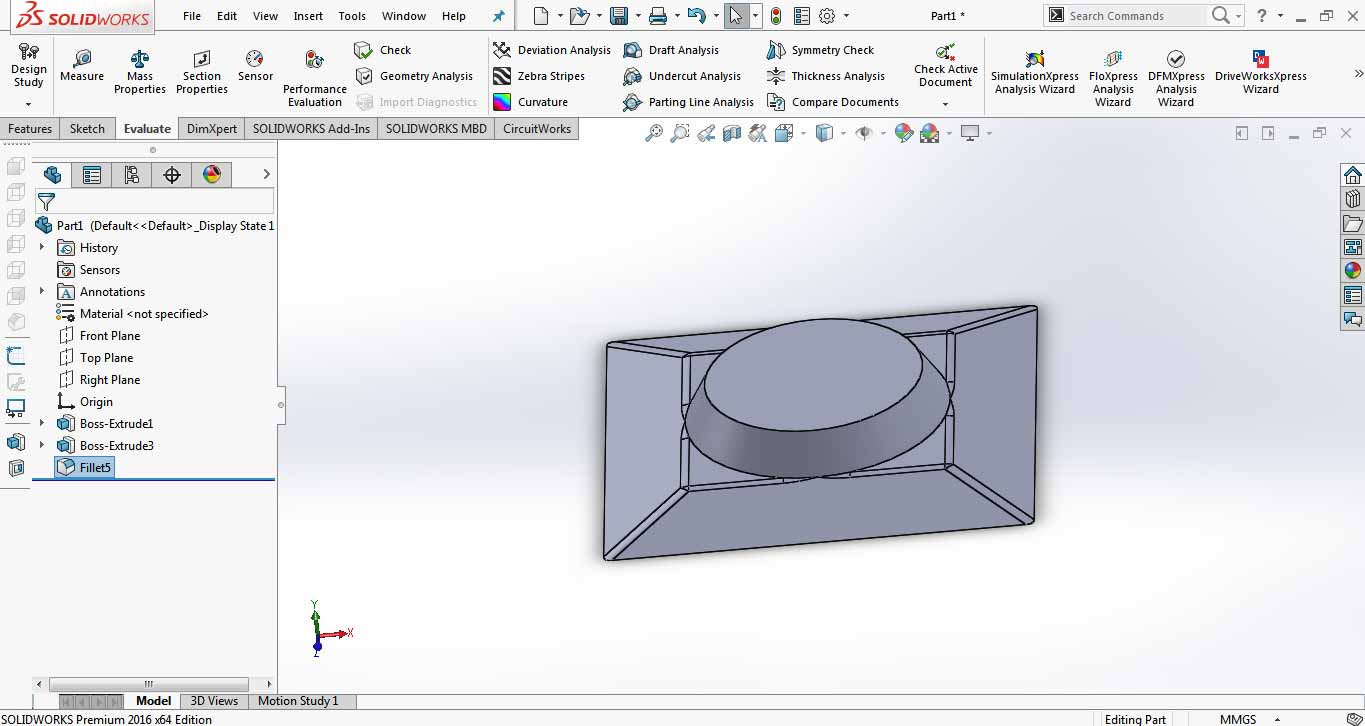
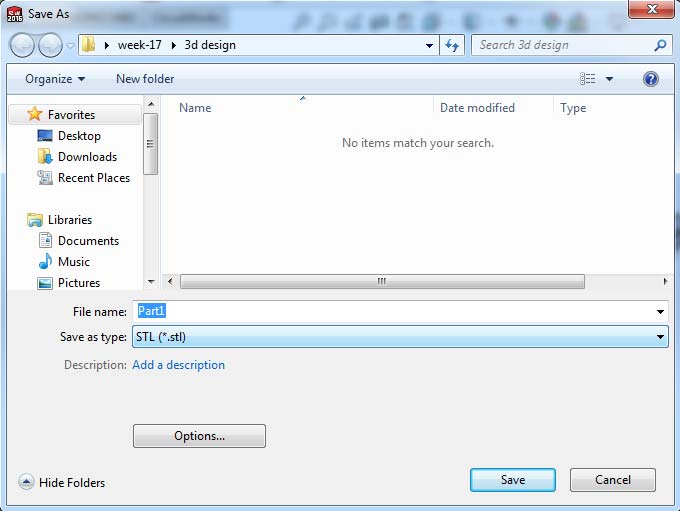
- In last I saved it as part file and stl file
Milling
For this week assignments we are using High Density Foam which has thickness of 50mm. For milling high density foam we are using Shopbot (to understand how to work with Shopbot please visit Computer-Controlled Machining). VCarve Pro is used to generate G-Code for Shopbot
The steps to generate G-Code mentioned below:
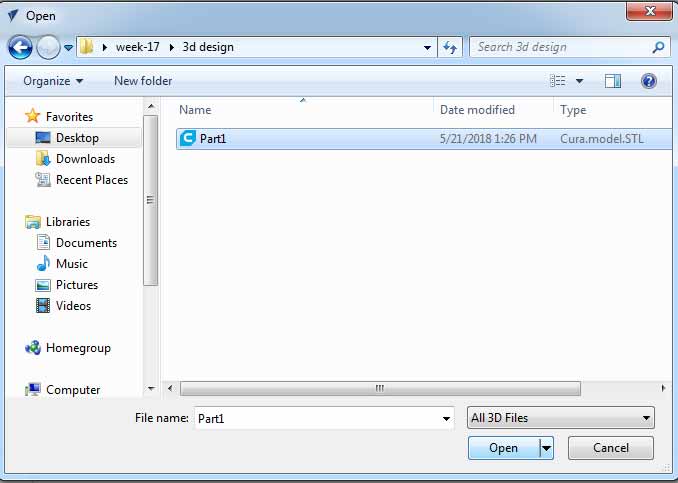
- First open VCarve and click on File > Import... and select Import COmponent/ 3D Model ... in a window select .STL file which we made in designing part
- The model is set with in boundaries by using settings in a picture, then click OK for further proces
- Now click on toolpath and select Rough Machining Toolpath we are using 0.5 inch End Mill drill bit, but it was not present in Tool database so we create New database, settings are shown in picture
- A preview off Roughing:
- Finisihing process is same the bit database is not present so we make with Ball Nose inch diameter other settings are shown in picture
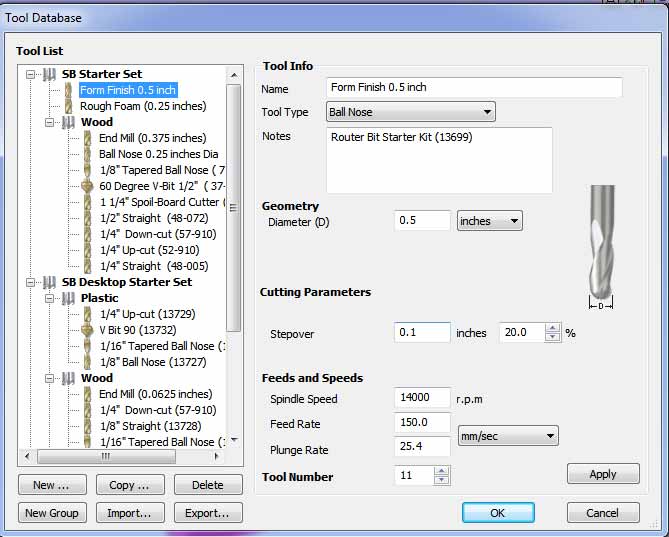
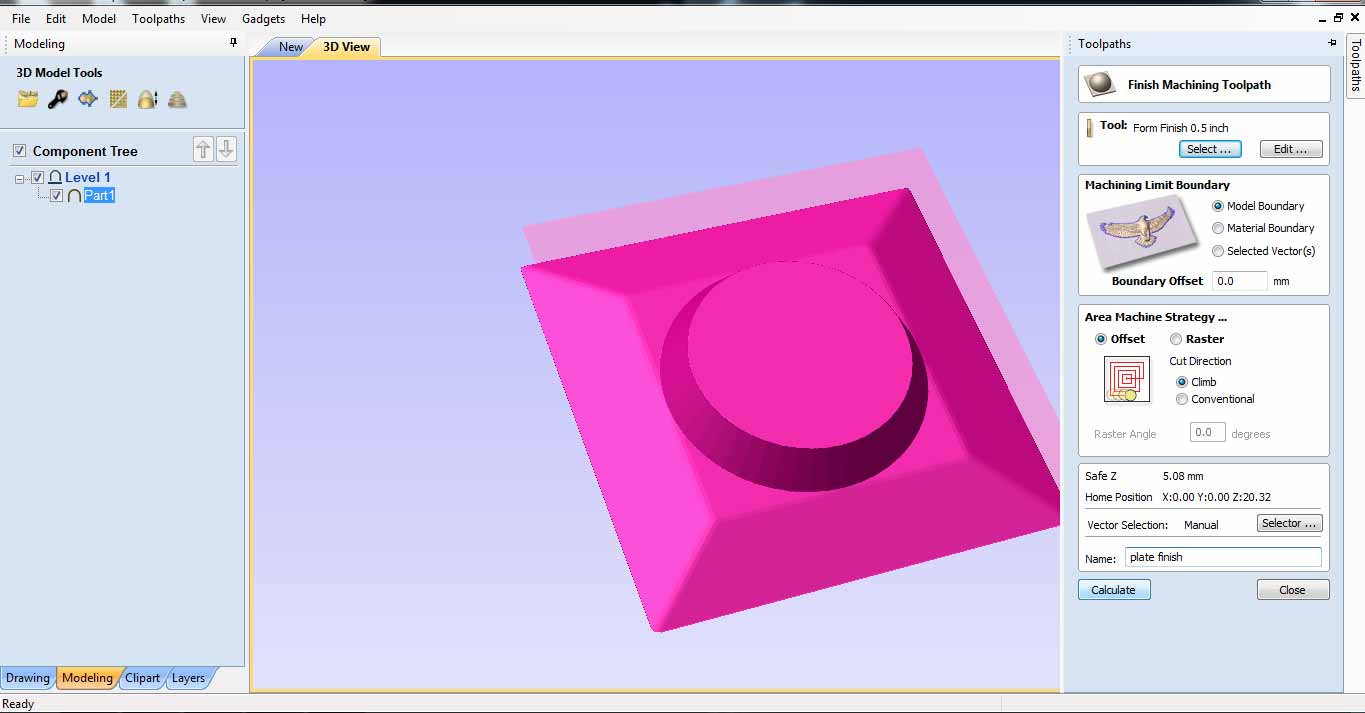
- Preciew of Finishing:
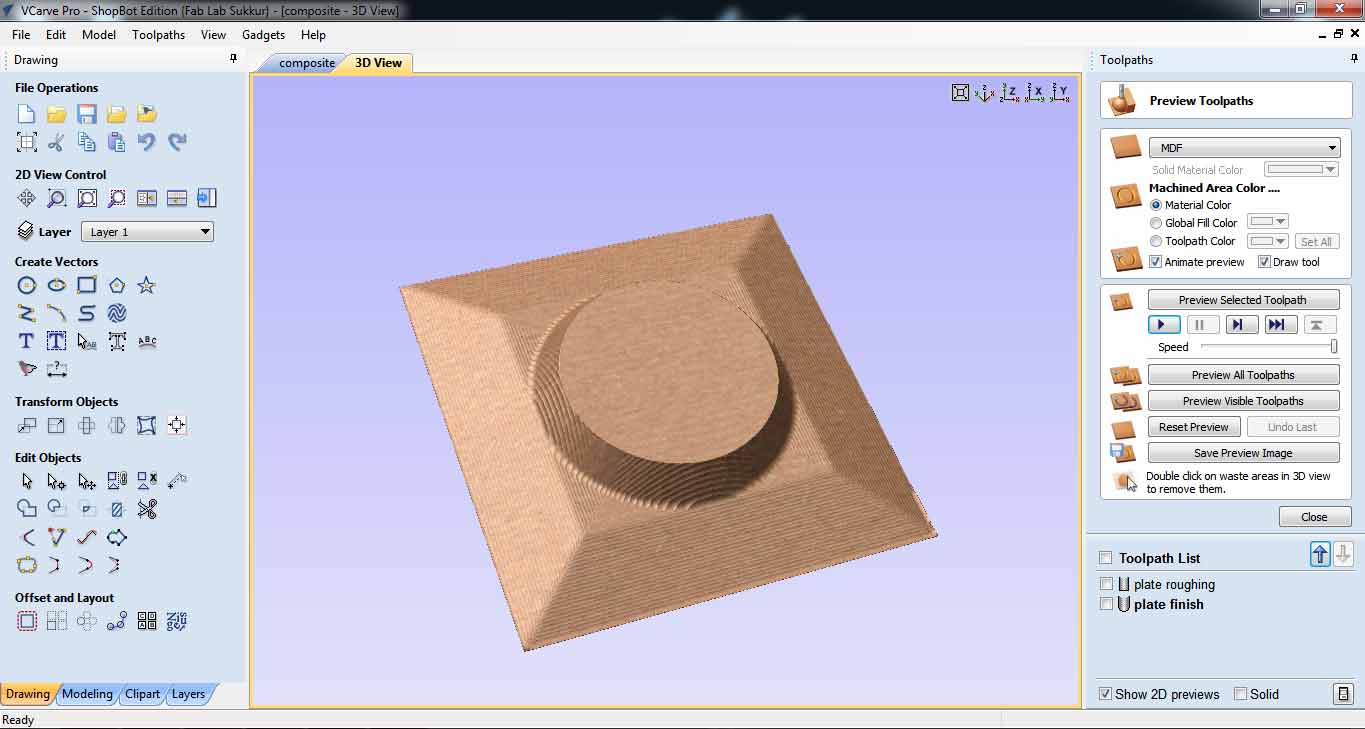
- Toolpaths are given to machine for further process and here are the results
Milling Result
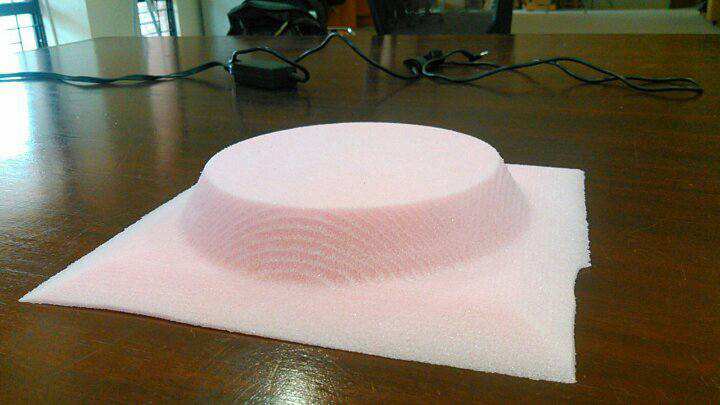
Fabric and Composites
I am using double layer of fabric in my assignment, it makes the surface more hard. The fabric are in arrangement that one layer is set to another with 45 degree of angle.
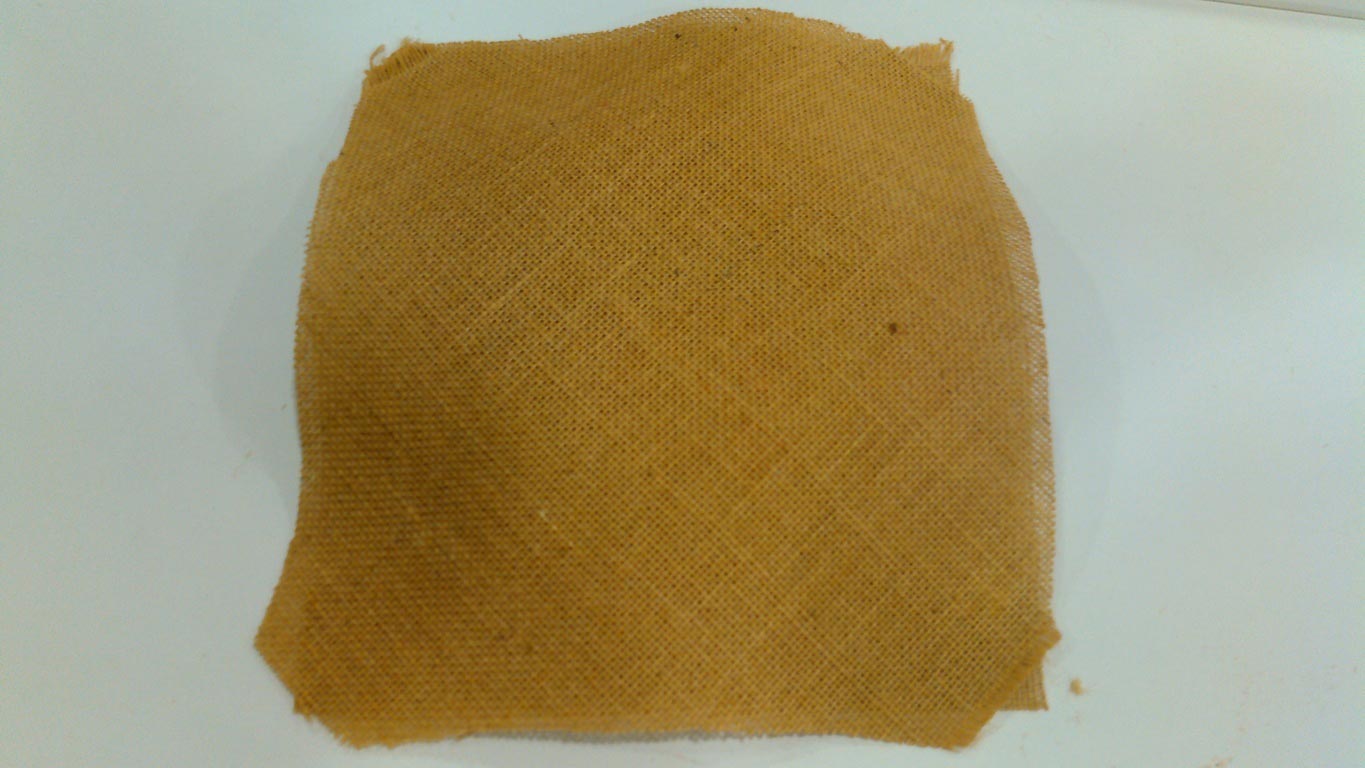
Cutting Fabric of mold size
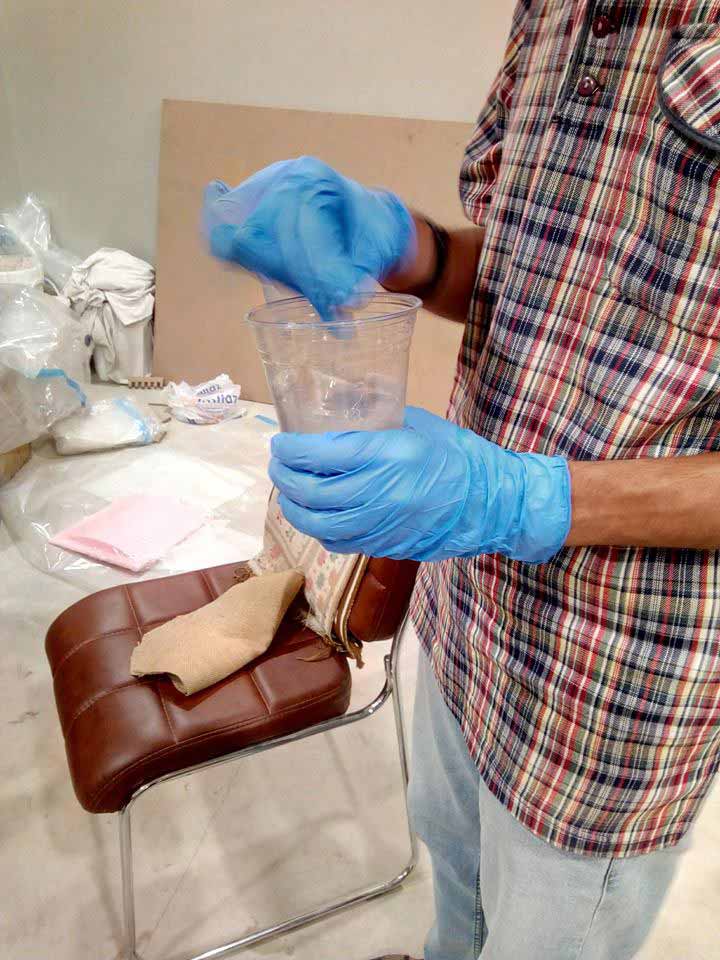
A fabric weighted for finding the quantity of ratio of Resin and Hardner
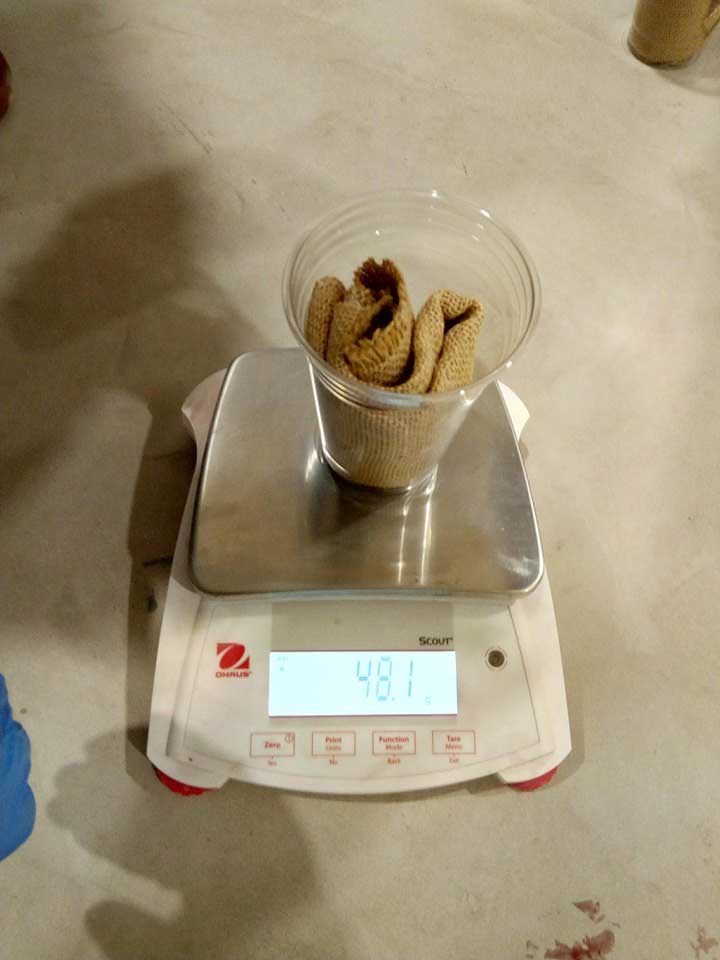
The ratio of Resin and Hardner is mixed in 2:1 and the total quantity is 3xweight of a material which is 150gm approx
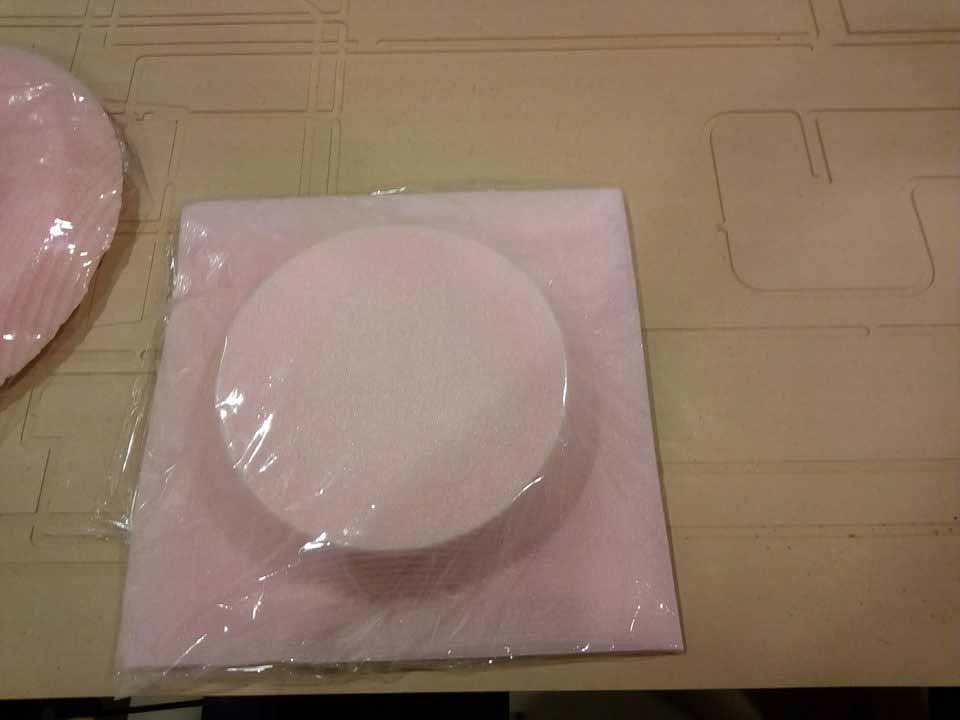
The plastic layer is covered on mold so it safe from Resin and can be use again
Paste the resin dipped fabric on Mold then again make a layer of plastic on it and squeeze it over surface so it can attain a shape
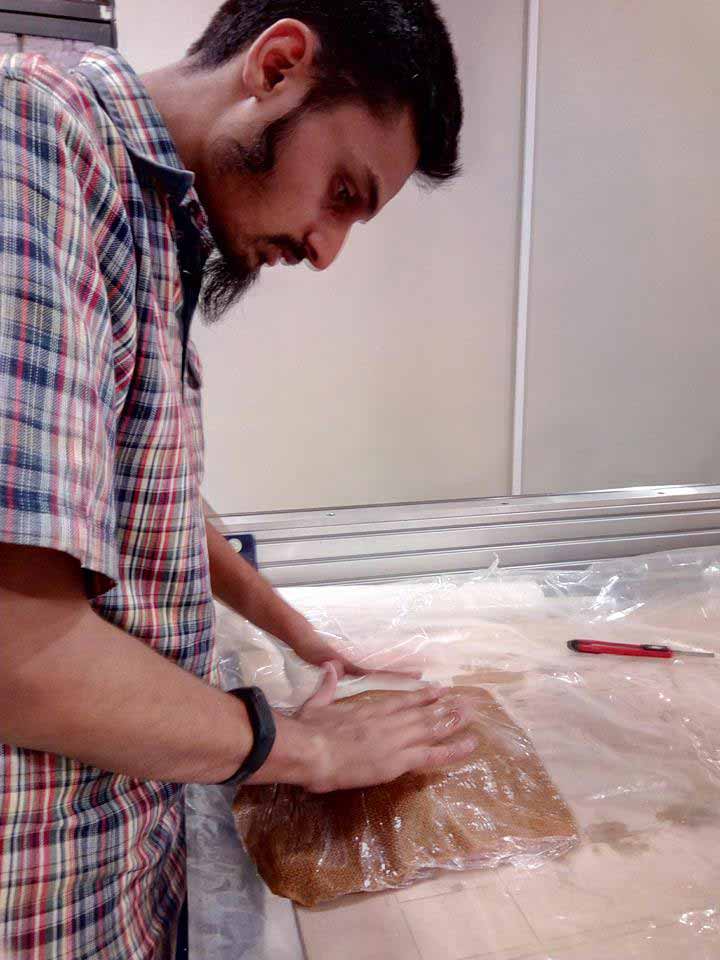
Place a breather and put the whole experiment into air bag which is ued to suck the air and build pressure on composite to attain the shape.
We wait a day to dry the material and the result was hard like rock
"Click here"to download all files of this week

This work is licensed under a Creative Commons Attribution-NonCommercial 4.0 International License