Group assignment: Produce test coupons for your composite fabrication process(es)
Individual assignment: Read the safety data sheet (SDS) and technical data sheet (TDS) for the resins that you're using
Design and fabricate a 3D mold (~ft2) and produce a fiber composite part in it, with resin infusion and compaction
Group Assignment:
What are composites?
Basically, composites are the combination of some components having different physical and chemical properties, which combine to make a composite , which is stronger than the individual elements.Composites can be natural or synthetic. Wood, a natural composite, is a combination of cellulose or wood fibers and a substance called lignin. To make a composite you need four things:
Mold or internal structure
Fiber based material to combine with resin
Resin
Force or pressure to compress the composite as it cures
For making a test design we made a simple curvy shape in solidworks.The Curve was saved as .stl file and the tool path was generated in Vcarve. All the steps for making the composite are given below and also illustrated through pics.
Initially, a new Vcare file was opened and the dimensions were set according to the size of the model (370 by 370mm).Then by importing the Component/ 3D model , the model is imported. Here we make some settings as described in the video attachd for individual assignment section.
The 3D model is being set in the proper plane
In the next step we place the model at center so that the model comes inside the dimesnions we set.
The 3d model is placed at the center
From the toolpath tab, we generate the toolpath for roughing and finsihing.
The roughing is being done with the foam roughing 0.5 inch tool which is already added in the tool list
The preview of model after roughing
The preview of model after finishing
The next step was to cut the model on the 50mm foam, the toolpaths were generated and then used in cutting on shopbot.
Shopbot at work of roughing the model
We are using Jute as the fiber, we already cut the two pices on Laser cutter. The arrangement of the composite(from bottom to top) is shown below:
Layer1:Food wrapping plastic
Layer2:Mold of foam covered with wrapping plastic
Layer3:2 pieces of jute fiber mixed in resin
Layer4:Wrapping plastic
Layer5:Breather for vaccum
The arrangement of different layers for making composite
The arrangement of vacum for the model
The model is being put in the vaccum for curing for at least one day
The model ws put for curing for the whole day and then the next day, we removed the mold and removed all the extra layers.
The mold is removed and the hardened composite is ready
Individual Assignment:
In our wildcard week, we chose to work on composites. The composites is about making shapes or objects by using Epoxy Resin and Jute. Since jute itself is not strong enough to form hard shapes so it is combined with the resin and are placed in the shape of layers of both one over another. Then the design is left for a day or two inorder for resin to cure properly and after that we have got a solid and strong structure. Further explainations are given ahead
1.Data sheet
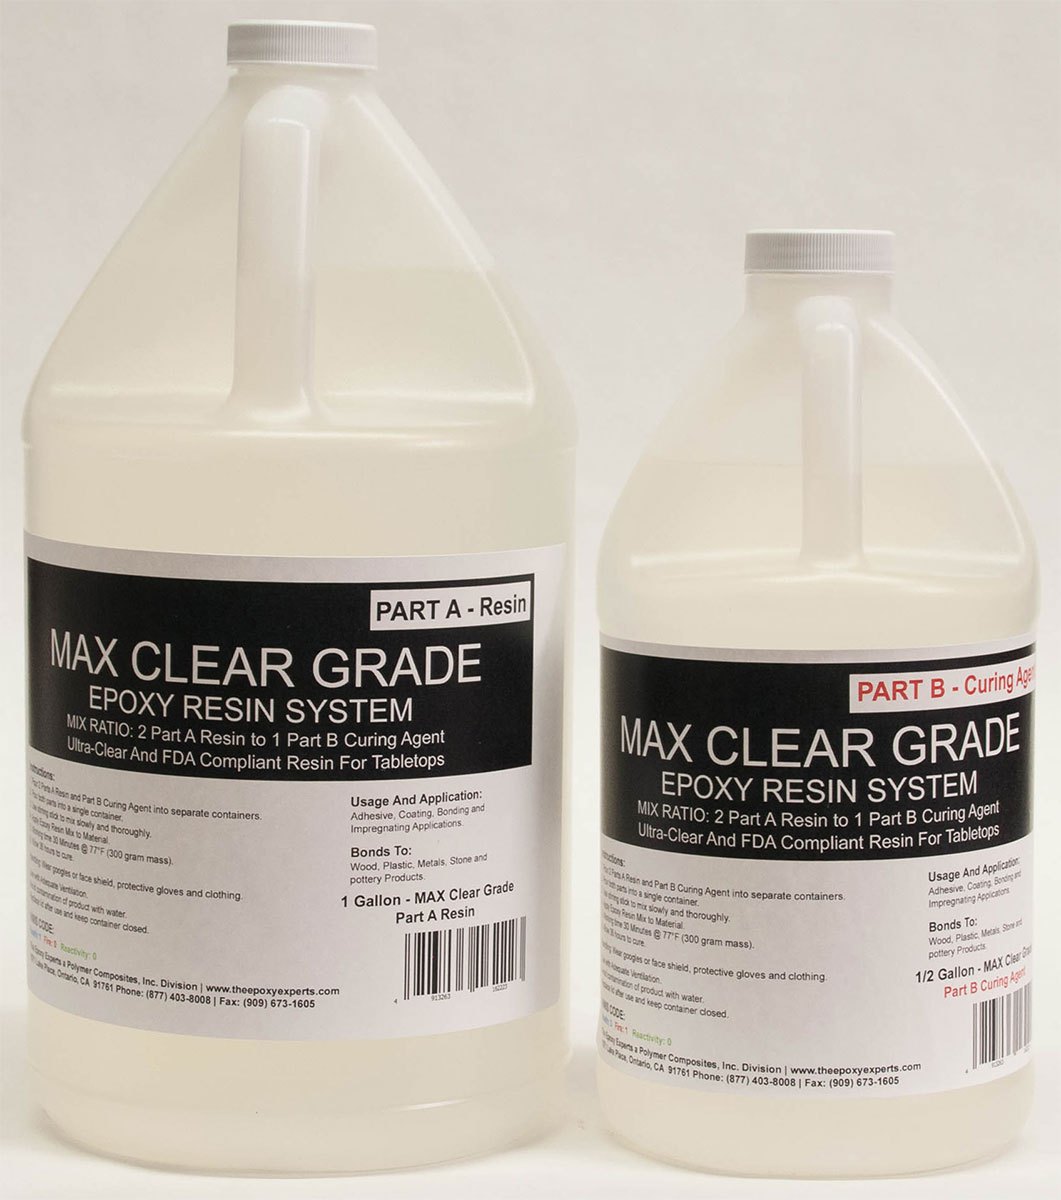
Before working with chemicals, we must be aware about there properties and safety precautions related to the use of that material.The material we are using is combined in the ratio 2:1 which means that 2 parts of material A(resin) and 1 part of material B(curing agent).
A picture of the material packaging is given below:
Epoxy resin material
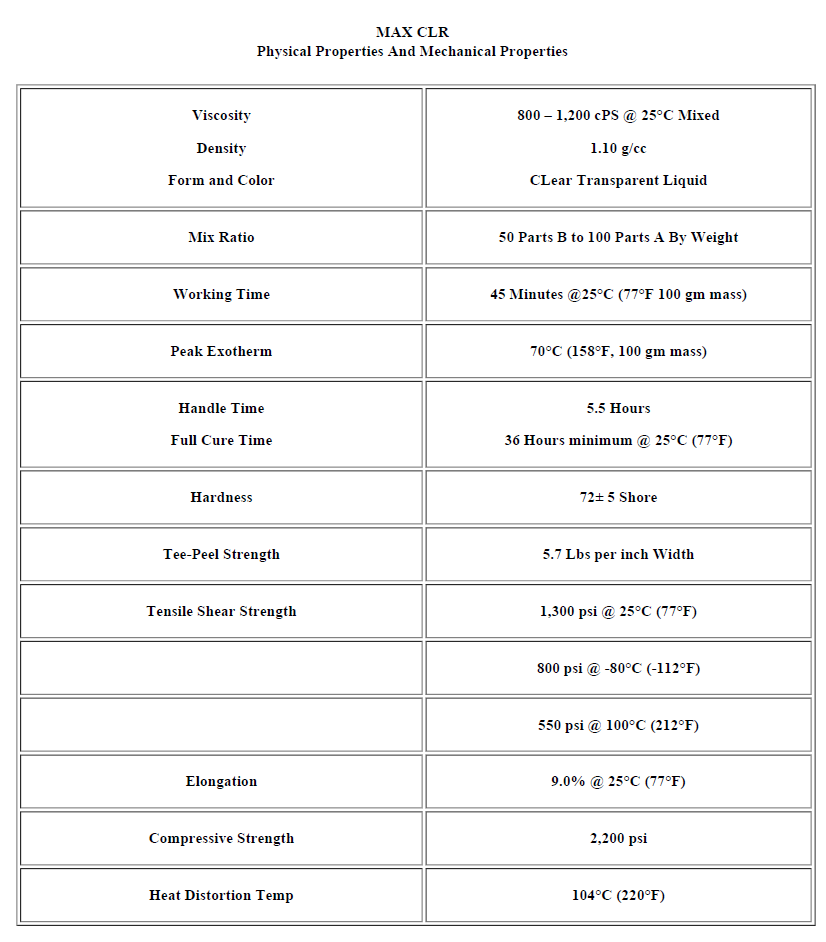
A snap of the datasheet of material is attached below:
Material Datasheet
2. Designing the mold
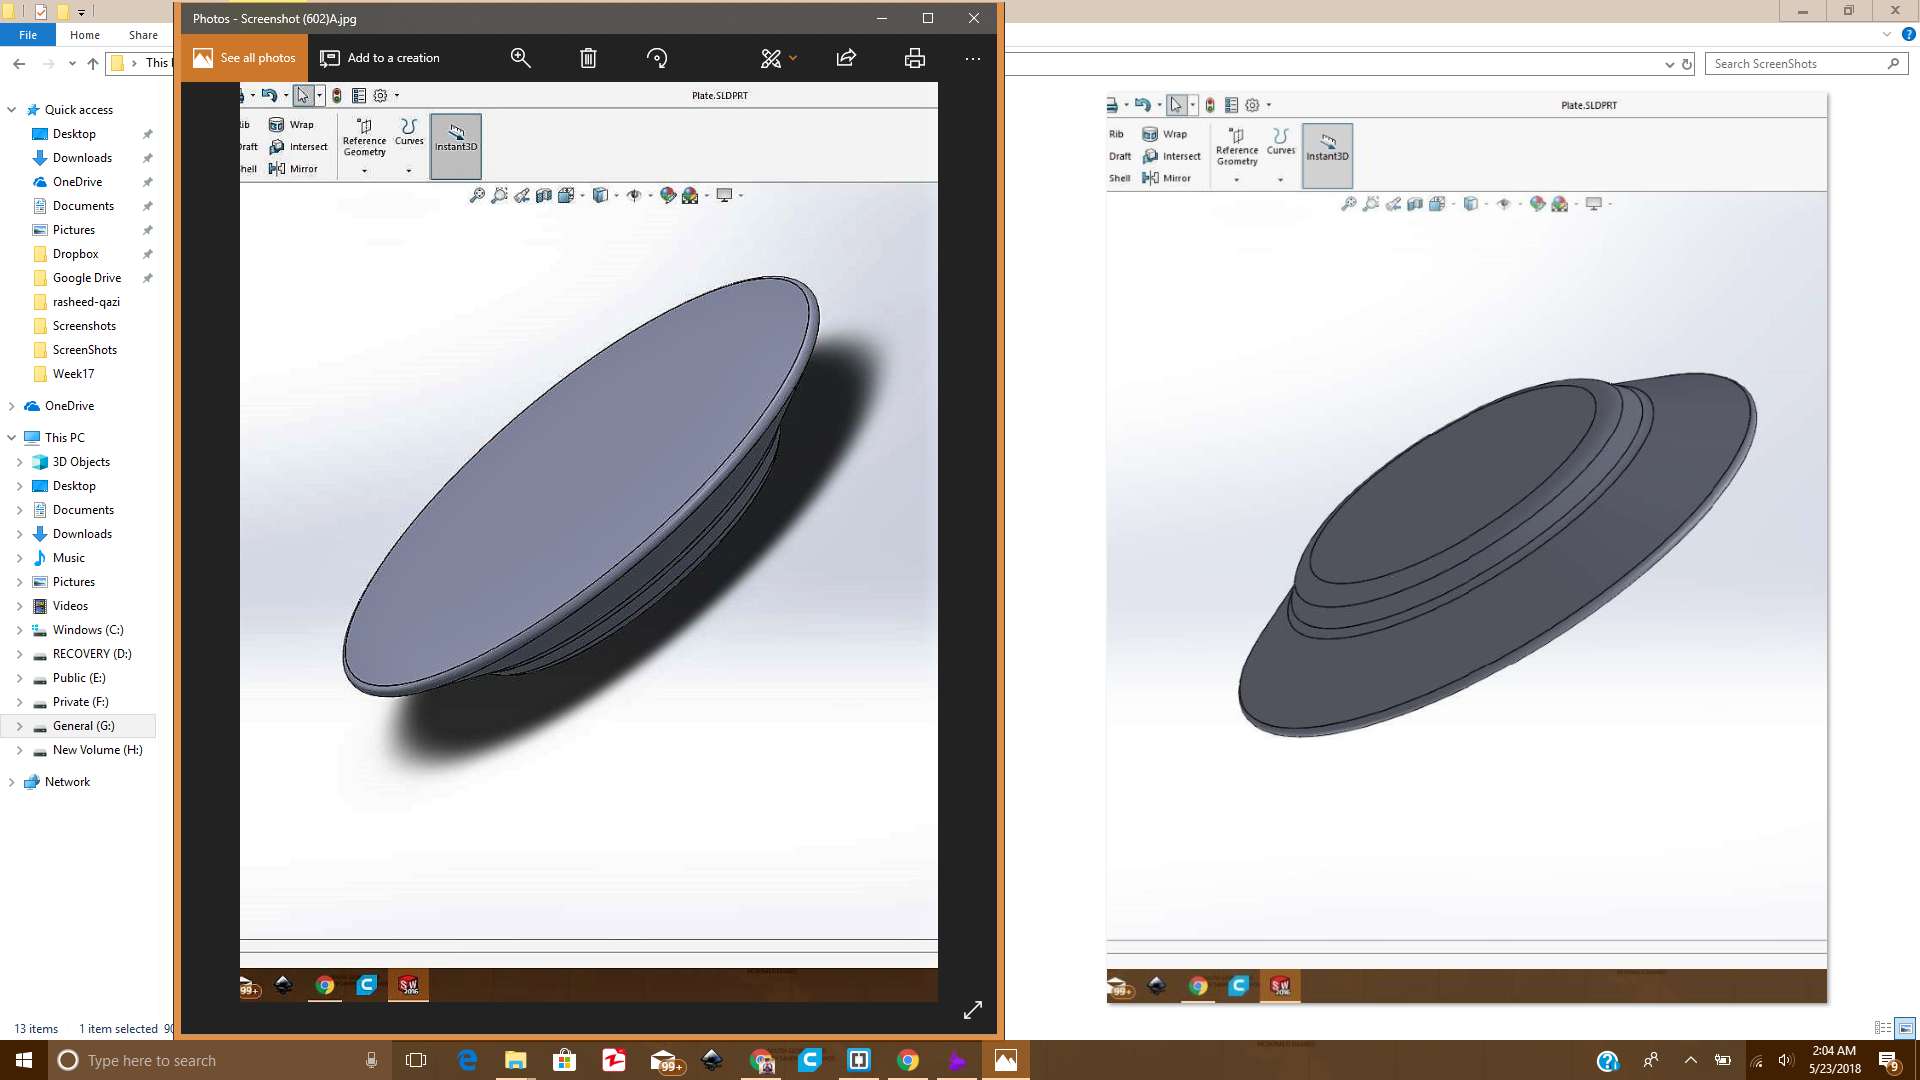
While making the design, I thought to make a simple plate for this assignment. The 3D design was made using Solidworks software. Inorder to create the design, I first draw a circle and then extruded it with a certain angle and height and repeated the same for the other circle. In the end I applied the fillet command on the edges.
This is how the design looked in Solidworks:
Design in Solidworks
After making the design in Solidworks, I saved it as .stl file.
3. Milling the mold
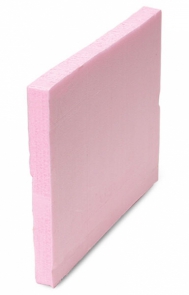
For milling the mold we used Shopbot, the mold was milled on the Extruded Polystyrene foam, having thickness of almost 50mm. A sample picture of foam can be seen below:
Foam for milling the mold
Then using the .stl file from Solidworks, I generated the toolpaths for Roughing and Finishing of the design in Vcarve software. The steps are shown in the video below:
Video showing the steps to generate the toolpaths and gcode files
After that I gave the files to shopbot, but before that I set the origin accordingly and then executed the files Roughing and Finishing respectively.
Foam after application of roughing toolpath
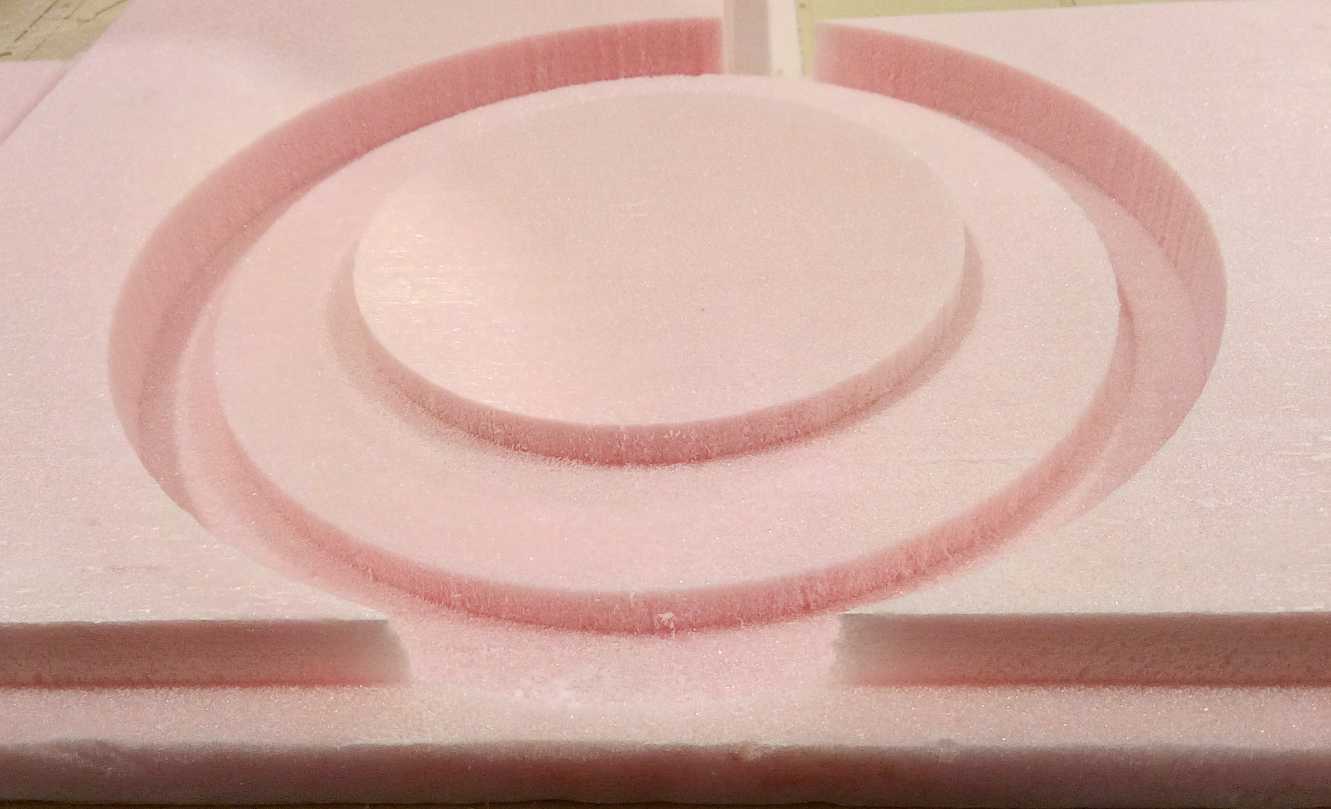
and then I executed the finishing toolpath and the results are given below:
Foam after application of finishing toolpath
4. Making the Composite
To start making the composite, we need to start with measuring and cutting the jute in accordance to the size of mold:
Measuring and cutting jute for composites
Then I wrapped the foam with food wrapping plastic and covered it completely so that no resin can go inside it:
Foam after wrapping
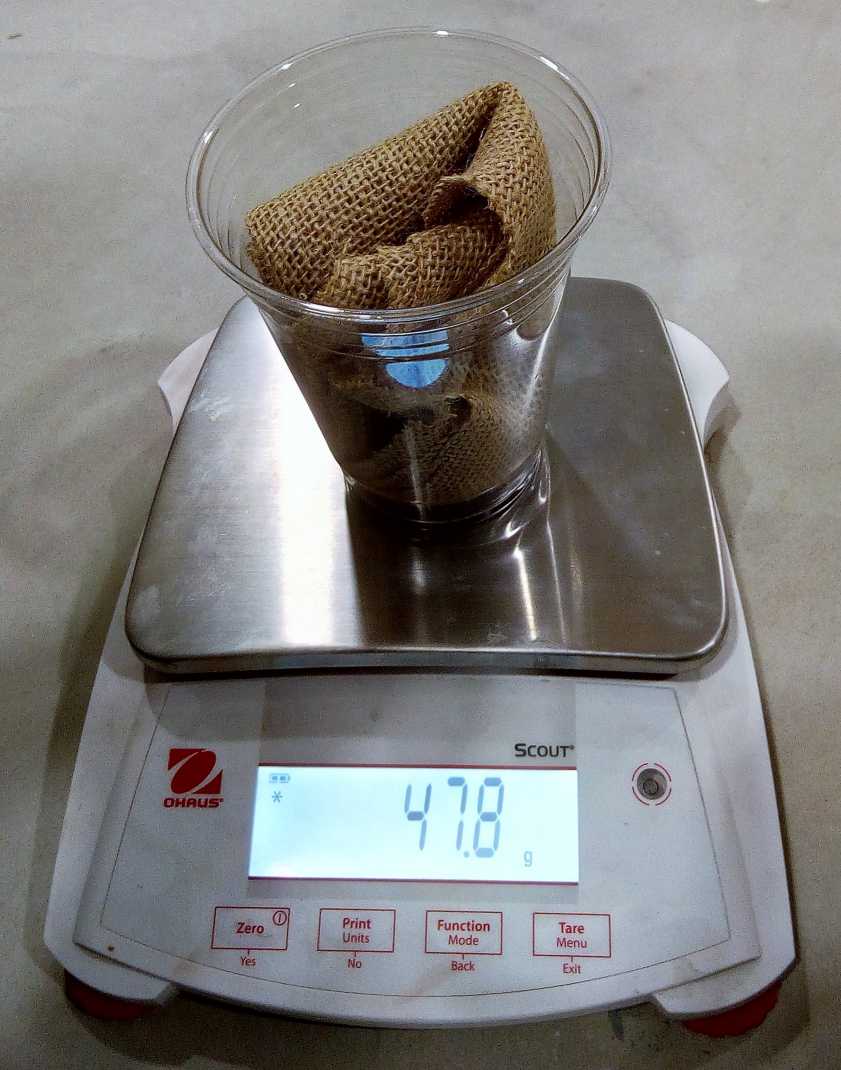
Measure the weight of piece of jute so that we can Take the composite material accordingly. In our group assignment, we observed that we need atleast thrice the weight of composite material as compared to the weight of piece of Jute. Only then we will be able to completely dip the jute in composite material.
Measuring the weight of Jute
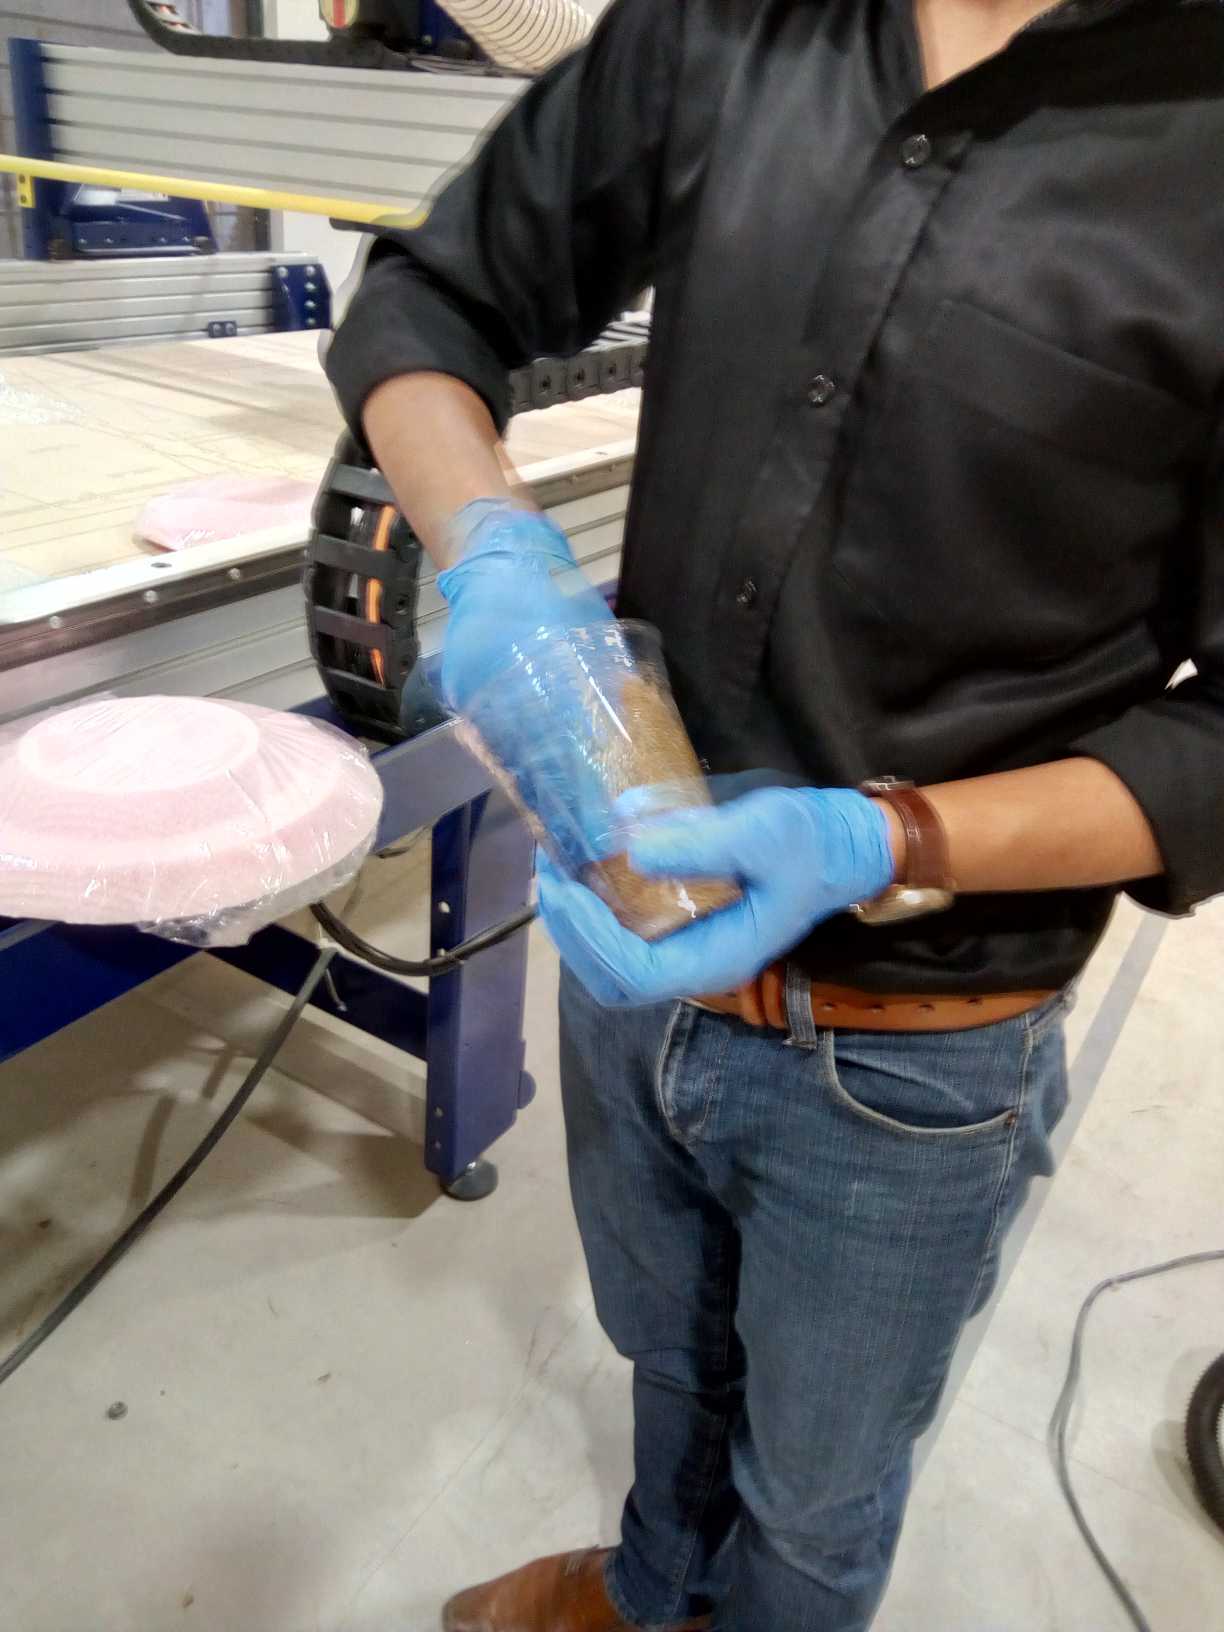
After measuring and mixing both the components of composite for a while, when the solution started to heat, then I put the piece of Jute inside it so that it can absorb the composite material.
Mixing the composite materials
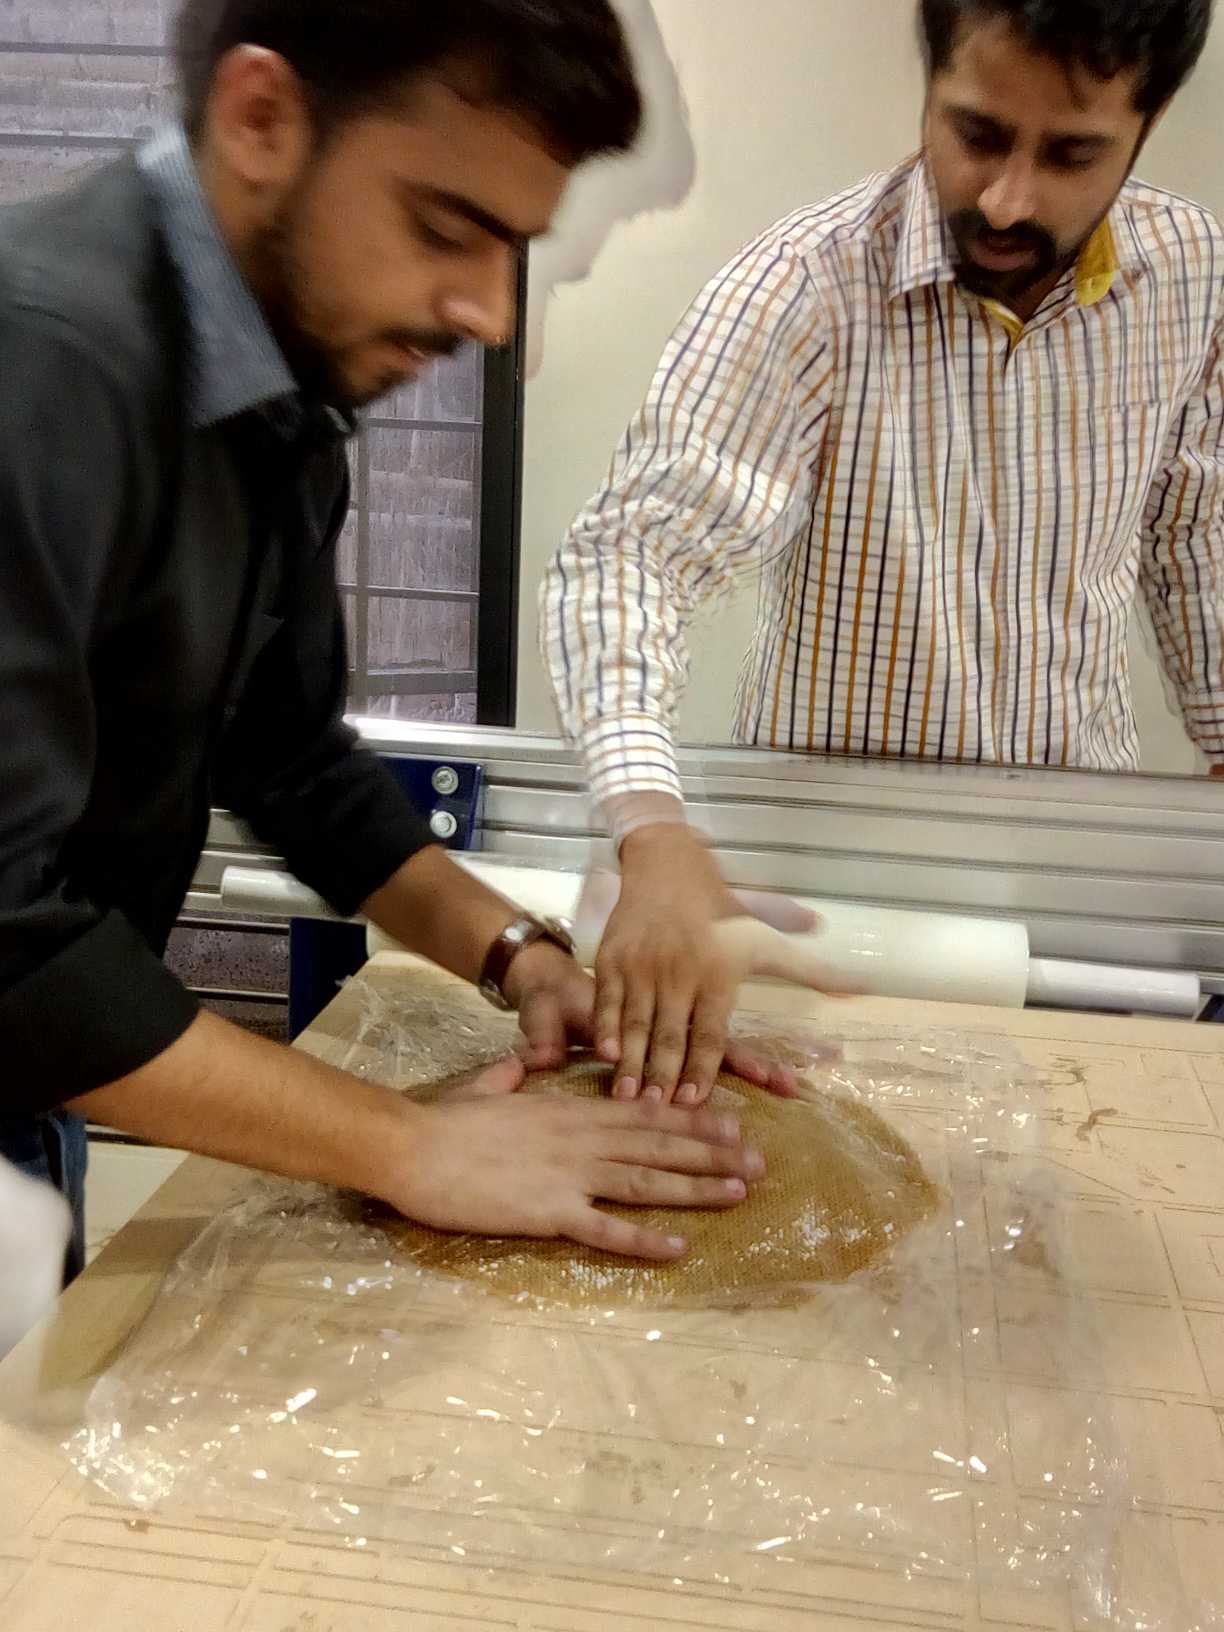
When the jute absorbed the composite material, then I placed it over the mold which was covered inside the plastic. It was then again covered from the top with wrapping plastic and breather was placed about the whole.
While covering the composite
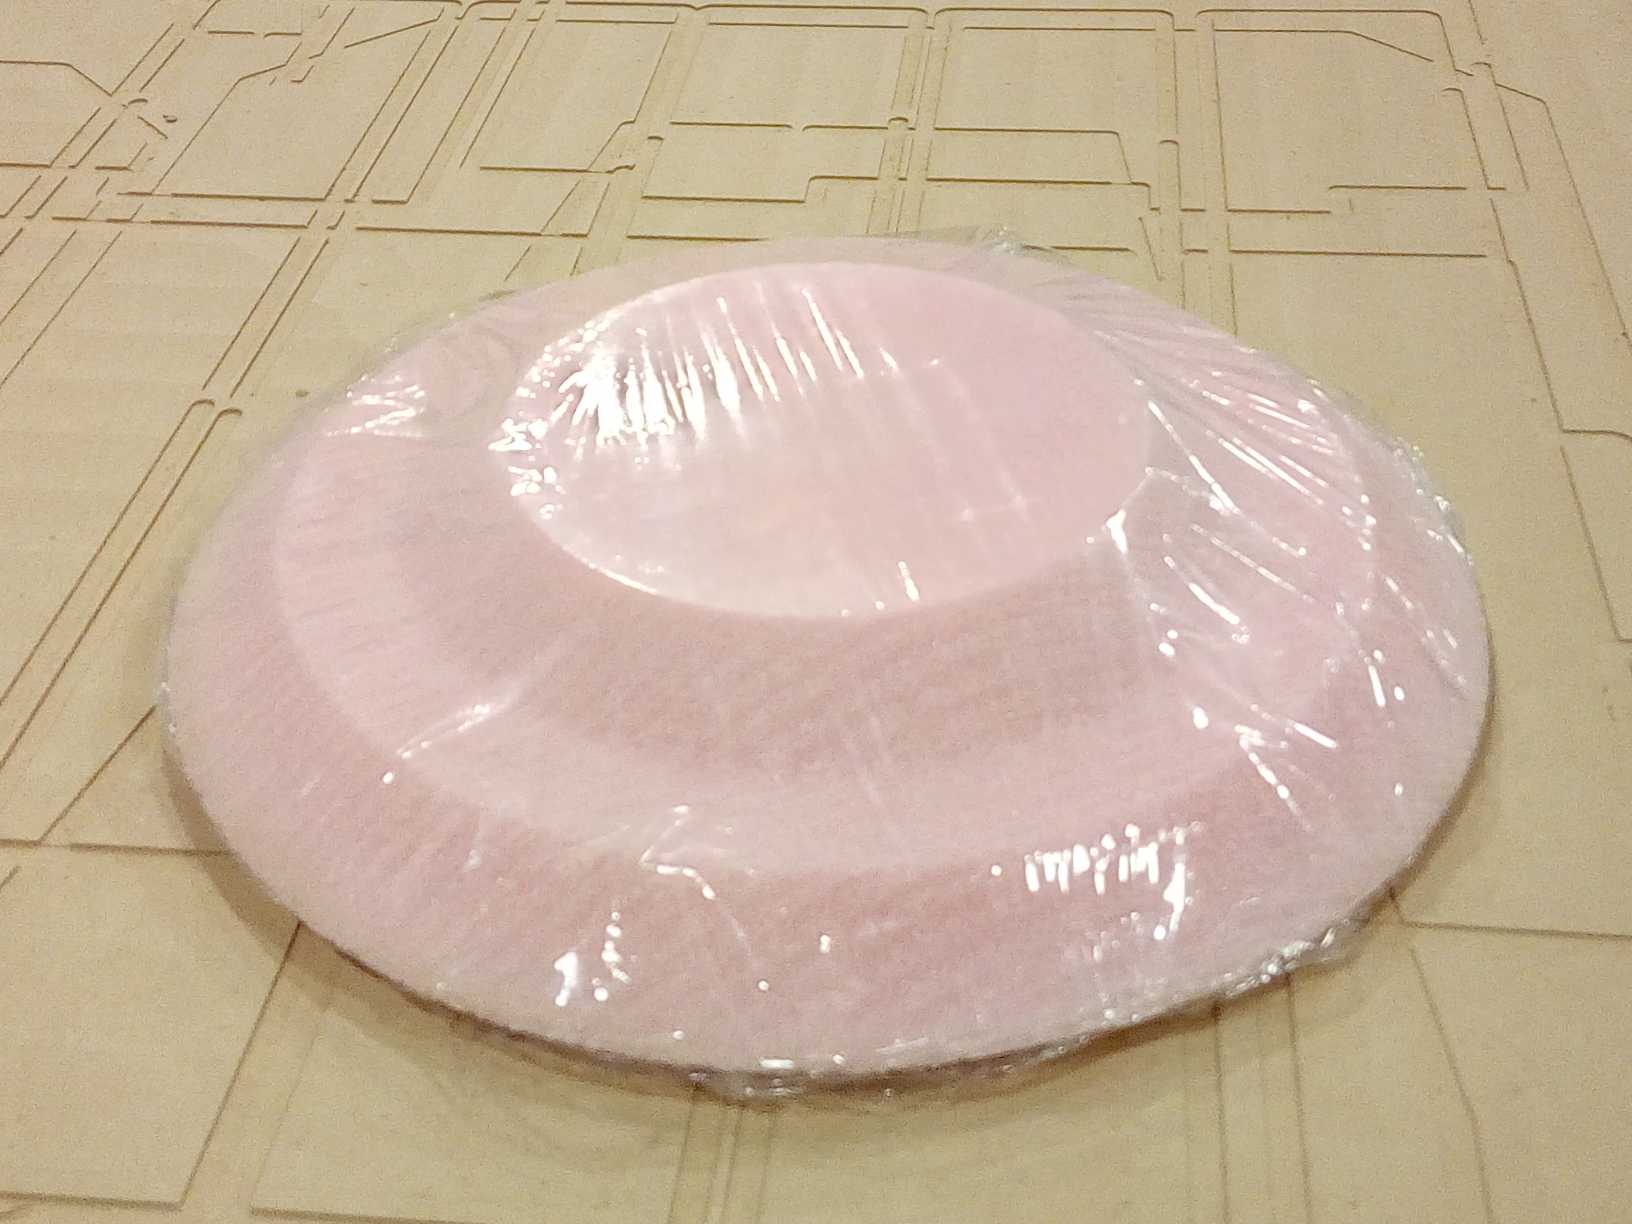
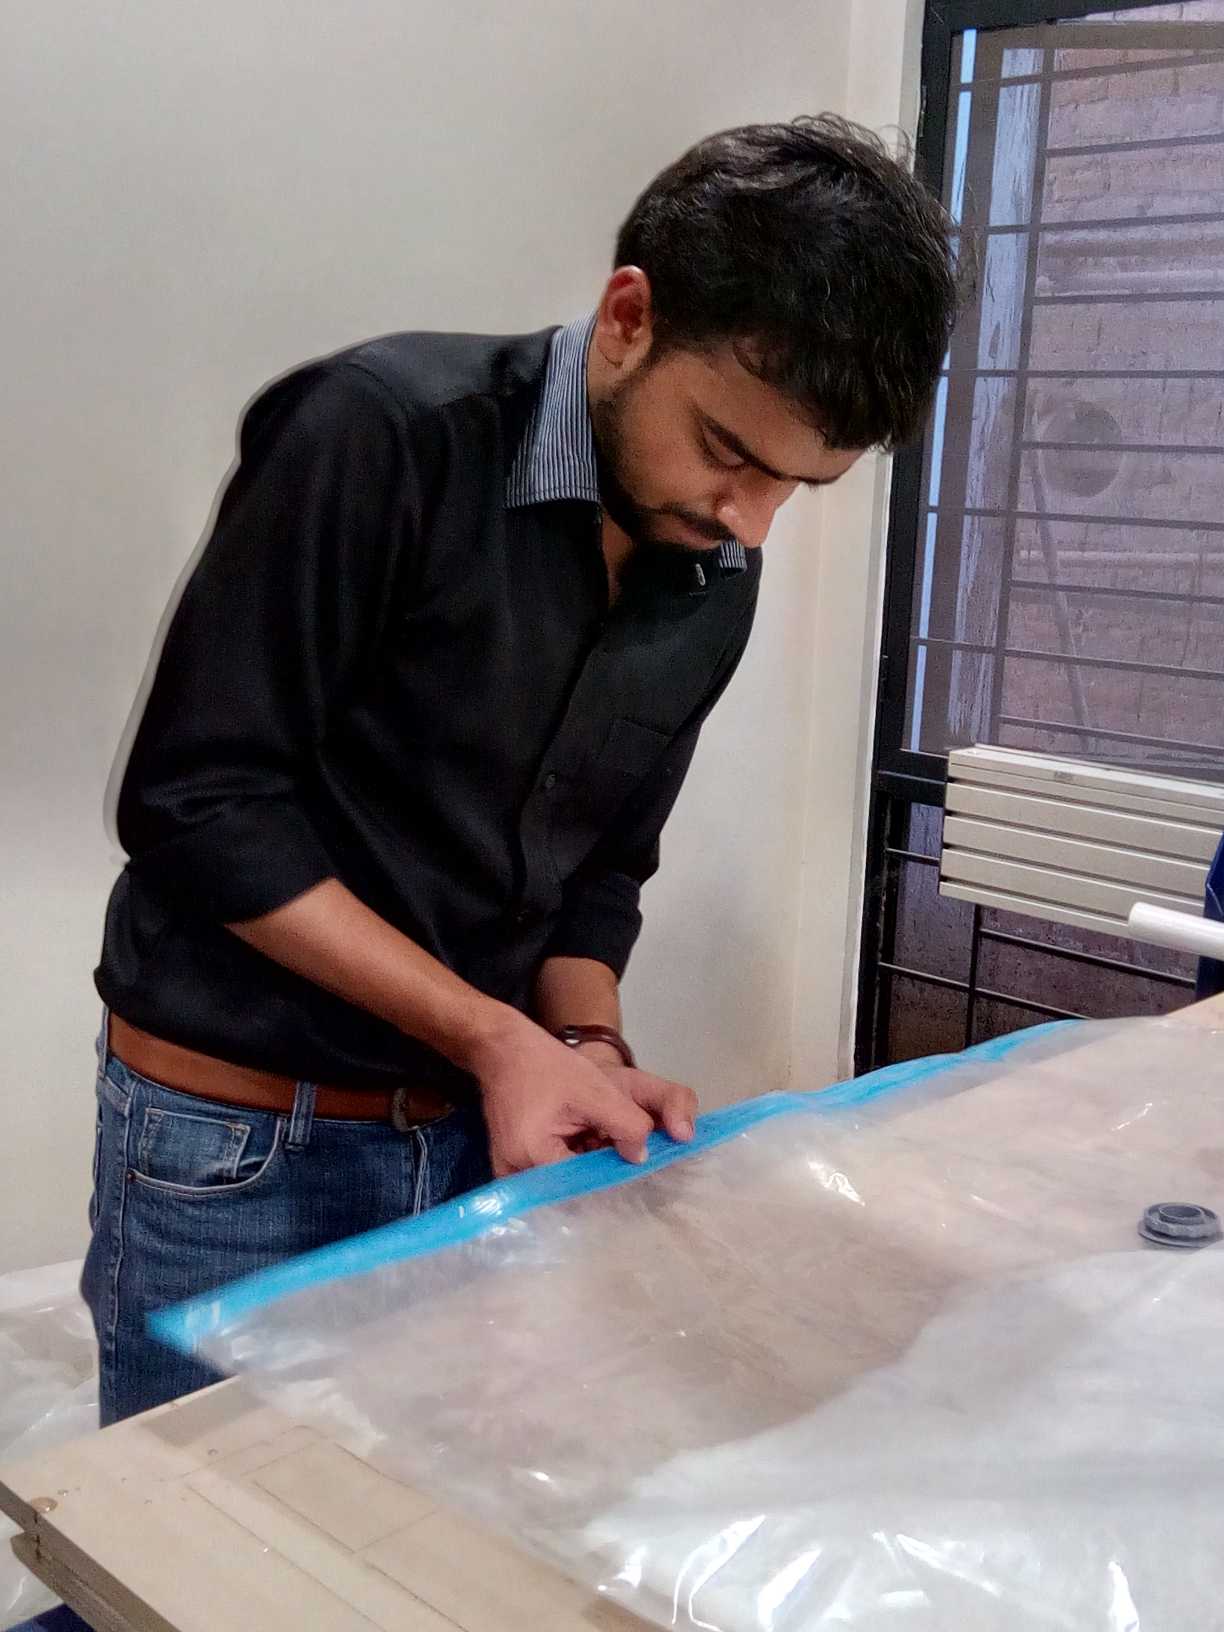
It was then placed inside the vaccum bag, and the bag was sealed so that no more air can go inside that.
While covering the composite
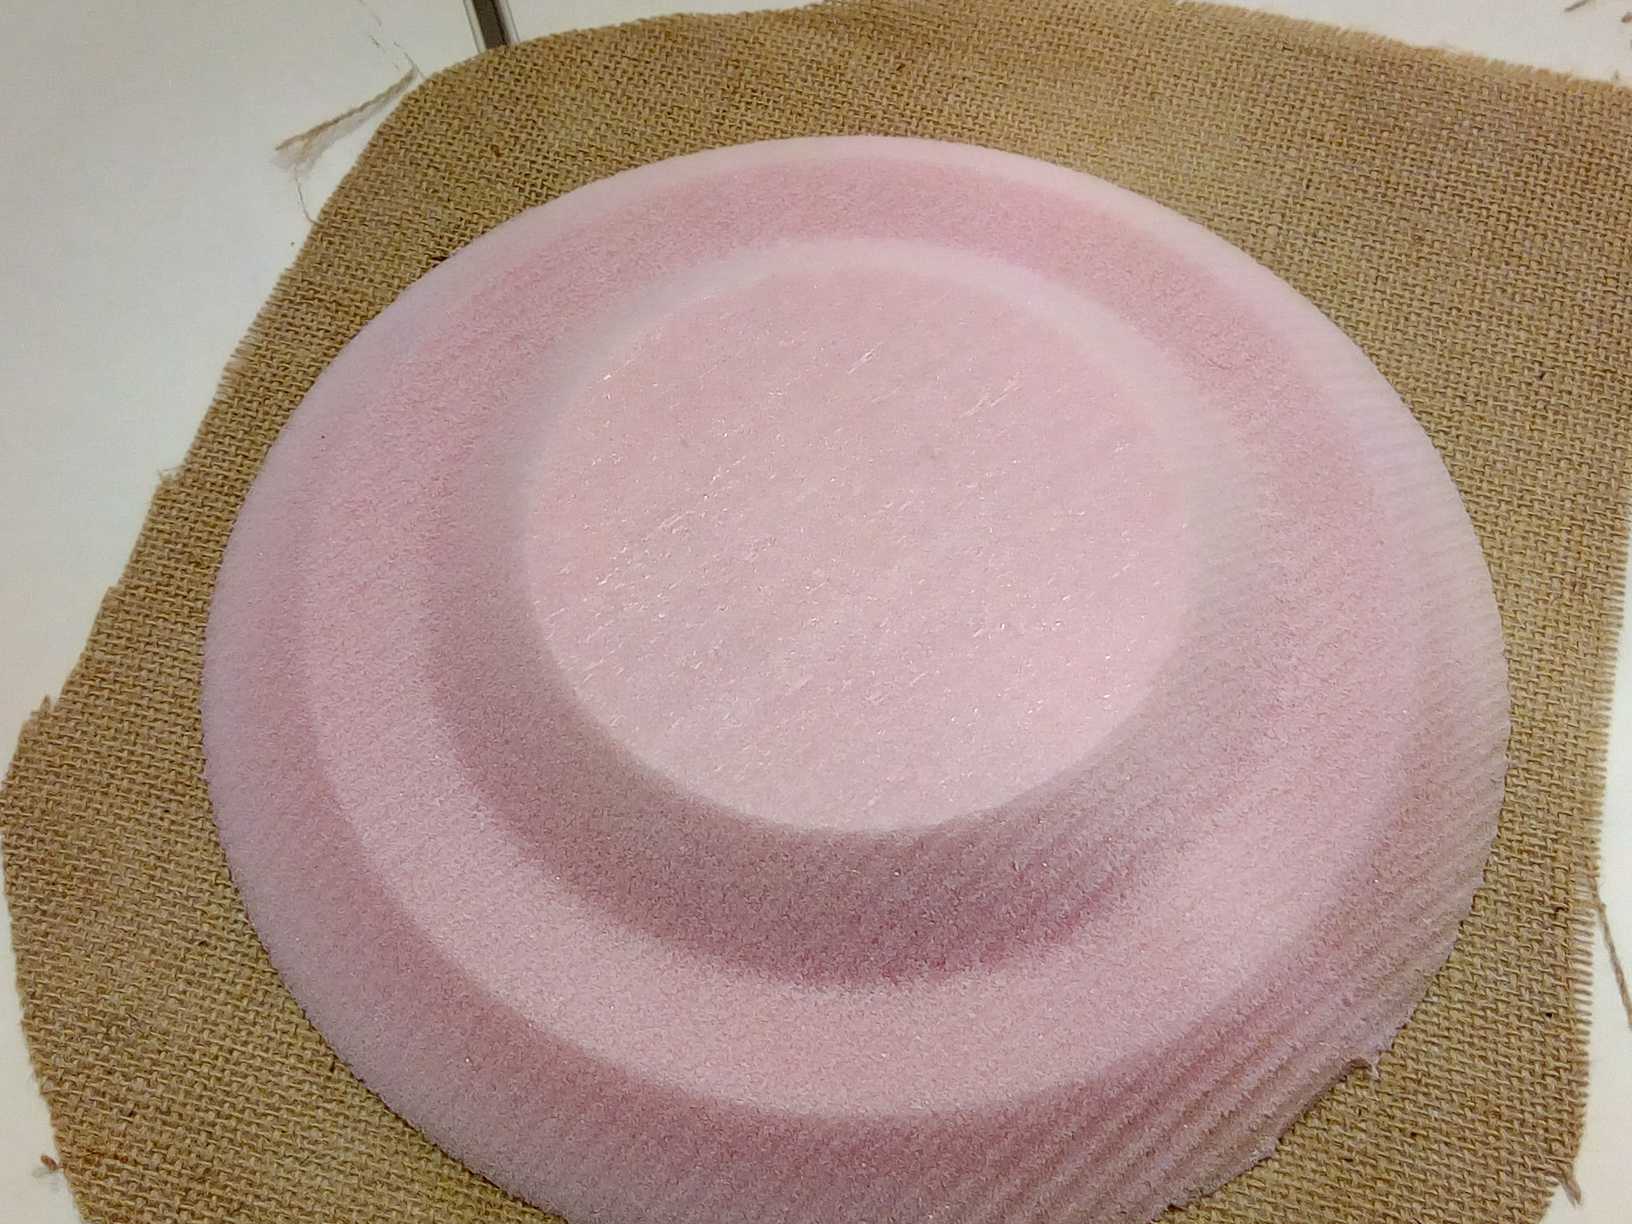
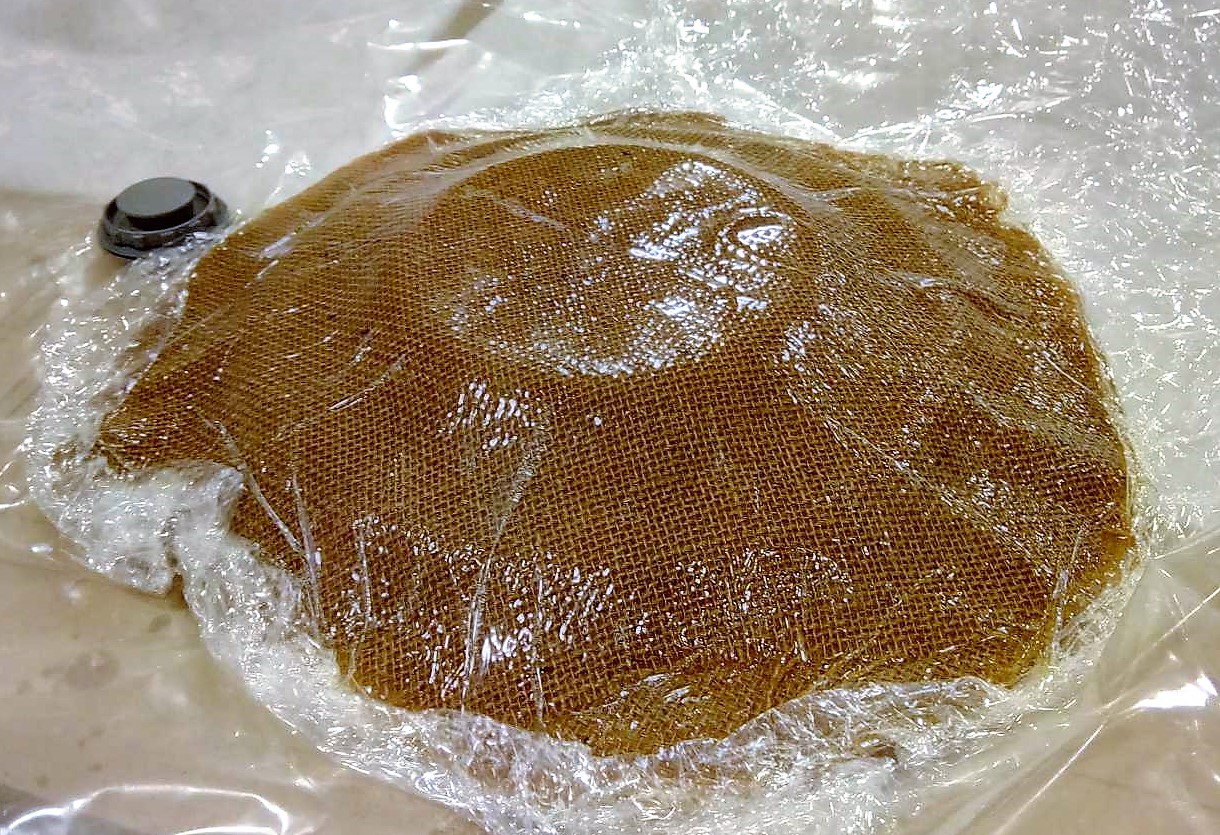
On the next day when I went to check the composite, as I took it outside and removed the breather above it the result was a very shiny and surface as shown below:
Composite results on the next day
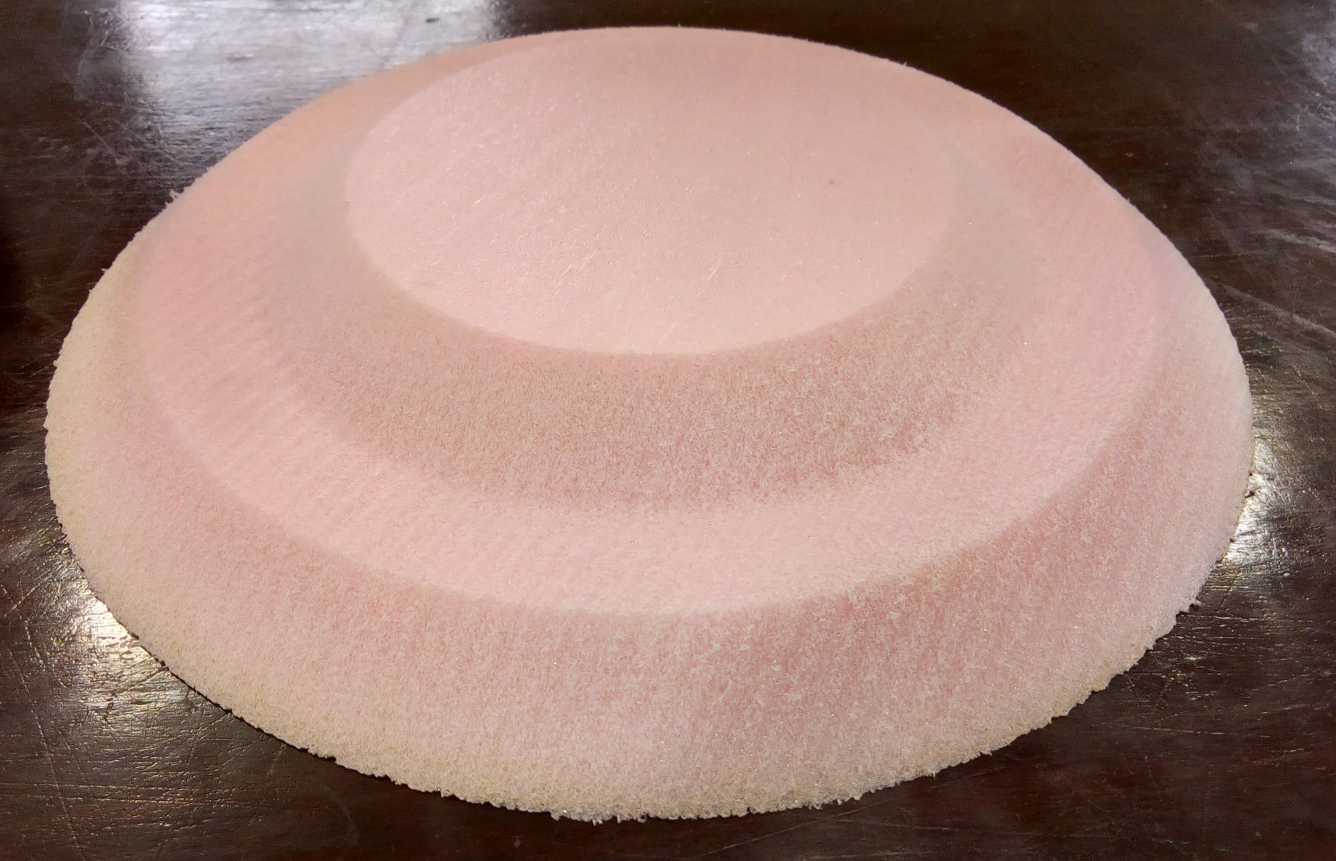
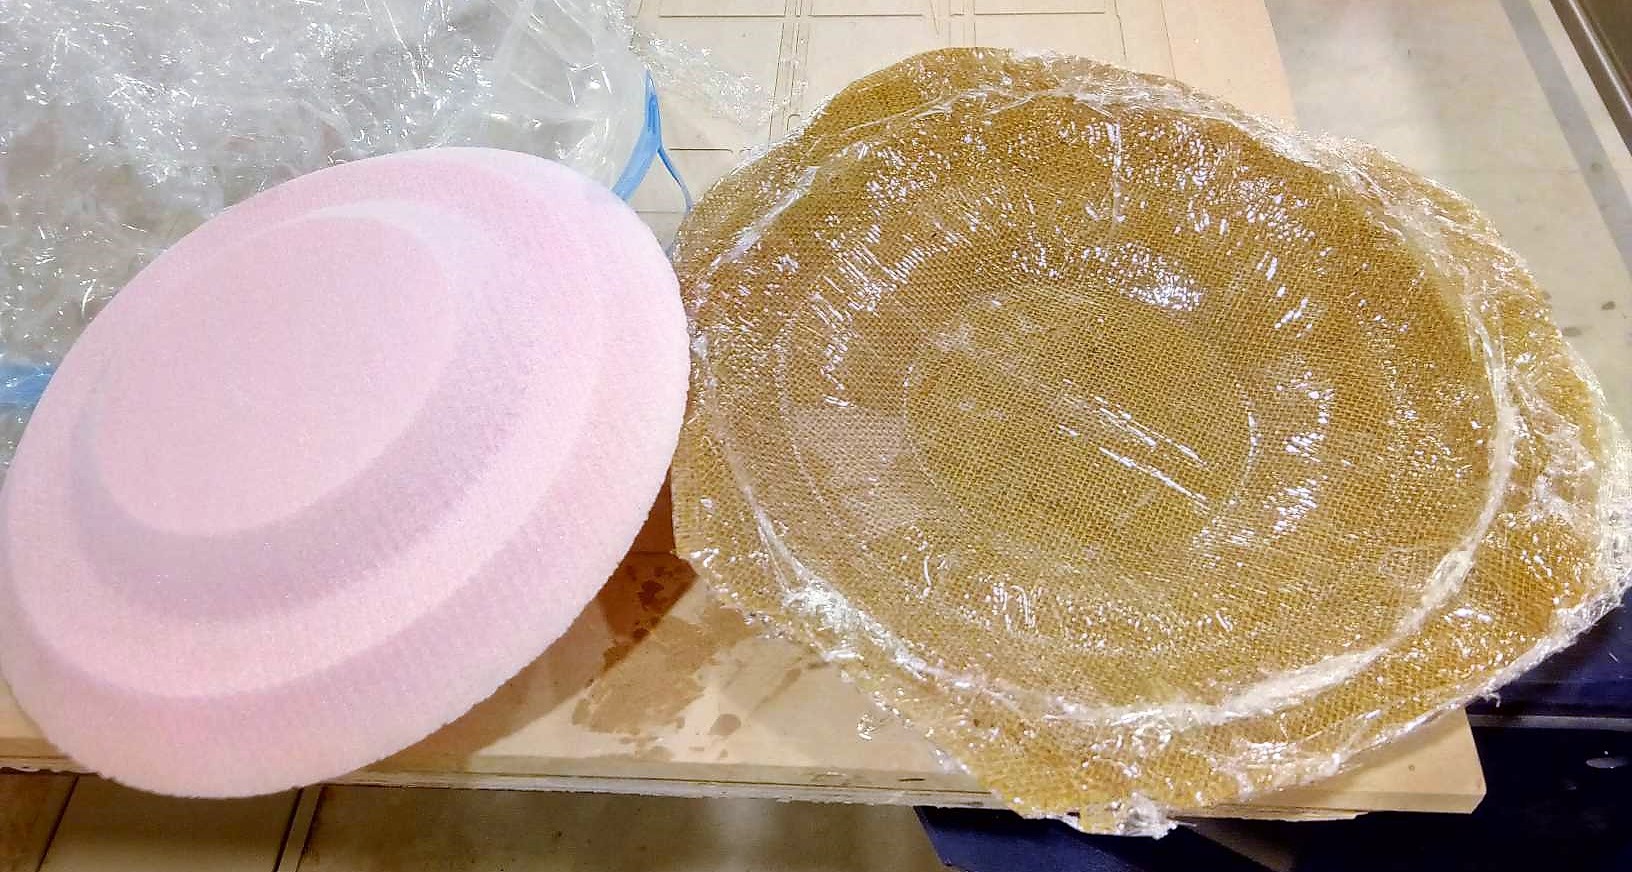
Then I removed the foam from the composite and put them side by side to see how good it was.
Mold and the Composite
The results were satisfactory except one little thing that was the increased sides of the composite, which were not giving it a regular shape, So i thought to cut the extra part of composite and make it look better.
While removing unwanted composite parts
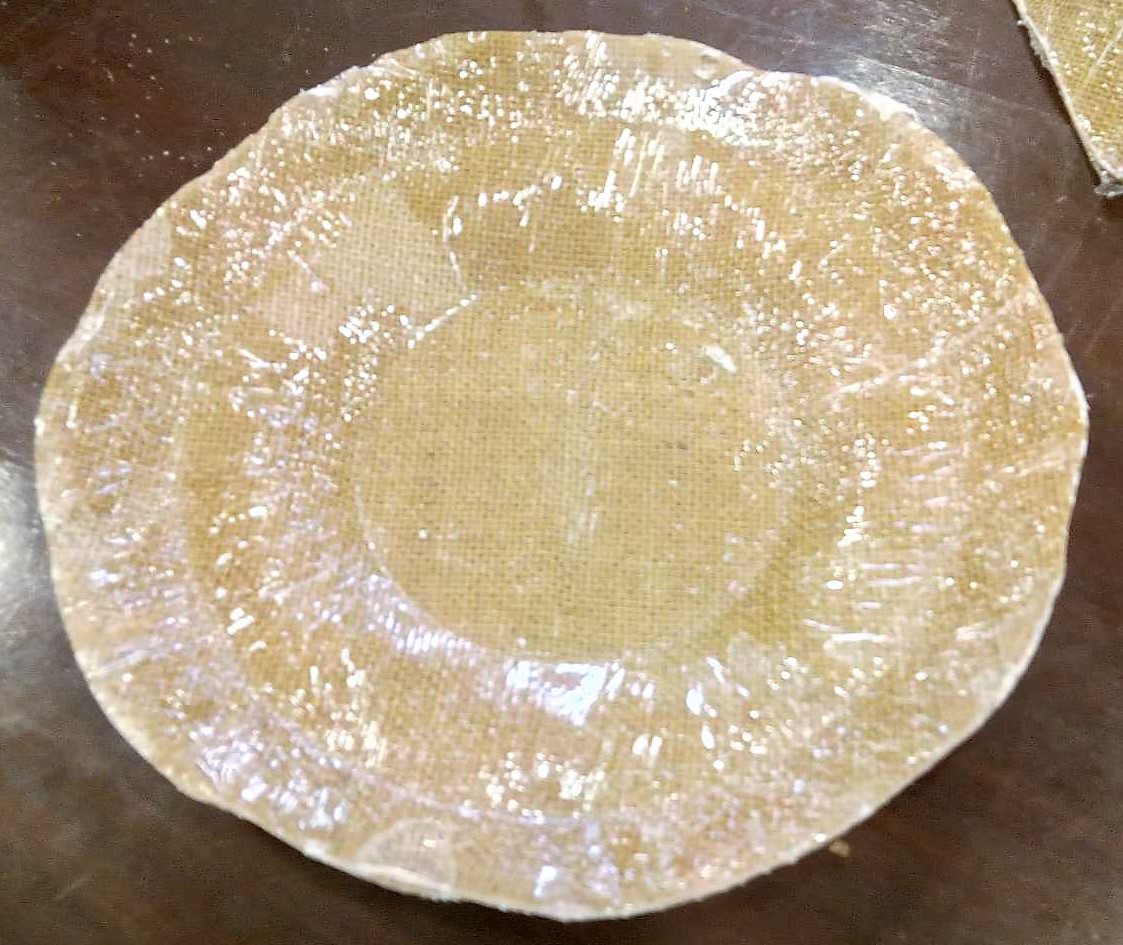
And finally after this huge process, the resulting composite was strong and hard.
Final Results of Composite assignment
That's all for week17..
All the Files of Week 17 can be downloaded from Here.


.jpg)
.jpg)
.jpg)
.jpg)
.jpg)
.jpg)
.jpg)
.jpg)
.jpg)
.jpg)