This week is about familiarising version control sysytems, website development, setting up git repository, and creating a website. My instructors advised me to use Debian but unfortunately Debian did not work well in my Acer laptop. So i had to stick with Windows 8.
Coming from a Mechanical background i had no idea
about webpage developement.
Week 1 of the first month is solely dedicated towards
learning webpage developement
using html. Online tutoring
by codecademy and the instructions from my Fablab instructors
helped
me a lot in the learning process.
The first lecture by Neil mainly focussed on topics such as using Gitlab
,
creating an account, pushing and pulling of webpages. He also mentioned
about various platforms
one could use to create a webpage like Java or html.
People familiar with html could also make their webpage easily by editing
templates available
on the internet.
However for beginners starting from scratch
is the best way of learning html.
Though I had difficulties in the beginning,
learning html is fairly simple. One can seek help from instructors
or surf the
internet to learn about html.
The weeks assignment was to create a basic webpage with details such as self introduction
and documentation of what happened in the first week. Also an introduction about the
final project one plans to do should also be included.
HTML is a language that the browser can understand. I has different elements that
serve different purpose like separating a paragraph, inserting images , headings and so on.
There are a lot of text editors available in the internet for coding with variety of features. Emacs, VIM, atom, VS code , Brackets are some of them. I was new to all of them so I had a tough time choosing the right one for me. Atlast I decided to go for VS code. VS code is quite useful. I had to install separate plugin for VS code to display live preview.
Version control is a system that records changes to a file or set of files over time so that we can switch to specific versions later. It allows us to revert files back to a previous state, revert the entire project back to a previous state, compare changes over time etc.. Apache subversion , Mercurial, Concurrent , Git etc are various version control tools. In the Lab we decide to go with GIT.
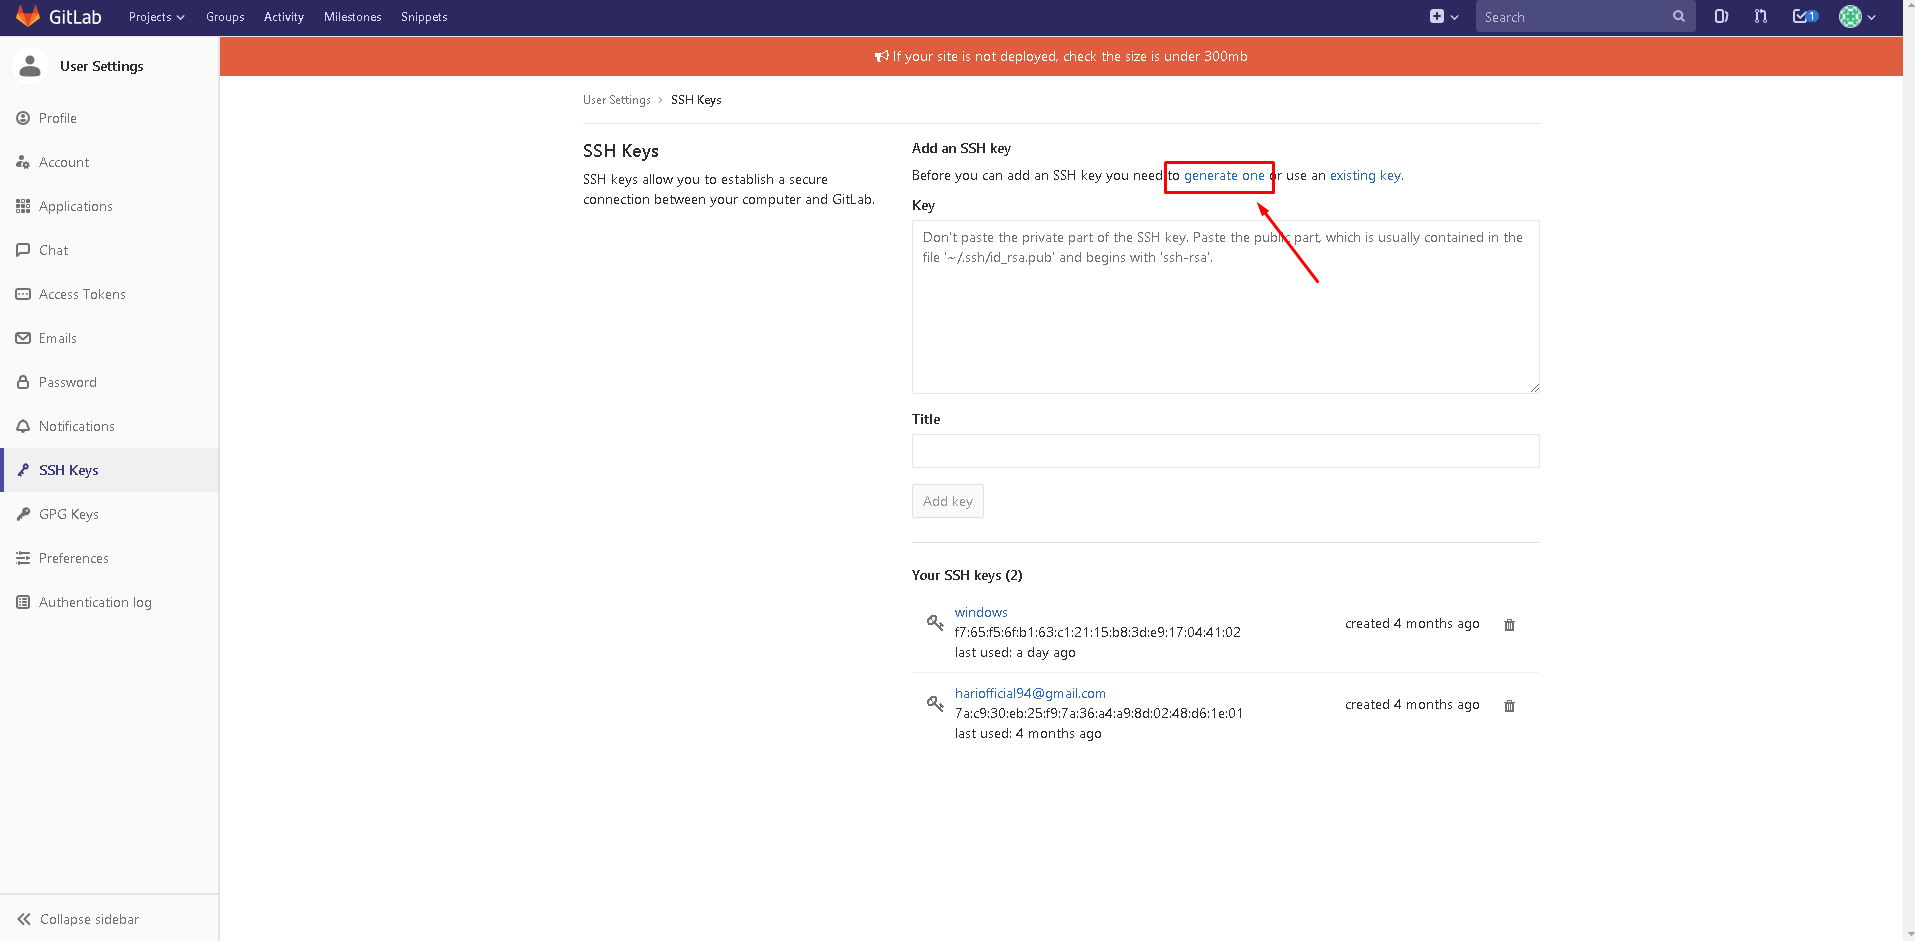
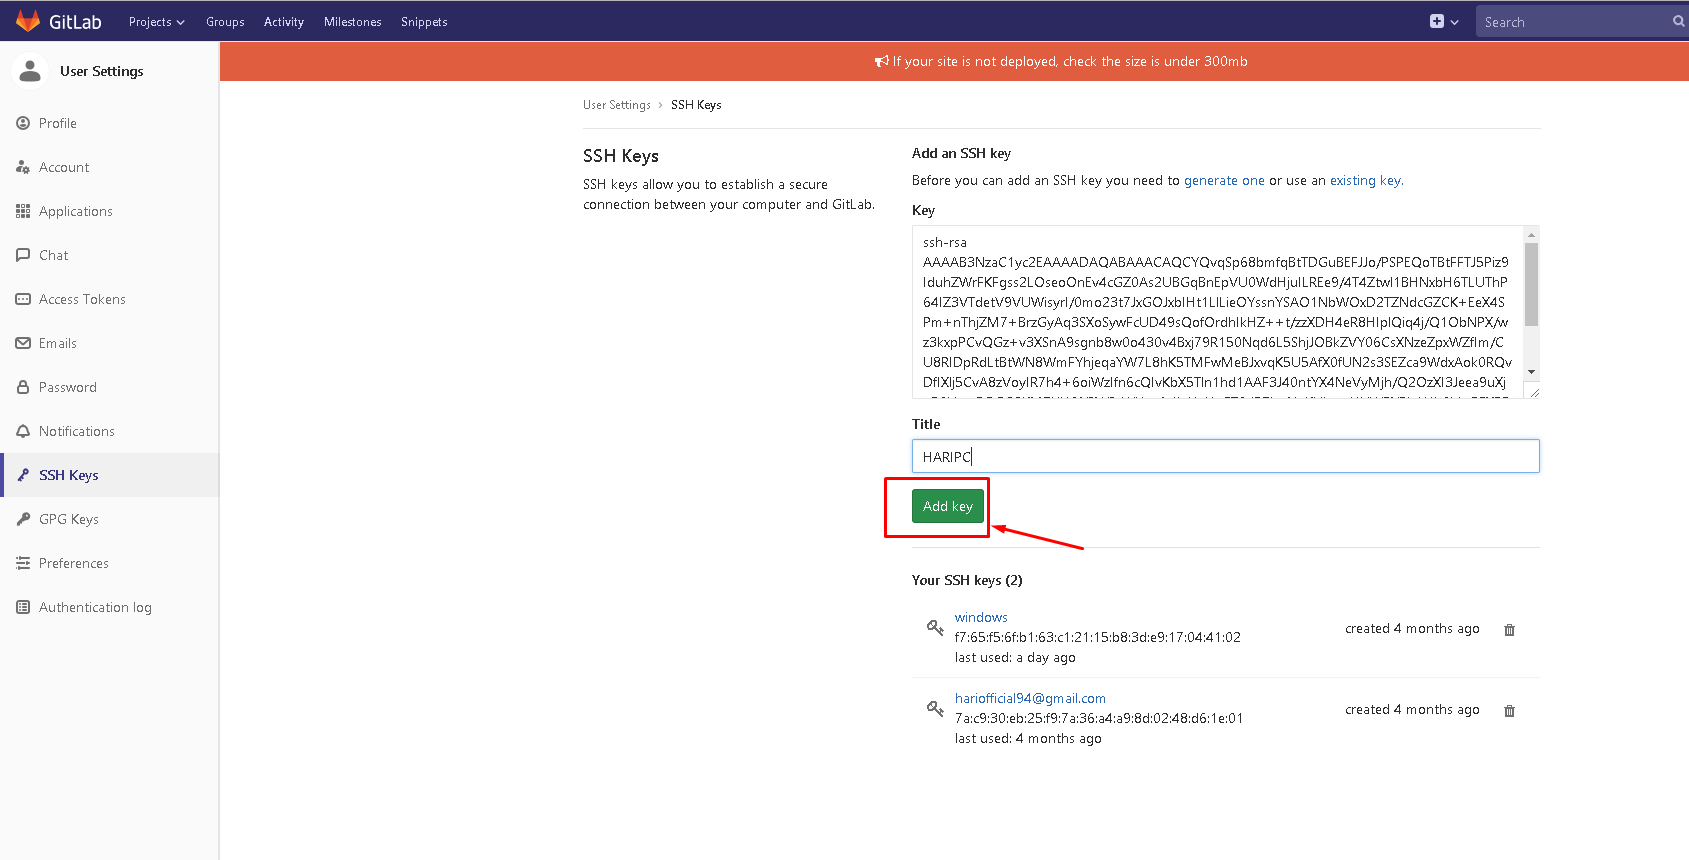
Normal HTTPS method allows us to authenticate using a username and password combination. SSH is easier and secure mode of authentication which uses a private key and public key combination for user authentication. Once public key is stored in remote git profile, there is no need to use username/password any more. For setting up SSH mode of authentication we have to generate our private/public key in our OS.
Initially I declared git global settings using the code below. Since I was using windows I had to install git for windows
Download git for windows.Each student will already have a repo created in his/her name in the Github. We have to clone the repository to our own computer. For this go to your repository , go to user settings and select SHH keys. Then click on generate keys.
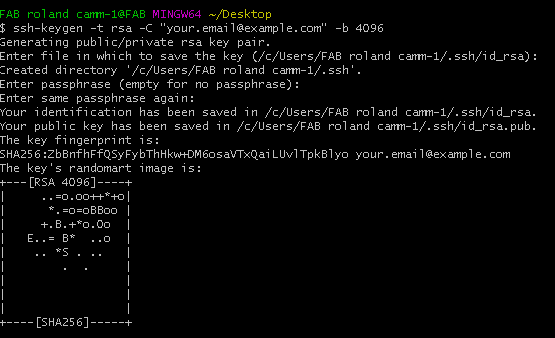
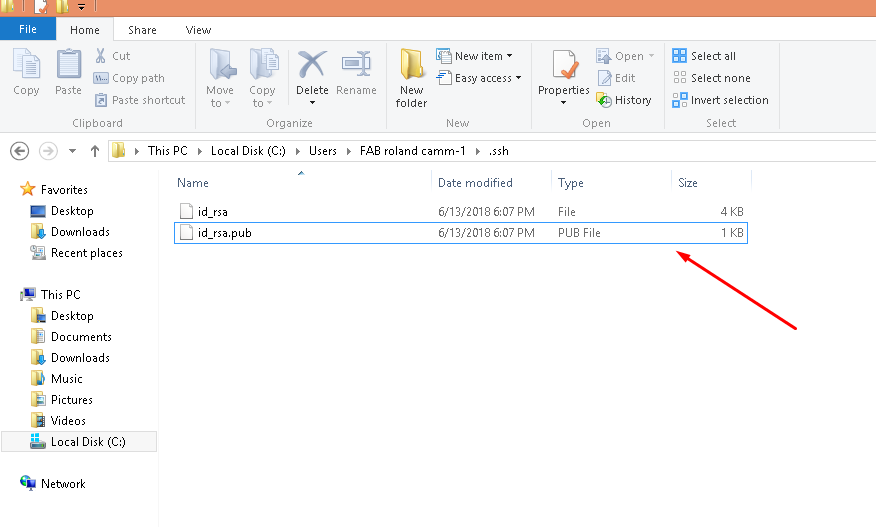
The commands that follow were used to generate fresh keys in my system.


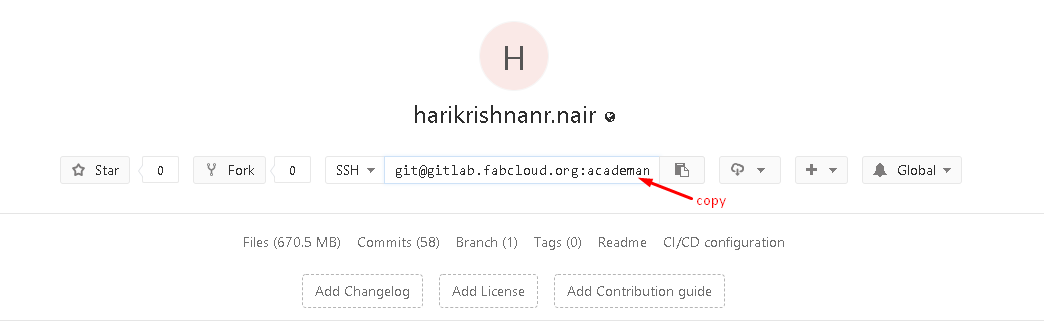

Now your repository will be cloned to your computer. With this computer you can control your versions in the git hub.


Now your files will be pushed to the repository