Week Three
Assignment
What I did
Introduction
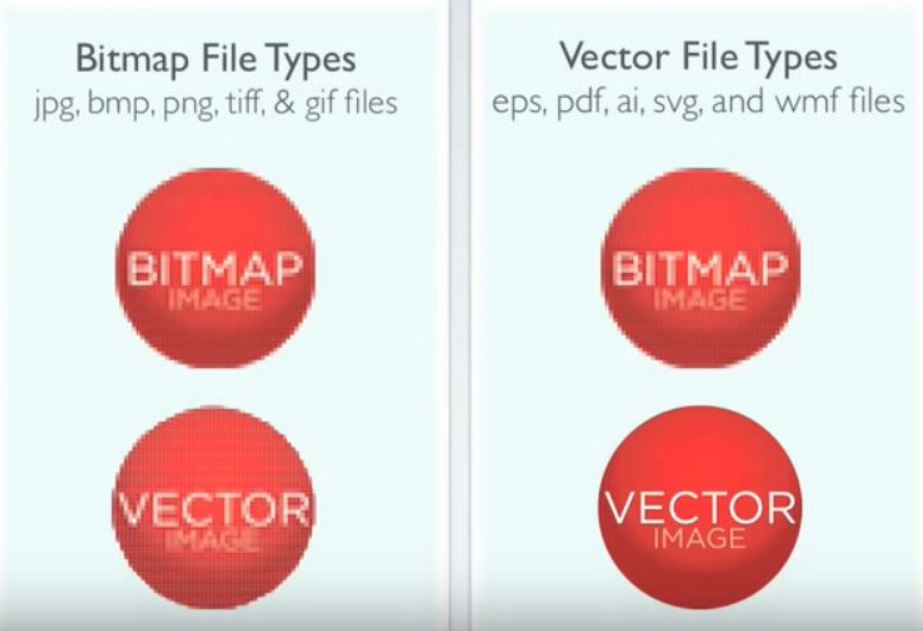
This week Neil gave us an introduction to computer-aided design. He introduced us to a few software for 2D and 3D designing. He also gave us an idea about raster and vector files.Raster or bitmap files are pixel based and when we zoom in raster files we can see pixels and each pixel are given specific color.So, raster files are only scalable downwards and they are mainly used to make raster graphics. At the same time, vector files are scalable and each curve is made using mathematical equations. Different type of vector files is pdf, cps, svg etc.
This weeks assignment was to try these different software and try to draw and design a possible final project.
Raster Softwares
My idea was to try two different raster software and to select the one which best suits me. I installed photoshop and started editing it. I really liked the interface and there were many tutorials available. I went through some of them and our instructor gave us some tips on shortcuts and using the pen tool. Even though it took some time for me to study the pen tool it turned out to be really helpful. I also used different transform and stroke tools to highlight the details in images. This turned out to be really helpful for editing images for documentation stressing on key points and details. Here is an example of a file I edited for documentation in week 2. I've worked in layers for editing them easily.
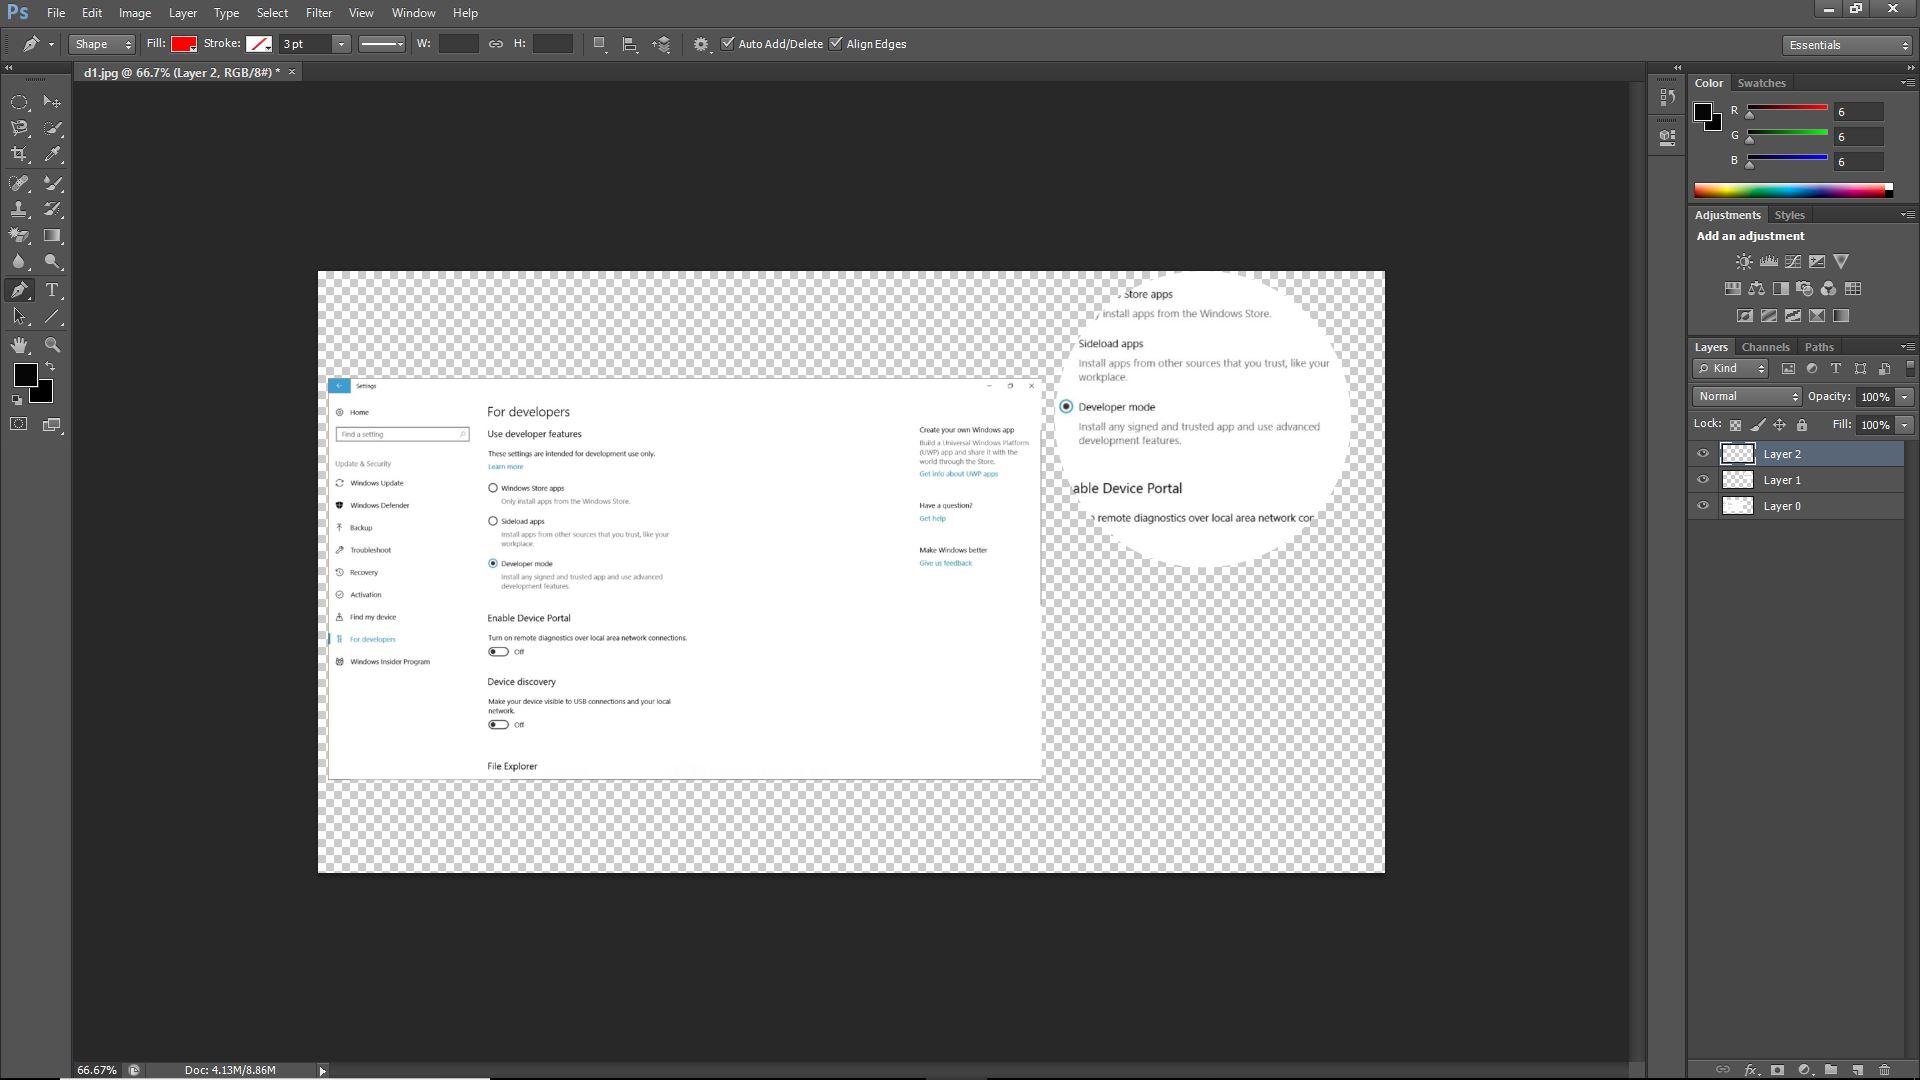
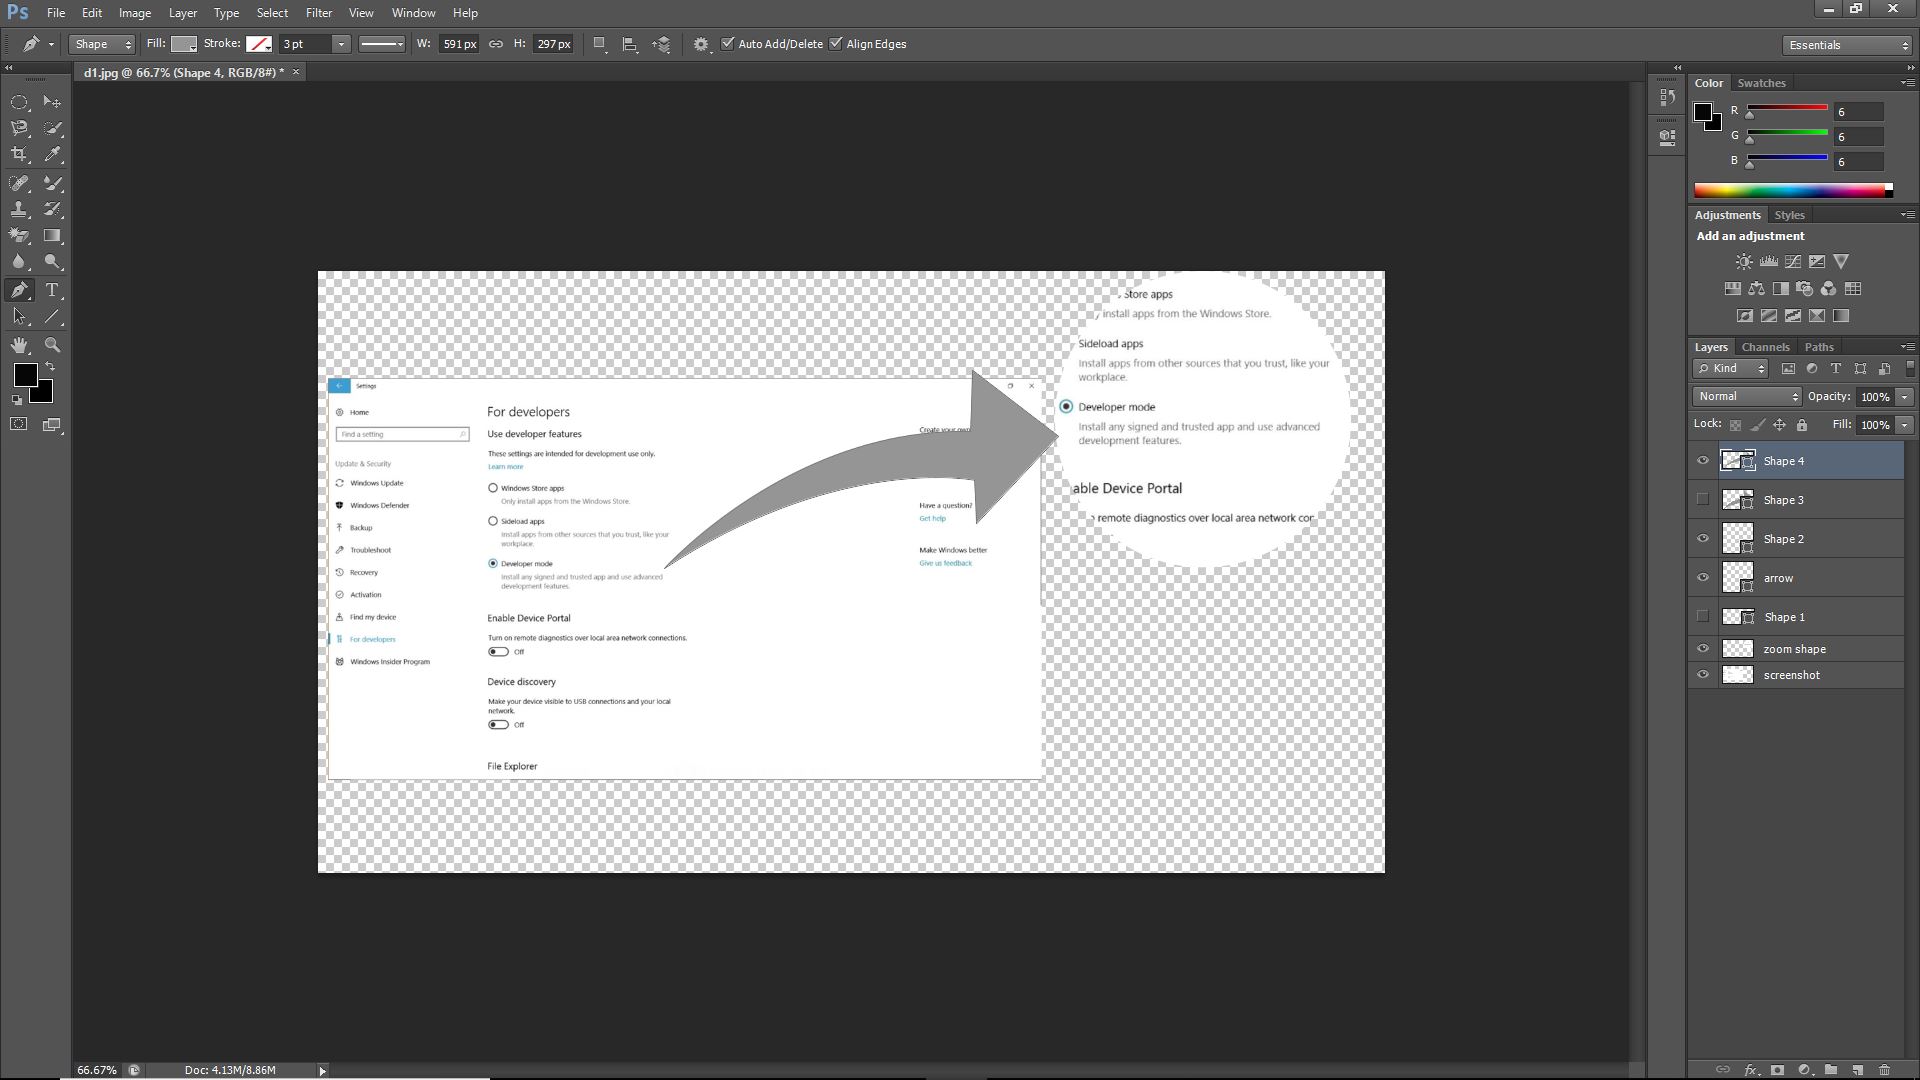
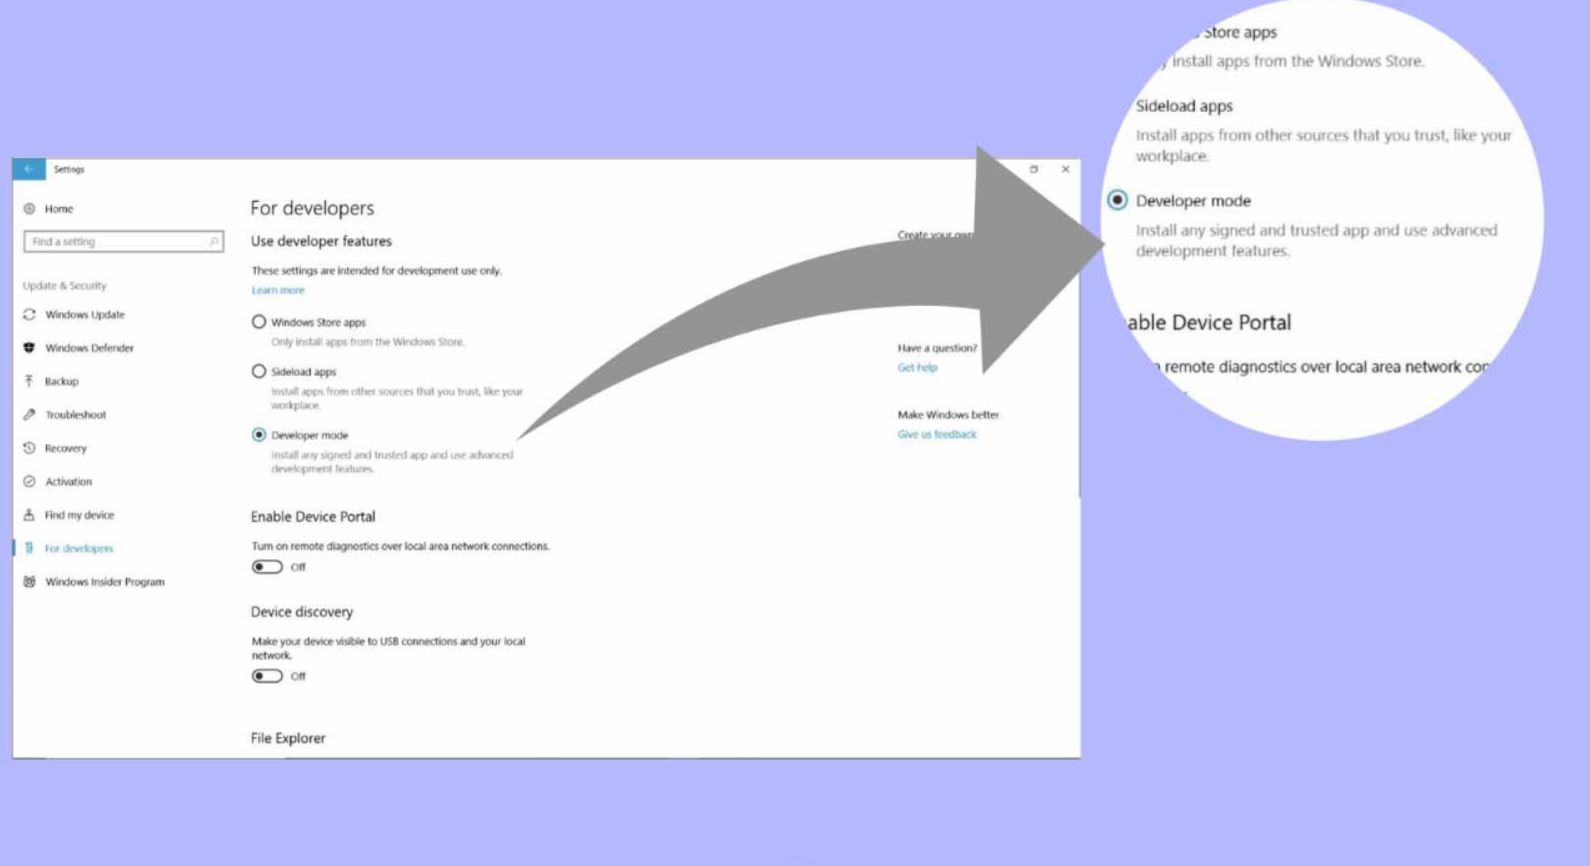
Download the Photoshop files here.
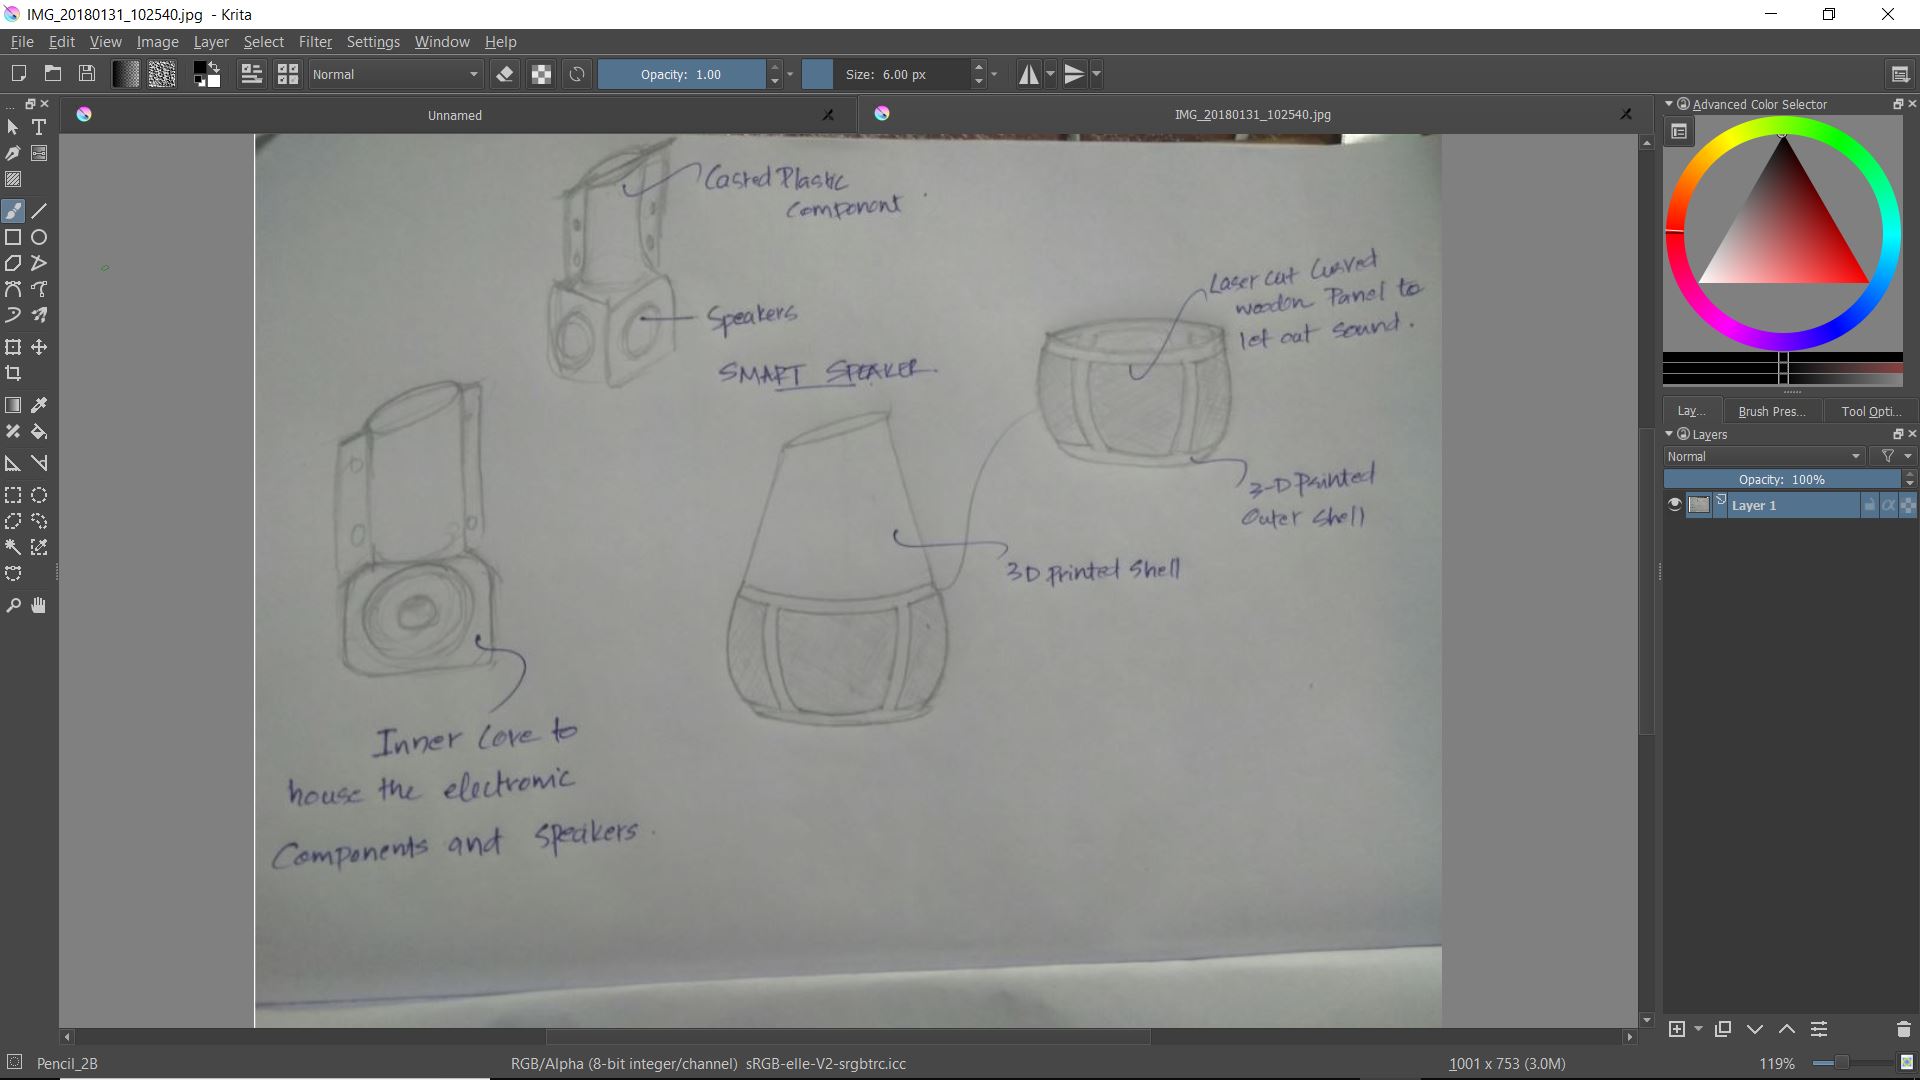
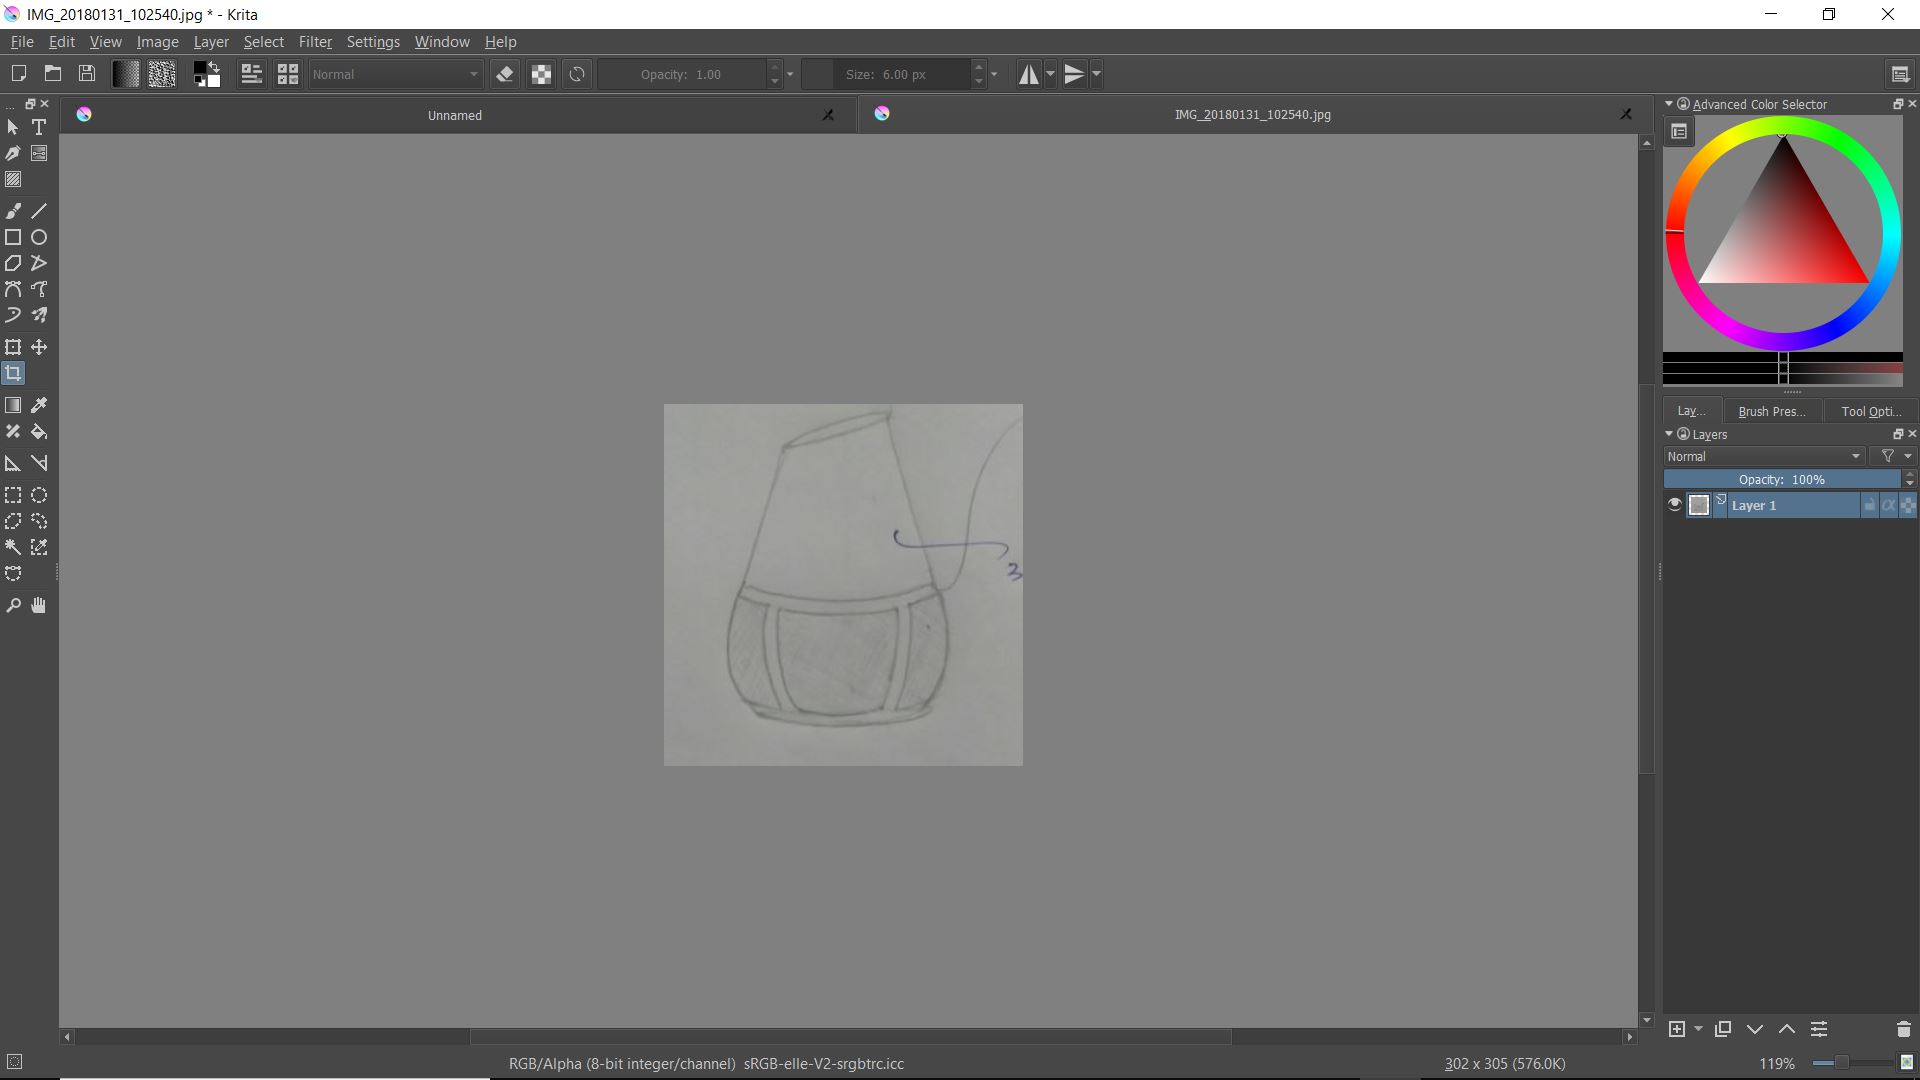
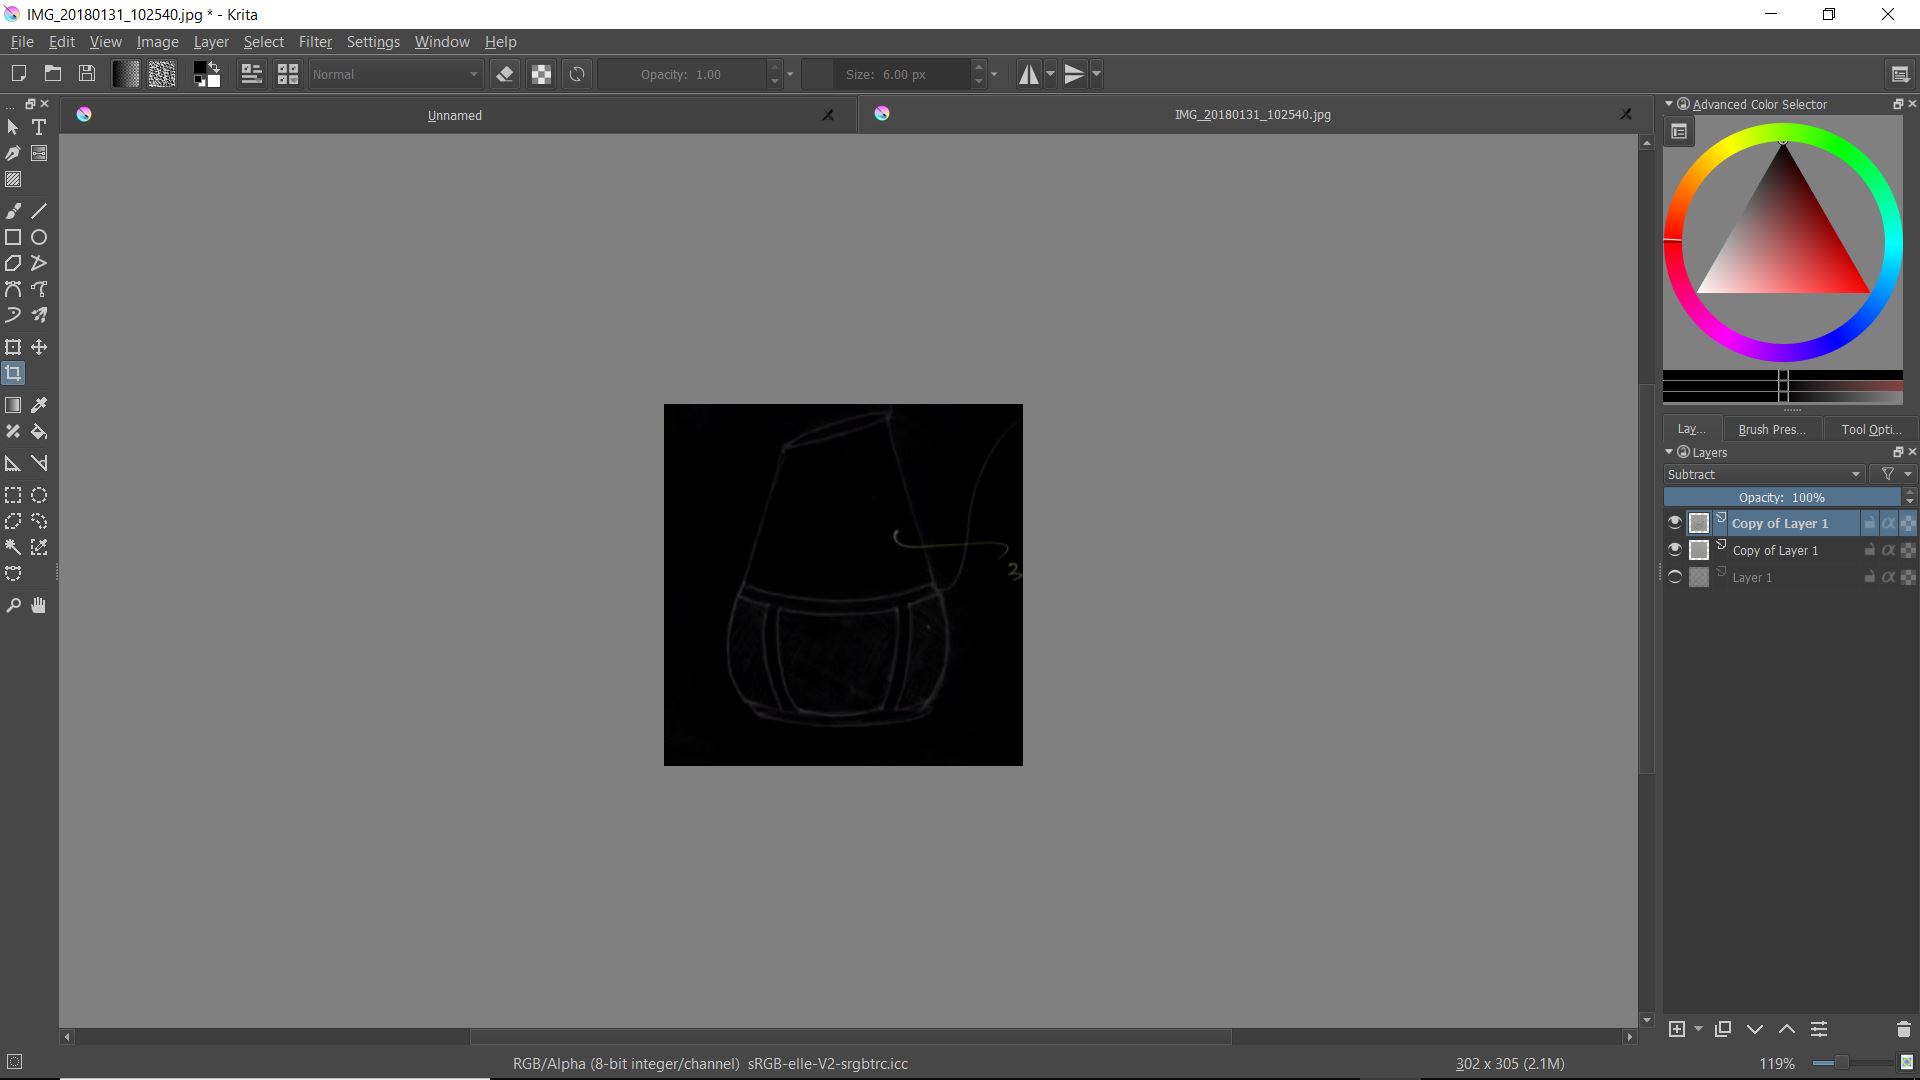
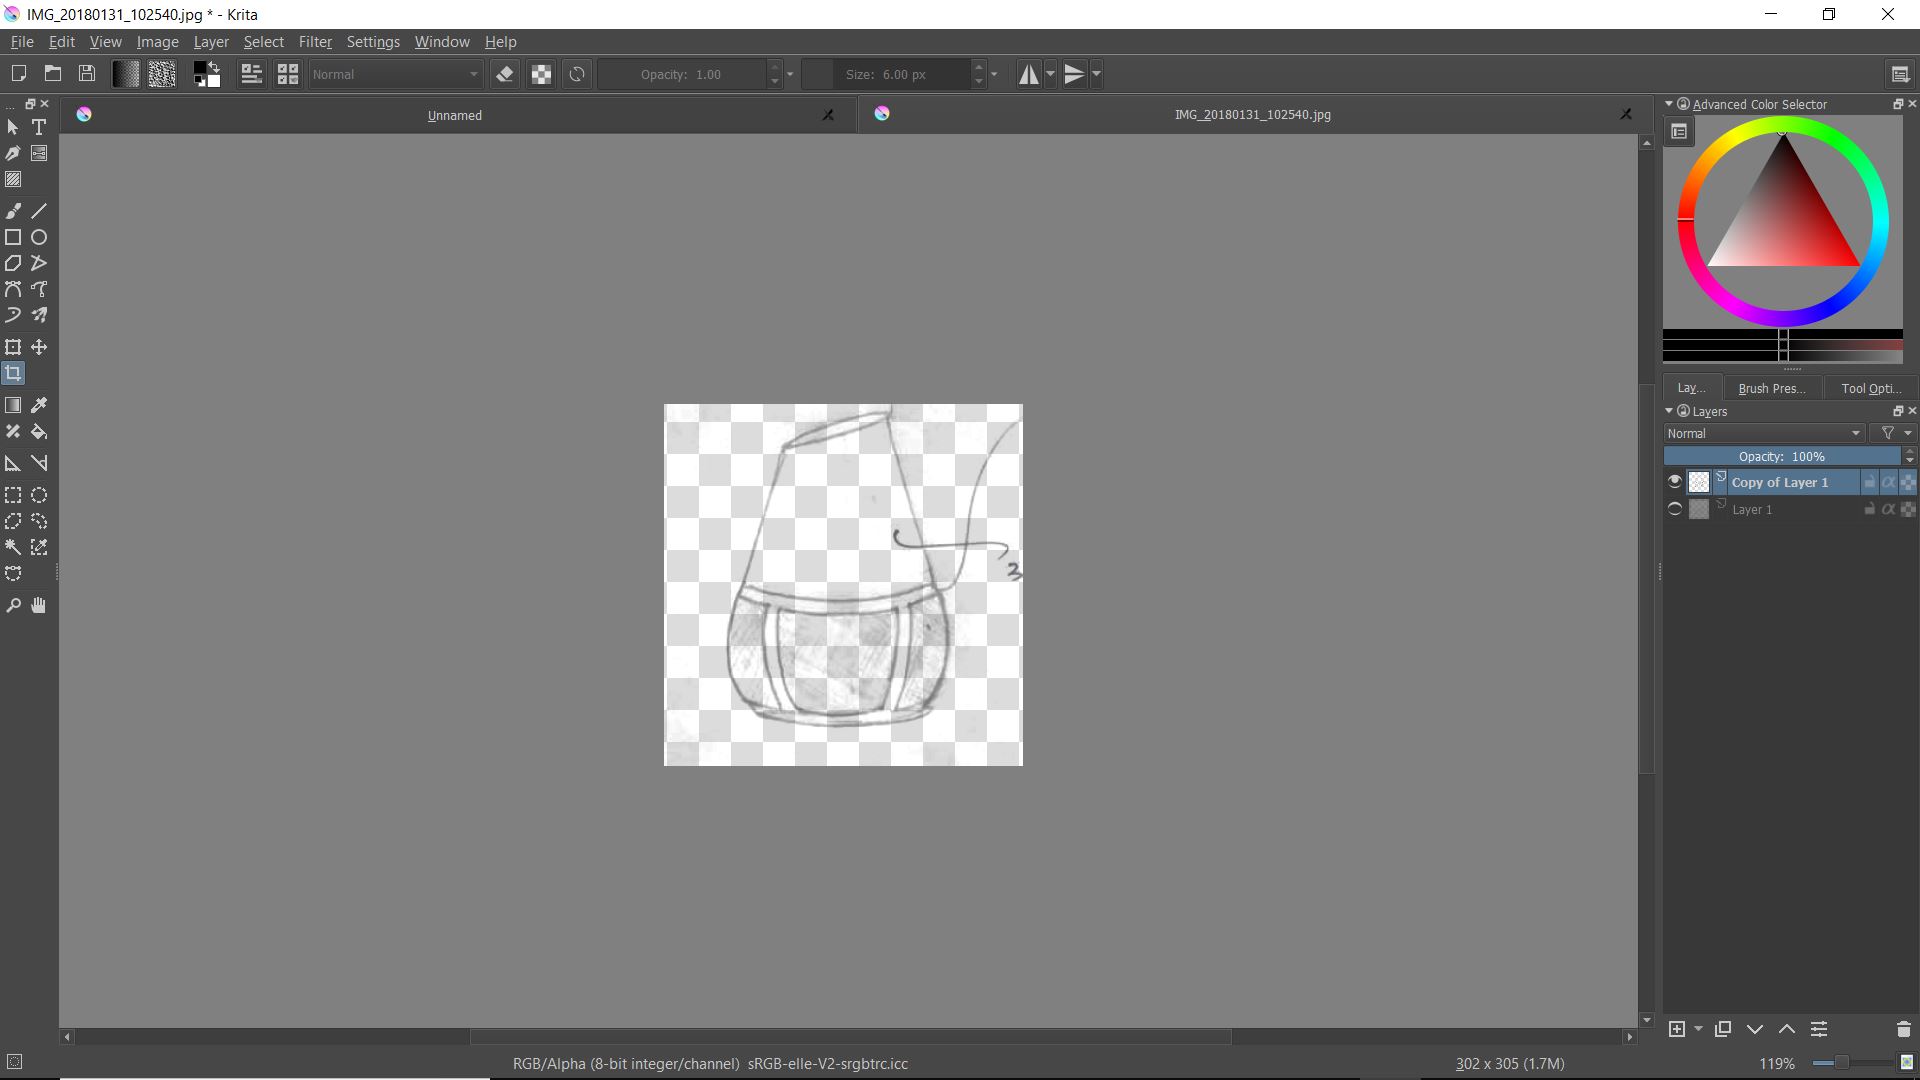
The next raster software I tried was Krita it was open source and available for windows. Krits was mainly used by artists as it had many types of brush strokes and painting features. So I wanted to try to draw something in Krita rather than editing some images. I watched this tutorial and started drawing a random thing. But it was really difficult to draw freehand using the mouse. Then I realized that Krita was mainly used for painting purposes which I had no expertise in:(.But I tried to convert my hand-drawn project idea from the first week to a digital form using Krita watching this tutorial.I converted my hand-drawn sketch into a line art which can be now painted. But I left it for some other time so that I can spend time on some vector software.
I prefer photoshop over Krita because it's the one serving my purposes as I am not into digital art and animation. I found photoshop really easy to use with some cool editing features and quick response .Whereas I found Krita a little bit slow to respond with some lag at times.
Vector Softwares
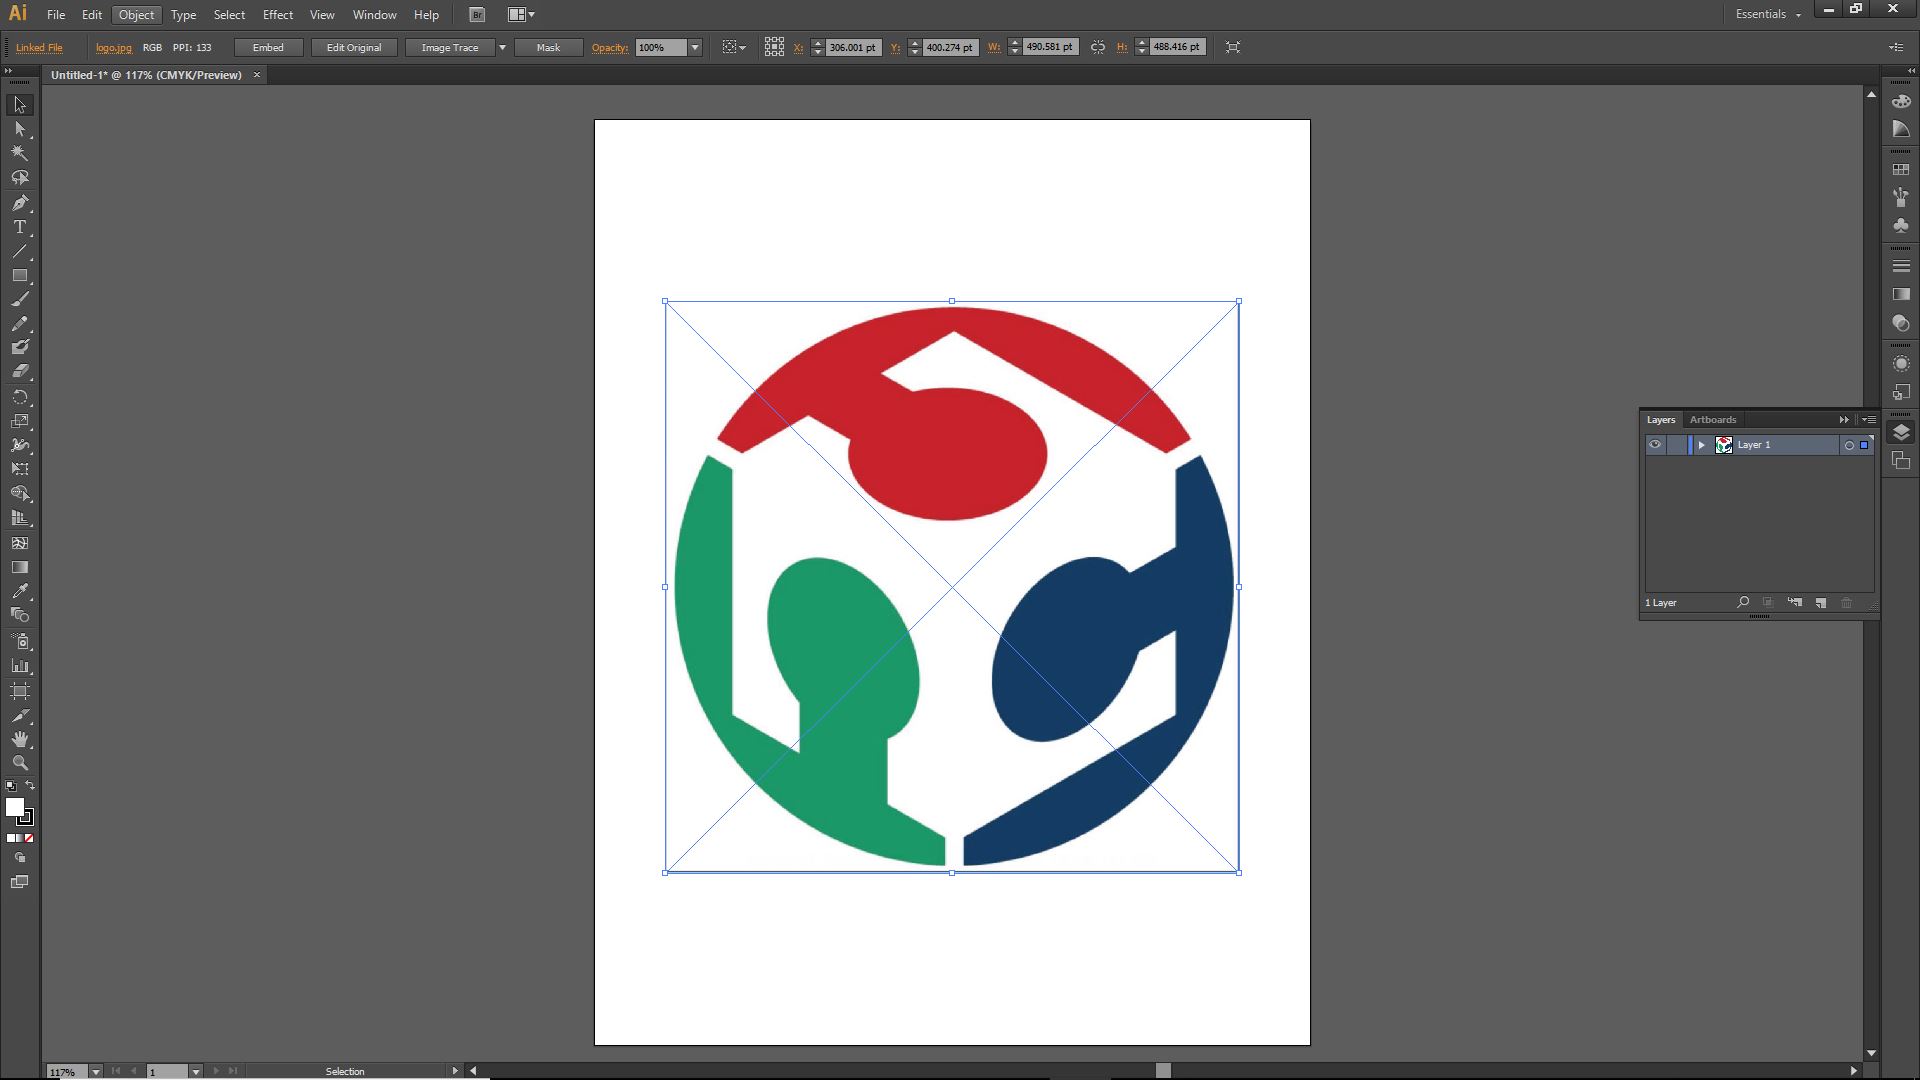
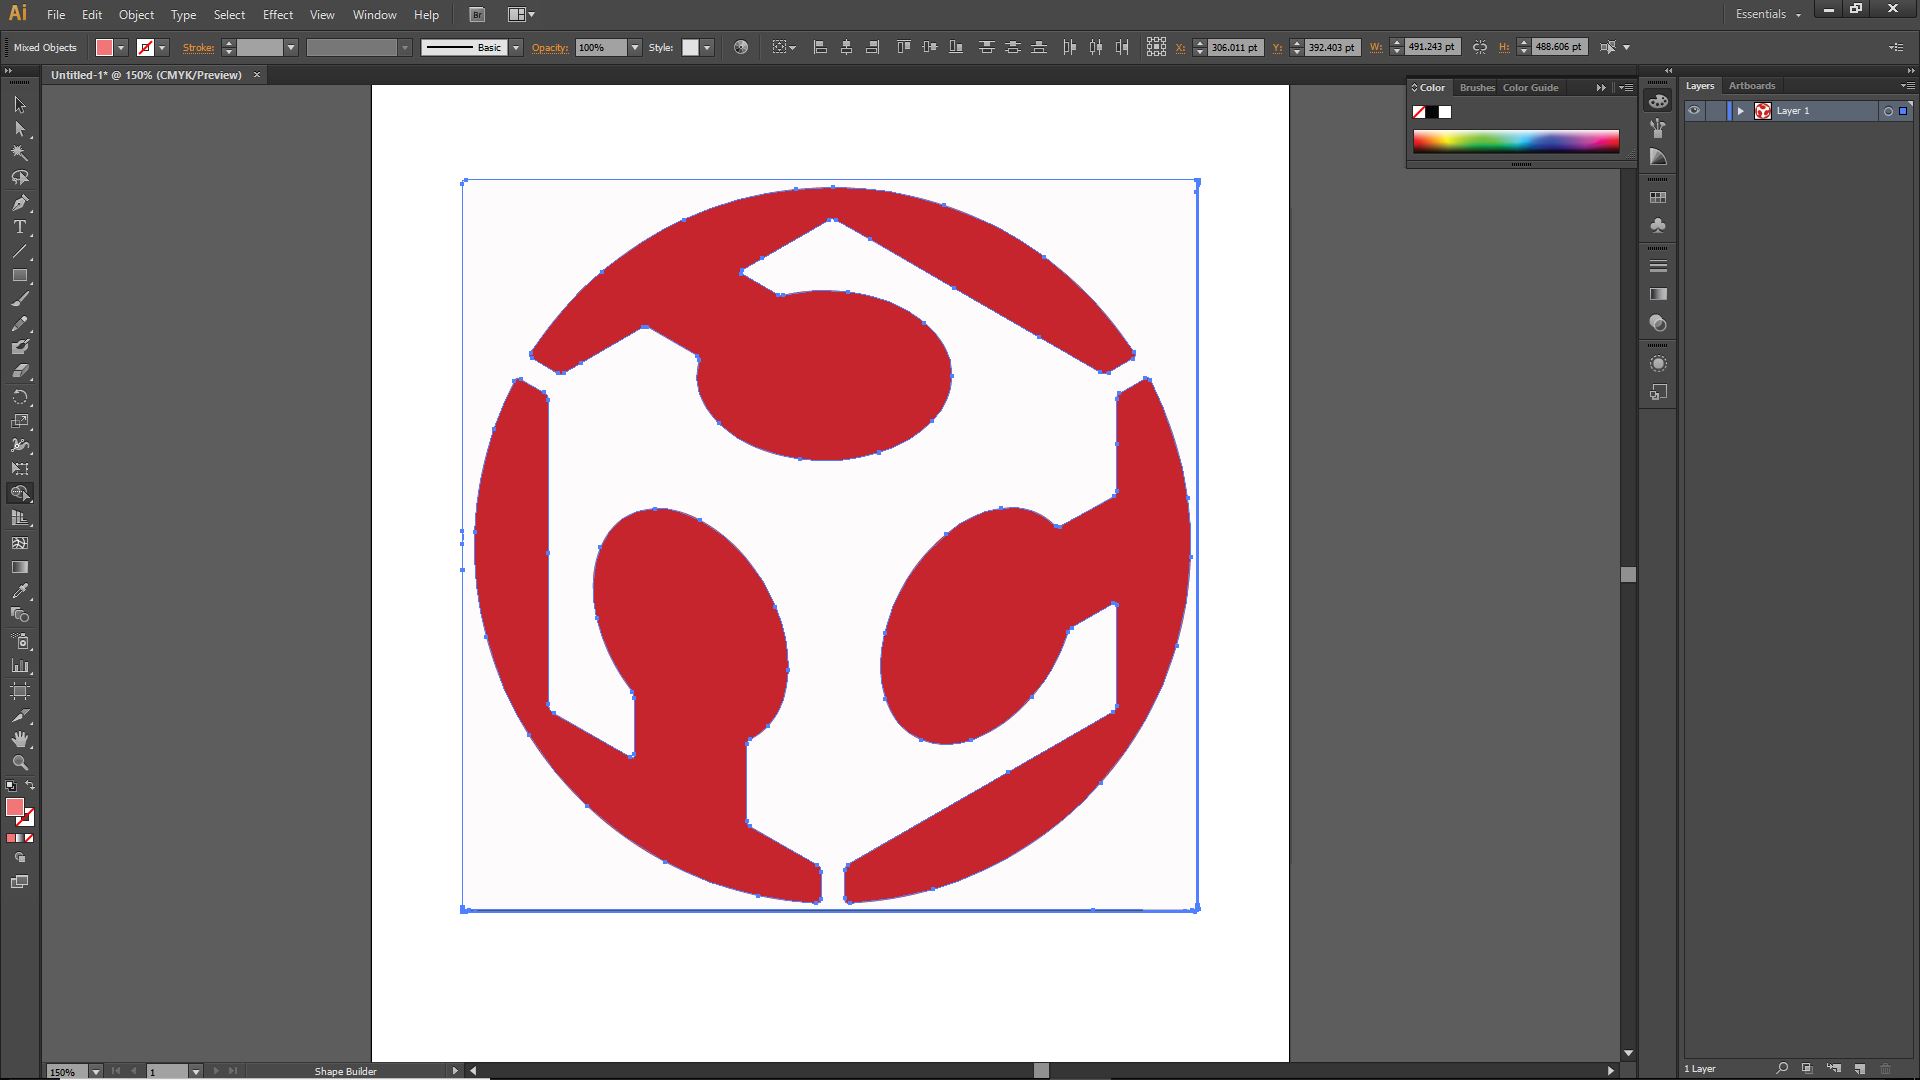
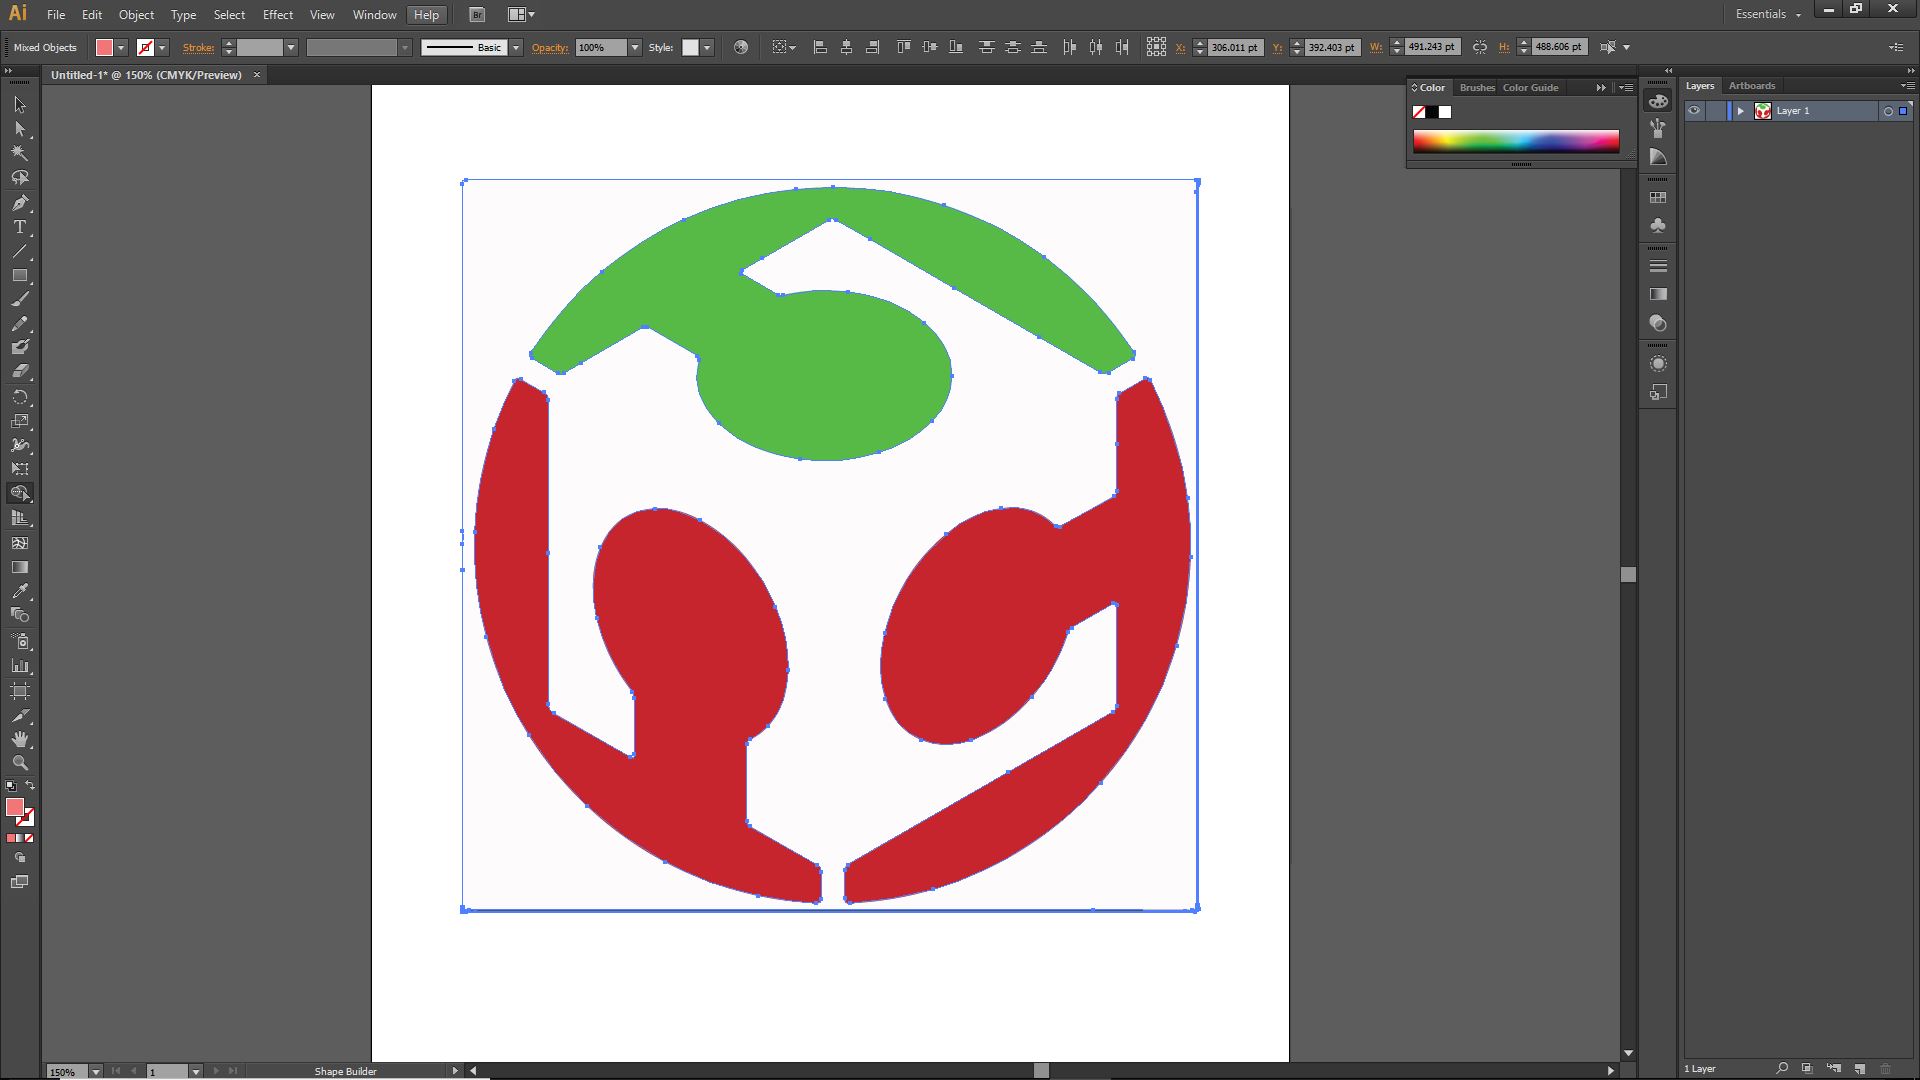
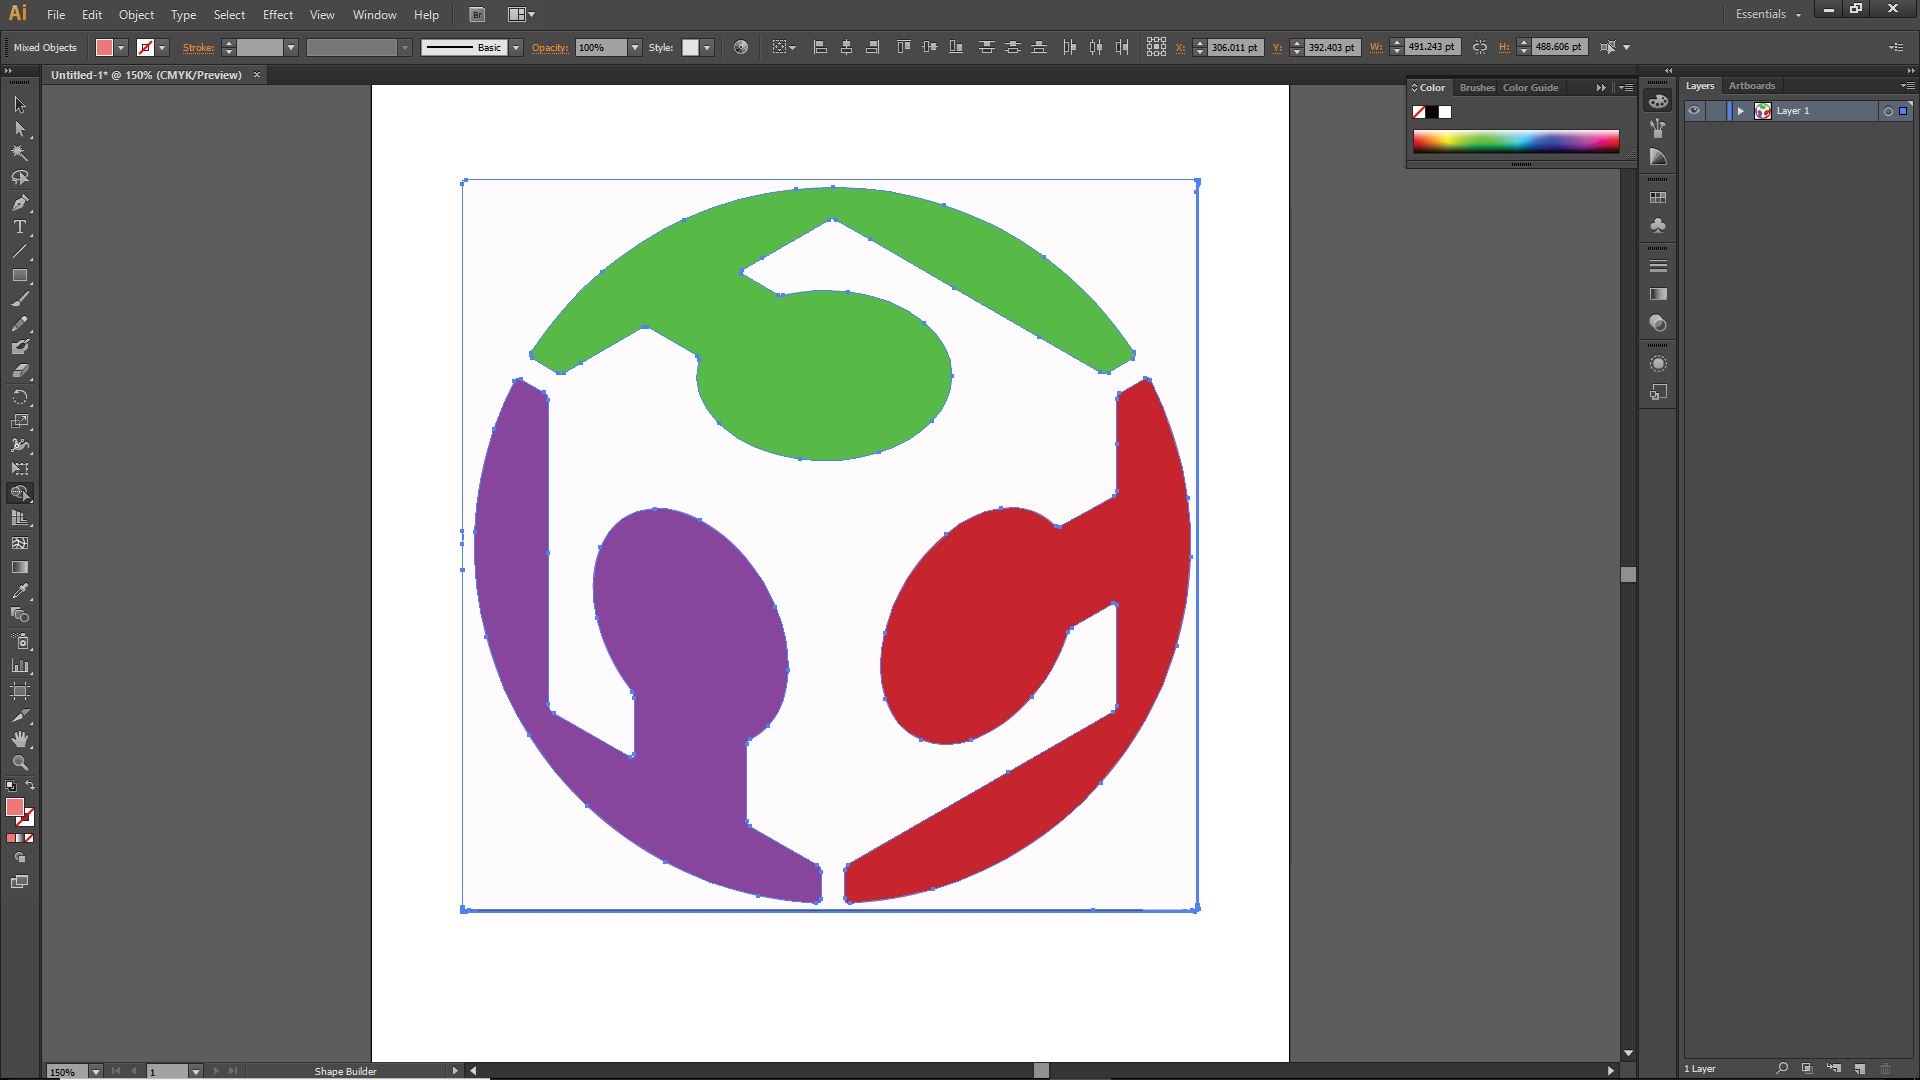
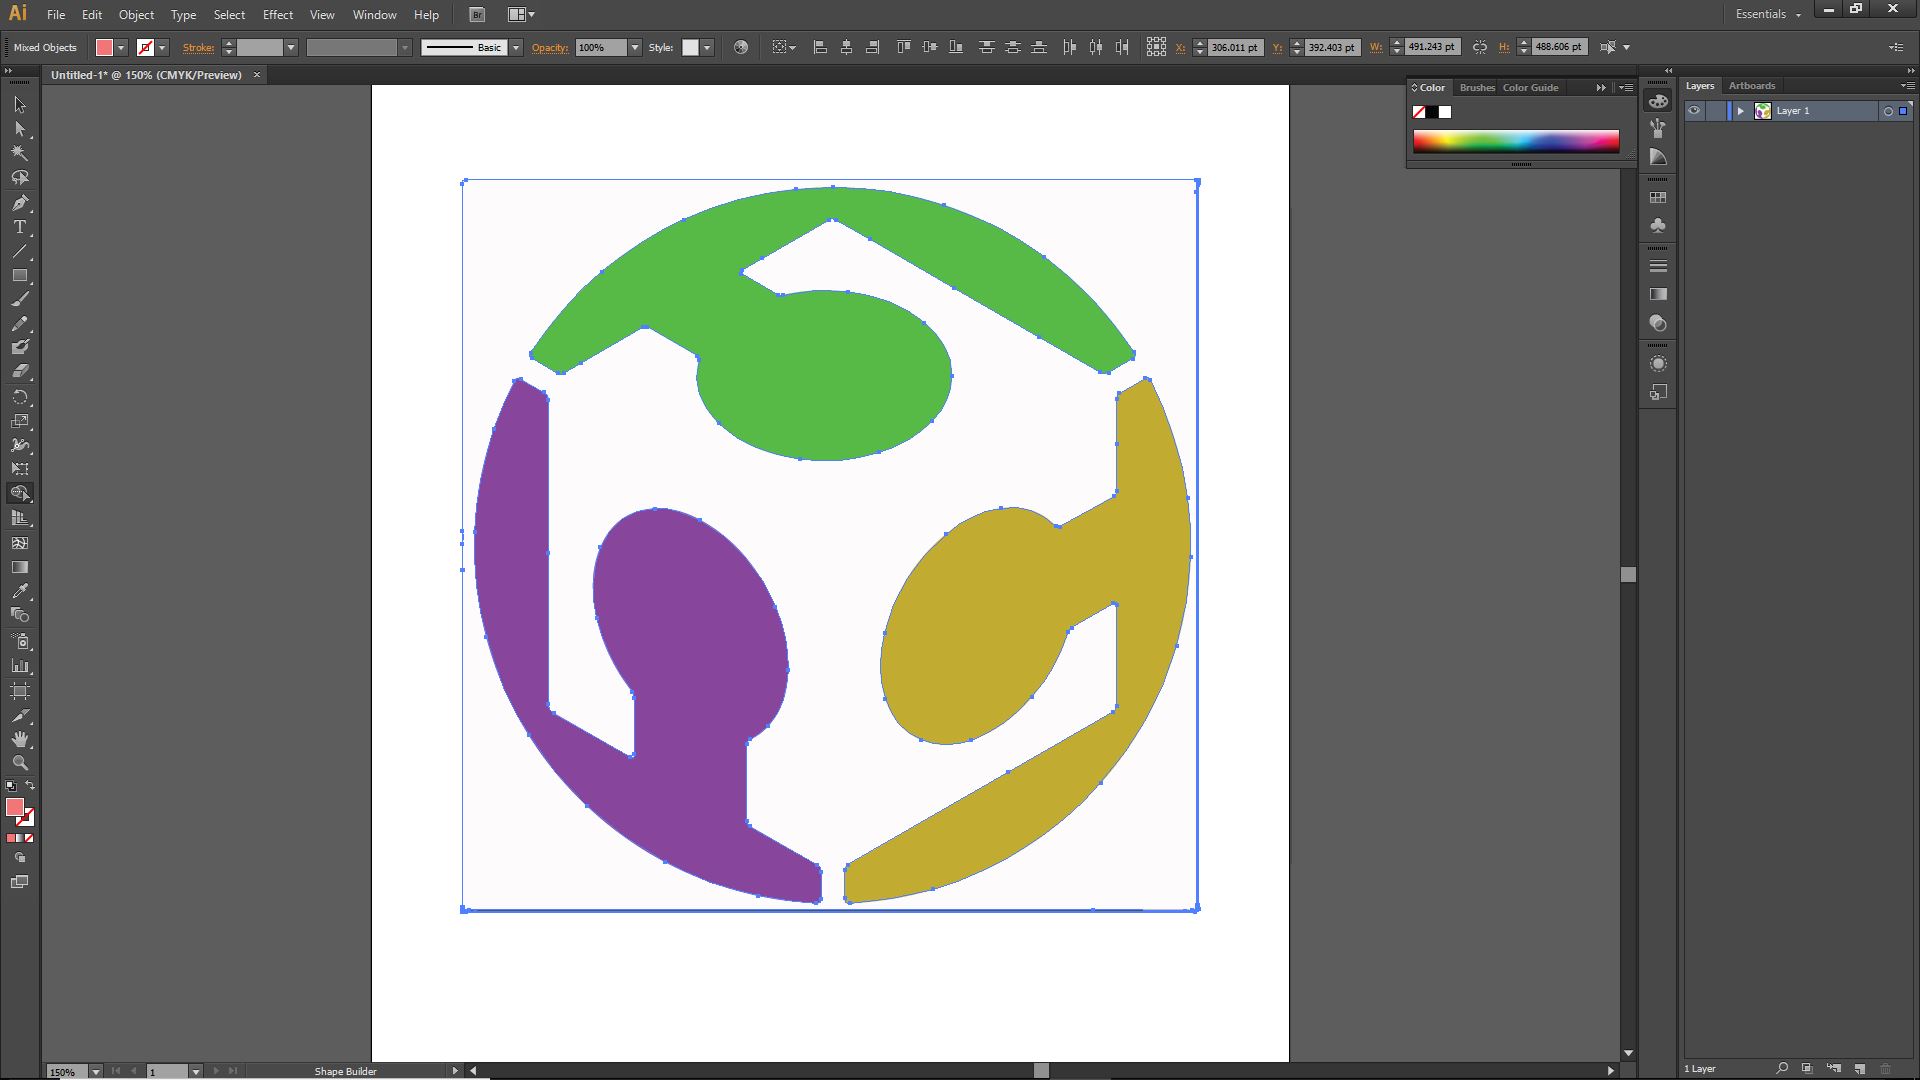
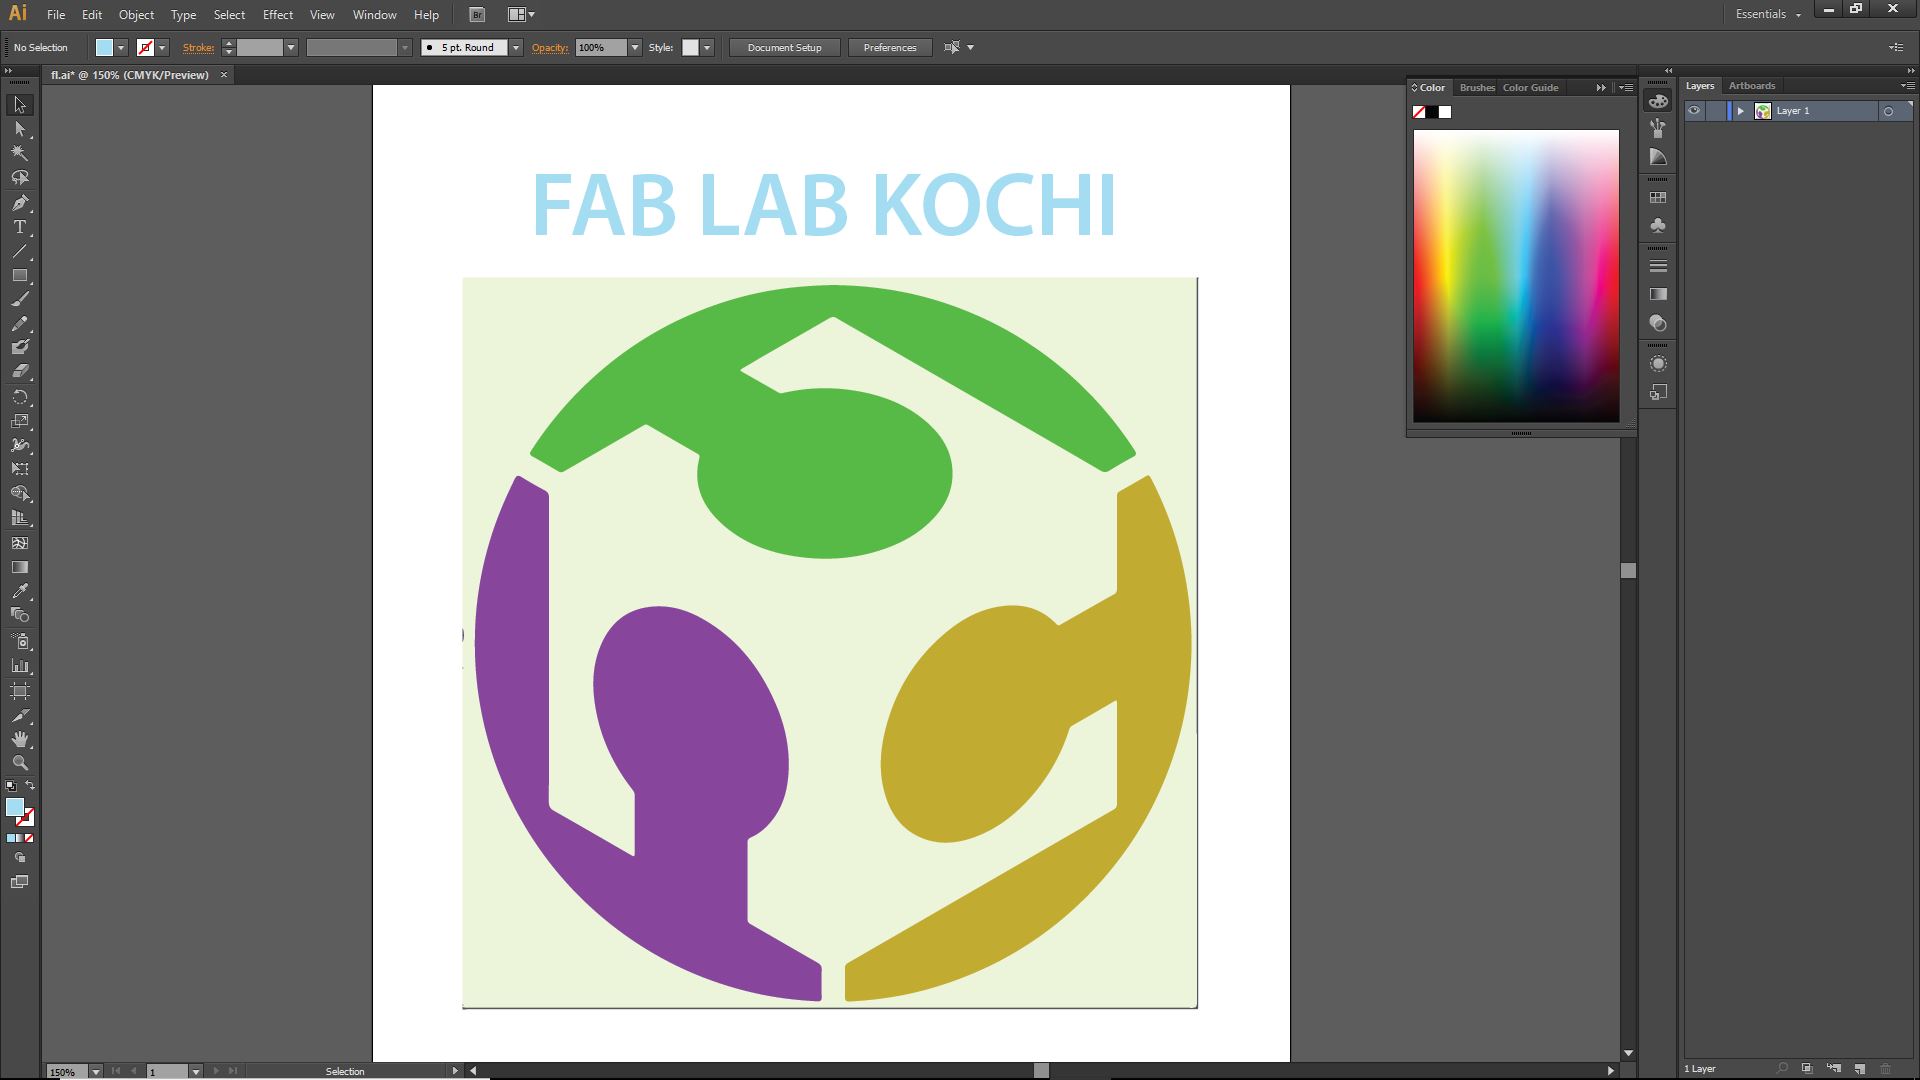
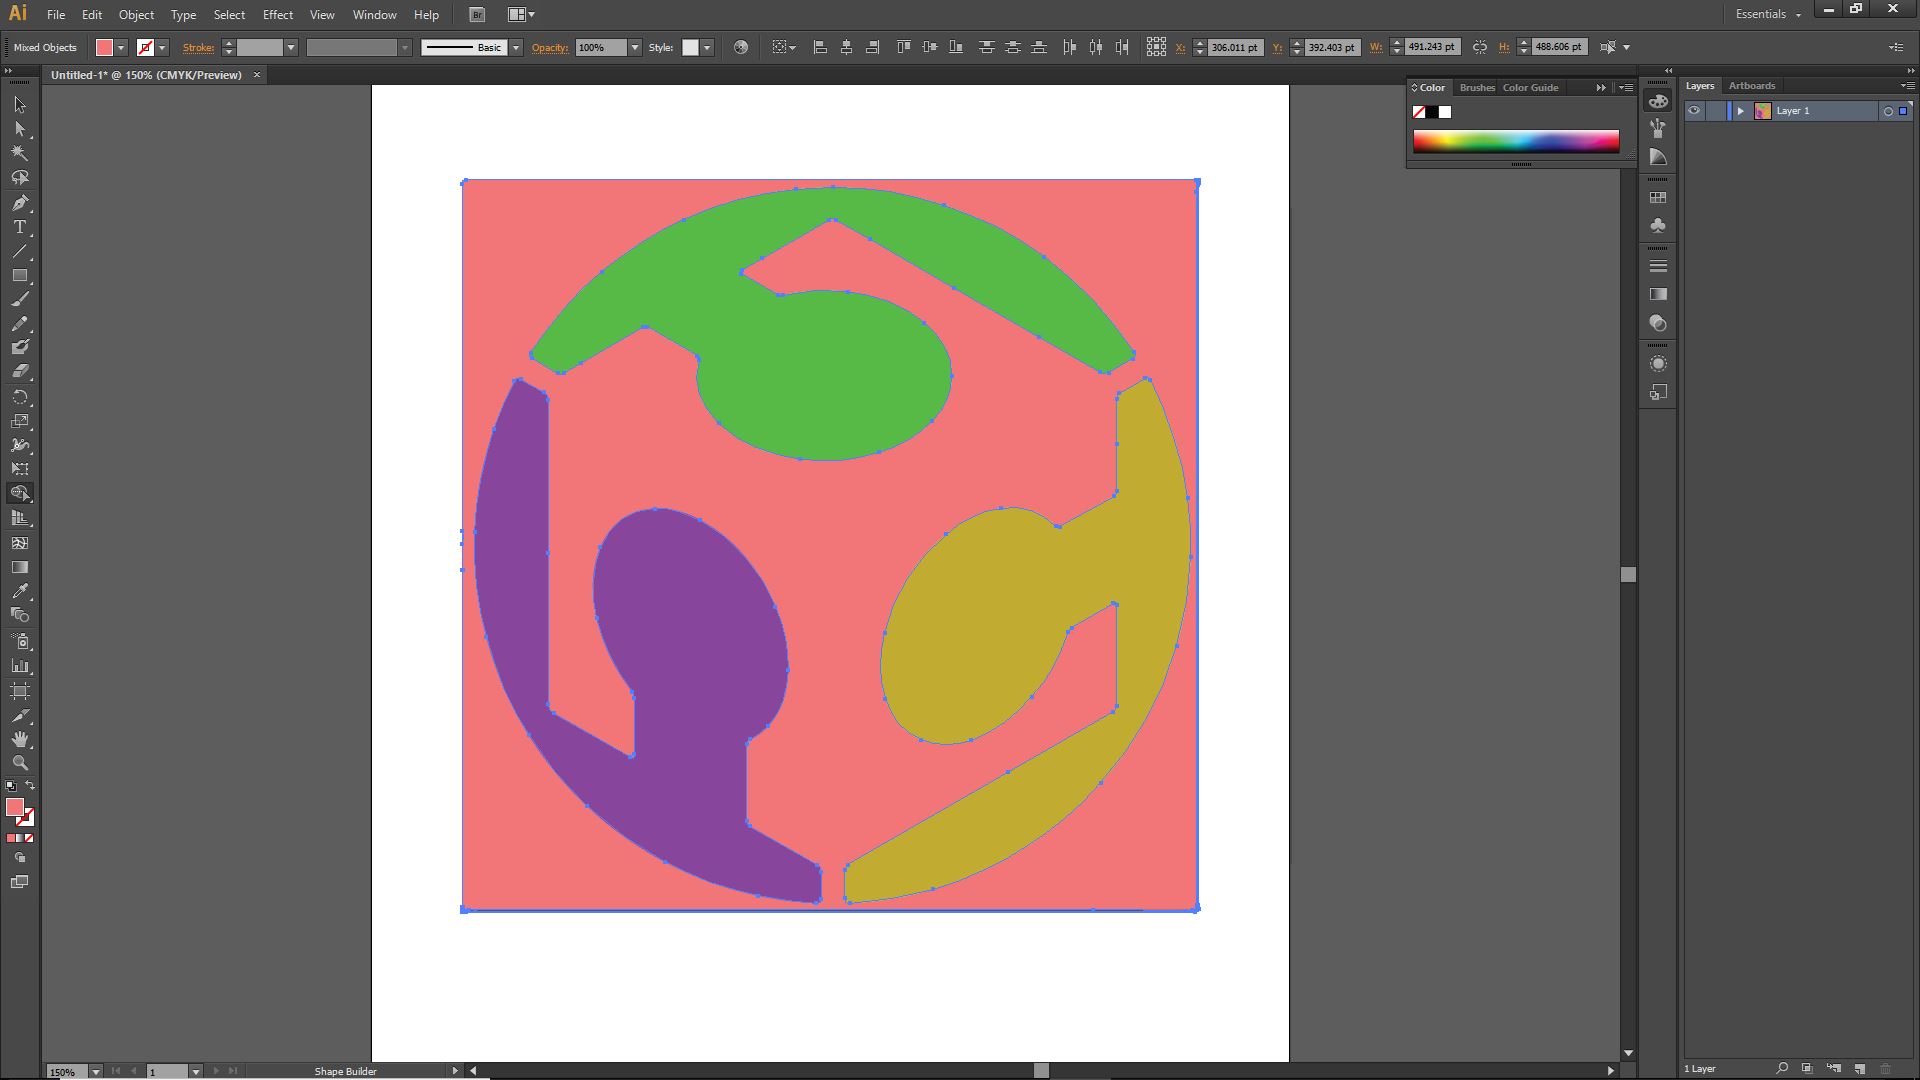
The vector software I wanted to try was Adobe Illustrator. I've seen my friends work on different logos and symbols in illustrator. So I thought of doing something with the Fab lab logo. I took the trace of the fab logo and convert it into separate shapes so that I can play around with different colors in these shapes. I also tried adding some texts and background colors.
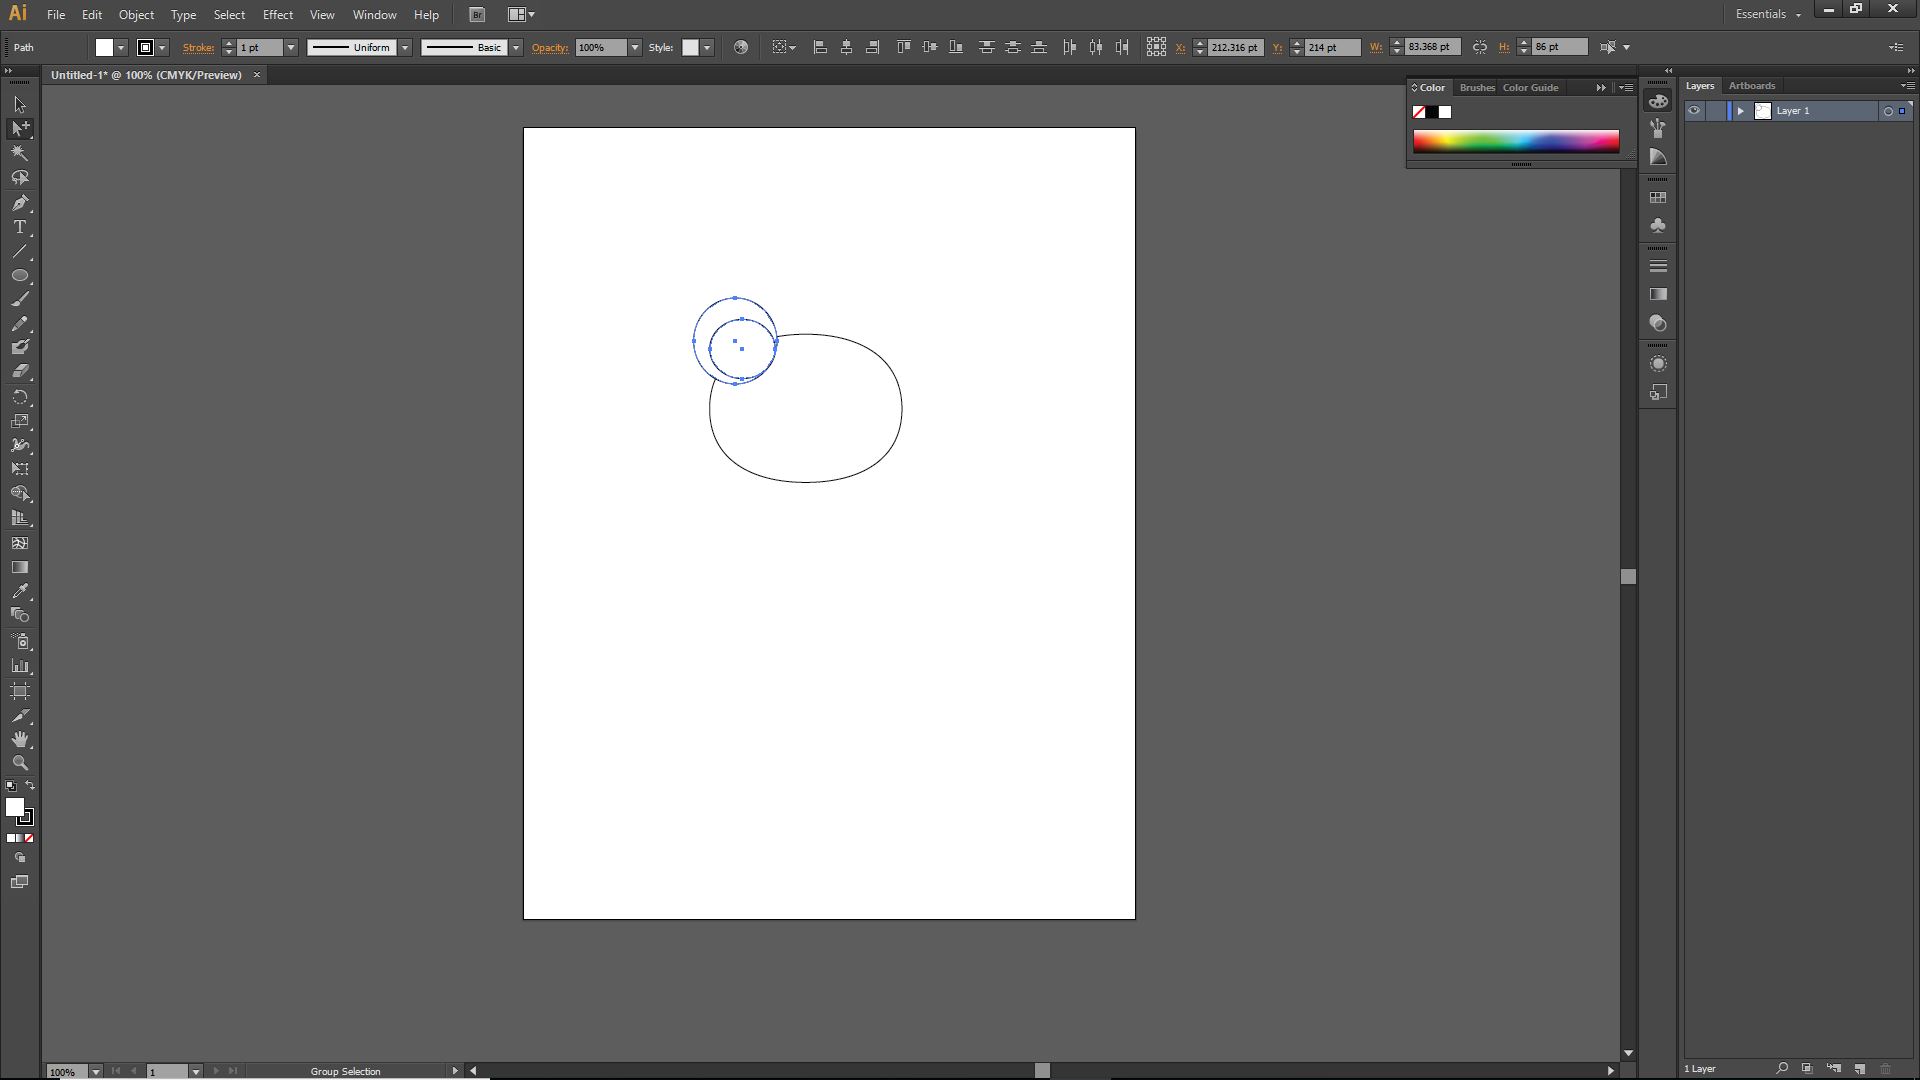
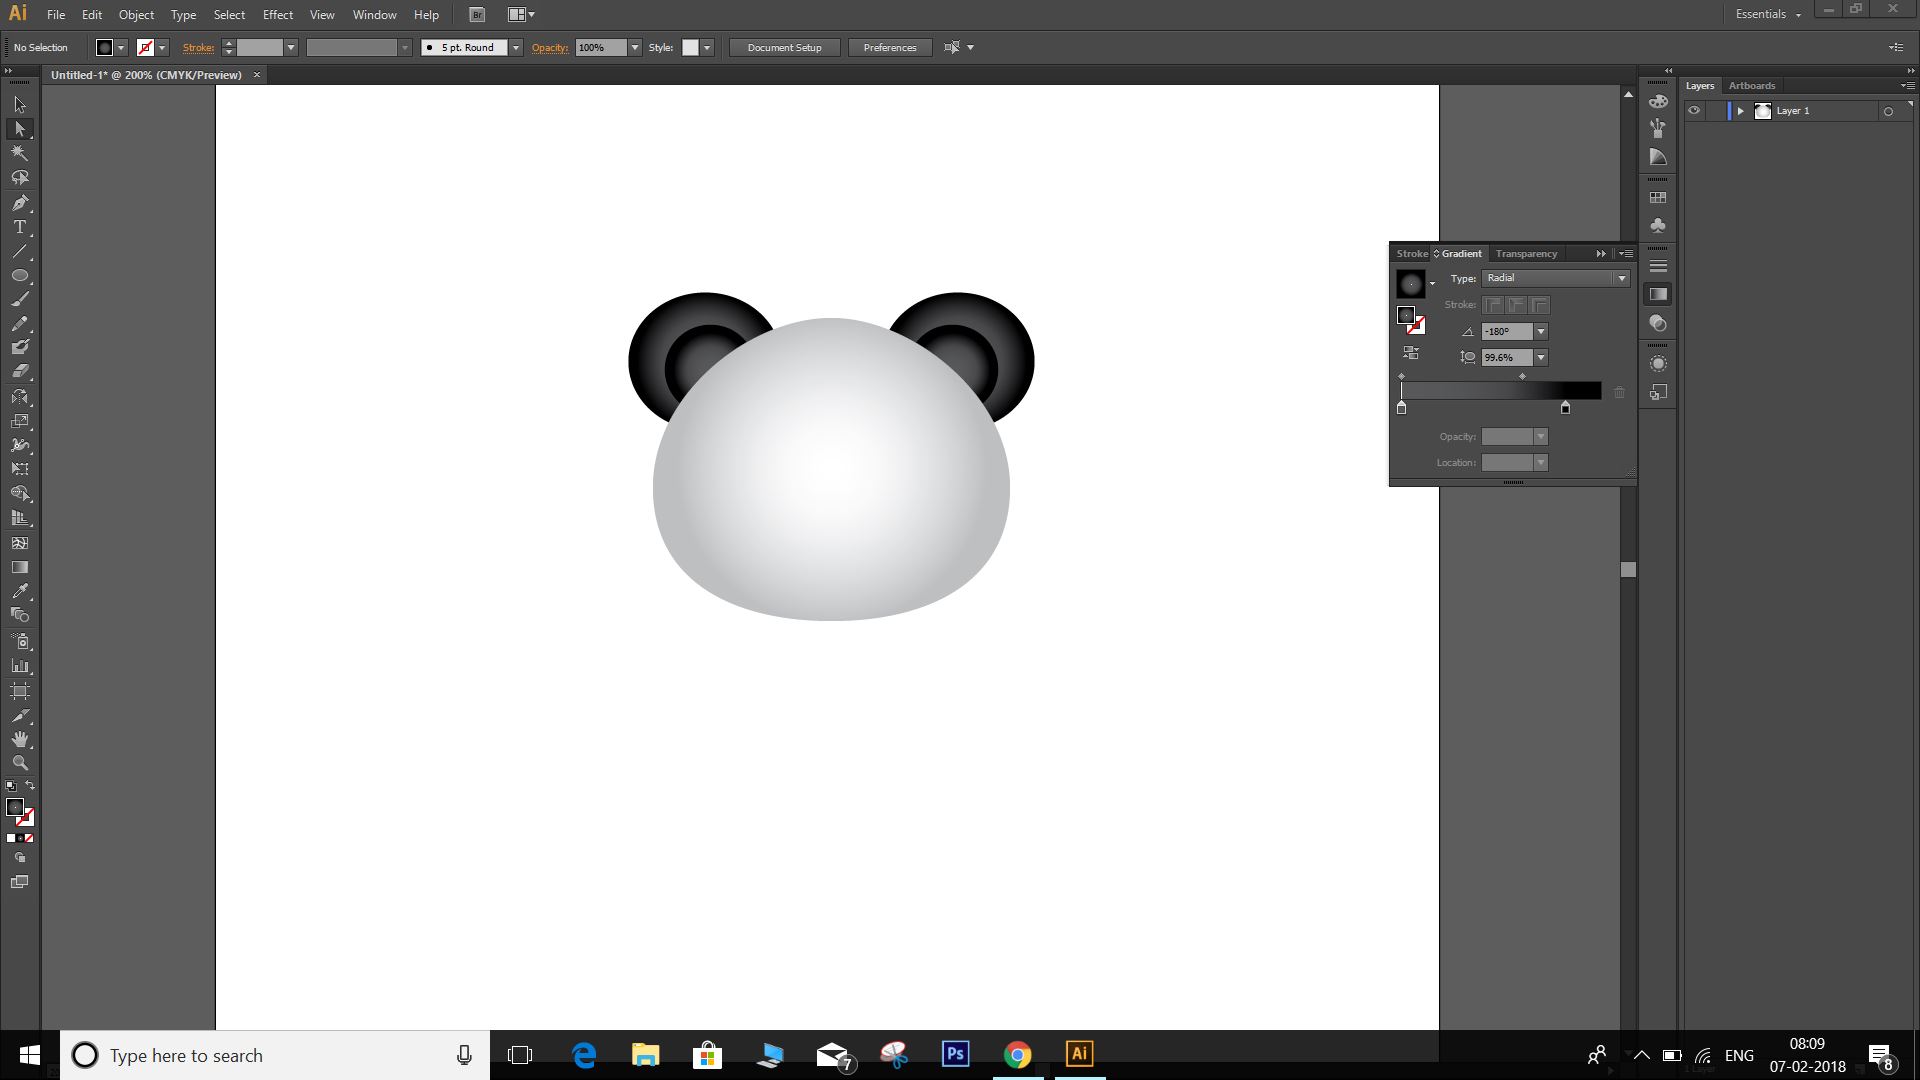
After this, I watched many tutorials of poster and illustration making. I thought to do some illustration using simple shapes. I tried to do the illustration of a panda.I tried some tools like gradient, pen tool, pencil tool, Shape builder, Reflection, brushes etc for making the same

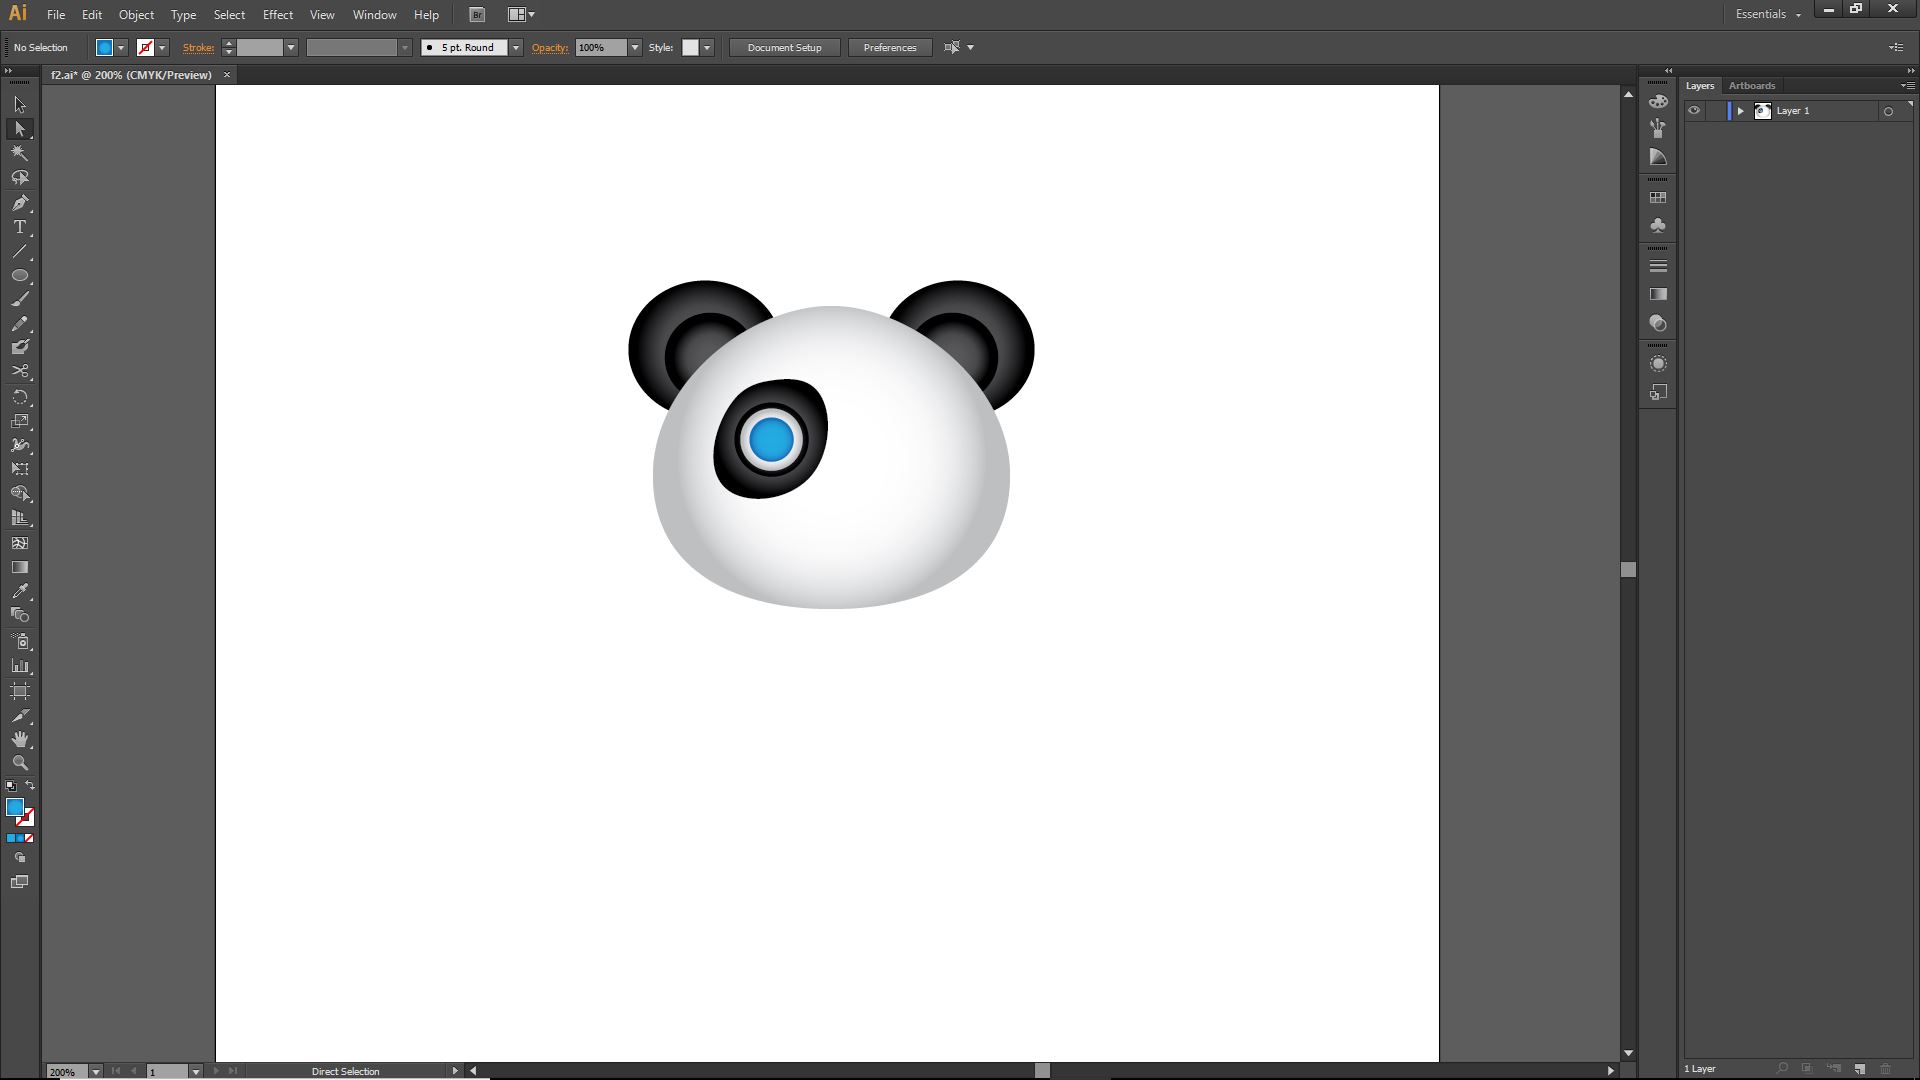
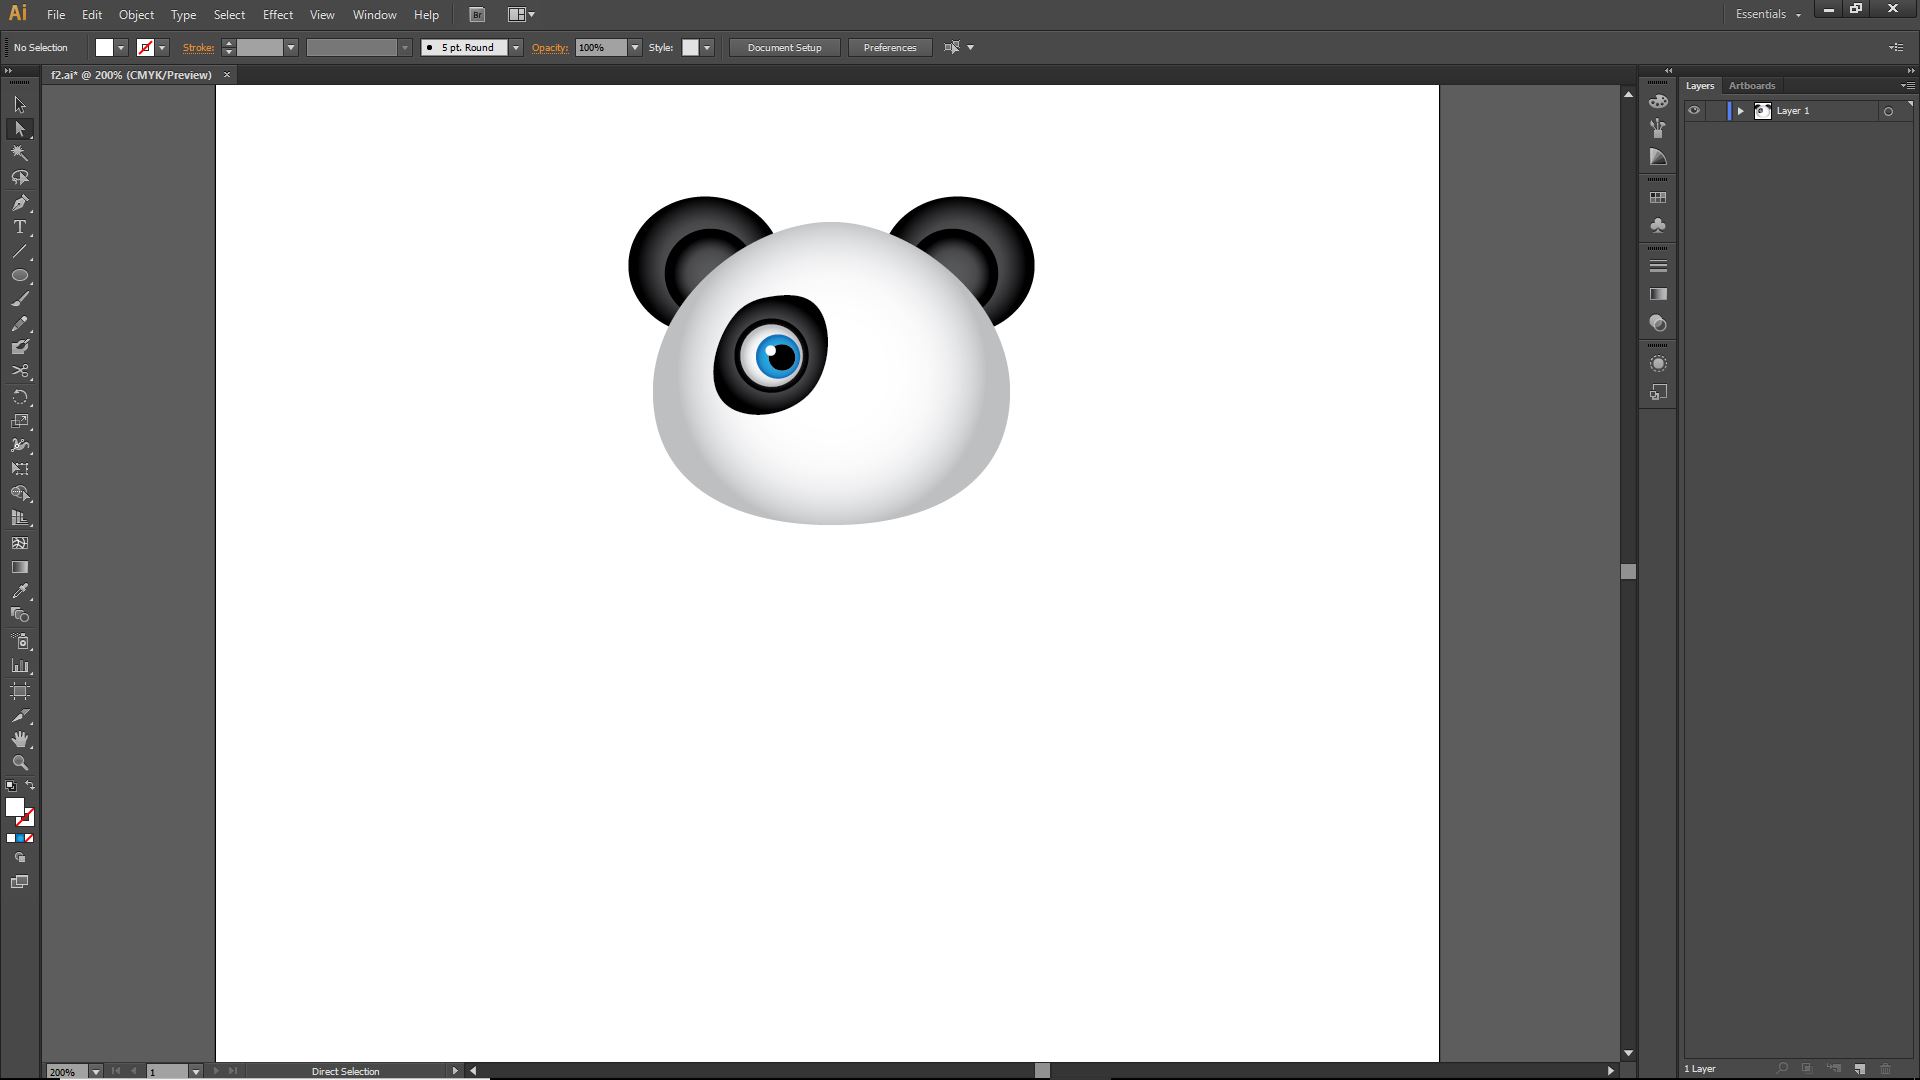
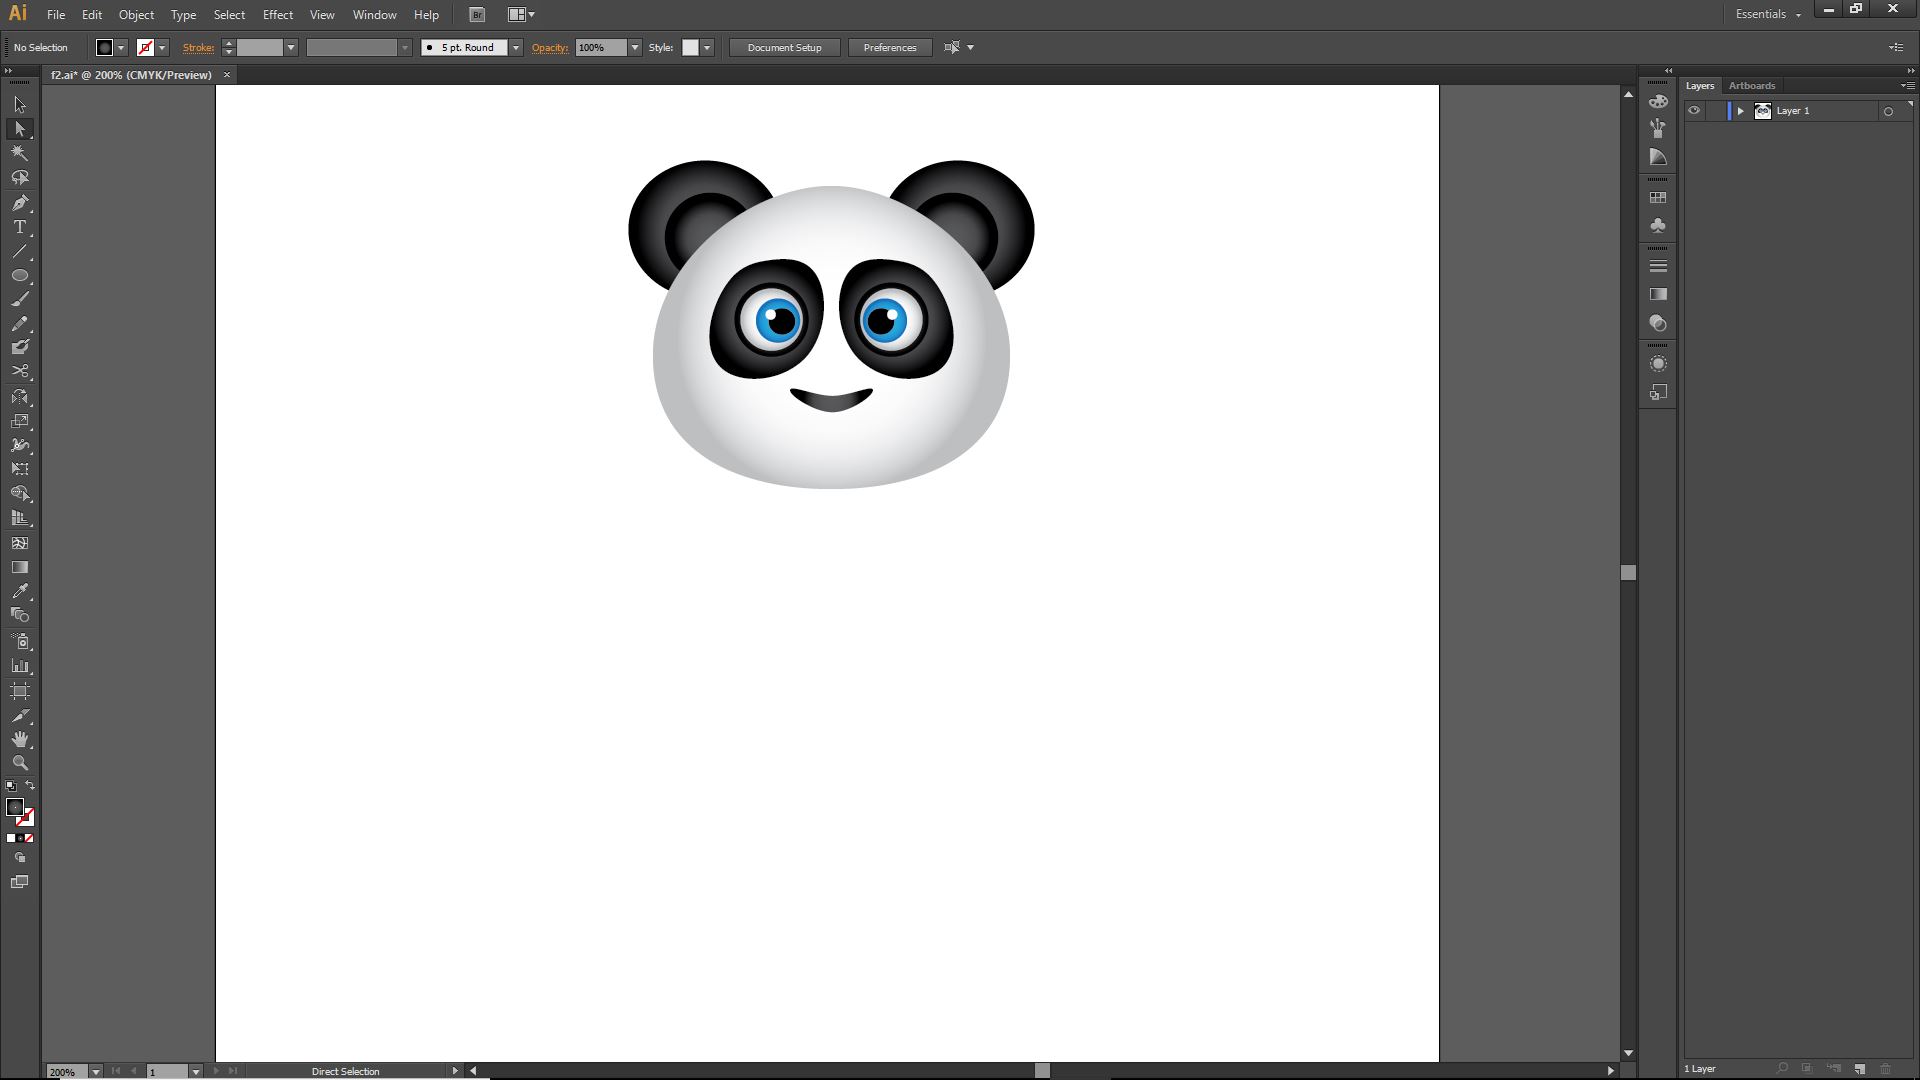
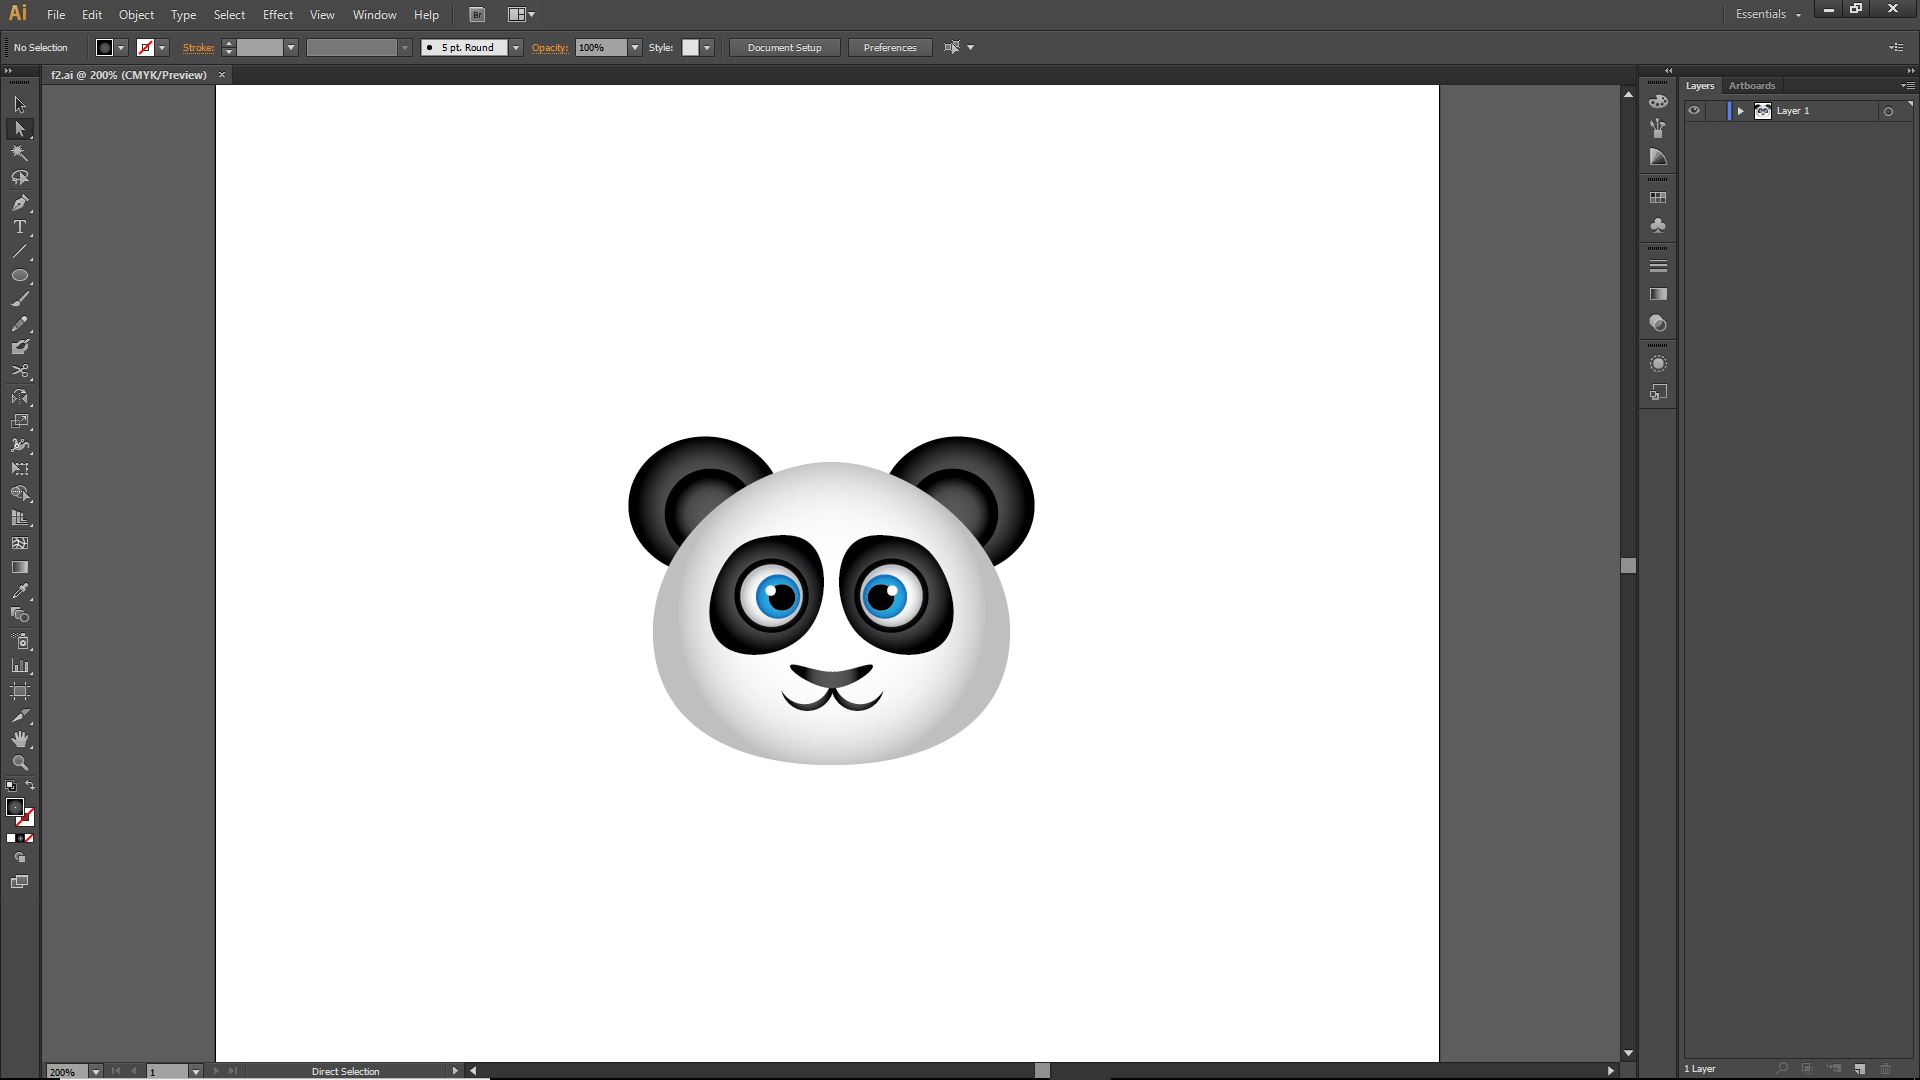
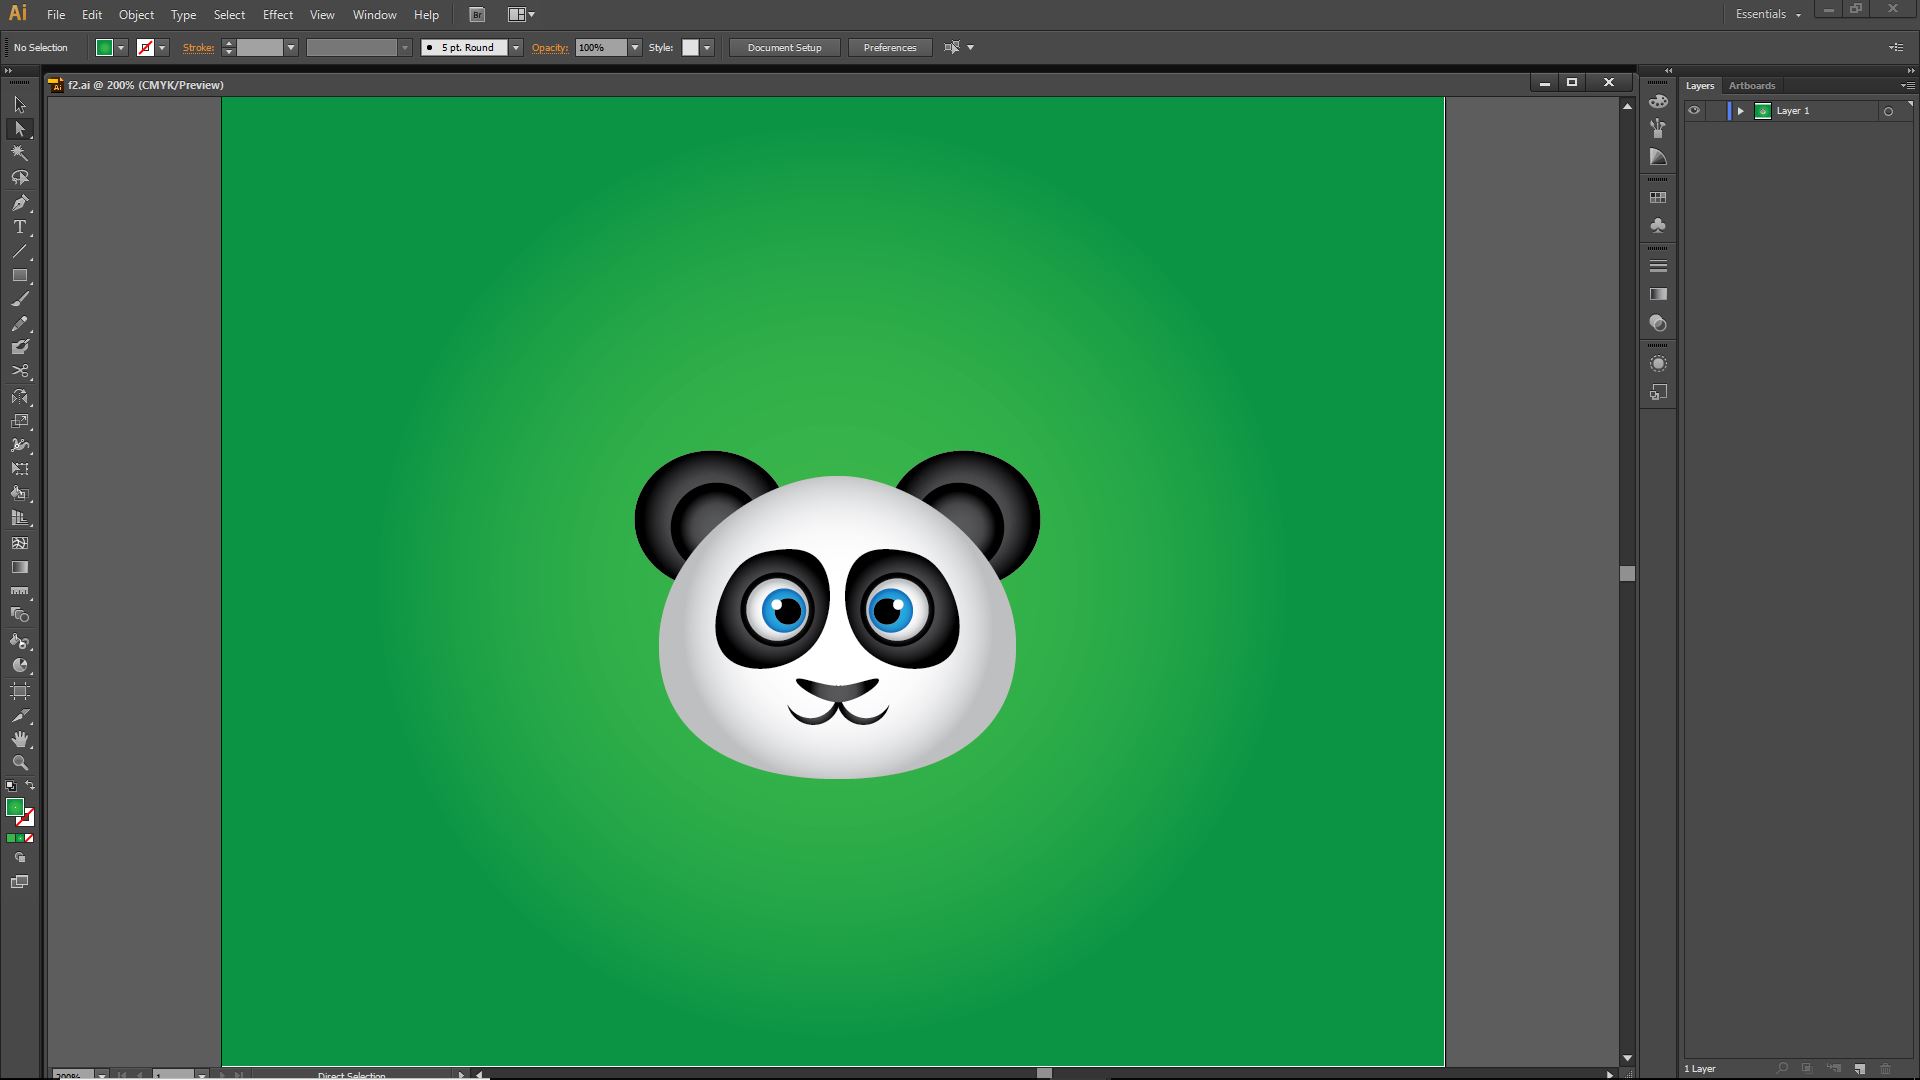

Download the illustrator files here.
I really liked illustrator it has some amazing tools and features with an awesome interface. And there is so much data available for us to study. So I am planning to use it further for my documentation purposes like creating the poster for the final presentation. I did try another vector software called Inkscape and I've checked some features like tracing where you can set the no.of scans while tracing an image. But sadly I don't have any screen shots or files to upload.
3D Softwares
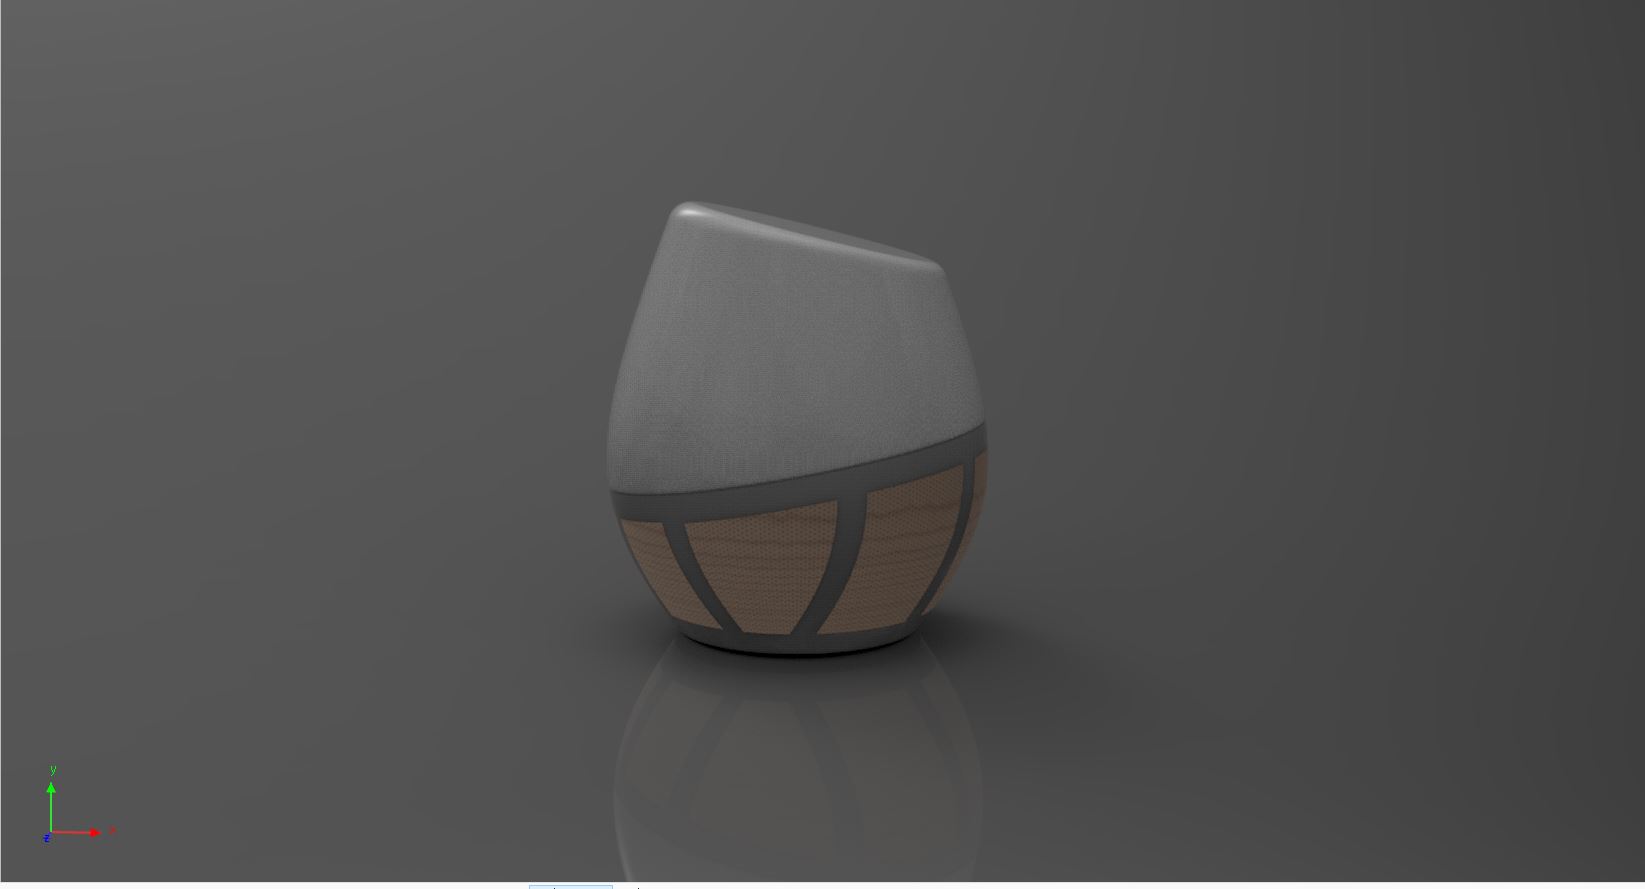
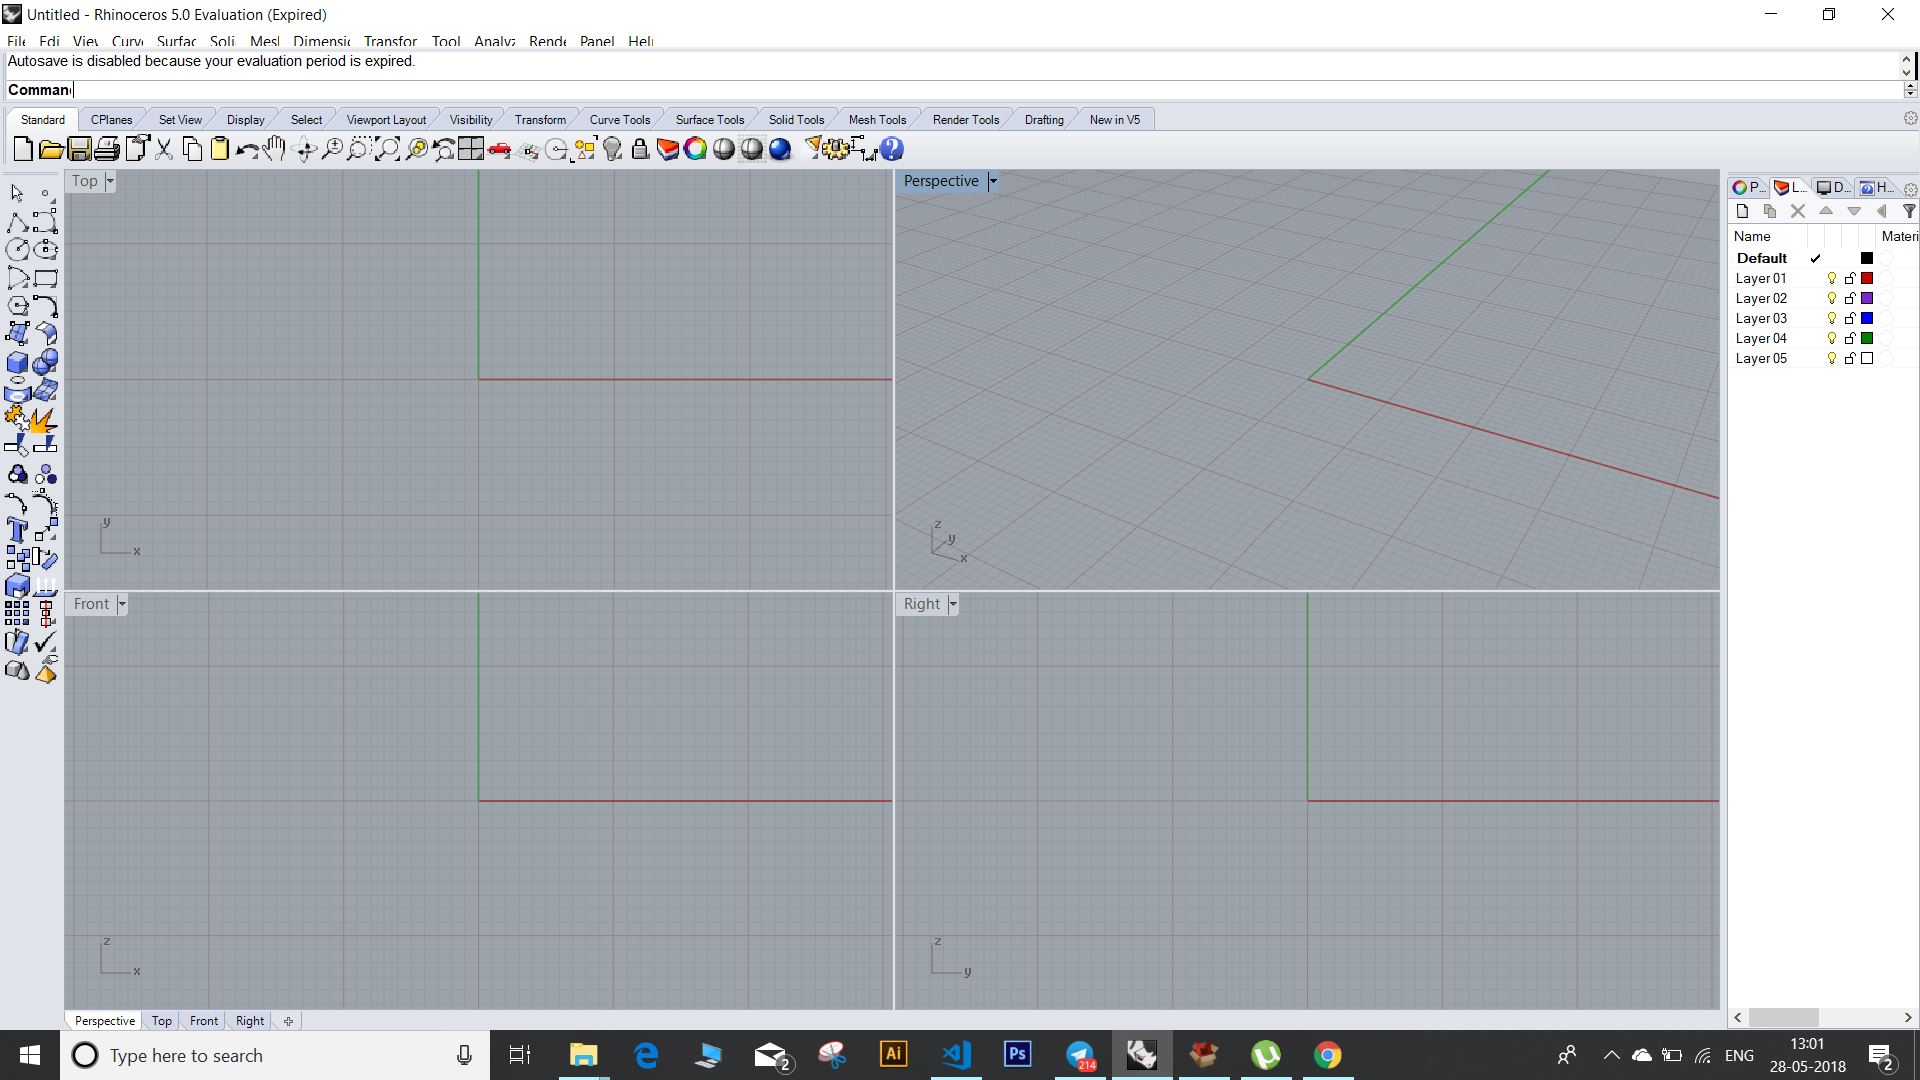
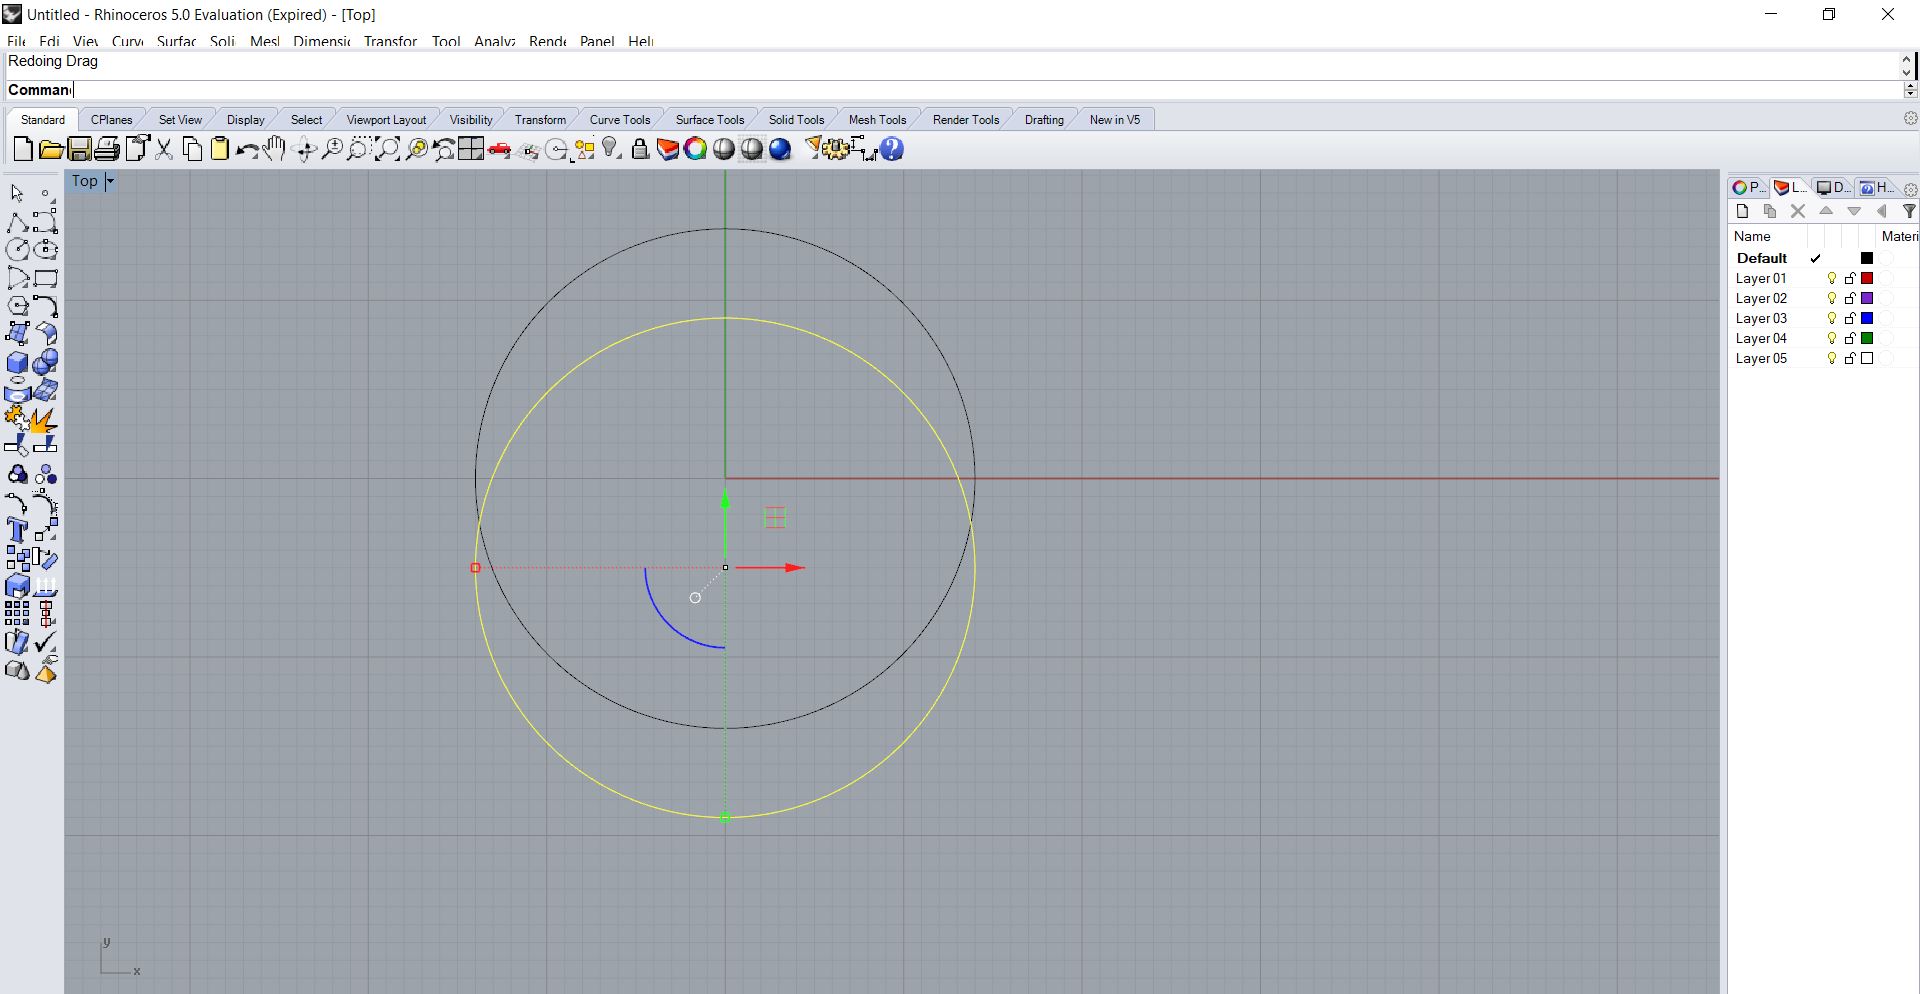
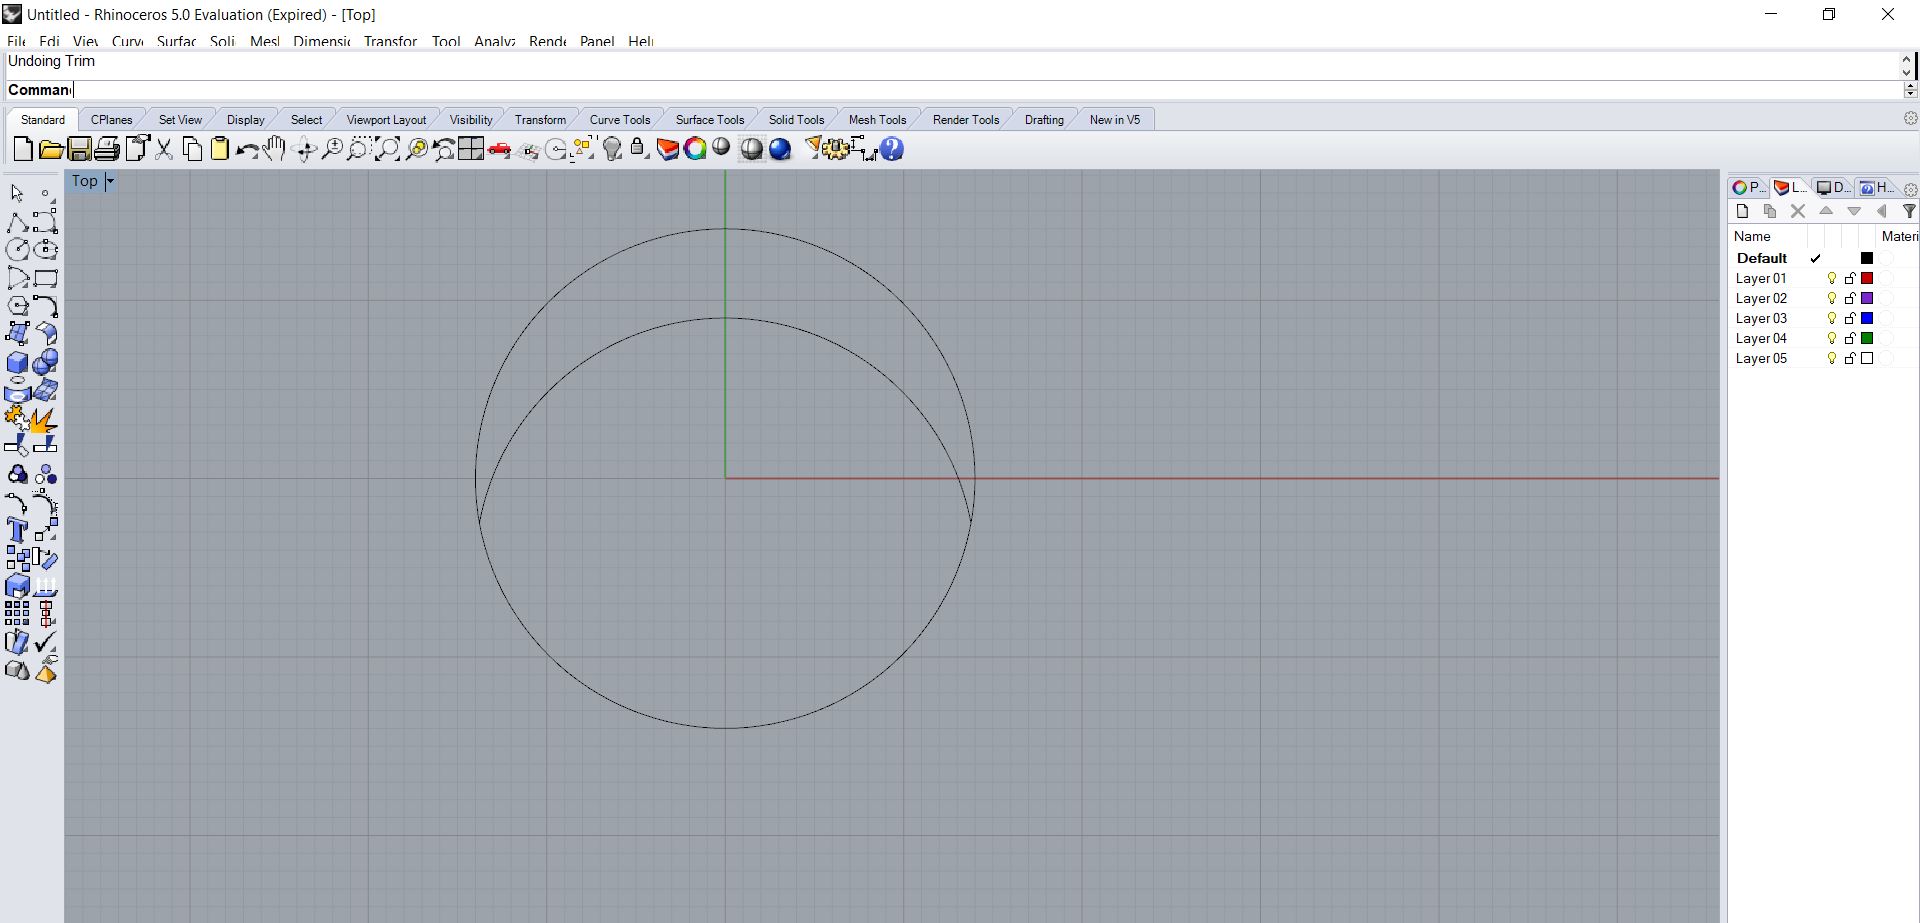
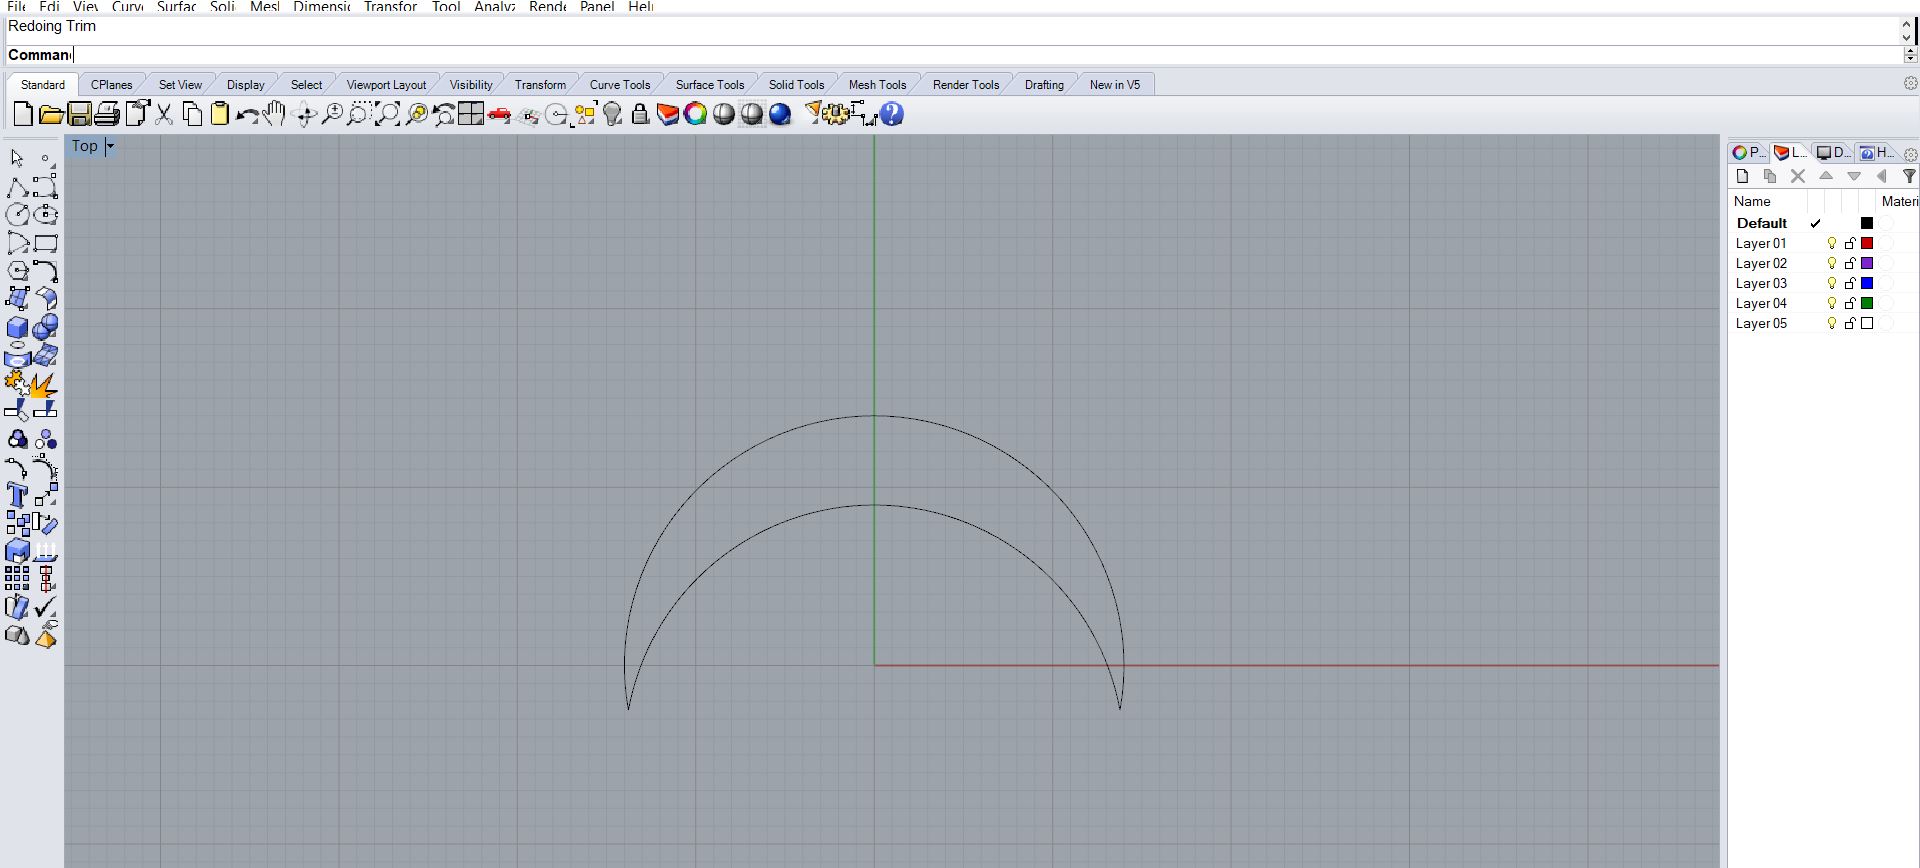
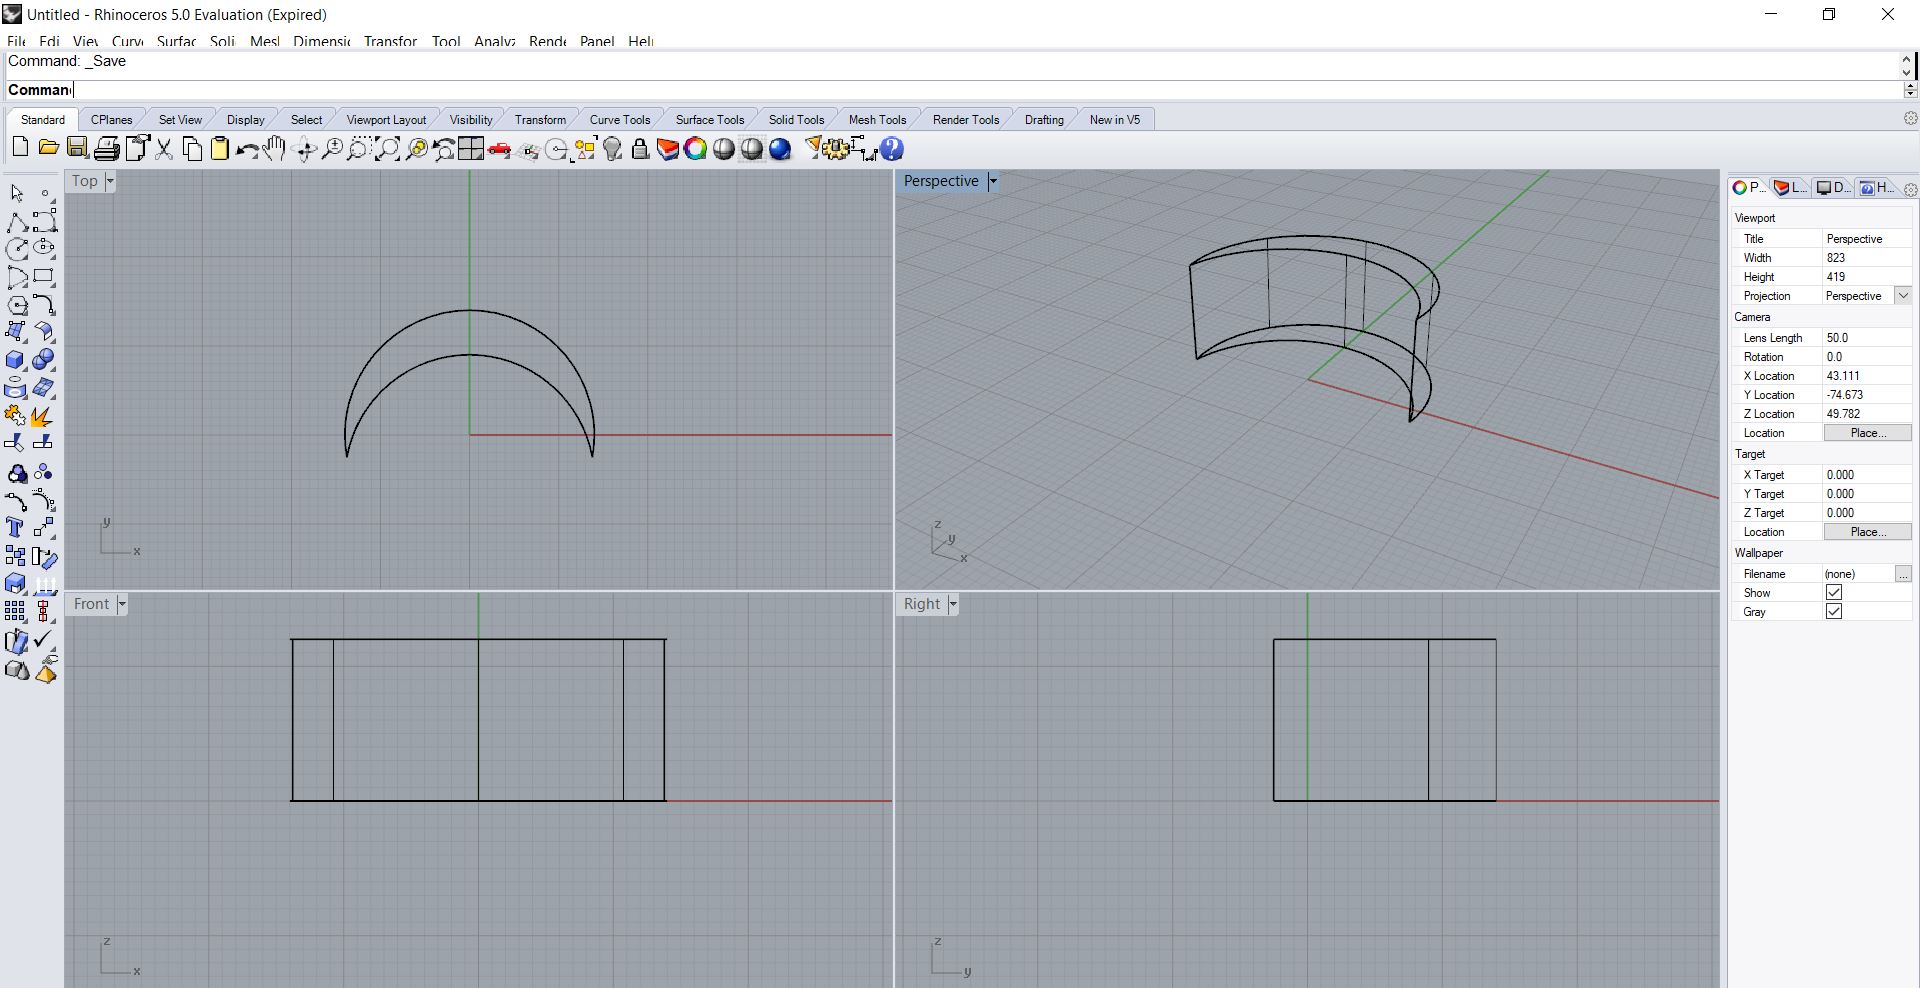
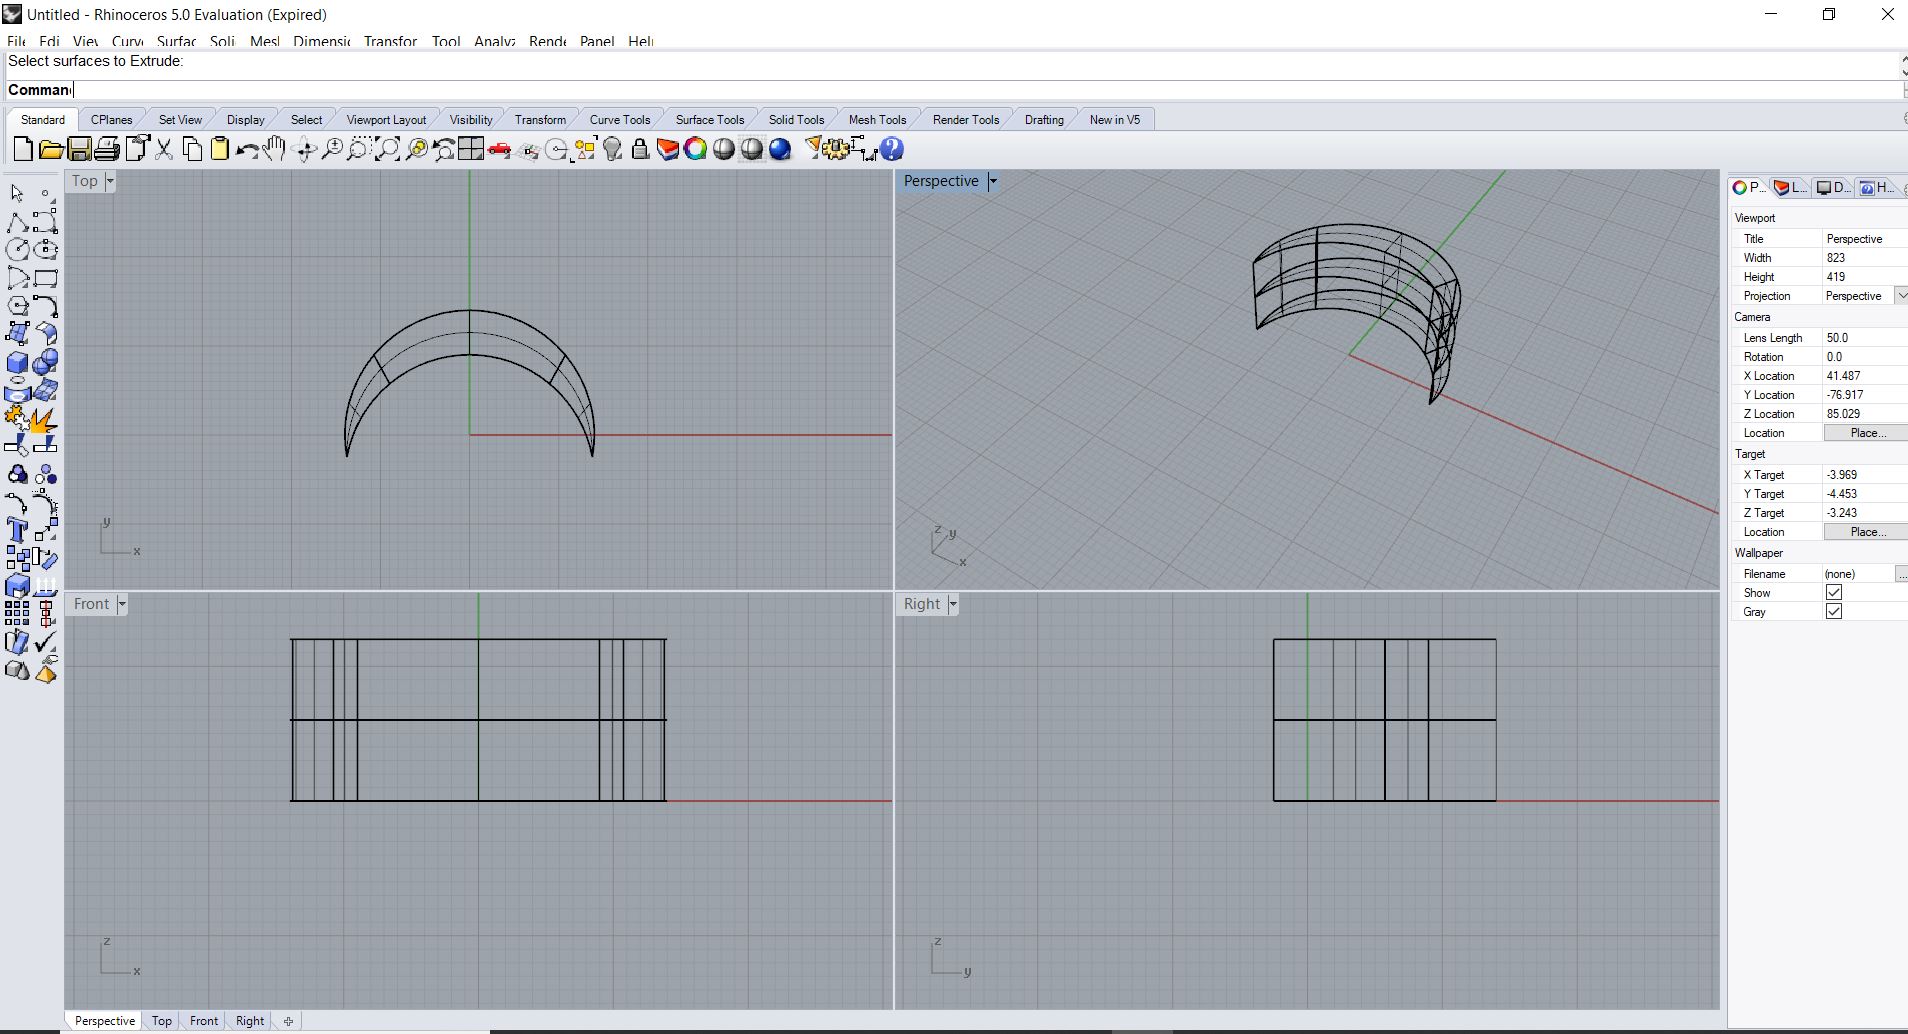
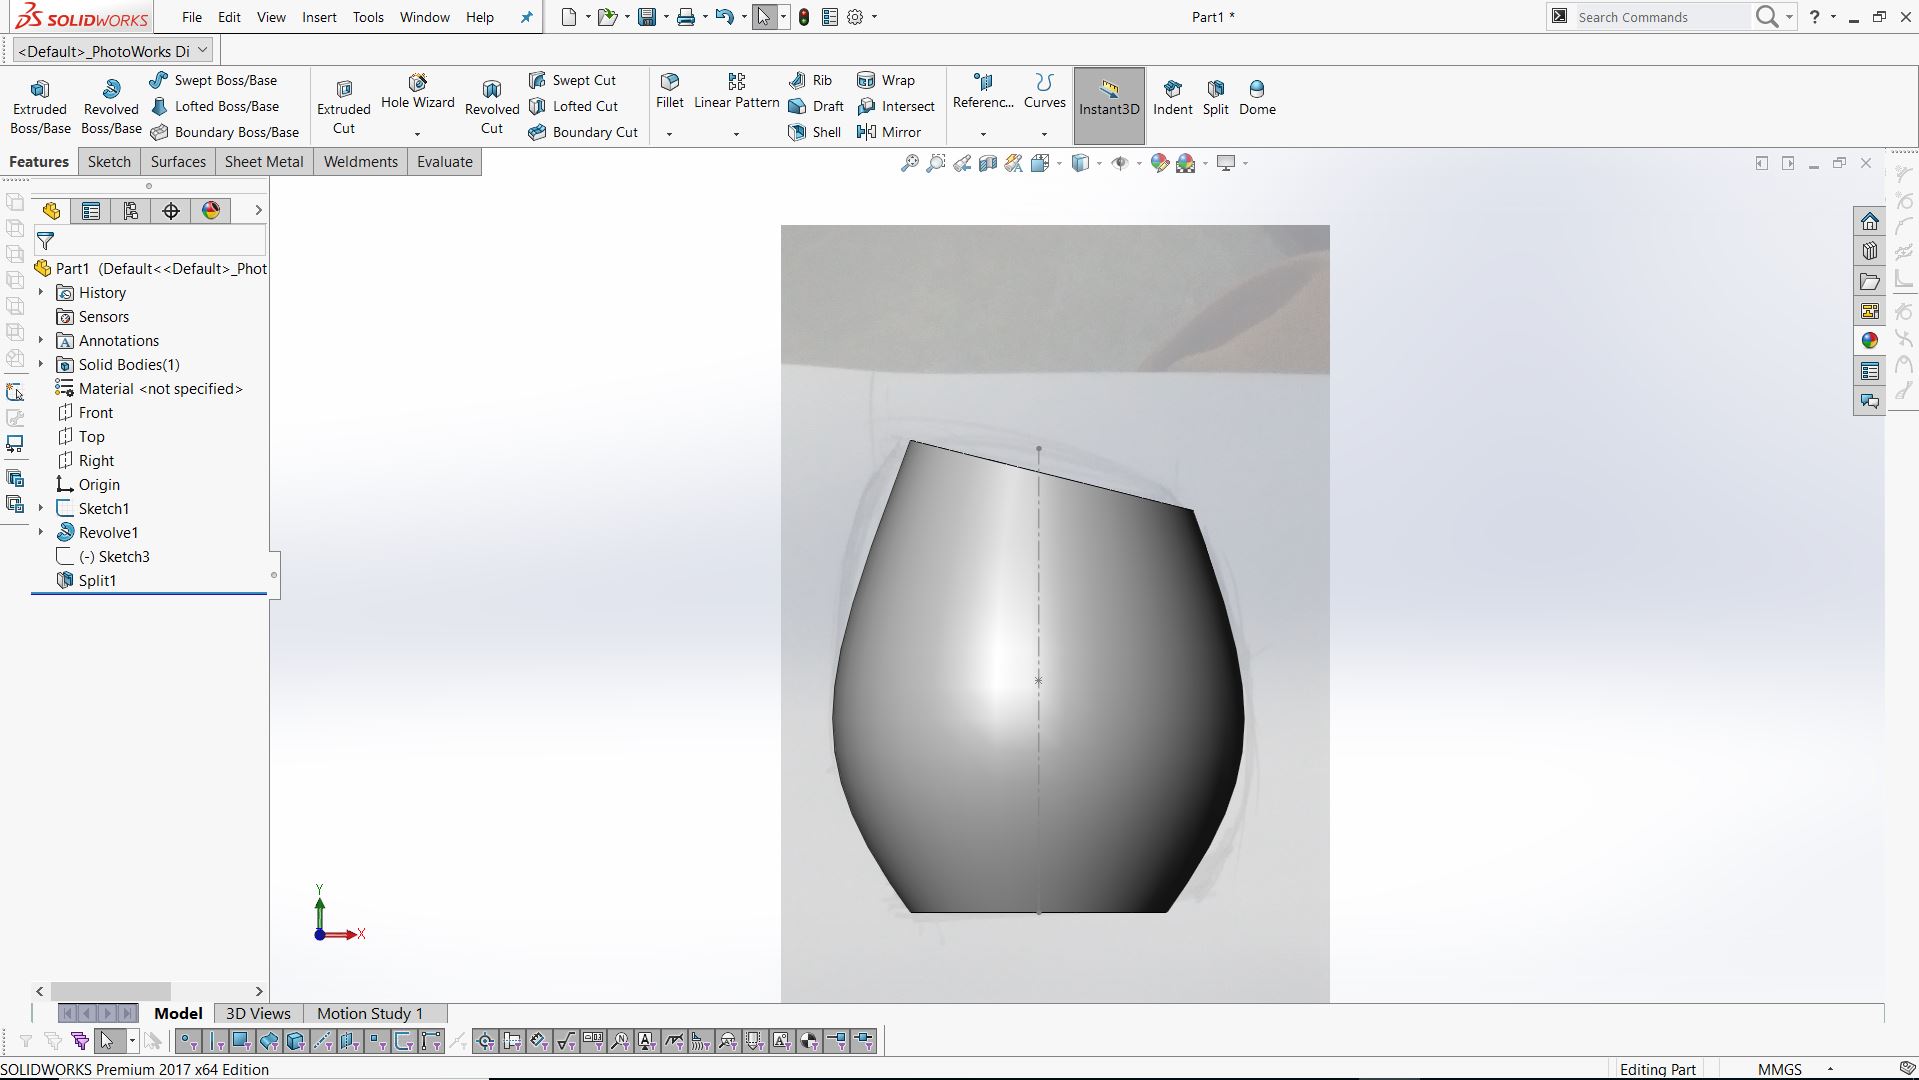
I had some experience with Solidworks so I thought of trying Rhinosers this time. I installed rhinoceros but the interface was entirely different from Solidworks and I found it a bit difficult. My instructor told me that rhino is a better software for surface modeling so I thought to study rhino further over the coming weeks.I found Rhino usefull while editing DXF files since Solidworks is not that good in handling files in other formats.I couldn't save the file since I was using a trial version.But I've added the screen shots :).
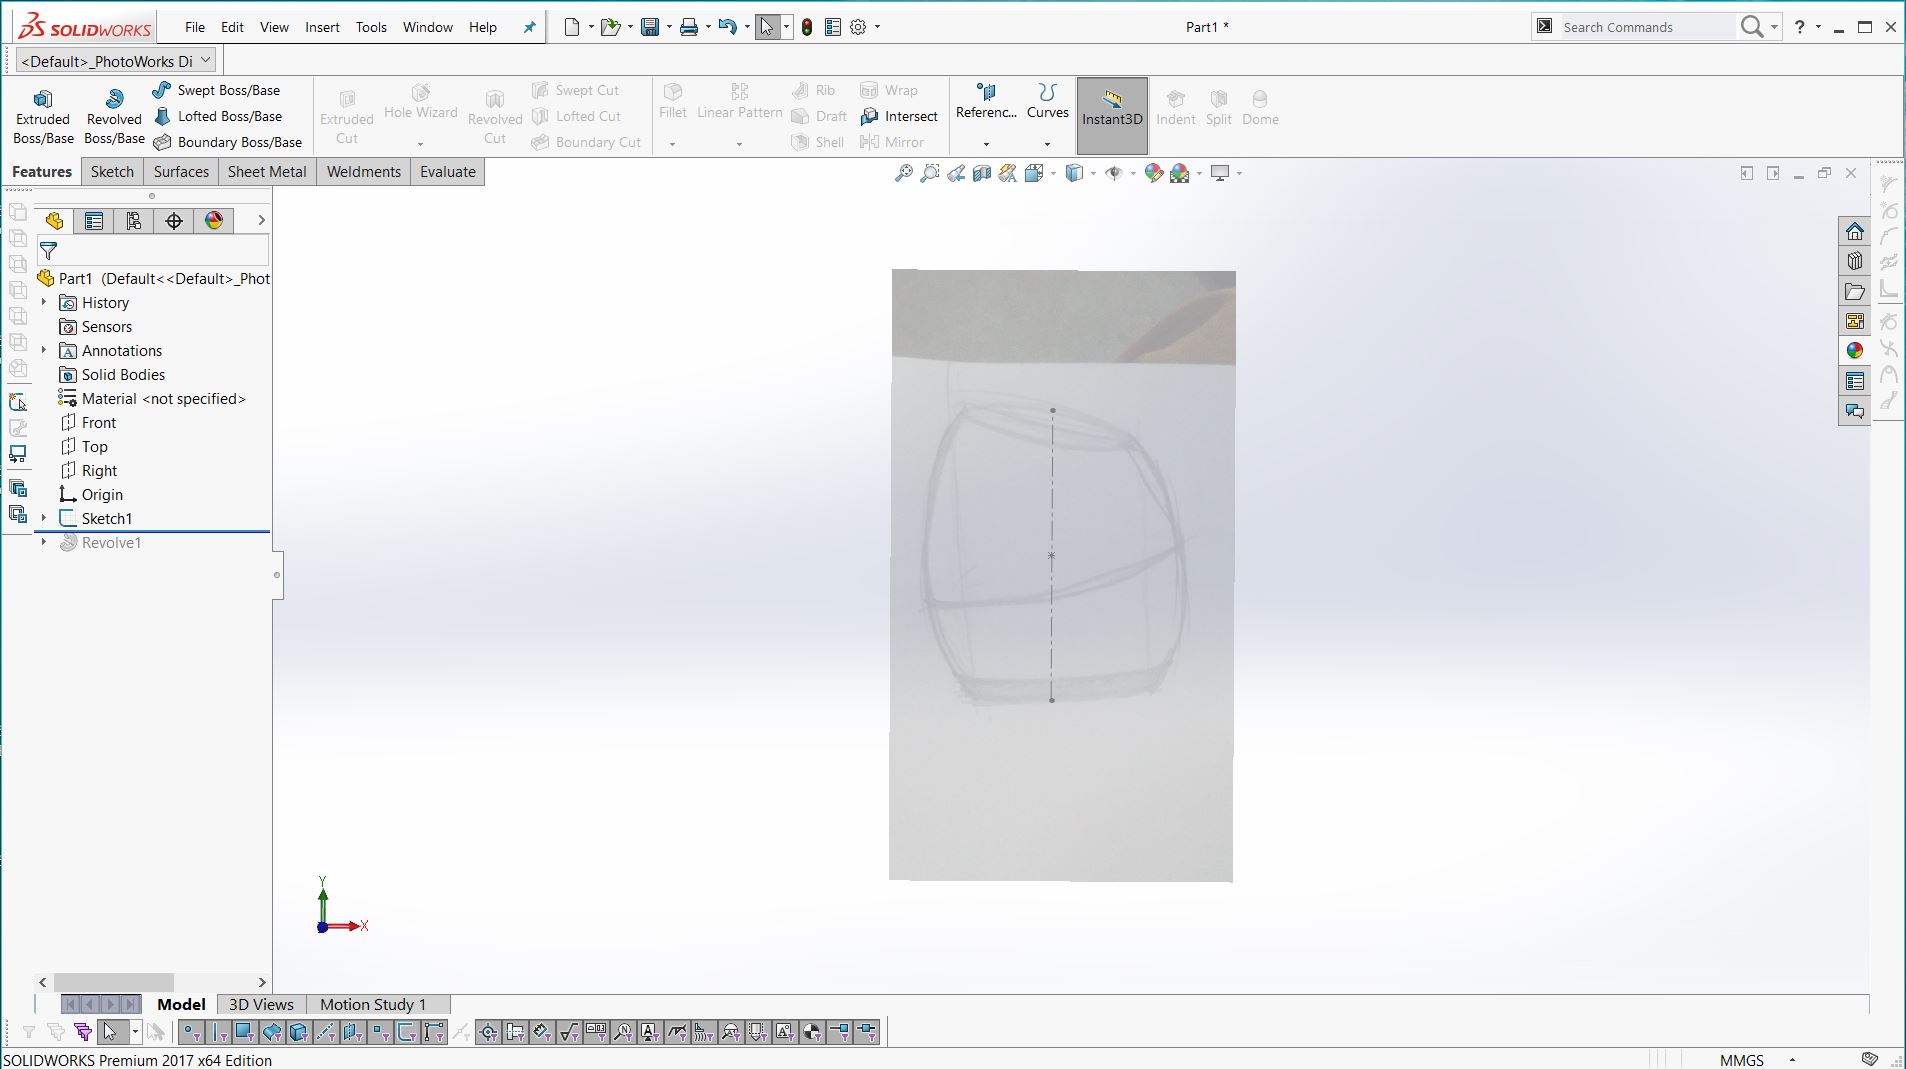
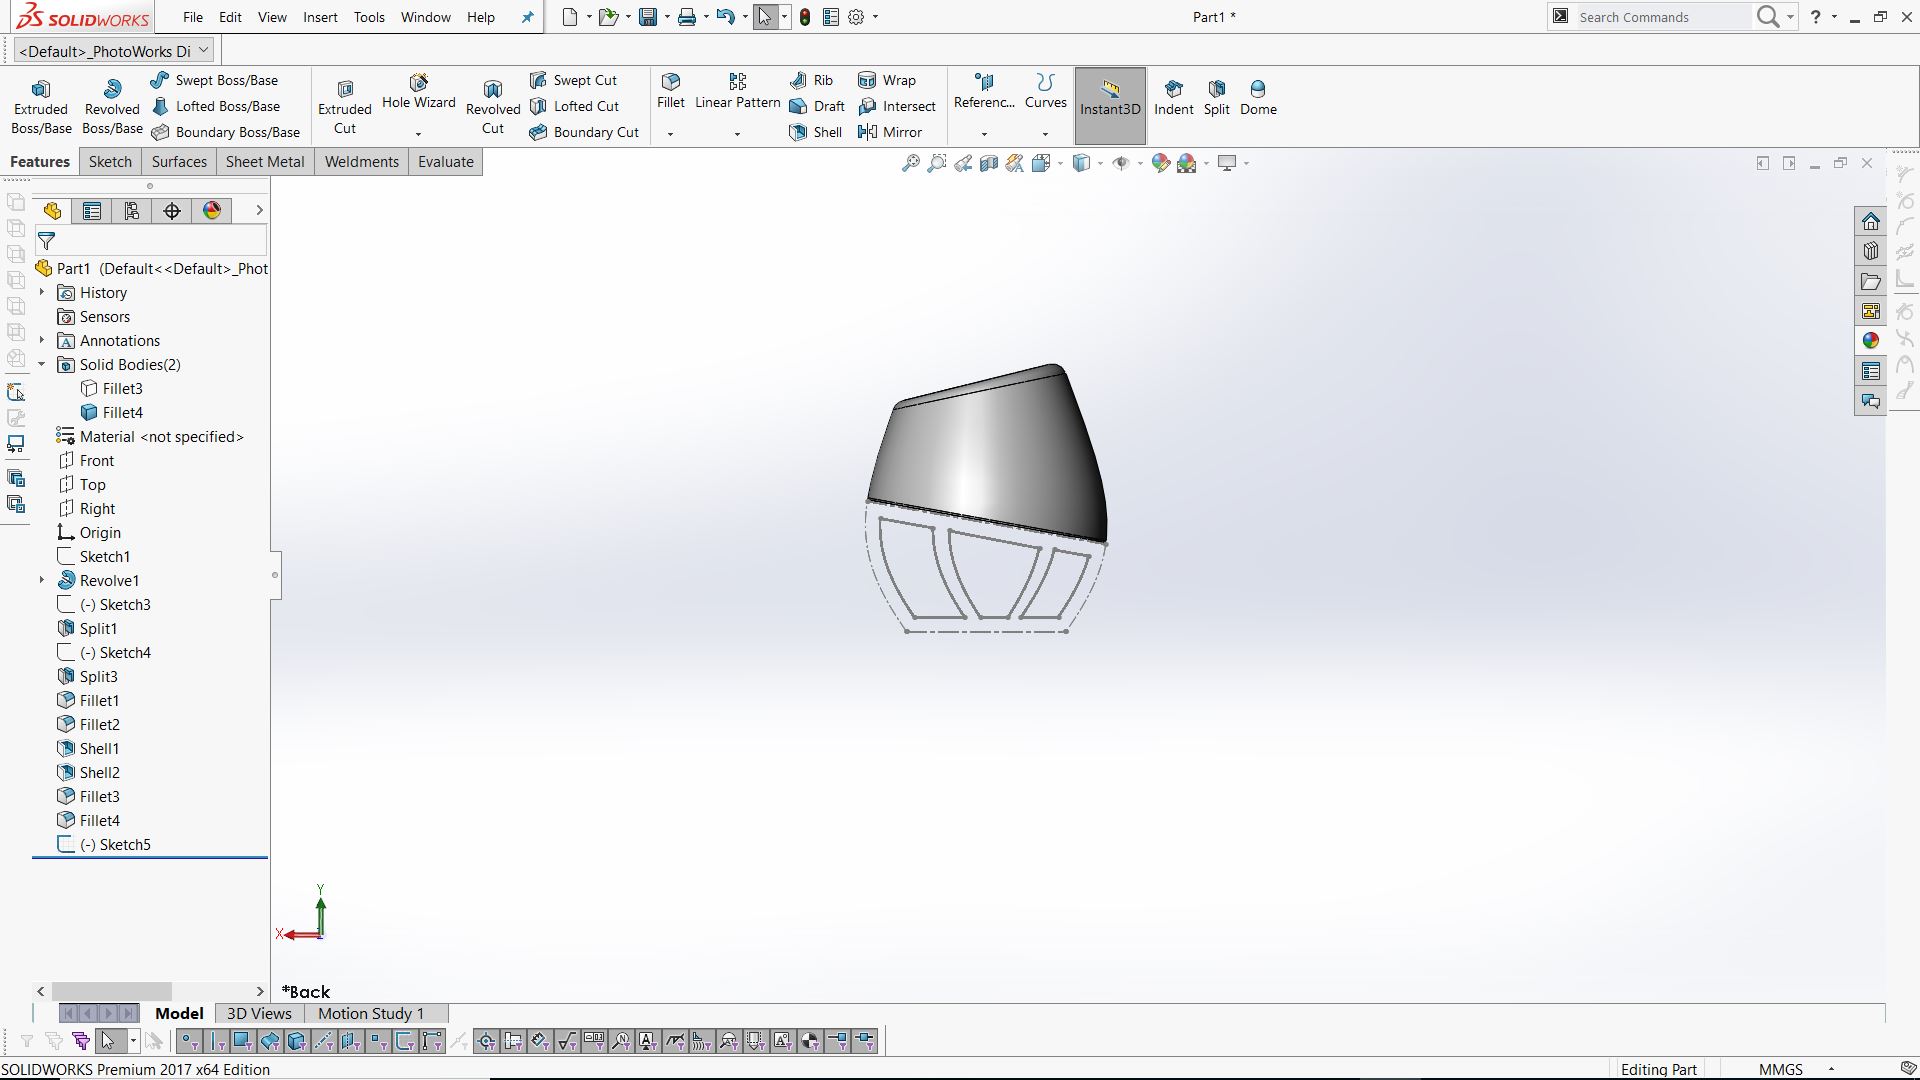
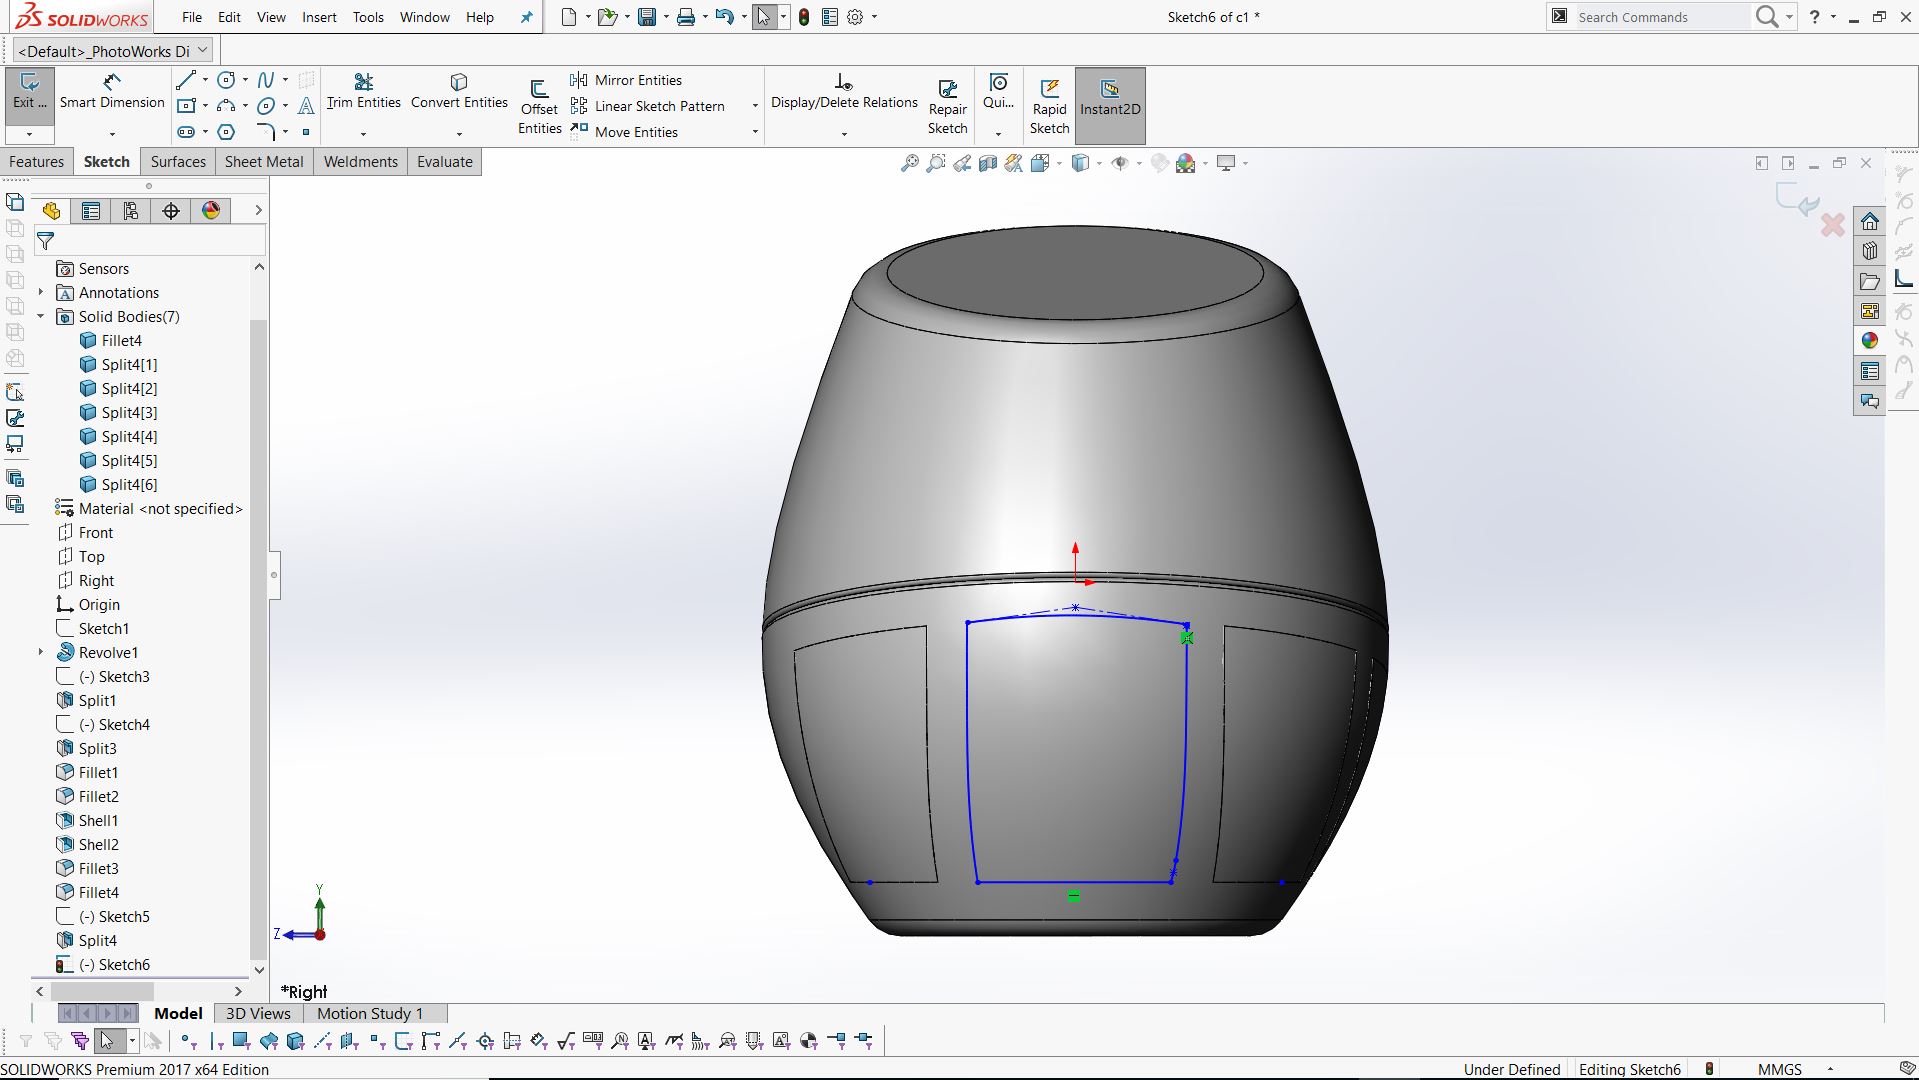
I am planning to do the 3D design of the final project in Solidworks for the time being since I am more experienced in it.


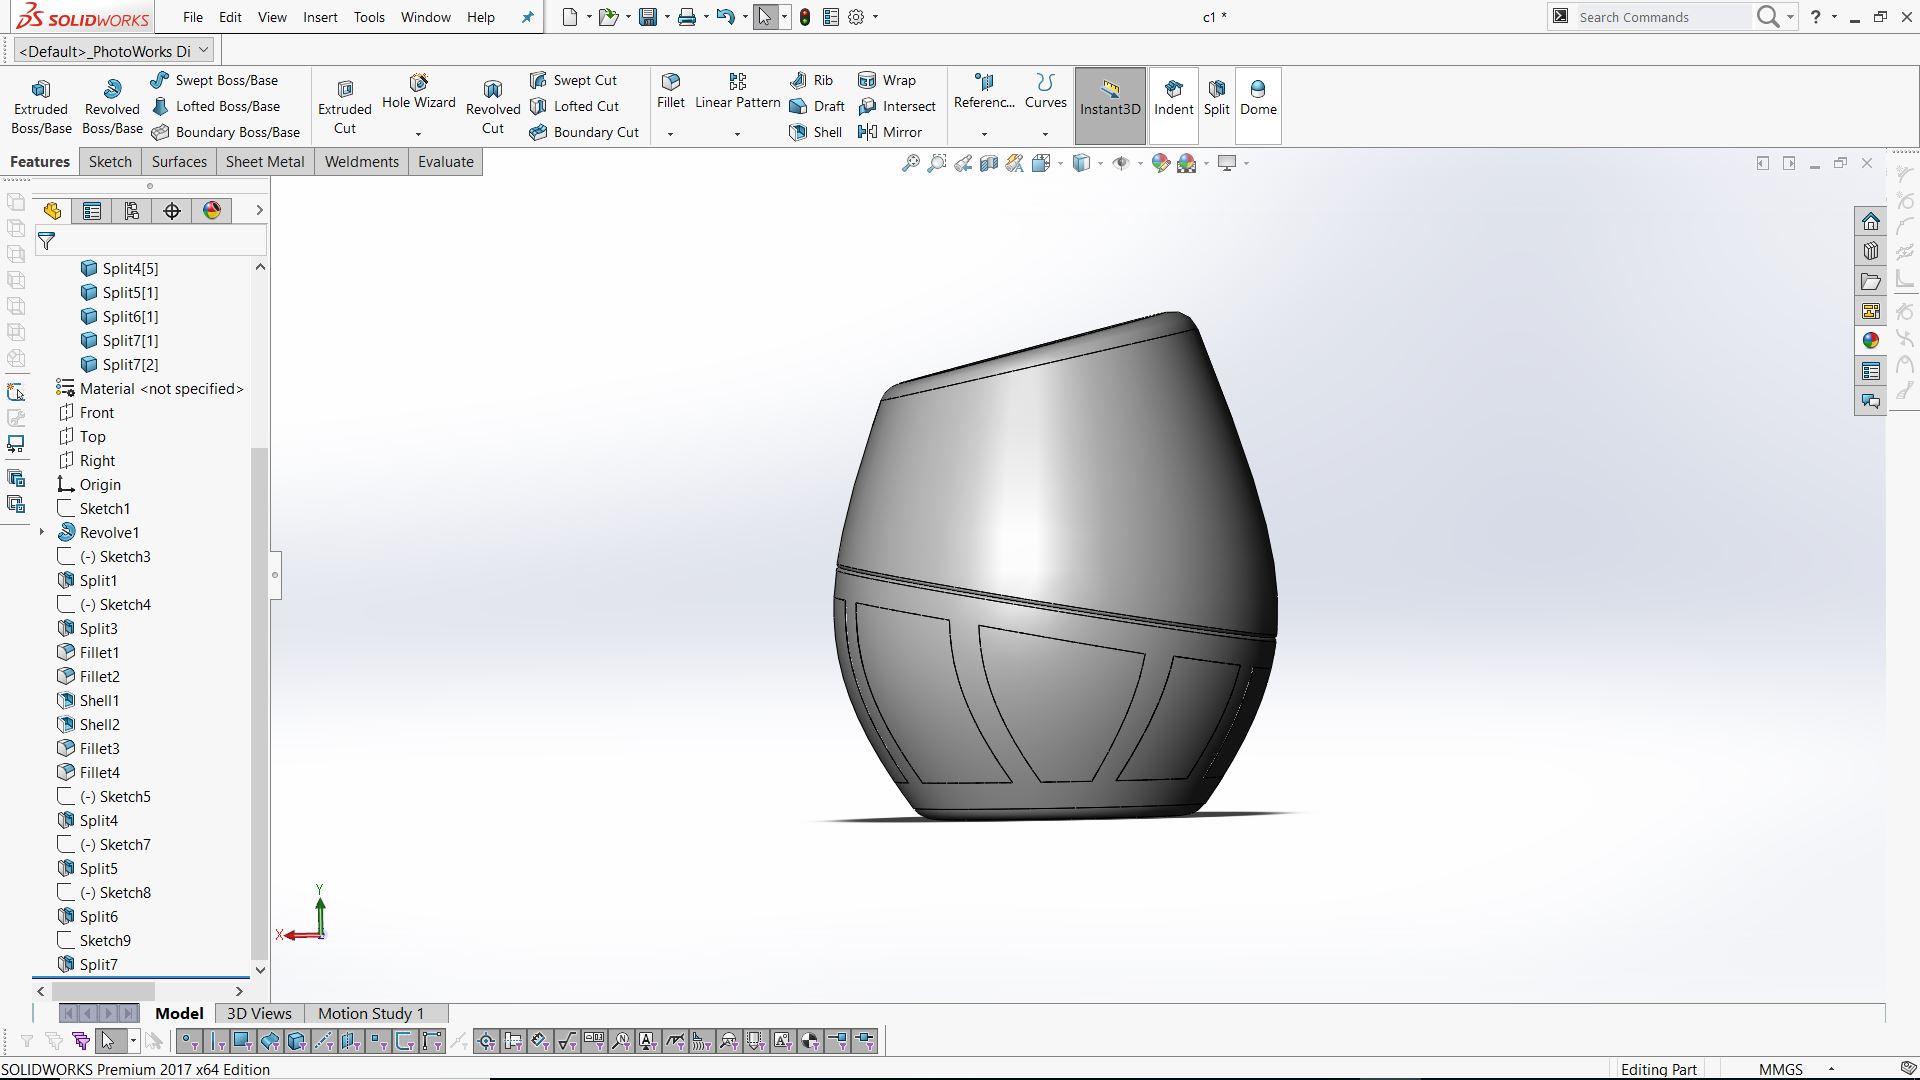
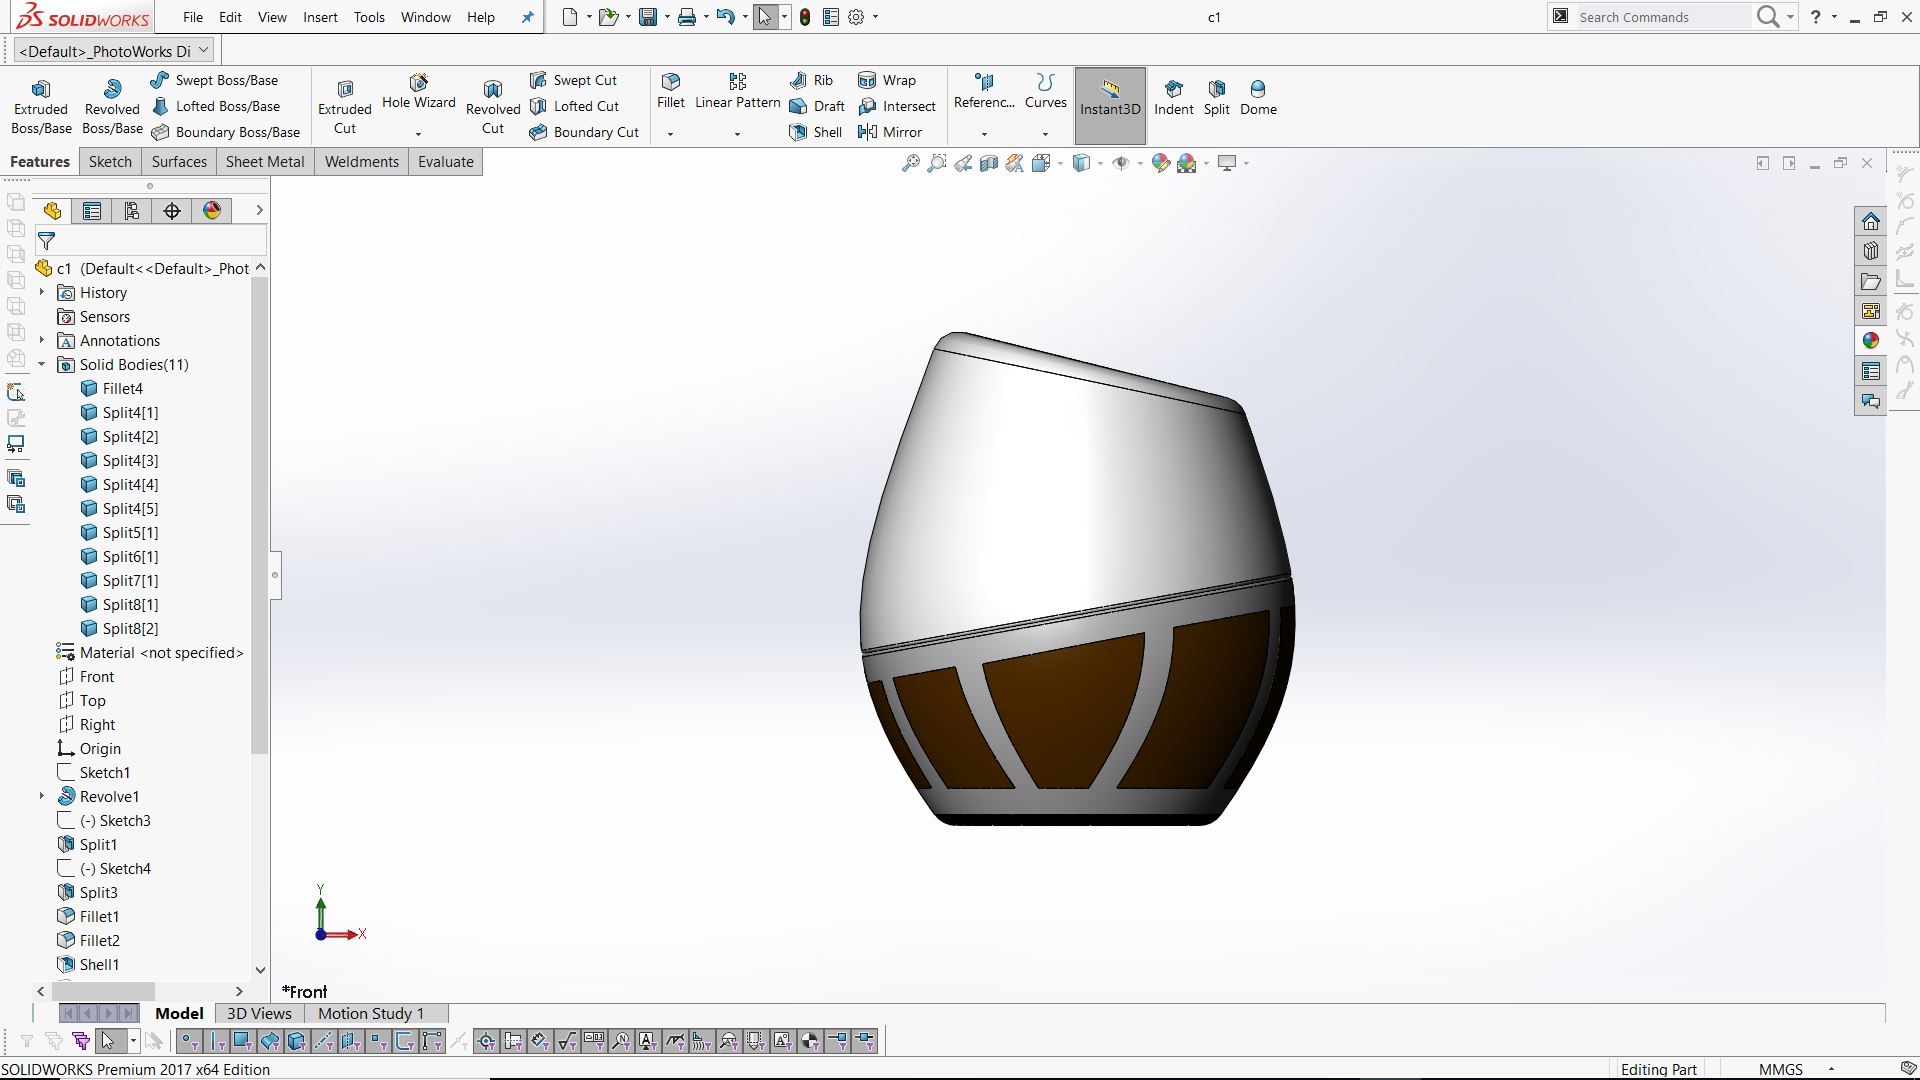
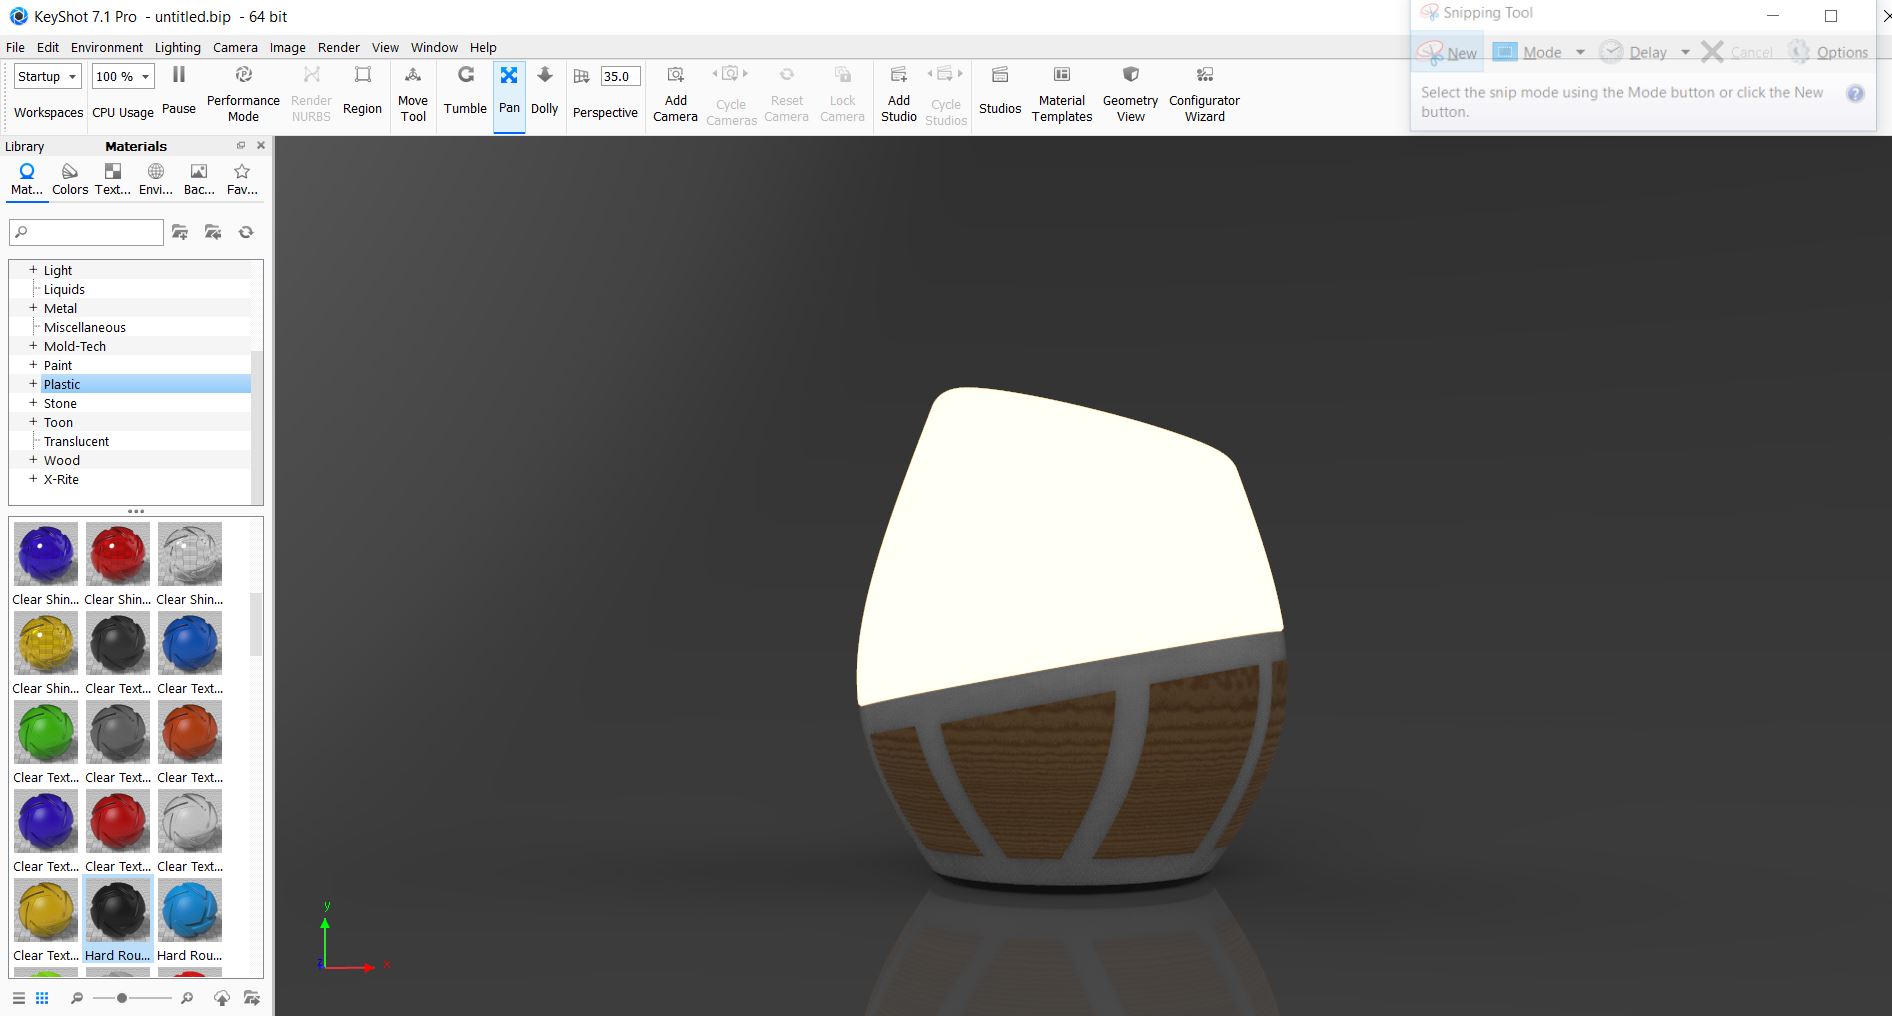
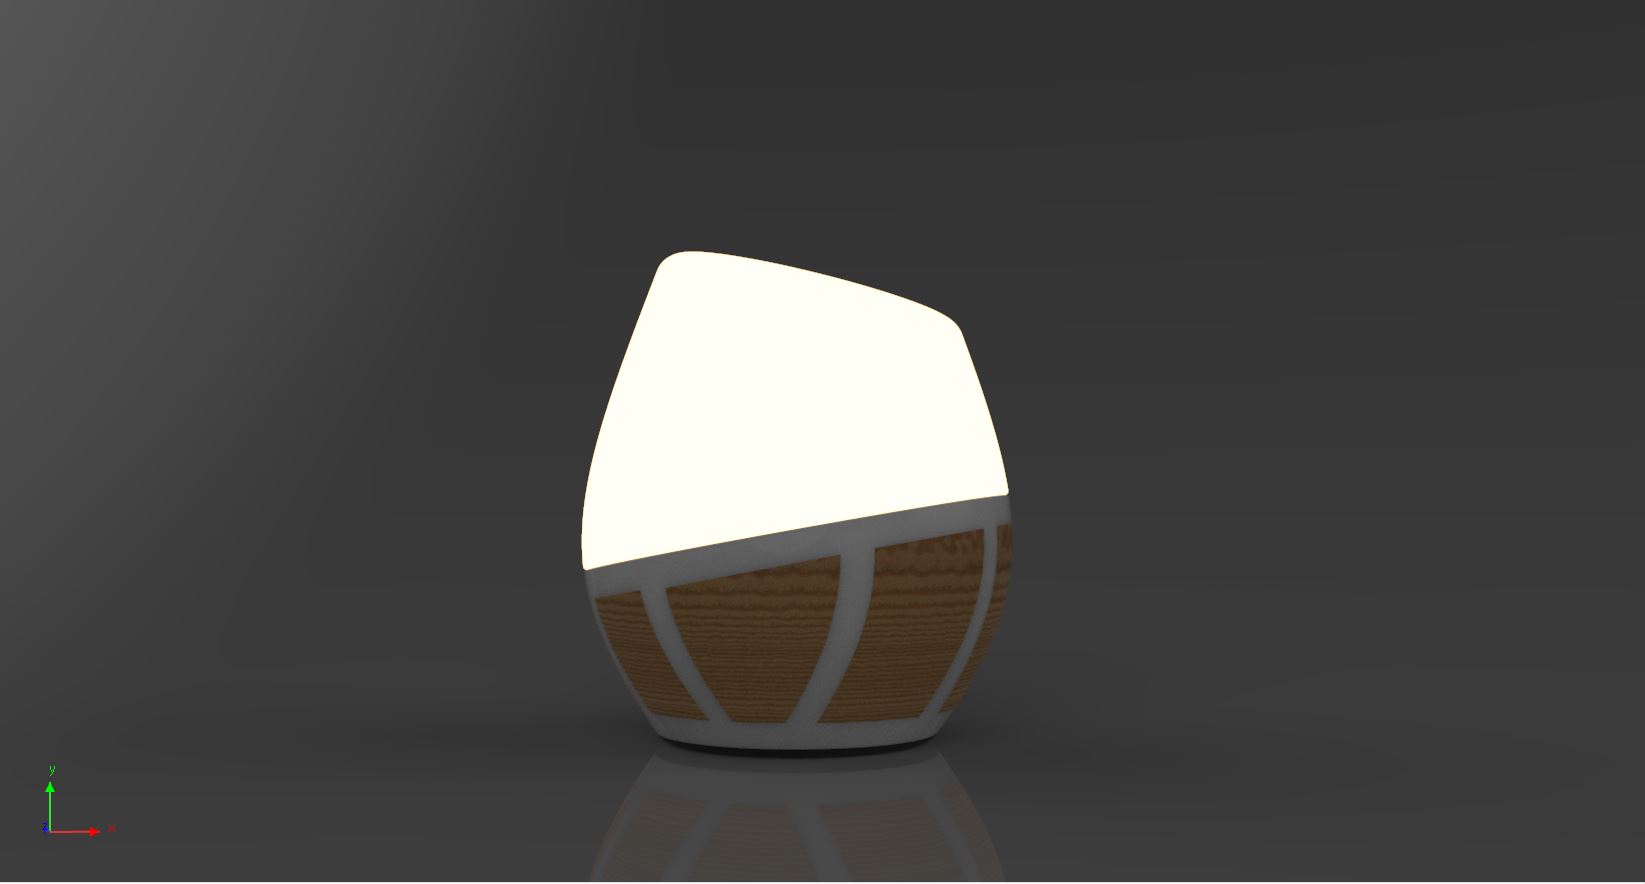
Rendering
I tried rendering the model I created. I still have to work on the aesthetics of the design like the laser cutted wooden parts and its placement. Hopefully I'll get it done in the coming weeks.