Checklist:
Modelled experimental objects/part of a possible project in 2D and 3D software
Shown how you did it with words/images/screenshots
Included your original design files
Part of this week was
downloading CAD packages Fusion 360 (Autodesk) and Solidworks (Dassault Systems). Solidworks
is a very large application that I had no experience with. My understanding is that Dassault iscoming outwith a cloud-based CAD application, based on CATIA, where all the heavy computing is being done on servers elsewhere. I went to the Fablab at LCCC
where they had CorelDraw and a Solidworks seat all set up. I experimented with
both Antimony (on my Mac) and Solidworks (on the LCCC Fablab workstation) and it took me a while to get familiar with both. With Solidworks, I did manage to export to a DXF file and then use
CorelDraw 5 to output the work to the benchtop laser cutter. I did not master exporting from Antimony. I did some simple computer-controlled cutting with Corel. I did do some computer-controlled cutting with Solidworks, so I decided to combine the assignments together so the screenshots would make sense. In regard to designing a final project using 3D software, including animations, the learning curve was too steep to accomplish this on Solidworks. Autocad was having issues with having software available to download. I reverted to a CAD package which I had some familiarity with, called Chief Architect, which is a 3D architectural modelling package, with some parametric functions pertaining to building design. I did find that Antimony is very useful in modelling objects that import very easily into what is called a "User Library" of objects.
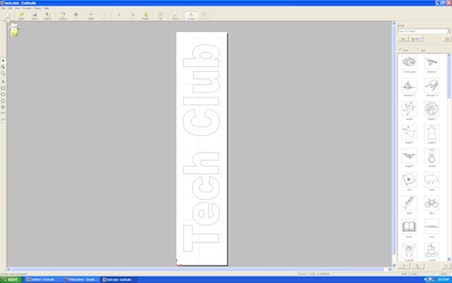
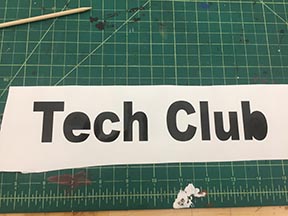
I have experience with CorelDraw from years ago. I thought I would attempt a simple sign that I can cut on the vinyl cutter. Here I type up a simple text and make a vinyl self-apply sign which reads "Tech Club"..
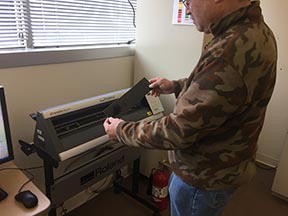
First, I place the piece of vinyl stock in the vinyl cutter. It measures the size of the vinyl. It measures the size of the vinyl in millimeters. Write the measurements down.
Next I start up CorelDrawX5 and pick a font to cut:
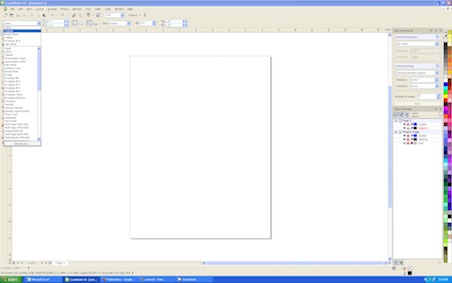
At that point, Corel kept giving me problems. I decided to try CutStudio.
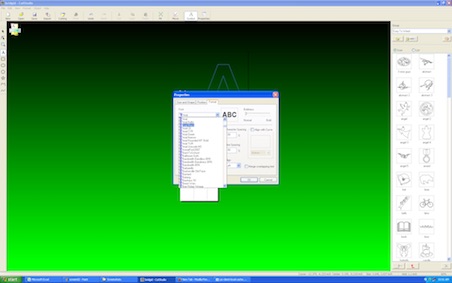
I started by typing the letter A.. I then dragged my curser over the letter, and then right clicked to get a pupup menu, wherein I selected "Properties".
I clicked on the "Fonts" pull-down menu and viewed what fonts were available.
I entered the text "Tech Club". The Properties poip-up window is persistent, so I selected my text and then clicked "Size and Shape" tab asnd then entered 90 degree angle for "Rotation Angle" dialog box..
The result of my inputs displayed immediately.
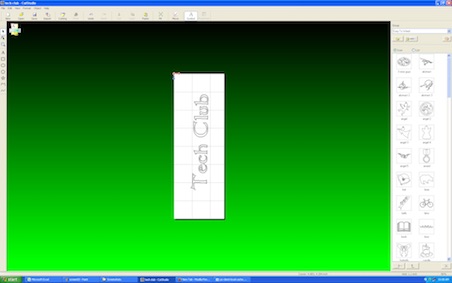
I decided to change the font once again to something simpler.
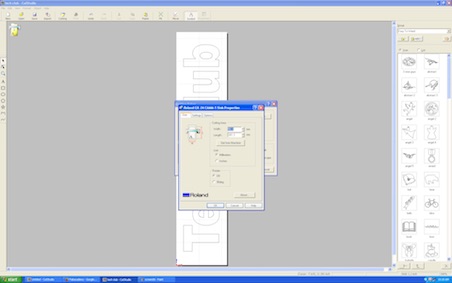
Next I press the "Print" icon and select "Roland GX-24" from the pulldown box. Next, I press properties, and enter values for cutting area which match what the Roland generated for the vinyl stock. In my case, the dimensions were 56.6mm width and 261.3. Note: If your desktop is directly connected to the cutter, you can press the "Get from Machine" button. If your cutter is nextworked, this button does not work.
Press the "OK" button and the laser starts knifing the vinyl. Printing is straight forward using Roland print driver. After the printer cuts the vinyl, it is time to weed. I liked using my Leatherman tool more so than the Exacto knife at the LCCC Lab.
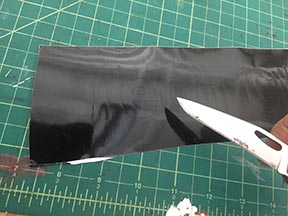
Peel background out.
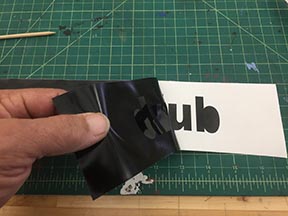
There you have it.
After weeding, we apply mask tape.
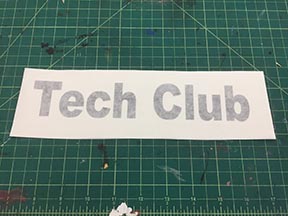
The sign is ready to apply. All that is necessary is to remove the adhesive liner on the back of the decal, press and apply. Once the decal is adhered to the intended surface, just remove the masking tape from the front of the decal.
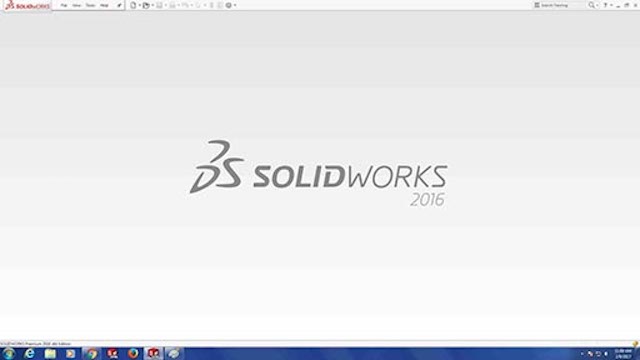
Solidworks is a large application. I tried loading it on my 3 year old Lenovo laptop. The application brought the laptop to it's knees. The LCCC Fablab has two very capable workstations with Solidworks already installed. I ventured onto one of the workstations and started to explore.
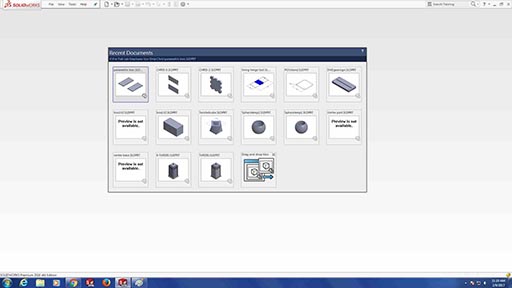
Opening screen, pretty minimal.
Next, find where to drill down into the menu structure.
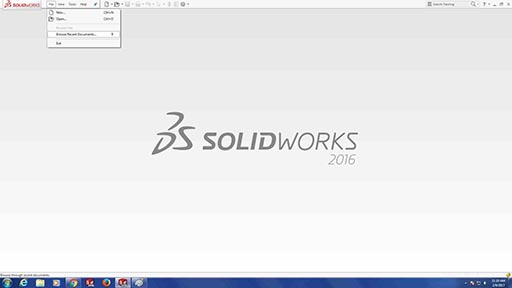
Look at some recent files.
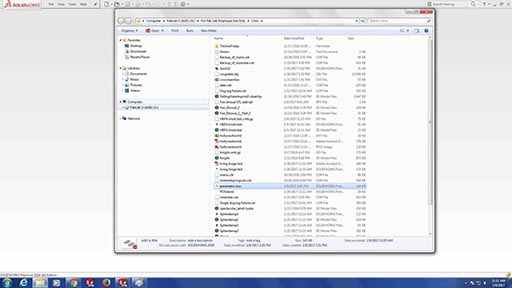
More files, looks like Windows File Manager.
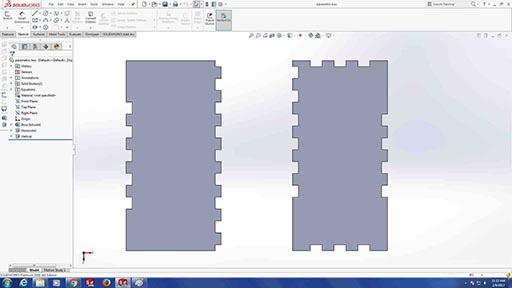
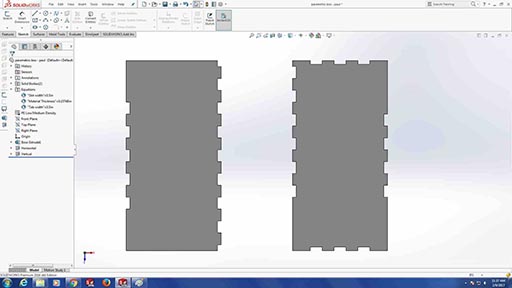
Found a menu which had parametric capability, or more correctly, equations.
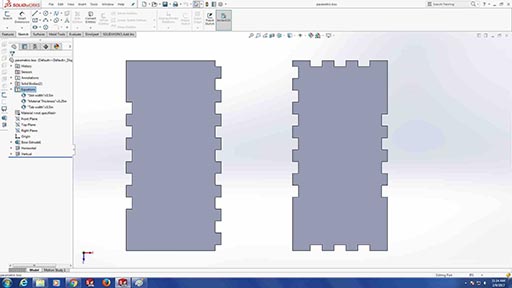
Drill into equations on side panel. See formulas for slot width.
I used corregated plastic (corplast). I went on line with the lab supervisor and schecked if the material was safe to cut.

Saved file to my google drive. Next time I will bring a thumb drive.
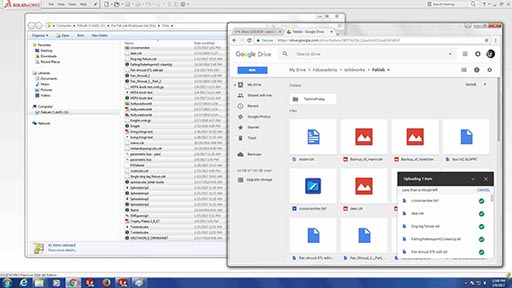
(File: parametric-box-paul.DXF)
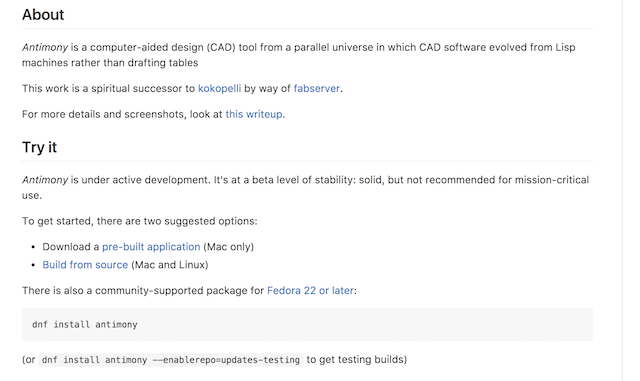
This CAD application really peaked my interest. I reviewed the package a little. What was helpful was that there was an installation file for a Macintosh, which makes things easier. I'm all for easier. The program appears to be developed while Matt Keeter was a student at MIT, and written in Python. I really don't get the "parallel universe" description. Matt must be a sci-fi fan of sorts.
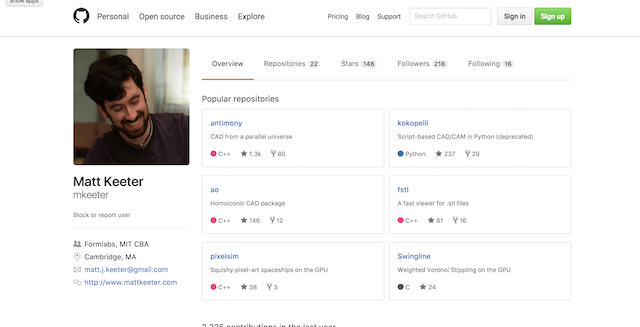
Nice enough for Matt to metion it is not a commercial package. Matt talks about how Antimony evolved from a parallel universe where there are no drafting tables. I take this to mean that it is a CAD package for programmers, not architects. I'm liking the perspective.
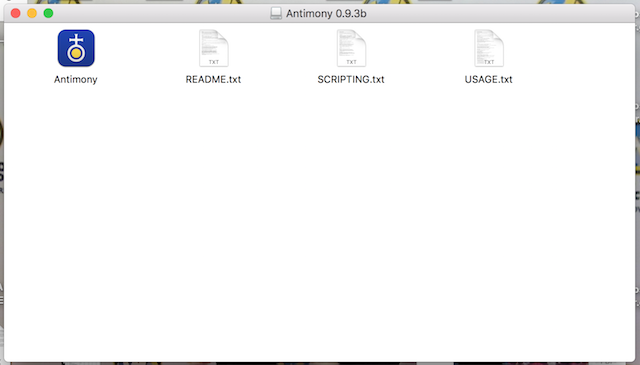
This is the screen you get after installing on a Mac.
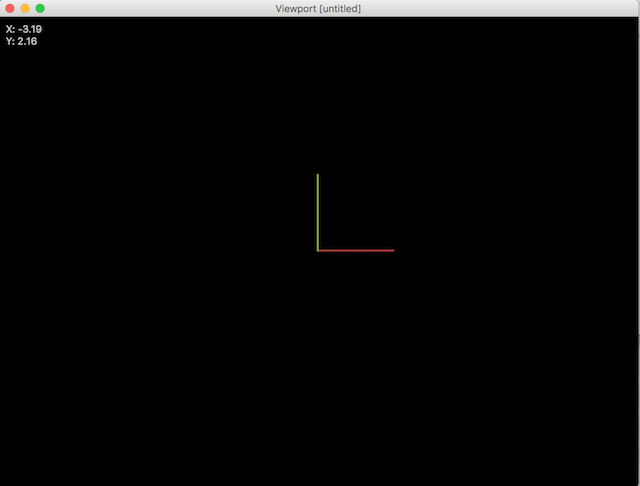
Starting up Antimony went pretty smooth at first. However, you have this blank screen with the letter L staring at you. I believe this is to intimidate the architects from the other universe from delving ito it's secrets. You must drag this screen to the left or right, or whichever way you like, to reveal another related viewport behind this one.
I started to experiment with th different menus. I like the black background. Easy on the eyes. Reminds me of conversational programming on higher end CNC machines.
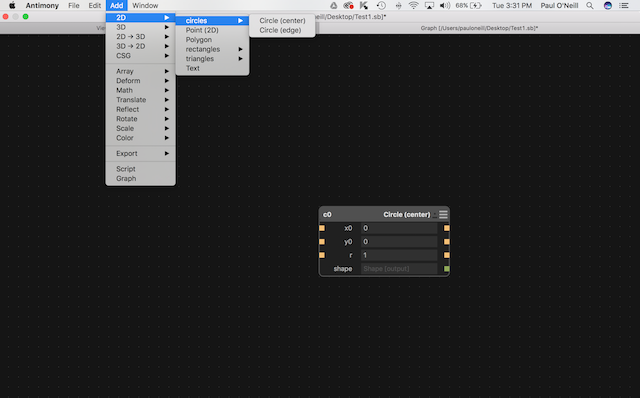
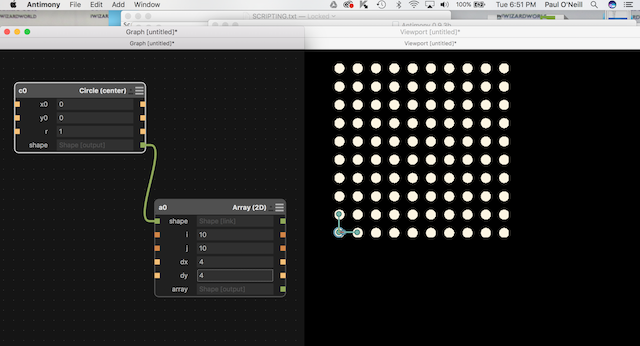
I figured I would start in 2D and see how circles worked. I have no idea wether the units are in inches, feet, or meters. I suppose we will go with unitless and see what happens.
Next I thought I would see what "array" does. Whoah!!! I love arrays.
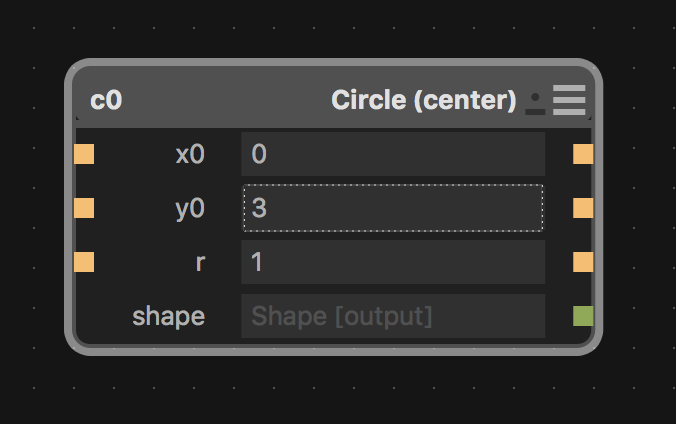
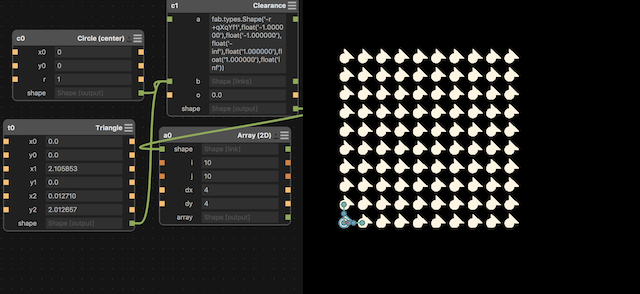
Each of the nodes in Antimony is represented by Python code.

Relink the nodes and it makes an interesting mesh.
I found Antimony useful to design parametric solids. I am intrigued by the node construct that it uses, although it limits the size of the model tothe size of your display screen. I was able to export from Antimony to STL files and then add those STL files easily into Chief Architect. I will try Antimony again. It shows a lot of potential.
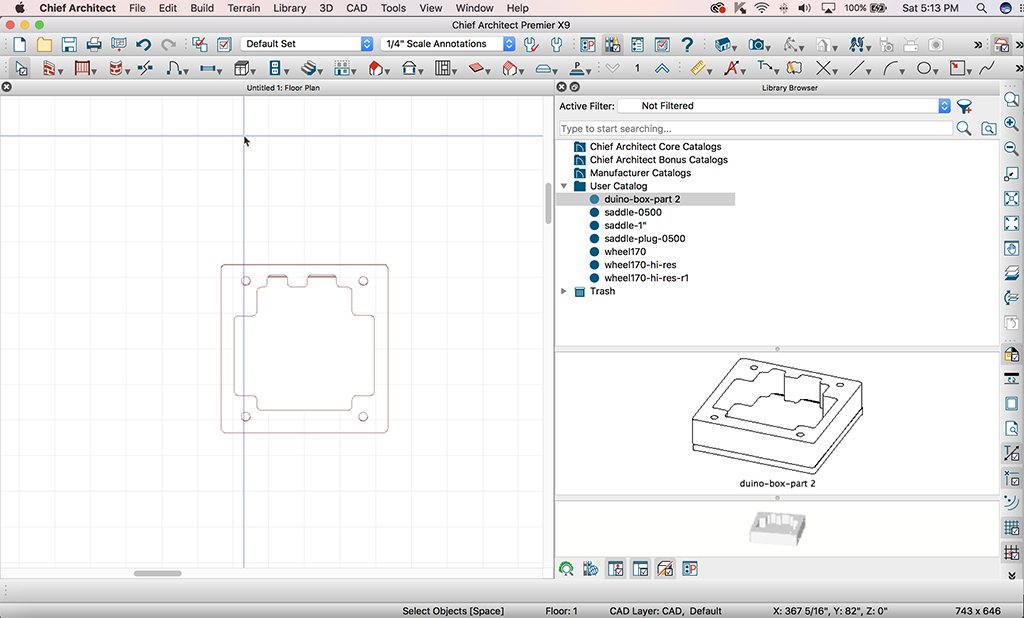
Chief Architect (Chief) is 3D Parametric CAD software suited for building professionals. I am familiar with this software, and find it useful for modeling buildings. I have found this software limited in that the only items you could model parametrically were the objects in the pre-defined library. Being exposed to Antimony has given me the ability to model my own library objects, which expands the usefulness of Chief. Focusing on the week assignment, I used Chief to sketch up a rendering of what my final project may look like:
I first get a standard wall box from the built-in library.
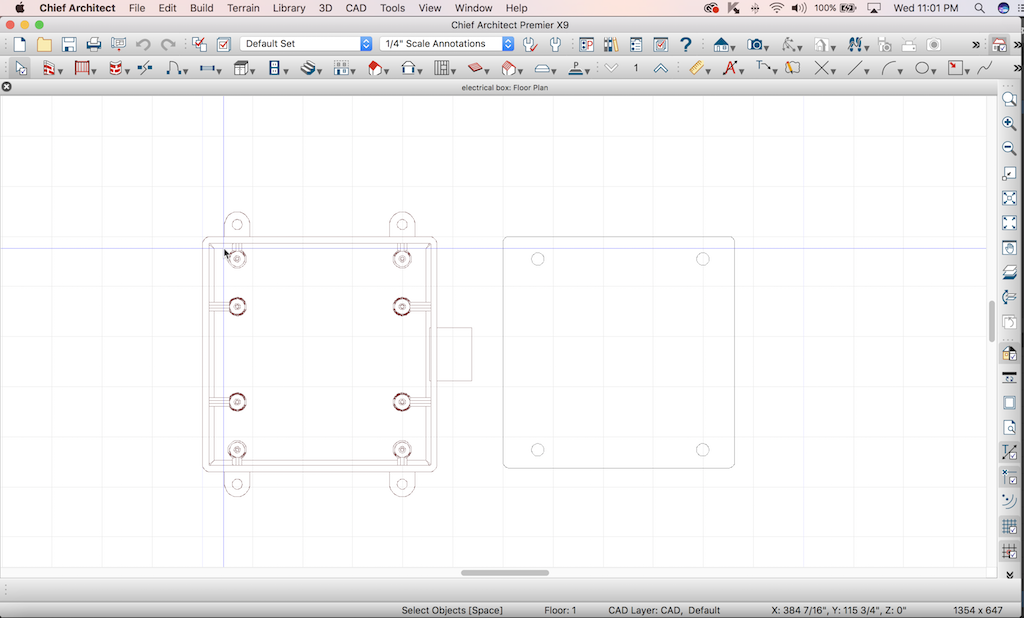
I next draw a plan for my "Arduino-Box" by outlining and then modifying the line drawing into a polyline. I draw a seperate rectangular solid underneath the contoured polyline to create a solid bottom. Add the 3d model to the user library.
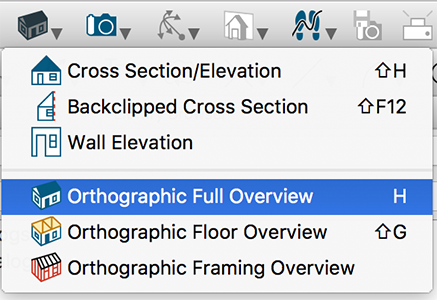
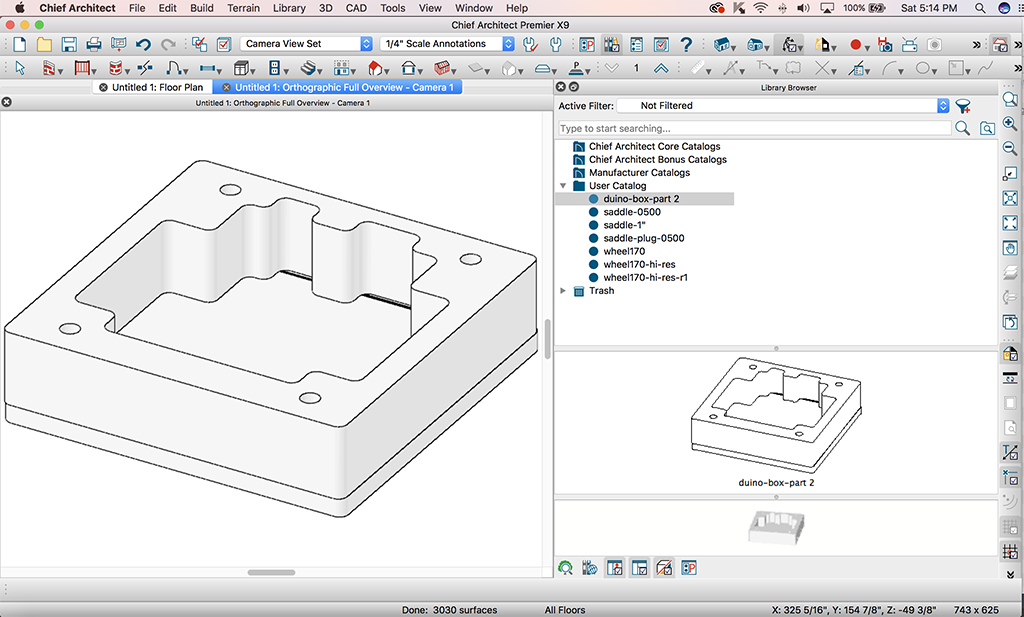
To display the model in 3D, select Orthographic Full Overview from the rendering icon.
The model quickly renders itself.
Next, mouse over the rendering, grip it and spin it. It will keep spinning while we set up a "walkthough" recording.
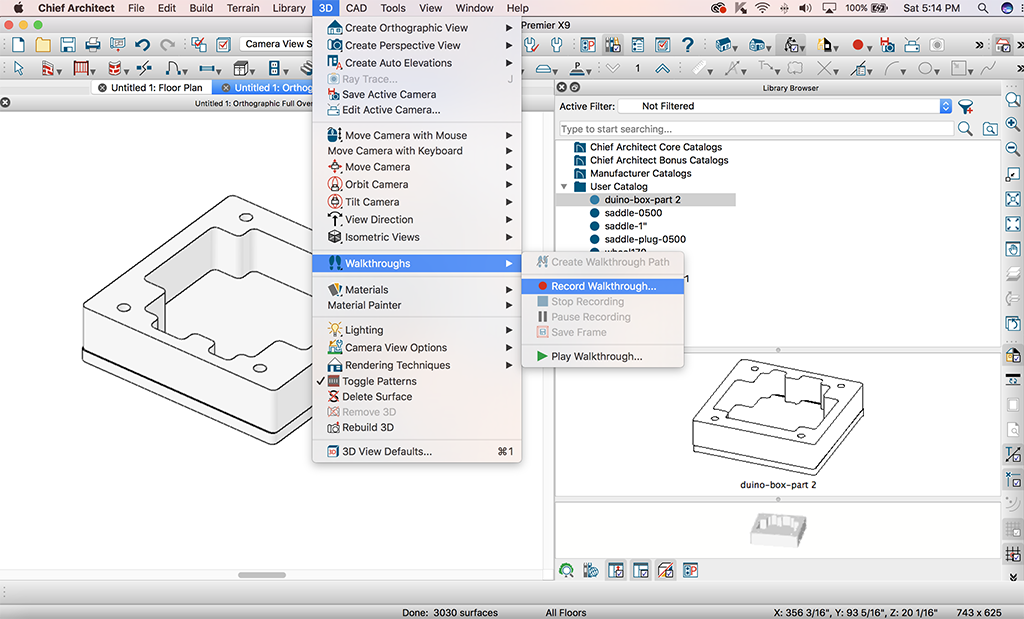
Select 3D - Walkthroughs - Record Walkthroughs. Chief will start recording until you press Stop Recording. Next, you are asked to save the file.
...and the 3-D rendering of the project:


As a final note, I wish I knew more about Antimony. I suspect you can do animations with it, but I just don't have a mentor familiar with Antimony, and the documentation does not run very deep. I enjoyed the recitation that Matt Keeter gave on Antimony. I was surprised and pleased with Matt's graciousness and accessability.