Week 2
Project Management
- Build a personal site describing you and your final project.
- Upload it to the class archive. Work through a git tutorial.
Learning outcomes:
- Explore and use website development tools.
- Identify and utilise version control protocols.
Have you:
- Made a website and described how you did it ?
- Introduced yourself
- Documented steps for uploading files to archive
- Pushed to the class archive
1. Building a personal website
Getting to know HTML
Before starting to build my Website I had to get to know HTML and CSS languages. For doing so, I took a look at the w3schools webpage. HTML it’s formed by different elements, represented by tags, that describe the structure of Web pages.
<!DOCTYPE><html><head><body> This element contains all the visible contents of the HTML document.Most of the times you open a tag in HTML you have to close it
<head></head>.
I started by creating a simple file called index.html, with a short message, that had the basic structure of an HTML (Doctype, html, head and body):
 Some examples of how to insert the different elements with it's attributes are:
- For adding a link:
<a> href="http://www.Page-url.com">Link </a>- For adding an image:
<img> src="/img/img1.png"></img >Getting to know CSS
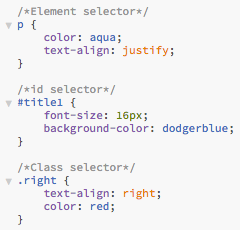
CSS is a style sheet language that describes how the HTML elements are going to look like. For modifying the aspect of the page you can either add and attribute <style> in the HTML element or create an external stylesheet that will modify all your files at the same time. This second option is more efficient. CSS works with selectors that refer to the HTML elements that you want to modify. We have different types:
Build a personal site
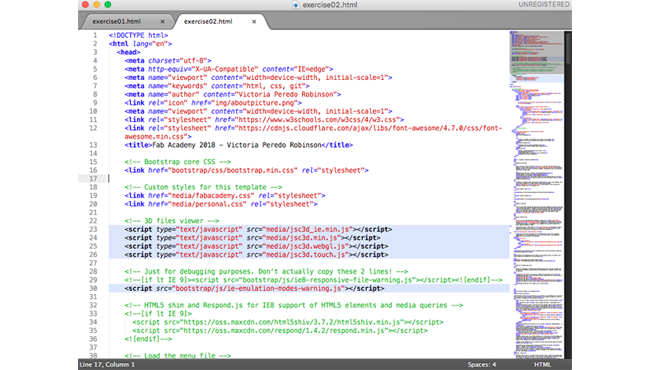
As it is my first time developing a Website, I made use of FabLab's Template for Academy Website. This template uses Boostrap, a front-end web framework for designing websites. I downloaded it to my computer and I started to modify the files, adding my elements on them.
The editor that I have chosen is Brackets. What I like about brackets is that it has a lot of useful tools like the Live editor, which enables you to see what your web looks like while you are modifying it. I also tried Sublime text as is a text editor that I usually use for programming but in this case I found brackets much more intuitive. The live preview in sublime needs the installation of extra packages whereas in brackets is more straight forward.
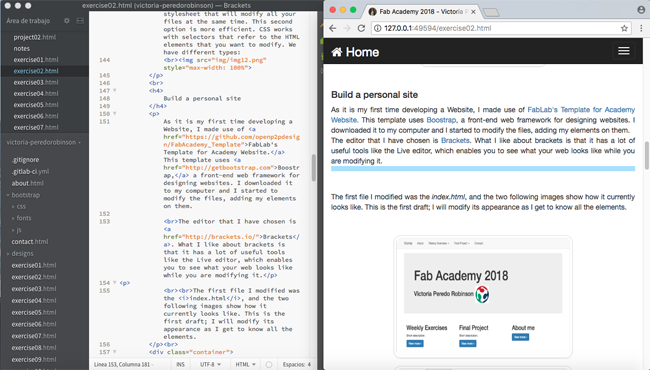
The first file I modified was the index.html, and the two following images show how it currently looks like. This is the first draft; I will modify its appearance as I get to know all the elements.
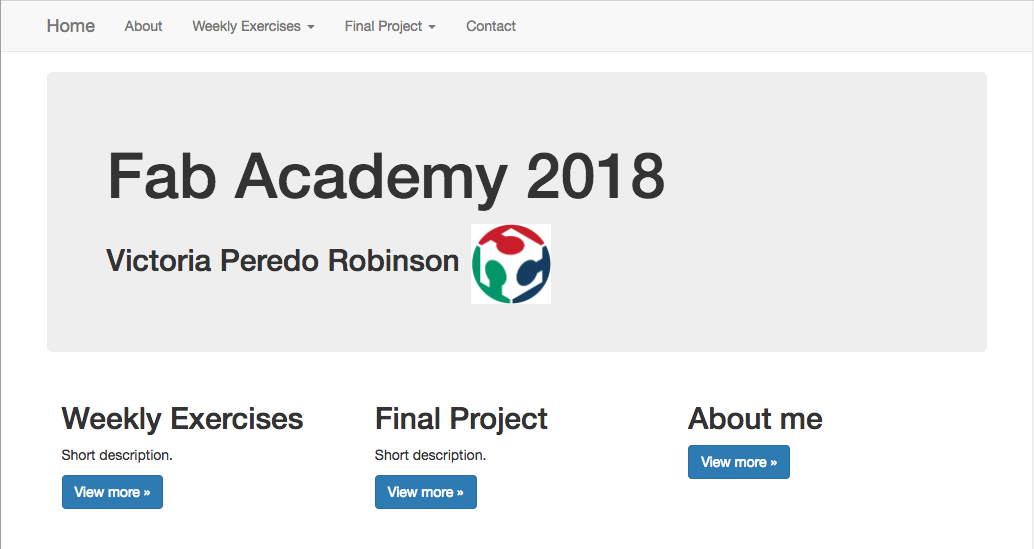
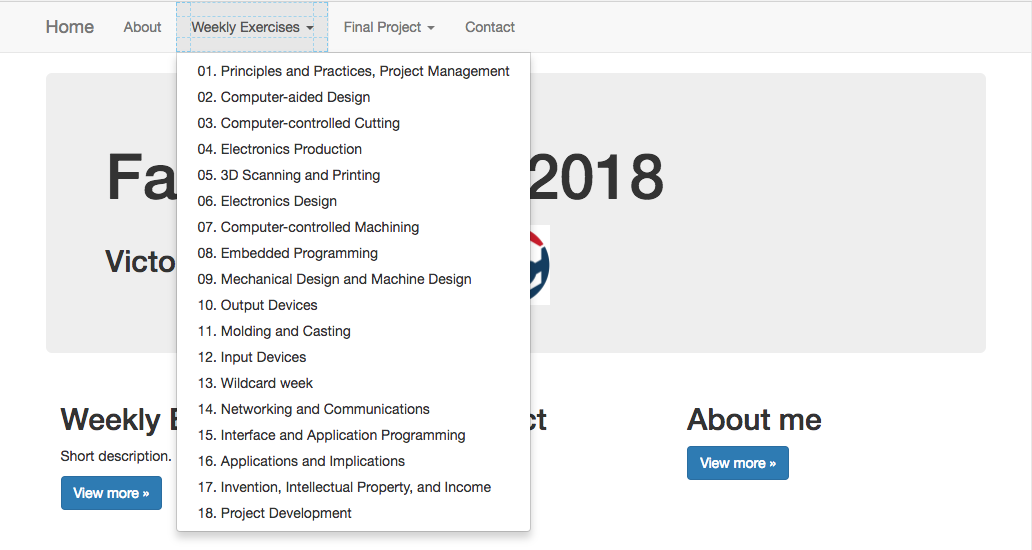
The buttons in the navigation bar are linked to the respective files. For doing so you need to specify the reference file for each button.
       <a> href="about.html"> About </a>
       <a> href="exercisesmenu.html"> Weekly exercises </a>
What did I struggle more with?
During this assessment I struggled with different issues that I was able to solve with the help of my instructor and by checking the documentation in w3schools website. Some of them were:
- Placing all the files in the correct directory for being able to call them.
- Creating boxes were I could write down the code, finding out that I had to insert &-lt before and &-gt after.
- Inserting line breaks
<br> - Creating lists like this one
<ul><li></li></ul> - Given the images the correct size: changing the parameters of the style attribute.
- Changing the Nav bar from a Static one to a fixed one

2. Working through a Git tutorial
First steps with Git
First thing I had to do to work with Git was to install it in my computer. As I work with a Mac I just had to wirte git --version in the console to install it. Once it was installed I configured my user name and my email:
- To set the user name:
git config --global user.name ''Victoria Peredo'' - To configure my email:
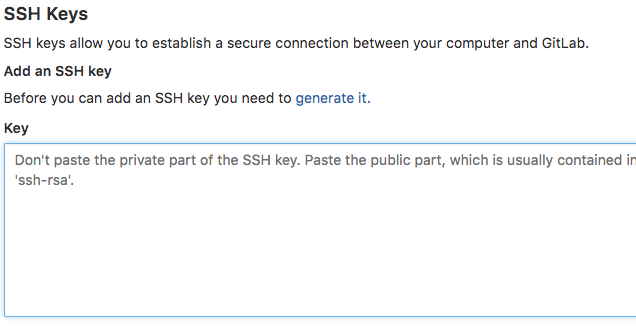
git config --global user.email ''mymail@gmail.com'' - Creating SSH key in order to link the file of my computer with the GitLab repository:
ssh-keygen -t rsa -b 4096 -C "mymail@gmail.com"
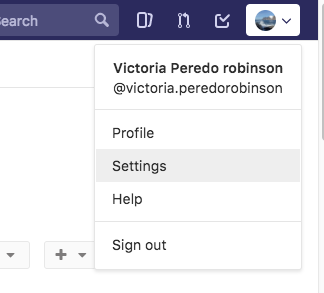
So when you use the push command the changes will be updated. Then you need to copy that key in the Gitlab settings, so you can write this command line in the console:cat ~/.ssh/id_rsa.pub - Go to the directory where your Git file is located:
cd /Desktop/FabLab ... - Initialize Git:
git init - To clone the repository in my computer:
git clone git@gitlab.fabcloud.org:academany / fabacademy/ 2018/ labs/ fablabmadridceu/ students/ victoria-peredorobinson.git - How to create a new document, write on it, save it and then add it to git:
vi test.txt > :wq > git add test.txt - Check what files have been modified:
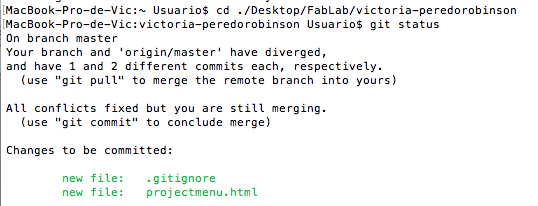
git status - Before editing files in the local repository is a good idea to see what changes were commited for not having version problems: We can do it witht first a
git fetch origin masterand thengit merge origin/masteror we can do it directly withgit pull origin master - Once we have checked this, we can modify the local files and then adding the changes
git add -all - Committing the changes adding a message that describes the action:
git commit -m 'message for committing' - How to remove a file:
git rm test.txt - If you are sure that you haven't change the files with other terminal or you have done pull them you do a push to summit the changes to the remote server
git push origin master
Branch / Merge:
Sometimes when you work in a common project you need to have a starting point from where each person will work. For doing so, it is useful to create branches. The default branch of a project its master, and it points to the last commit that you do.
To create a new branch you have to wirte git branch feature, feature is the name of the new branch and I will use this in this example as I will use the images of this tutorial.
Once you create this second branch the current repository will look like this:
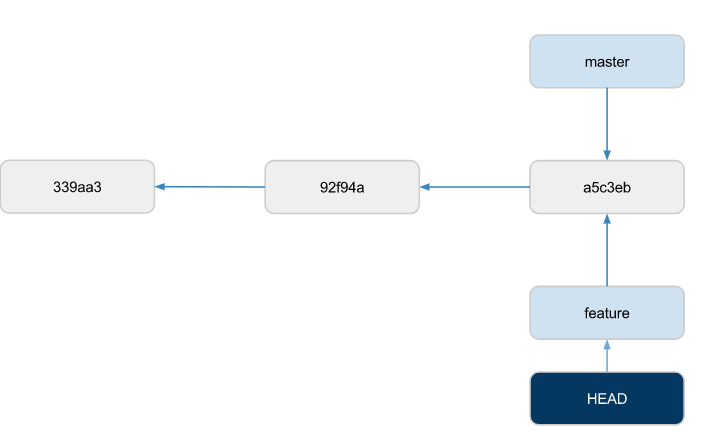
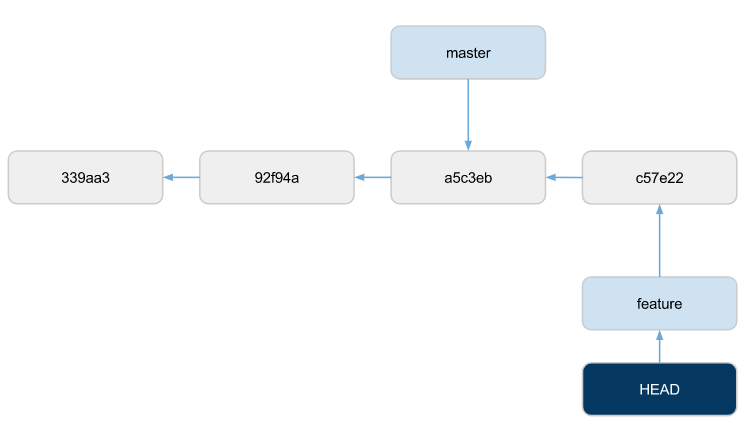
Now we have two branches pointing to the last commit that we had done. To switch from one branch to the other we write git checkout feature, to move to the feature branch or master if we want to go back to master. In the previous image we see the result of doing the chekout to feature, now we are pointing to it. If we now commit a change git commit -m "commiting a test to feature branch":
 And in the same way if we now change to the master branch
 git checkout master and we commit a change we will be doing this:
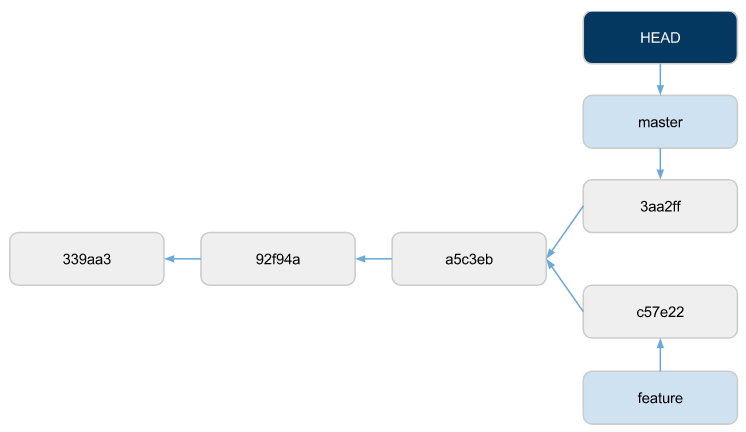
If you finish working separetly you can merge the branches. For that you need to be in the main branch and then merge the secundary one: git merge feature.