Week 3
Computer-aided Design
- Model (draw, render, animate, simulate, ...) a possible final project, and post it on your class page with original 2D and 3D files.
Learning outcomes:
- Evaluate and select 2D and 3D software
- Demonstrate and describe processes used in modelling with 2D and 3D software.
Have you:
- Modelled experimental objects/part of a possible project in 2D and 3D software
- Shown how you did it with words/images/screenshots
- Included your original design files
1. 2D design
Raster: Photoshop
This week I have learned how to model different figures in both 2 and 3 dimensions. As I already have the adobe software in my computer I made use of Photoshop in order to work with raster and Illustrator to work with vectors.
I have used Photoshop before for doing some basic operations but I didn't really know what was the difference between using it or using Illustrator. This week I found out that the first one works with pixels so it's a good tool when you want to work with pictures and have smooth colour transitions whereas the second one uses vectors. The main advantage of working with vectors is that you can re-scale the image and the quality won't decrease.


I followed some GIMP tutorials as is a similar software, to learn how to re-size, crop and rotate images; for knowing how to create circular images; and to learn some theory about the colour representation and the different image formats.
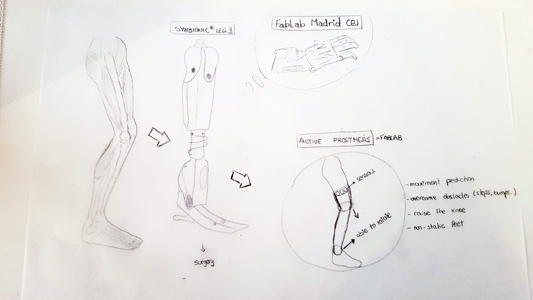
The next picture is the first hand drawing that I did of one of my ideas and in the second one you can see the result of using the Photoshop's pen tool for drawing two of the elements digitally. Then I cropped the image and I saved it with a smaller size so it takes less space as I did with the rest of the images that I have included in this site.

Vector : Illustrator
I have never used any vector software before so I took a look at the documentation of the elements and shapes that it uses.
- Lines
- Shapes
- Size
- Space
- Colour
- Texture

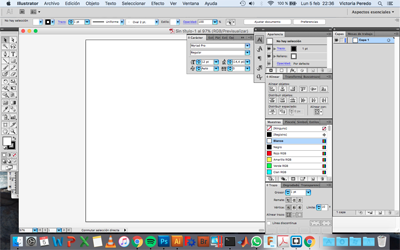
Illustrator is a good tool for creating logos and brand marks, as the vector graphics are scalable images. I played a bit with a Bezier game that helps you with the pen tool and then I followed a simple tutorial that taught me some basic stuff like:
- How to arrange the different tools in the screen.
- Choose a proper document size, choosing web in my case.
- How to move around the screen by pressing the space bar while clicking.
- Zooming in and out by pressing alt and moving the scroll wheel.
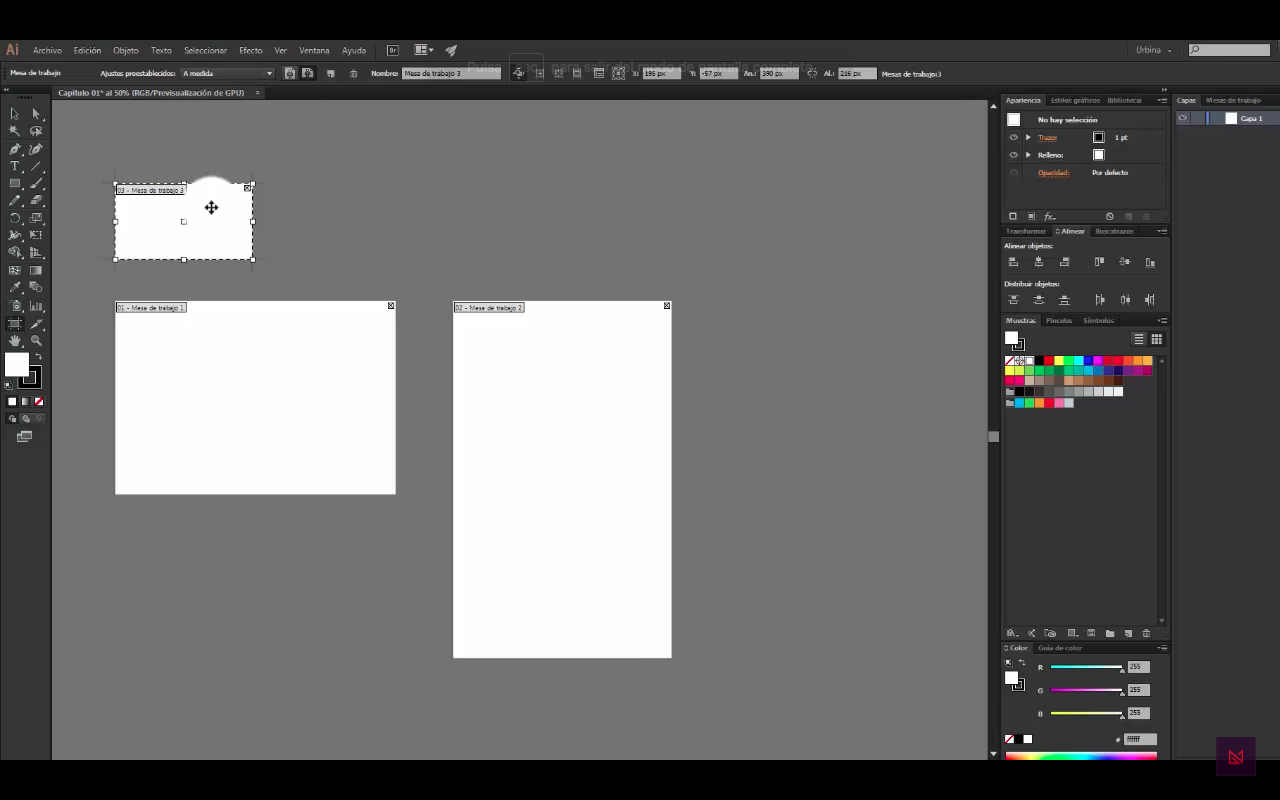
- How create different Artboards.
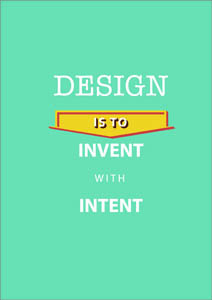
- How create a simple poster.
2. 3D design
3D modelling with FreeCAD
It was also my first time designing in 3D, so I also started by following tutorials which taught me how to do some easy figures. I used two software, FreeCAD and Fusion 360. In FreeCAD I followed this tutorial were I tells how to create the different sketches and to give them a certain size and shape.
3D modelling with Fusion 360
After trying FreeCAD and Fusion 360 I decided to work with Fusion as I find the user interface easier and more intuitive. I understand better how the history works in this program as it's very visual and the fact that is a cloud based program makes me be more confident when working. This will also be useful when working with more people in the same project. In this tutorials I learned how to :
- Make 2D sketches
- Pulling 3D figures from these sketches
- Making construction planes
- Creating cylinders and boxes drafting the corners and doing fillets.
- How to animate two bodies.
- Render the figures giving them a certain material.
The first thing I did was to model a simple fan:
Then I continued with the second tutorial of how to create a phone charger:
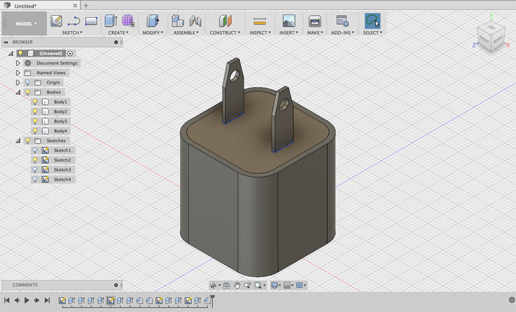
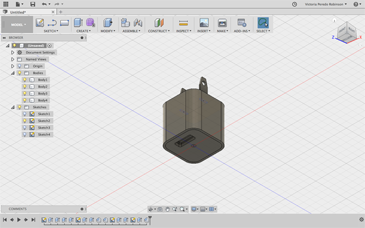
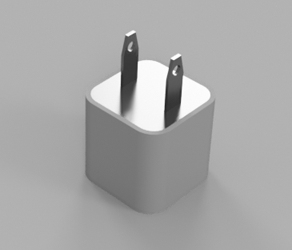
The last image that you can see is the result of rendering the charger with a certain materials. As I was just trying different ones the final one is not optimal for it. The thing that I struggled more with in this tutorial was to make the rectangular plug bases symmetric and for them to be aligned. In the end I manage to do it by sketching the same size rectangle and moving it with the x-axis blue arrow.
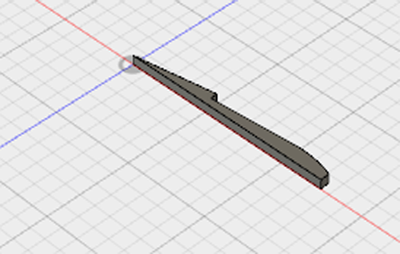
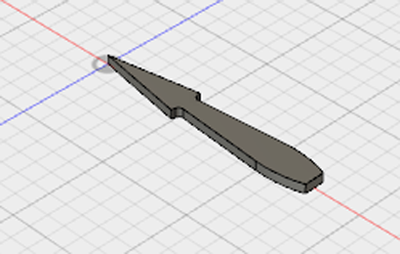
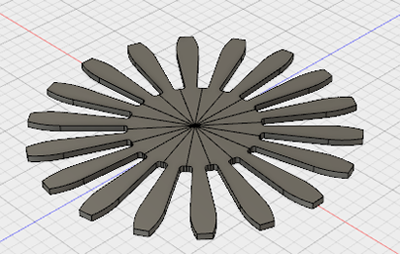
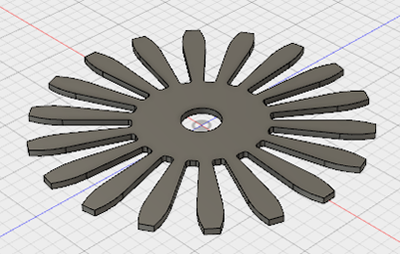
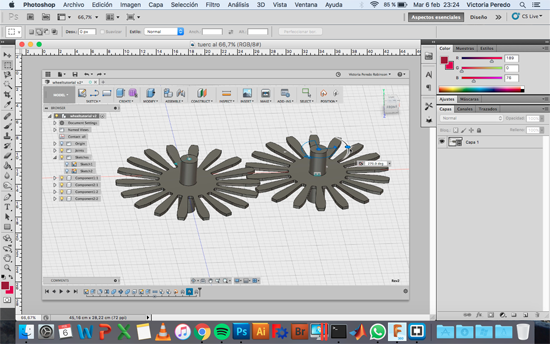
Modelling a gear:
As you can see in the description of the tutorial the basis of this figure was to create three concentric circles where you have to define the teeth shape and angle. You have to create three lines, with different angles, from the center of the circles to each of the them and then joining them with arcs and lines. Once you have your shape sketched you just have to pull it with a certain thickness (left image), mirror this body (second image), create a circular pattern with the number of bodies that you want your gear to have (third image) and create the middle hole (right picture).
The next tutorial teaches you how to create a second gear and make the two of them rotate when you move one.
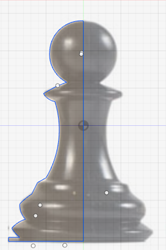
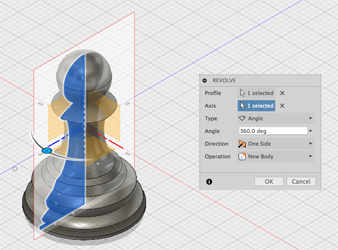
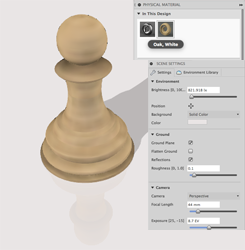
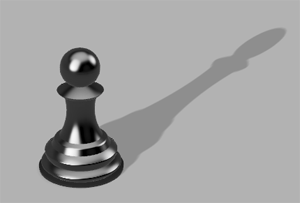
The last tutorial that I followed from this site was to model a chess pawn from an image. For doing so you need to attach a canvas image, calibrate the image and then sketch half of the image, as you will revolve this 2D sketch to get the 3D figure, with the 3 point arc. As I had trained before with Bezier lines and with the pen tool in Photoshop this assignment was easier.
Modelling parts of the Leg Prosthesis:
As one of my ideas for my final project is to build a leg prosthesis I took the design made by Agung Junianto to model some of it's components in order to improve my modelling skills.
3. Creating a GIF with Photoshop
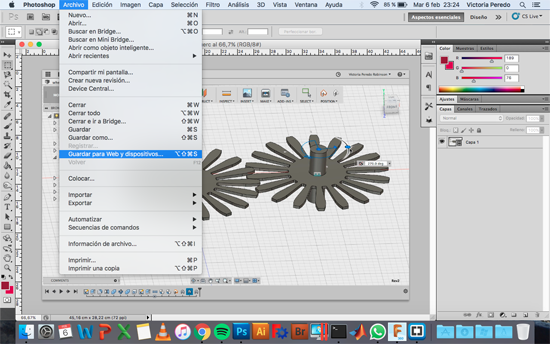
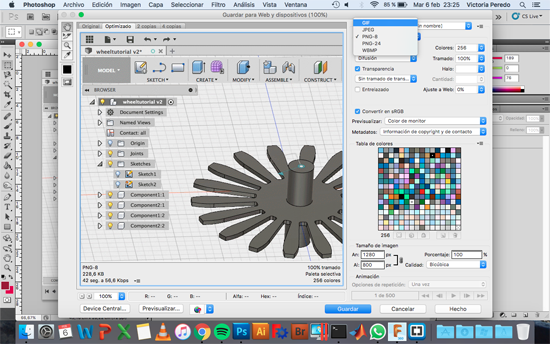
One thing that I had to do was learn how to convert the videos to GIF format for it not to take a lot of place in my file. In order to do so, I used Photoshop. Once you have your video in Photoshop you go to the File Menu -> Save as web and then on the right top part of the screen you change the format to GIF -> and then for the GIF to be playing all the time you have to change the repetition mode to infinite.
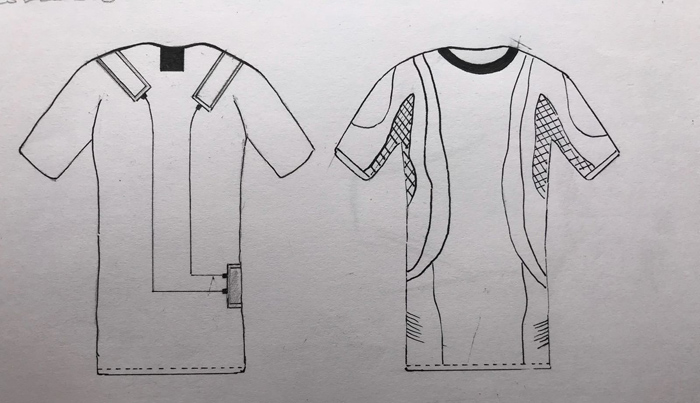
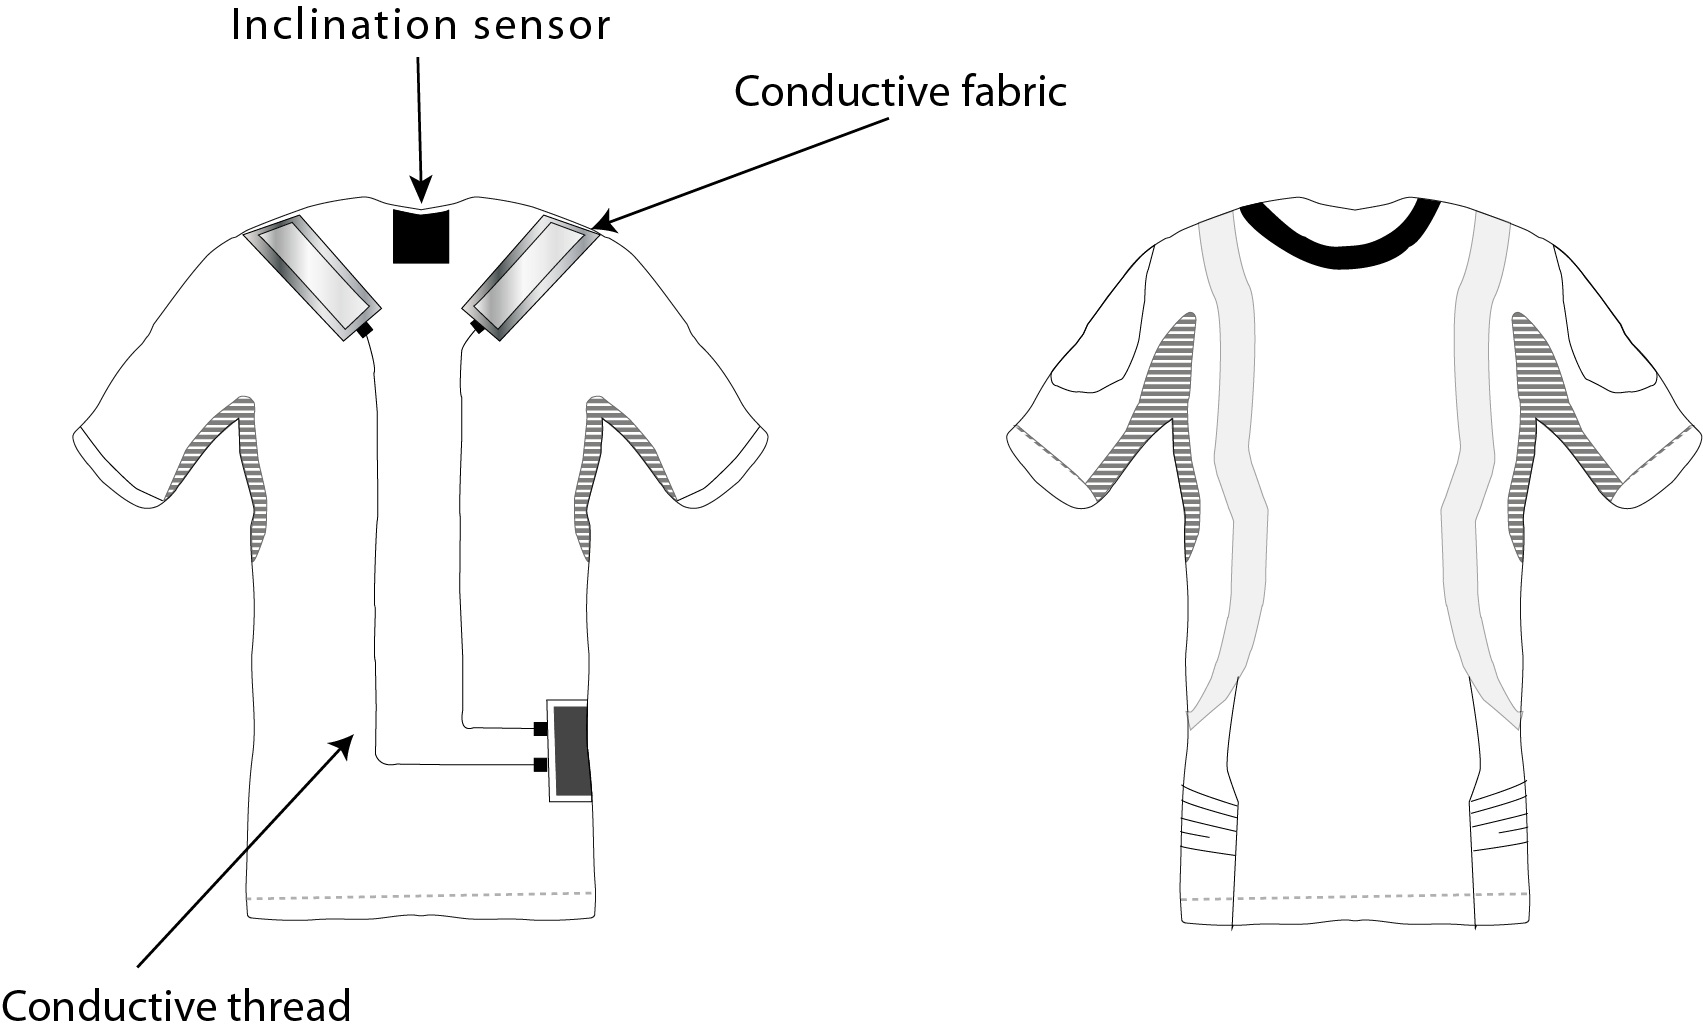
4. Designing the final project t-shirt
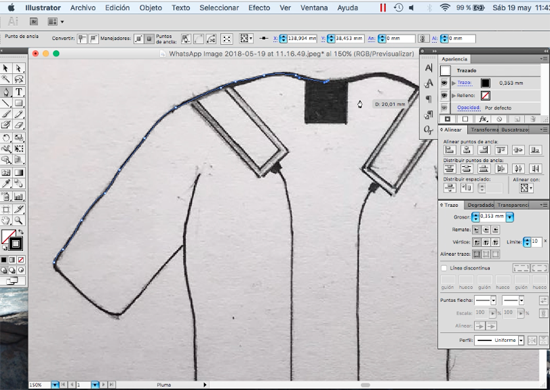
For my final project I needed to design a shirt that will have all the components that I want to include on it. I first did an sketch by hand:
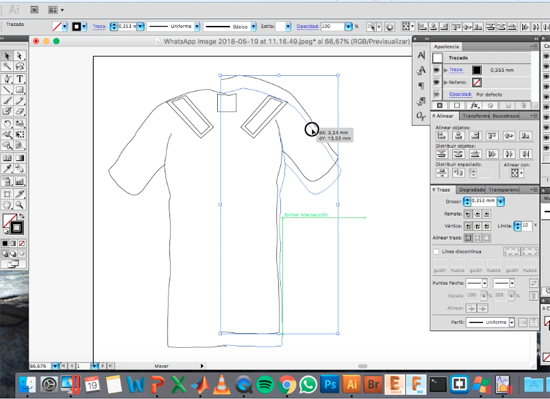
 And then I used Illustrator to digitalize it. I did it by using the Pen tool around the different shapes that conform my t-shirt.
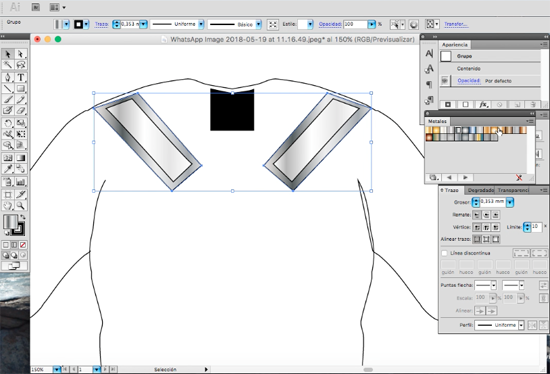
As the t-shirt is symmetric I drew one side and then I used the reflection tool to create the other one.
I tried to gave the design a bit of depth by using different patterns.
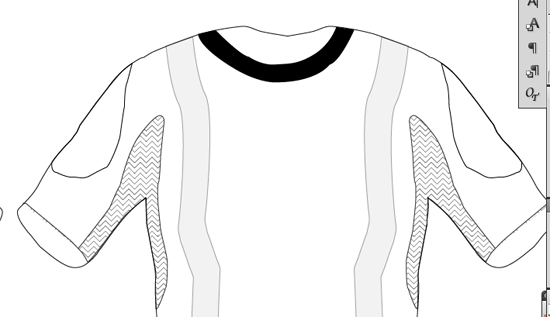
Final design: The final design will include on the top part ot the t-shirt the inclination sensor board that includes an accelerometer, a vibration motor and bluetooth, the conductive fabric wich will enable me to measure how the muscles are changing; and the condictive thread that will take this signal to a board that will be located on the side of the body.
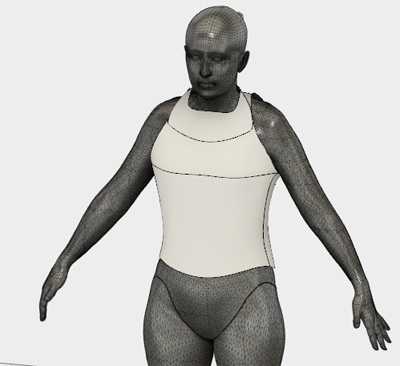
3D design
For the 3D design I watched a tutorial for creating a shirt, which help me to start designing. I started from a stl that I donwloaded from this site and I designed the shirt over her.
I tried giving it different shapes and colours but in the end I decided to stay with a more simple white one.
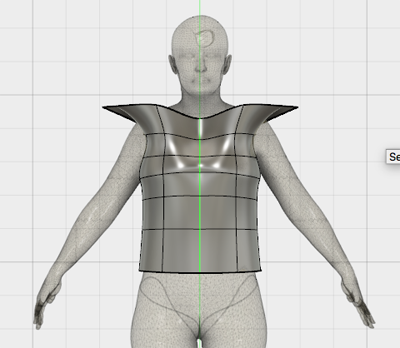
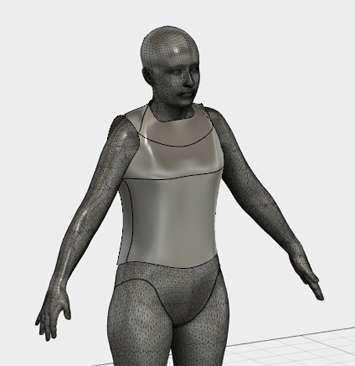
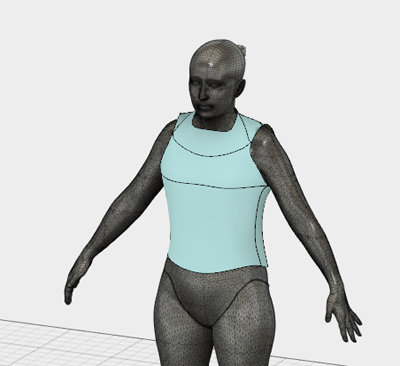
At the beginign I designed it without sleaves but then I decided to add them as it would be more difficult to measure how much the t-shirt is streatching withot them.
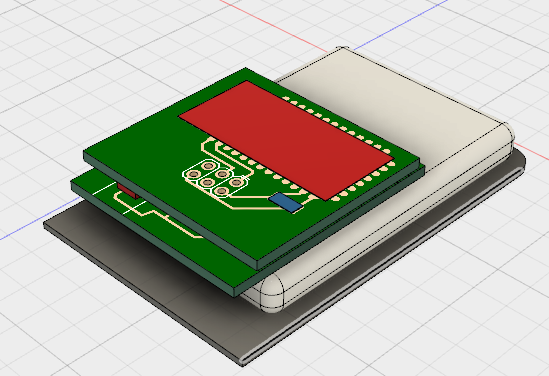
5. Designing box for the boards of the final project
For the final project I will need two boxes that will contain not only the boards but also the different components that they have like the battery. I placed the different components in the way they are displayed and then I created an sketch on the bottom part of the battery. From there I create the base of the box.
Then I built the walls by giving them 3mm of width. I will put a sliding flap on it to be able to extract the battery to charge it.
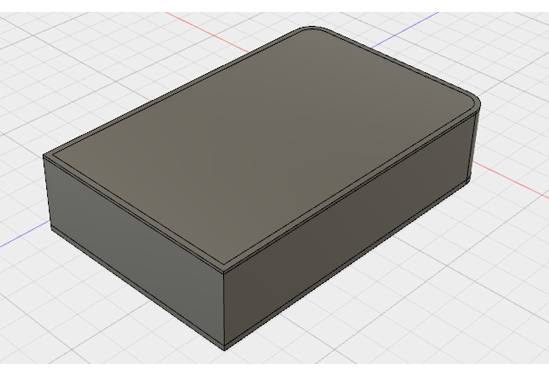
During the next weeks I will 3D print this box, doing some test on the tolerance that I have to give to the flap for it to slide properly. I will also have to separate the battery from the boards for temperature reasons and to print a base to hold the board to the box without allowing movement.