Testing the Design Rules for 3D Printing
Group members
Tests prints with the three 3D Printers
This week we tested three of the 3D printers we have at Fab Lab Oulu: Stratasys Fortus 380mc, Sindoh 3DWOX, and Formlabs Form 2. This page describes the results, and differences between the printers and different settings of testprints done.
Result
| 3D Printer | Nozzle Diameter | Layer Height | Material |
|---|---|---|---|
| Stratasys Fortus 380mc | 0.4064 mm | 0.4 mm | ABS |
| Shindo 3DWOX | 0.4 mm | 0.3 mm | PLA |
| Formlabs Form 2 | UV laser cures resin, no nozzle | 0.025 mm | Resin |
- We printed six different test prints. We used a file from Thingverse to test our printers.
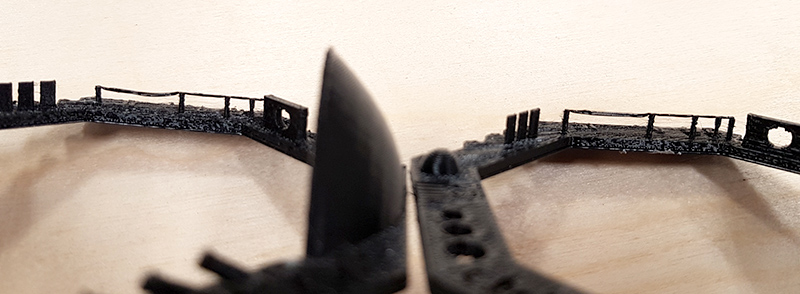
With Stratasys we printed four differnt cases. First one is printed by itself. Second and third are printed togehter to see the effect of longer cooling time and fourth is manually selected to make it as accurate as possible, by selecting the minimum wall thickness to the nozzle diameter. We measured different prints to compare the quality to each other. With Stratasys it was interesting to notice, that it creates about 0.5 mm extra on the bottom of the part, but this layer can be stripped off with a little bit of force. Shindo or Formlabs did not do this, but with Formlabs there is a huge support structure below the actual print. It takes considerable amount of work to remove this support structure. The difference in thickness between printers is quite big. With bigger prints the relative difference gets smaller, but it should be considered in thin prints. Hole diameters between Stratasys prints were pretty similar, but in some prints the quality was worse. In the Shindo print, the hole quality was poor and the measurements were taken from the best angle. In the Formlabs, the hole diameters were really close to the designed size and the holes were very smooth and clean. The wall thicknesses were almost the same with all of the Stratasys prints and the Shindo print. With Formlabs, it can be seen that the wall thicknesses are much more similar to the stl file and it was able to print all the walls unlike the other two printers. In the thinnest horizontal wall it can be seen also, that the Stratasys creates extra material under the part. With Shindo the thinnest horizontal wall thickness is 0.3 mm.
Next pictures show the difference of the printing results in Stratasys, when comparing the print done separately (the left one) and the print done together with another object (the right one) when there is more space between and time to cool down between they layers.
Stratasys Fortus 380mc
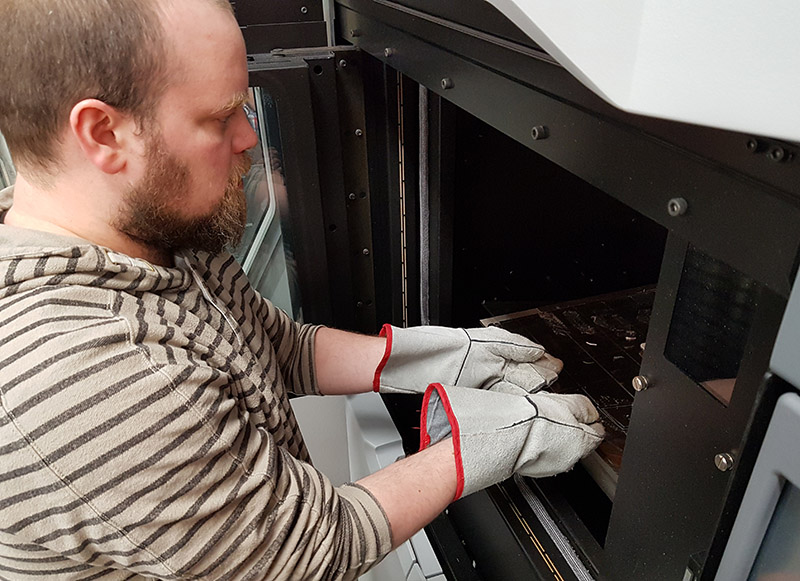
Preparing the printer. We checked that the printer is on. By using the gloves, we installed a build sheet
to the printer oven by placing it onto the platen. We checked that it is touching the metal pieces on the back side and left side of the building area.
After the oven had warmed up the sheet around 5 minutes it became more smooth and we were able to verify vacuum to secure
the build sheet to the platen.
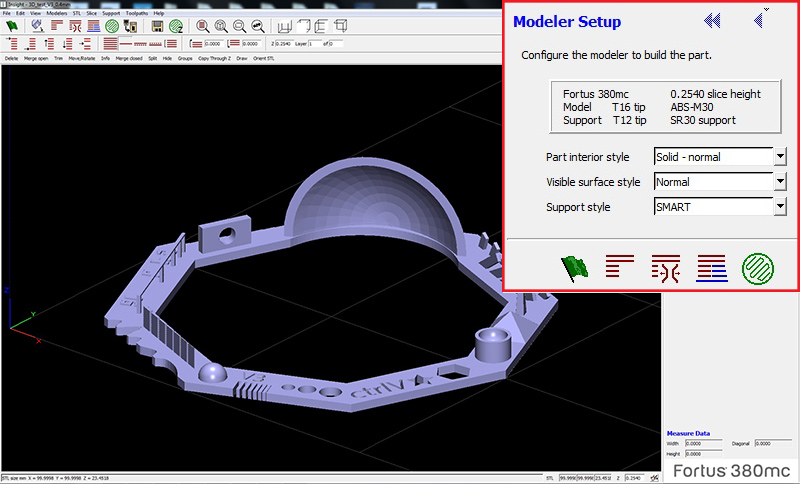
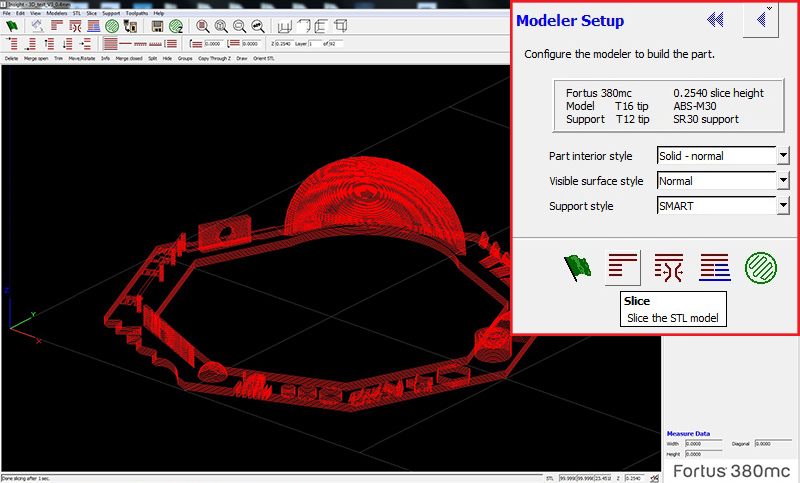
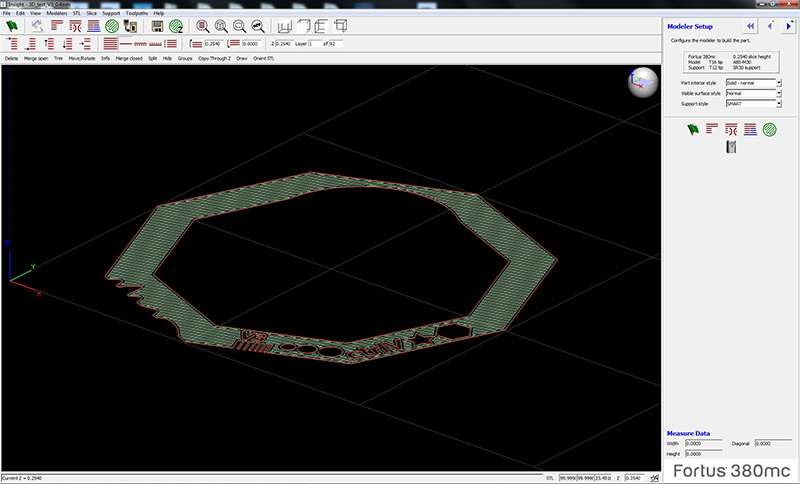
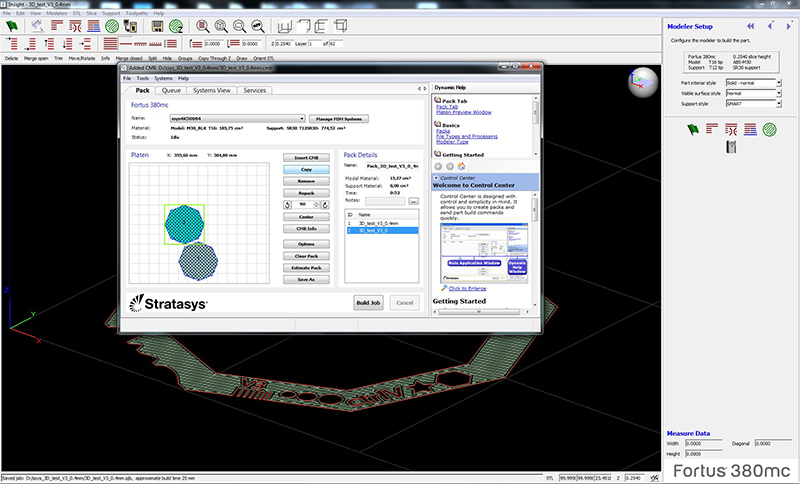
We opened the 'Insight' software for doing the printing settings and send the testpart to the printer.
In order to get more smooth surface, 'Visible sufrace syle' needs
to be change from 'Normal' to 'Enhanced'. Then, we can select the Green Flag - 'Finish' which creates the slices.
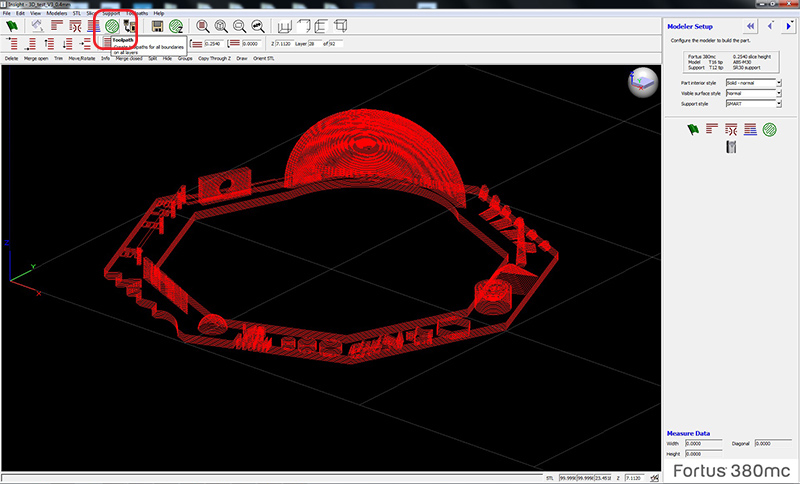
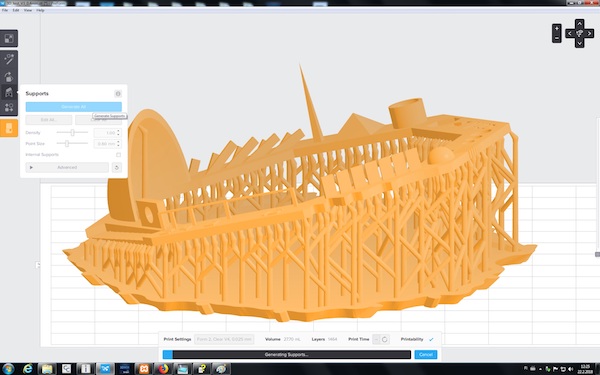
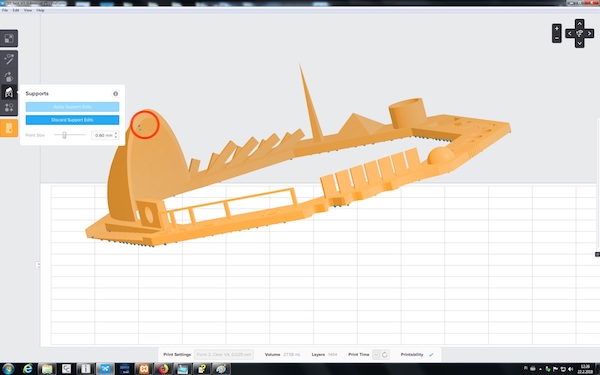
For testing the printing possibilites and limitations, we removed support material.
By the head toolbar, it is possible to move between the layers to check how are they going to be printed.
 Next, we 'Generated Toolpaths' for the part.
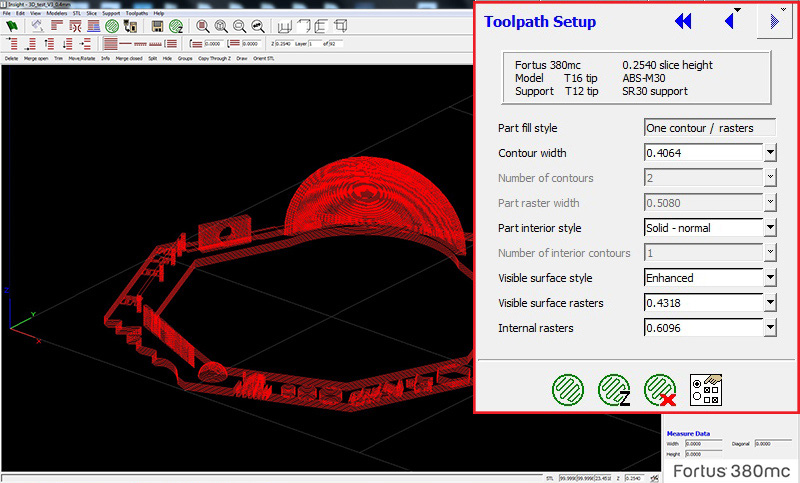
 We set 'Contour widht' to 0.4064.
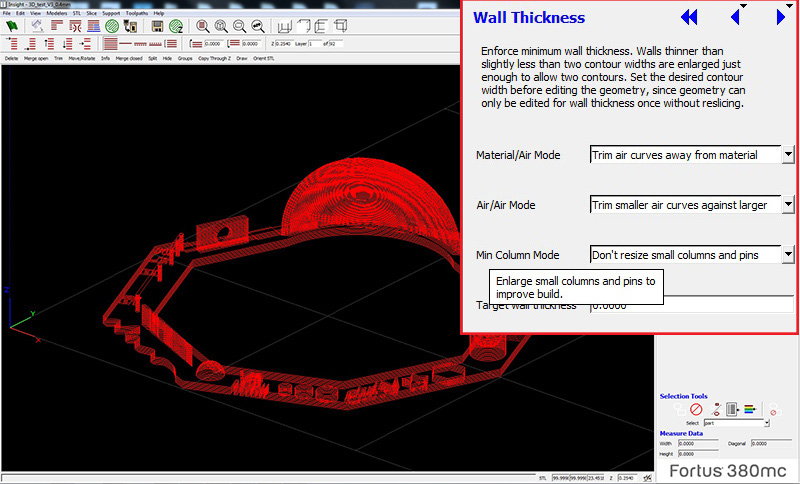
 'Wall Thickness' we changed 'Min Column Mode' to 'Don't resize small columns and pins'.
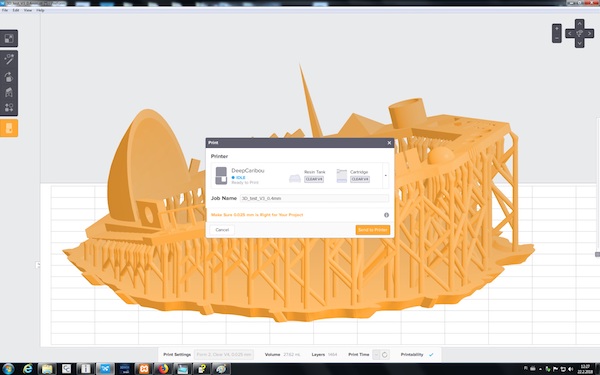
From the head tool bar, we selected 'Build' and got 'Control Center' -window where we placed the object(s) appropriate and
selected 'Build Job'.

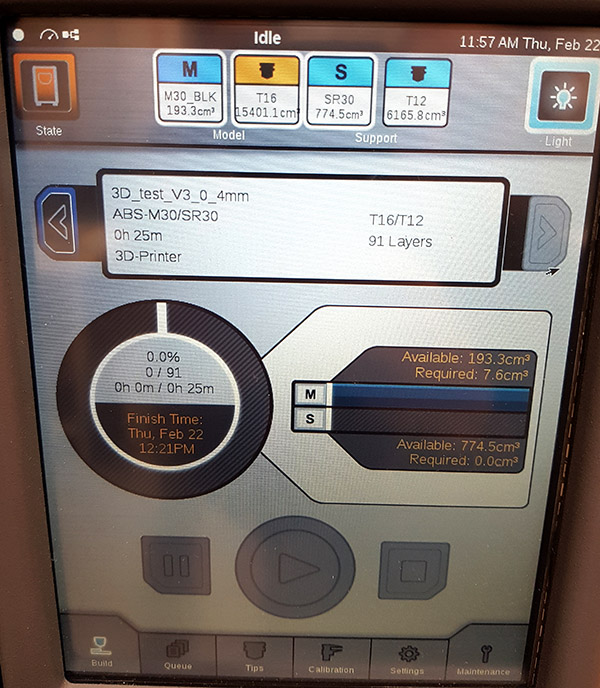
In the Stratasys panel, within the navigation bar, we navigated our way to 'Queue' and selected the job we wanted to build. The details of our print were
displayed on the main panel, including the number of layers and estimated building time. To start the build, we pressed the 'Build'.
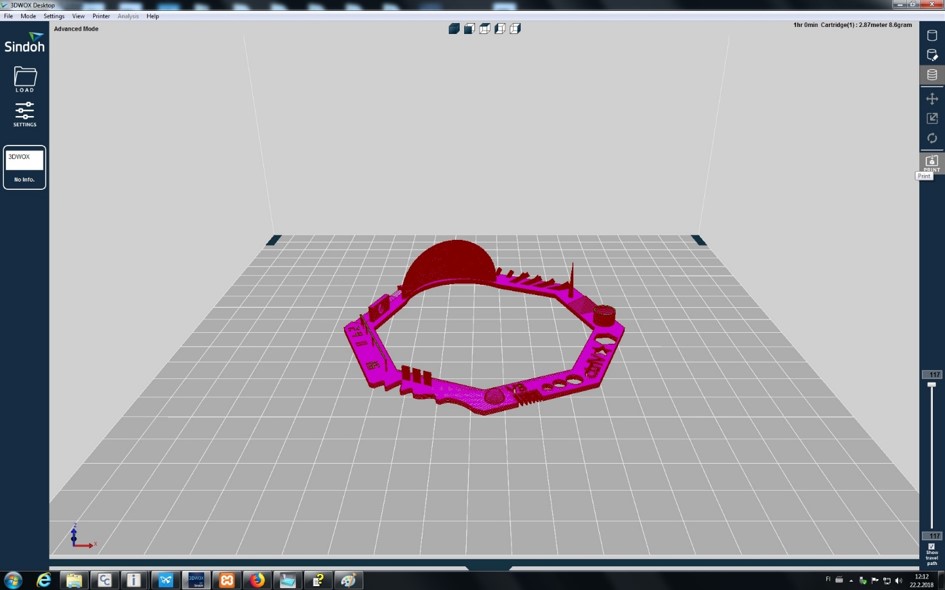
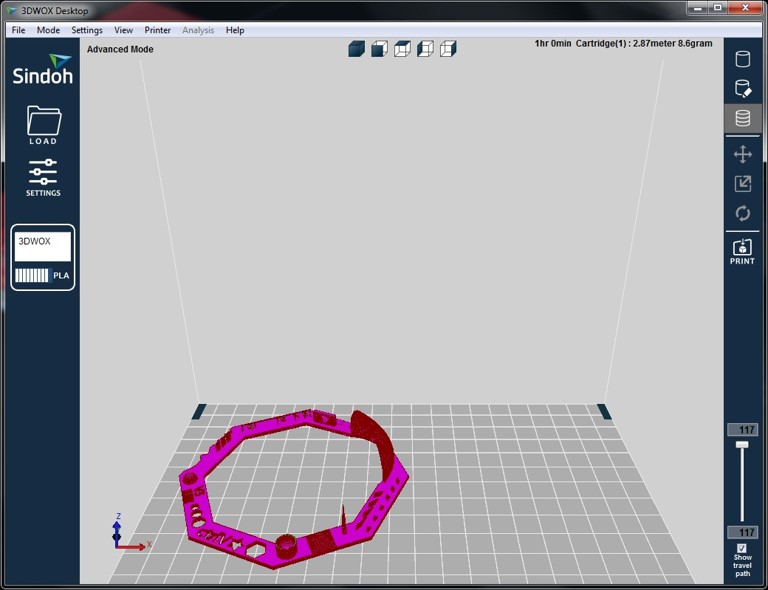
Sindoh 3DWOX
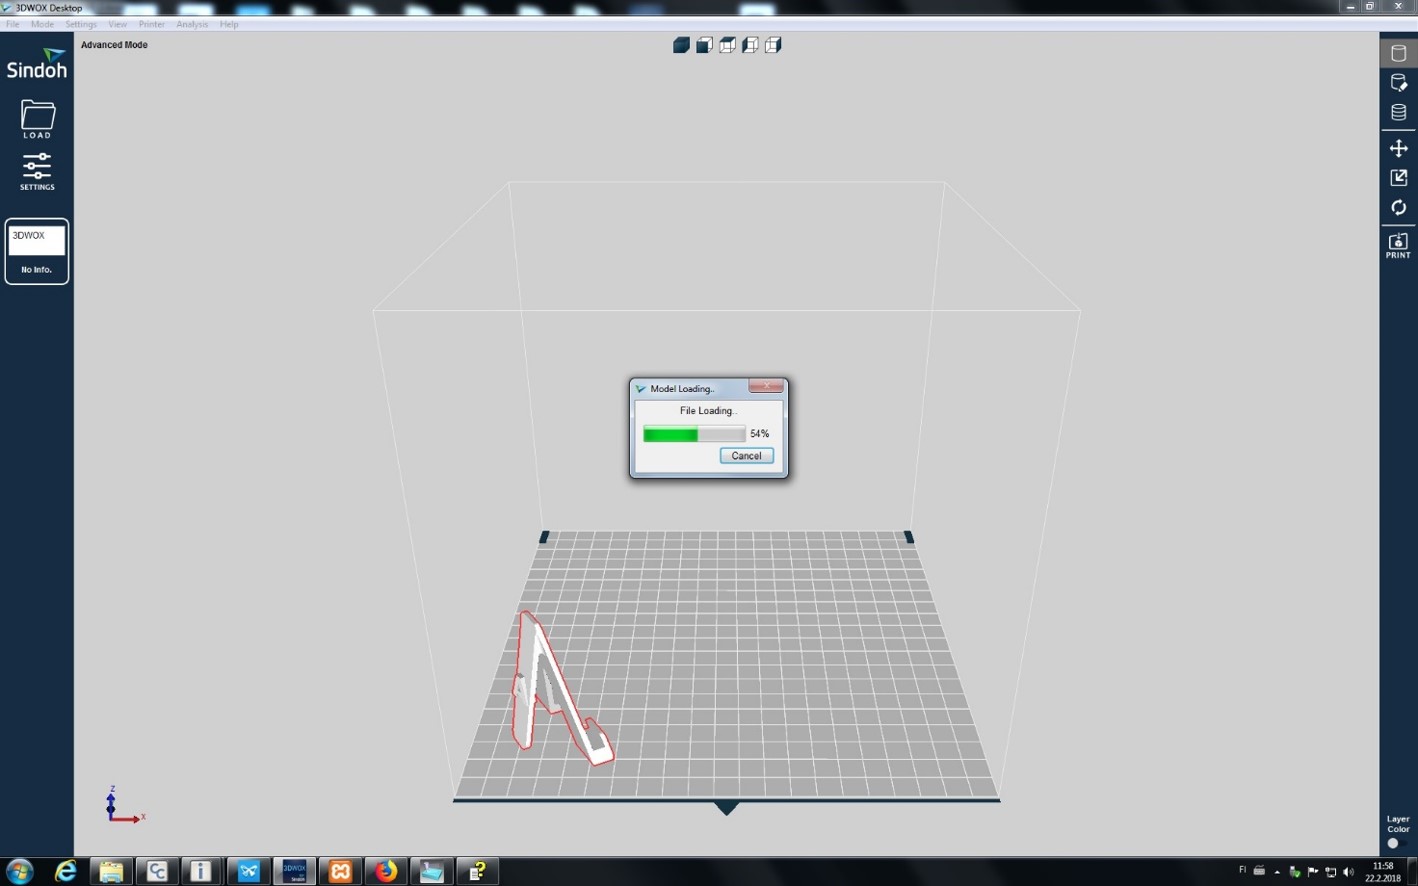
To load a part click the load button on the top left hand side of the window. And browse to the model’s location. Or drag and drop the file into the window.
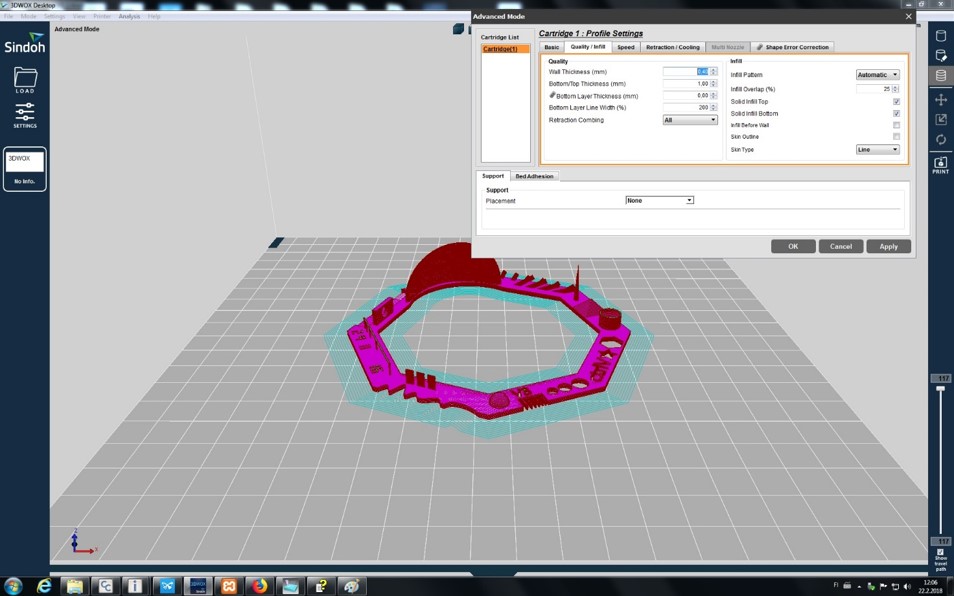
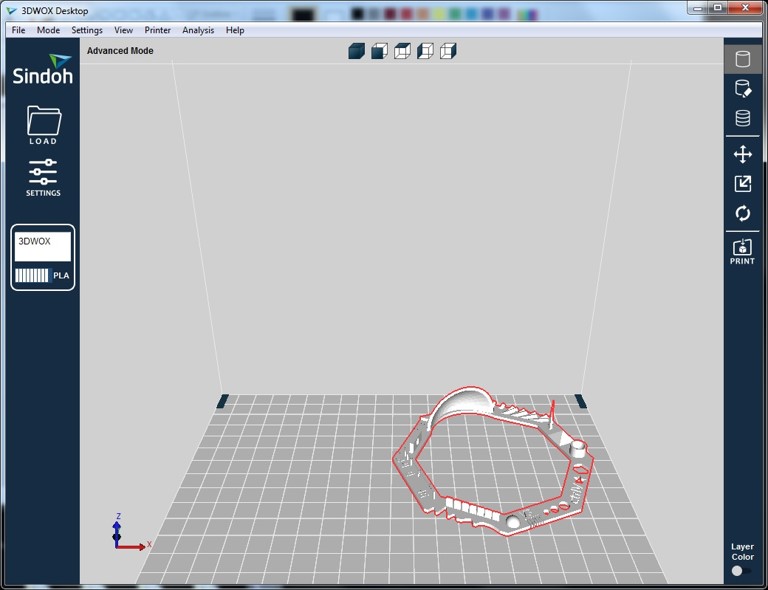
When we click on layer view tool, there is a notification about the thickness of the part.
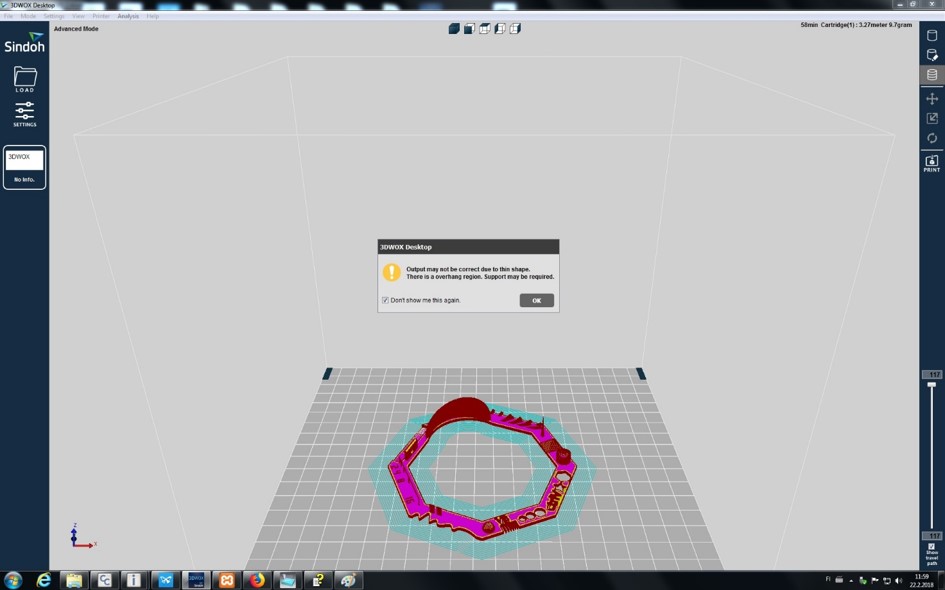
Therefore by we are now trying to optimize the thickness of the part, through advanced setting.
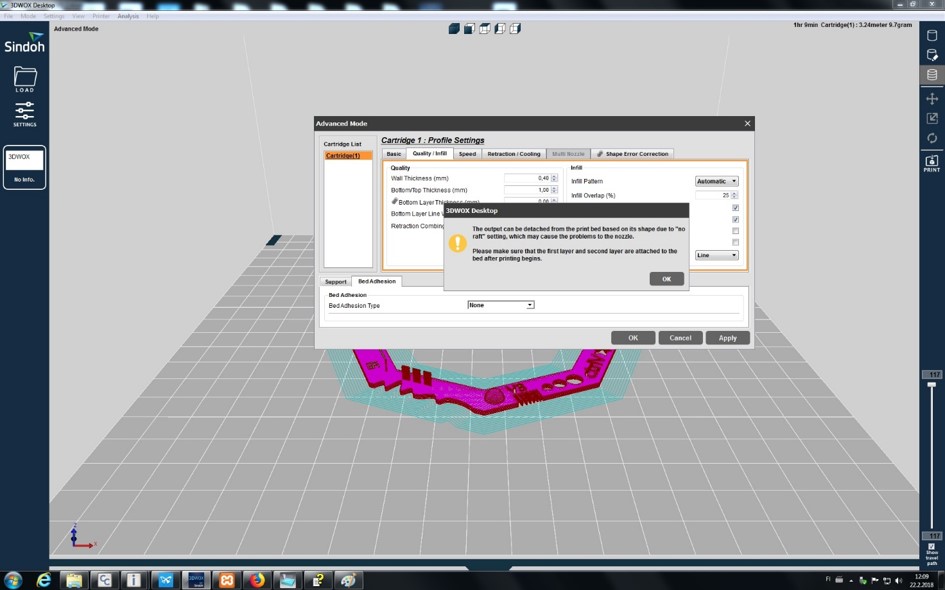
On the quality/infill tab, we chose 0,40mm for the wall thickness, 1mm for bottom thickness and 200% for bottom layer line width.
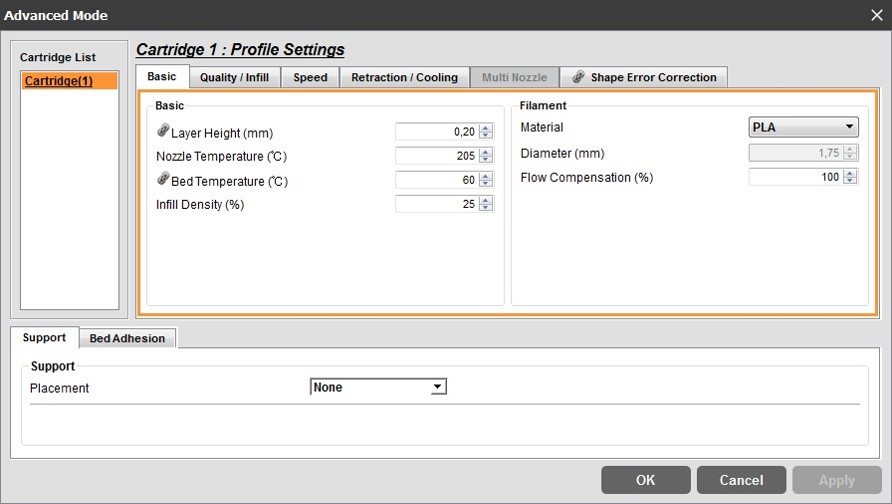
On the basic tab, we considered 0,20 mm for layer height, 205 degree for nozzle temperature, 60 degree for bed temperature and 25 for infill density. The material is PLA.
Here is the output.
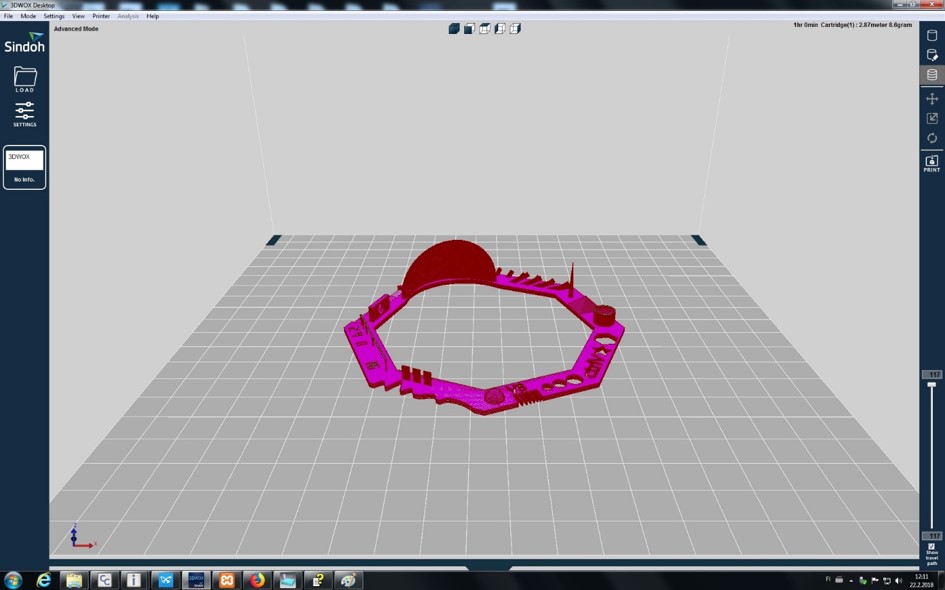
Then we clicked on the print button to send the print order.
At this stage there was a warning that asked us to make sure there is no printed object on the bed and if so, we had to remove it before printing.
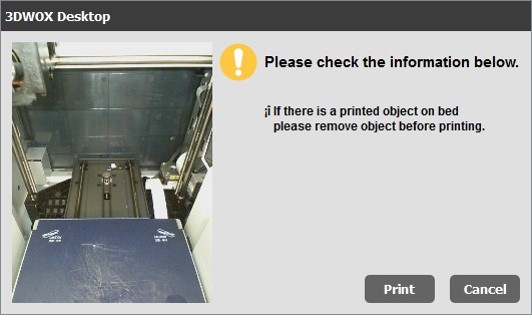
Everything was OK so we hit the print button.

Here is the view after sending the print order.
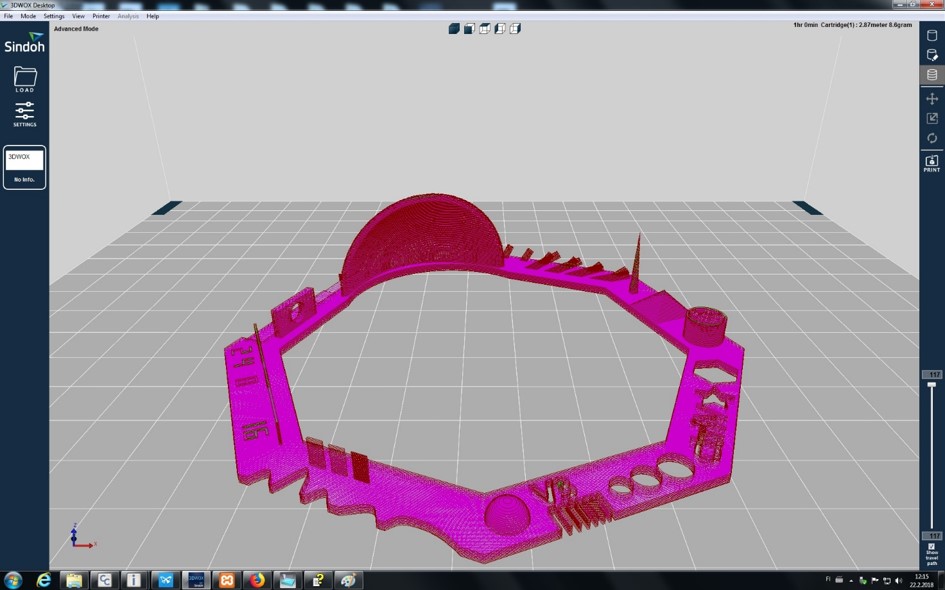
Now one could see that 3DWOX (at the left of the screen) shows the PLA as the info.
Formlabs Form 2
Preparing the file. We opened software PreForm. To test the capacity of the printer, we chose 0.025mm layer thickness which is the highest resolution. 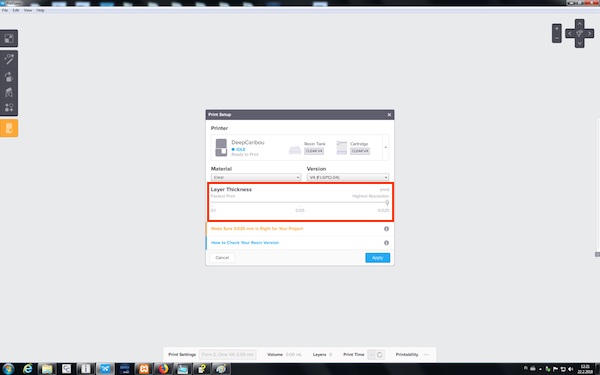
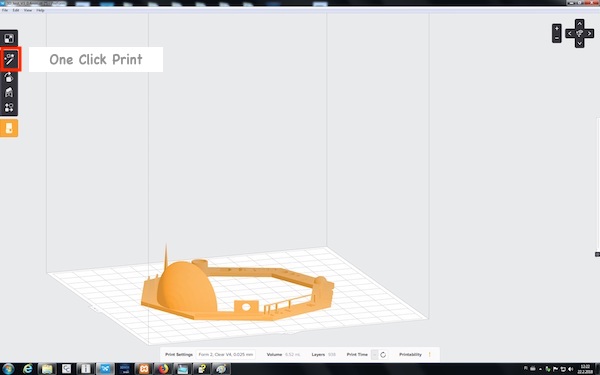
We opened stl file. We chose One Click Print which adjusts orientation of the object and adds supports for printing. The object was tilted and supports were generated. Printability was shown as good.
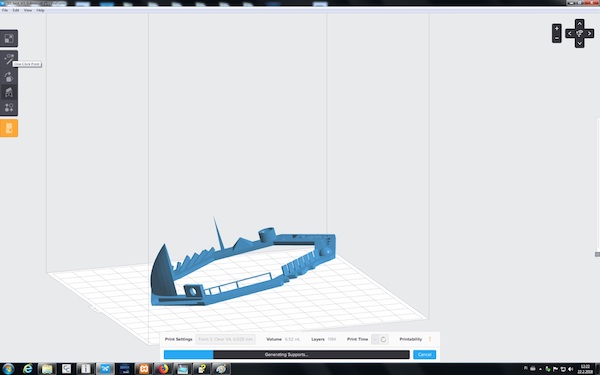

We edited supports. We can generate additional supports or remove supports. We wanted to see how the dome would be made without supports, so we removed the supports from dome.
We clicked Send to Printer button. Printing time was over 10 hours. We set highest resolution so it took long time to be printed.
Operation of Formlabs.Formlabs uses resin to print 3D model. Material of Formlabs is resin. Resin is provided as liquid and gets hard when it is exposed to the ultraviolet light. A 3D model is generated as it is hanged from the building platform. It starts generating the object and supports on the surface of the platform upside-down and added layers of harden resin by being exposed to the ultraviolet light from the printer. 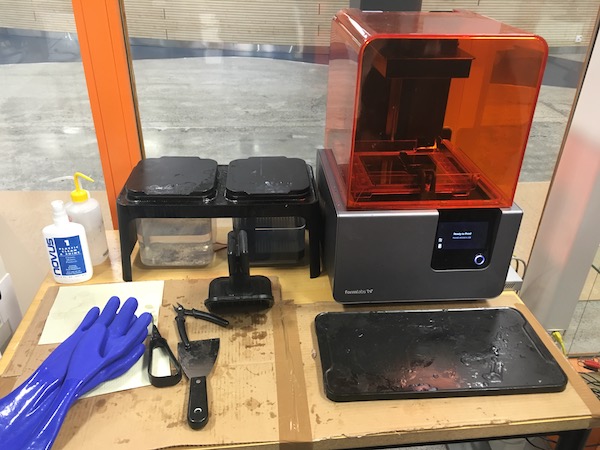
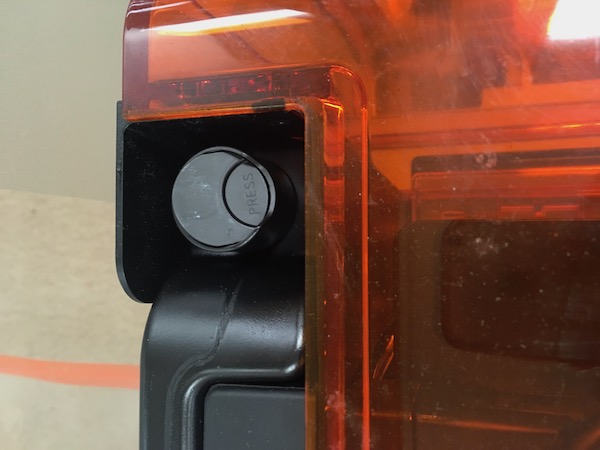
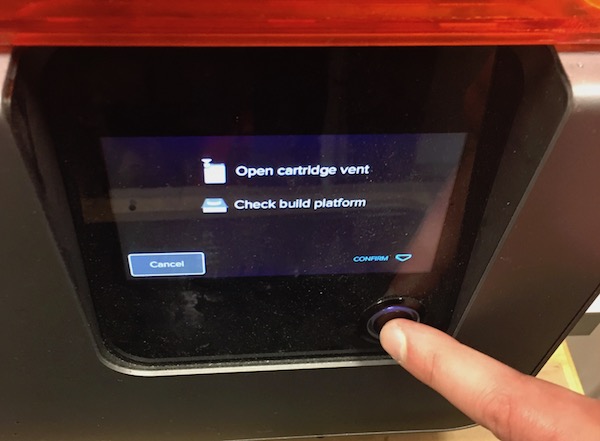
We checked the name of the file and selected Print Now. We opened the cartridge vent where resin is provided and checked the build platform was set properly. We pressed Confirm. The printer started heating and printing was started.
Cleaning the objectNext day printing was finished and we cleaned the object. 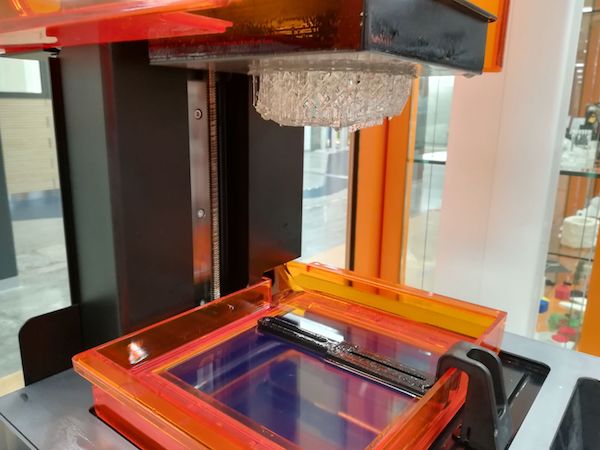
Antti Mäntyniemi and Iván Sánchez Milara gave instructions of removing the object from the printer and cleaning. They emphasised always make sure to wear gloves when we clean after printing because resin is not good for our skin.
First we opened the orange cover and took the building platform off from the printer. 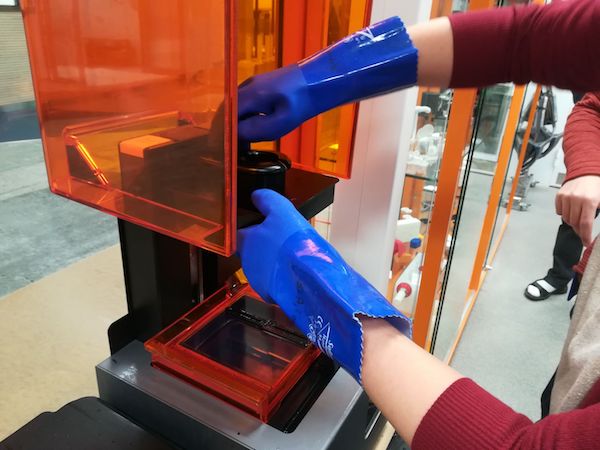
We carefully removed the object from the building platform with small spatula kind of tool paying attention not to scratching the surface of the platform. 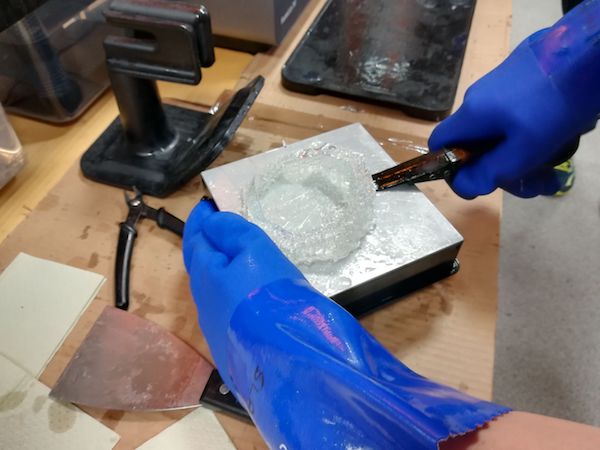
There are two boxes filled with alcohol to soak the objects after printing. We put the object in the basket in the left box. We moved the basket up and down in the liquid for 30 seconds. Then we left the object in the box for 10 minutes. After 10 minutes, we moved the object to the right box for another 10 minutes. 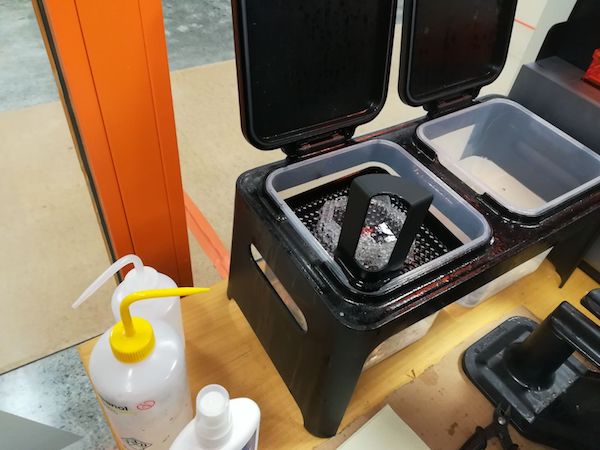
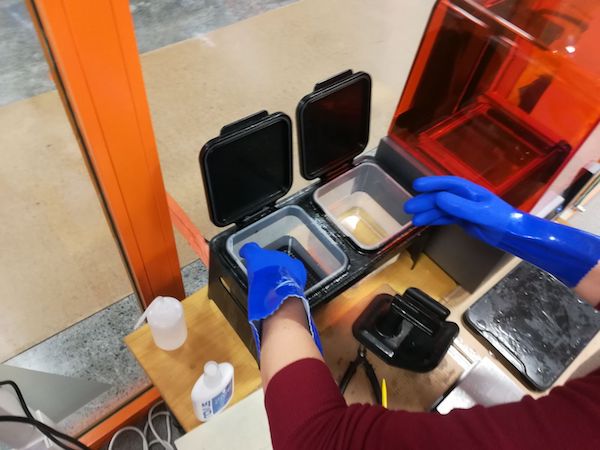
Meanwhile we cleaned building platform and spatula with paper and isopropanol. The ultraviolet light makes resin hard so we should clean these stuff quickly.
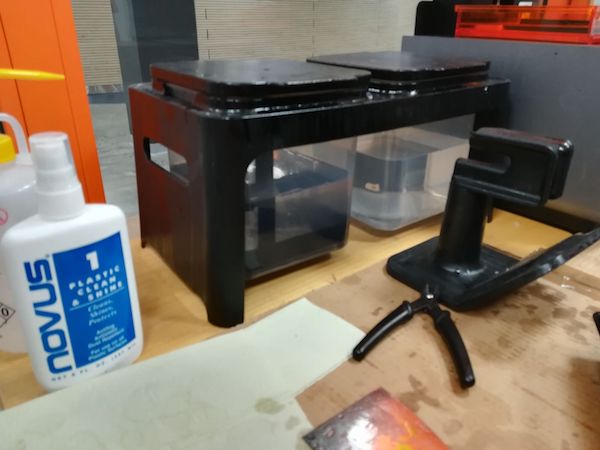
Next we cleaned the tank filled with resin. We found out the printing quality of the object was very bad and assumed that something from previous printing was left in the resin tank. We pulled the bar in the tank which cleans the tank during printing and carefully slid and placed in the edge of the tank. 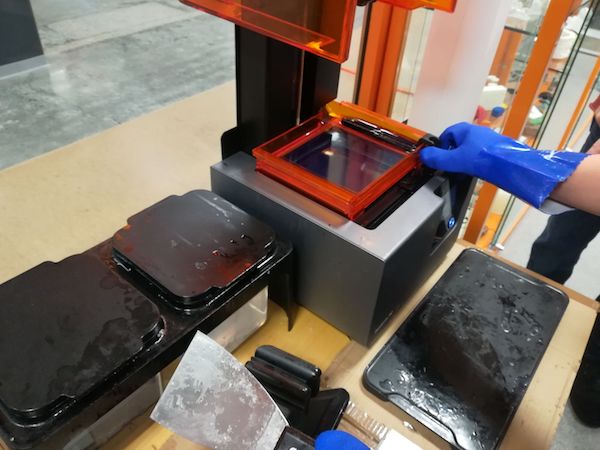
We held spatula and placed it 45 degrees to the bottom surface of the tank. We carefully not to spill resin, gently slid the spatula forward. The resin liquid was not clear. We found slightly coagulated resin in the tank. The resin needed to be changed.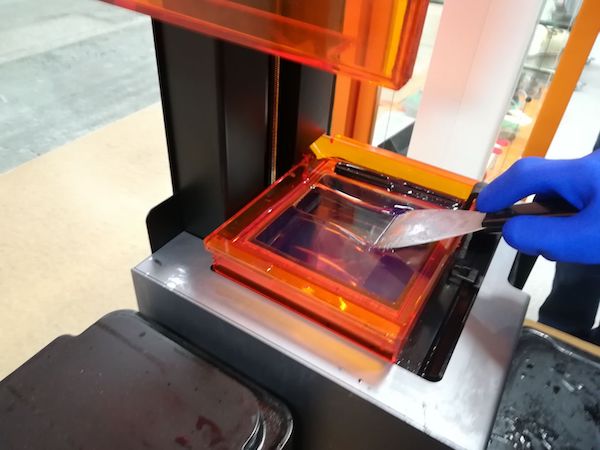
After 10 minutes soaking in the alcohol, we washed the object in the water and dried it. 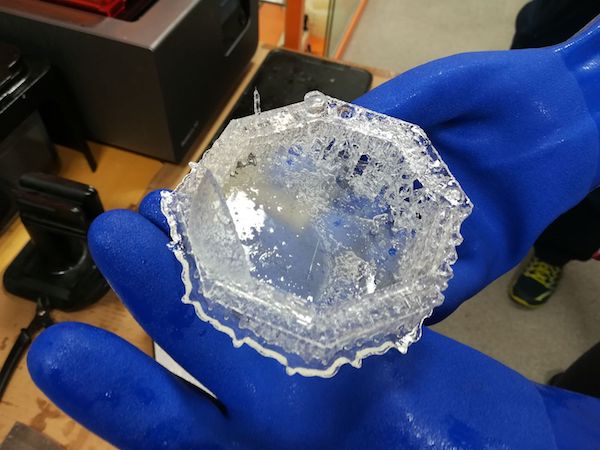
After it dried, we cut supports with nipper and measured each part.
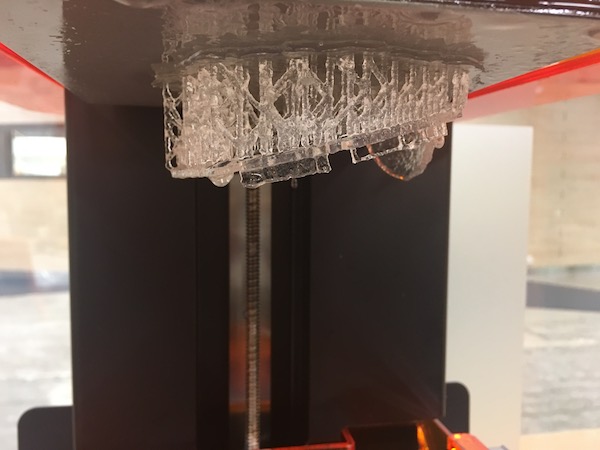
Although the quality of the printing was not as good as it should have been, almost all the testing parts were made including thin walls which were not made in other two printers. The dome without supports was made finely.
Download
Store the files in files/assignment_name