
Our local instructor for this week, Iván Sánchez, explained us how to prepare our fusion 360 designs for doing a proper mould. He also showed us how to use the software for drilling the mould in the wax block with the SRM-20 milling machine.
To Do
- Design the object and create the mould
- Drill the mould and moulding
- Casting
- Group work
The "Doing"
The design

- Remember the drill we are using is 3.18 mm
- I will try to do the hole for the screw, remember previous note (min 3.18mm)
- Divide the model in such a way the drill reaches all the corners (our drill just cuts vertically)
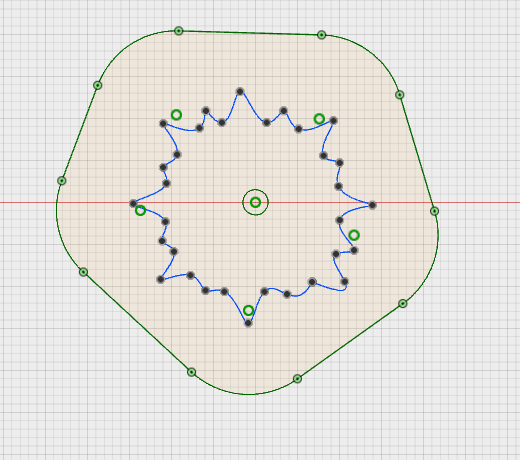
 I wanted to engrave some detail, so I draw a cloud an a sun with
 Sketch > Spline
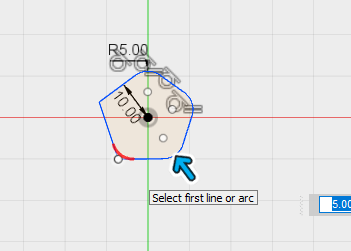
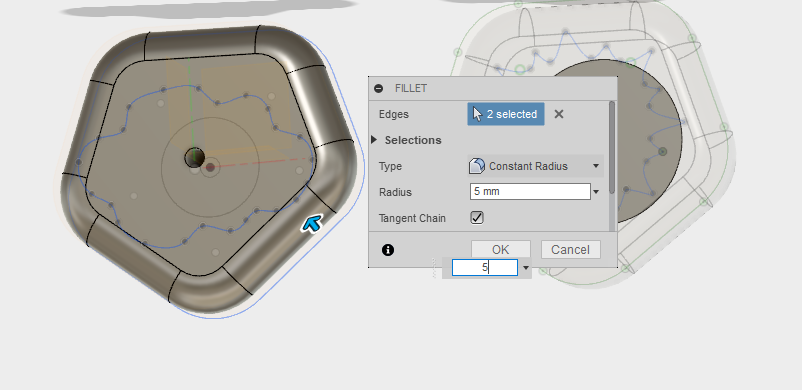
Fillet
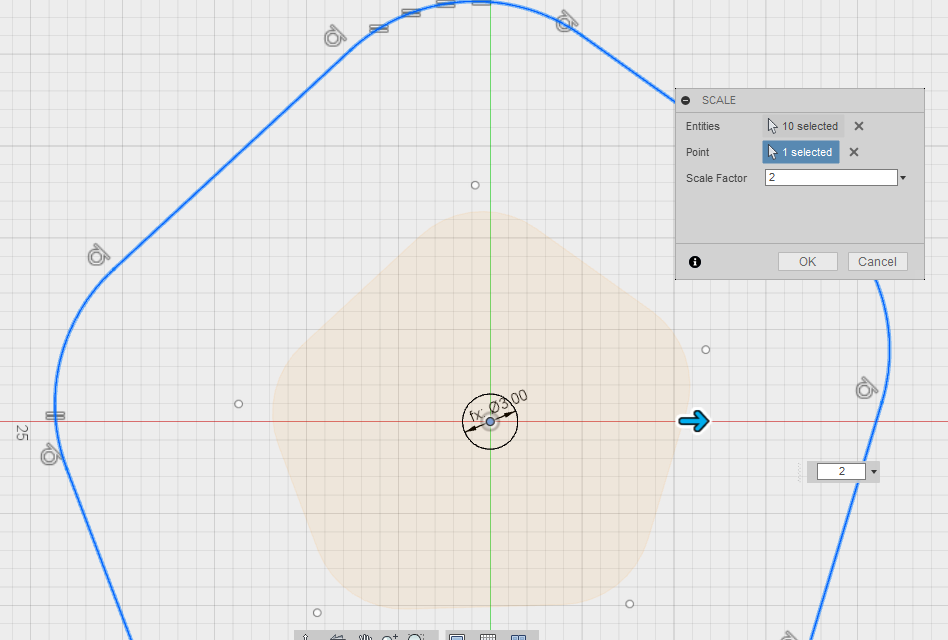
 Then, I thought the knob was too small, so I scale it
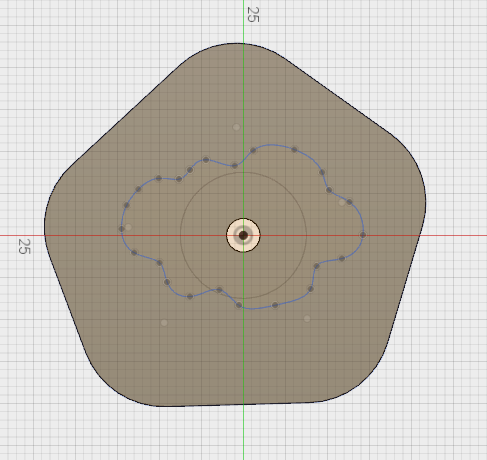
 After that, I went back to the first Sketch, to add a circle to create the volume in the back of the knob.
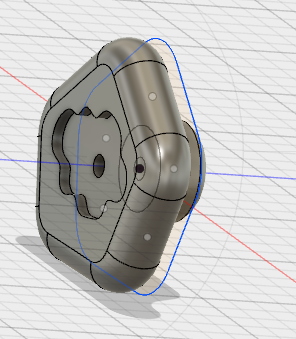
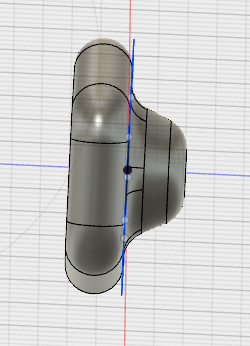
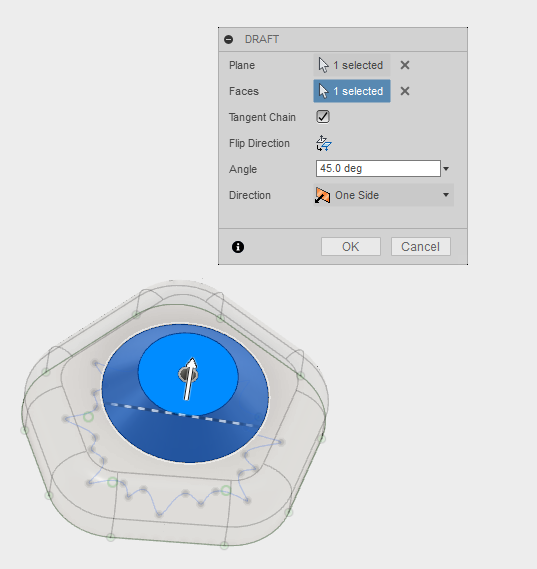
 And I use the draft feature to start modeling the rear part
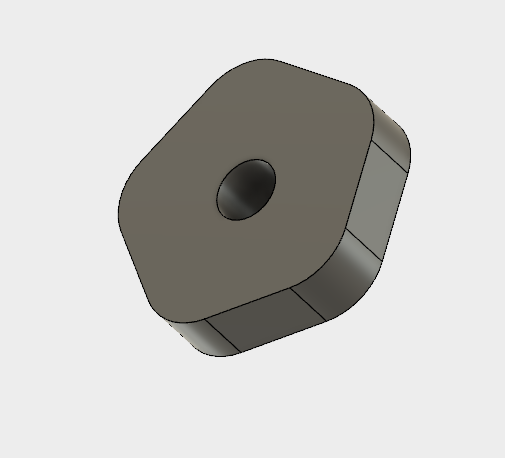
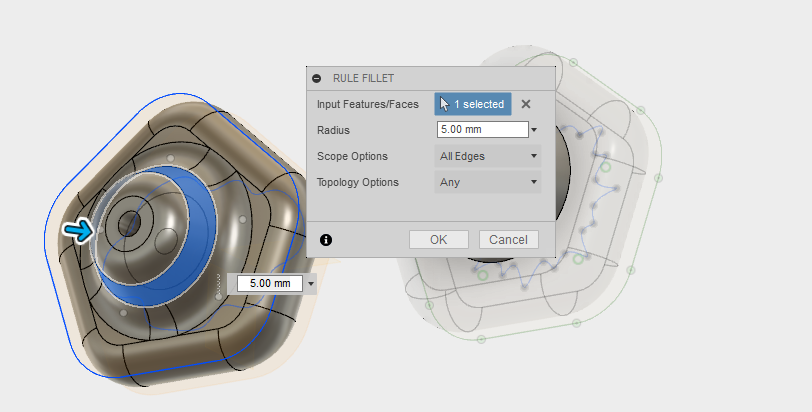
 After that, using the Rule Fillet feature helps to give a more rounded and nice look
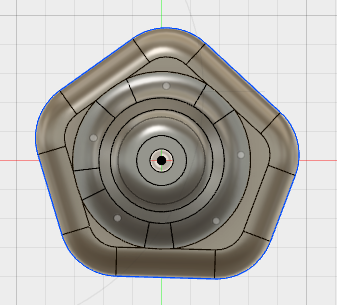
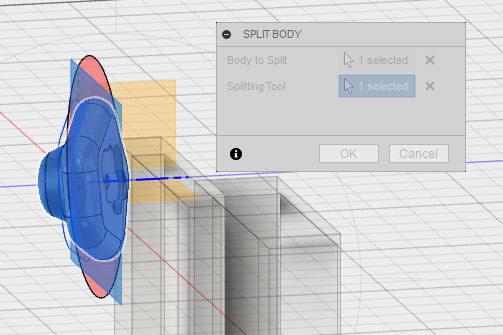
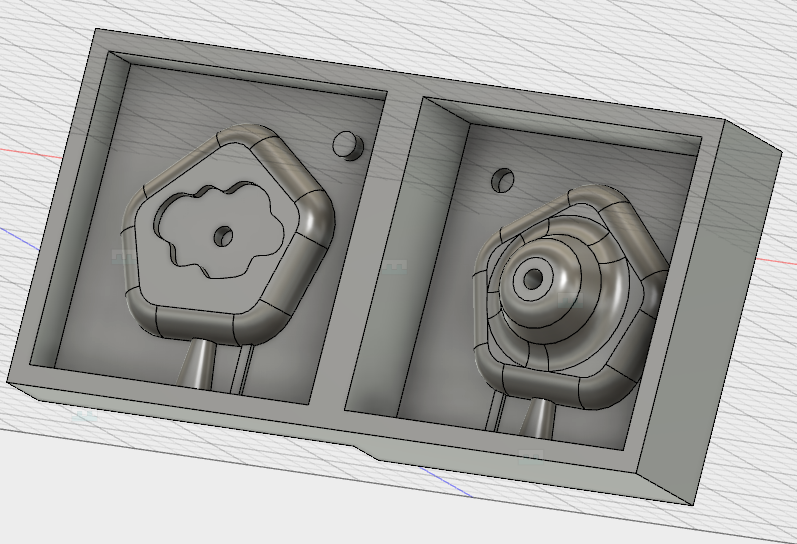
 Now the model is ready. I started to prepare the mould.
 I need to split the figure in two parts, horizontally, so the drilling machine gets everywhere.
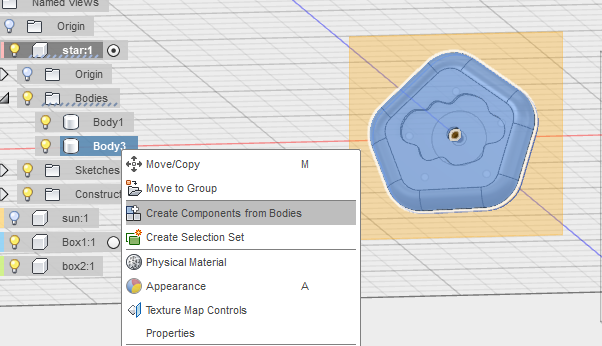
 And I create a component for the second half.
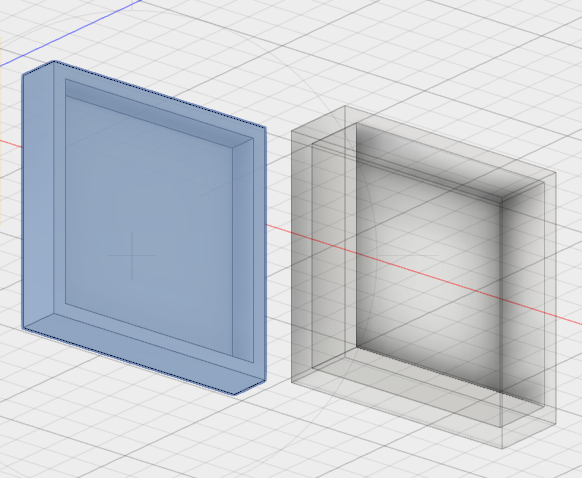
 I create the two boxes I need. I do it by creating a cube and the using
 Shell feature. I do them with - 4mm walls
- Enough space around the figures
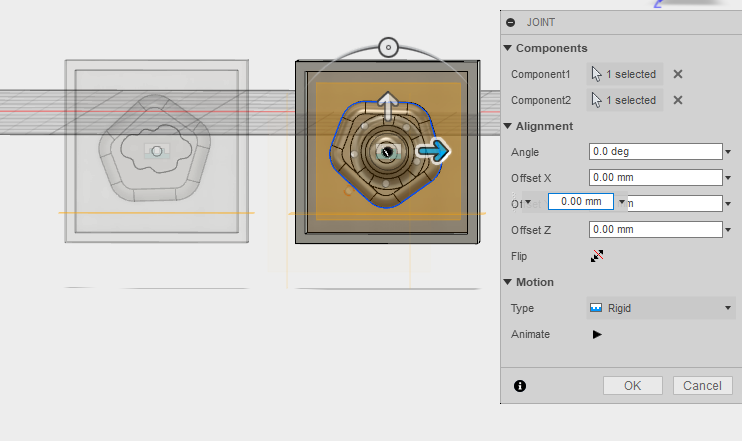
 Then, to put each half in the box, I just use
 JoinT with the center of each piece and the center of each box.
 Finally, I also create
 - a register to better fit the two parts together.
- a hole for the air
- a hole for pouring
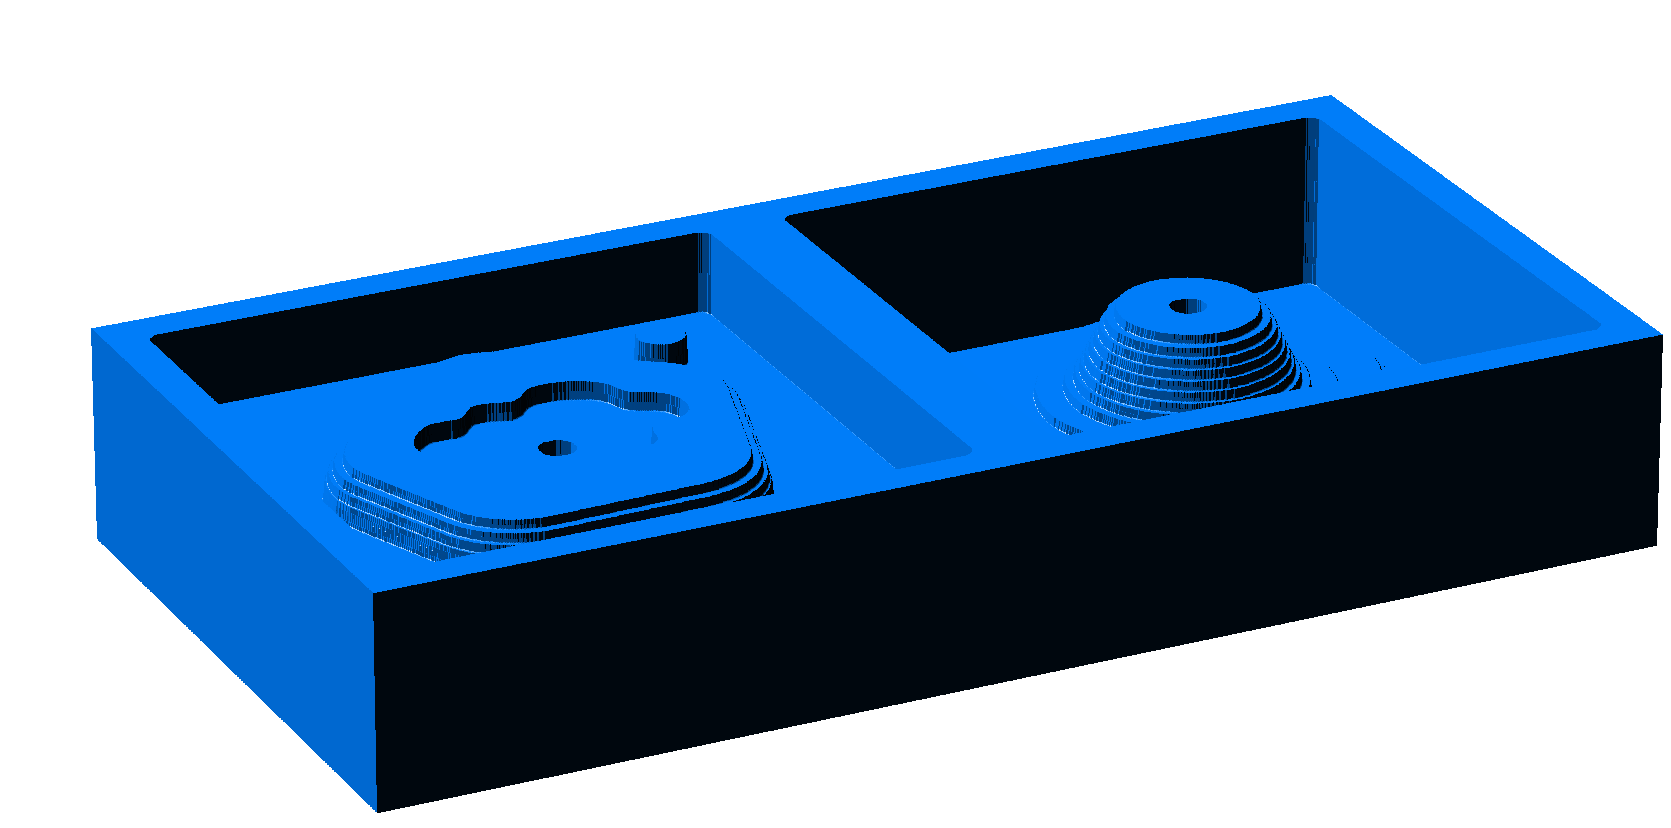
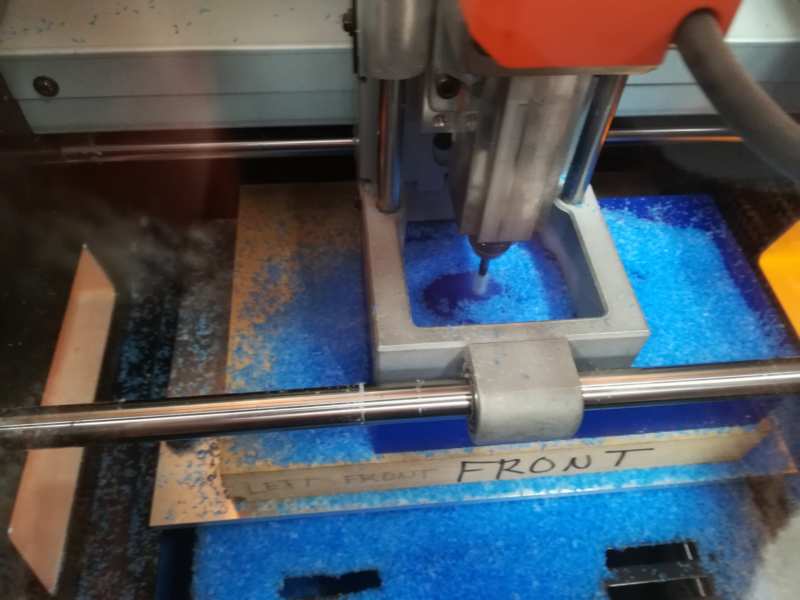
Cutting the mould
The material used is blue machinable wax. I will first rough the surface and then do some finishing also. I will use for both processes a flat 3.18mm diameter milling bit.
File > Open
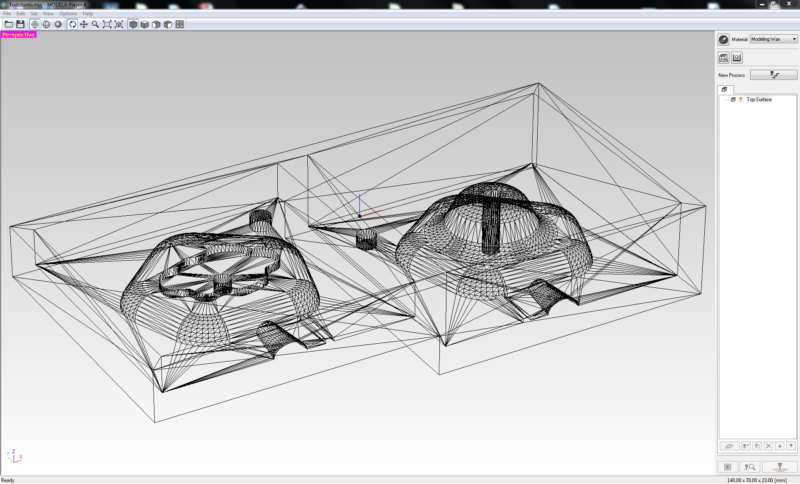
View> RenderingIt is a good idea to check with this image if all the details appear here
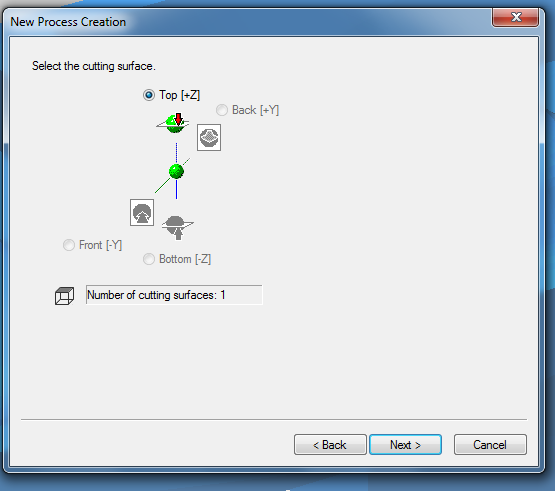
Set > Model
- Check top surface !! Select the correct one in the prompt
- Z axis is the blue one and needs to pint UP
- Origin: set the origo in the top corner
Set > Modeling form
- Margin: You can set offset (I set 0, the margins are in the design)
- Depth : no change
- Slope: no change ( to remove easier some difficult materials. For silicon not necessary; it could also be used to access areas that, due to the width of the bit, could not be accessible with vertical walls)
- Cutting area: no change
Options Add/Remove Tool If it is not in the software
Copy one, and then edit with the value 3.18 FLAT
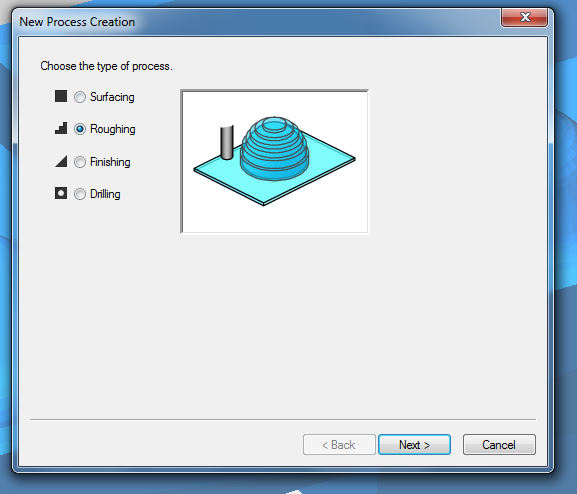
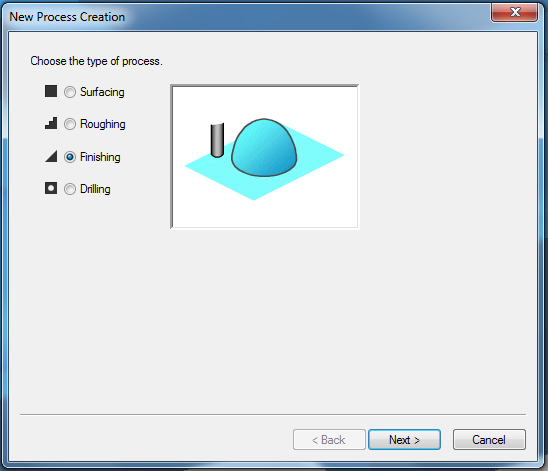
New Process Creation -
First roughing and then finishing
> Roughing- Cutting surface : top
- Tool for the cutting: 3.18 flat
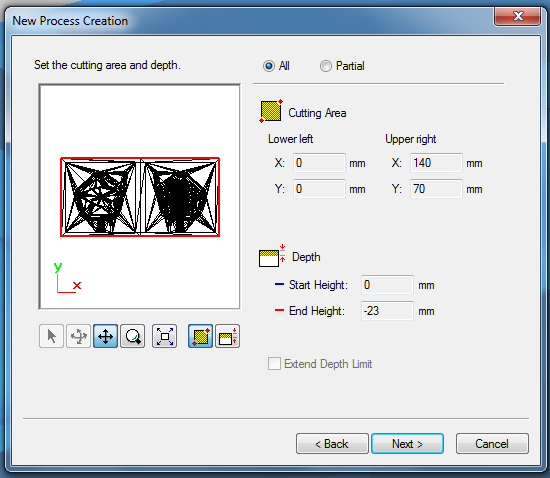
- Cutting area (how much you want to cut, usually all) and depth
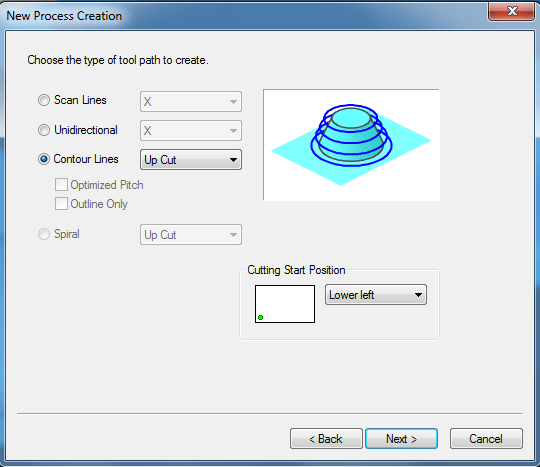
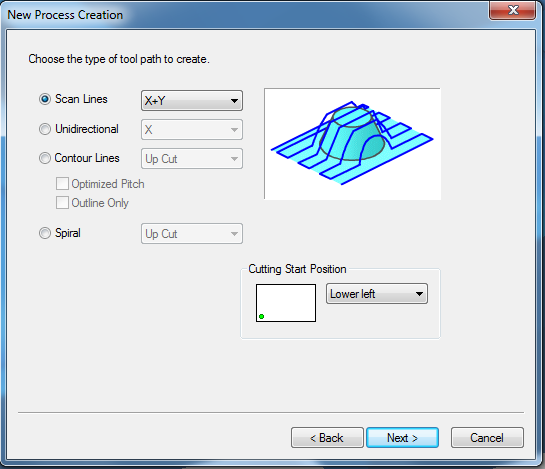
- Type of tool path: use contour lines
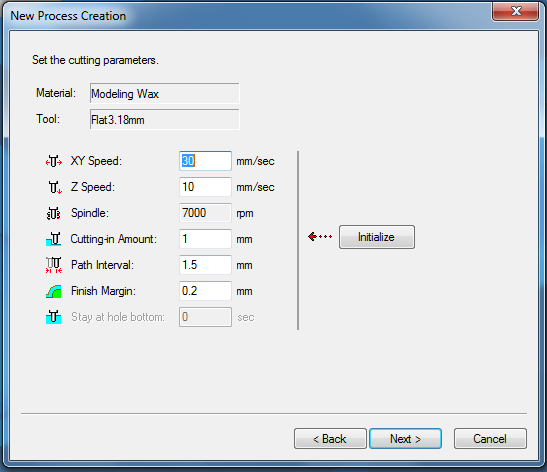
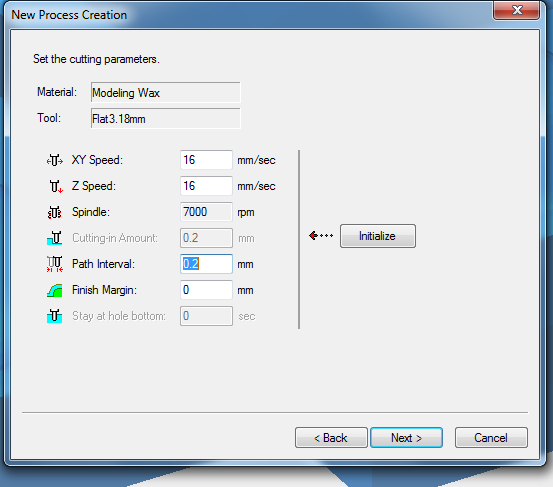
- set cutting parameters
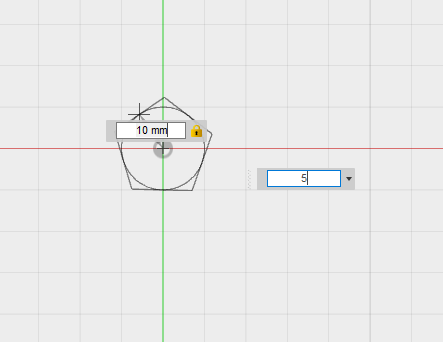
- Z speed: This sets the speed when the tool is lowered. 10mm/sec
- XY Speed: This sets the tool's speed of movement in the along the X and Y axes. It has to be adjusted for better finishes. 30mm/sec
- Cutting-in amount: cutting-in depth per cutting pass. Deep cutting-in amounts result in correspondingly shorter cutting times. But a cutting-in amount that is too deep may result in poor cutting. 1mm
- Path interval: interval between adjacent path lines. Smaller than the diameter of the milling bit you’re using. 1.5mm
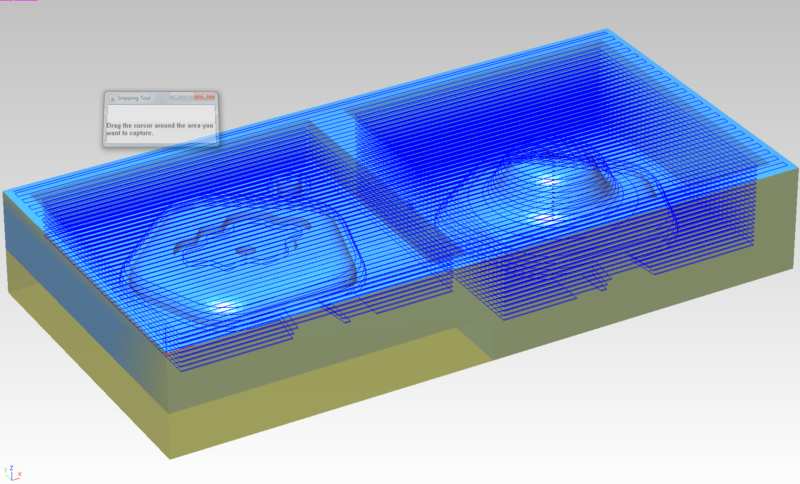
- Then Create Tool path, and simulate in Virtual Modula (click simulate in bottom right button)
> Finishing- Cutting surface, Tool for cutting, cutting area
- type of tool path Scanlines:X+Y
- set cutting parameters
- Z speed: 16mm/sec
- XY Speed: 16mm/sec
- Path interval: 0.2mm

These three steps work the same us in the Roughing above
(Check in the simulator,the result is better when passing through both axis)
NOTE: Define the origo with V-Panel for SRM-20 as described in assignment 5
NOTE: Remember the mill we are using for roughing has diameter of 3.18 mm It is not going to cut thinner gaps than those 3.18 mm. If you have defined gaps of less than 3.18 mm, they are not going to be cut. Then, if you may use a thinner mill for the finishing, it will try to go though those (assuming they have been cut) , and it will probably break. Some comments:
- The machine will first do the roughing and then the finishing. The software expects you to press continue between the two steps.
- In the Virtual Module, you can check an estimation of the duration of the process. For my model it was around 2 hours and a half.
The moulding and The casting
Moulding
We first need to cast the mould. I was first planning to try theSmooth-Sil 940 that is ok for casting food. But at the end, I did not have that much time, and the curing time is quite long for that material (24 hours).
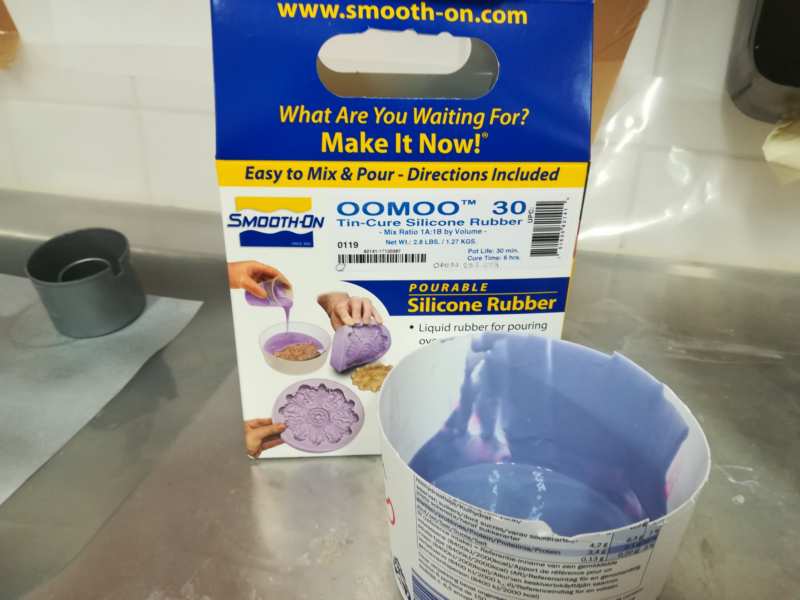
I ended up using the Oomoo 30 that has
- Pot life: 30 minutes (how long before pouring)
- Curing time: 6 hours (how long before ready)
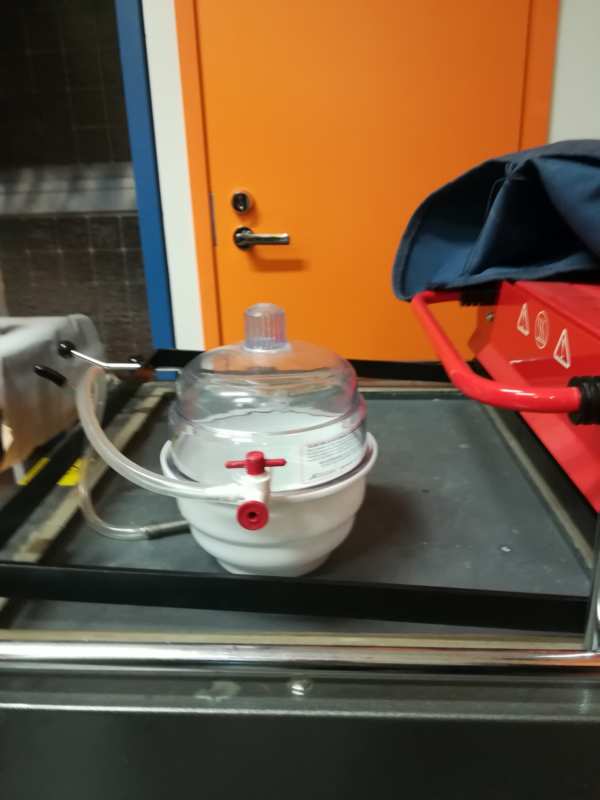
 Then we used the vacuum former to reduce the bubbles as much as possible. We just need to be careful with the curing time. We leave the mixture here 15 minutes.
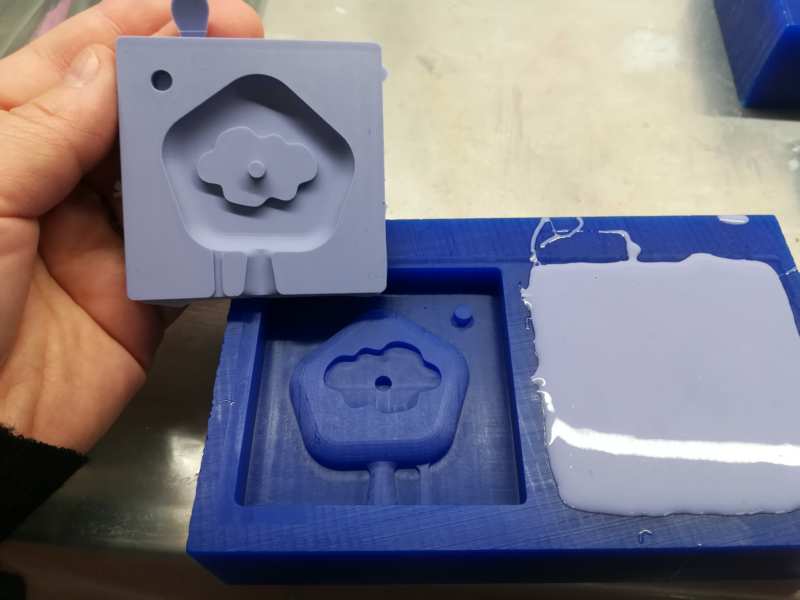
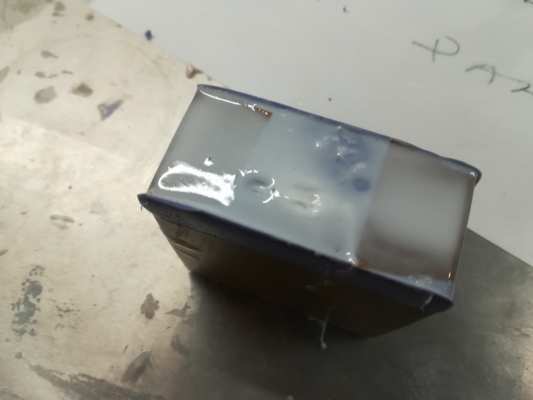
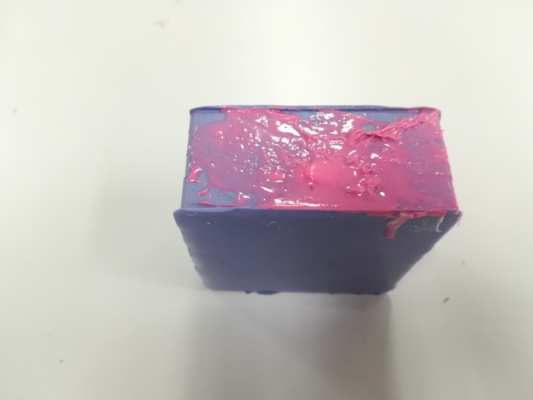
 Then I poured the mix in my wax mould. The biggest problem was the hole of the back part of the knob (see the third picture above). With a wood stick and patience, I managed to put the mix inside it. And cross fingers so it will turn out ok.
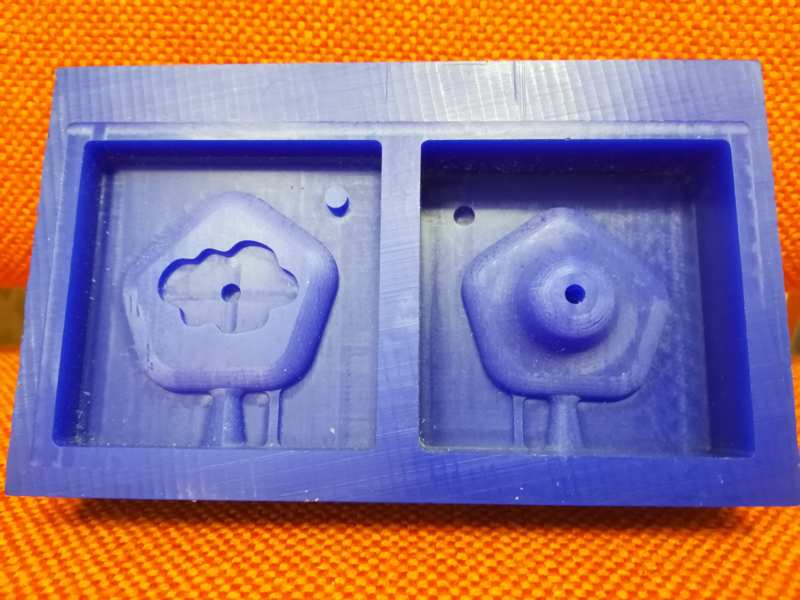
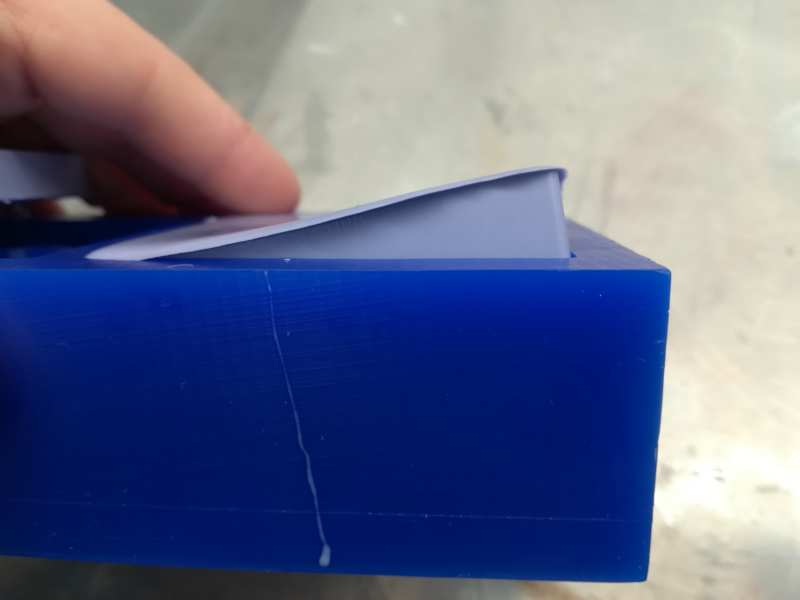
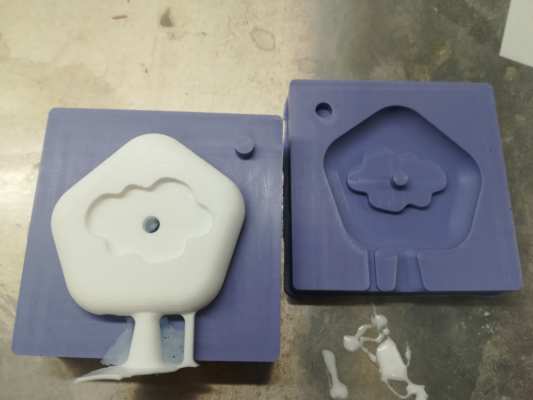
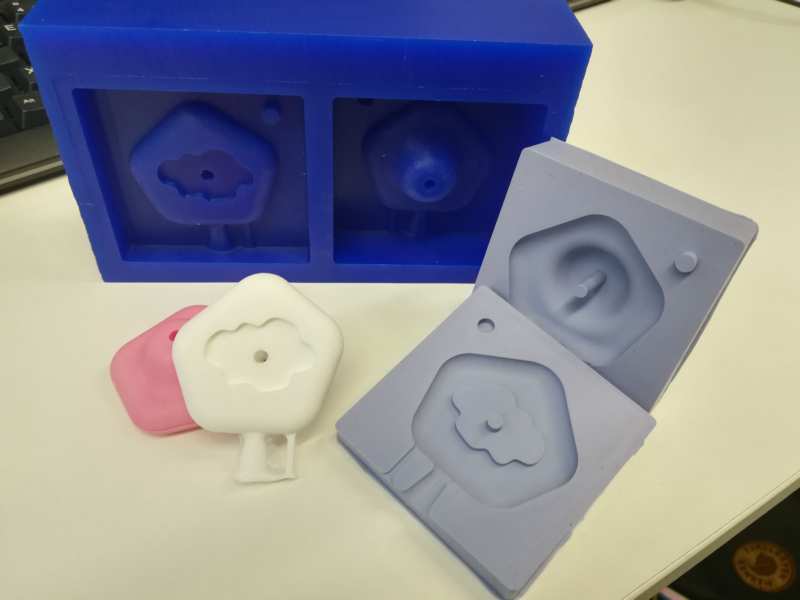
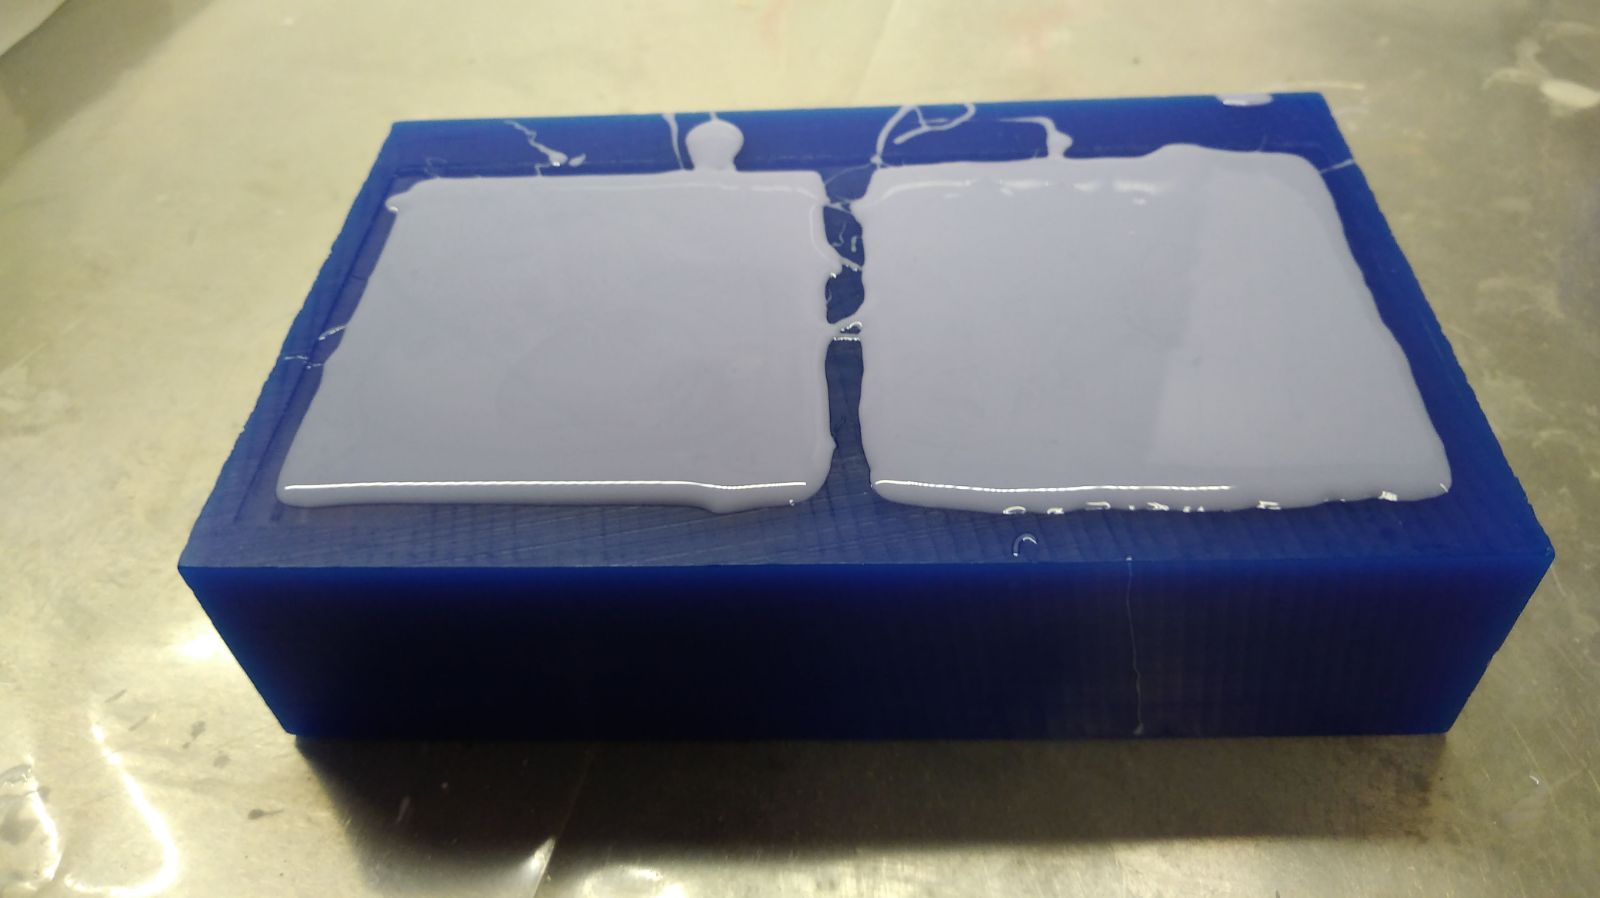 The result was quite nice!

Casting
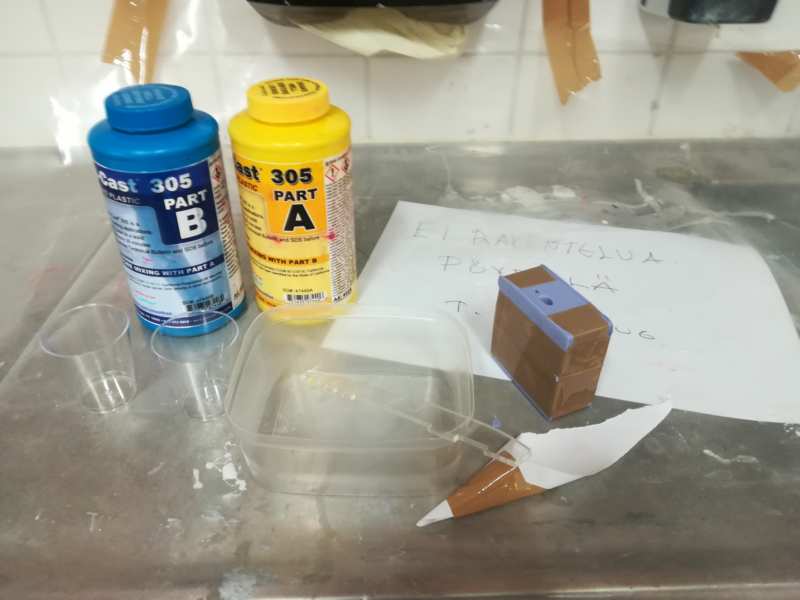
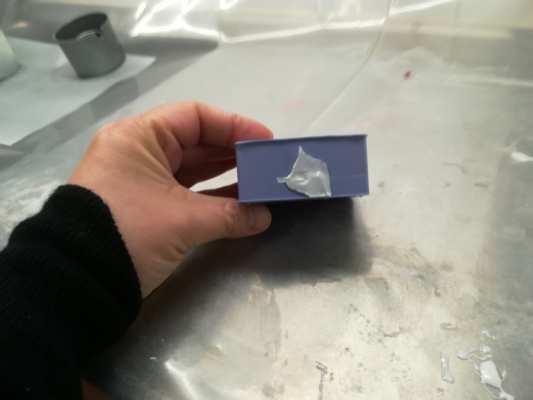
First, I tape the two sides of the mould together, to be sure it stays in the (I hope) correct position.
- Pot life: 7 minutes
- Curing time: 30 minutes
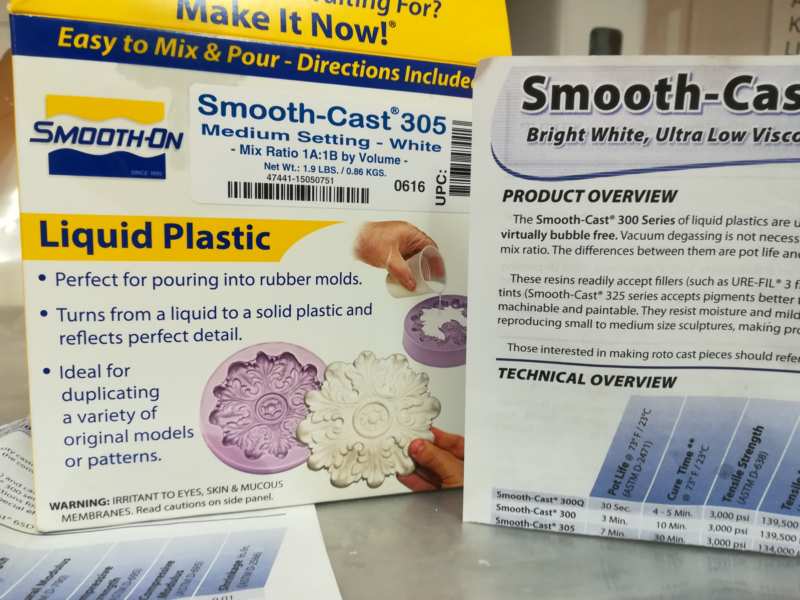
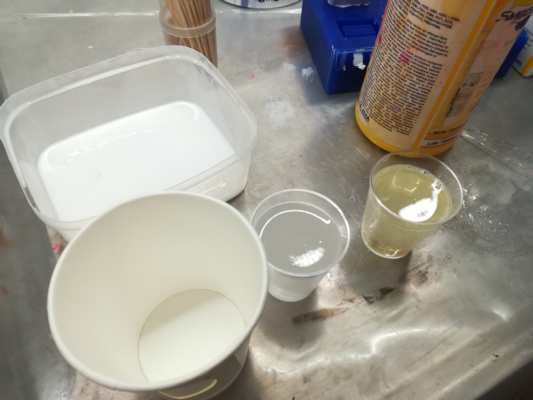
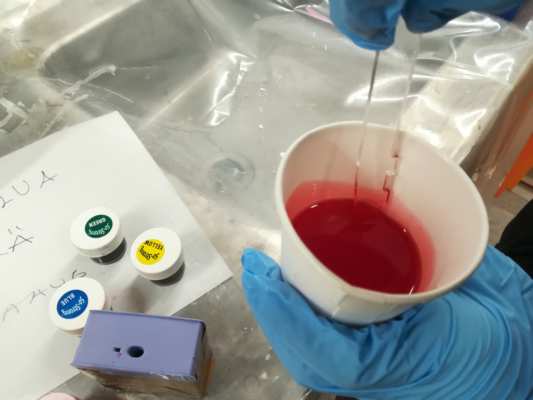
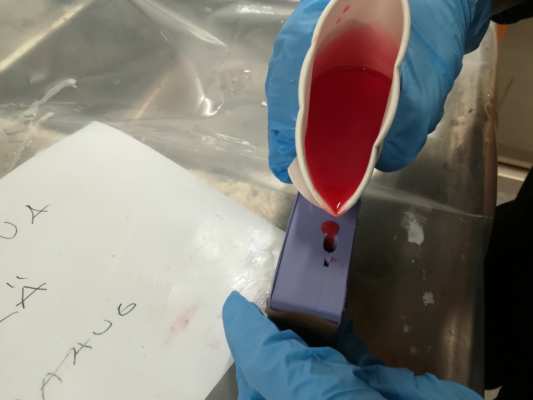
I get everything prepared. The liquid plastic is obtained by mixing the content of the two bottles in a proportion of 1:1. Then, I used a paper funnel to help to pour the mixture inside.
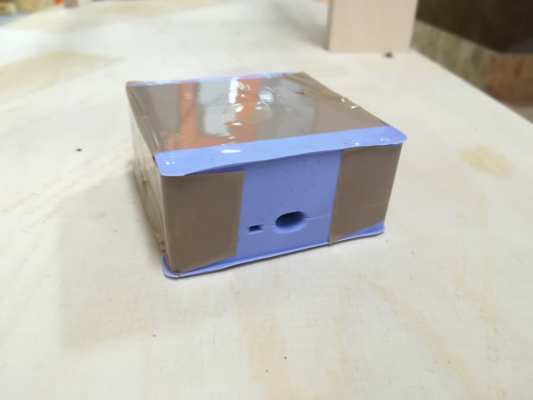
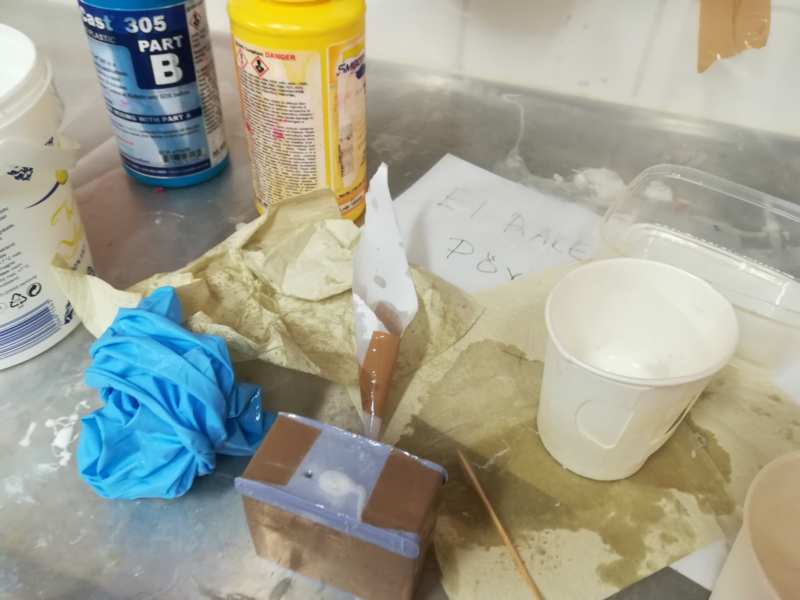
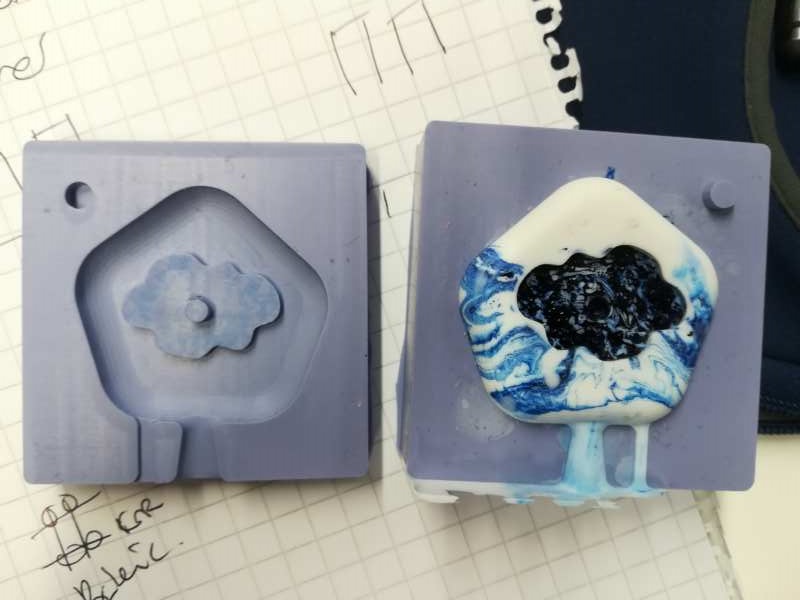
 I do not have pictures of the process, because I was alone. But this is how it looked when I was done. I used a wood stick to help the bubbles go out.
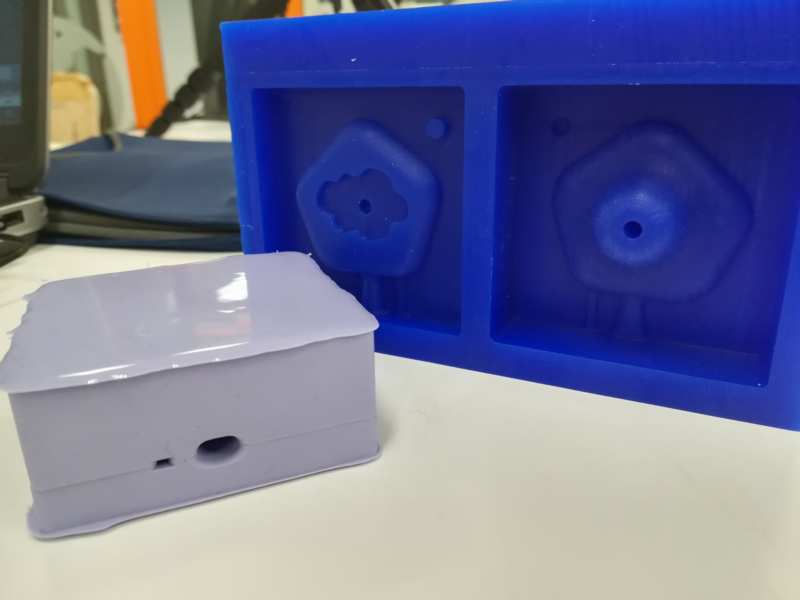
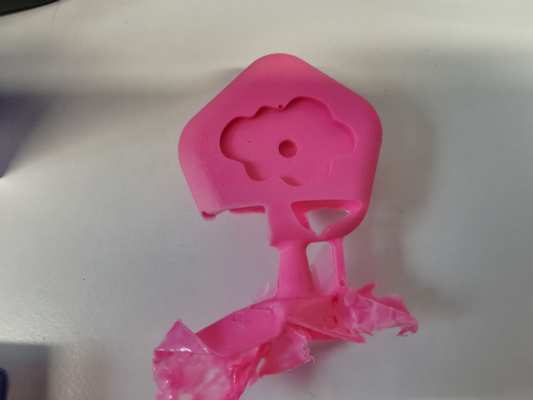
 After half an hour (actually, an hour) it's time to see the results!
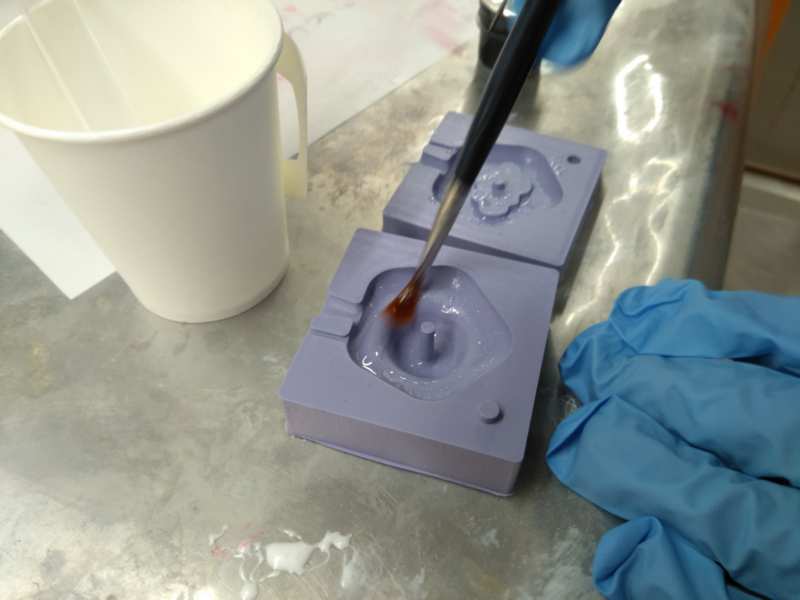
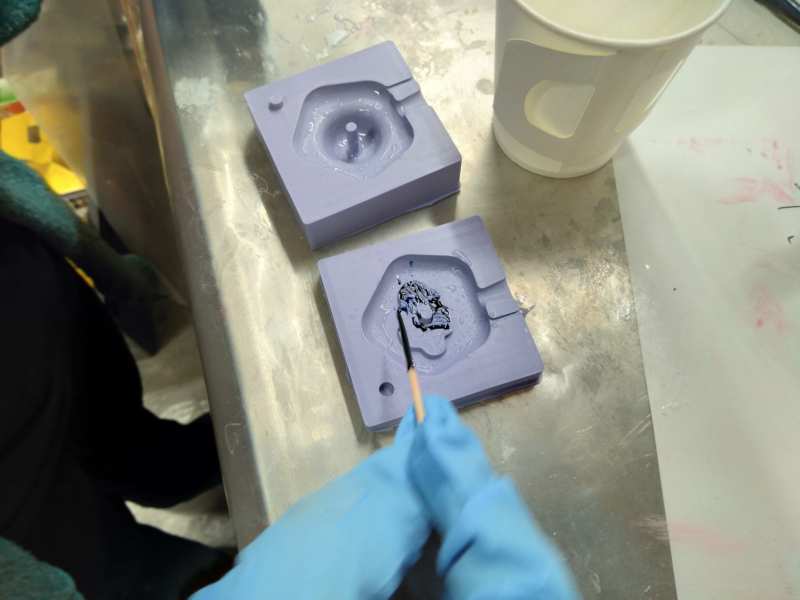
Finally, I also wanted to try some marble effects. This time, taking into account the poor result from the last casting, I decided to try using a brush to distribute the plastic liquid in the mould before closing it and pouring the rest of the liquid, as suggested by Neil in the week review. Then, I added some color to part of the mould, using a small stick of wood. I used the same brand of dye than before. I wanted to have the cloud in dark blue, and I was hoping to obtain some marble effect when the liquid take some colour when poured.

Resources
- Fusion 360
- Modela sofware
- SRM-20 milling machine
- Smooth-cast 305 Liquid plastic
- oomoo 25 Silicone Rubber
- PE wax block
- platic cups, gloves
- Smooth-On SO-Strong liquid urethane colorant
Once done
Summary
- I have designed my desired object (a knob) and explained how
- I have created the rough and finish toolpaths for machining and explained how
- I have made my mould and cast the parts
Difficulties
Learnings
- Pot life is quite accurate. After that time, the mixture is really getting thicker and thicker
Tips
- I would recommend to do more holes for the air to go out.