Assignment 15
2.5.2018
Topic: Mechanical design
Goals of this week:
- Design a machine that includes mechanism+actuation+automation (Group) (LINK)
- Build the passive parts and operate it manually (Group) (LINK)
- Document the group project and your individual contribution (Group) (LINK)
There were no individual assignments for this week so here you can find my individual contribution for this week´s machine project
Brainstorming the idea
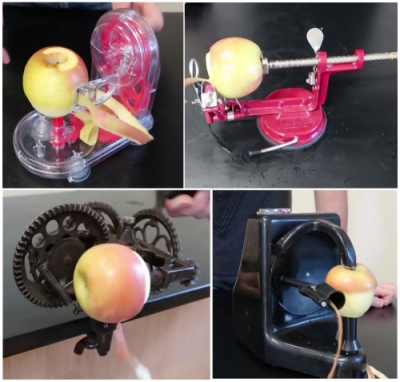
Our lab divided into two groups. Our group decided to create automatic apple peeling device. Before going any further, we researched more
about the device. I found following examples:
When we had more information about the possibilities, we had a brainstorming session for machine designing:
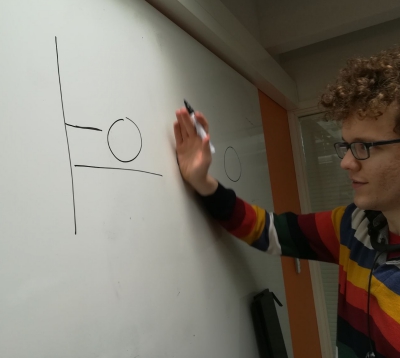
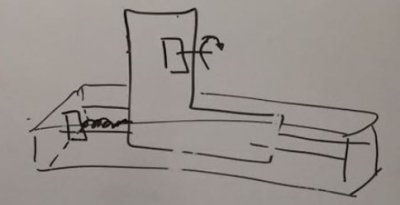
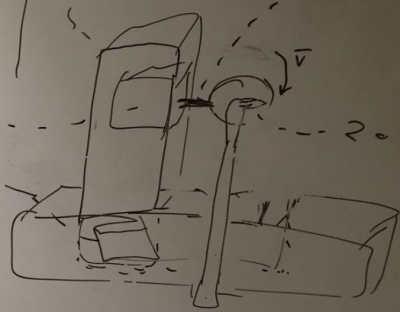
First, we visualized how the machine could work:
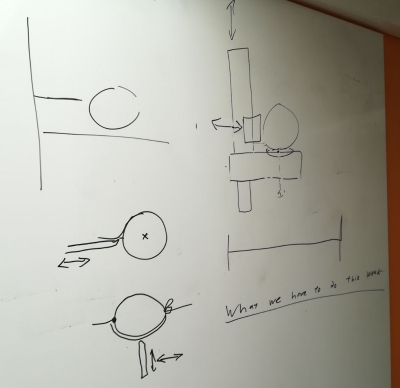
Then we imagined the apple peeling procedure from the start to finish:
According to our findings, I created two sketches about our machine:
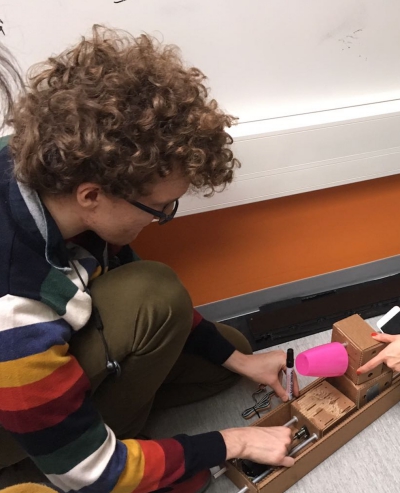
After this sketching session, we divided responsibility and began to create the machine.
Creating a dish
When the machine peels the apple, apple peels drop on the top of the machine. To protect the machine from the peels, I decided to create
a simple waterproof dish. First I tried to create the dish from a yellow 3mm vinyl plate:
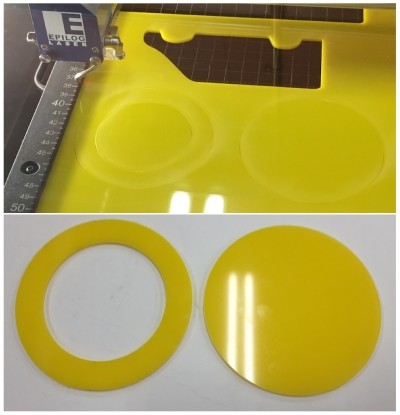
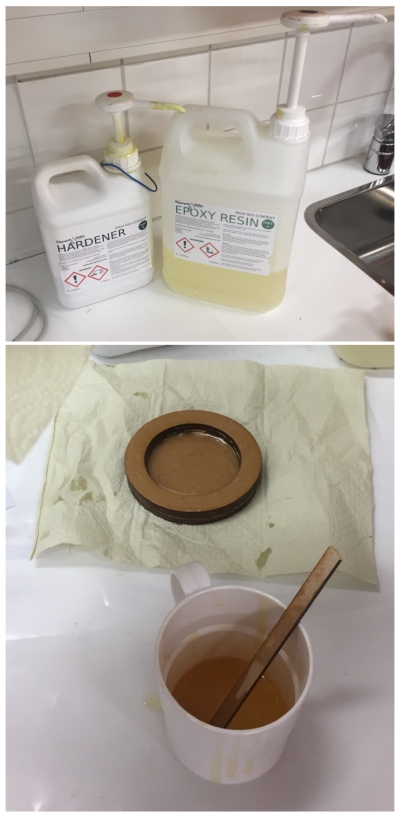
However, it was difficult to glue the pieces together so I decided to do same design with an mdf-pieces and cover them with an epoxy layer.
First I printed the pieces and glued them together with a paper glue:
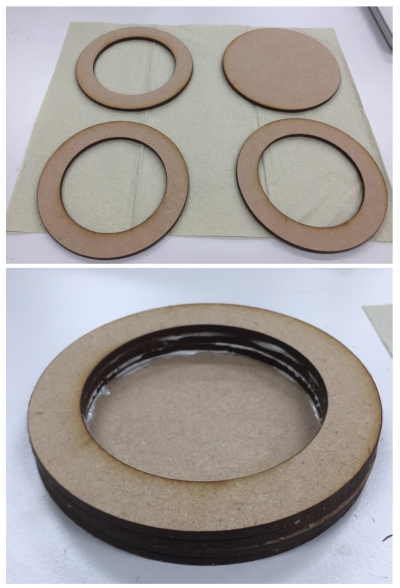
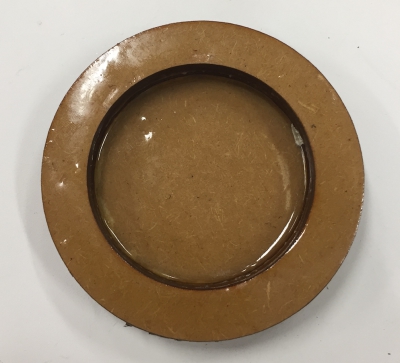
Then I mixed an epoxy liquid and covered the glued piece with it:
Next morning, epox had dried out and the dish was ready to be used:
Building a base for a stepper motor
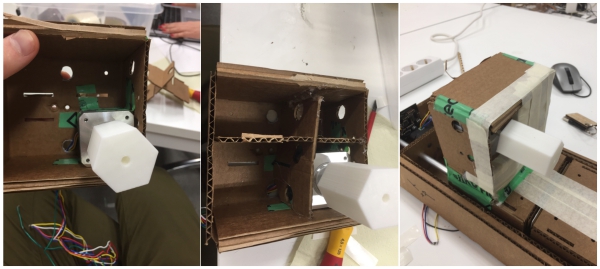
I built a durable container for a stepper motor inside of a cardboard box. First I used super strong tape to attach the motor to box. Then
I created cardboard dividers and attached them to box. Finally, I filled all empty spots with a wool and covered the box with a masking tape.
The box was now ready to be used:
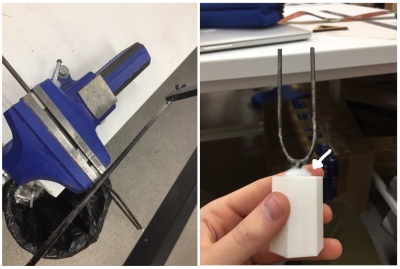
Creating a pitchfork
Next, I began to create a pitchfork which is used to pierce an apple. To do this, I acquired a sausage stick and measured its width with
a micrometer screw:
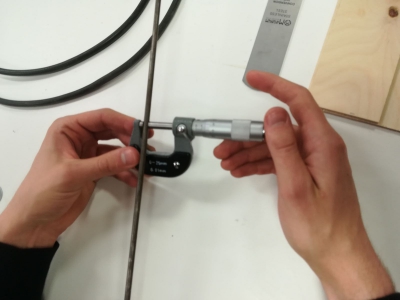
Next, our team 3D printed a clutch according to width measurements which we got from the sausage stick and the stepper motor. When the clutch
was ready, I cut the sausage stick with an iron saw and attached the piece to the clutch. To tight the bond between the pieces, I used a piece of
wool to wedge the pieces together.

FILES made THIS WEEK

This work is licensed under a Creative Commons Attribution 4.0 International License.