Week six: 3D scanning and printing
This week I learned a bit of mixing reality and virtuality with different tools, I learned to scan tangible objects into virtual models and the other way around printing the objects with 3D printing.
The first thing I did was to join with my teammates and print some "test prints" to see the capabilities of our printers. The first printer was a delta printer wich uses only 3 motors and is one of the fastest printers we have here in FabLab Puebla, sadly we only had PET filament for this printer wich, as the test print can tell, it's almost garbage, The holes, the star and the numbers failed, the only thing salvageable was the volumes, specially the inclinations.
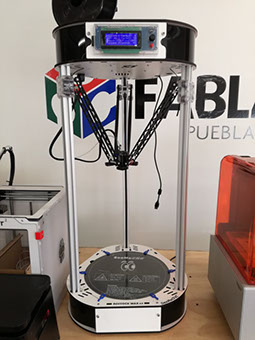
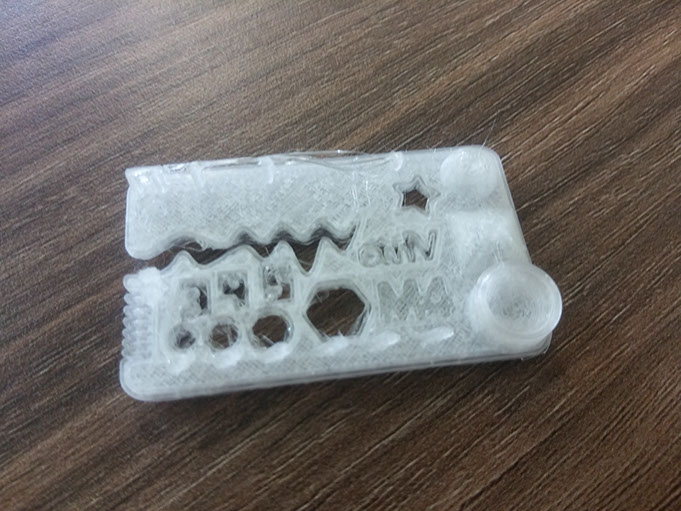
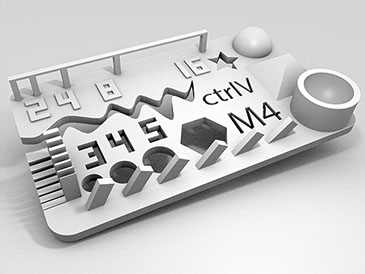
The test print is a model that has multiple complex designs made to put your printer to the limit so you can calibrate it and ultimately understand its limits so you can base your designs on your printing capabilities.
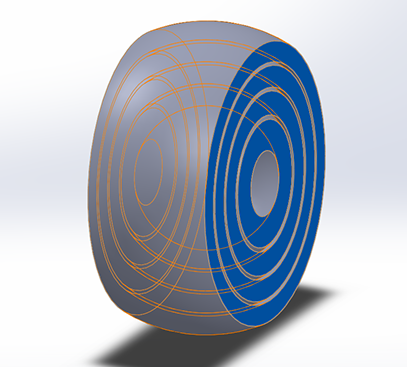
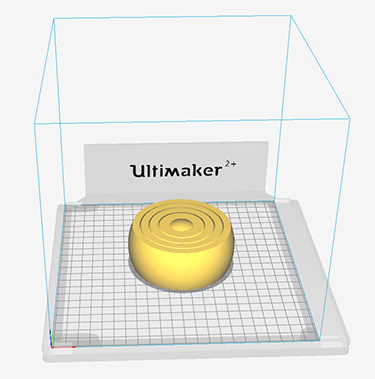
For my 3D model I struggled a bit becouse I was thinking in something really complicated, but I decided to go for something more simple and witty that could only be made substractibly. I started by tinking of joints, a ball joint would be something cool and its something that gives you a lot of degrees of freedom with the less parts, and then it hitted me: a ball joint inside a ball joint...inside another ball joint...INSIDE ANOTHER BALLJOINT.
I used CURA for printing this part (you can get the free software here: https://ultimaker.com/en/products/ultimaker-cura-software) becouse it's really easy and I had someone to teach me.
- For importing a file in cura click in the folder icon on the top-left part of the screen.
- This is for moving the model along the work space.
- This is for scaling your model.
- This is for rotating the model, as you can see below, when you click this button 3 rotating axis appear so you can place your model in the best position for the print.
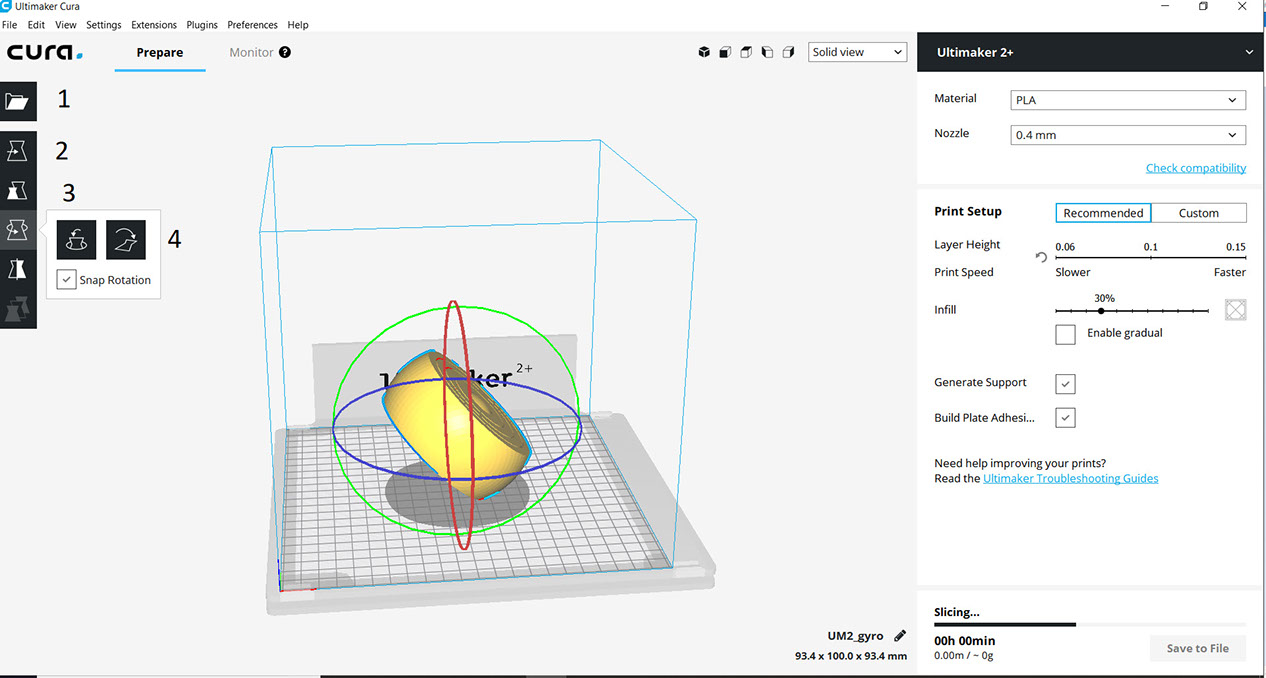
After you place your model where you want to you have to set the print parameters, choose the material and the nozzle diameter, in this case it is PLA with a 0.4 mm nozzle. As I'm not that experienced with 3D printing I like to keep everything as stock as possible, so I leave the setup in recommended, the infill for this print was 30%, theres no support needed but the adhesive plate is allways important.
You can view the estimated printing time and weight on the lower-right corner, click on save to file and save it in an SD card.
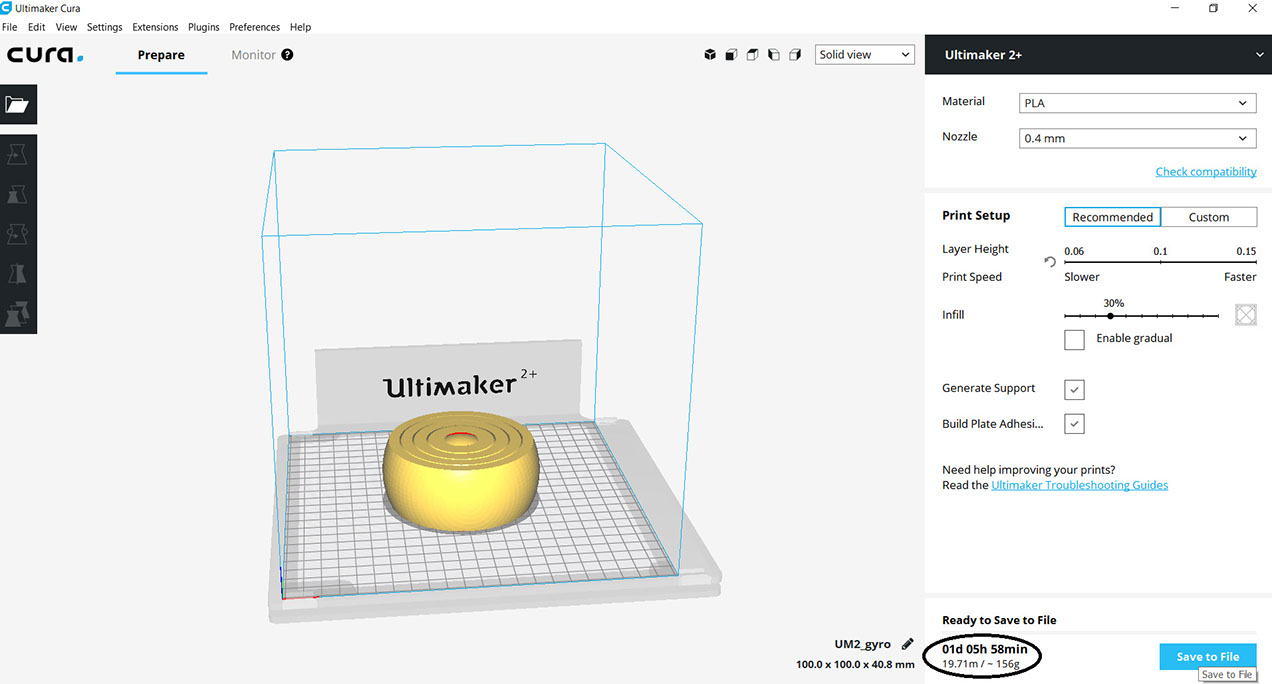
The printing was about 3 hours so I left it printing while I made another test print in another printer.
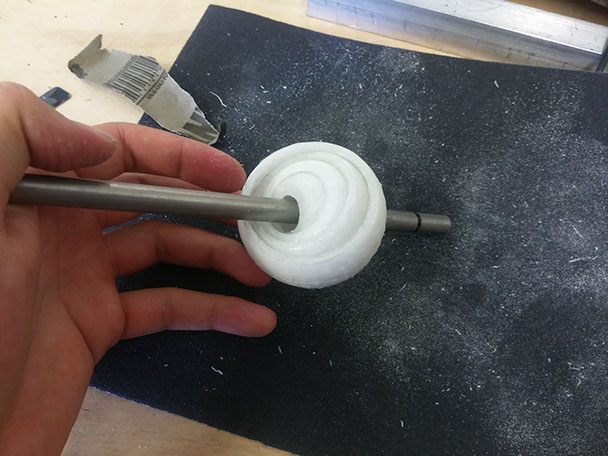
The result was a solid print with a lot of burr, but after a lot of cleaning, sanding and forcing it I was able to make it work. I actually had to crack it loose with a bar. The problem was the material, because of the poor quality of the print it lef some tiny strings of material which made the whole thing solid instead of leaving the necesary space for it to have movement.
I didn't want to stop there so I changed the parameters and used another printer to get my model working without any post-work.
The test print was way better in the second printer wich is a Sindoh 3D Wox using PLA.

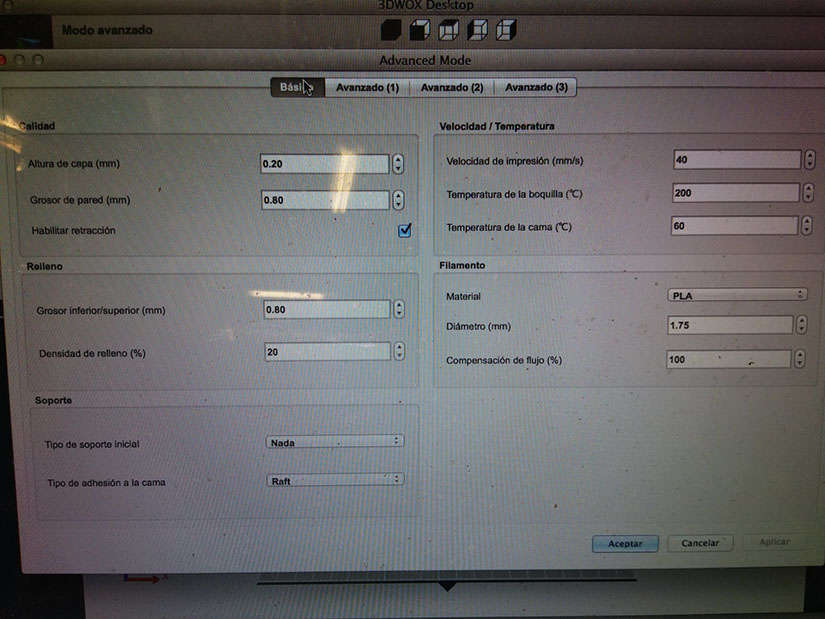
These are the basic parameters I used and for the advanced settings I left them as default.
This print was a bit longer, it took a bit more than 4 hours but the quality was drastically better.
In this print there was no need to do any post-work on the part and it rolls smoothly.
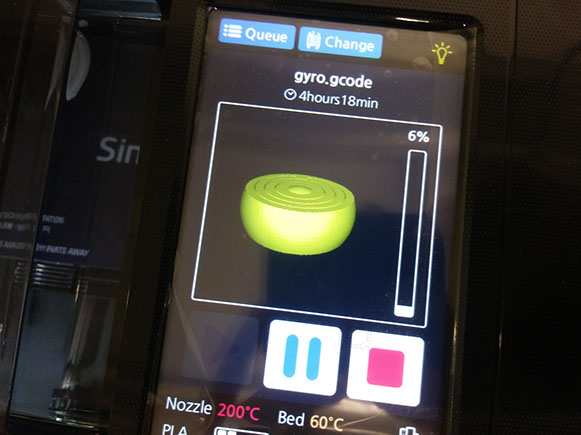
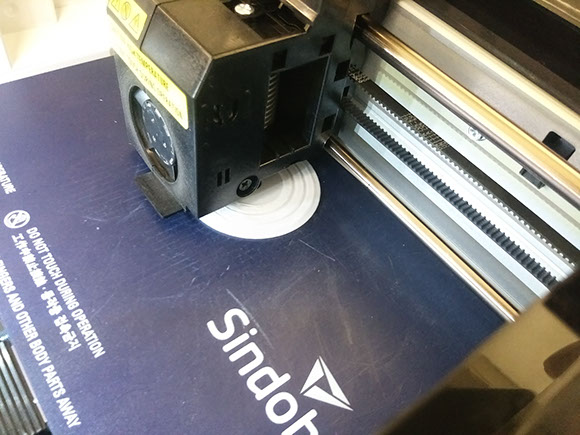
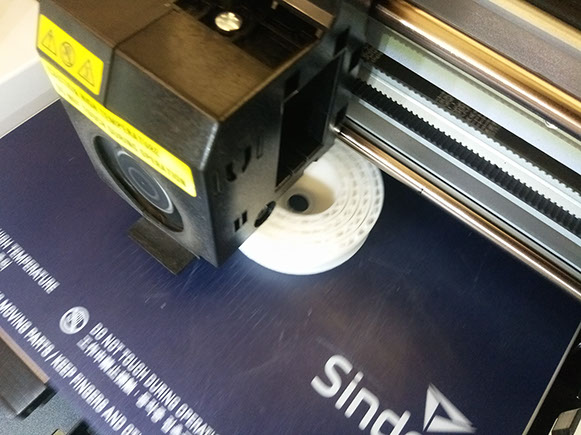

This part can only be made by 3D printing because of the small separation between discs, no cutting or laser machine could do that curved separation so small, it is just enough for the parts to rotate freely and not to fall apart.
3D scanning

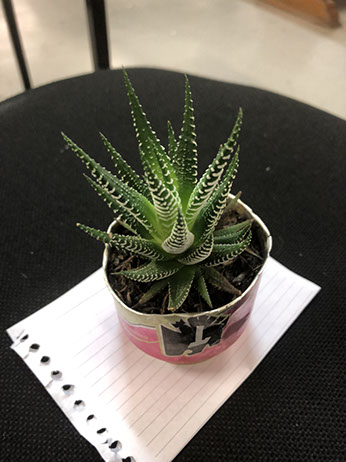
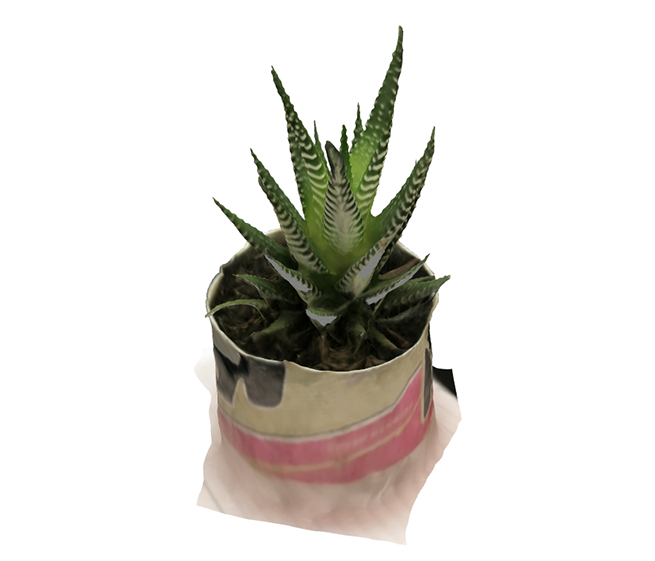
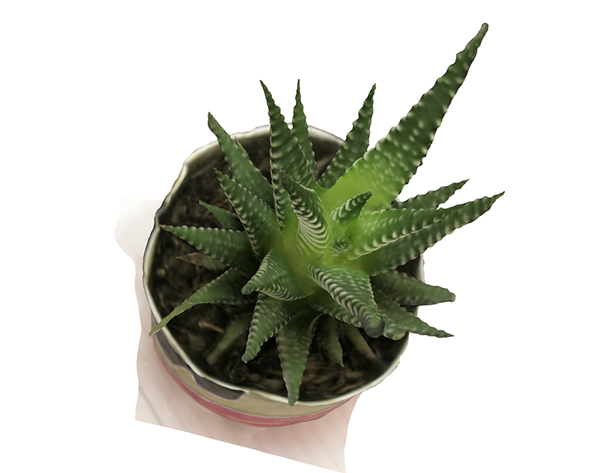
For 3D scanning I wanted to compare a few methods, I used a little plant I have over my desk that has spikes to really test this scanning methods.
The first method was with my phone using SCANN3D app, it uses the camera to model a 3D version of whatever you're taking pictures of. The app gives you instructions on how to use it.
The app is free to download but all the important stuff like exporting and printing is blocked, so it's not entirely free.
THE RESULT:
PROS
- You can do everything in your phone
- Easy to use
- Free to download
- You're 3D scanning with your phone!!!
CONS
- Poor quality
- Takes a lot of time to model
- Pay to export
- Crashes a lot (at least on my LG X screen)
(To export the 3D object you have to pay, so no downloadable content)

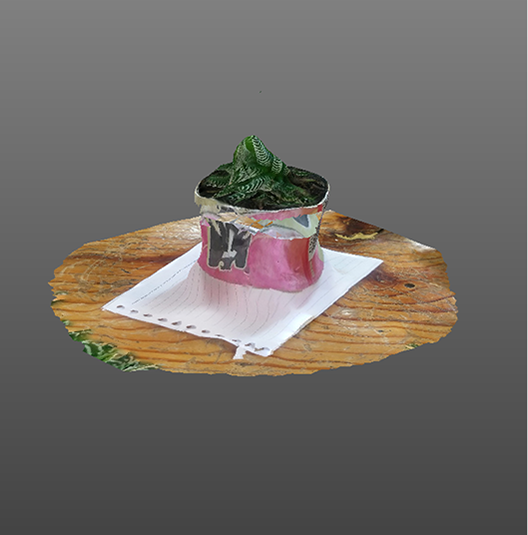
For the next method I used Autodesk ReCap which is short for Reality Capture, this is a software that uses photos to collect data and build 3D models.
I used the student licence so I could download it for free (the instructions are on Autodesk page).
This method wasn't as user friendly as SCANN3D but boy o boy the quality of the model is astonishing.
At first I thought I would need to pick another object to scan becouse of the complexity of the spikes in the plant, but ReCap really delivered way more than I thought.
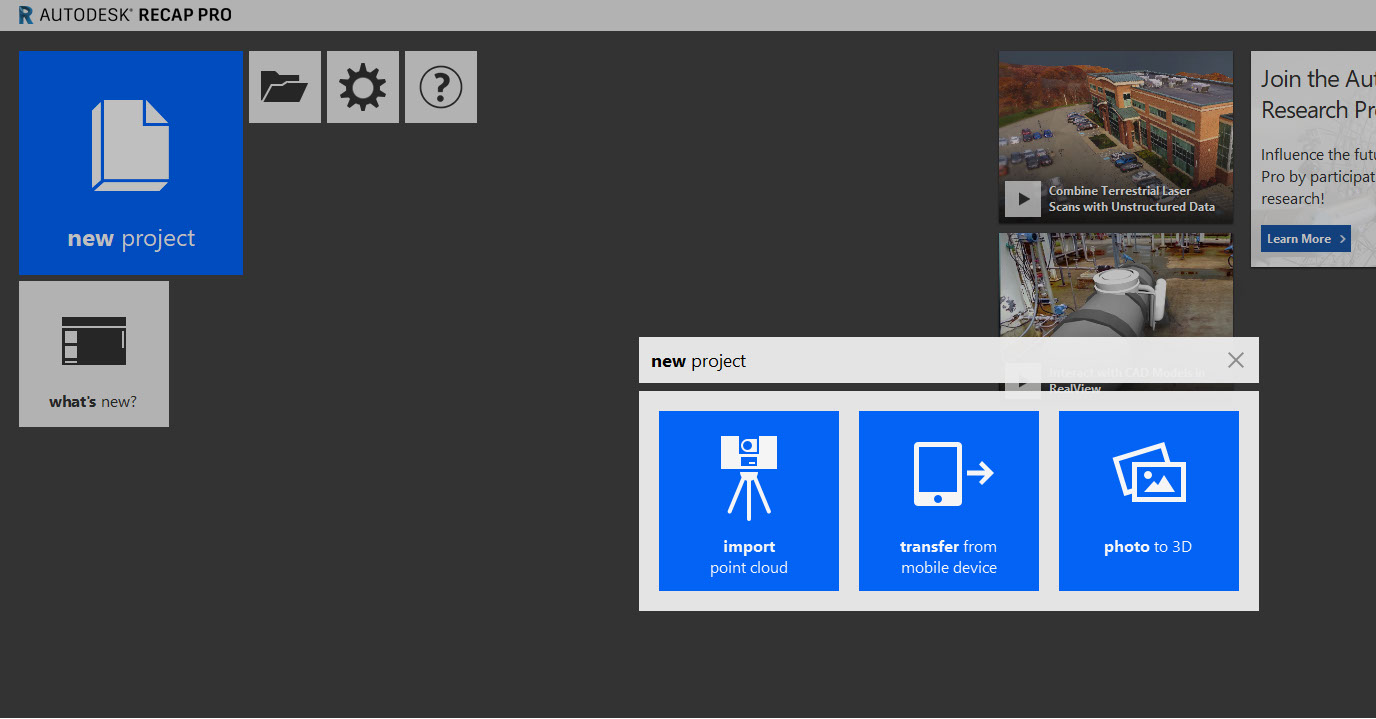
- First open Autodesk Recap Pro, select "Photo to 3D".
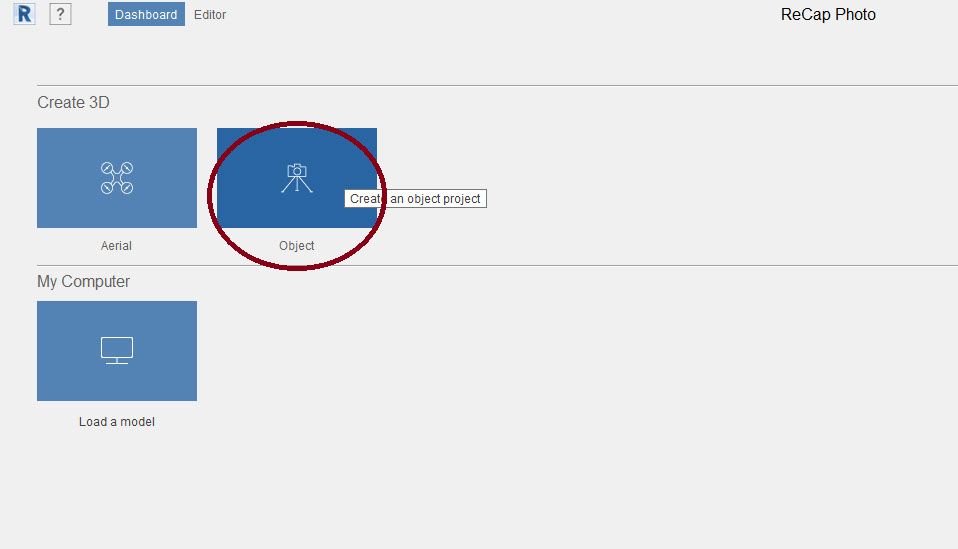
- Click "Object" in Create 3D.
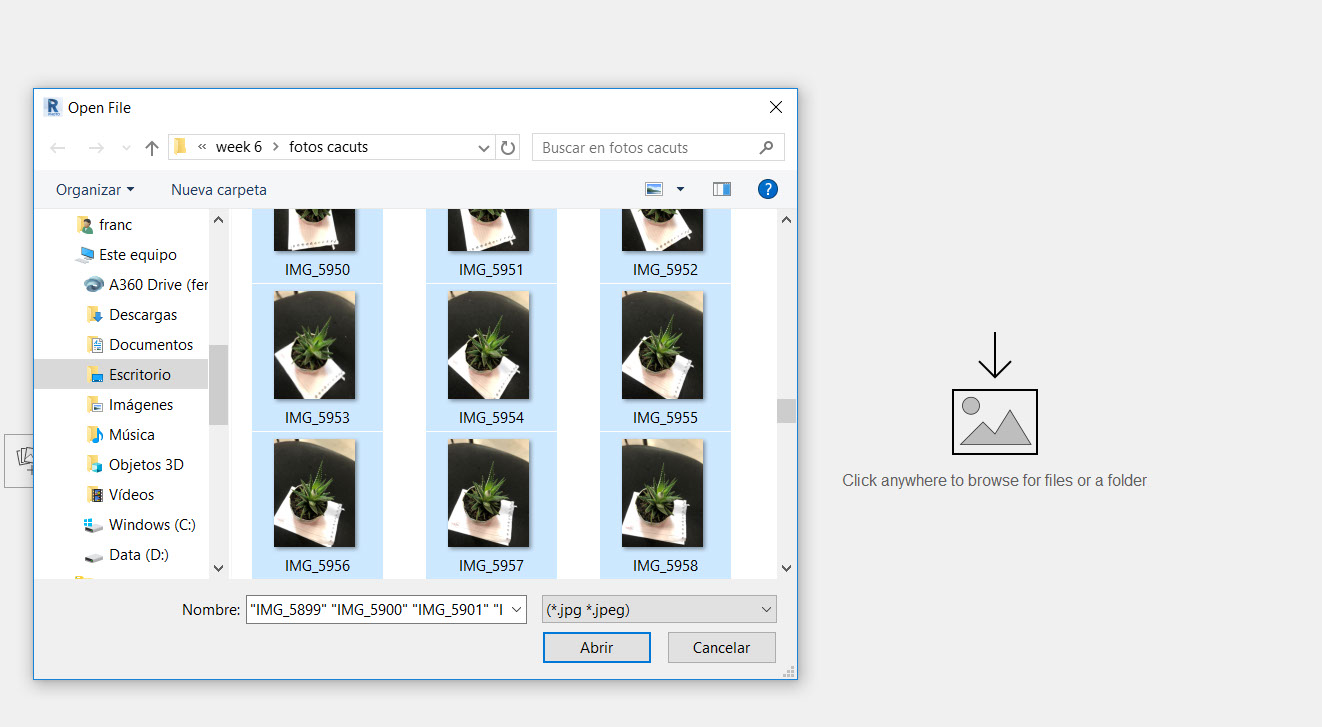
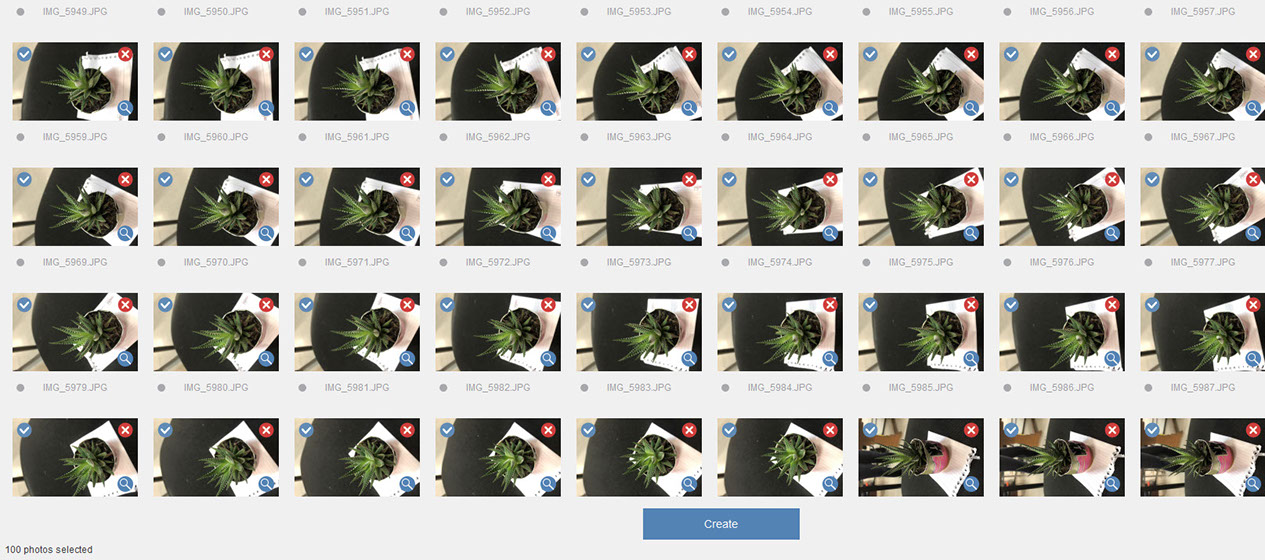
- Browse the pictures you took (I placed my plant on a rotary chair and used "burst mode" on my phone.)
- Click "Create".
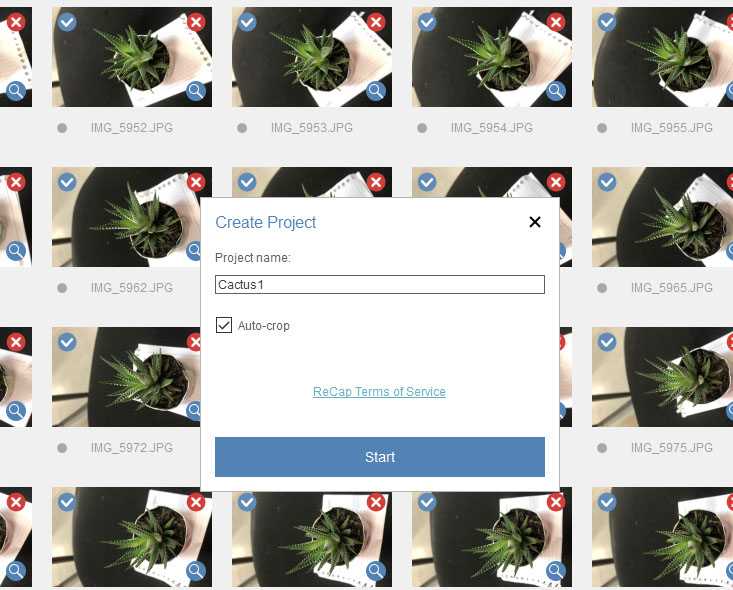
- Choose the name of your file, check the box "auto-crop" and click "start".
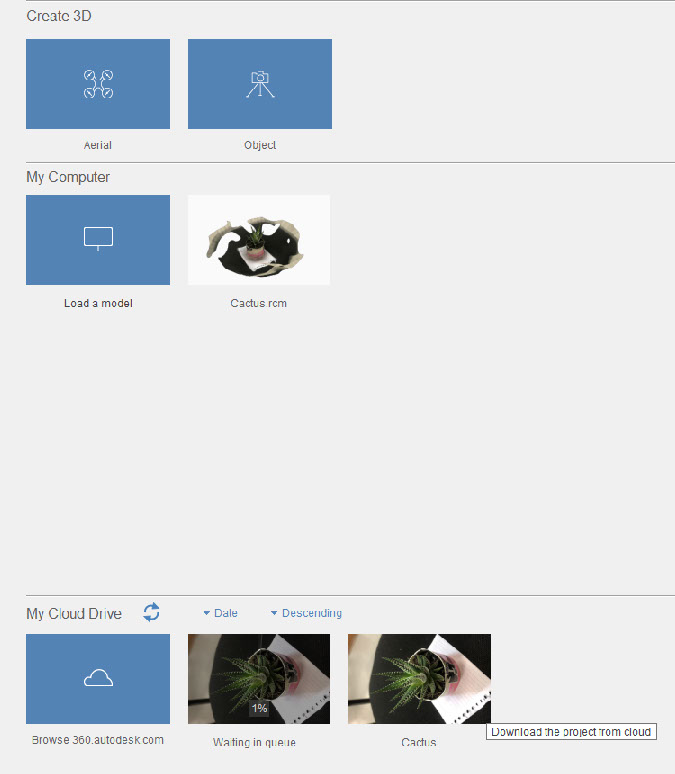
- You'll be able to see your file in "My computer" as an ".rcm" file, open it.
- Use the tools to crop the parts you want.
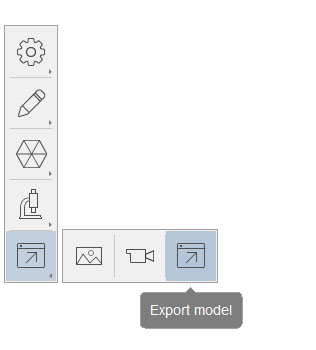
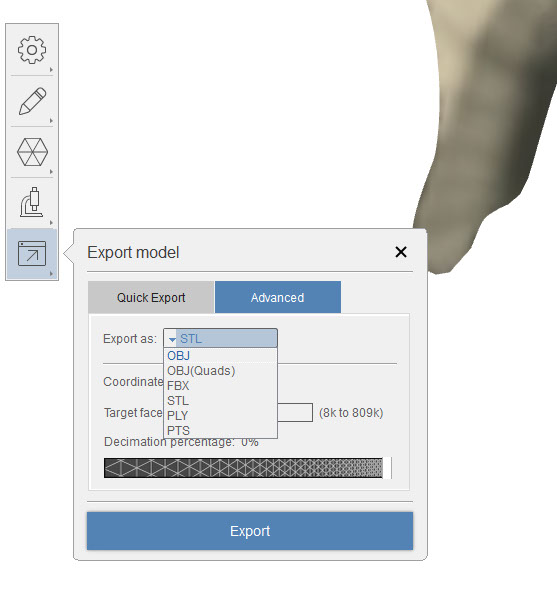
- Click on "Export model" and choose the format you want.
- Click on "Export".
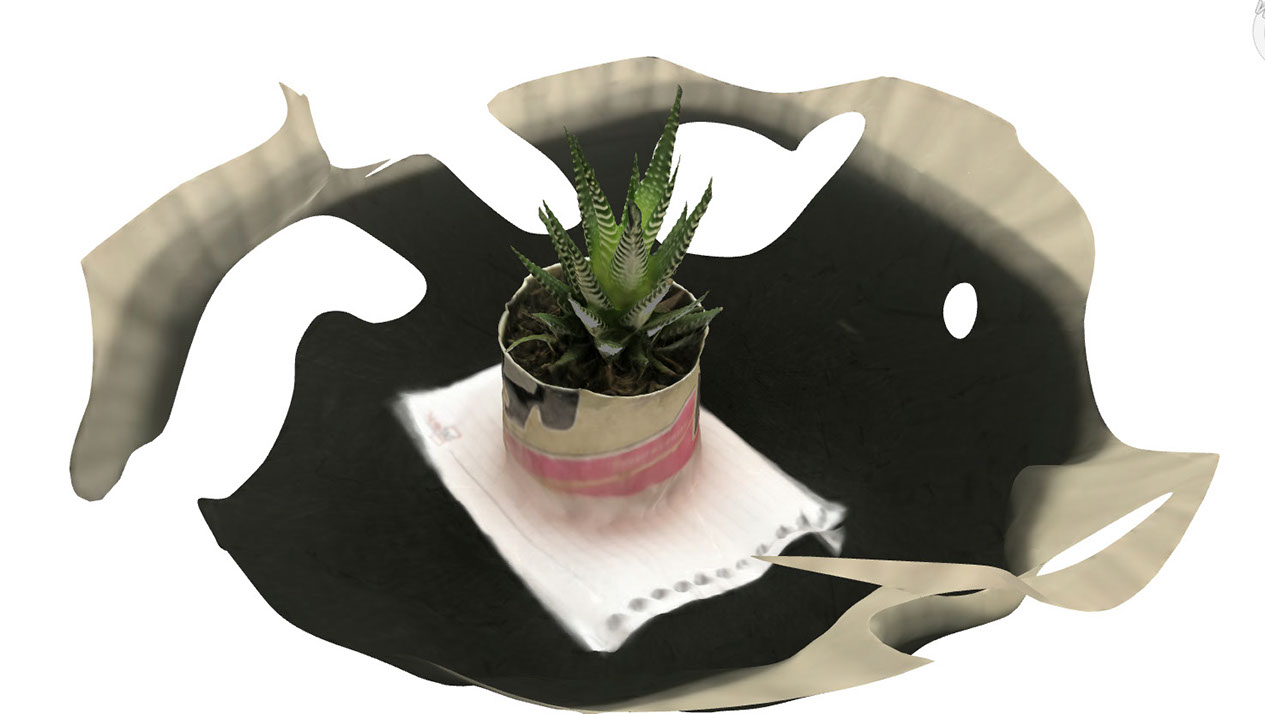
THE RESULT:
PROS
- Very hight quality
- Easy to use
- Free to download (with educational licence)
- 3D scanning with pictures
- Exports to OBJ, FBX, STL, PLY and PTS.
CONS
- Takes a while to load
- Not completely free
- Mouse handling is super awkward
- You need a lot of photos (this model took 50)

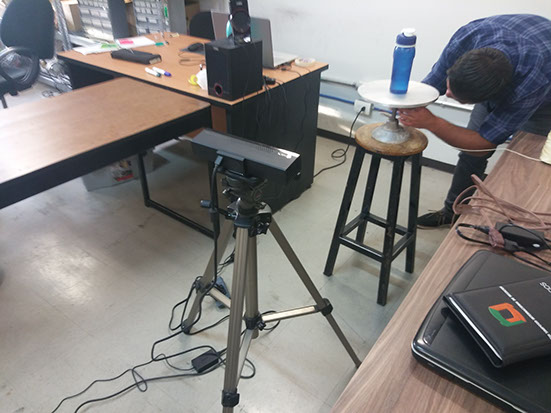
I also tried to scan with a KINECT but could never get the thing to work, maybe problems with the drivers or something wrong with the KINECT becouse I tried in diferent computers with no luck.
It would have been nice to compare this last method to ReCap to see which one is the best.