Week sixteen: Wildcard (Silver casting)
For this week I chose to make a 3D printed wax piece and then cast it to silver to give it to my girlfriend.
To design the piece I took the design of the hummingbird from this page: https://3axis.co/nice-tribal-hummingbird-tattoo-design-dxf-file/d1lqnz7m/ and the circular pattern from: https://ar.pinterest.com/pin/444378688226879123/?lp=true.
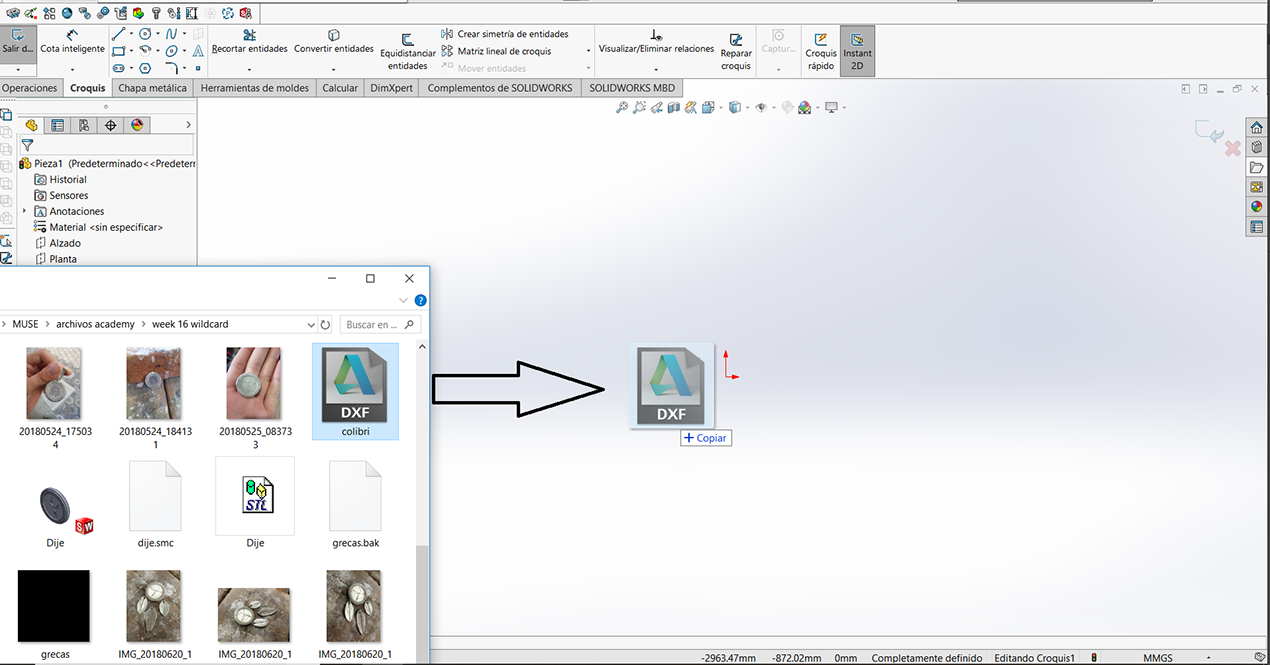
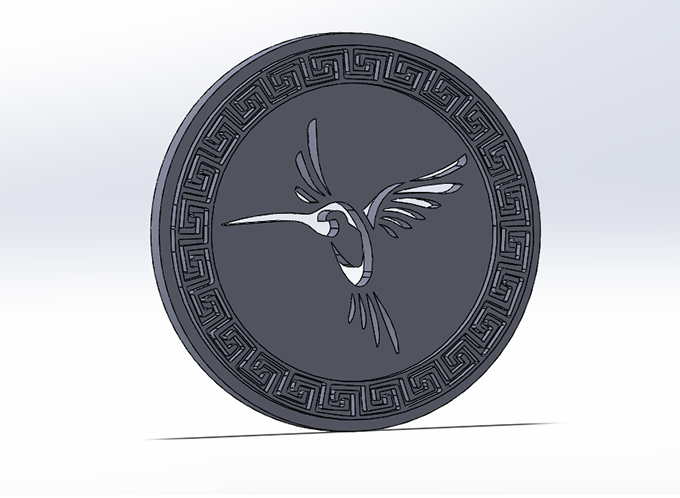
I downloaded the DXF designs and pasted them in a coin designed in solidworks.
To paste a DXF file in solidworks simply open a sketch, click and drag your DXF file to the open sketch.
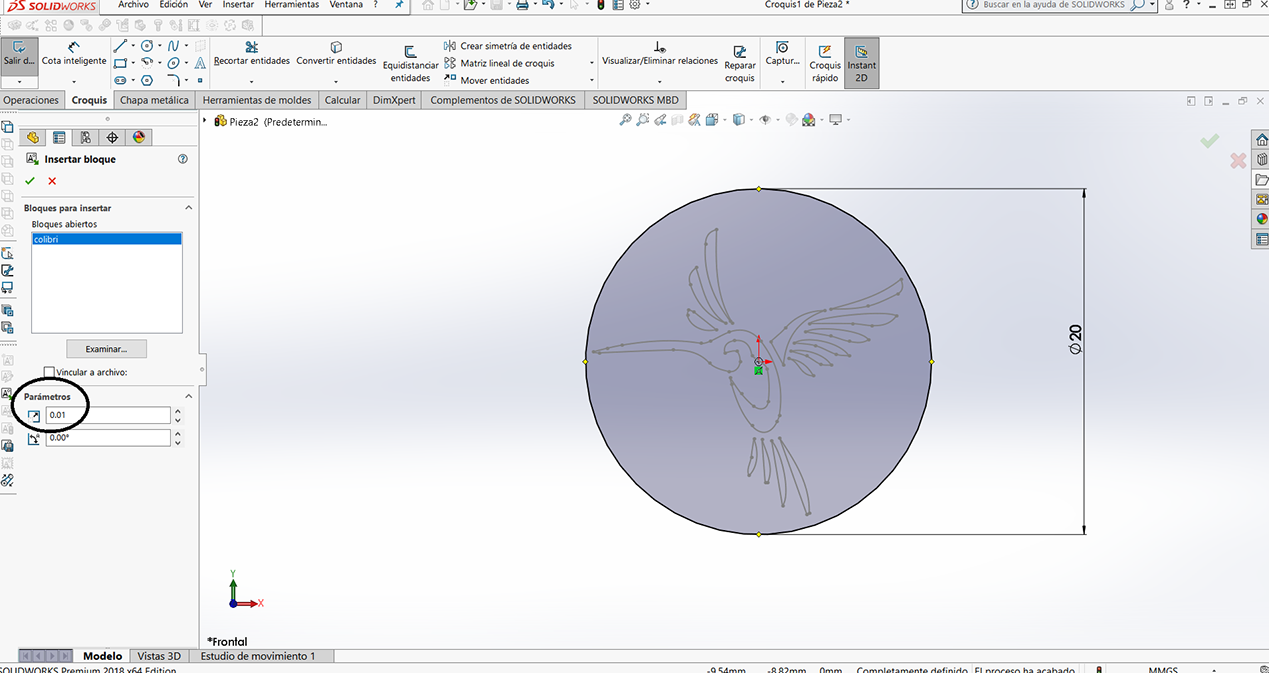
Make sure you have something already with dimensions so you can use it as a reference, the key for this is to use the "scale" tool because the DXF is probably way out of scale. I did the same with the circular pattern.
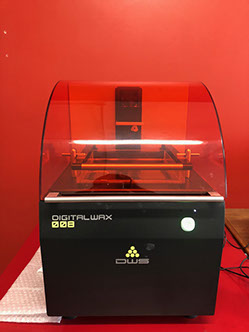
I then exported the piece as .stl and sended it to the FAB 2500SD DWS 3D printer.
The specs for this printer are:
- Cylindrical work area: ø 180 mm.
- Compact design for desktop use.
- Printer with “Plug and Play” USB connection.
- Simple and intuitive interface.
- Patented work platform with instruments for easy removal of models.
- TTT (Tank Translation Technology) patented system, which optimises the tank consumption, increasing its duration.
- Automatic heating system and material temperature control.
- BluEdge® proprietary laser.
- No calibration required.
- Proprietary 3D editor: NAUTA® XFAB Edition with automatic generation of support structures.
- Parametric technology.
- Simplified support removal, with no risk of model damage.
- Wide range of importable 3D formats.
- Fictor® XFAB Edition printer management software
- 3D Printing Method: Laser Stereolithography
- Working Area: Ø 180x180 mm
- Laser Source: Solid State BluEdge® BE-1300X
- Slice Thickness* 10-100 microns
- Scanning Method: Galvanometer
- Software: Fictor® XFAB Edition, Nauta® XFAB Edition
- Input File Format: .stl, .slc, .nauta, .fictor, .mkr, .3dm,
- Machine Size: 400x606x642 mm
- Operating Temperature and Humidity: 20°-25°C / 60%
- Power Supply: 24V DC with AC 240/100V / 50-60 Hz external supplier included
- Operating System: Windows7 or higher
- Memory: 2 Gbyte
- Graphics Card: compatible with OpenGL
- Connectivity: 1 active internet connection
- Recommended Configuration: Dual Core Processor or above, memory 4 GB
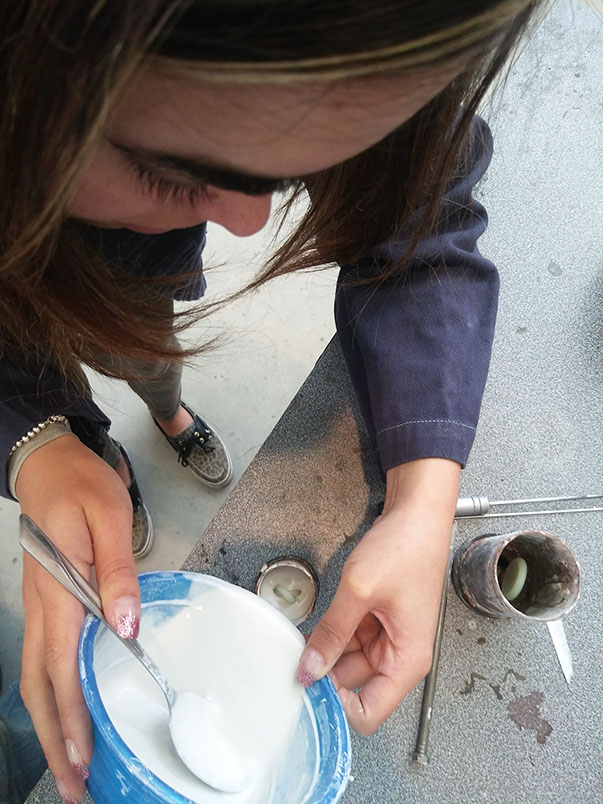
The process for casting with plaster is really easy, first you have to paste a piece of wax so the mold has an opening for the silver to enter, then you have to put the piece inside a tube and seal the base.
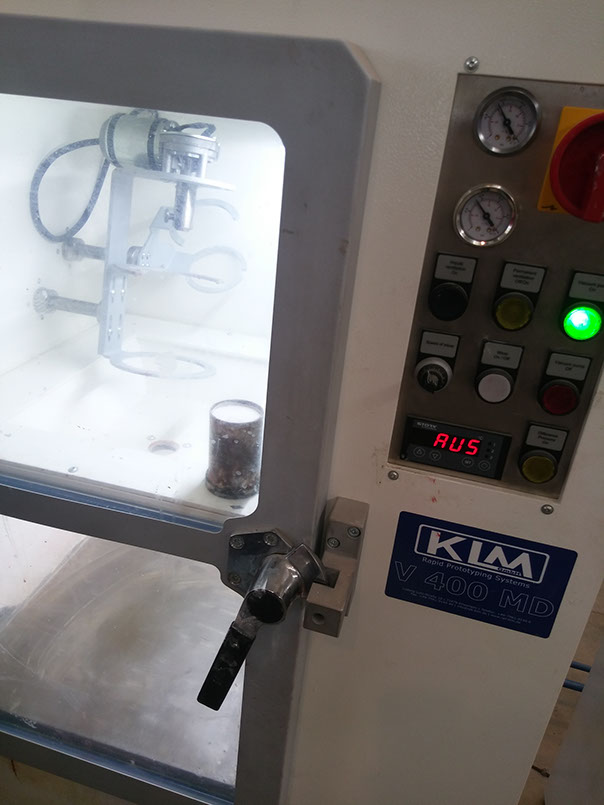
Then you have to pour the plaster mix at a rate 62%plaster 38% water, then I putted the mold in the vacuum chamber to get rid of all the air bubbles.
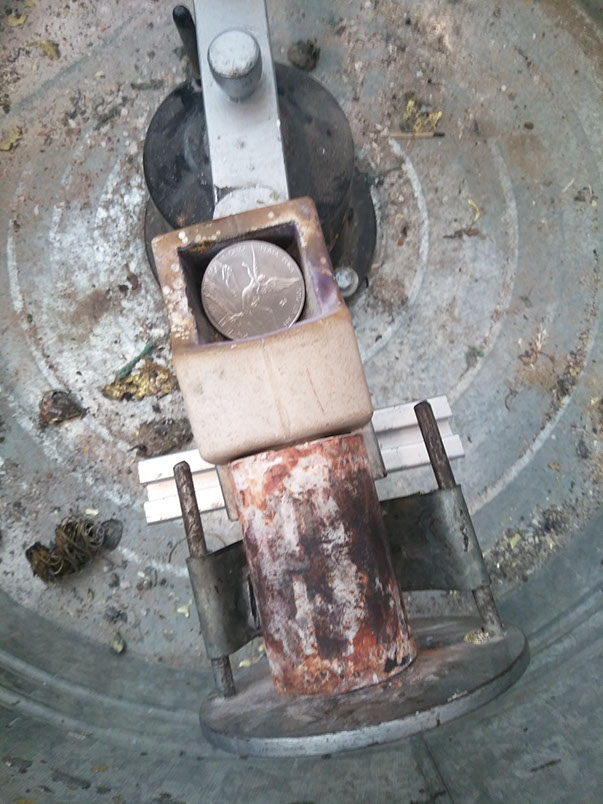
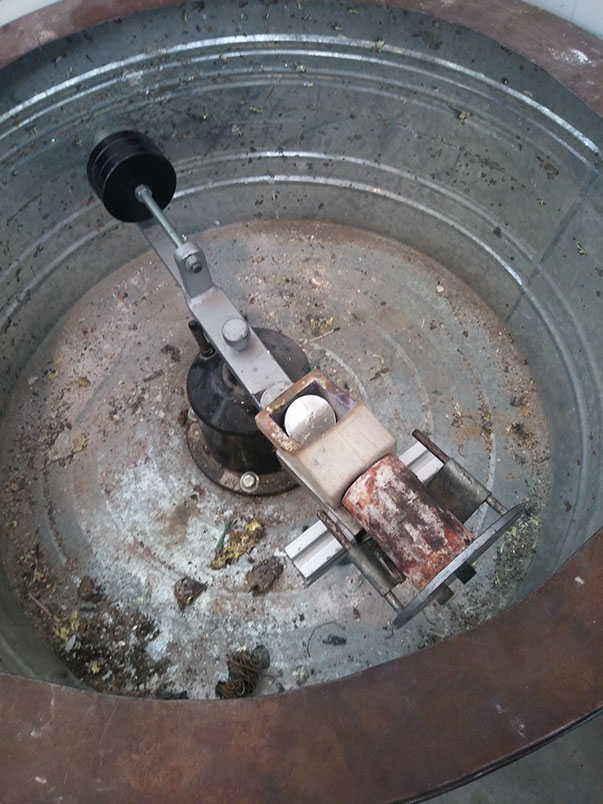
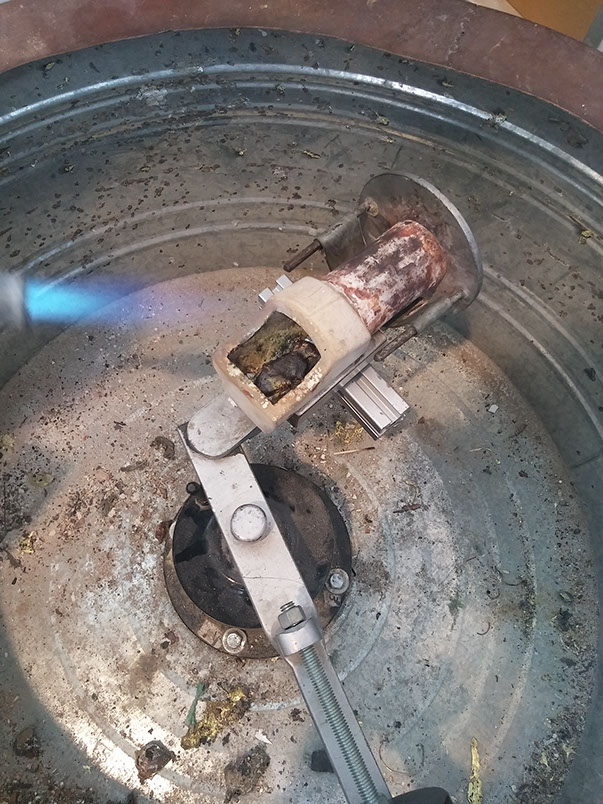
After letting it dry you have to put some heat to the mold so all the wax melts and pours through the hole, then you need some type of thing that generates centripetal force, I've seen people do this with a chain attached to the mold, in this case it is a machine that works ith a winding coil. Place your mold and melting pot in place and put the melting material in the melting pot.
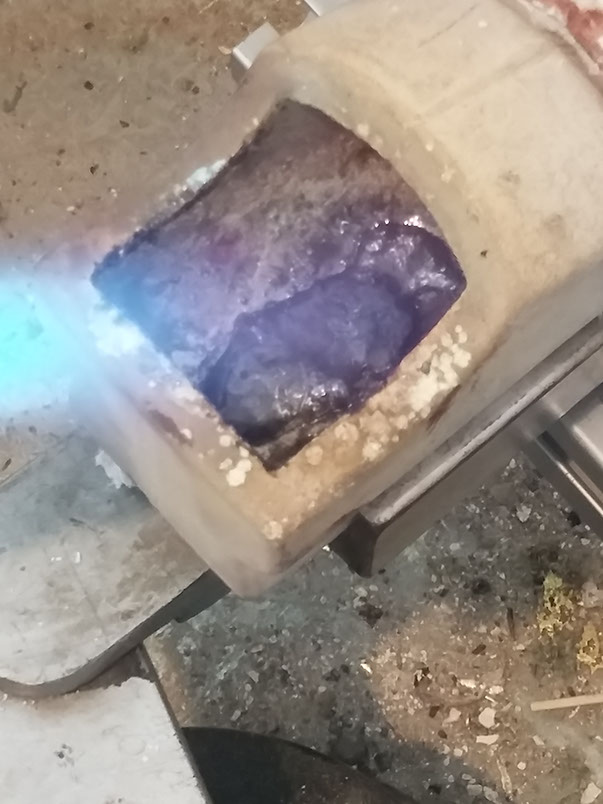
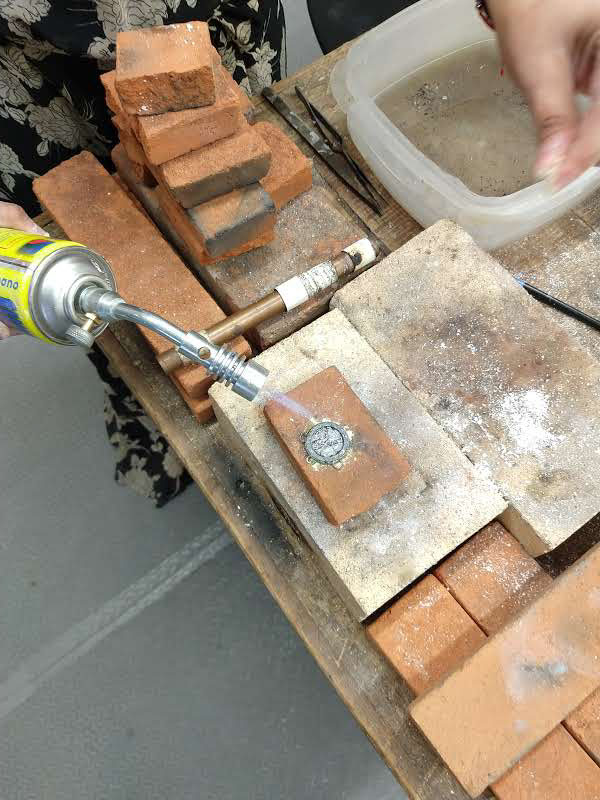
I used a blowtorch to get the silver to the melting point, this is a really really slow proces, keep your patience and find the right angle so all your material gets molten. I used some borax to get rid of the undesired scum.
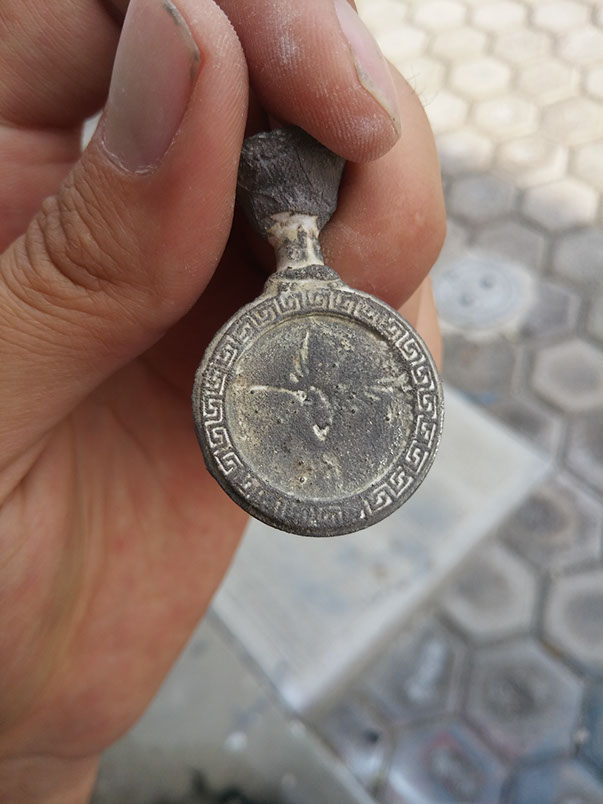
After injecting the silver in the mold put it in a bucket with water while it's still hot, the mold will brake into pieces and your piece will be easier to clean.
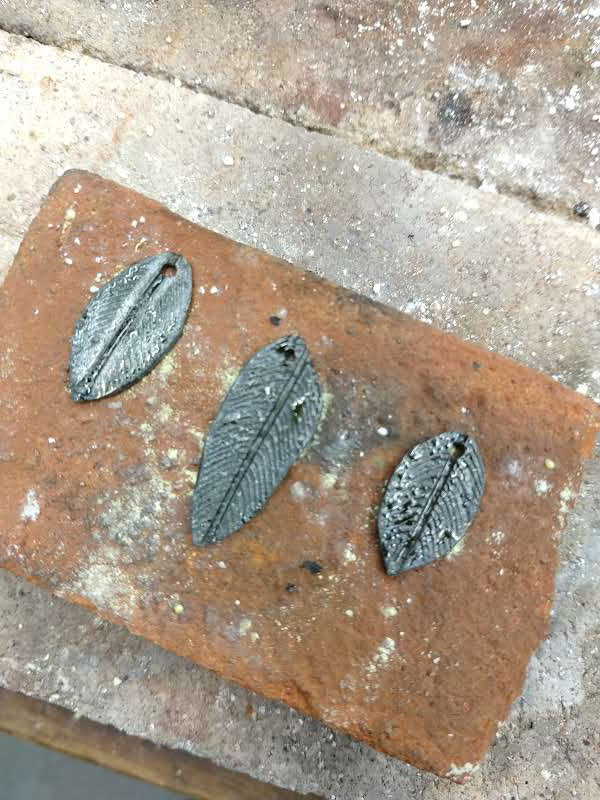
This part was extra, I solder some links to the piece so I could add 3 silver feathers I had made before.
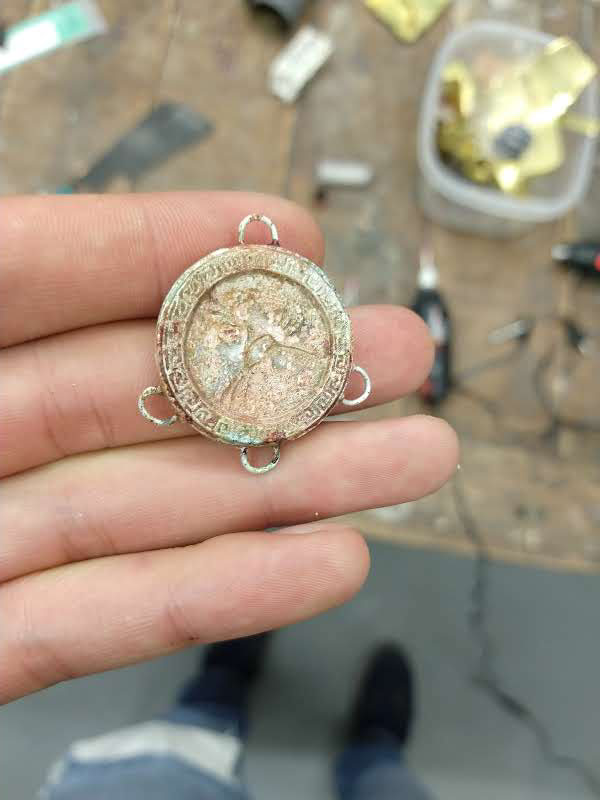
I gave all the parts a treatment with sulfur and fire to give them an old looking style.

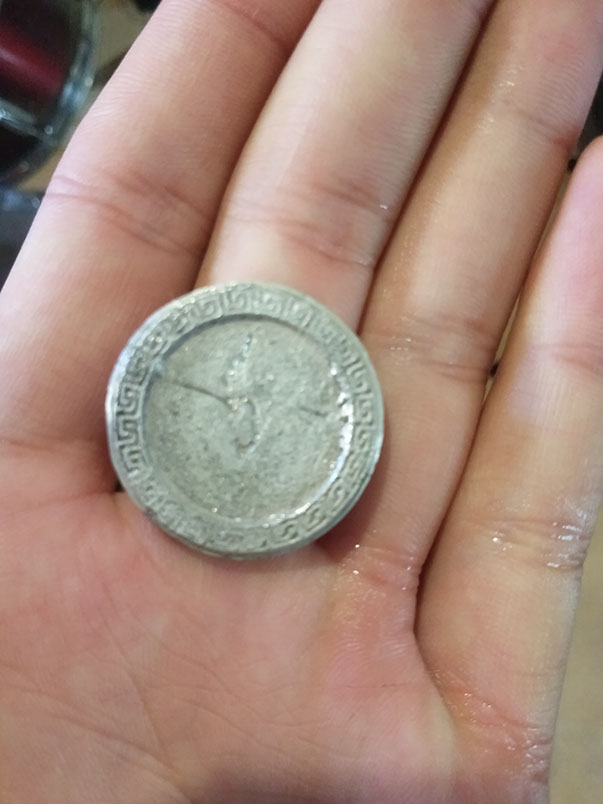
After polishing everything this was the final result.
