Week ten: Molding and casting.

This week was a lot harder than I thought, designing wasn't the problem, making the wax mold wasn't either, the real problem was to cast the silicone without getting air bubbles inside, I tried 5 times to get it right so I think this is something you get by experience.
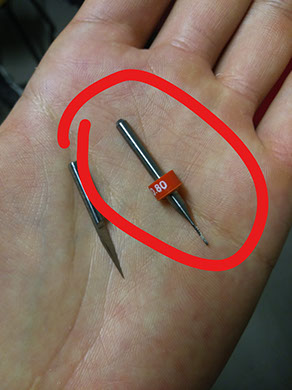
I based my desing thinking that it would be machined with this tool, so I had a depth limit (about 10 mm) and eventualy a possible side colision.
So the idea was to make something engraved in an offset plane rather than a 3D part.
I also designed it thinking it could be made with two molds (two face coin) or just one.

I started with the design wich is just three spirals inside a ring, I made the resin entry opening and some guides.
I made the volume as if it was the final part becouse it is so hard to imagine the volume it needs to be to make a mold.
I placed the wax brick in the modela and fixed it with doble face tape, uploaded my .stp file and converted it automaticly to .png.
The parameters I used where 20 mm/s for speed, 1 mm for jog, 0.8 mm diameter of the tool, -1 for offsets, 0.25 overlap, 1.5 pixels, 1 top intensity, 0 mm top z, 0 bot intensity, -18.5 mm bot z and 1 mm for cut depth.
The fist try was a failure because it was so small and all the air was trapped in the corners.
So I tried a second time with a few changes in size, the wax machinned a lot quicker than I thought, it took less than an hour to make.


<
>
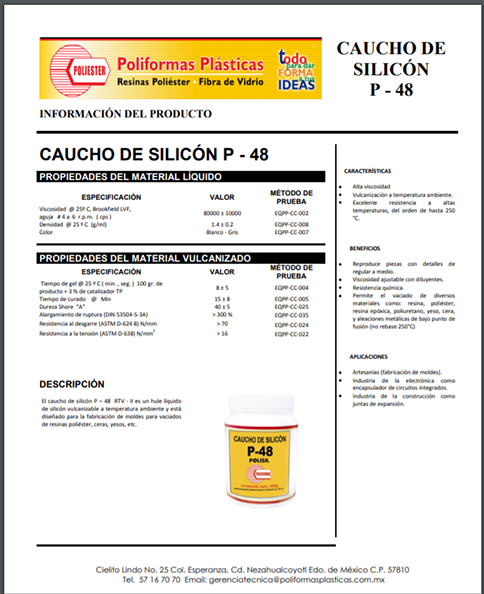
I measured the silicone and the catalyst in proportion 10:1, mixed it and get all the air out in the vacuum chamber, then I slowly pured it to my mold and place it on the vacuum again.
It took me a few tries to get it right because I was putting too much catalyst and there was no time for the bubbles to get out of the mold.


<
>
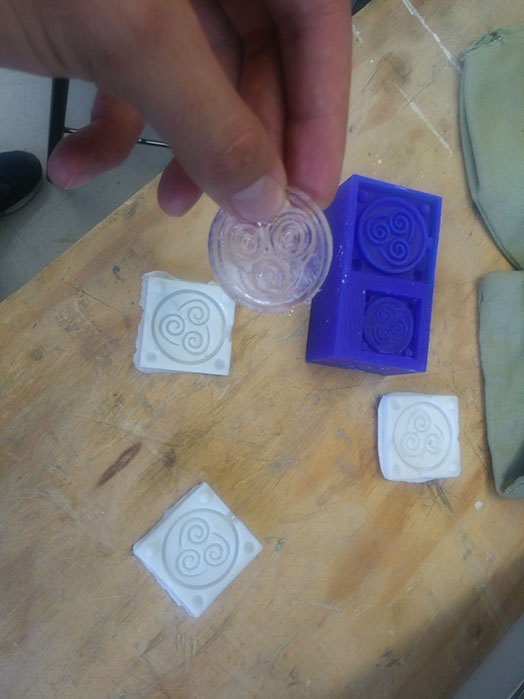
This was the result.
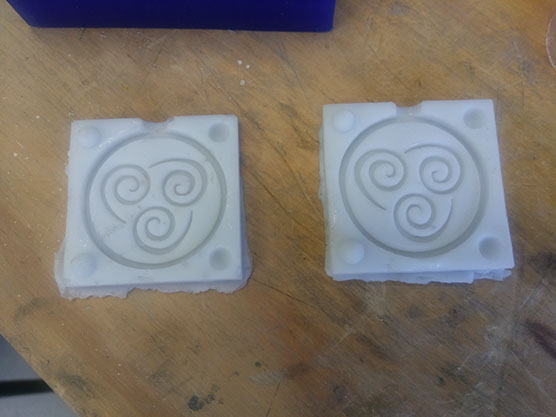
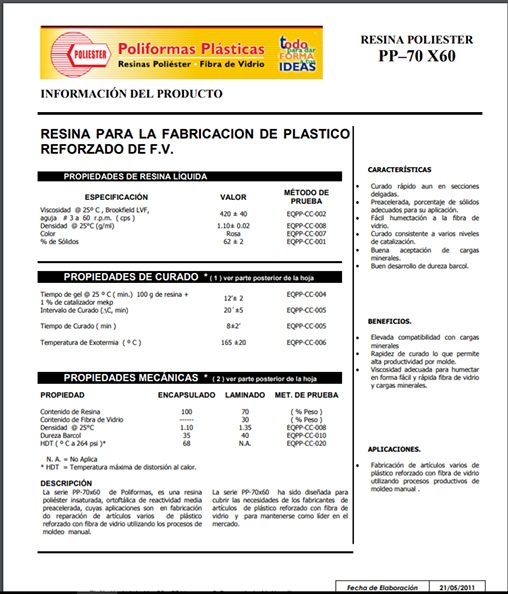
I then pured the resin with the catalyst in the silicone mold and got something pretty sweet.