Group Project
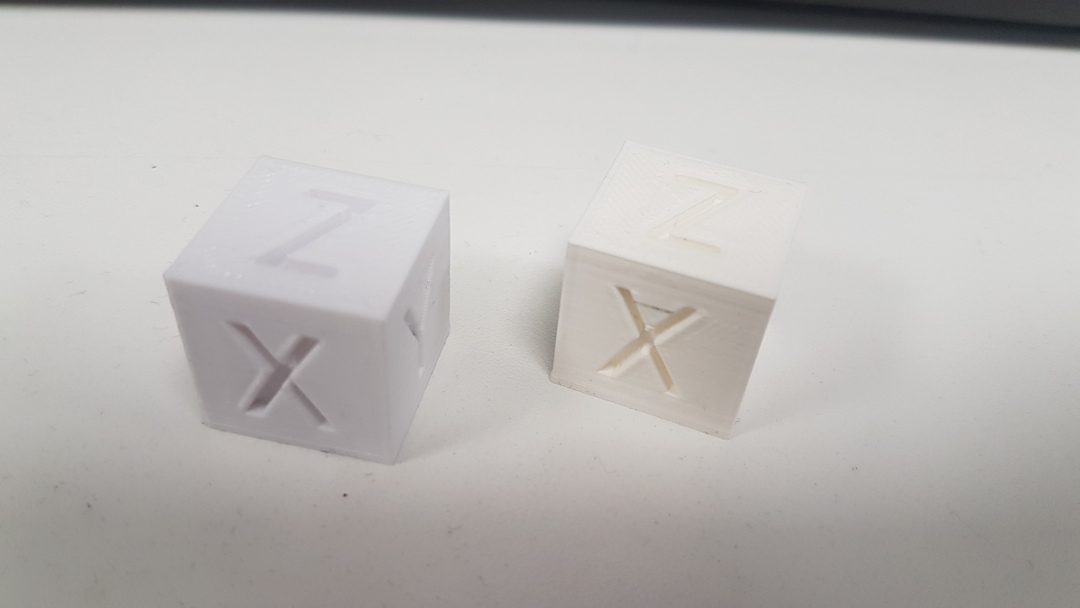
So, for this week for our group project we made tests to characterize our 3D printers. What we did was a test block wich is 20x20x20mm and after measuring them we found out that with the Makerbot Replicator 2 the height of the box was 0.2mm higher than the the file and 0.1 on the sides. With the Ultimaker 3 Extended it was 0.1mm extra on all sides.
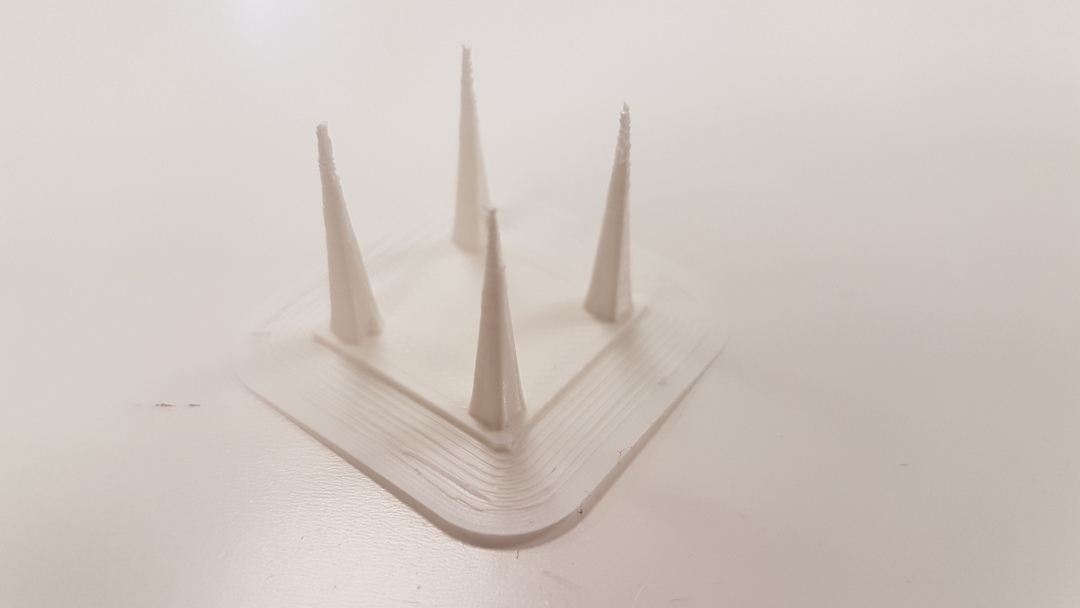
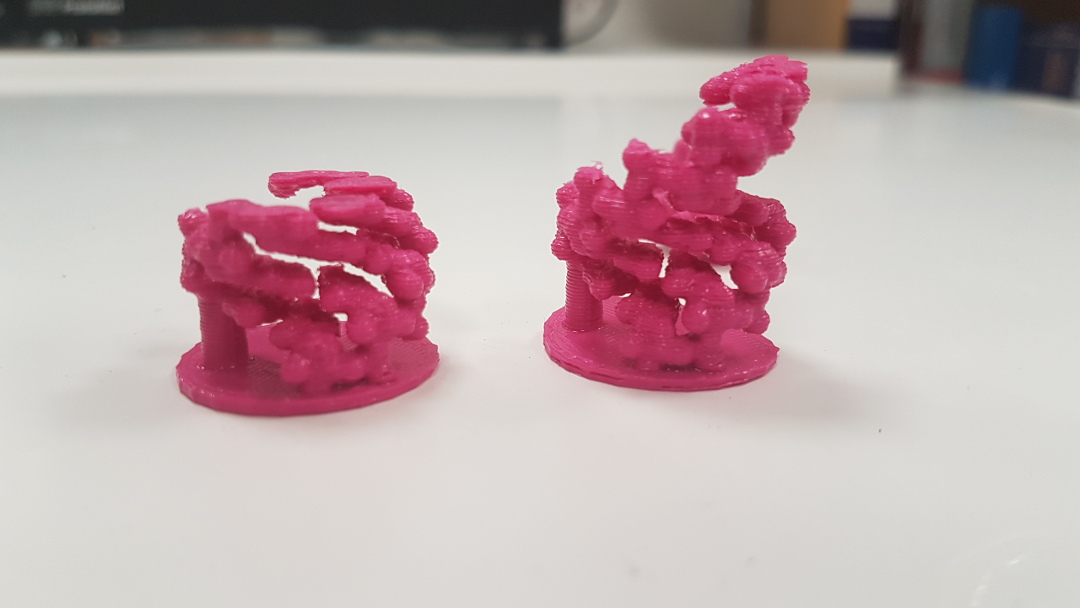
After that I made a test for pointy towers and the first print was ok but could be improved.

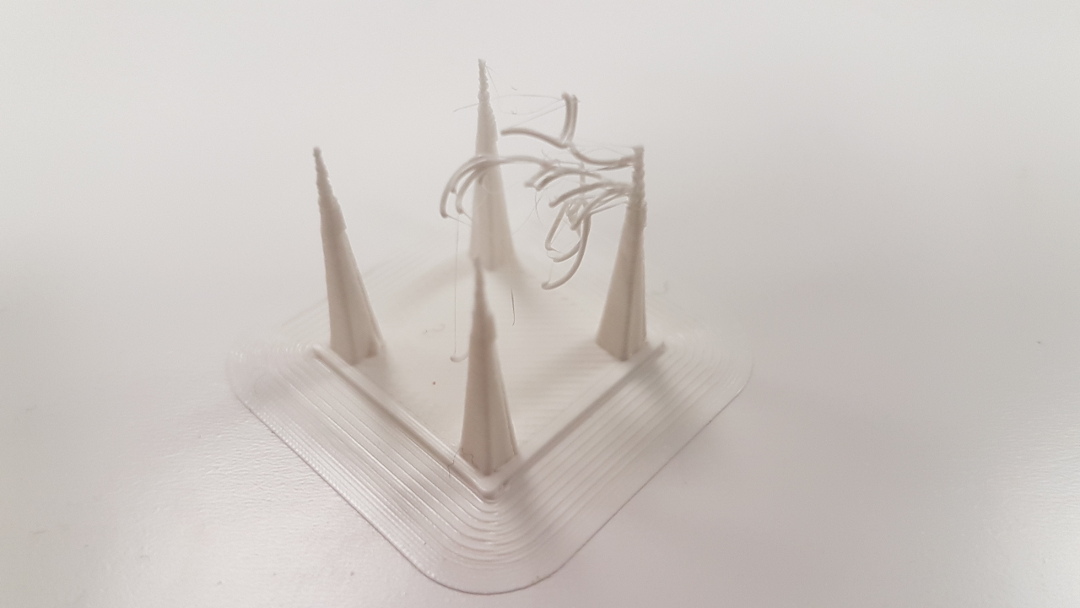
From both prints in the Ultimaker 3 Extended you can see there's black residue and after looking at the picture Svanur made, we saw that it was the print nozzle was dirty so we cleaned it with
hot and cold pull method.
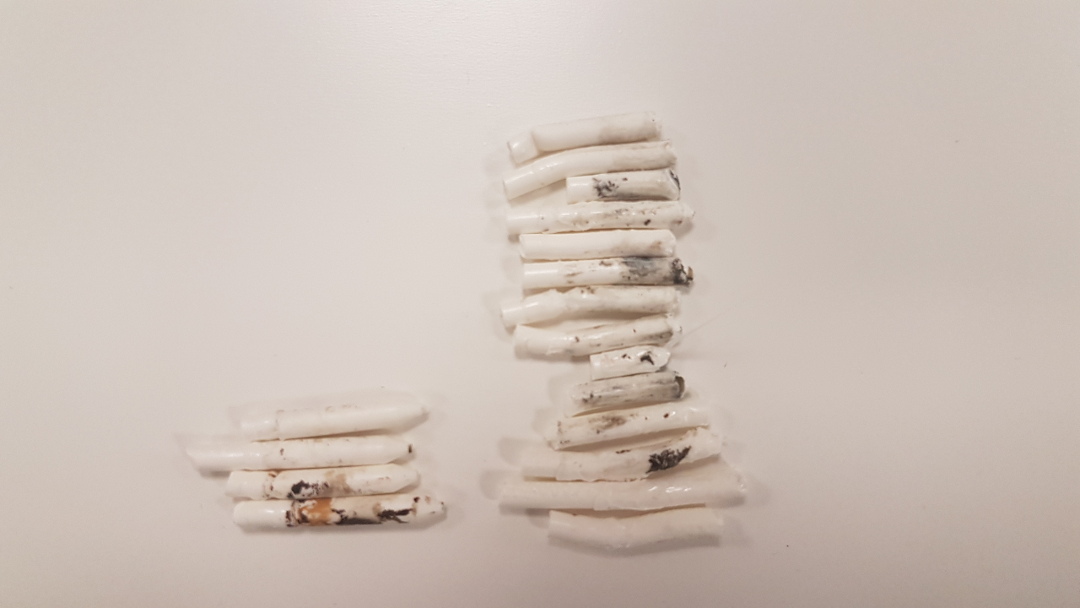
What you see is most likely residue after wooden filament.
Then I tried to use PVA wich is a dissolvable fillament and use Ultimaker 3 wich has dual extrusion.
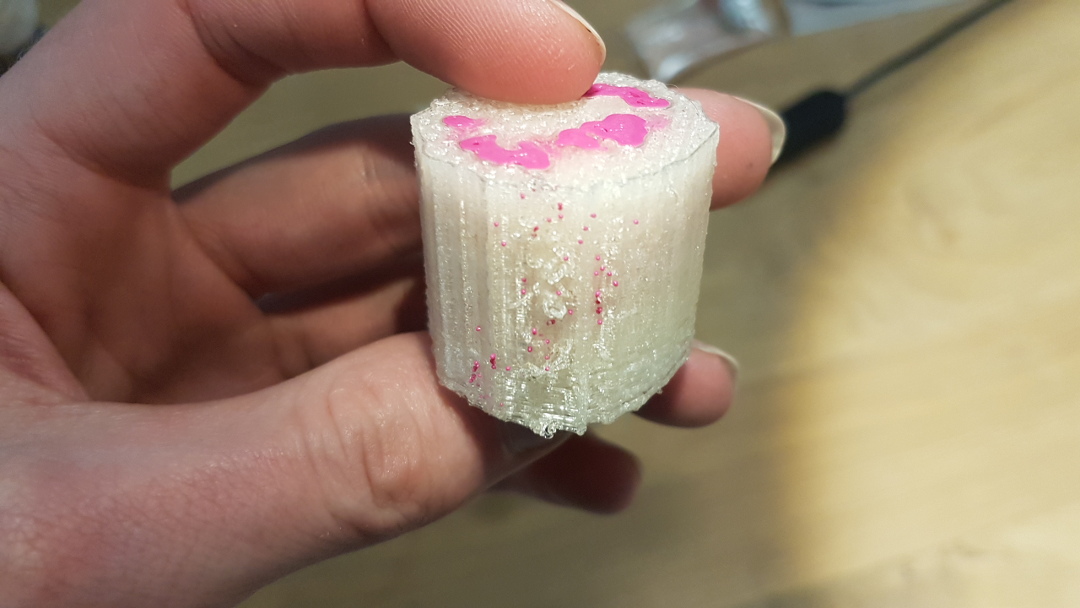
The results weren't what I was expecting since the texture of the piece wasn't that good. It's looks like it over extrudes on the PVA resaulting in a odd finish. To dissolve the PVA I put it in 50°c water and let it sit for the night. When I checked it in the morning the PVA was dissolved half way through so I reheated the water and let it sit for another night.
I think the most optimal way to dissolve it, is to have it in constant 50°c water and have some sort of a flow to let the water circle around the material.
The Vase
I also tried to make a water tight tube with the Makerbot 3d printer but every test that I made leaked.
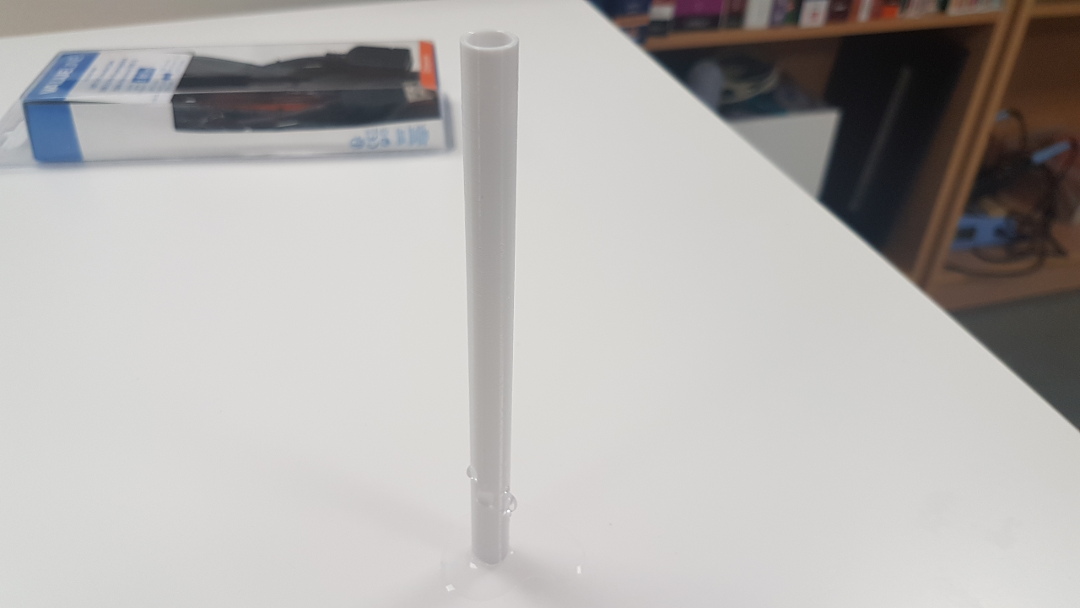
I found a vase model that was a solid object and used "Spiralize outer contour" in cura, which makes a single layer wall and hence creates a vase. I printed the vase with the Ultimaker 3. Unsurprisingly it is water tight and can keep my flowers hydrated. I think this is because the fillament is new and also the printer.
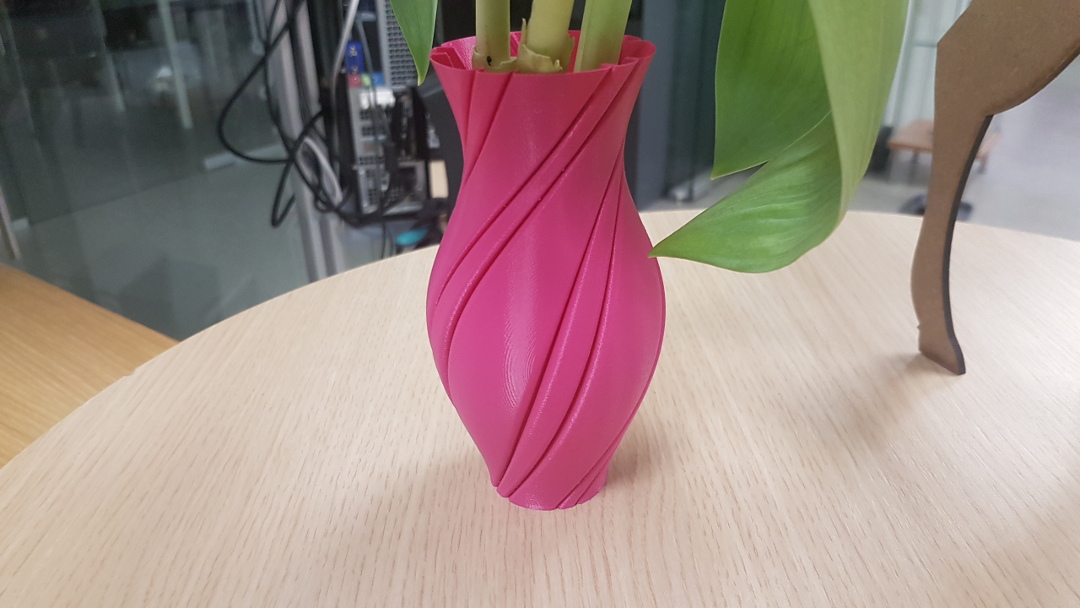
I created model of a vase in VR and didn't know then of the settings to make a vase in Cura and got this as a result and recommend for anyone to switch to layer view before printing so you can see what the printer will print.
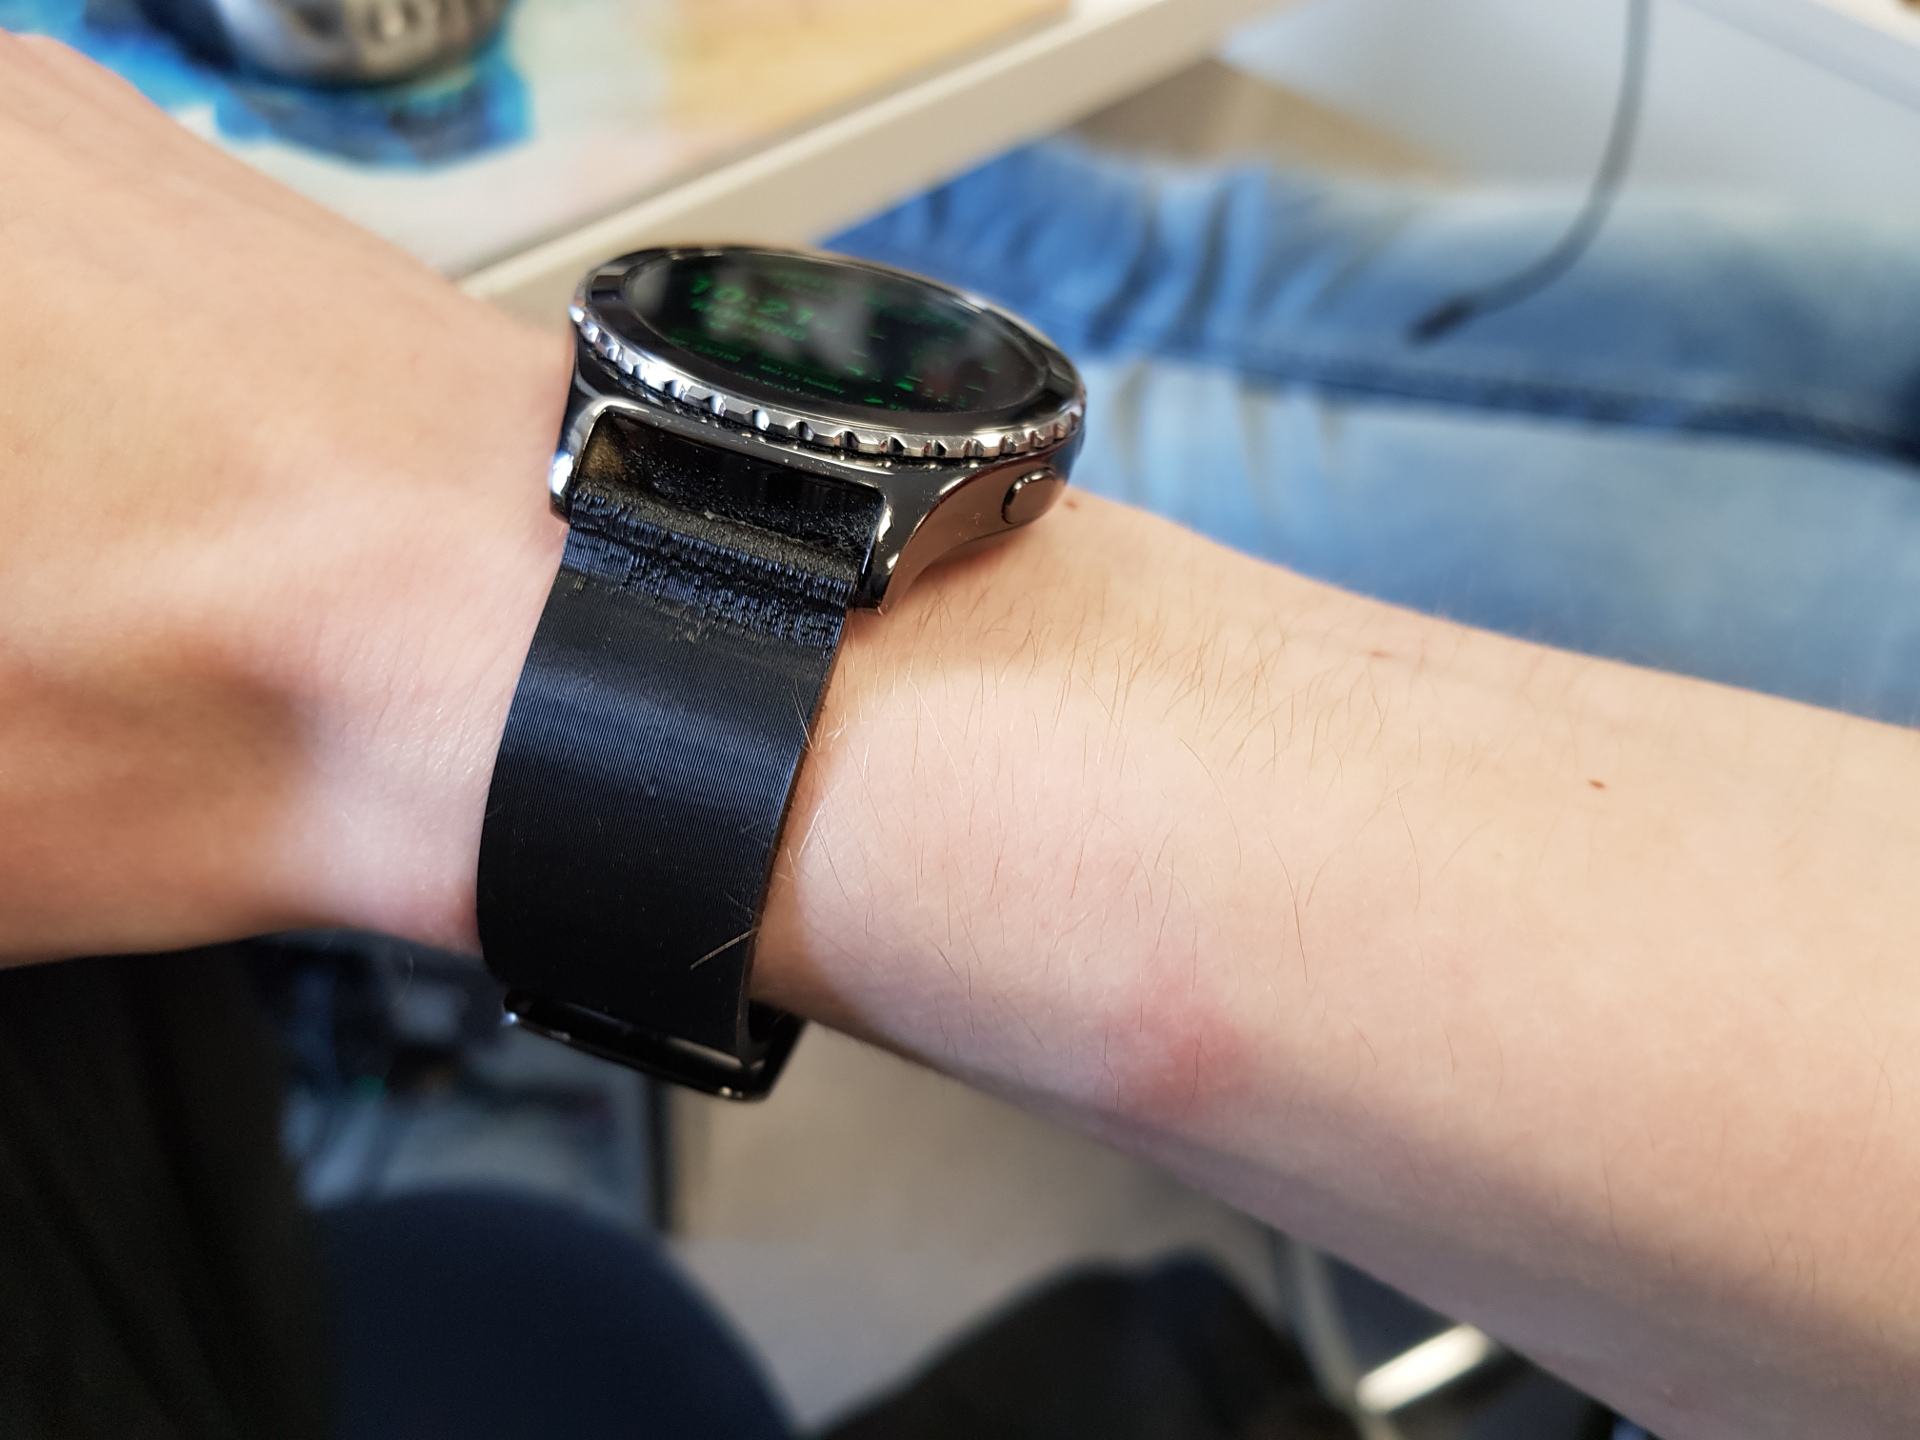
The Wristband
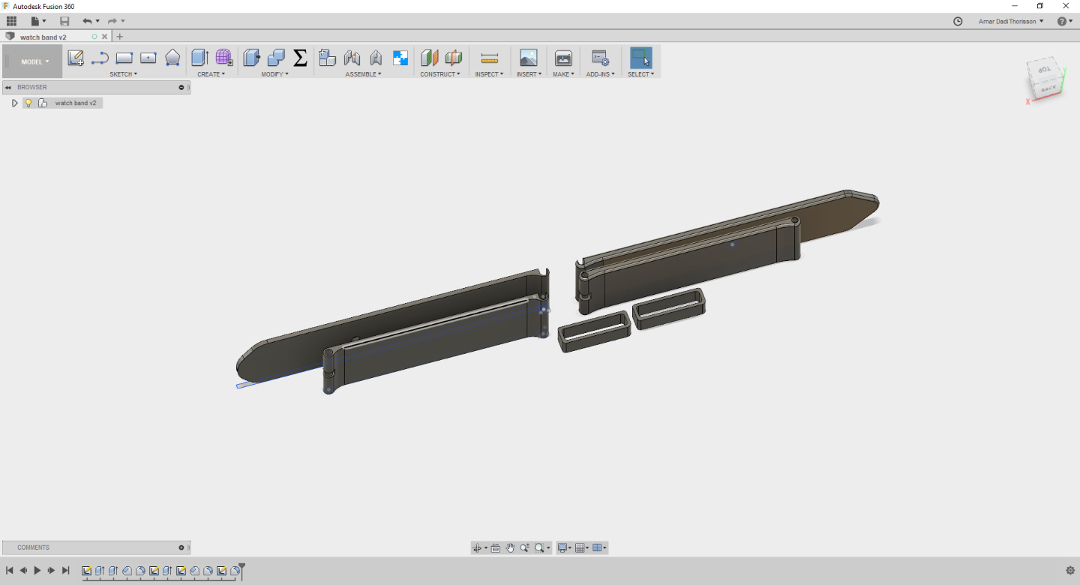
My old wristband of my watch was ruined, so I wanted to see how a 3d printed band would work. The wristband is a flat object which potentially could be made via the subtractive method. But the key is that hard to create the hole that is for the connection pins to the watch. It's a thin hole, which makes 3d printing the perfect solution.
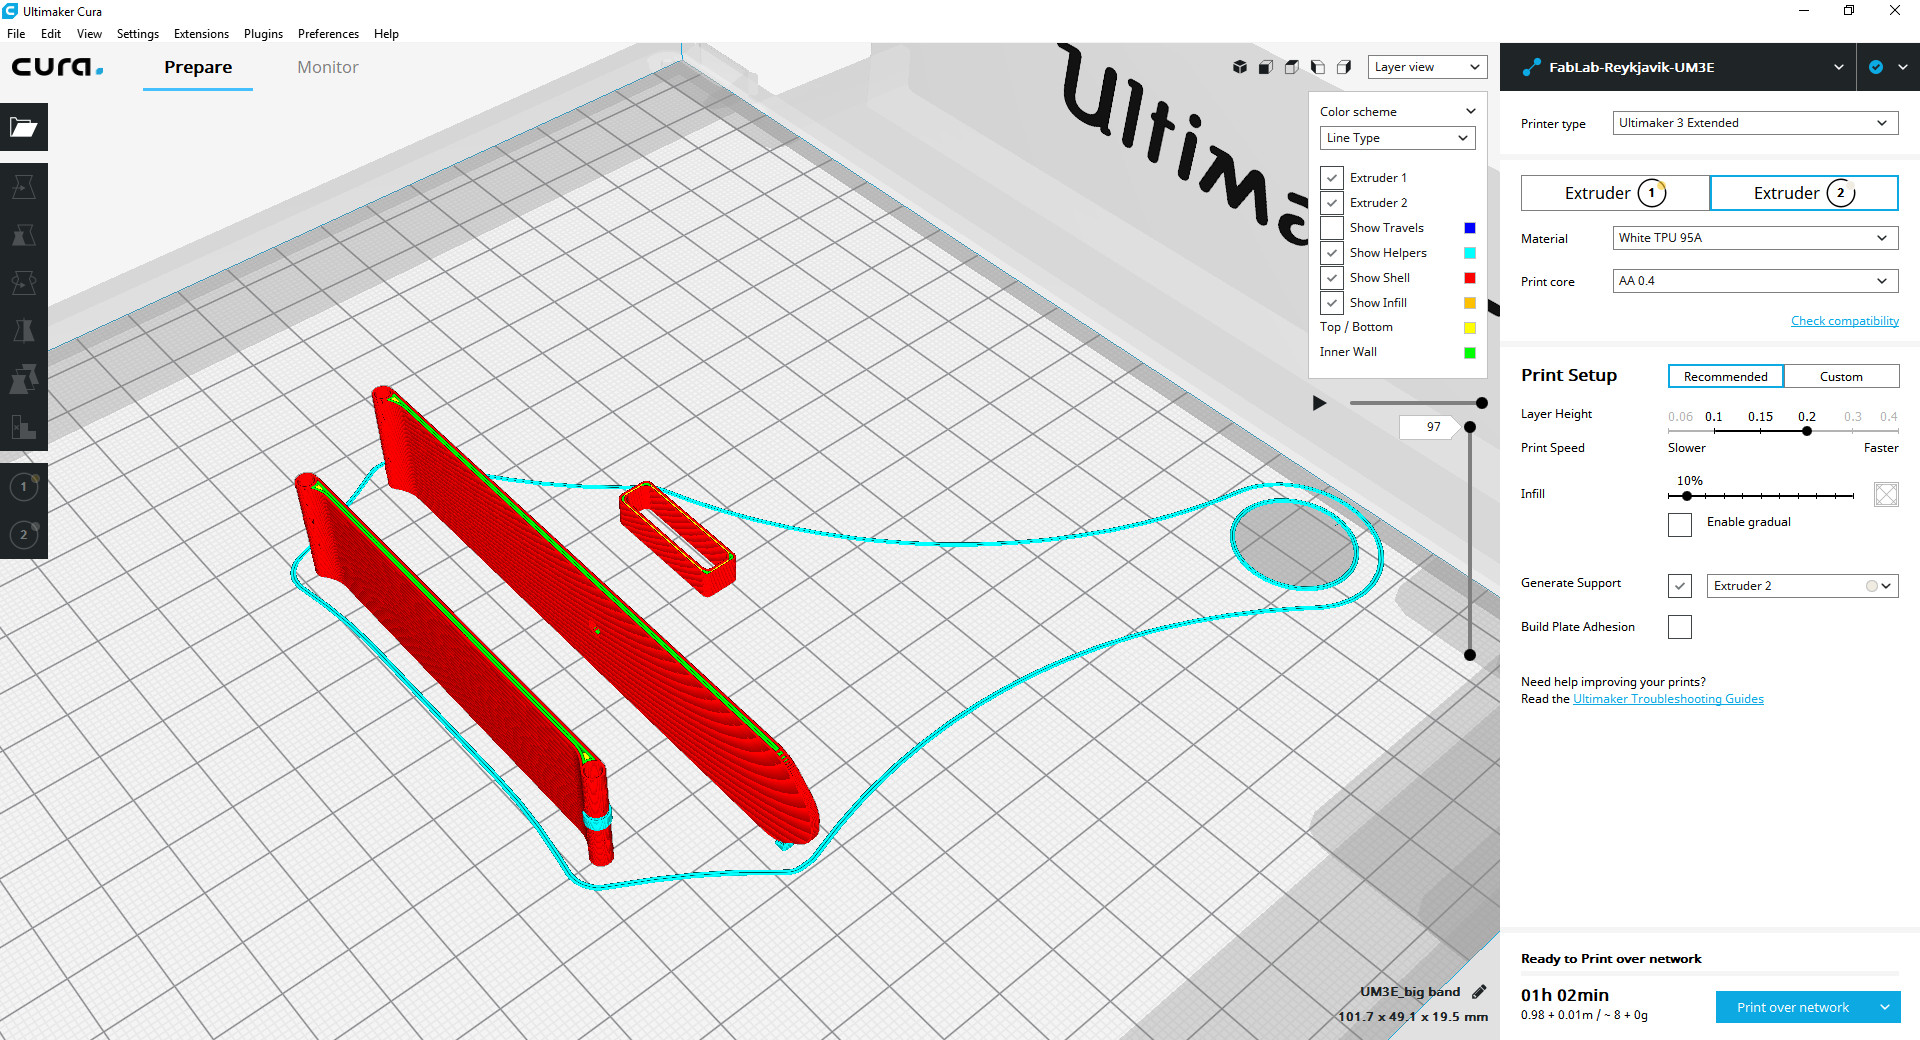
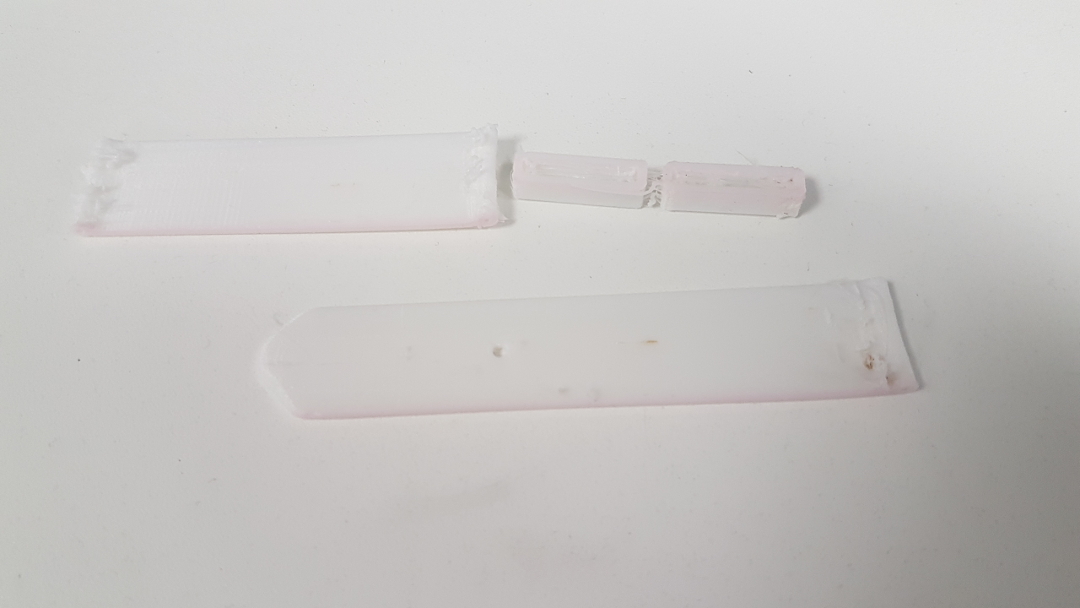
We have TPU in the lab wich is a flexible fillament and was worth a try to experiment with. Then I measured my old band and sketched it out in fusion and for the holes I used parameters. After that I printed it and it came out really nice.
I used cura to slice it and used the default recommended settings.
The colour at the bottom of the band is a residue from previous fillament.
Watch Band Fusion file
Small band file
Big band file
Band ring file
3D Scanning
Because I have been vollunteering for 4 years in the FabLab already,
I know how to work the 3d selfie scanning setup in the Lab. So the first thing I did
was instruct my fab academy
classmate
how to make a 3d selfie.
The 3d scanning selfie is done via the
XBox Kinect
and is very straightforward.
You set a person on a rotating chair, turn on the
ReconstructME software
and click on start.
Then you slowly turn the person around while the kinect is recording and when done,
the software will recalculate this into a 3d model. The slt output can be send straight
to anny 3D printed without editing the model.
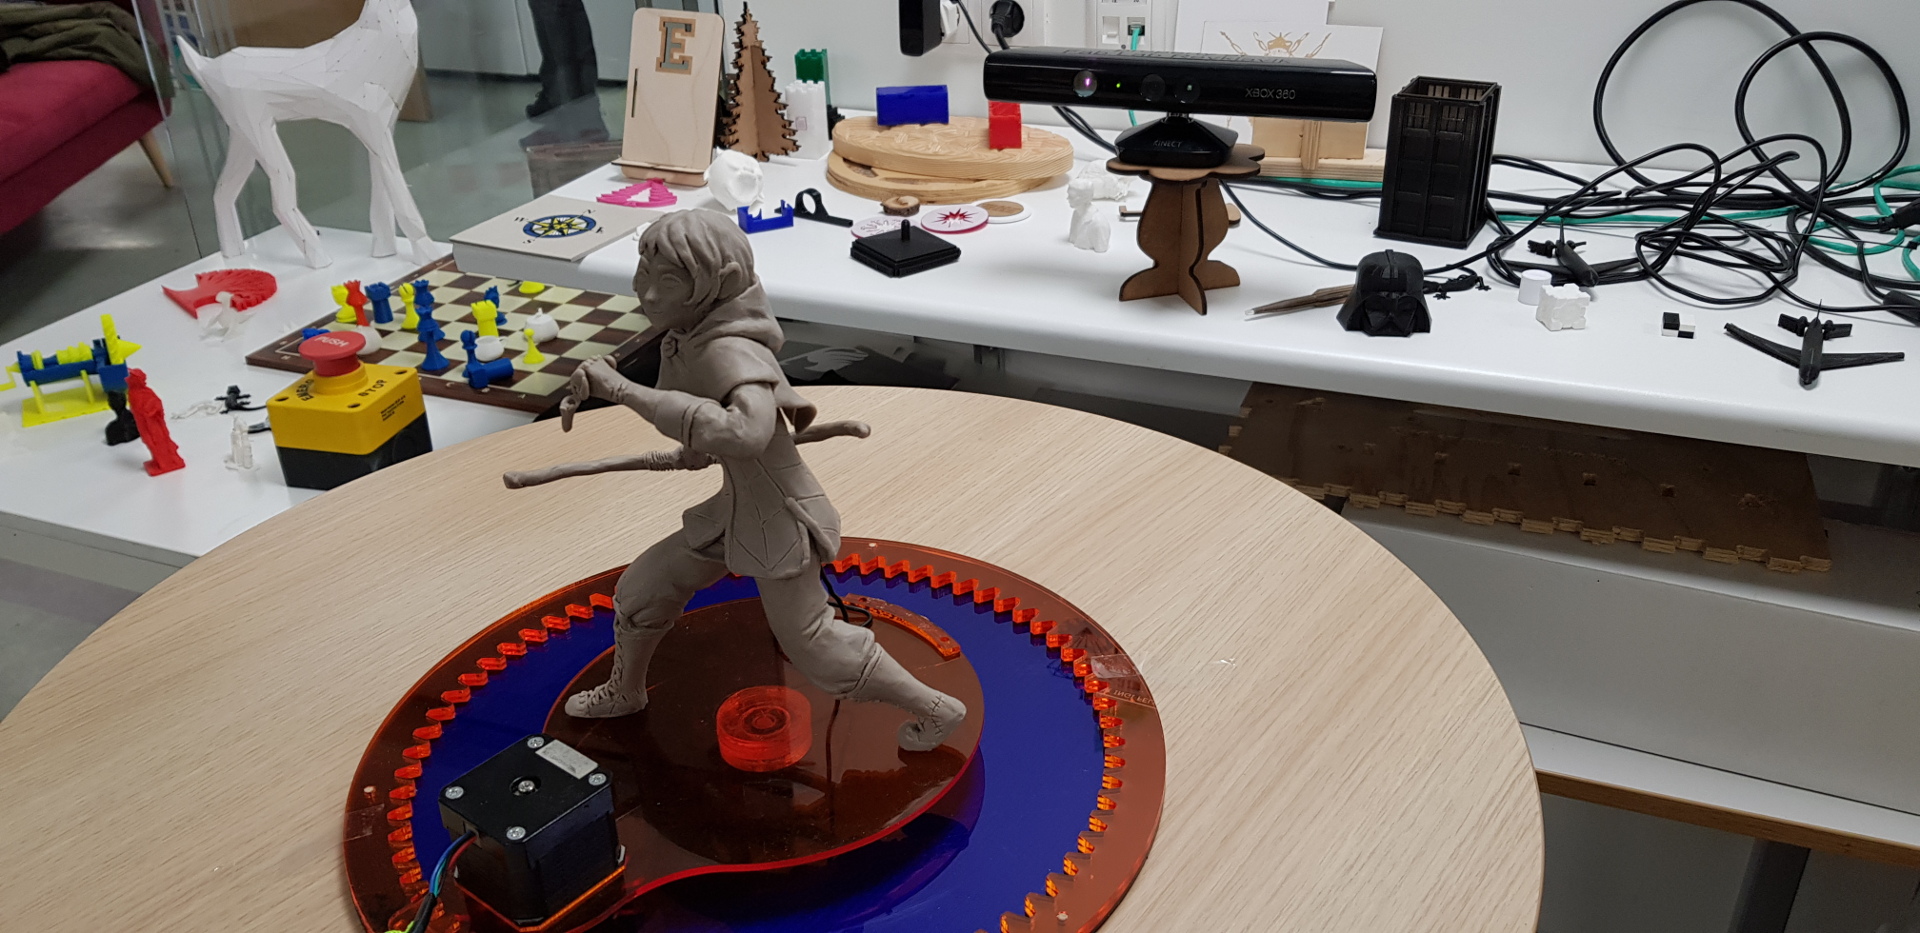
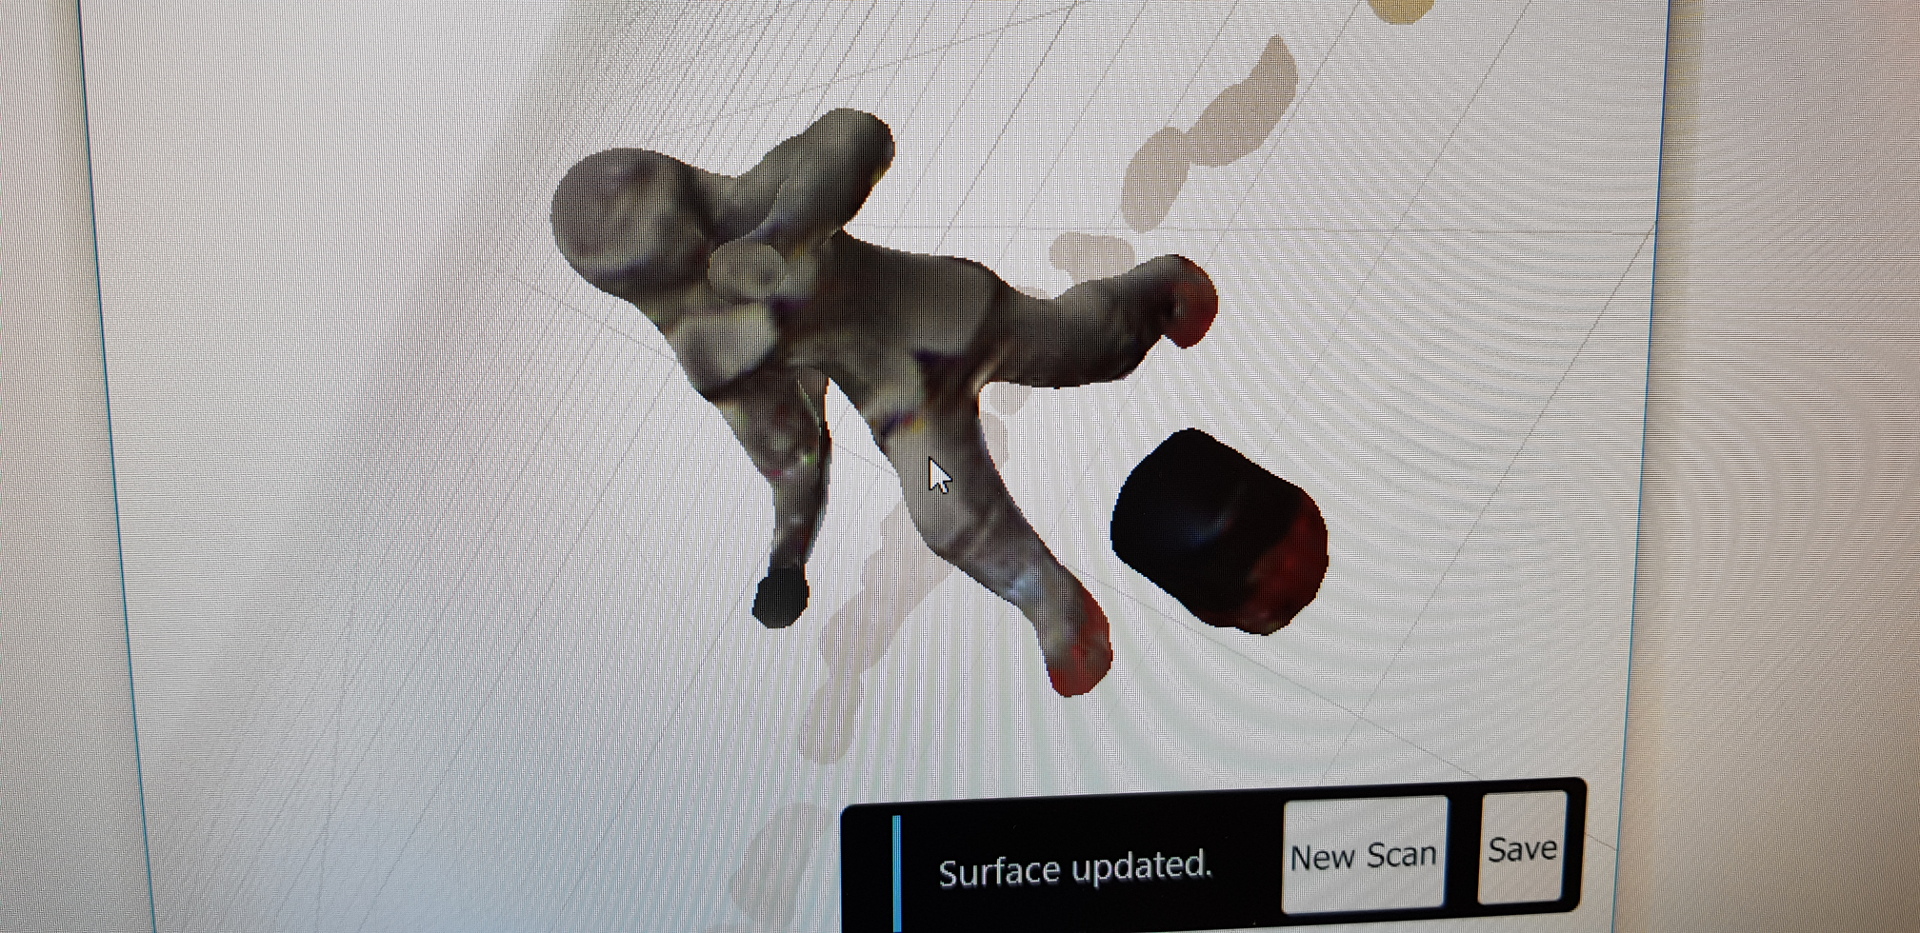
I had the opportunity to scan a clay model that a girl made and I helped her scan it with the same software.
When trying we realised that the software is more suited for self scanning (aka person sized objects). We didn't have any other scanner so I grabbed a rotating board and scanned the clay model but it didn't come out nicely. Tha clay model is to small and has to many details.
Scanned File Download