This page details the progress of my final project from initial sketches on paper, to a finished object, made using mostly materials from the Fab Lab inventory and methods learned during the course of the Fab Academy.
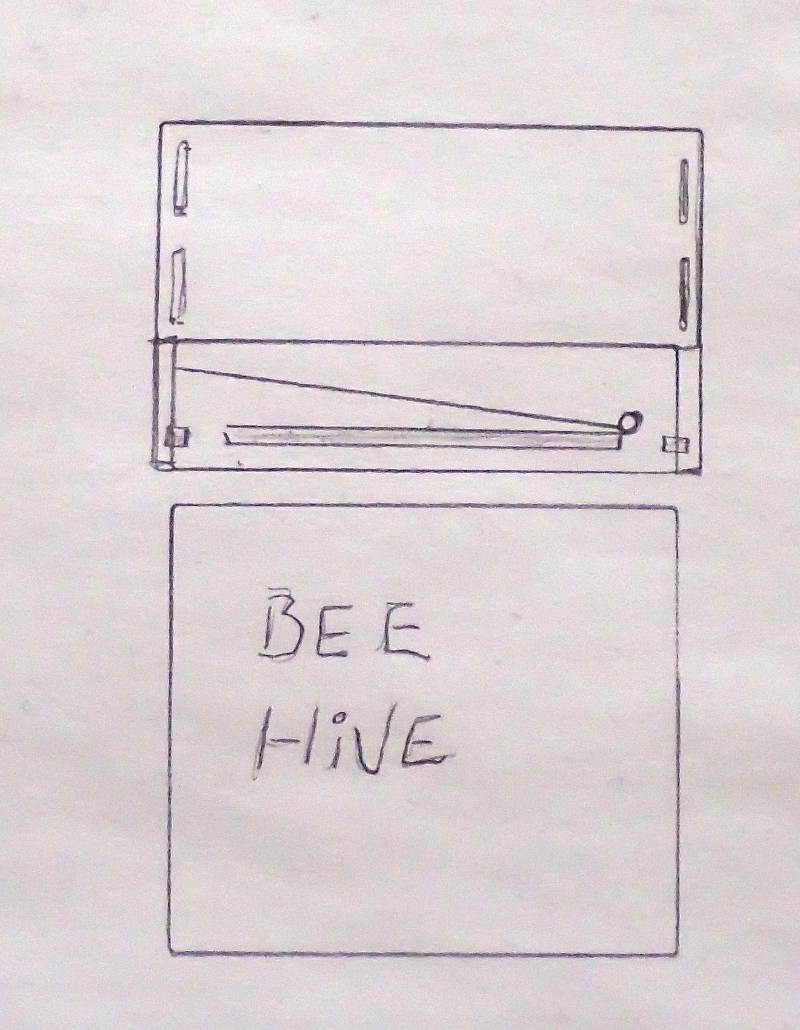
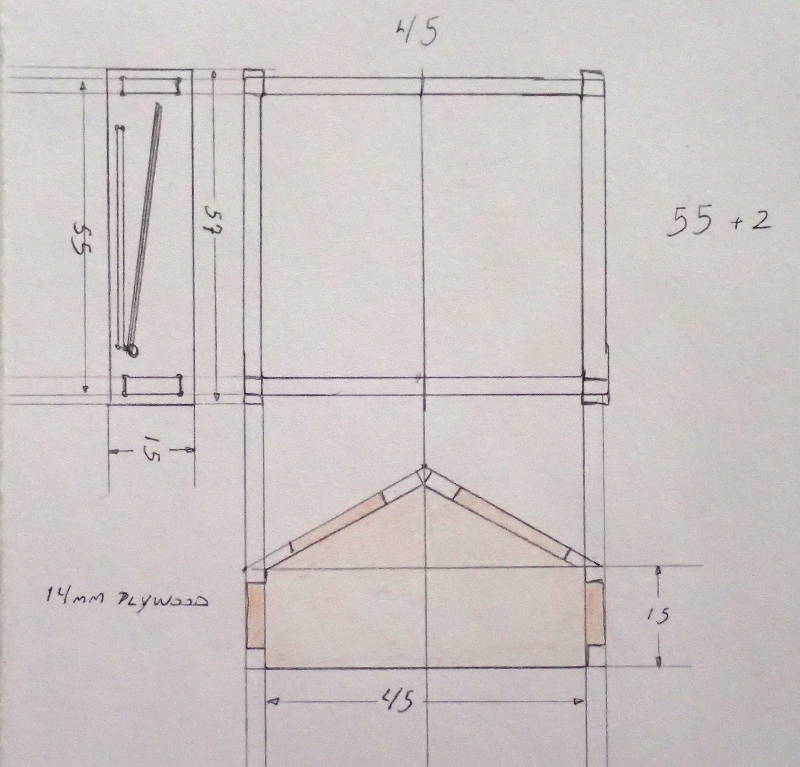
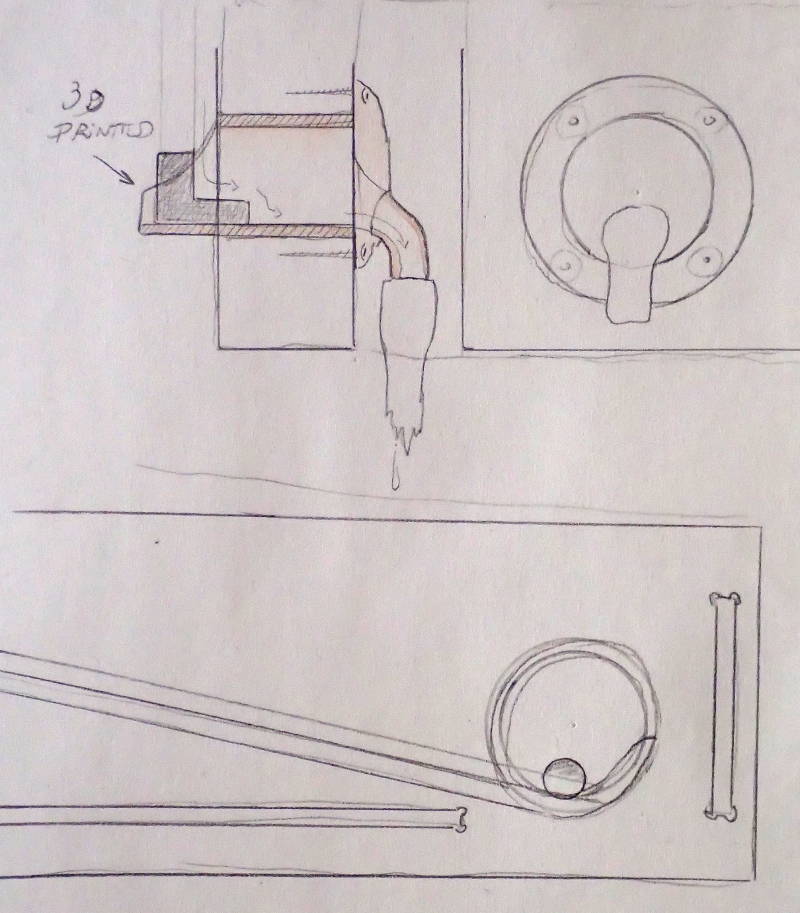
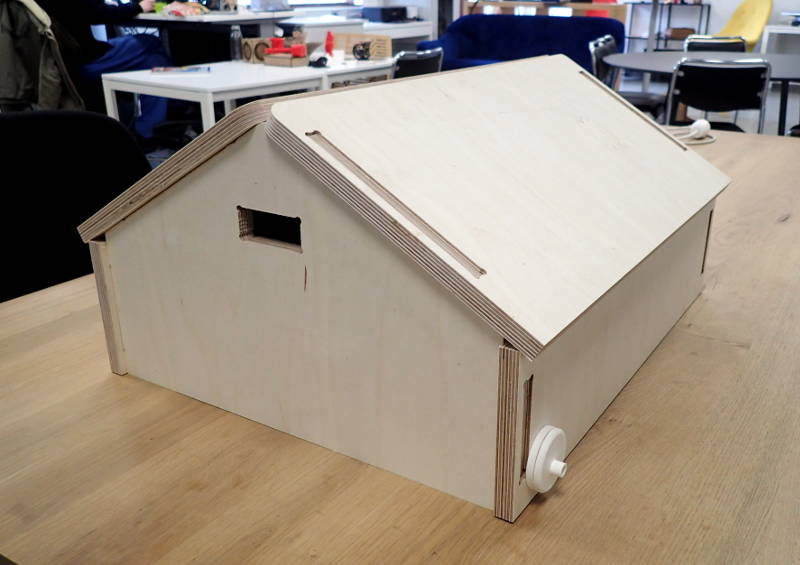
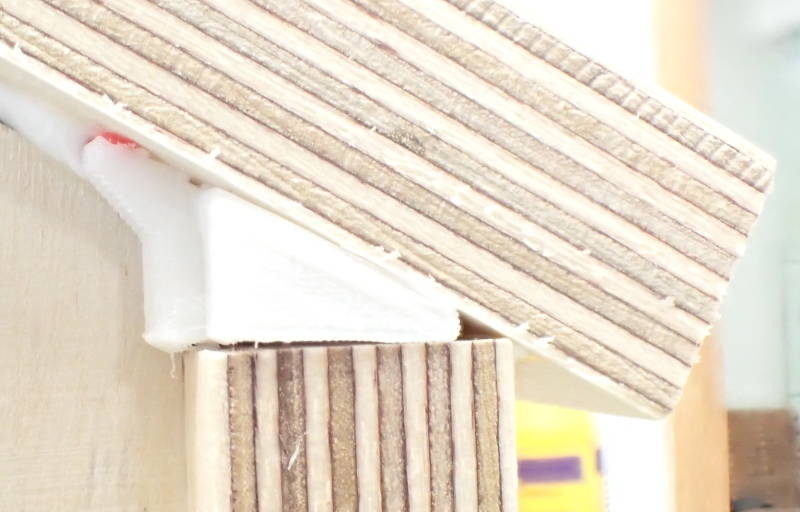
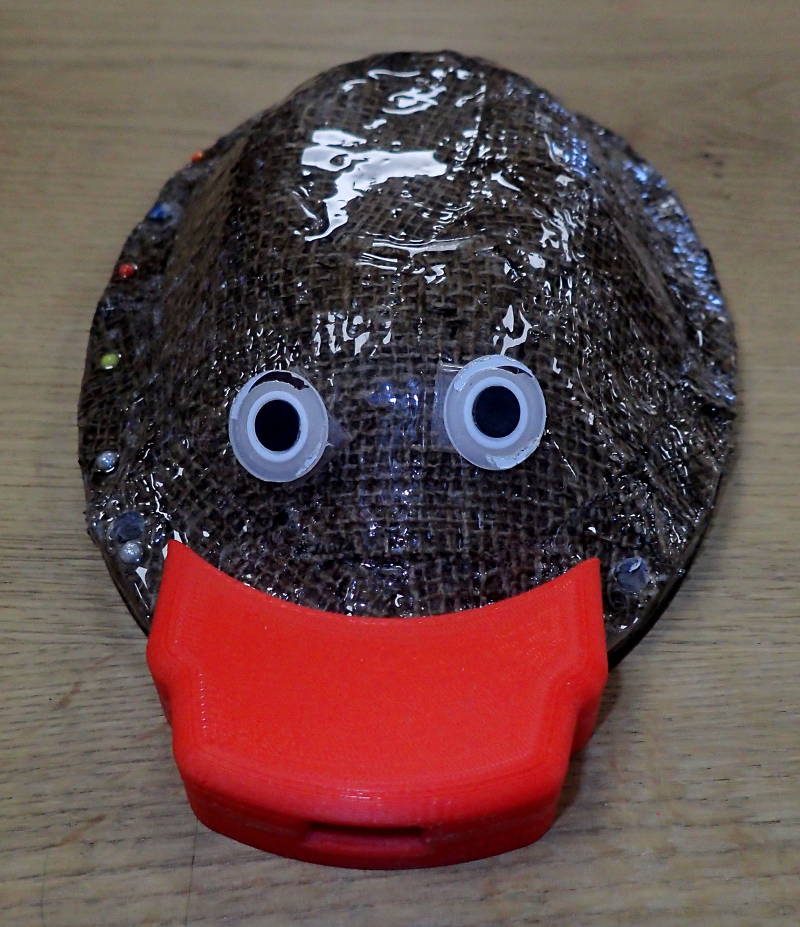
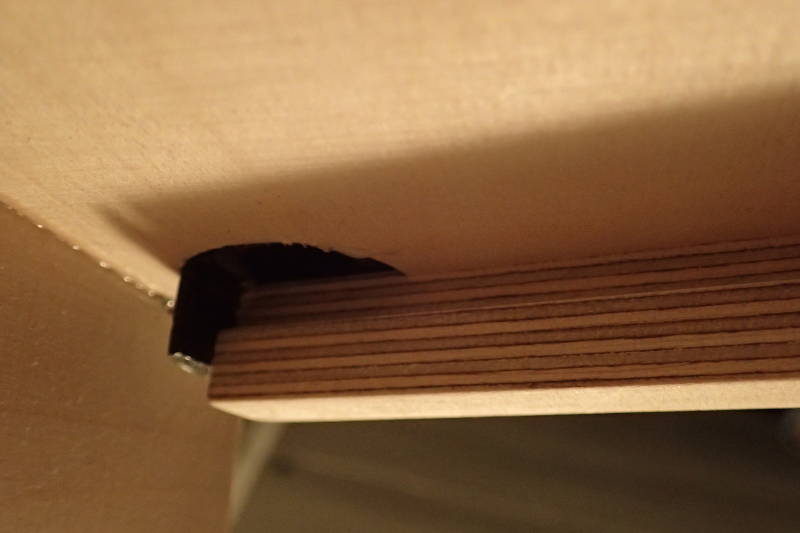
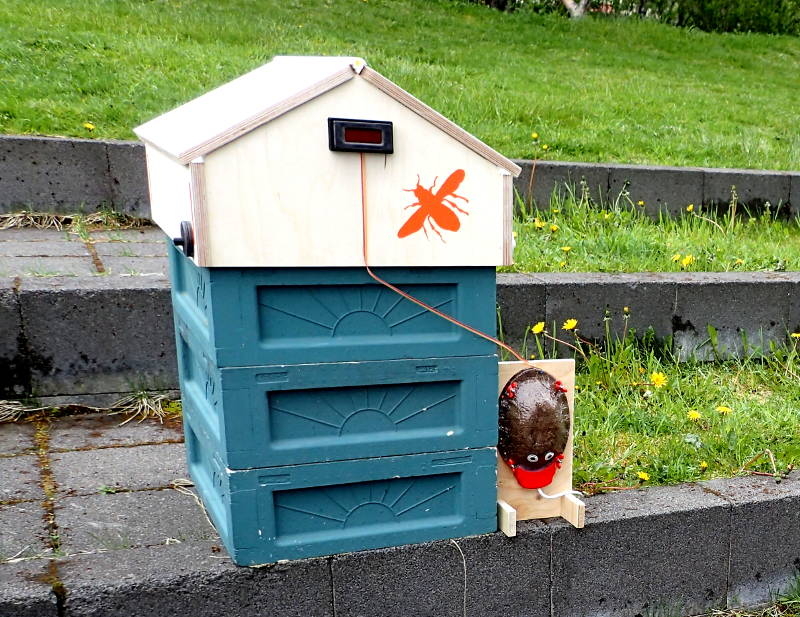
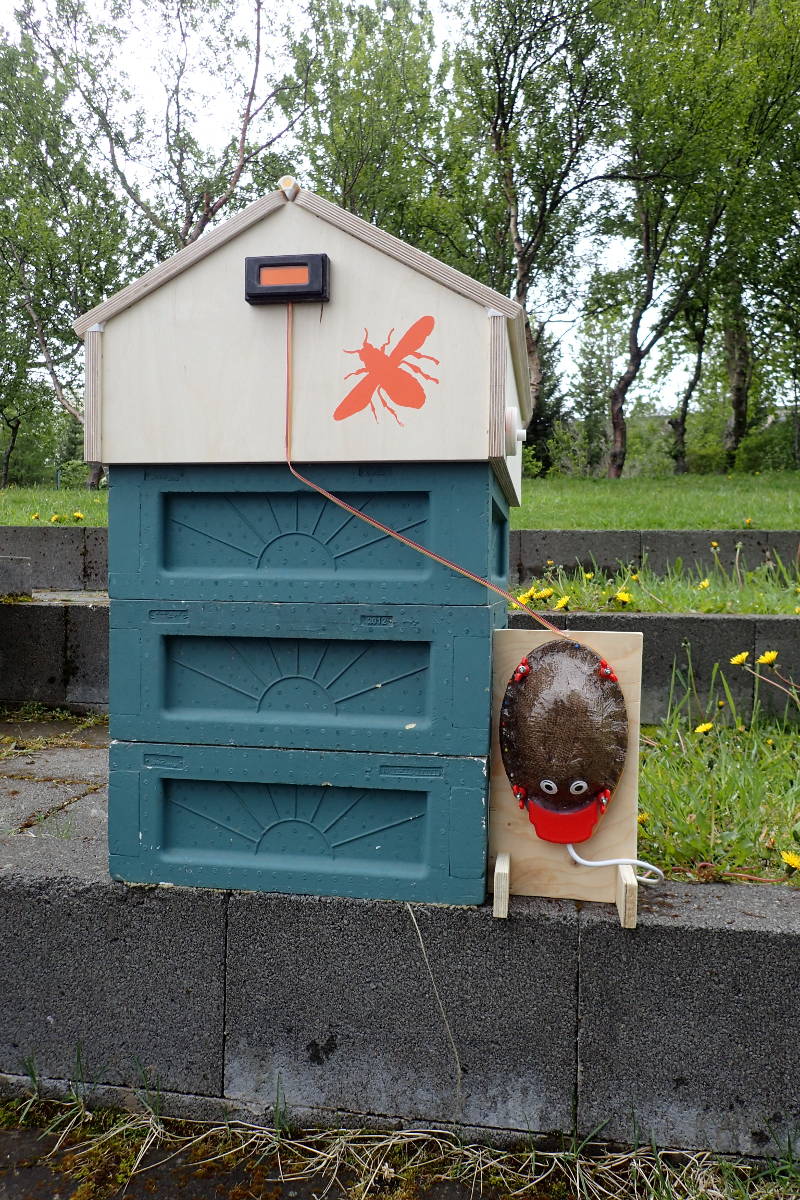
The main structure is a birch plywood box which is CNC cut and glued together with added decorative cast epoxy fillets. As CNC machining using straight bits created gaps when joining panels at an angle, some strips and gaskets were 3d printed to give a finished appearance and a wind and watertight structure. Internal gutters in the side walls channel away condensation that gathers under the roof and expels it through 3d printed glands to the outside. An LCD panel on one end displays data collected by a network of sensors that protrudes into the middle of the structure. This prototype has a temperature sensor, there is a connector to add more sensors as the need arises. Power is provided by an ac/dc power supply with an output of 5 volts. The initial version is mounted externally to avoid any influence heat from the power supply might have on the temperature reading from the sensor, but for small power supplies that have an insignificant output of heat, it can be mounted on the inside end wall, beneath the sensor pack, but who would want to do that, it is just too cute, I mean just look at the damn thing.
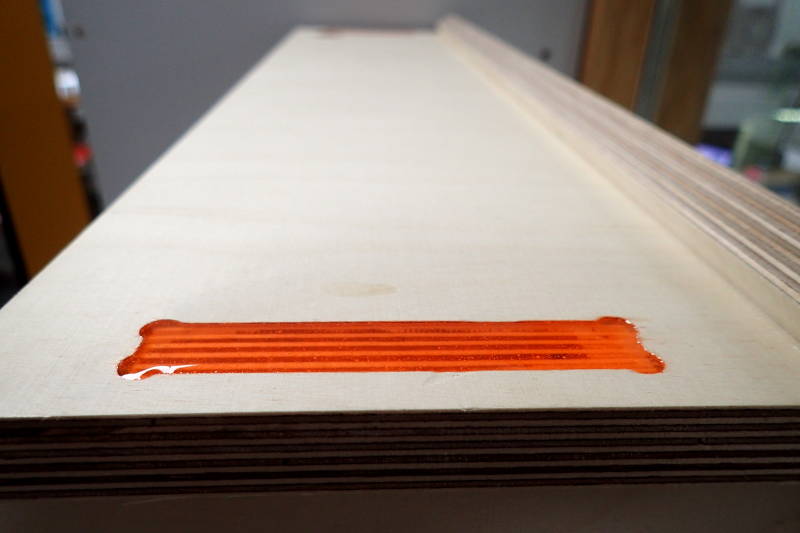
I have learned that when errors creep in, like inadvertently choosing thicker plywood than my drawing specified, sometimes it is fortuitous to keep going and work around it, rather than going back to the drawing board and start again. I gained a stronger structure and the way I dealt with the fact that the joints no longer matched perfectly, by filling them with coloured cast epoxy, gave the finished piece a distinctive and pleasant appearance.
All the different methods applied did work, some required quite some assistance from instructors and classmates, to whom I remain most grateful.
Now the question remains, how will it hold up under winter conditions? Only a practical trial will tell for sure if the chosen material, birch plywood, will provide adequate insulation on it's own and how well the gutters will perform.
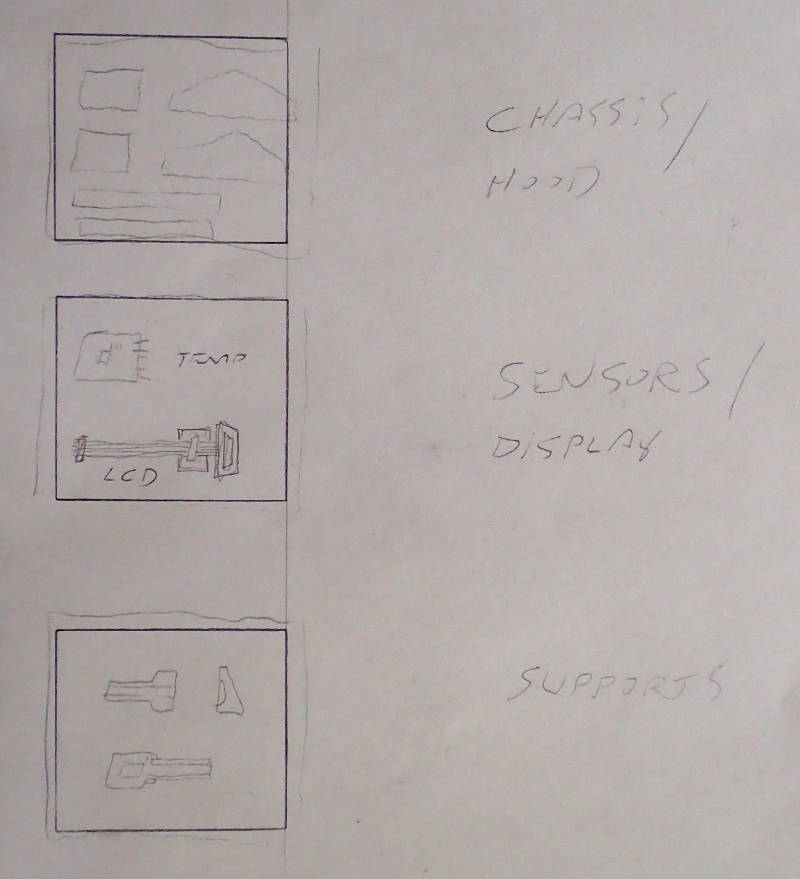


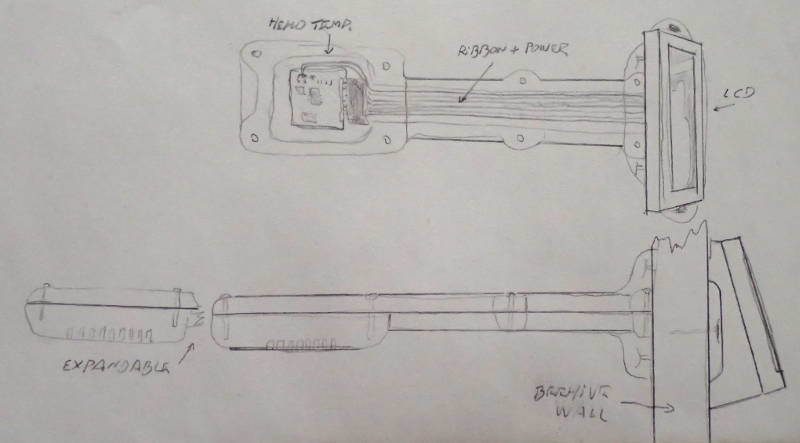
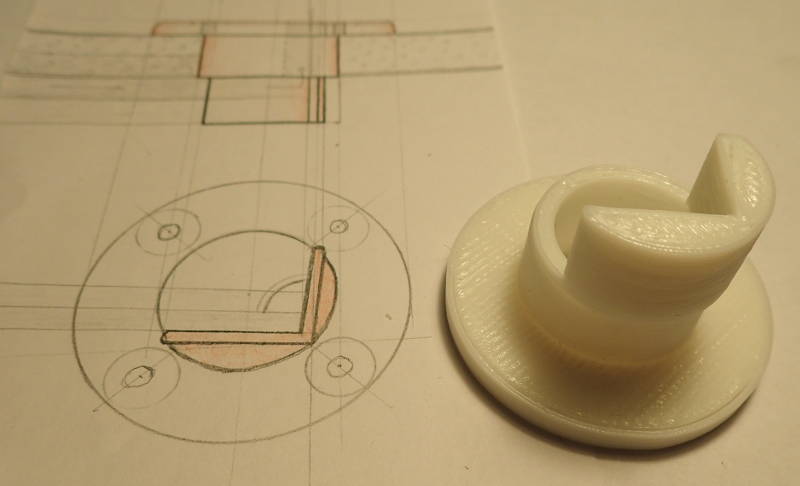
Conduit and enclosures for wiring and sensors.
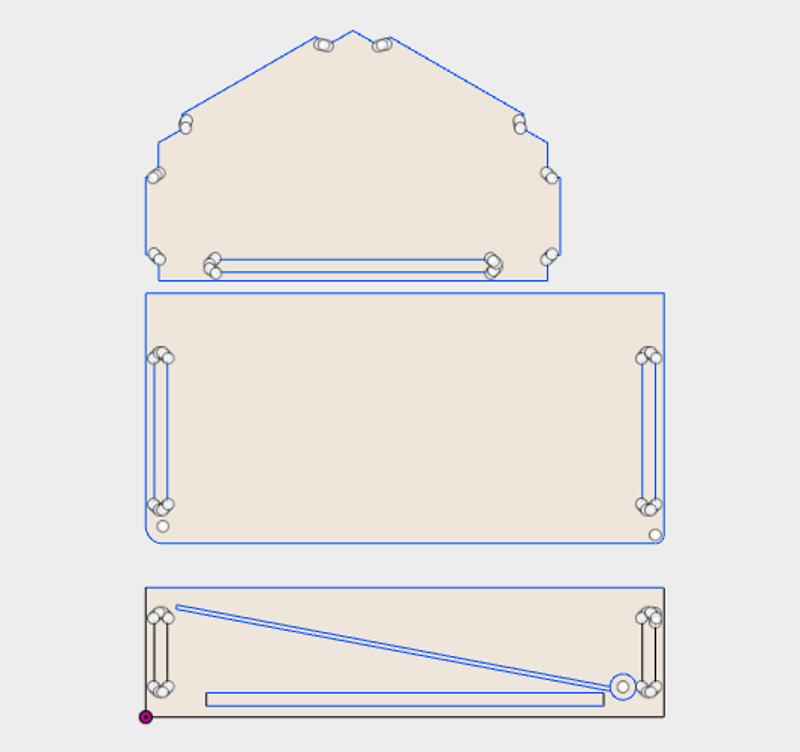
Main components of the outer walls.
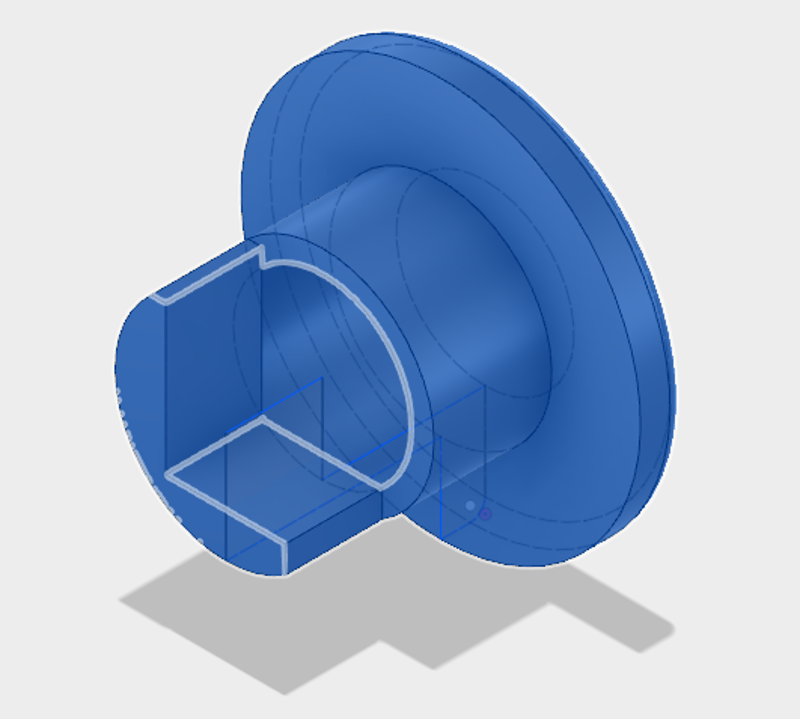
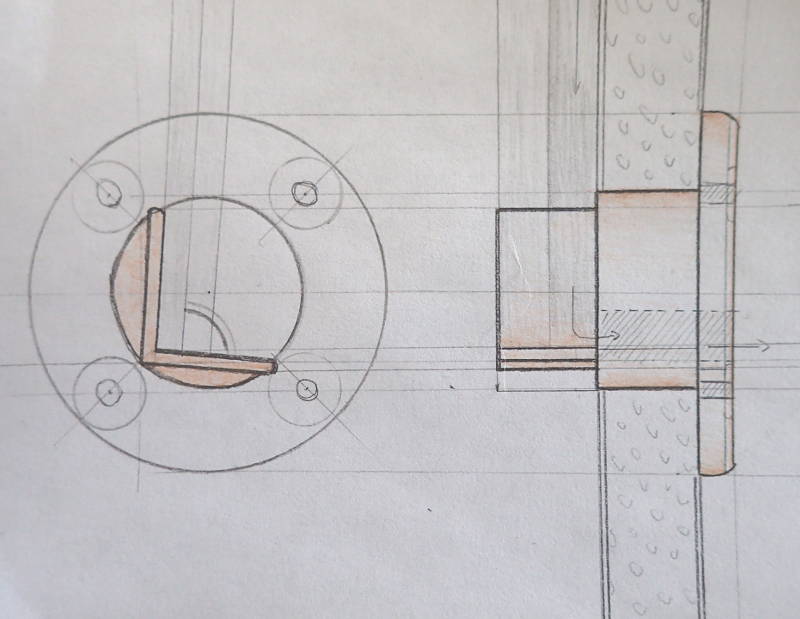
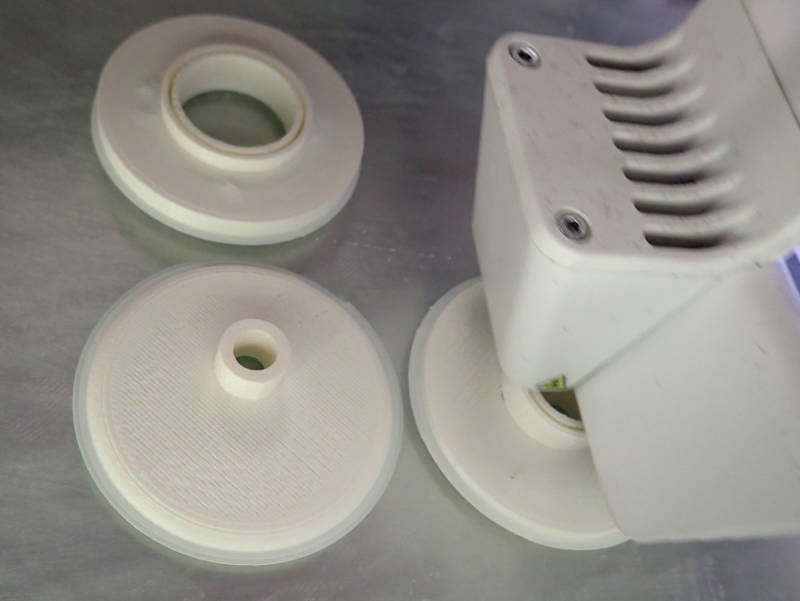
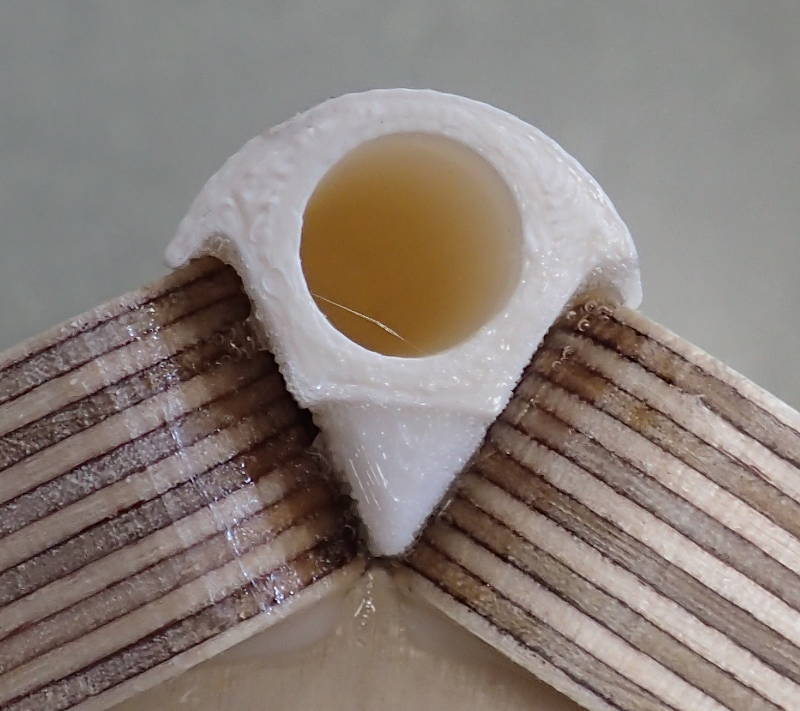
Flange to channel condensation through wall,
modelled in Fusion and 3d printed.
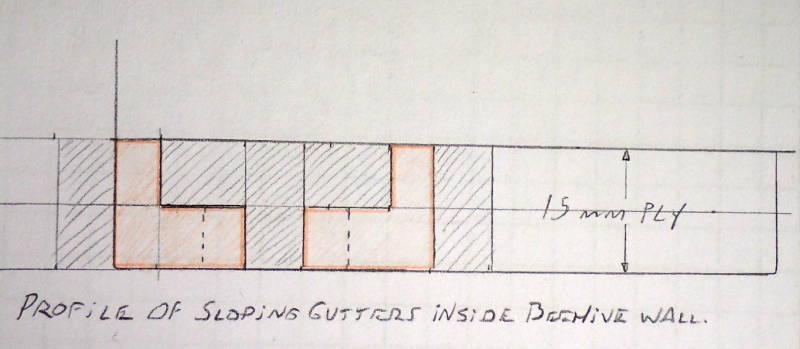
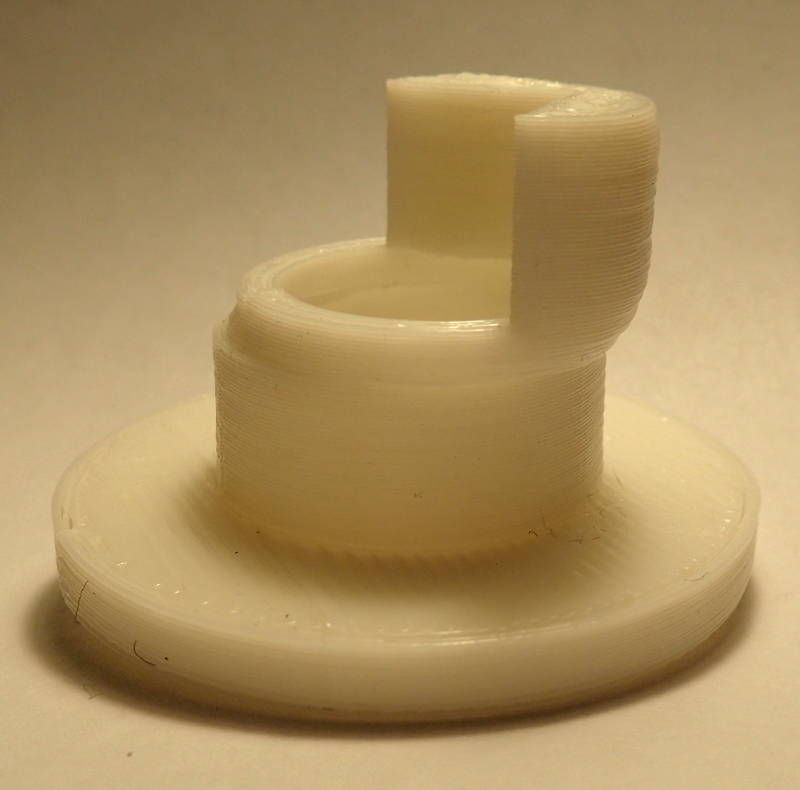
Part of flange that holds internal gutter and drains moisture through wall.
My 3d printer was on an uneven surface causing the X - axis to bind. I monitored the print closely for a while and then left it printing while I had dinner. No sooner had I turned my back on it, that the layer shift occurred.
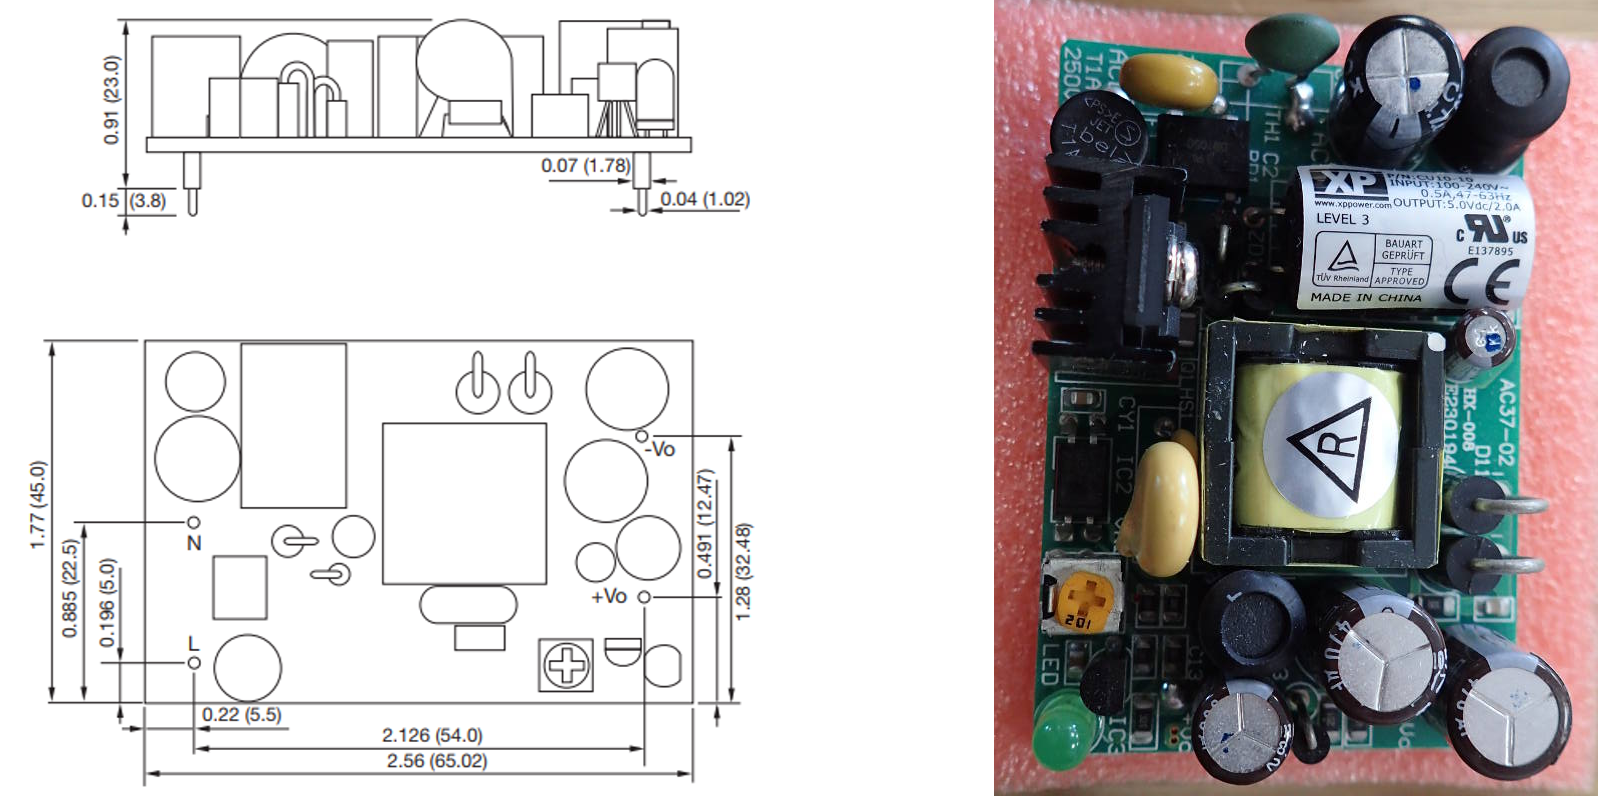
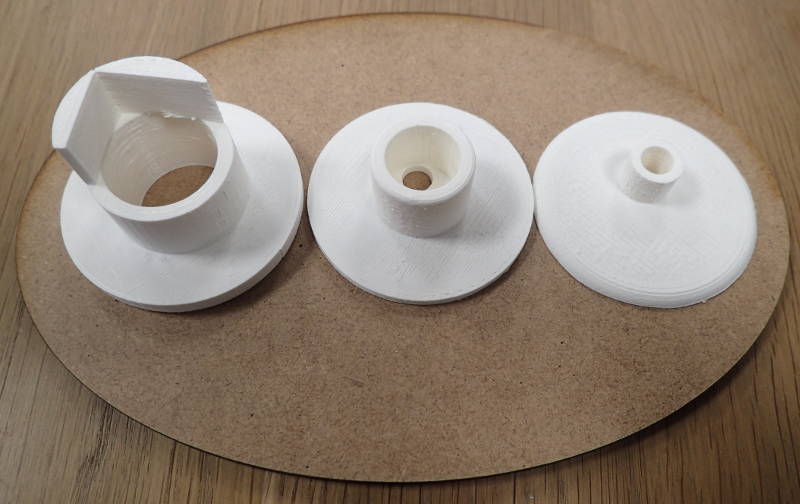
Initial idea for power supply.
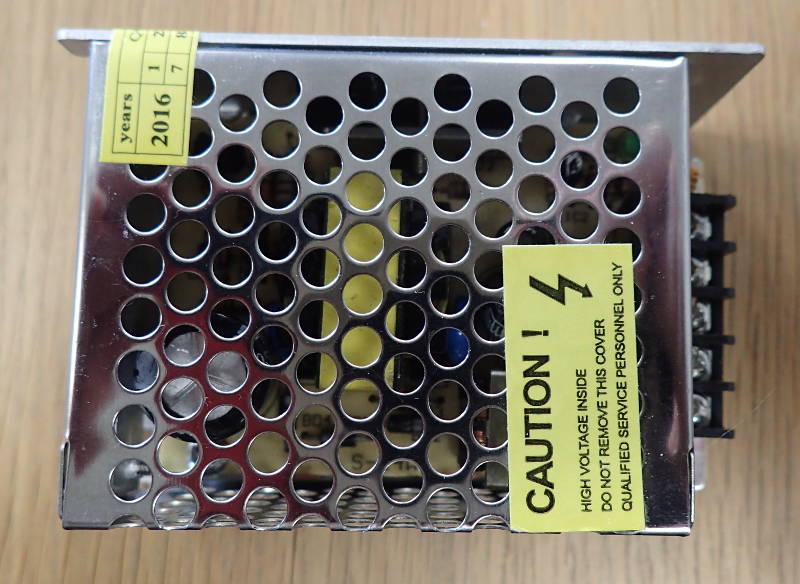
This one, however, is the one that will be used.
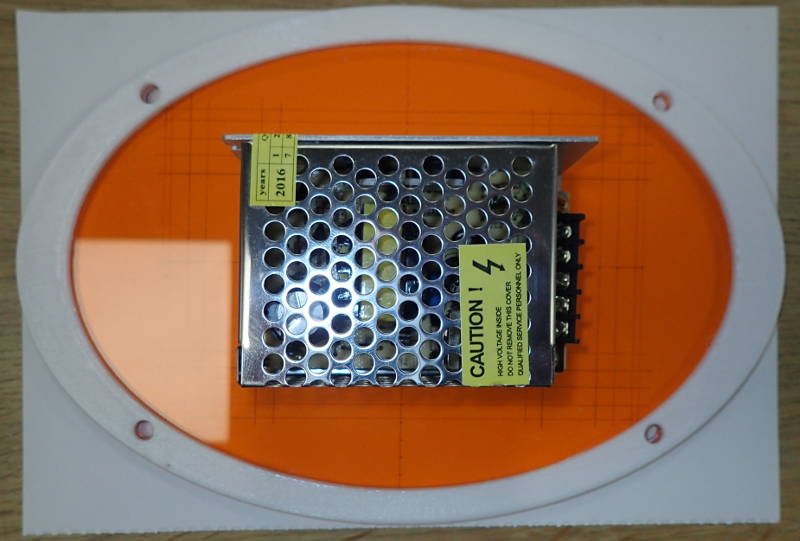
Glued to a laser cut acrylic plate with a 3d printed flexible gasket.
The temperature sensor is sending signal to the LCD screen.
Printing water outlets. Split initially, then glued together, to guarantee integrity of prints.
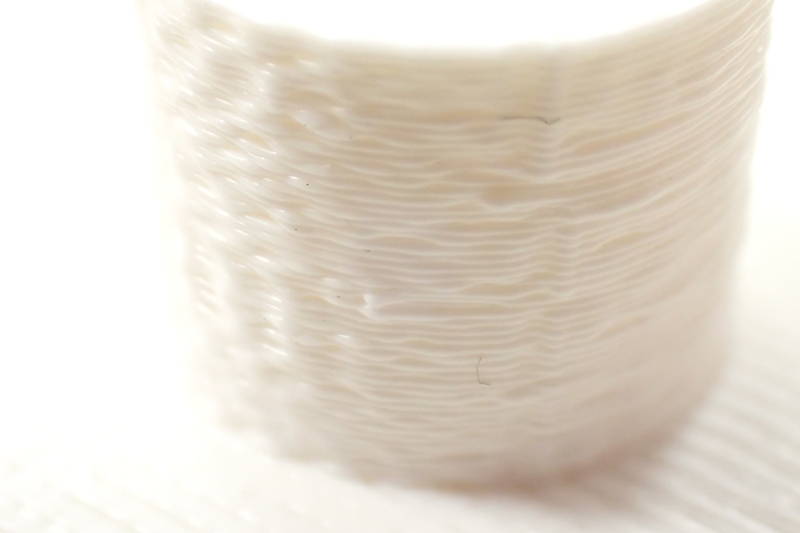
Printing at high speed creates ripples, this is good for adhesion on finished model.
Those will channel excess moisture through wall.
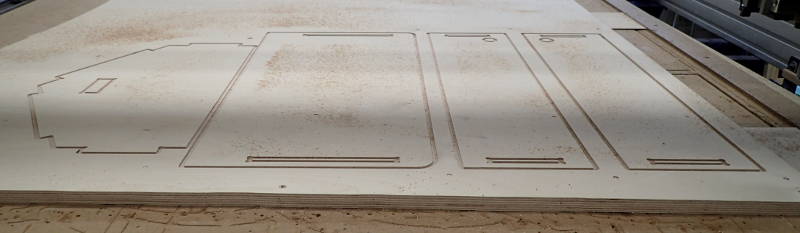
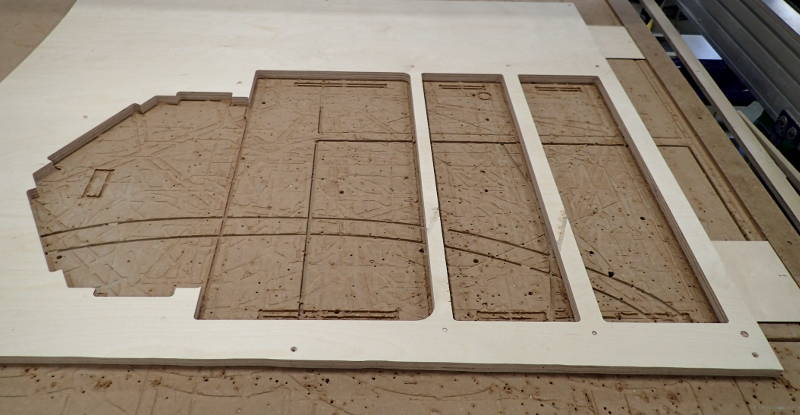
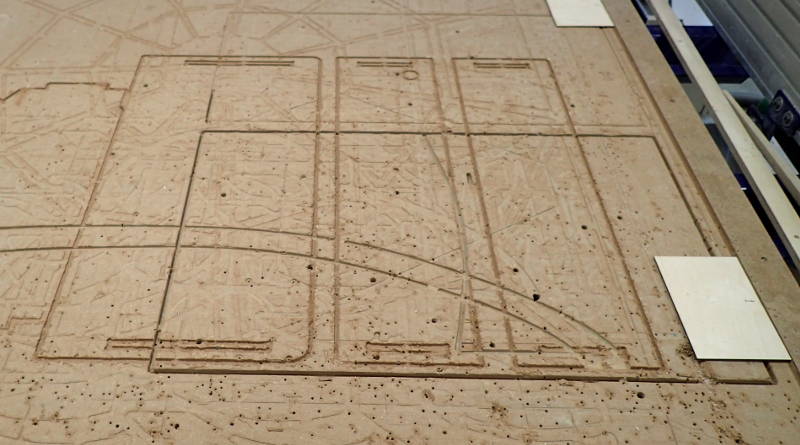
A dangerous issue surfaced with final toolpath, z axis calibration got dropped behind the sofa somewhere in between zeroing z axis and milling the lowest toolpath, with the result that the tool cut a 2.5mm groove in the sacrificial bed and obliterated any trace of tabs. The milled pieces turned out fine, though.
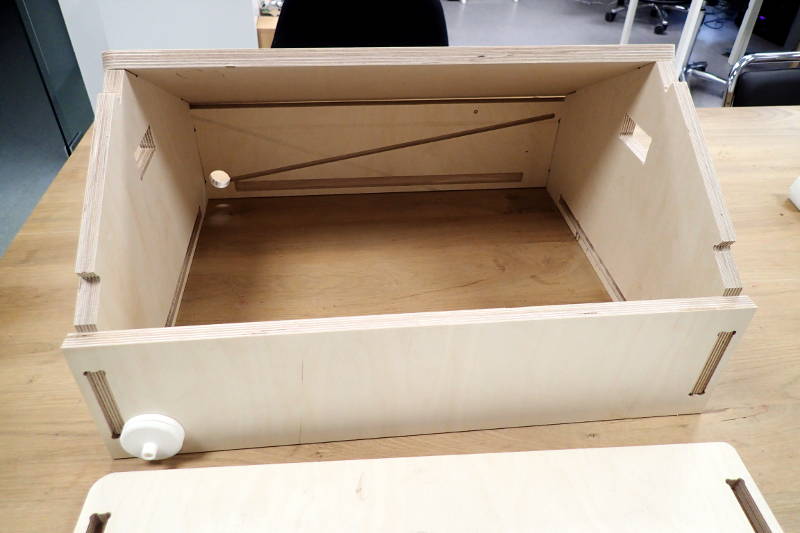
Test assembly before gluing.
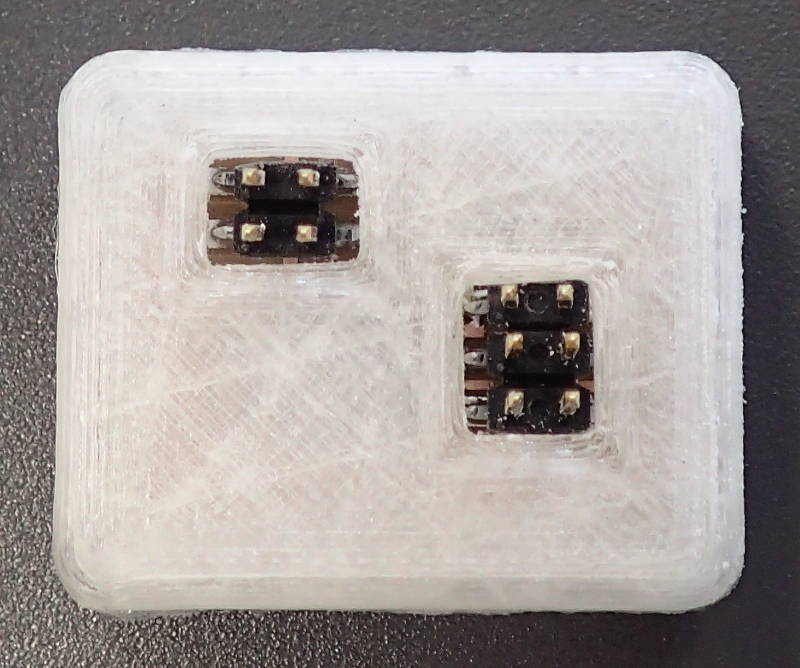
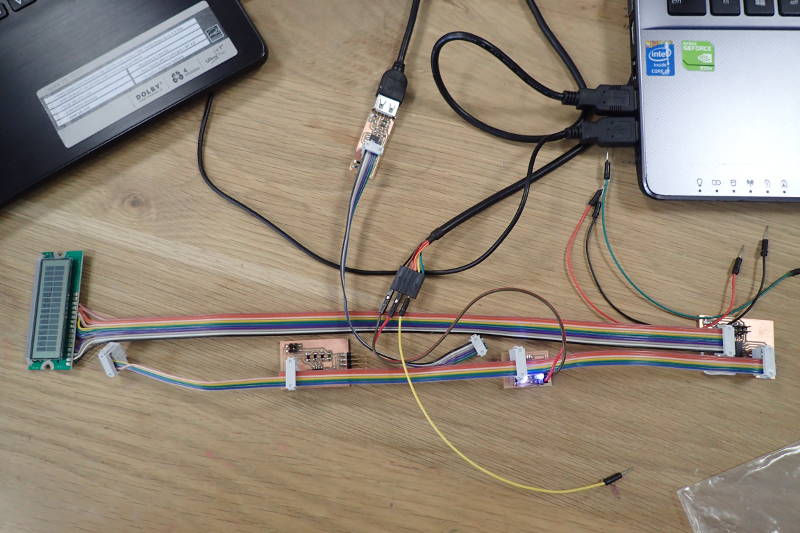
Networking module.
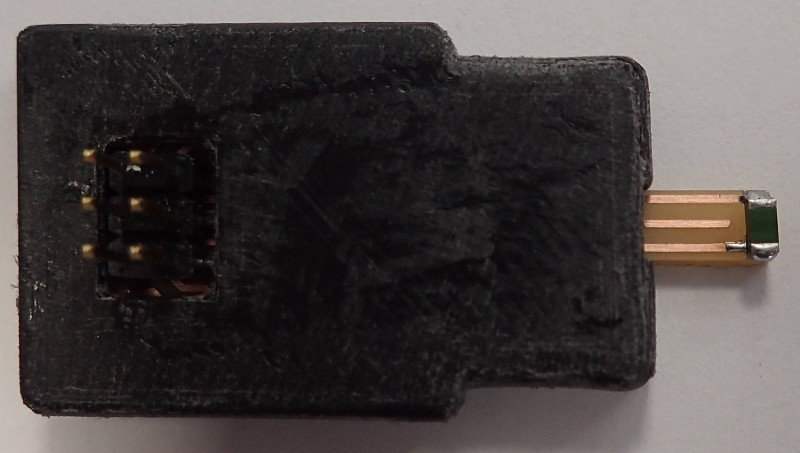
Temperature sensor.
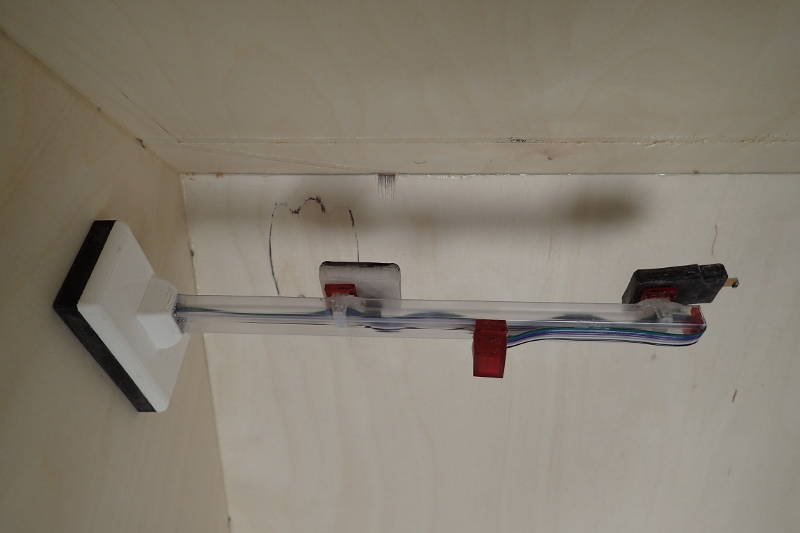
Here is the network strip mounted in the project.
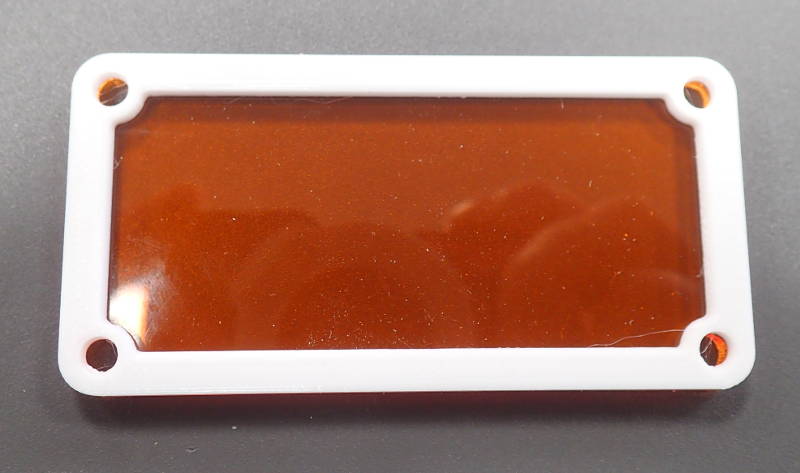
Laser cut acrylic inspection window with 3d printed flexible gasket.
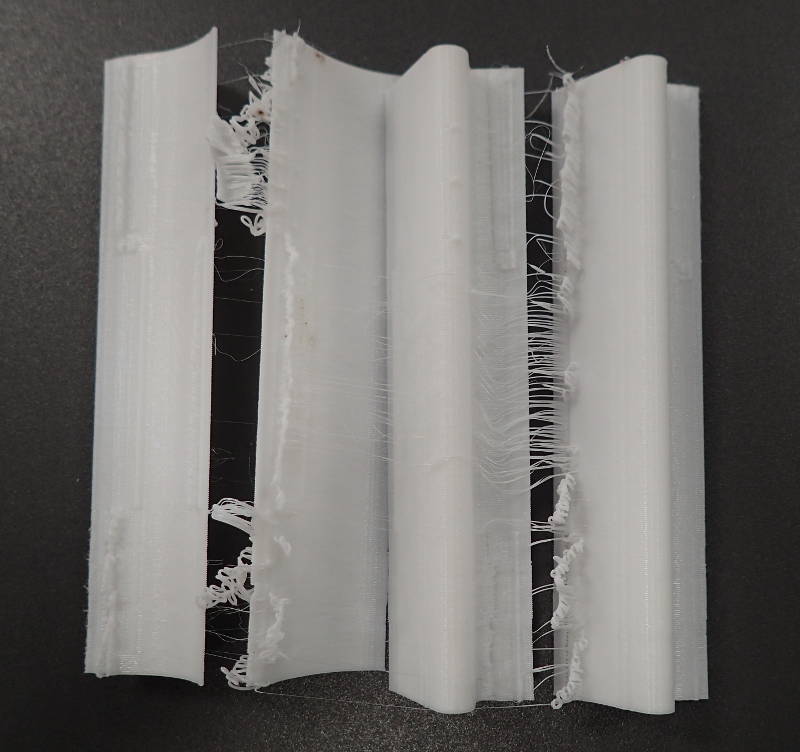
Internal gaskets printed with TPU 95a. Using flexible filament with a Bowden extruder resulted in stringing, but prints turned out very straight and were usable after some trimming.
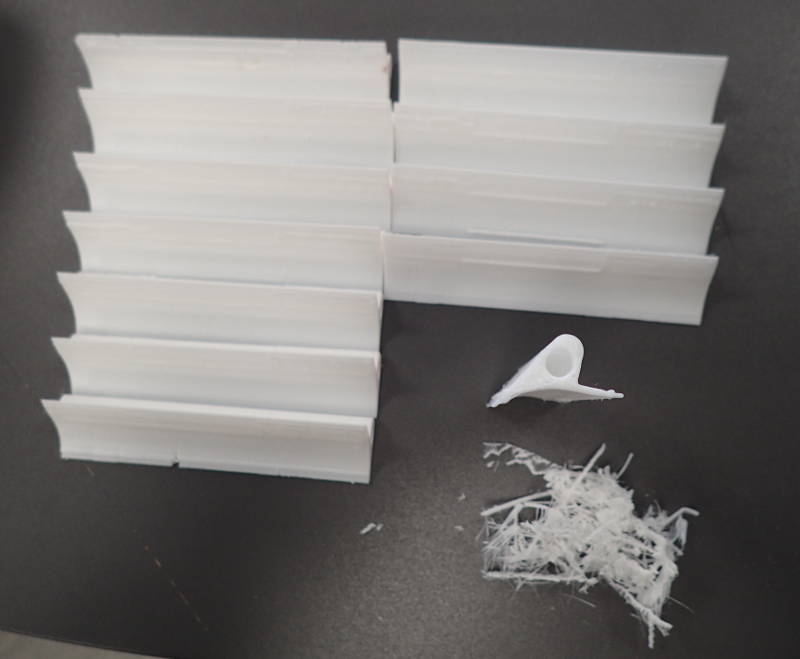
After trimming.
They are a perfect fit and can be glued in.
Installing flexible filament plugs
Structure is now gap free.
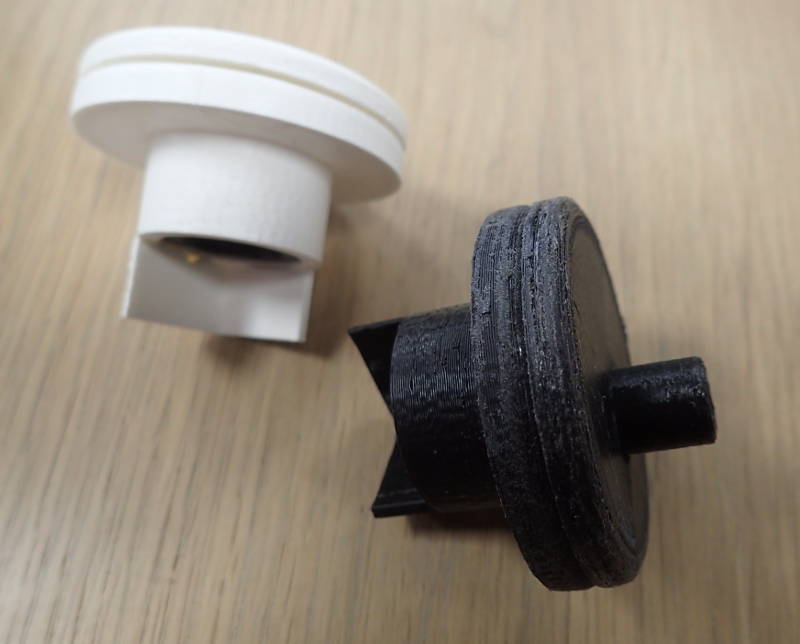
The Platypus type of cable management.Burlap reinforced epoxy resin.
Some cosmetic detailing is in order.
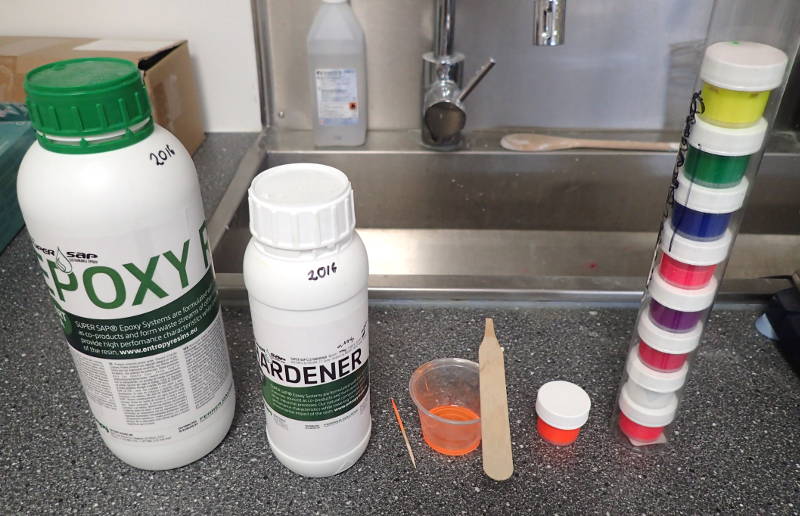
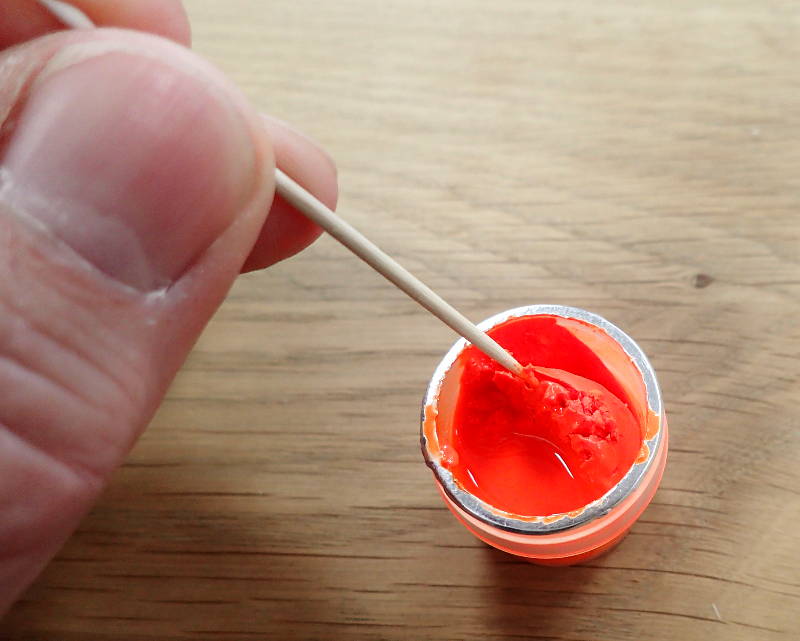
Super Sap CLR epoxy mixed up 10g/5g with two drops of orange color.
Looking good.
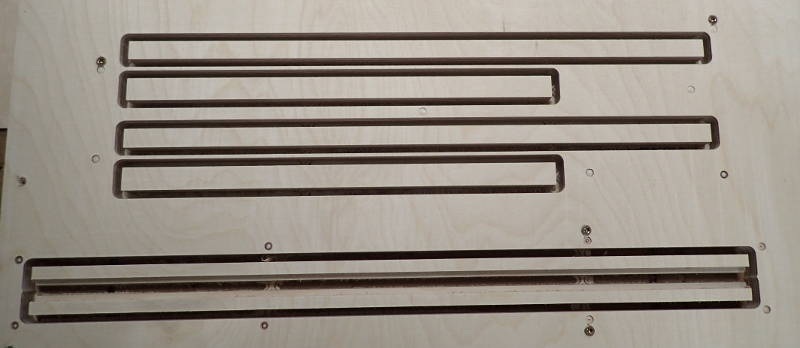
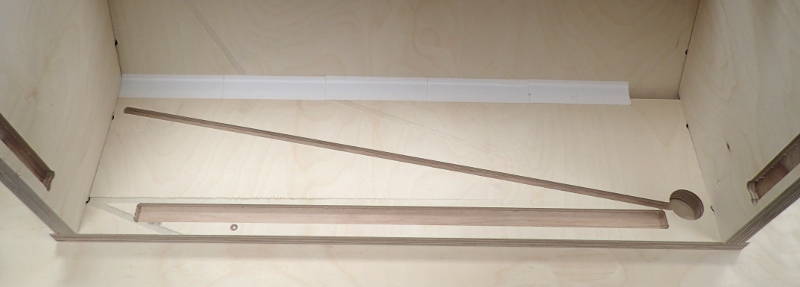
Those will be the internal locating strips and moisture channel gutters.
Here is a gutter mounted to the inside of the side wall.
It is sitting on top of the hive, ready for it's new role. When it it time to close up the hive for winter, it will get it's babtism, every few weeks the water outlets can be quickly uncorked and examined for the presence of moisture, the temperature can be read off the LCD screen anytime and conditions inside can be visually checked through the inspection window, all without disturbing the bees inside.
Power supply: $ 6.48
Birch plywood, approx. 1/3 sheet $ 40
Electronic components:
Resistor 1k x 2 $ 0.20
Resistor 10k x 6 $ 0.60
Resistor 100k x 1 $ 0.10
Capacitor 1uf x 2 $ 0.56
Thermistor NTC 10k 120c x 1 $ 2.98
LED x1 $ 0.63
Resonator ecs-cr2-20 x1 $ 0.63
Attiny 44 x1 $ 1.75
Attiny 45 x 2 $ 2.38
LCD panel x 1 $ 9.65
3d printing filament TPU95 78g $ 13
3d printing filament PLA 150g $ 12
Epoxy resin Super Sap CLR 170g $ 5.30
Connectors 2x3 x 3
Header FTDI x 1
Header 2x2 x 2
Header 3x2 x3
Header 2x5 x 1
Ribbon cablex6 35cm
Acrylic sheet
Electrical wire
Prices for headers, wire and acrylic sheet approximate. $ 6
This will invariably differ from country to country.
I managed to complete all the tasks needed to finish this final project, thanks to my helpful tutors and classmates, who were always ready to give a hand and offer assistance. One remainig task is to give the structure several coats of varnish inside and out, as it's intended function requires it to stand outside during the icelandic winter.
As this was a relatively simple project, everything worked the way it was supposed to. The real test of how well it performes in the field will be this coming winter, when it will become clear just how healthy it will keep it's bee colony until next summer.
Apart from my previous concern about it's performance, it will be apparent after one winter outside whether the choice of materials has been the right one, I am quite confident the birch plywood construction can be made to hold up well to the elements, the temperature sensor will give useful data on the insulating properties of the plywood, our beehives are made from high density expanded polystyrene and do not require additional cover during winter, but I have read that where there is a tradition of making beehives from wood in a cold climate, they have to be covered up to keep the bees warm enough.
The development of the final project happened piecemeal bit by bit, the weekly assignments were often used towards it, like networking week and wildcard week, which I used to make a composite power supply cover. I had a somewhat disorganized approach to the planning, as my lack of proficiency prevented any solid work plans to be adhered to once made. The thing grew organically day by day and new solutions to design problems suggested themselves as the build progressed. It did get completed in time for the presentation and now, in mid summer, awaits it's role as the bees have no use for it yet.
Mostly I have learned to persevere when there seems to be no way forward and the number of broken and misshapen pieces keeps growing. There are always people ready and willing to help and little by little the software and machinery has fewer nasty surprises in store and something resembling a workflow gets that bit closer to becoming second nature.