Moulding and Casting
Work to be done
- Design a 3D mould, machine it, and cast parts from it.
Designing
I started by design what I wanted to cast and its a letter R writen in old english font.
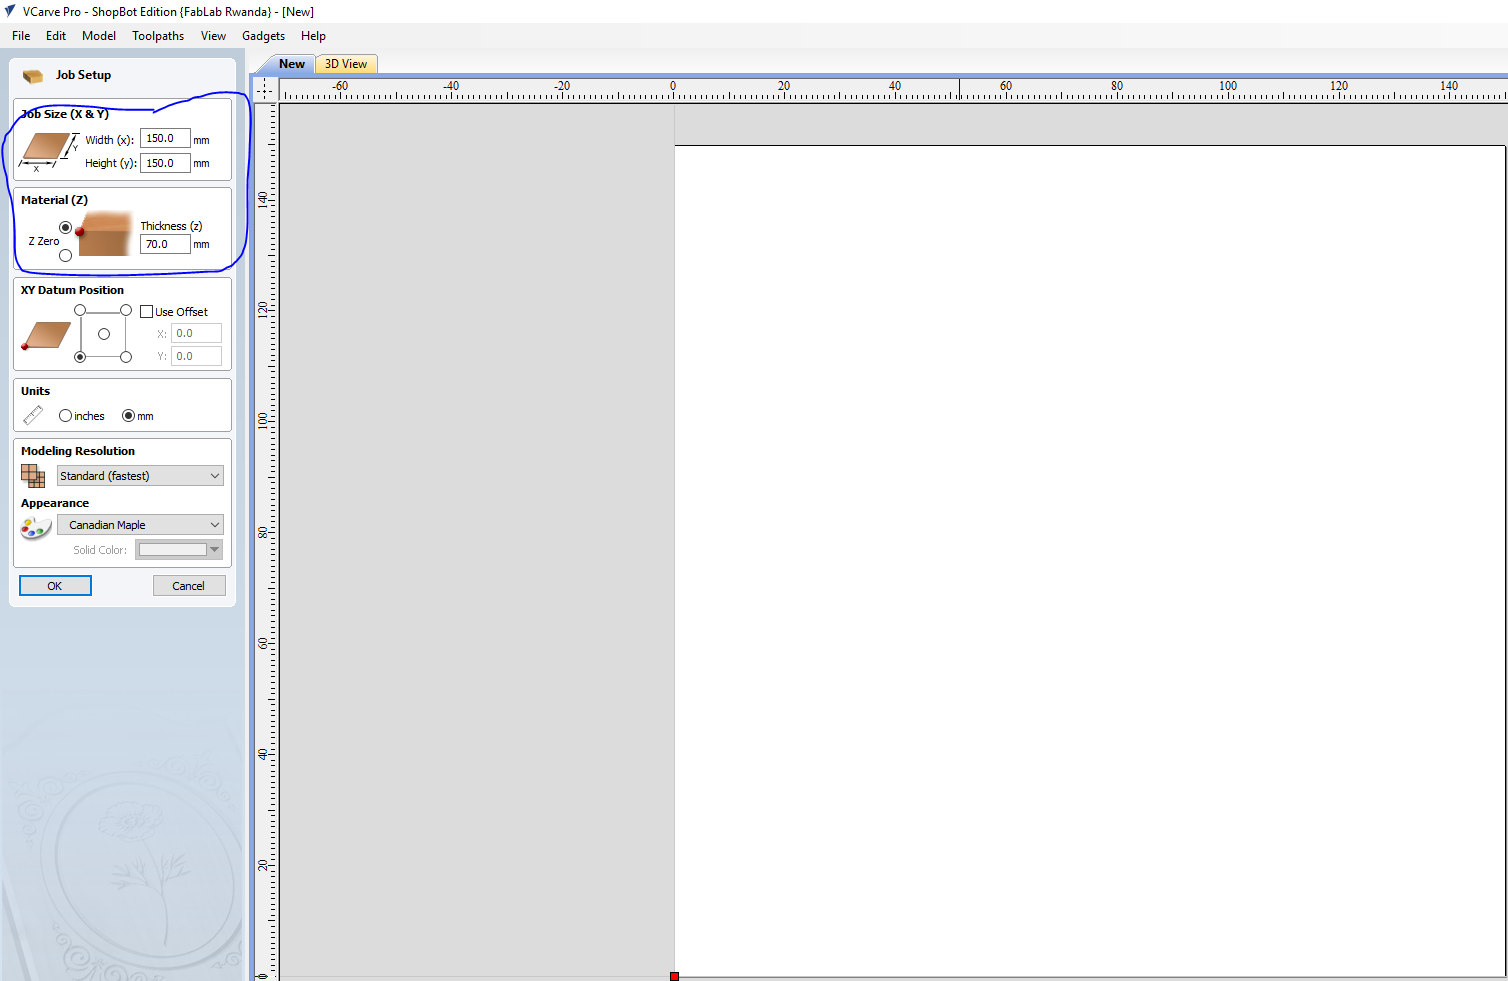
I used VCarve Pro software to design, I started by defining the lenght, width, and the height of the material I was going to work with.
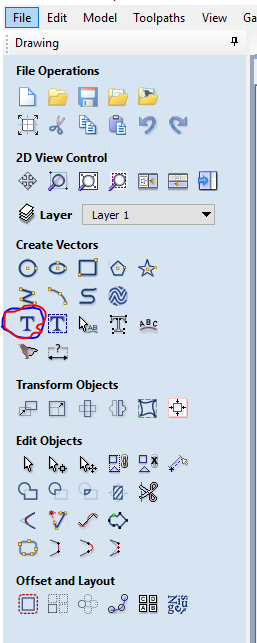
I select the Text tool which would enable me to insert the text.
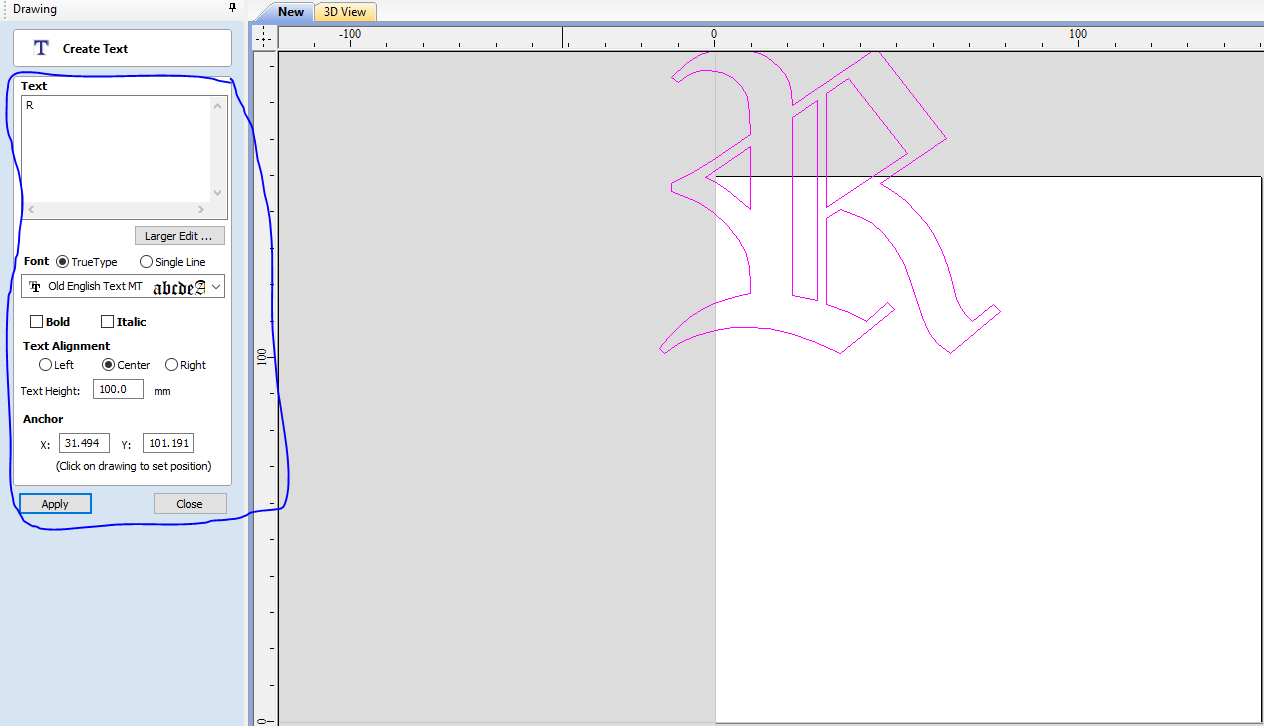
I inserted the letter R and selected the font I wanted to use.
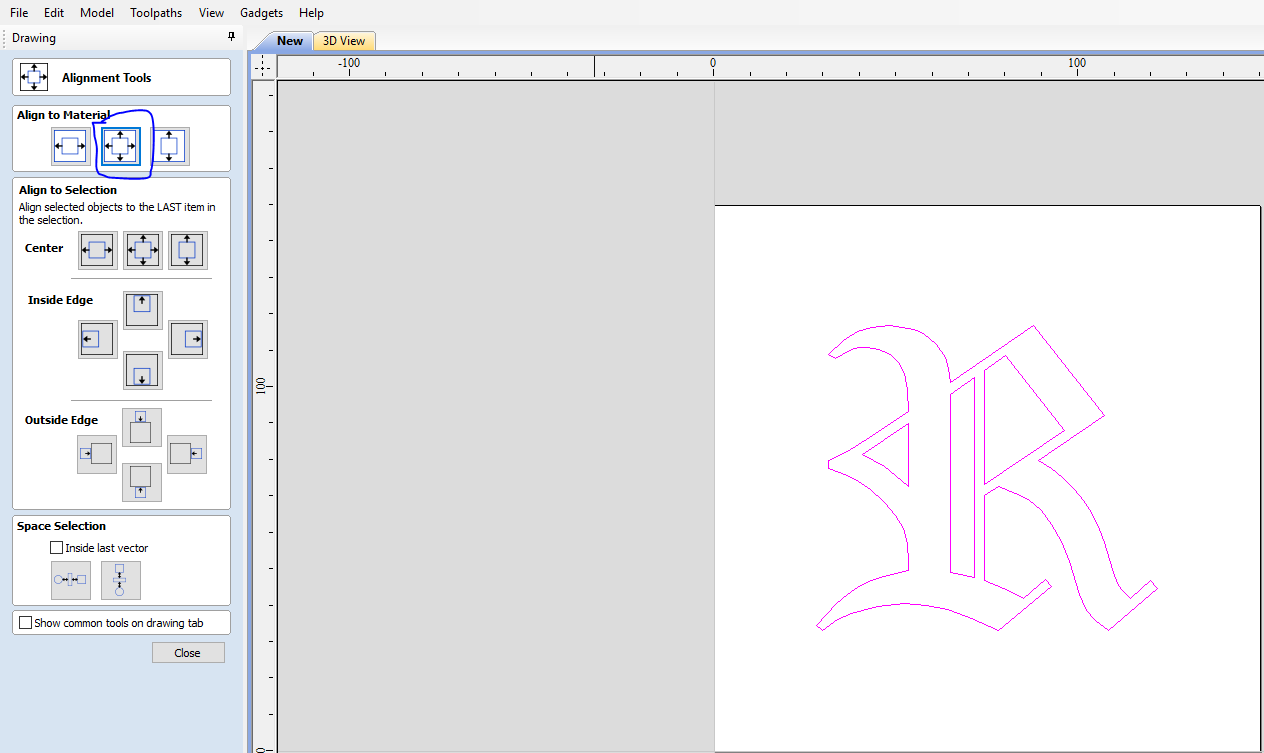
I choosed the alignment tool to make the letter fit in the middle.
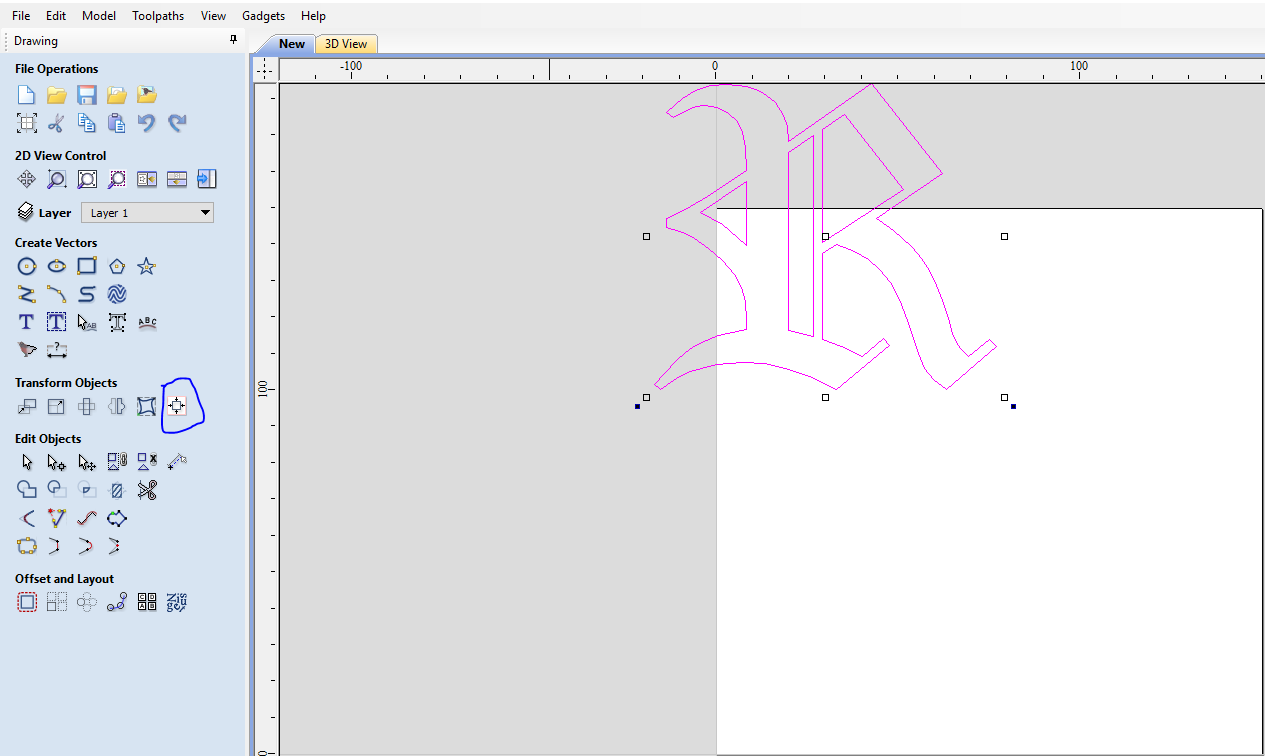
To Align the letter I selected the letter and choose the align in center.
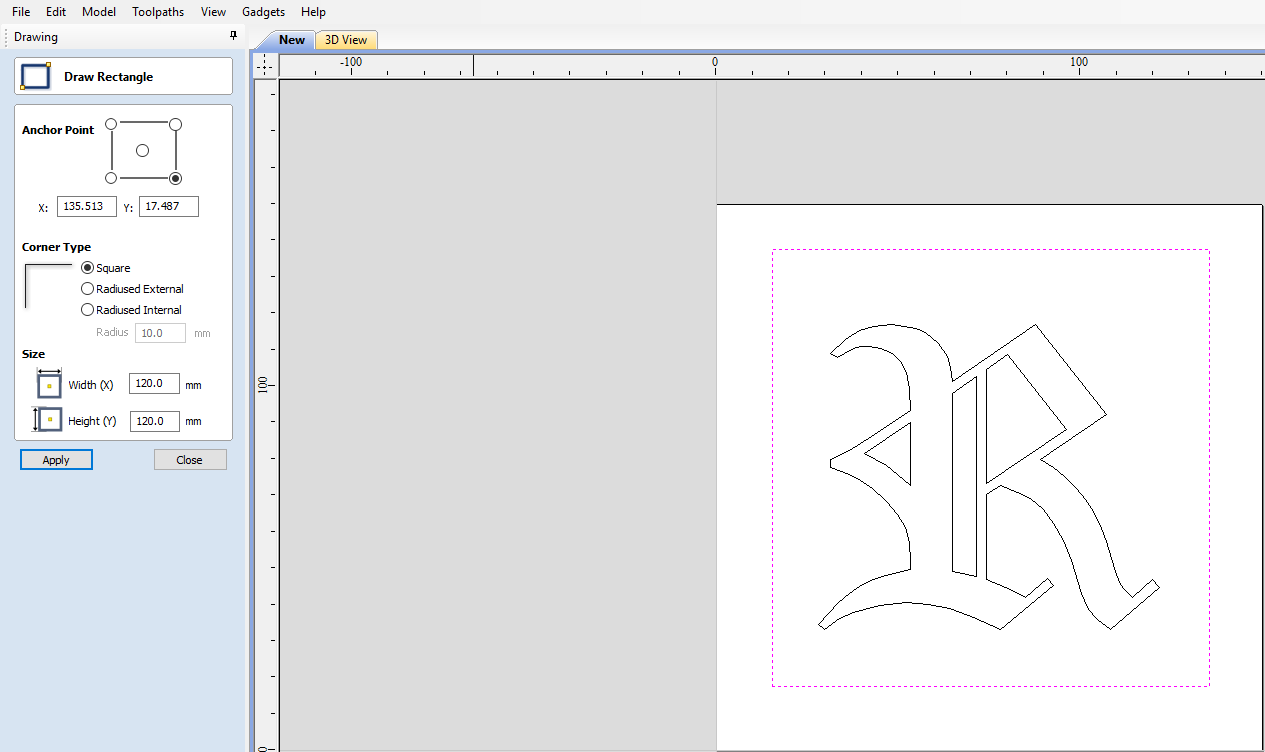
I inserted a rectangle around the letter R which will help to make the first pocket, which makes the mould better.
Toolpath
The next step was to select the toolpath I wanted to used.
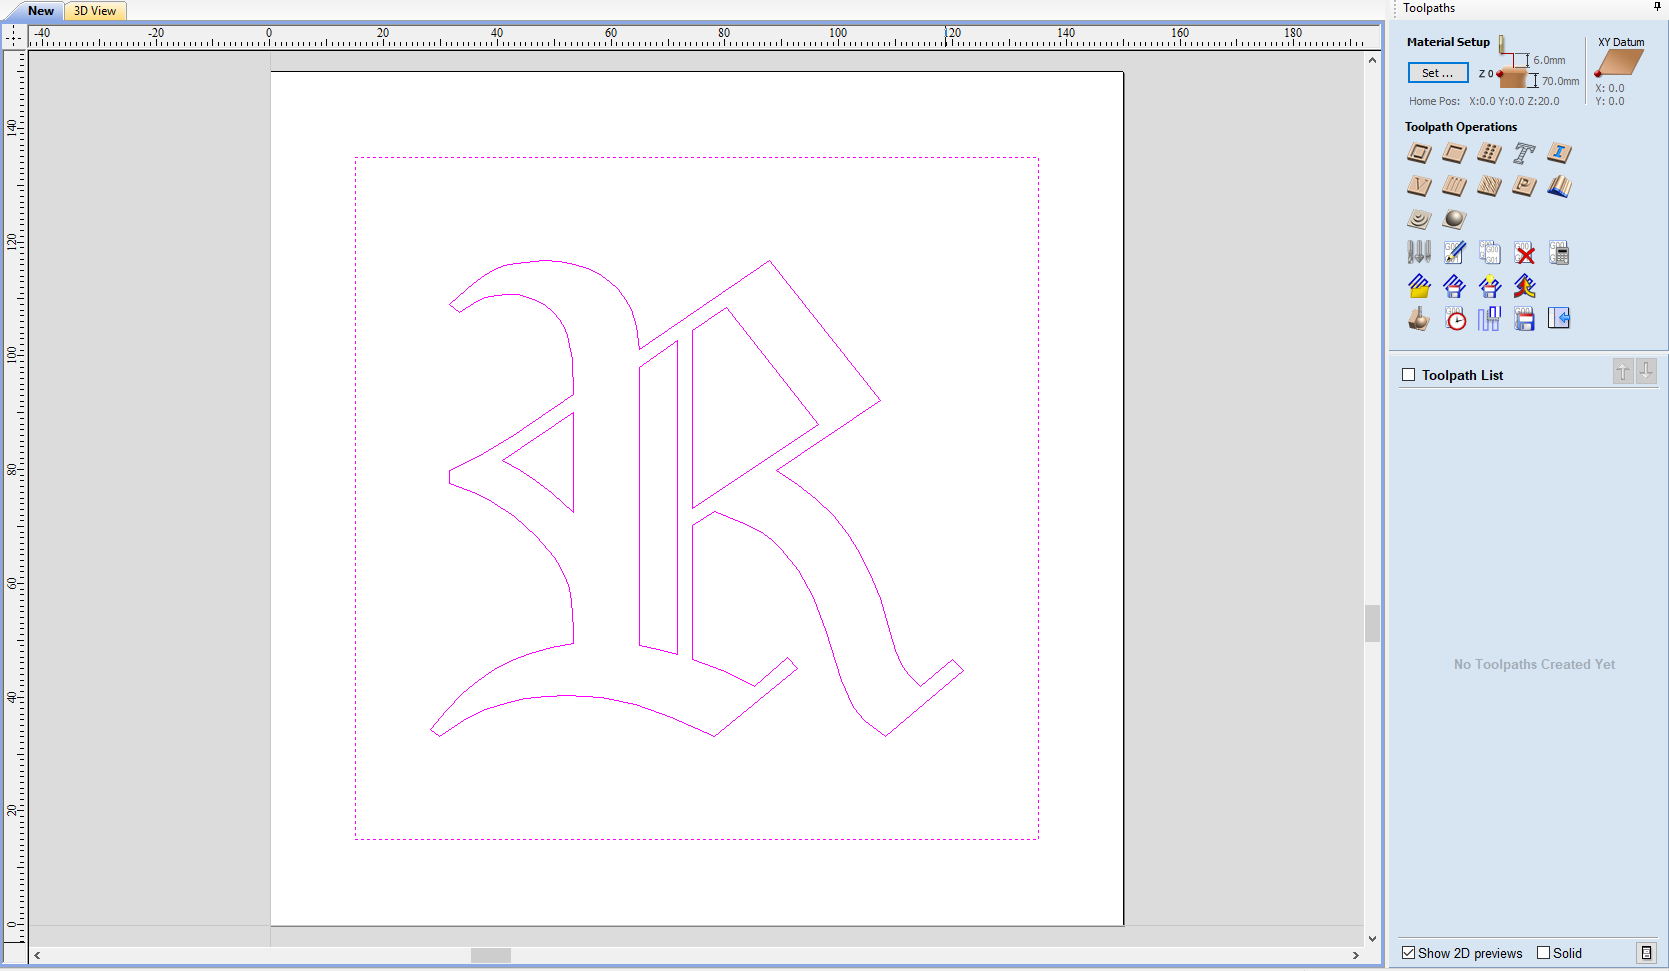
I choosed to work with the pocket toolpath in creating the mould.
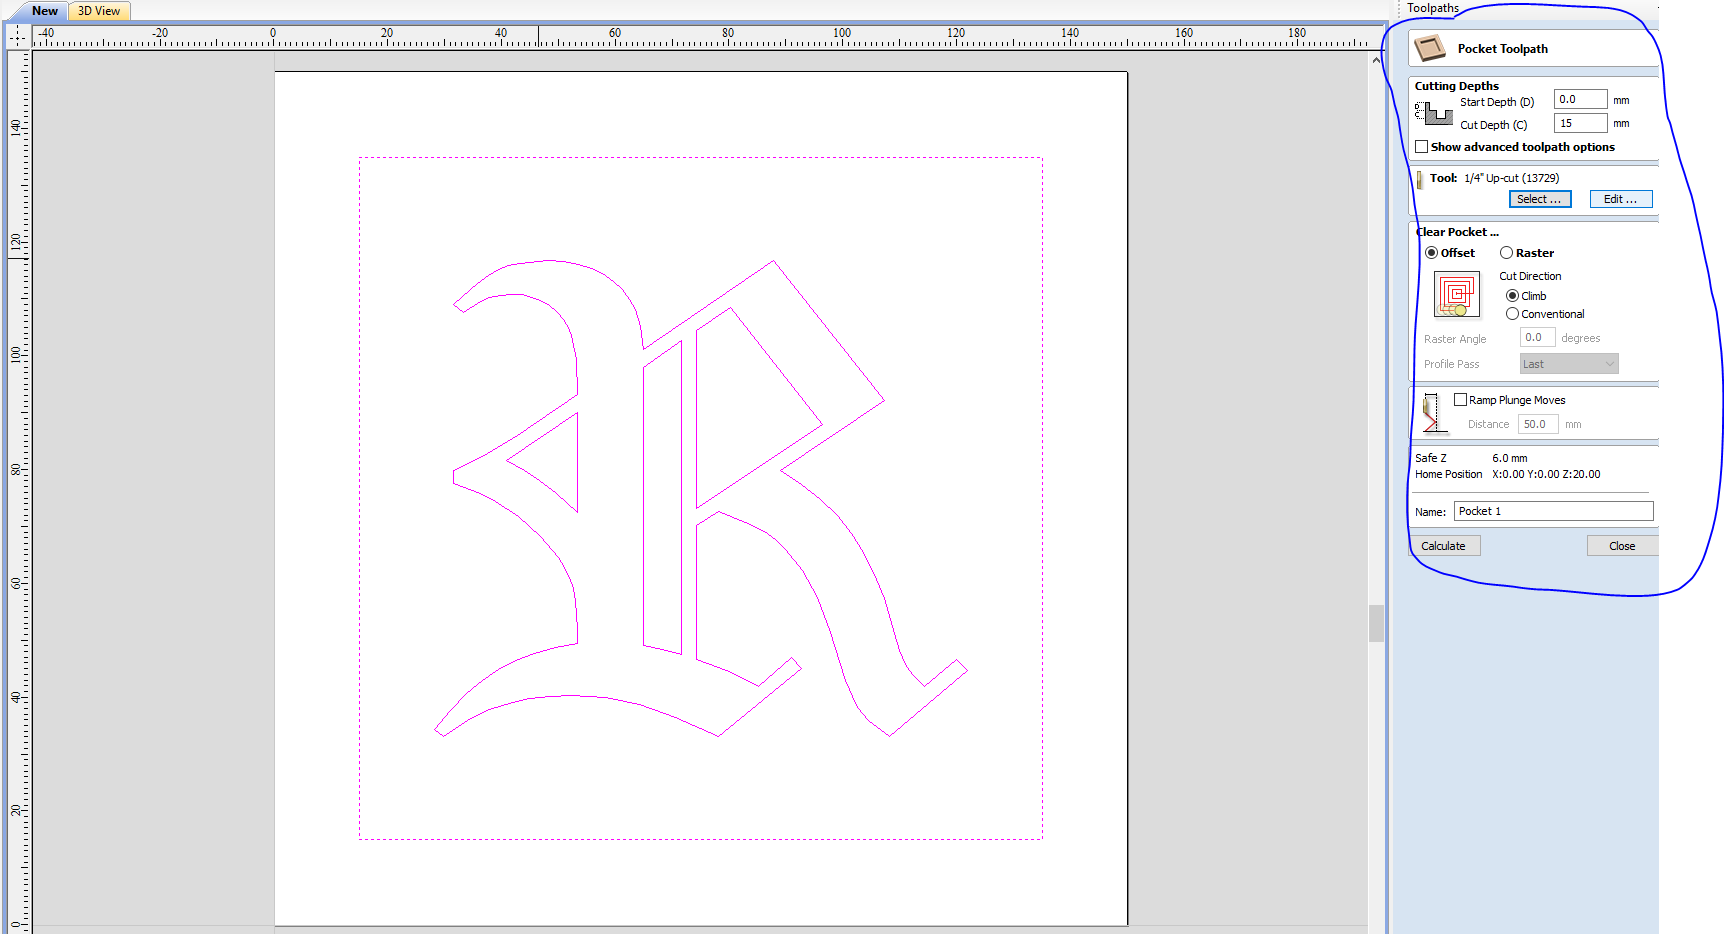
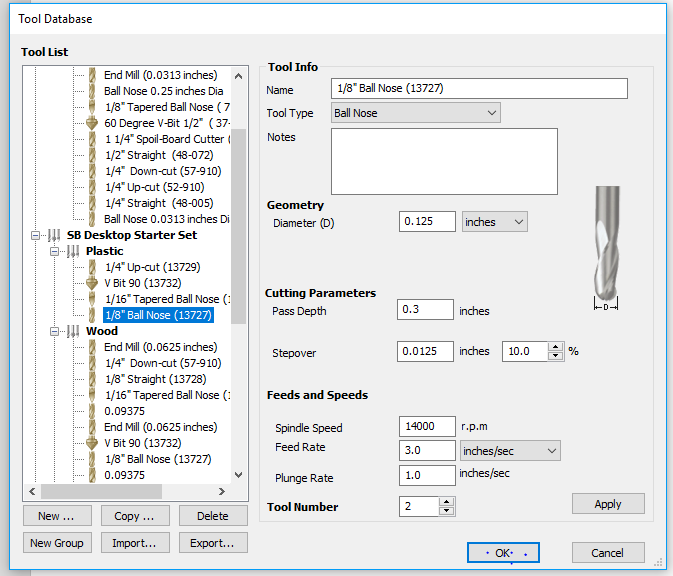
I choosed the 1/8" ball nose tool to use in pocketing the letter R.
Here I selected only the external rectangle and choosed to pocket it.
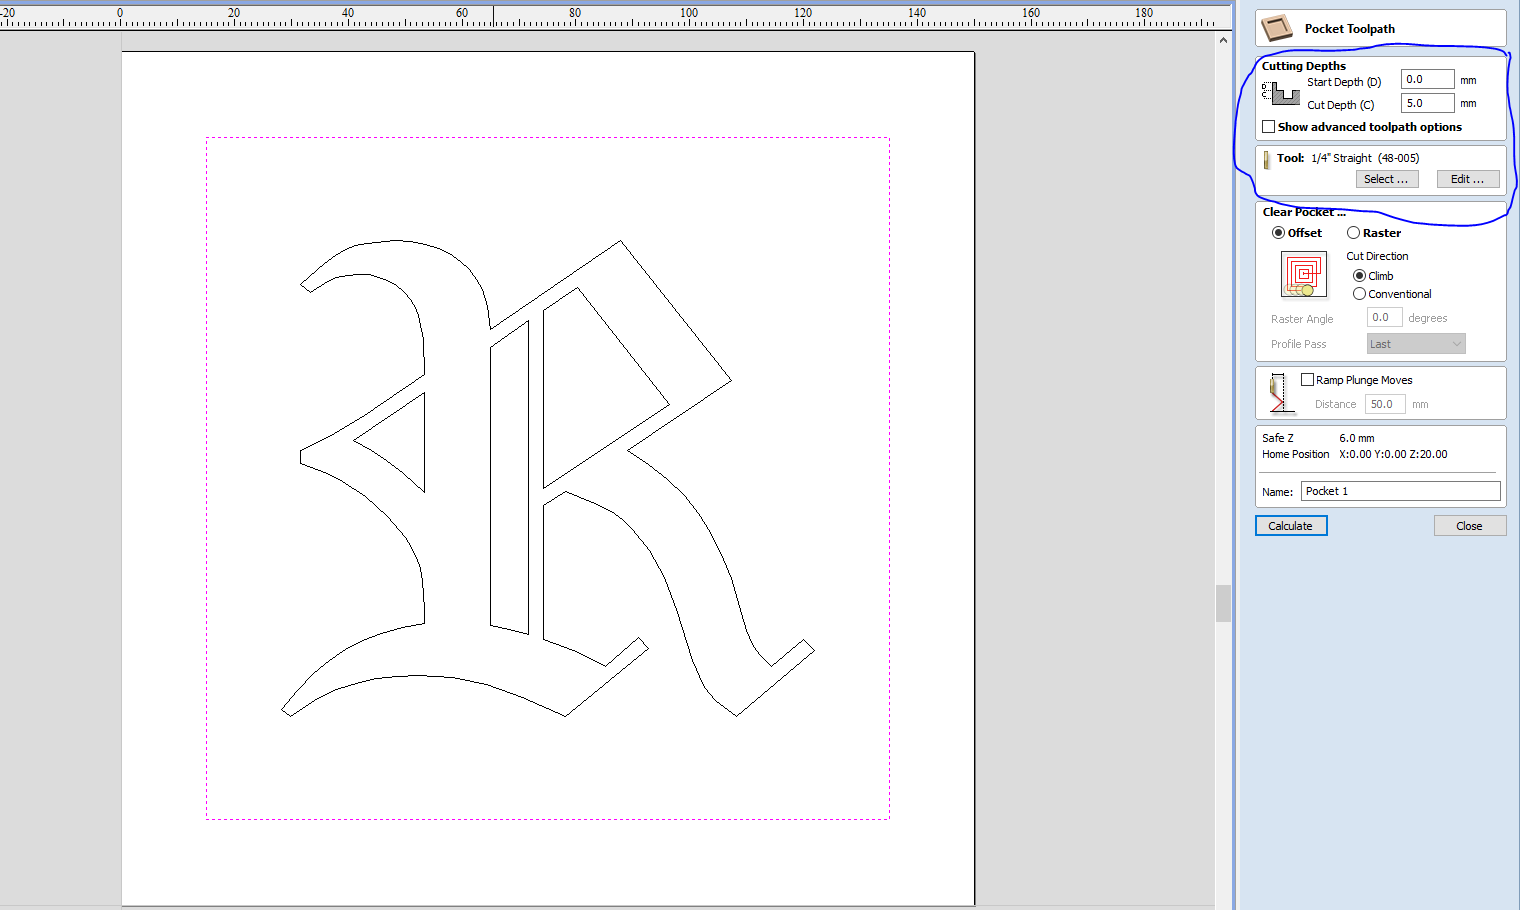
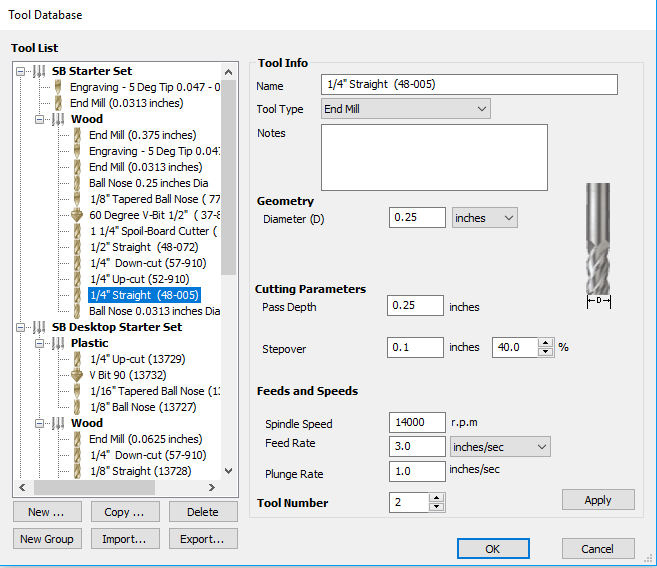
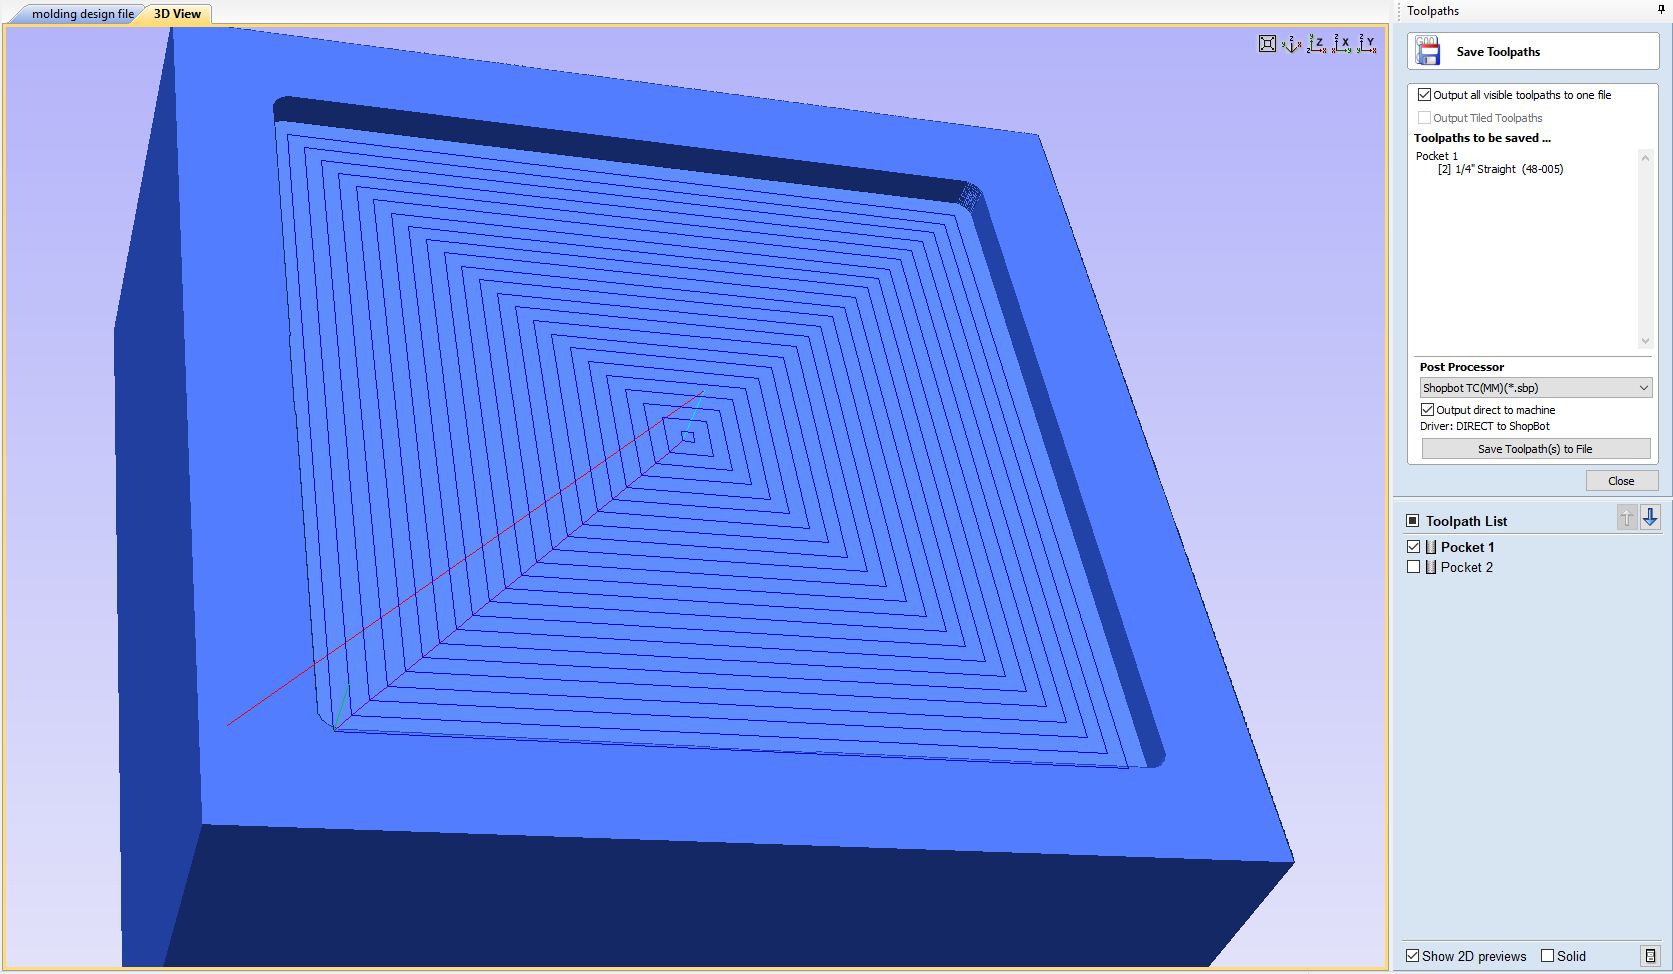
To pocket the rectangle I choosed to use 1/4" tool which will speed up that process.
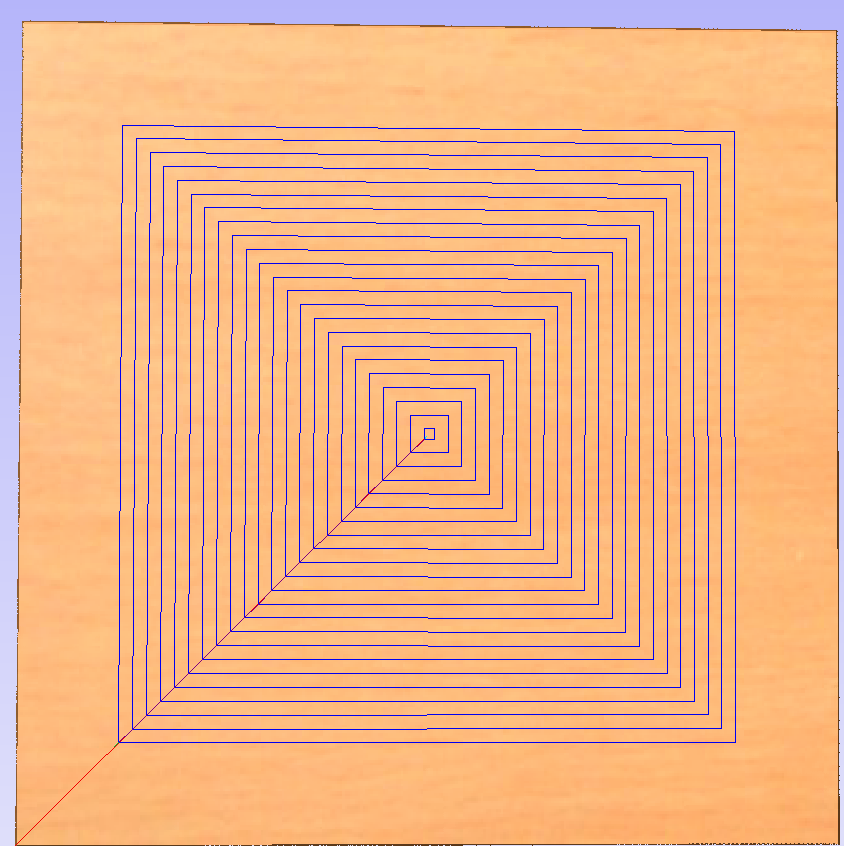
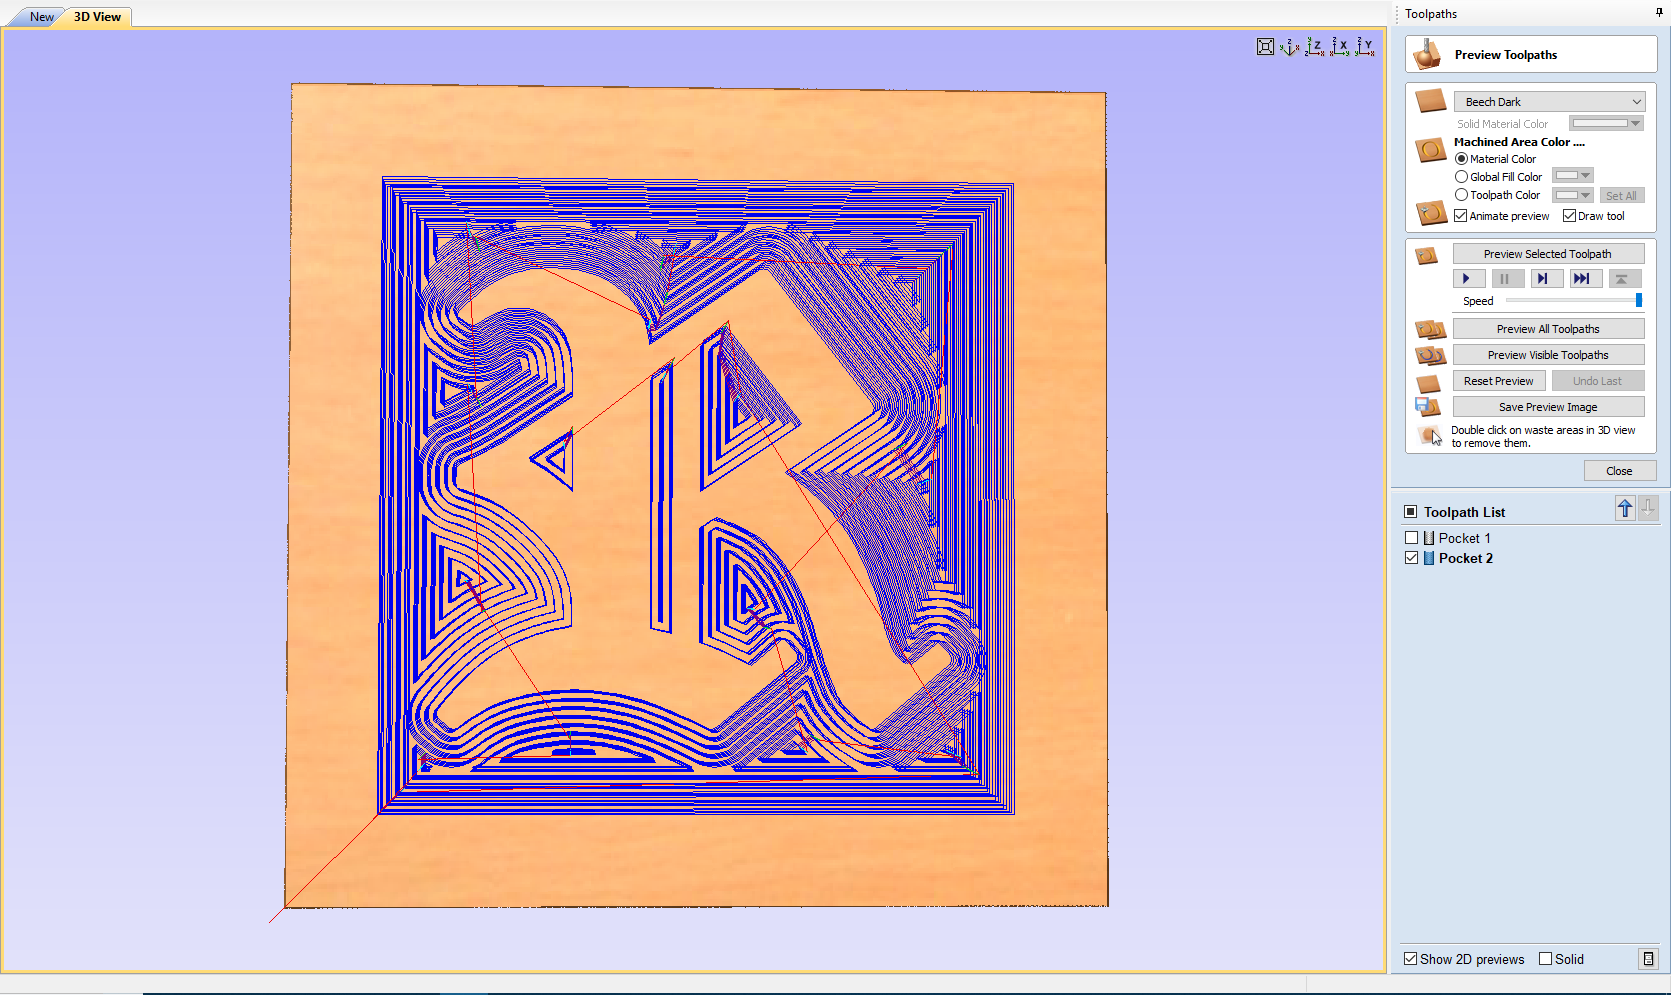
This is the preview of the toolpath making the rectangle.
This is the preview of the toolpath making the letter R.
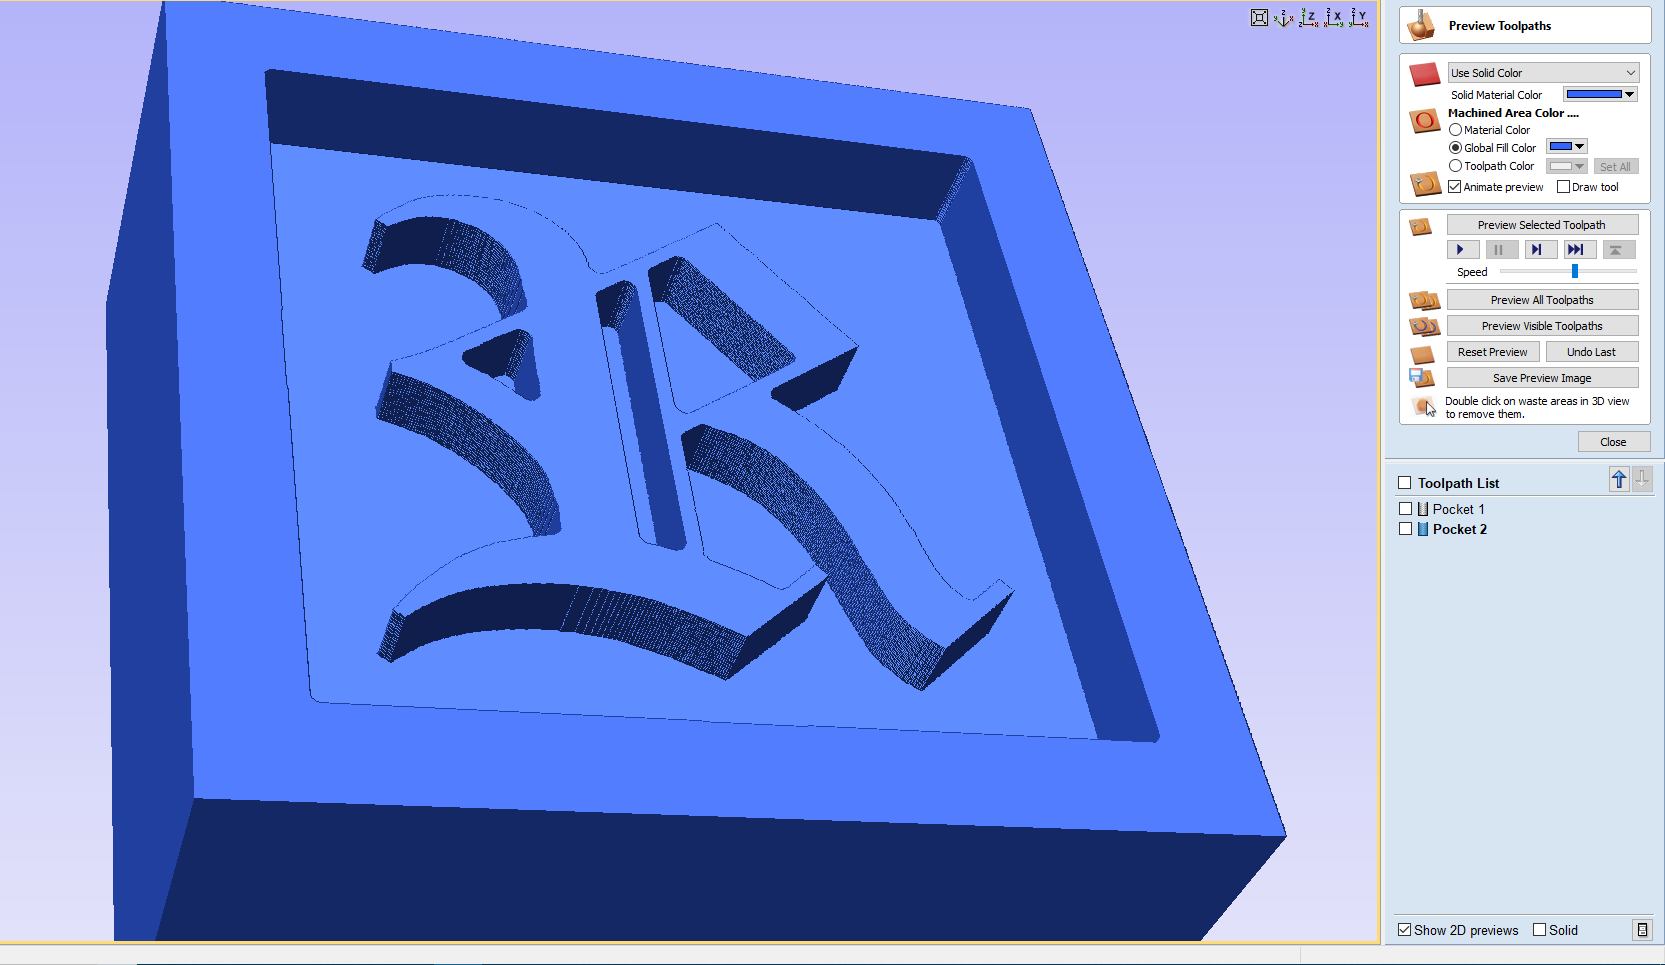
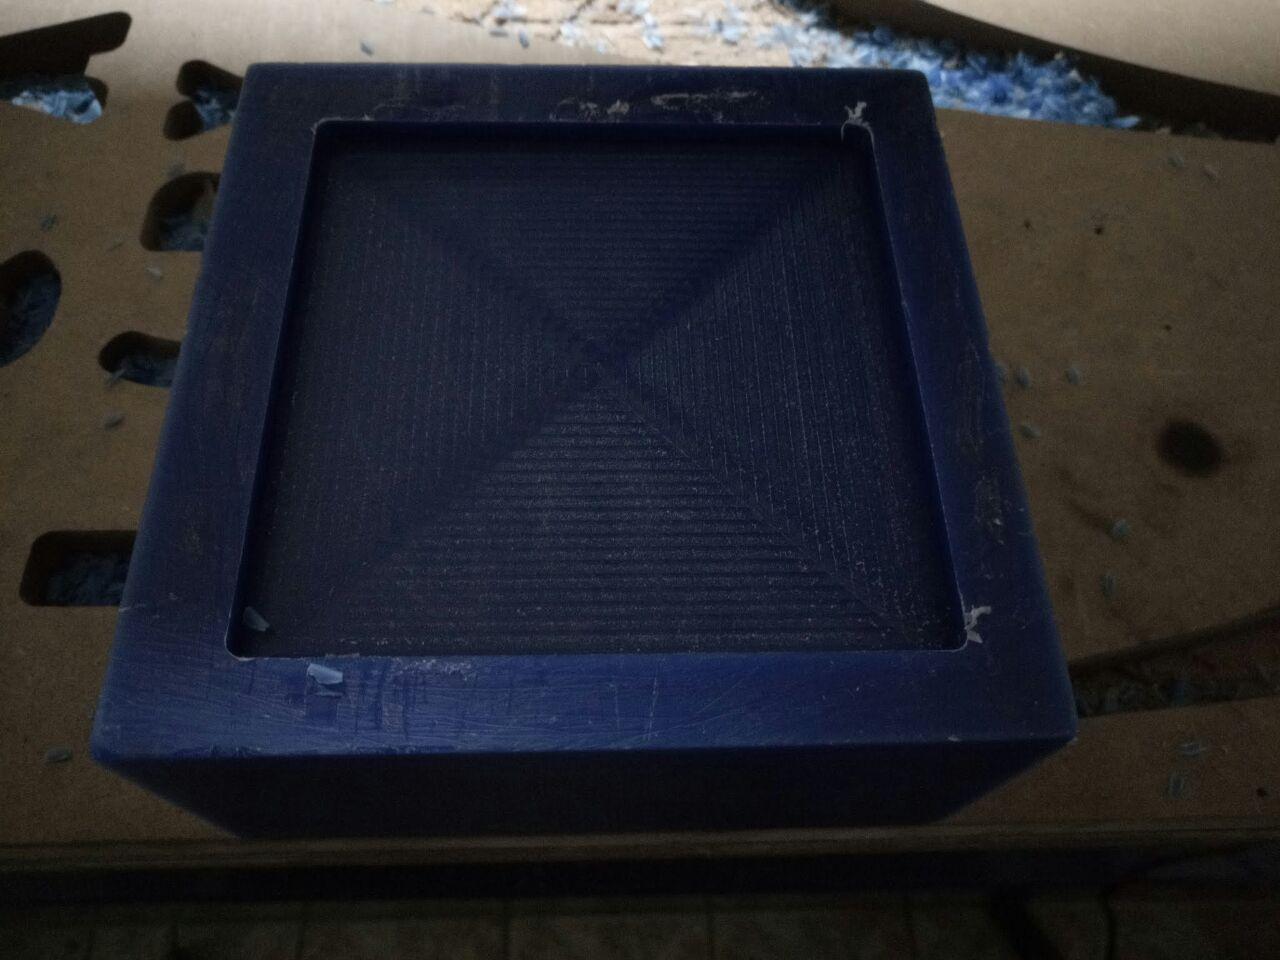
This the look of the result after machining the letter R.
This is the look of the result after maching the rectangle.
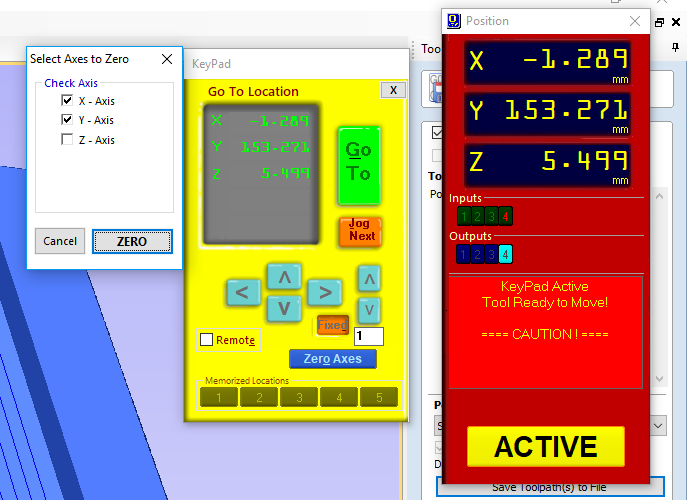
After designing everything I started the shopbot machine and started milling.
Machining
I changed the tool for milling.
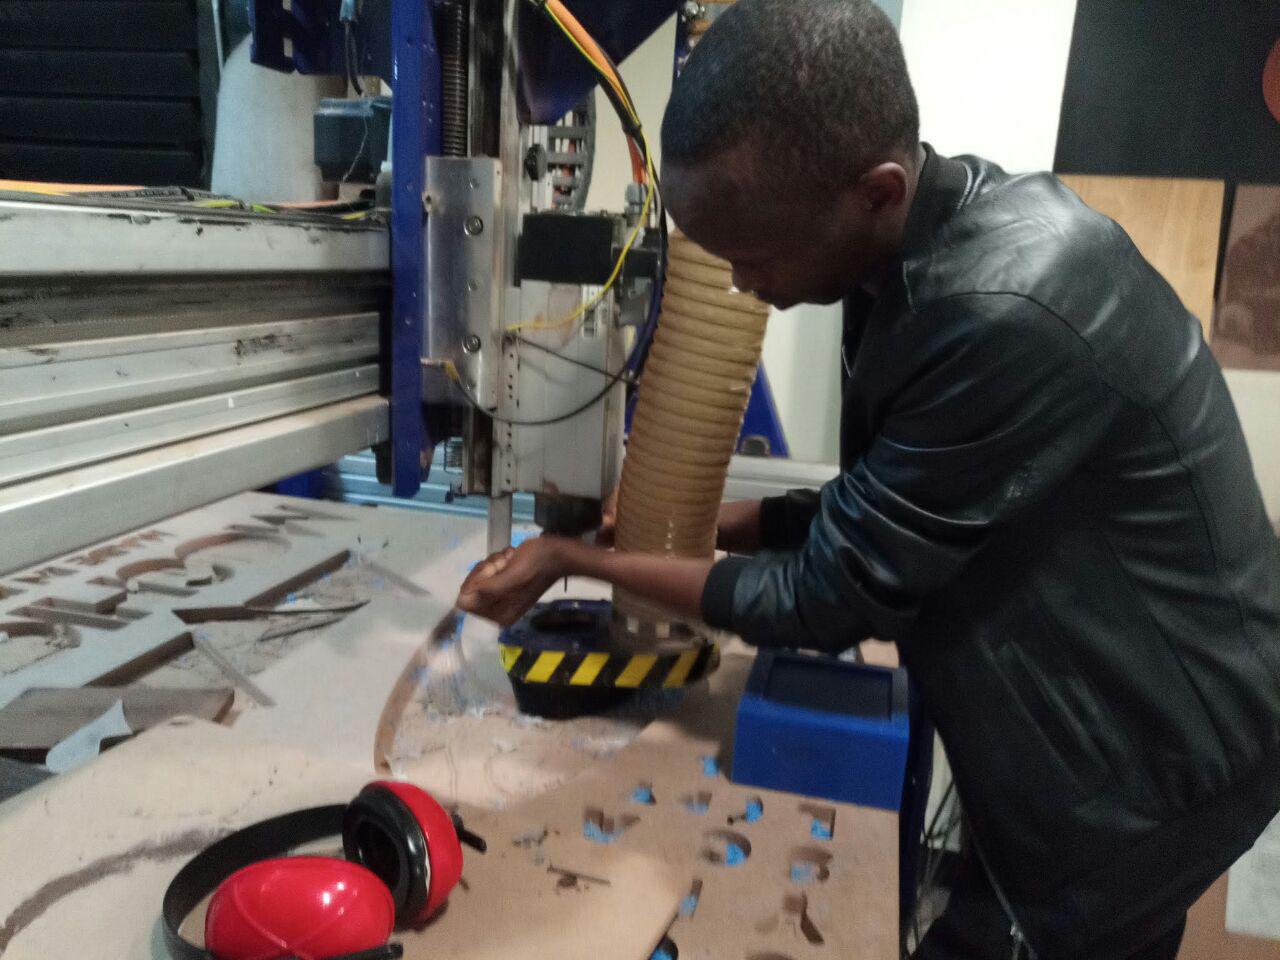
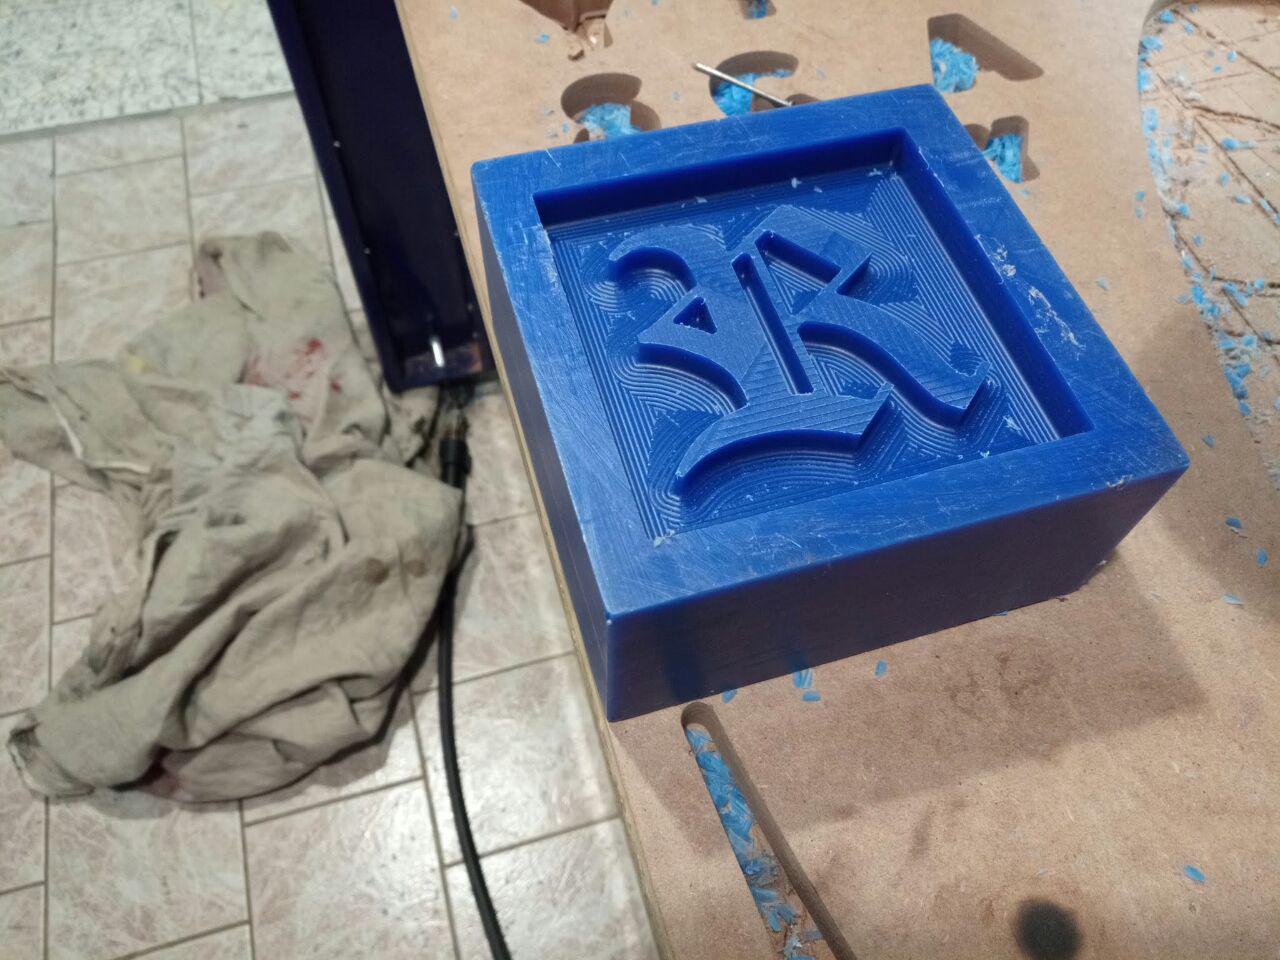
I first milled the rectangle with a depth of 5mmm.
And then I milled the letter R with a depth of 10mm.
Molding
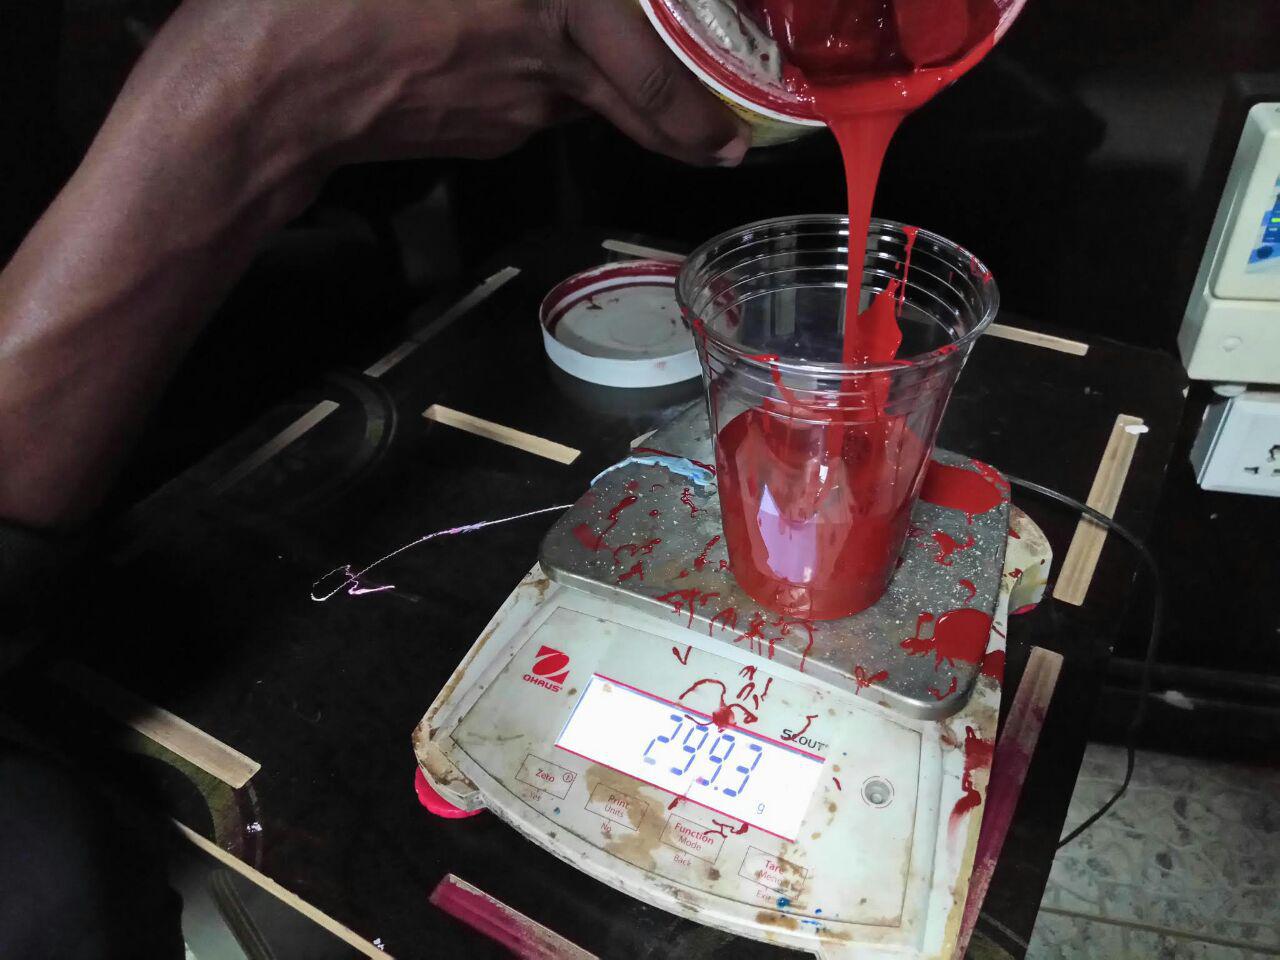
For molding I used the high resistance silicone rubber compound.
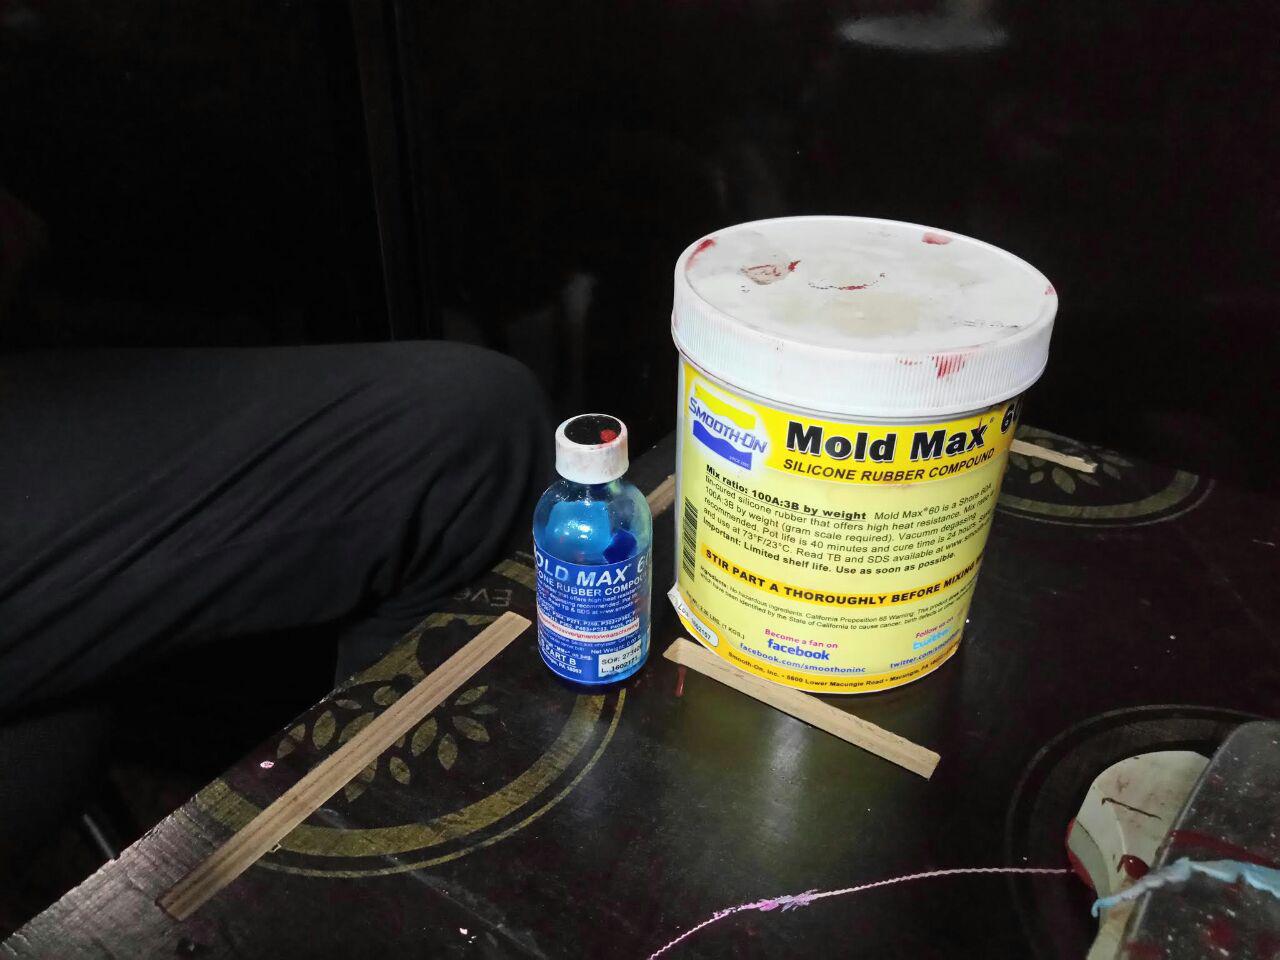
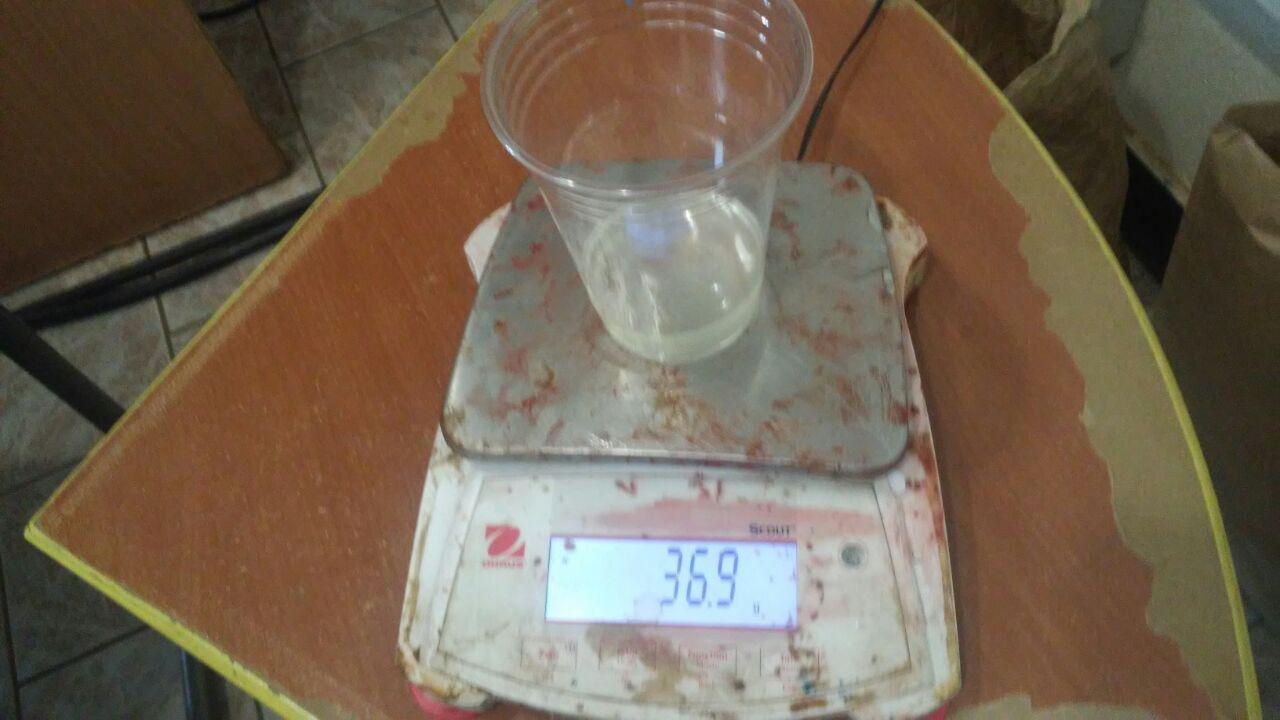
I mixed the weight ratio of 100:3 of part A to part B, here I was measuring the weight of part A which is 300 grams.
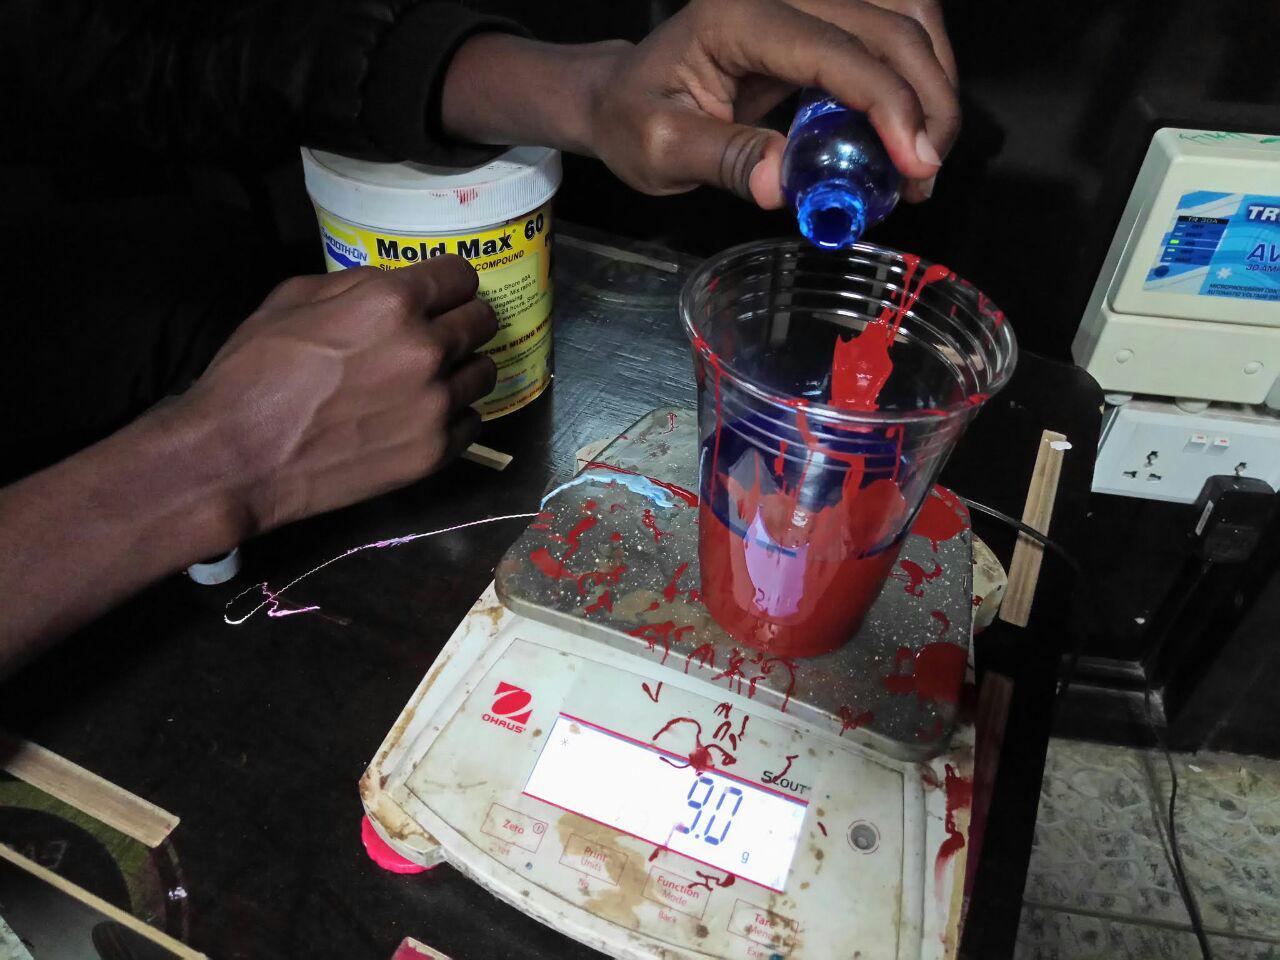
I used 9 gramms for part B.
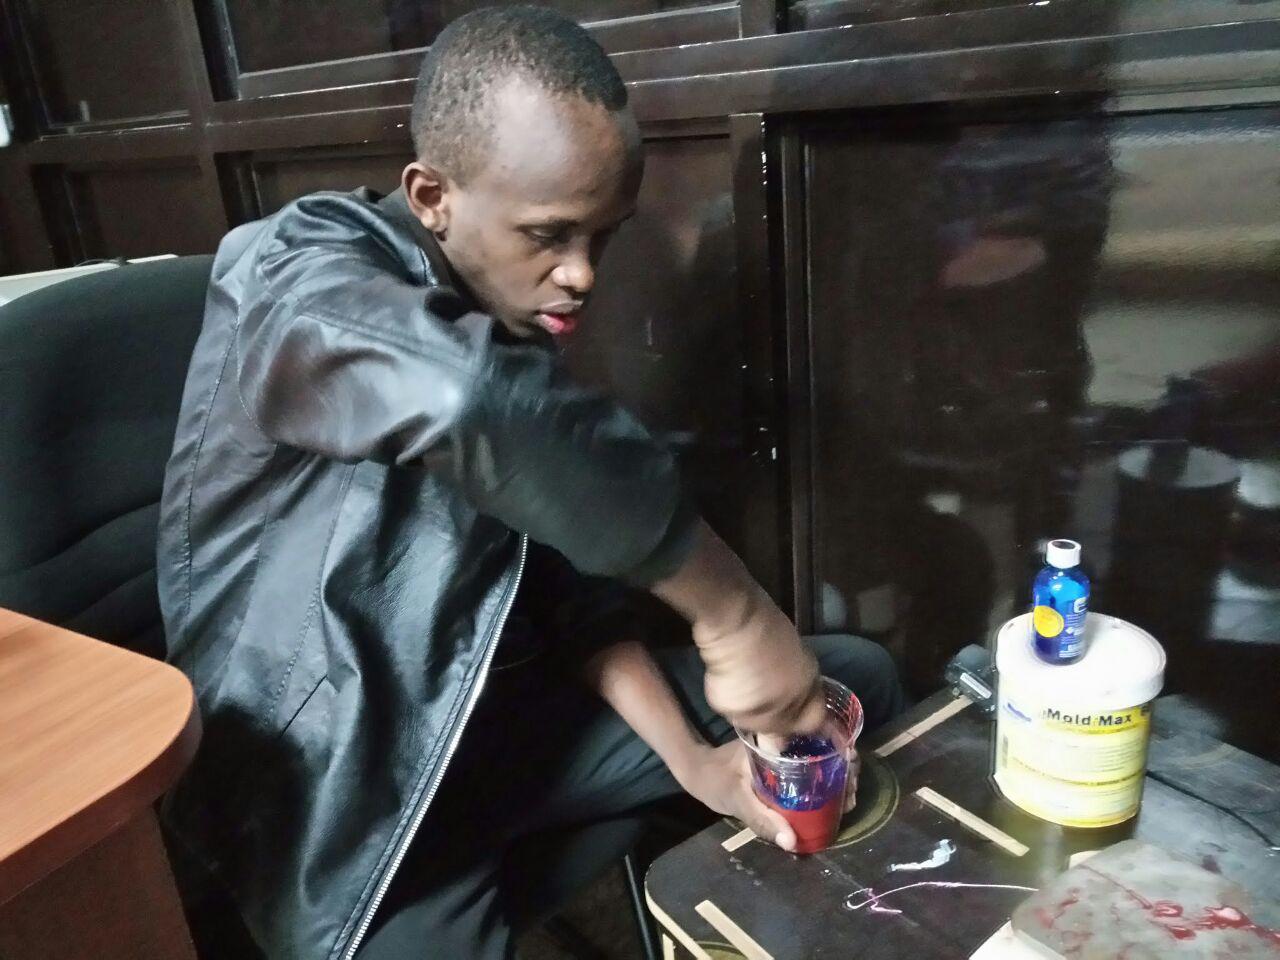
After I mixed both parts together.
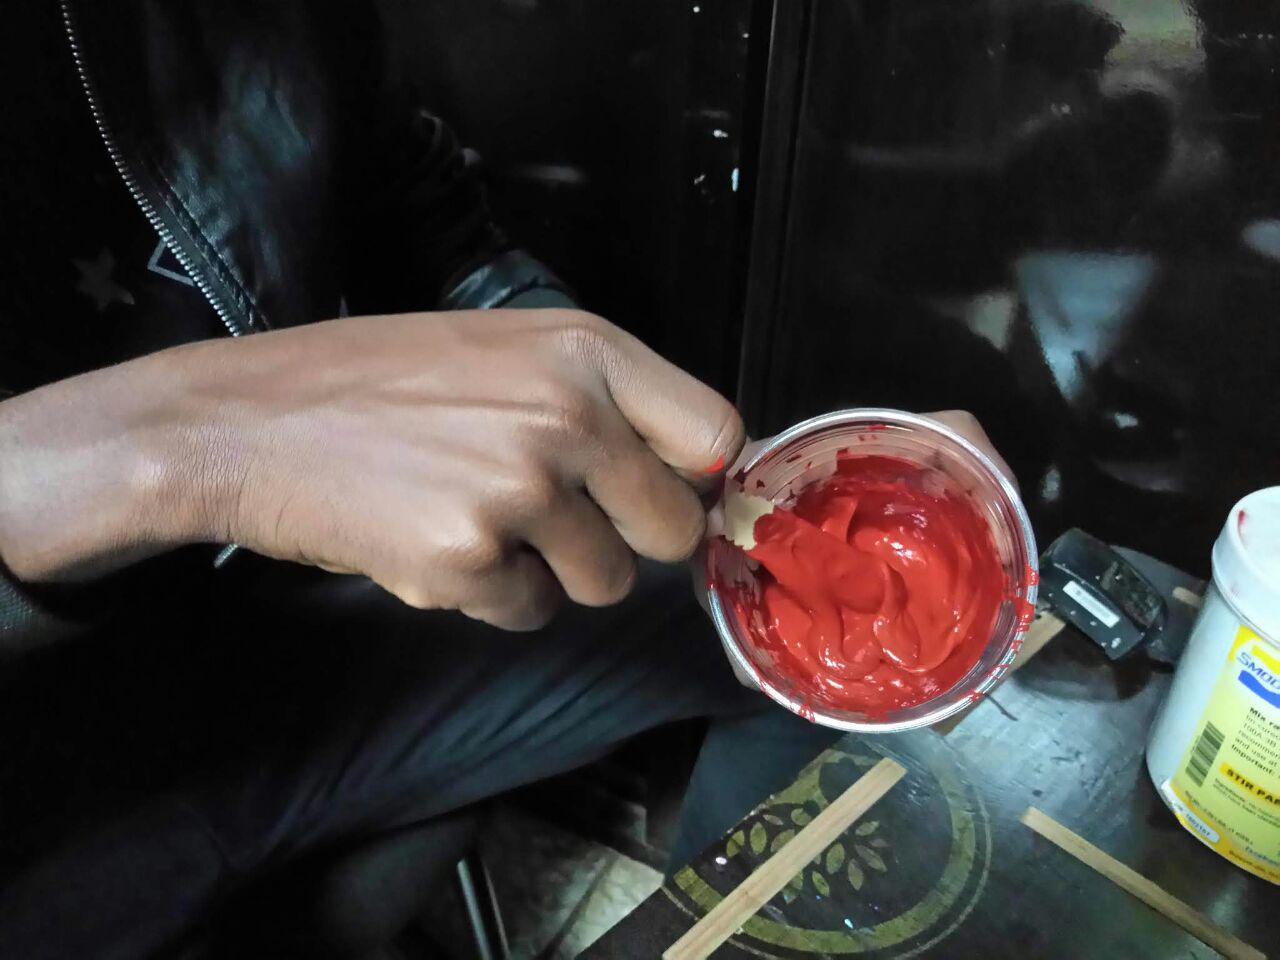
This is the final result of mixing.
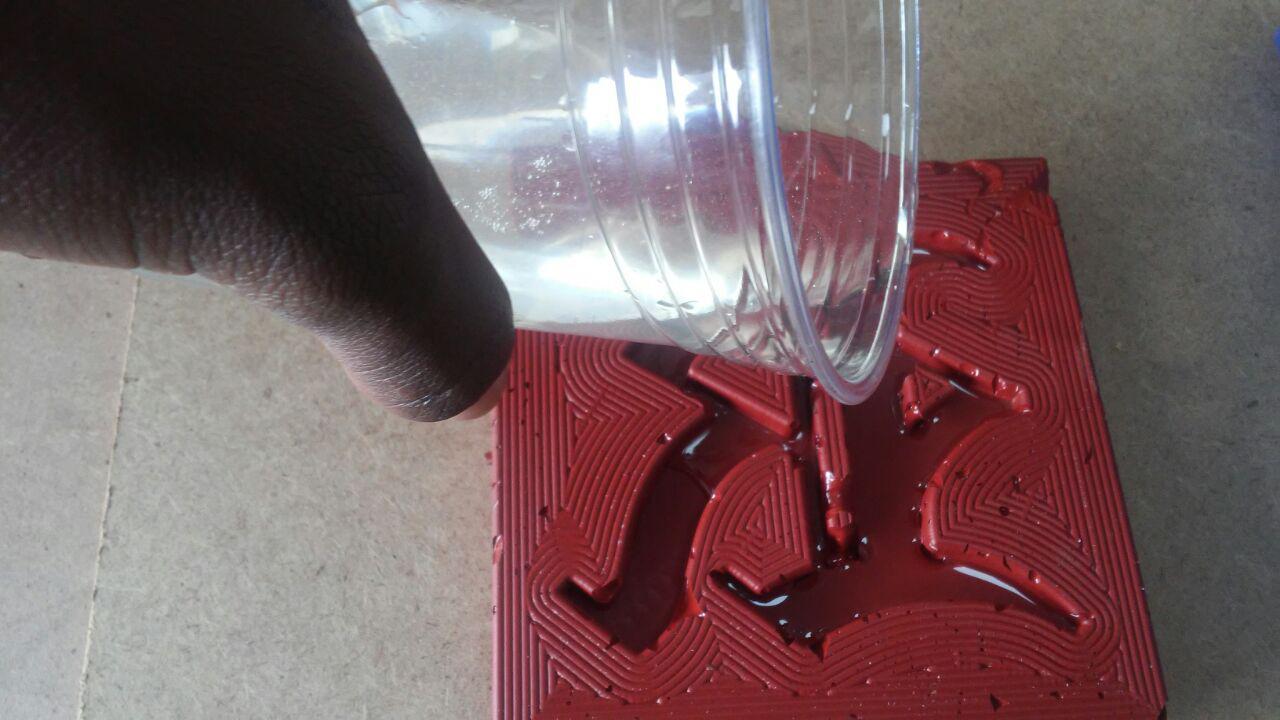
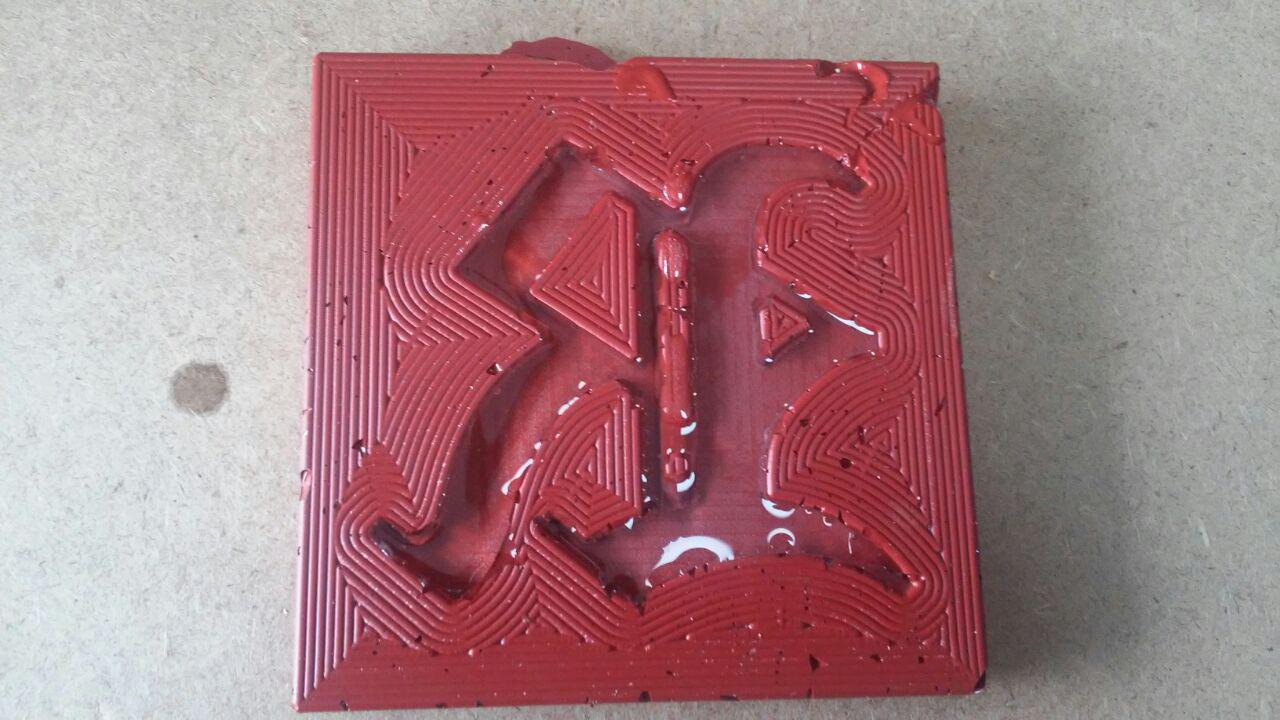
I poured the mixed solution on the material I milled.
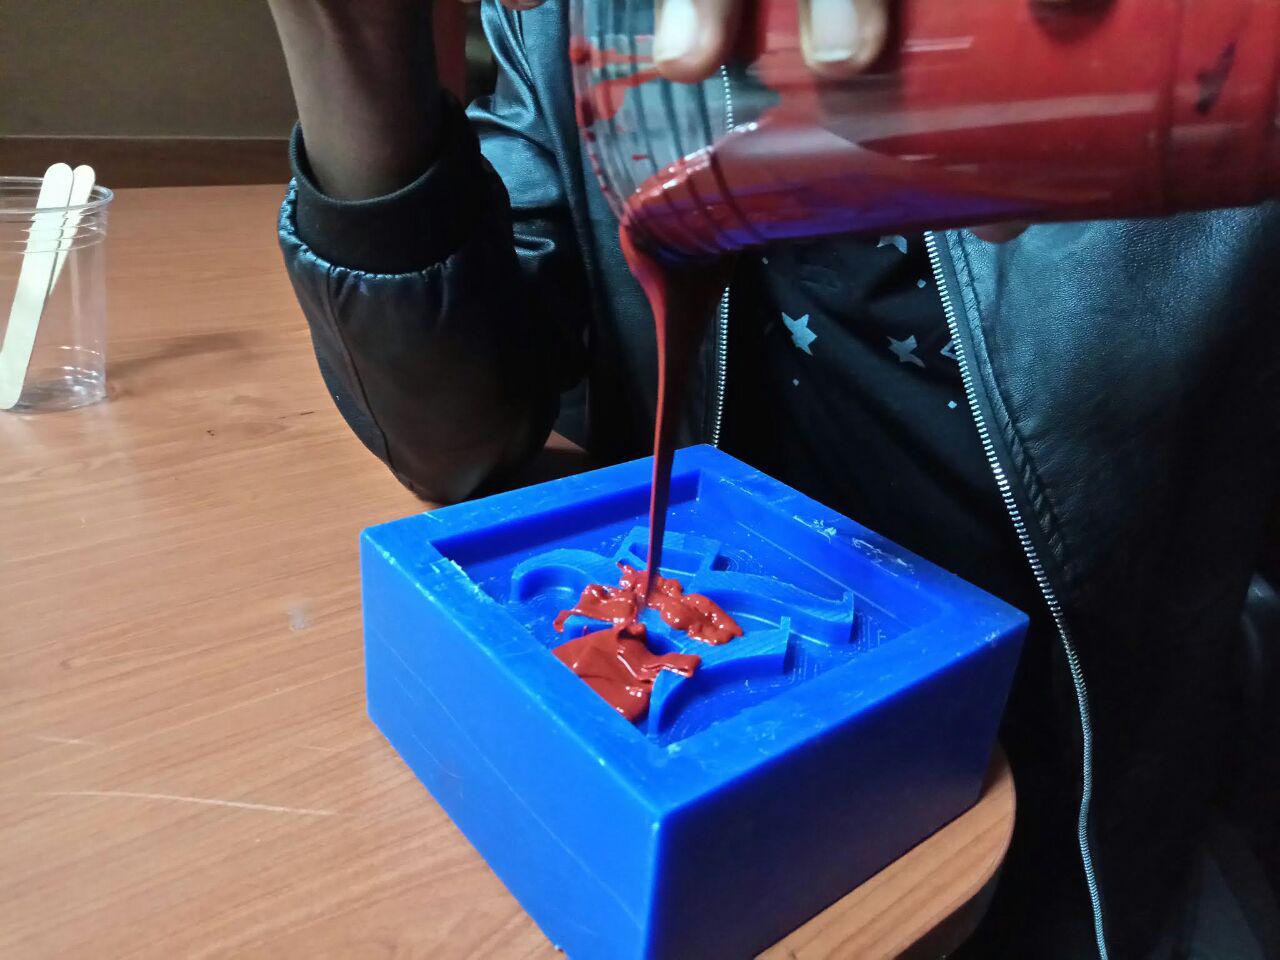
After pouring the solution I shaked hard to reduce the bubble inside.
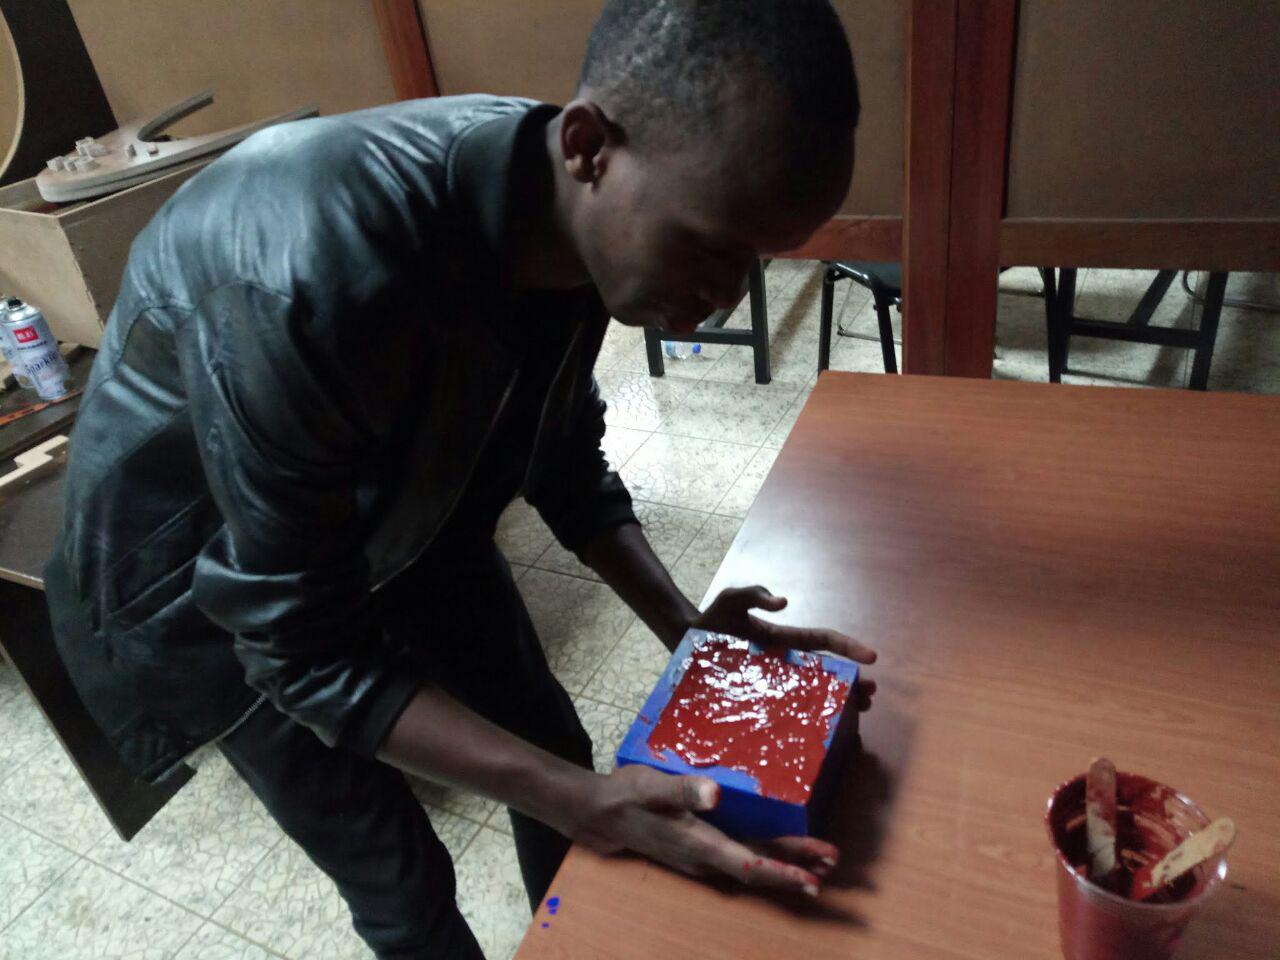
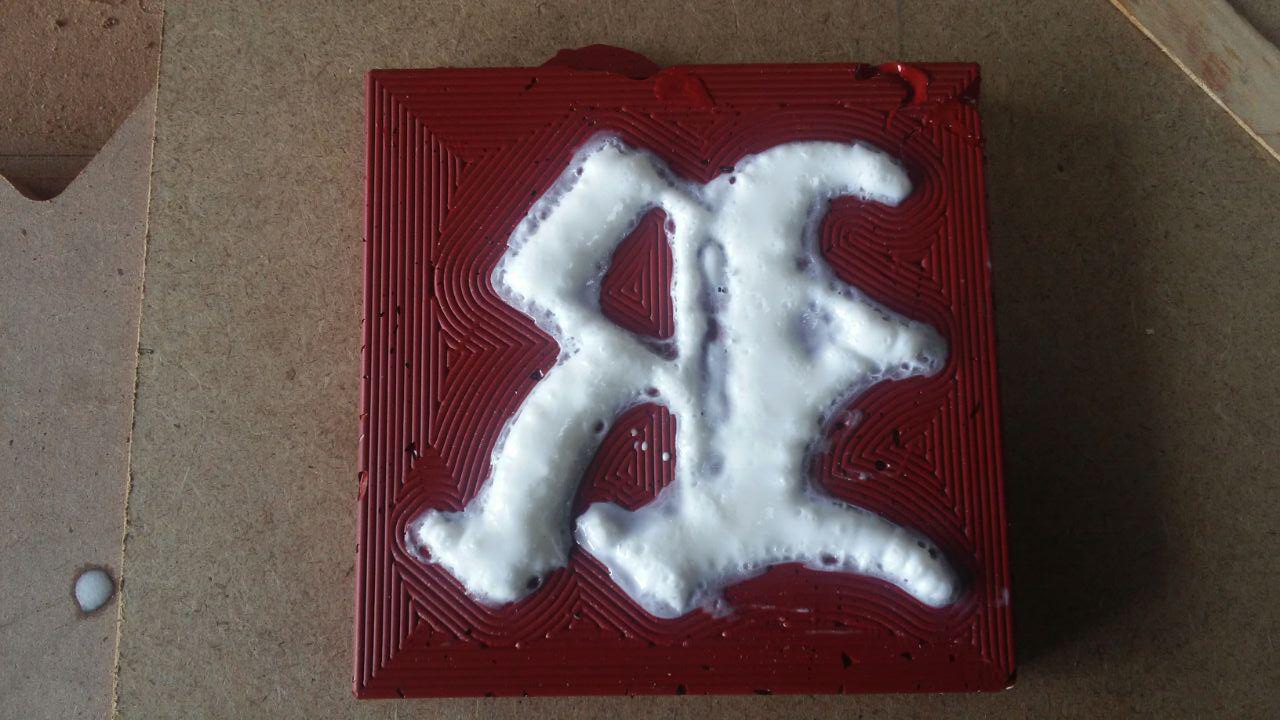
I left the solution to dry and take the shape I milled, after some hours the solution was dry.
Casting
After getting the mold it was time to cast.
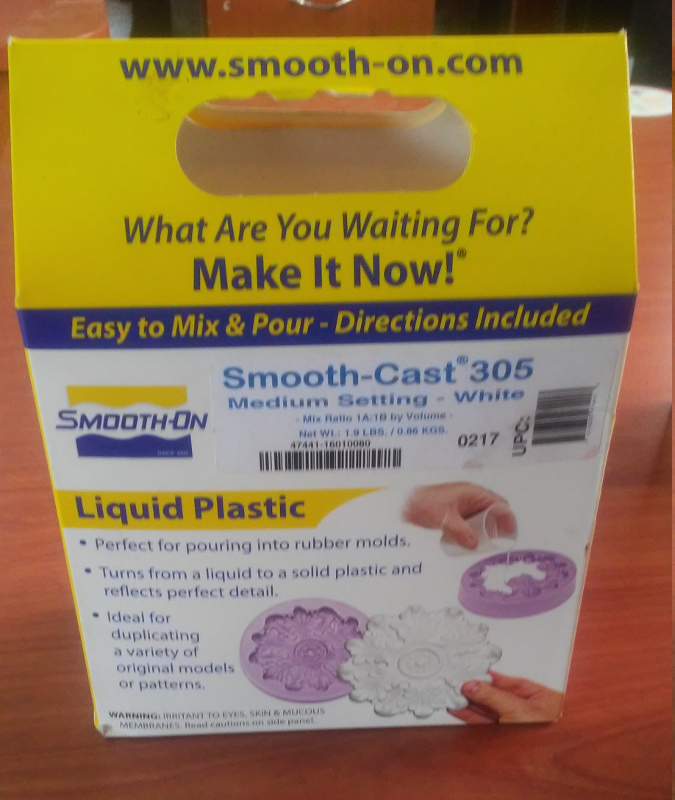
I used the Liquid plastic to cast.
I mixed part A and part B.

For mixing I used a weight ratio of 100A:90B.
After mixing I poured the solution in the mold.
I filled the whole mold with the casting solution.
I left the solution to hard and after some hours it has hardened.
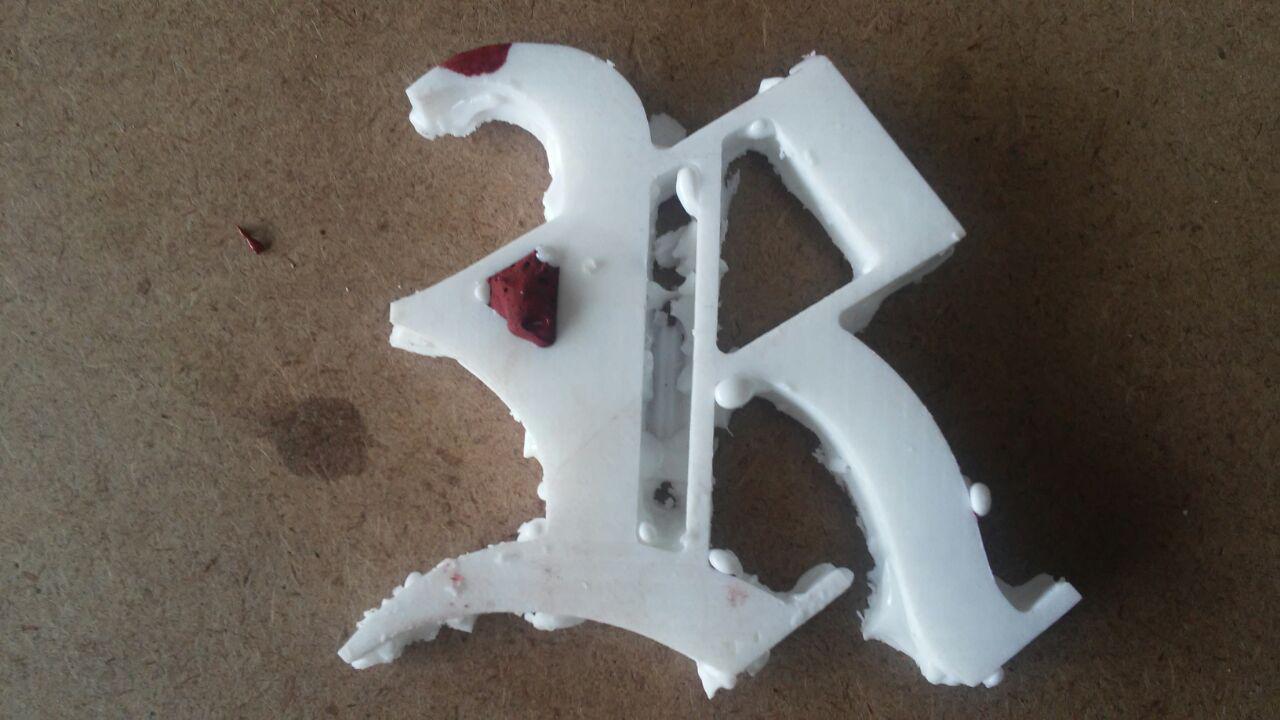
After I removed the material and some part of the mold also were removed with the material. This was because of the bubble were in the mold while I was creating it, and when I poured the casting solution they filled the space made by those bubble, after the casting solution has hardened and I was trying to remove it, it removed the mold part.
For preventing this to happen its better to use something to vibrate the machined part after pouring the mould solution to remove the bubble inside.
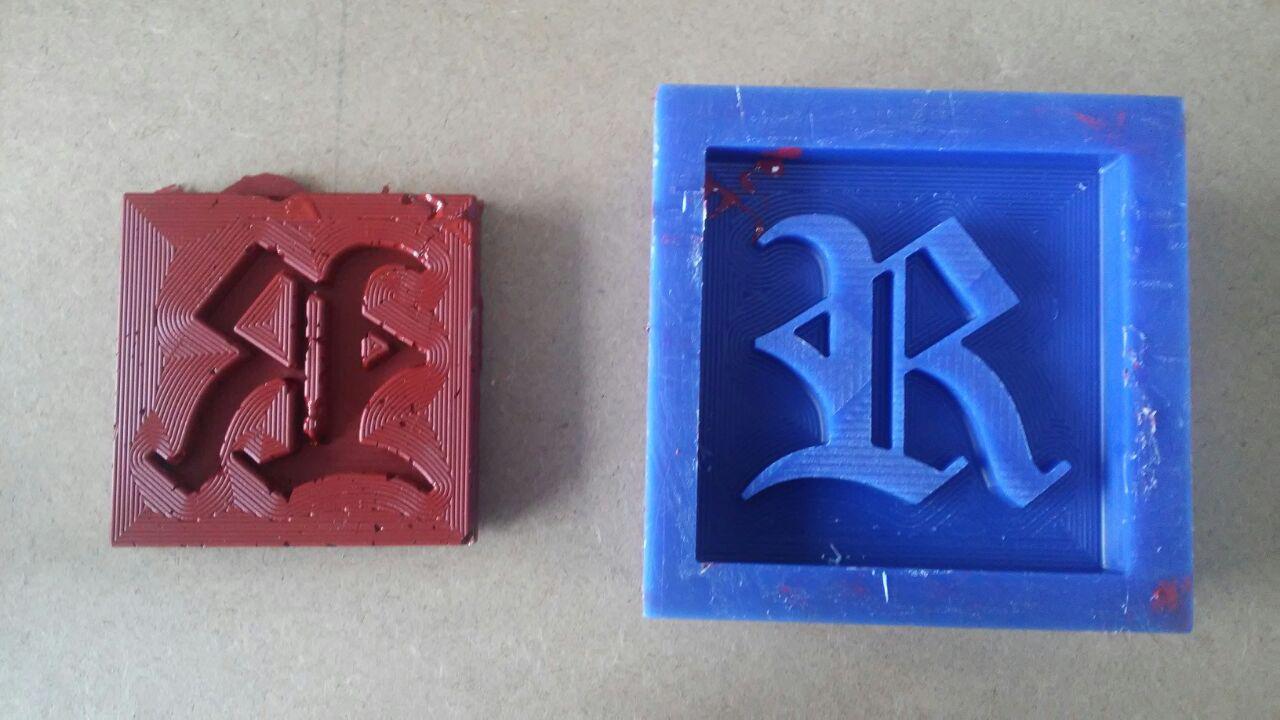
I tried to remove the extra pieces formed during the casting and this was the result.
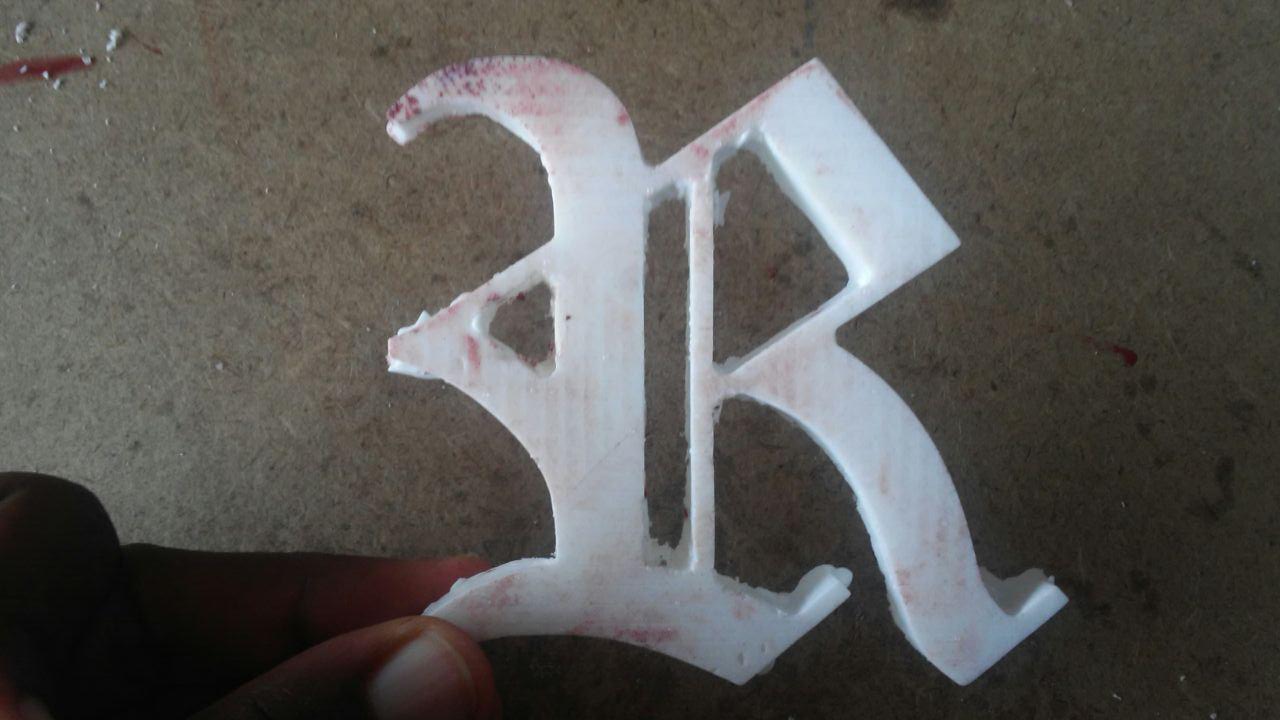
The design I made wasn't complicated for that I milled only one part which I used to produce the needed mold.
For a true 3D mould I had to mill/make 2 parts which I could combine to produce a 3D shape.
Below its an example of a 3D mould.
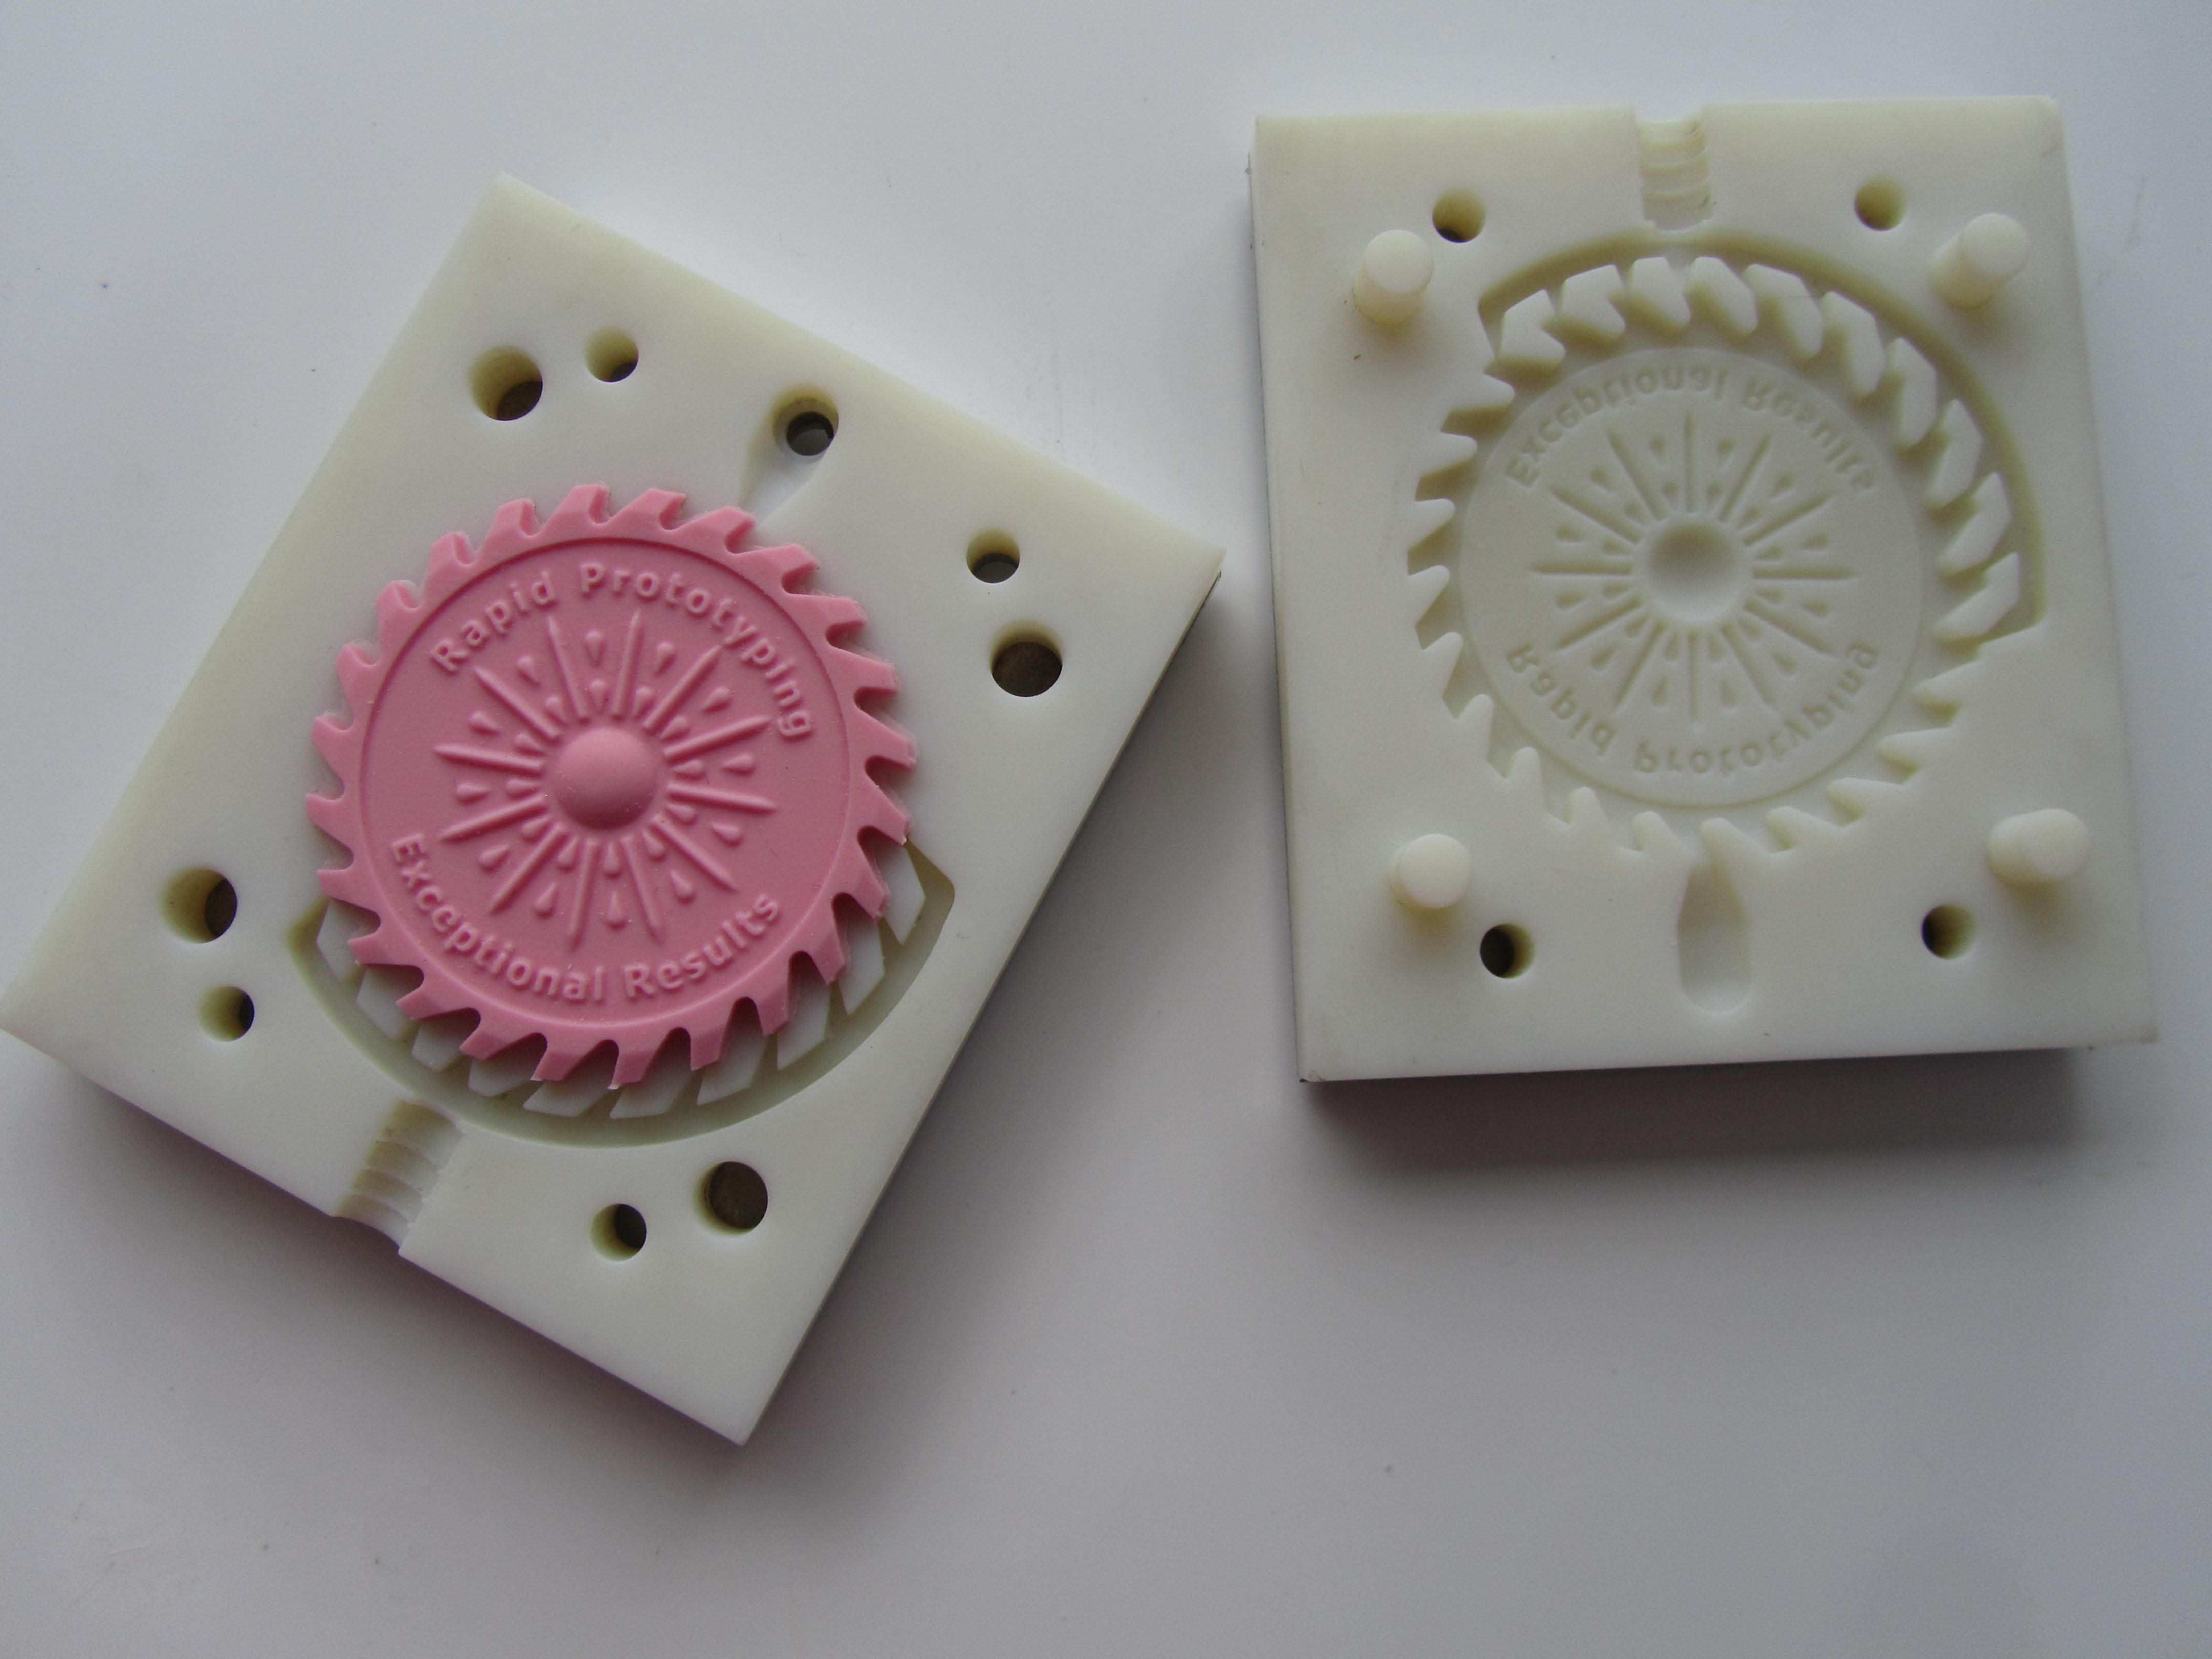
This video is an example of how I could have made it.
File used
To download file used click here ==> ![]()