Interface and Application Programming
Work to be done
- Interpret and implement design and programming protocols to create a Graphic User Interface(GUI)
Objective
In this assignment I wanted to make an interface which displays the level of magnet sensed by the hall effect sensor.
As the hall effect sensor is used in different applications like:
- Position tracking,
- Speed tracking, ...
I though it could be better to track also the level of magnetic field sensed which can also help.
I will be displaying the level of the magnetism on a web page.
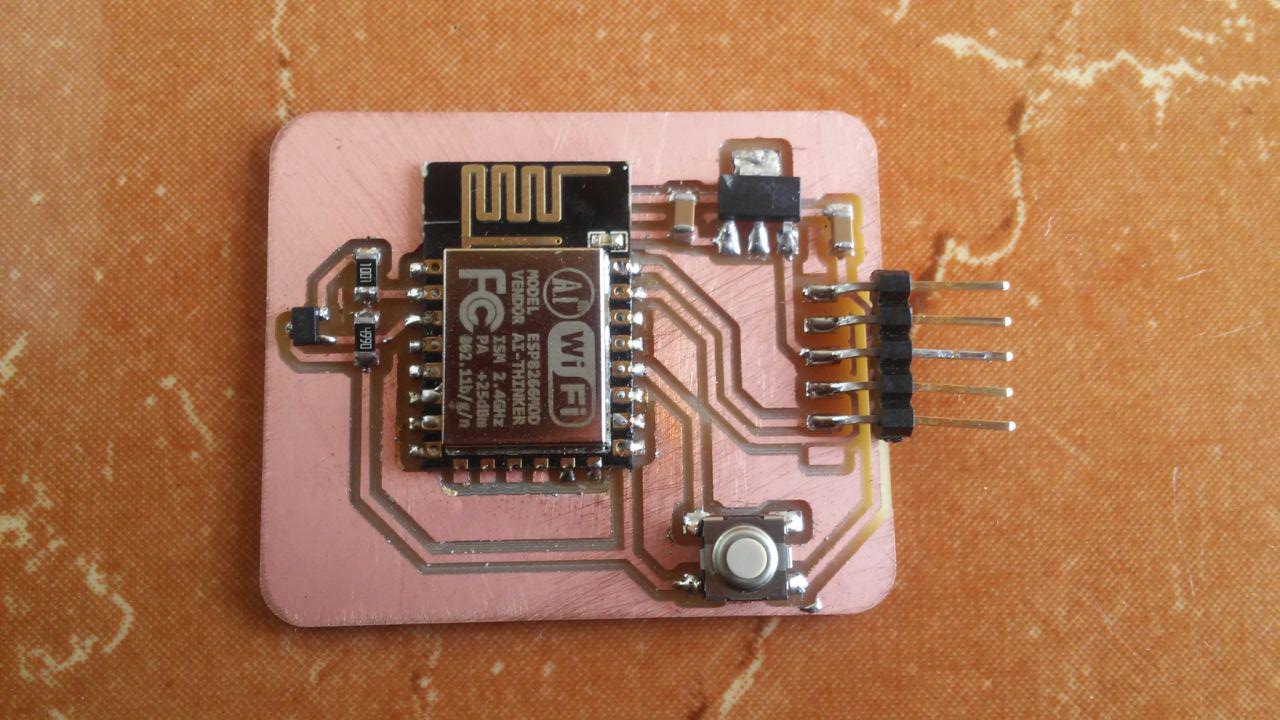
Designing PCB
I started by designing the PCB I wanted to use in this assignment.
My circuit was made of ESP8266 as the microcontroller of the system and a hall effect sensor which measures the level of magnetism.
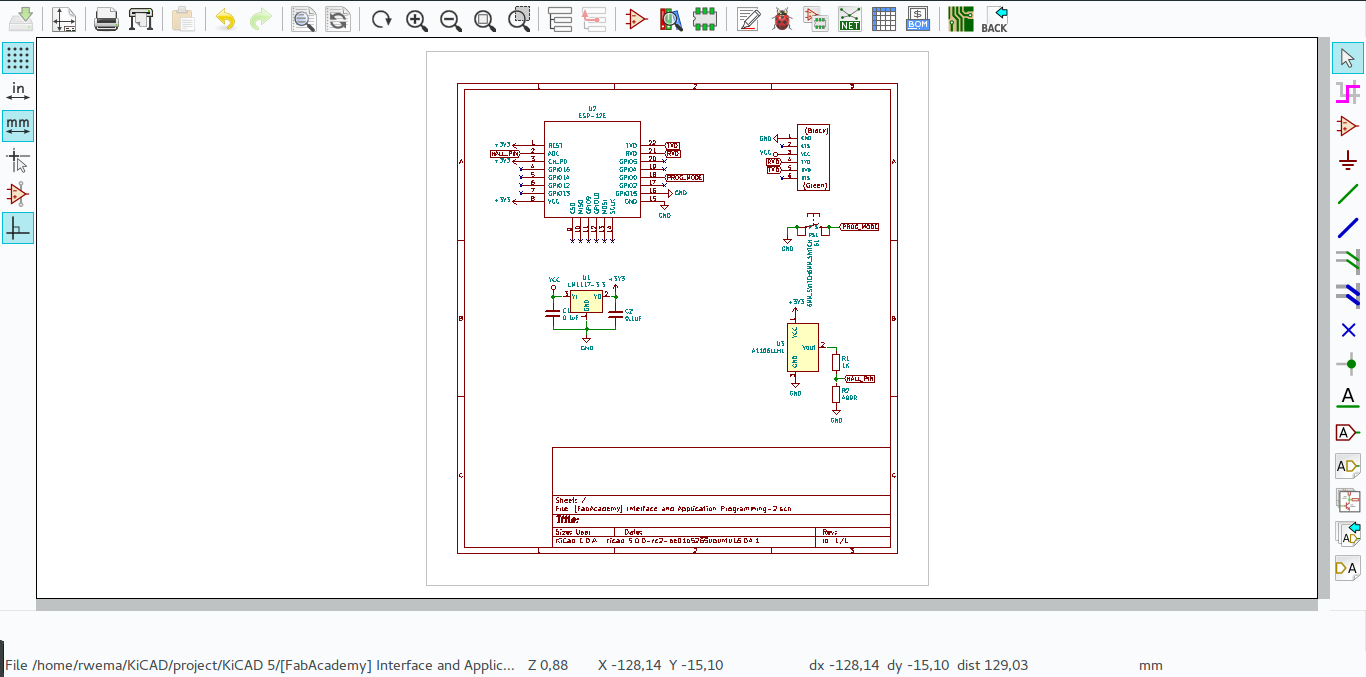
From the circuit schematic I designed a PCB board.

Since I was using KiCAD in designing and it enables me to see a 3D render board which look nearly to the final board I will get.

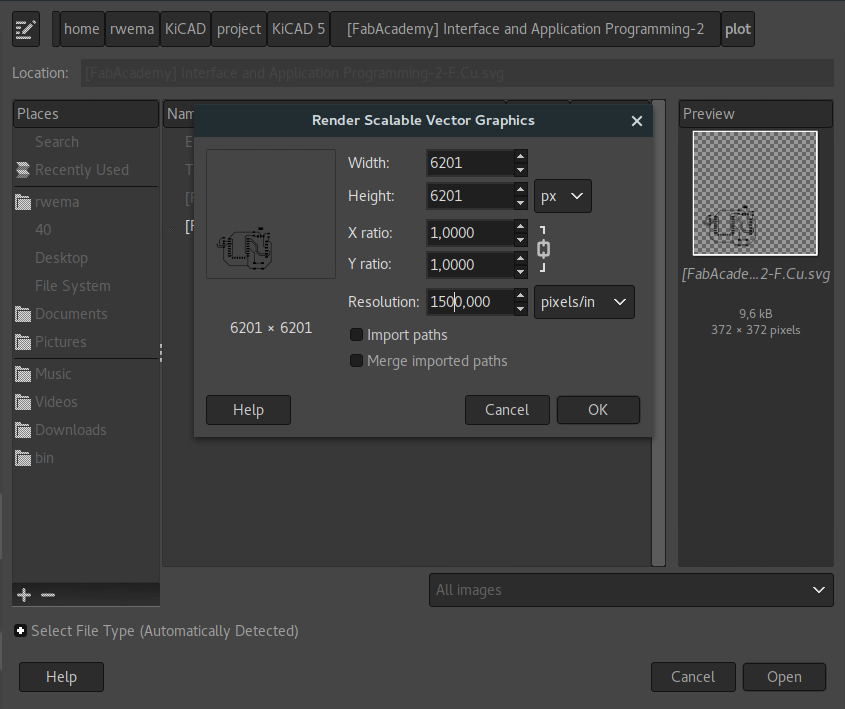
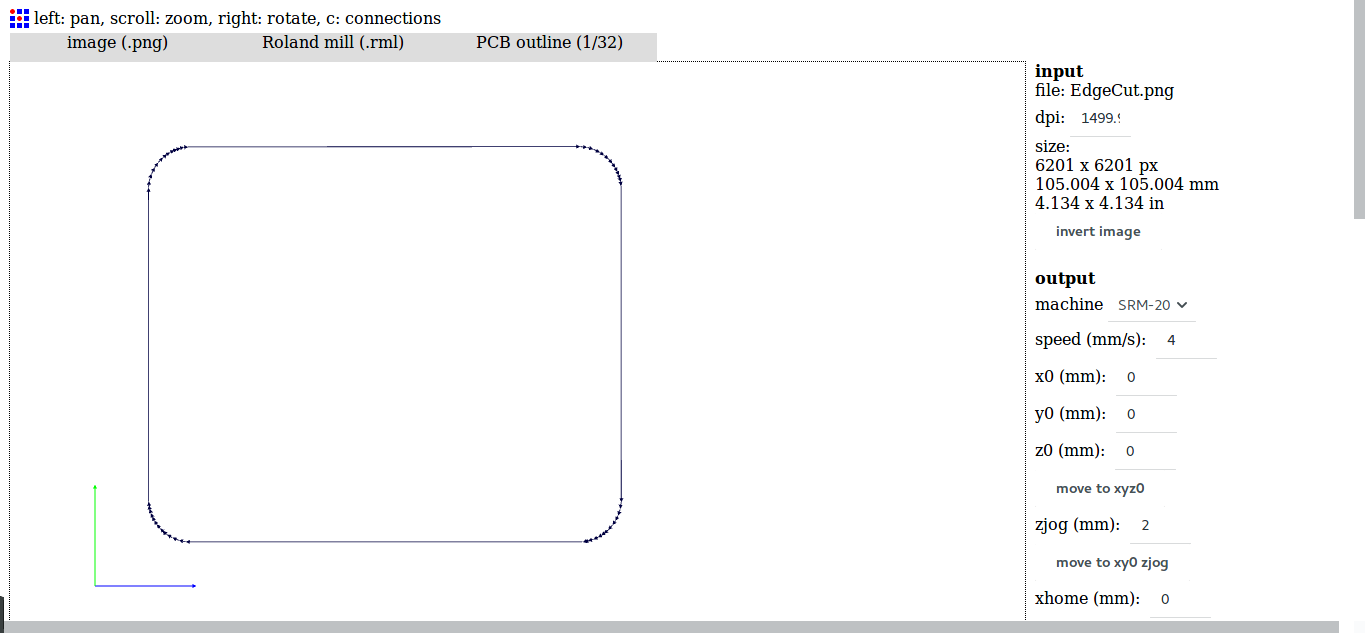
After designing I export the board design as an image with an SVG format which is the one KiCAD provides, after that I had to convert to PNG which I can use with fabmodules to generate an RML file to use in Roland machine while milling.
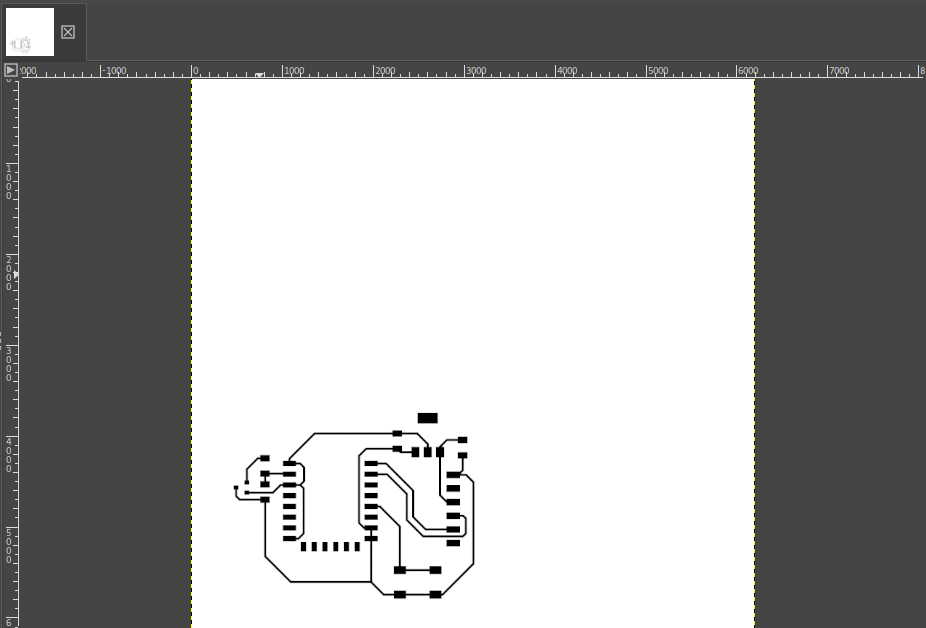
I imported the SVG file in GIMP, increased its resolution.
This is how the trace SVG image looks after importing it in GIMP.

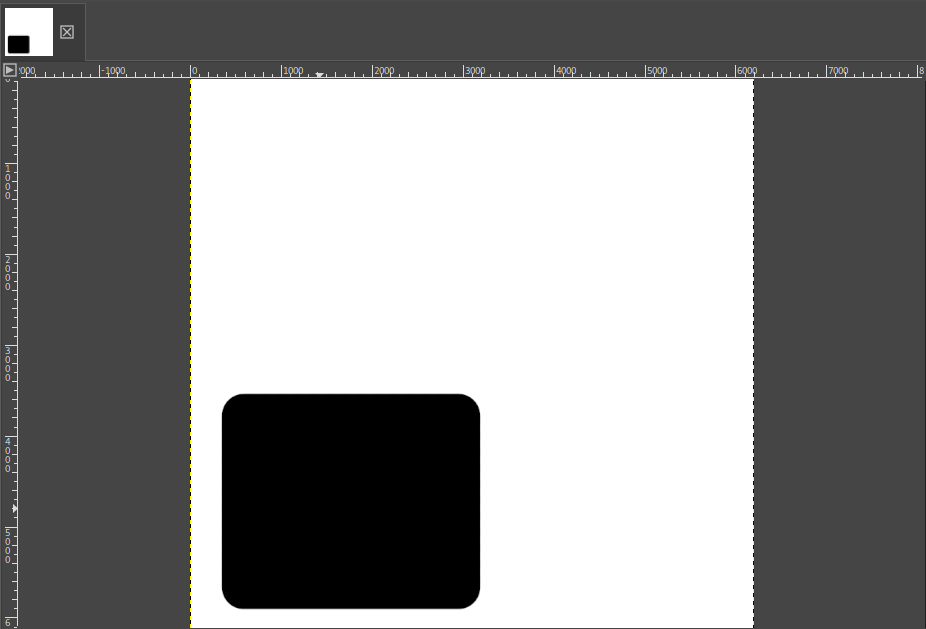
I filled the background of the image with a white color and saved it as a PNG.
I also imported the layout image and you can see it is only a single line which make the layout.
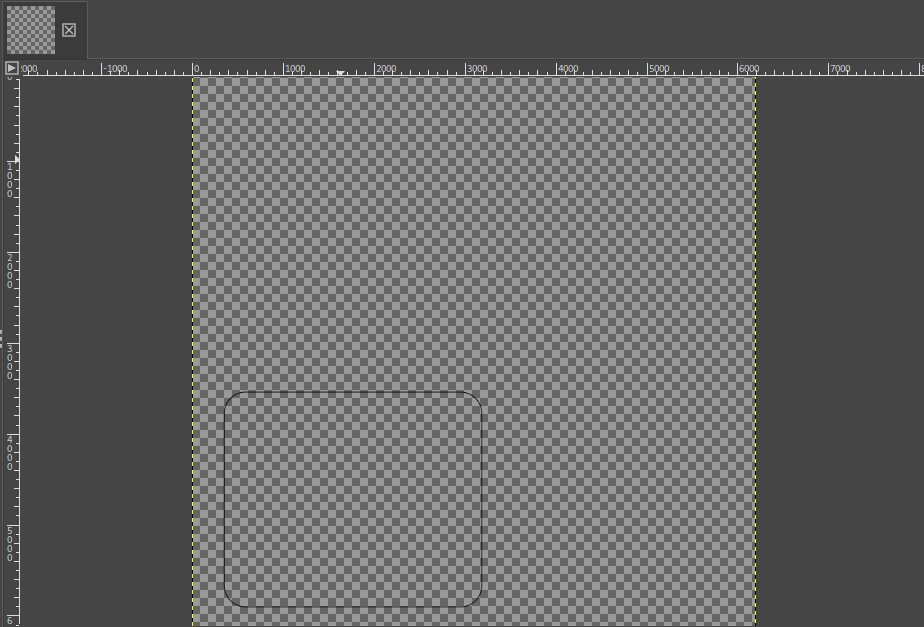
I filled the outer background of the image with a white color and the inner background with a black color and saved it as PNG.
I imported the images in fabmodules to convert them but first I had to invert the image so the milling will be done in the right place.
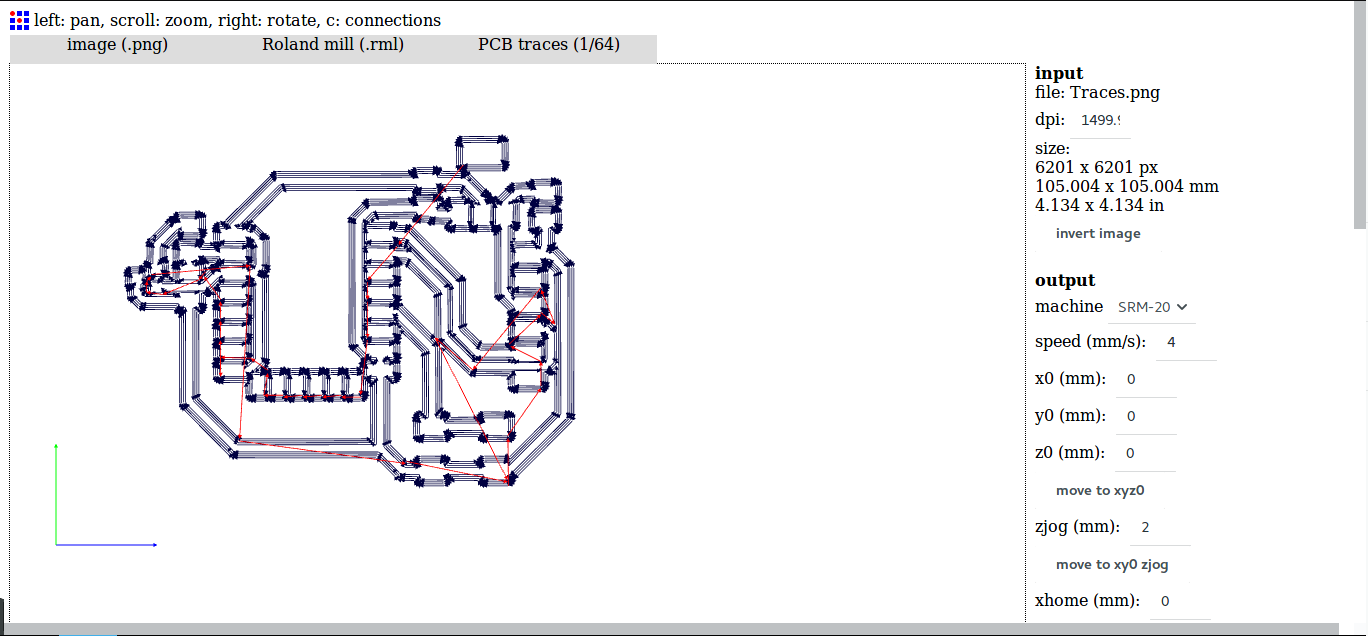
I did the same for the layout image which I imported and inverted the image color generated the RML file for.
I went on and milled the board with the Roland machine, and this is my board after milling it.
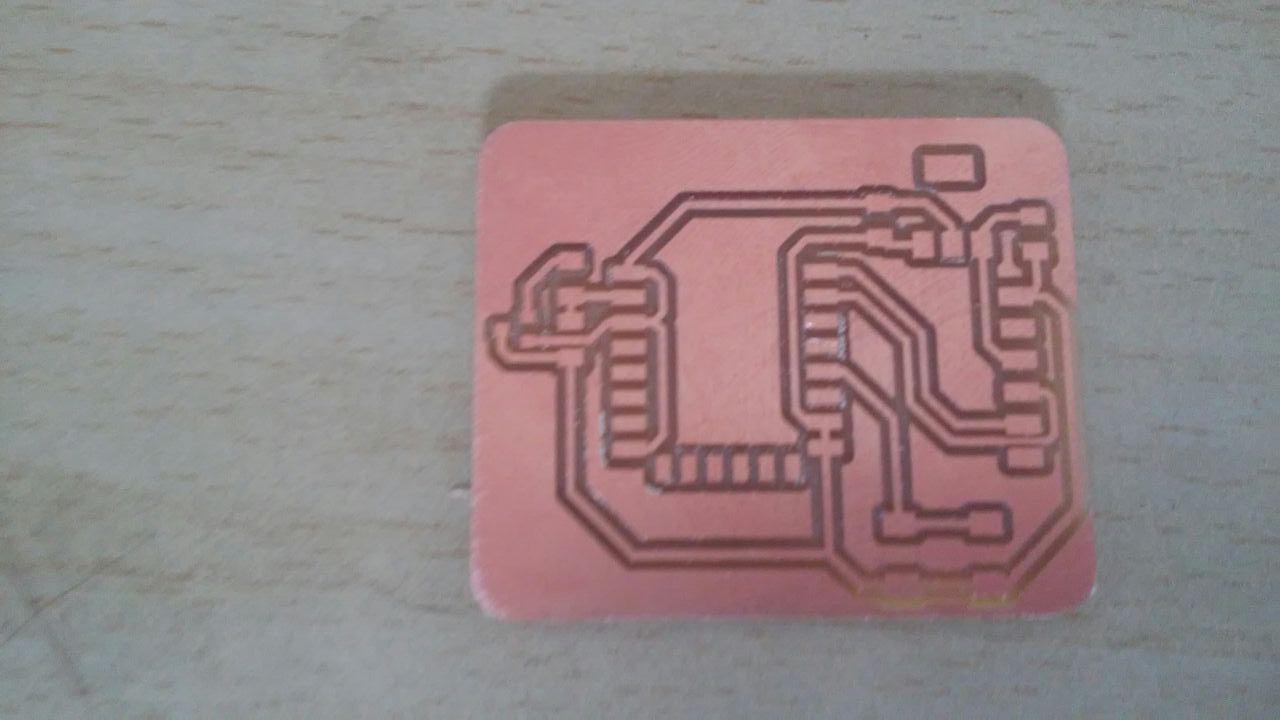
I soldered all component on the board.
Designing Interface
As discribed above I want to display the level of magnetism on the web page, I used ESP8266 to do that.
I have first tested the program of the web page I wanted to create in my computer. I wrote an html program and tested it.
<DOCTYPE html>
<html>
<head>
<title>Interface and Application programming</title>
</head>
<body>
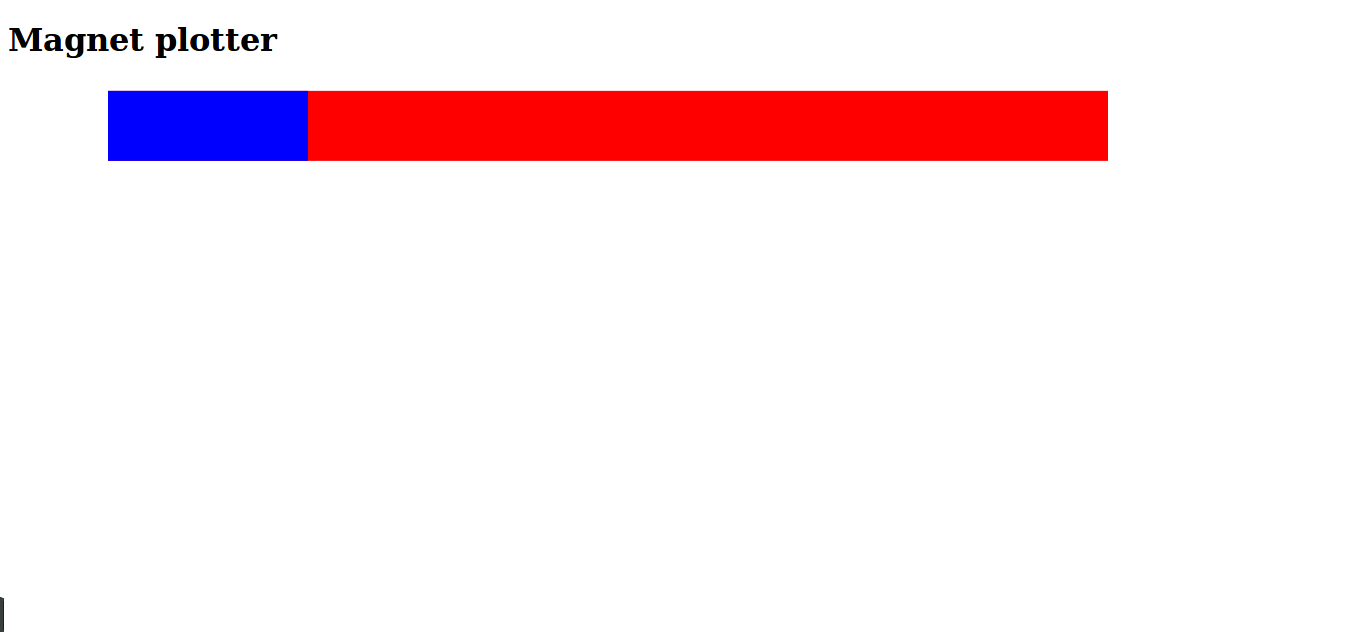
<h1>Magnet plotter</h1>
<div>
<svg width="100%" heigth="100">
<rect x="100" y="10" width="1000" heigth="70" fill="red">
</rect>
<rect x="100" y="10" width="200" heigth="70" fill="blue">
</rect>
</svg>
</div>
</body>
</html>
This is the program I wrote using gedit text editor.
In this program I created two SVG squares the blue one obove the red one. The way I used to show the magnitude of the part I measuring, was to vary the size of the blue rectangle depending on the value read from the hall effect sensor.

Here is the result of the program above.
Programming board
#include <ESP8266WiFi.h>
#include <WiFiClient.h>
#include <ESP8266WebServer.h>
#include <ESP8266mDNS.h>

const char* ssid = "----------";
const char* password = "--------";

ESP8266WebServer server(80);

/********************
 * Function to handle root/main page of the program
 * which is [IP address]/
*********************/
void handleRoot(){
  int magRead = analogRead(A0);
  Serial.println(magRead);
  String draw = ""; // This variable will hold the html code.
  draw += "<DOCTYPE html><html><head><meta http-equiv='refresh' content='1'/>";
  draw += "<title>Interface application and Programming</title></head>";
  draw += "<body><h1>Magnet plotter</h1><div><svg width=\"100%\" heigth=\"100\">";
  draw += "<rect x=\"100\" y=\"10\" width=\"1000\" height=\"70\" fill=\"red\"></rect>";
  draw += "<rect x=\"100\" y=\"10\" width=\"" + String(magRead) + "\"";
  draw += "height=\"70\" fill=\"blue\"></rect>";
  draw += "</svg></div></body></html>";

  server.send(200, "text/html", draw);  // Send the html code when this statement is called
}

/***************************
 * This function generate the 404 message
 * when the user is looking for unknown page
***************************/
void handleNotFound(){
  digitalWrite(led, 1);
  String message = "File Not Found\n\n";
  message += "URI: ";
  message += server.uri();
  message += "\nMethod: ";
  message += (server.method() == HTTP_GET)?"GET":"POST";
  message += "\nArguments: ";
  message += server.args();
  message += "\n";
  for (uint8_t i=0; i<server.args(); i++){
    message += " " + server.argName(i) + ": " + server.arg(i) + "\n";
  }
  server.send(404, "text/plain", message);
  digitalWrite(led, 0);
}

/**************************
 * This function initialize some peripheral
 * of the chip
**************************/
void setup(void){
  pinMode(led, OUTPUT);
  digitalWrite(led, 0);
  Serial.begin(115200);
  WiFi.mode(WIFI_STA);
  WiFi.begin(ssid, password);
  Serial.println("");

  // Wait for connection
  while (WiFi.status() != WL_CONNECTED) {
    delay(500);
    Serial.print(".");
  }
  Serial.println("");
  Serial.print("Connected to ");
  Serial.println(ssid);
  Serial.print("IP address: ");
  Serial.println(WiFi.localIP());

  if (MDNS.begin("esp8266")) {
    Serial.println("MDNS responder started");
  }

  server.on("/", handleRoot);

  server.on("/inline", [](){
    server.send(200, "text/plain", "this works as well");
  });

  server.onNotFound(handleNotFound);

  server.begin();
  Serial.println("HTTP server started");
}

/*************************
 * This is the main function of the program
 * it checks for the user/client request and
 * generate the appropriate page deppending on the request made
*************************/
void loop(void){
  server.handleClient();
}
Video of the system working
File used
![]()