Embedded Programming
Embedding programming is involves putting(uploading)sets of instructions into a microcontroller in a language that it can read so it can perform desired activities.
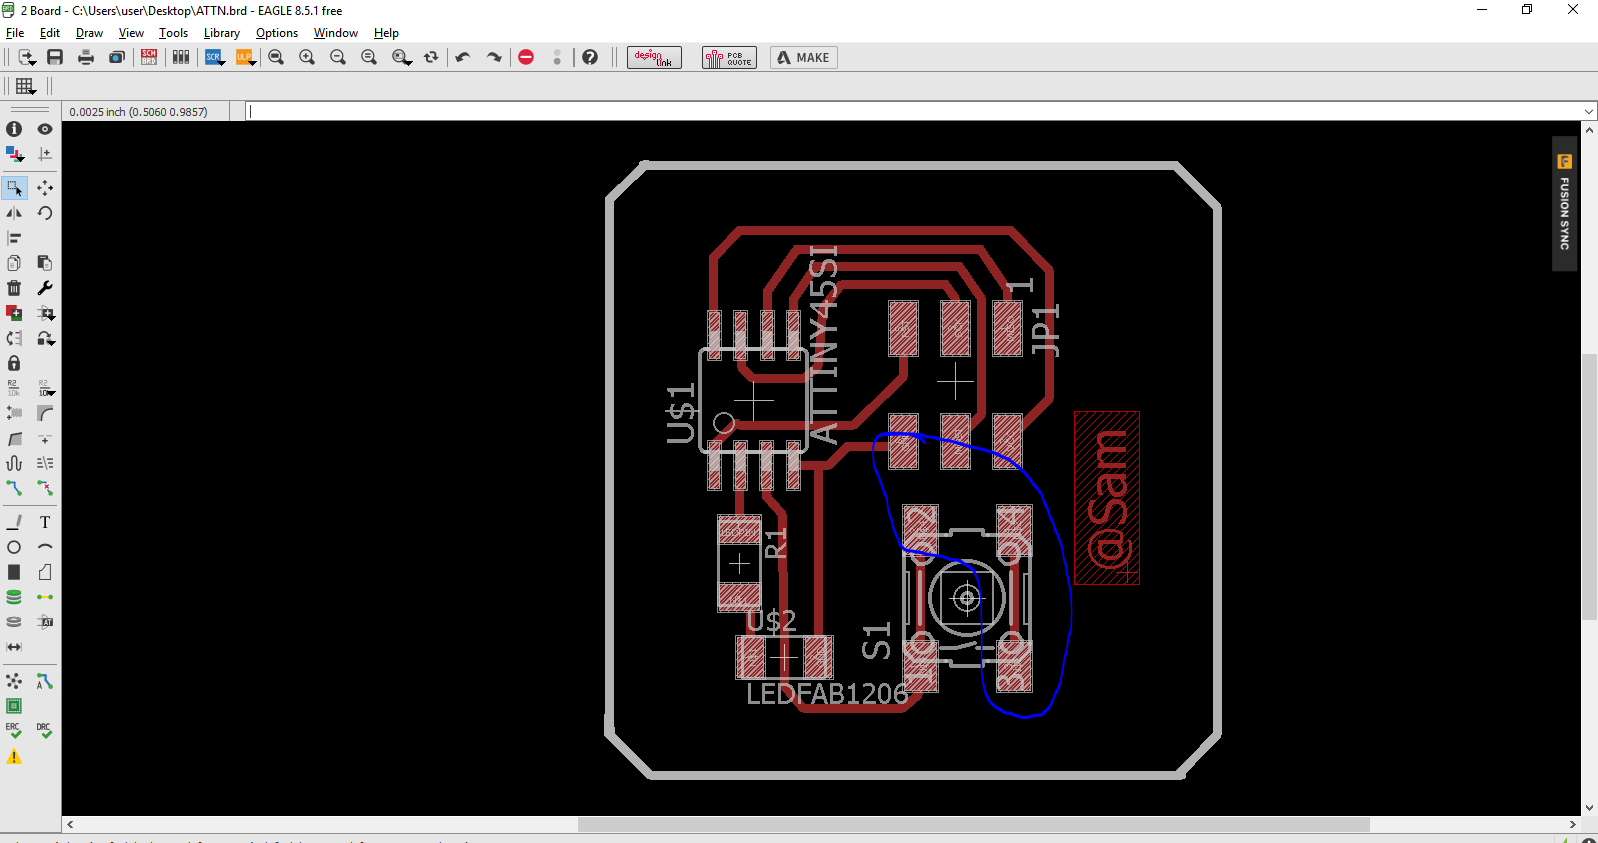
That requires a datasheet so you can give needed commands to te right pins designed to perform a the needed command so a Datasheet is the biography and manual of any electronic component. They explain exactly what a component does and how to use it. Before you start doing anything or even designing any circuit, looking at the datasheet is crucial. It holds important information like Powr supply requirements, Pins Configurations and descriptions, Electrical ratings and Schematic of the IC circuit
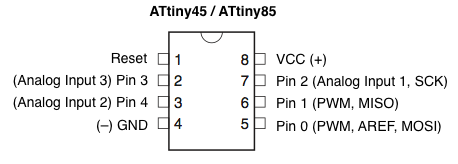
 Please Find attached the attiny45 datashhet attached in all files used.
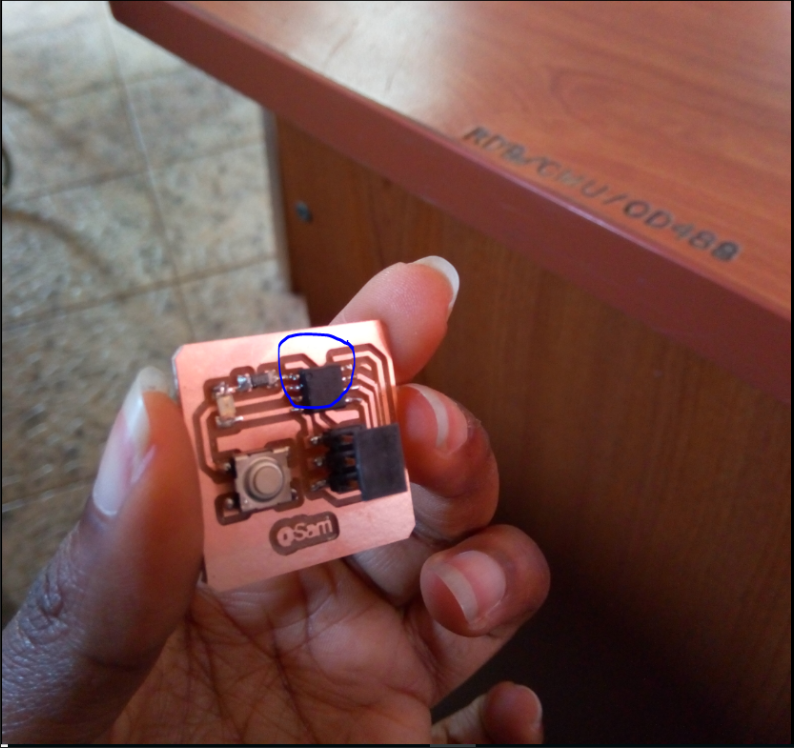
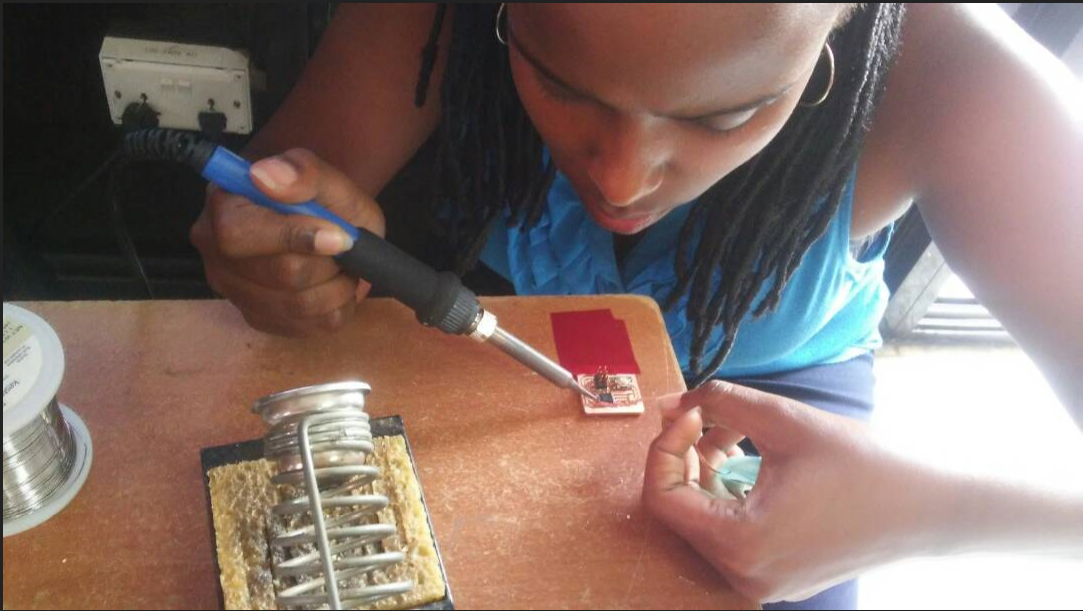
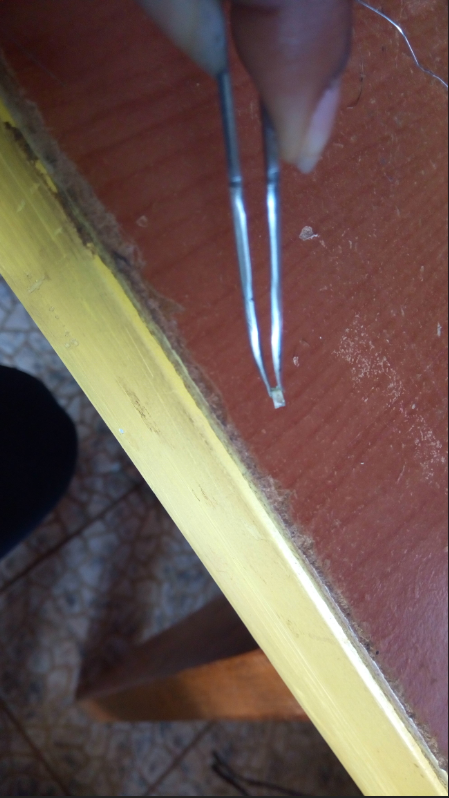
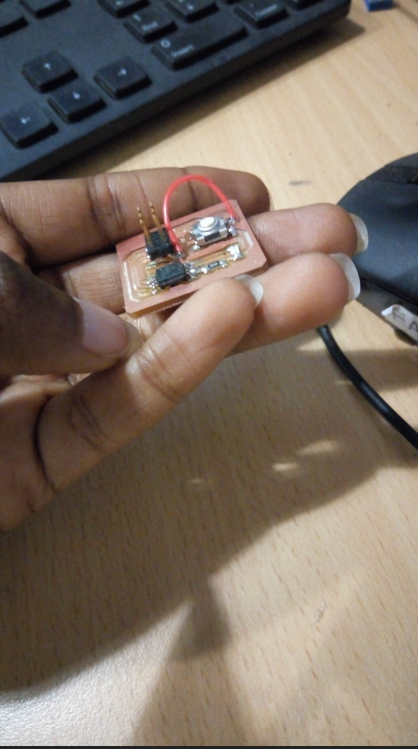
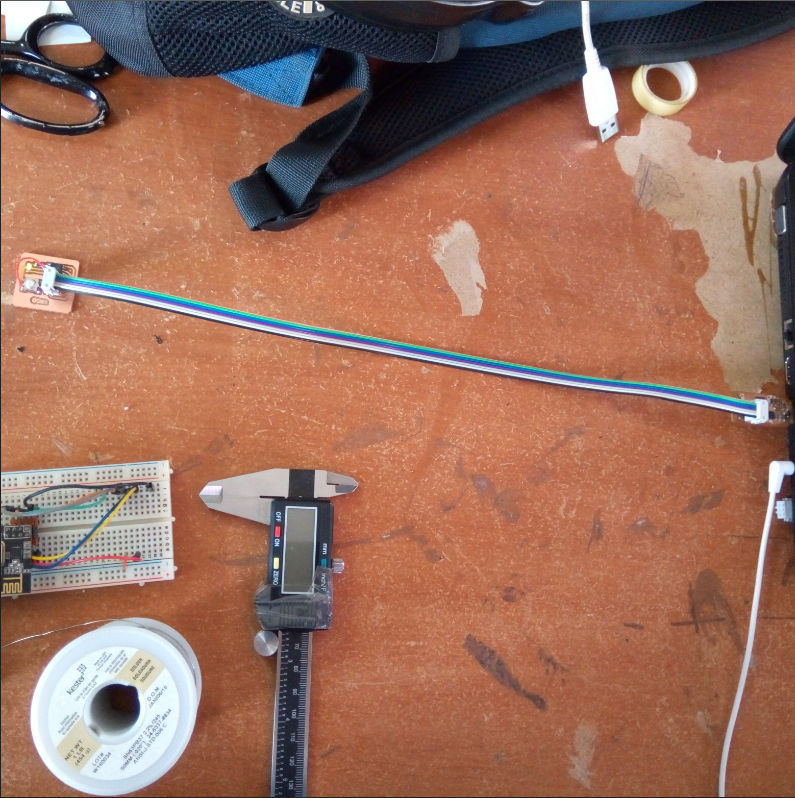
So for embedding the program I was using the Usb Tiny Circuit that we made in week4 and then connected it to the circuit made in week6 in order to program i recently discovered called IDE that normally programs Arduino.So I tried to upload the commands written in Arduino IDE in the Hello World and seemed like it did not work.So with the help of fellow classmates I found out that I had soldered the ATtiny45 in the wrong place,and then also found out that i had inversed the LED position and put the GND on an inversed position.So I had to delicately dissolder the Attiny 45 and the inversed LED which I 75% successfully dissoldered it as I damaged the LED why soldering it,and I thought My problems were done until I found out I forgot to Ground one of the BUTTON's ports so I soldered a small wire on it to really verify the problem and when I connected it and uploaded the progam from IDE worked.
Errors made
Solutions
And finally I uploaded the codes from Arduino IDE
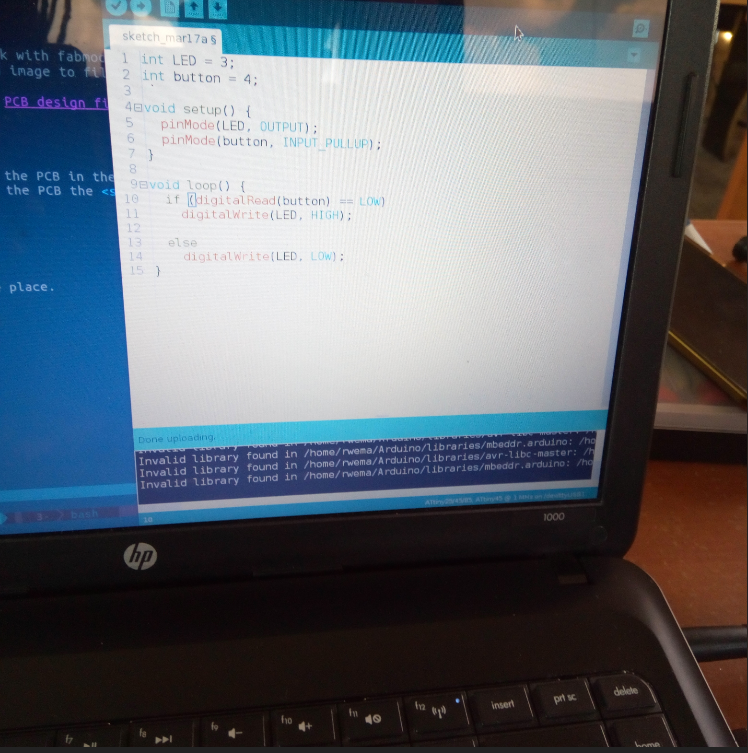
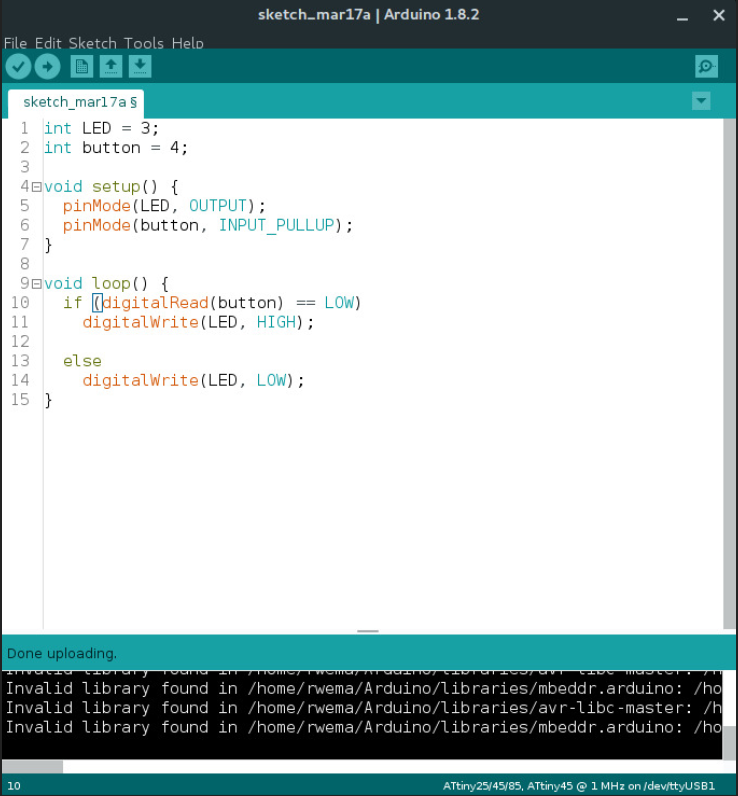
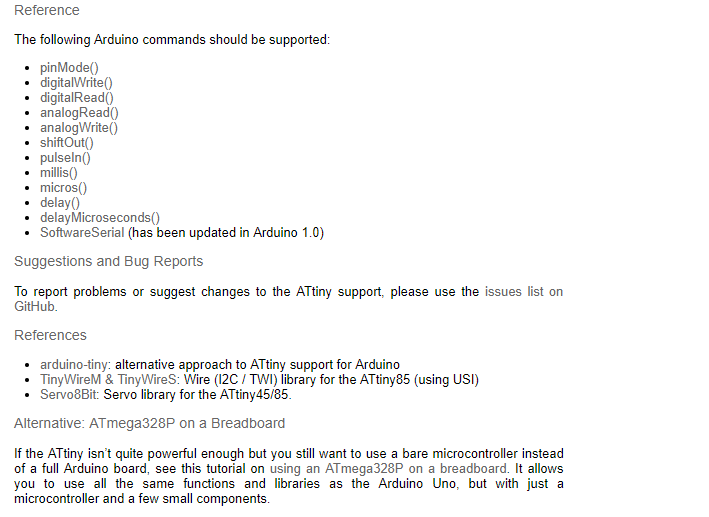
The Codes Used Arduino Framework
   int LED =3;
int button =4;
void setup()
{
  pinMode(LED,OUTPUT);
  pinMode(button,INPUT_PULLUP);
}
void loop()
{
  if (digitalRead(button)== LOW)
      digitalWrite(LED,HIGH);

      else
      digitalWrite(LED,LOW);
}
The Codes Used language C
#include

int main(void) {
 DDRB |= 1 << PINB3;
 PORTB ^= 1 << PINB2;

 DDRB &= ~(1 << PINB4);

 uint16_t pressedDuration = 0;
 uint16_t releasedDuration = 0;
 uint8_t togglePin = 0;

 while(1){
   if(bit_is_set(PINB, 4)){
     pressedDuration ++;
     if(pressedDuration > 400){
       if(togglePin == 0){
         PORTB ^= 1 << PINB2;
         togglePin = 1;
       }
       pressedDuration = 0;
     }
   }
   else{
     releasedDuration ++;
     if (releasedDuration > 400){
       togglePin = 0;
       releasedDuration = 0;
     }
   }
 }
}
The reason why I chose to use the Arduino IDE is because it is an open source that helps me run through the codes easily.