WEEK 7 - COMPUTER-CONTROLLED MACHINING
SEVENTH ASSIGNMENT
- Test runout, alignment, speeds, feeds, and toolpaths for your machine
- Make something big
Group assignment:
Individual assignment:
This week was lots of fun for me, still a lot of work but fun. Since I’m an industrial designer and at some point, I’m specialized in furniture design; this assignment was an opportunity for me to make something that I enjoy very much.
TEST RUNOUT, ALIGNMENT, SPEEDS, FEEDS, AND TOOLPATHS FOR YOUR MACHINE
We began our week by checking which materials we can use with our CNC Machine, we have MDF, plywood, OBS and wood. It´s also important to mention, our Fab Lab´s CNC is only half bed size (1400X1200mm), therefore, we need to resize the material with these dimensions each time.
I work at the Fab Lab Santiago since one year ago; therefore, I have had much experience cutting different type of materials and settings with our machine. Here are some images of different materials we have cut in the past.
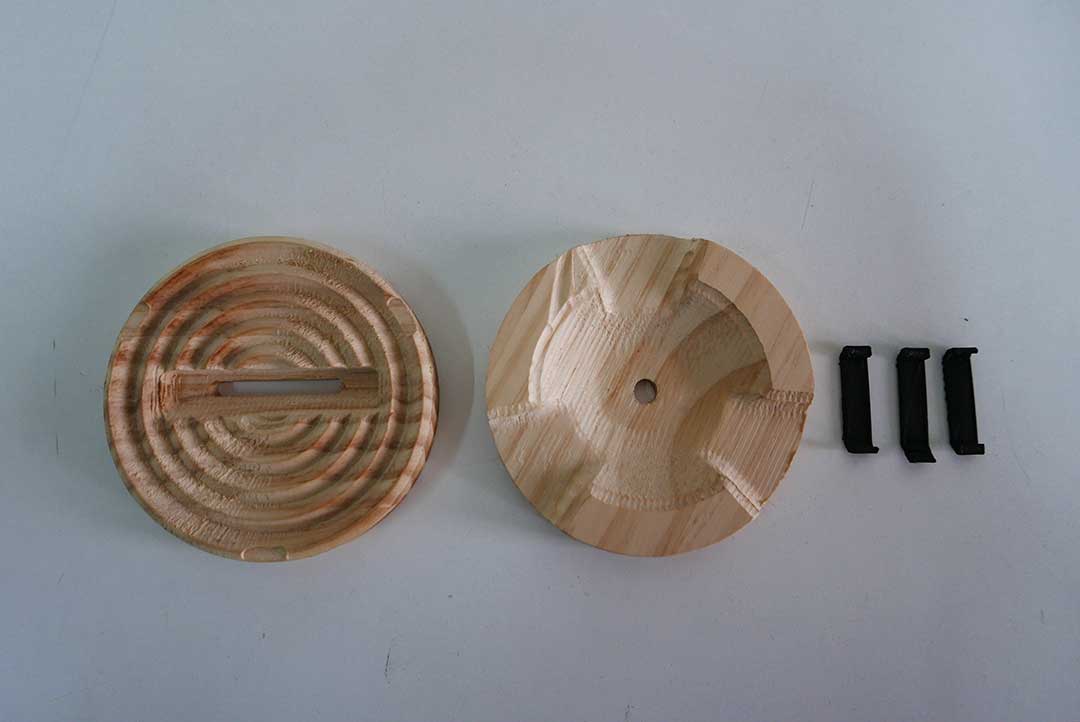
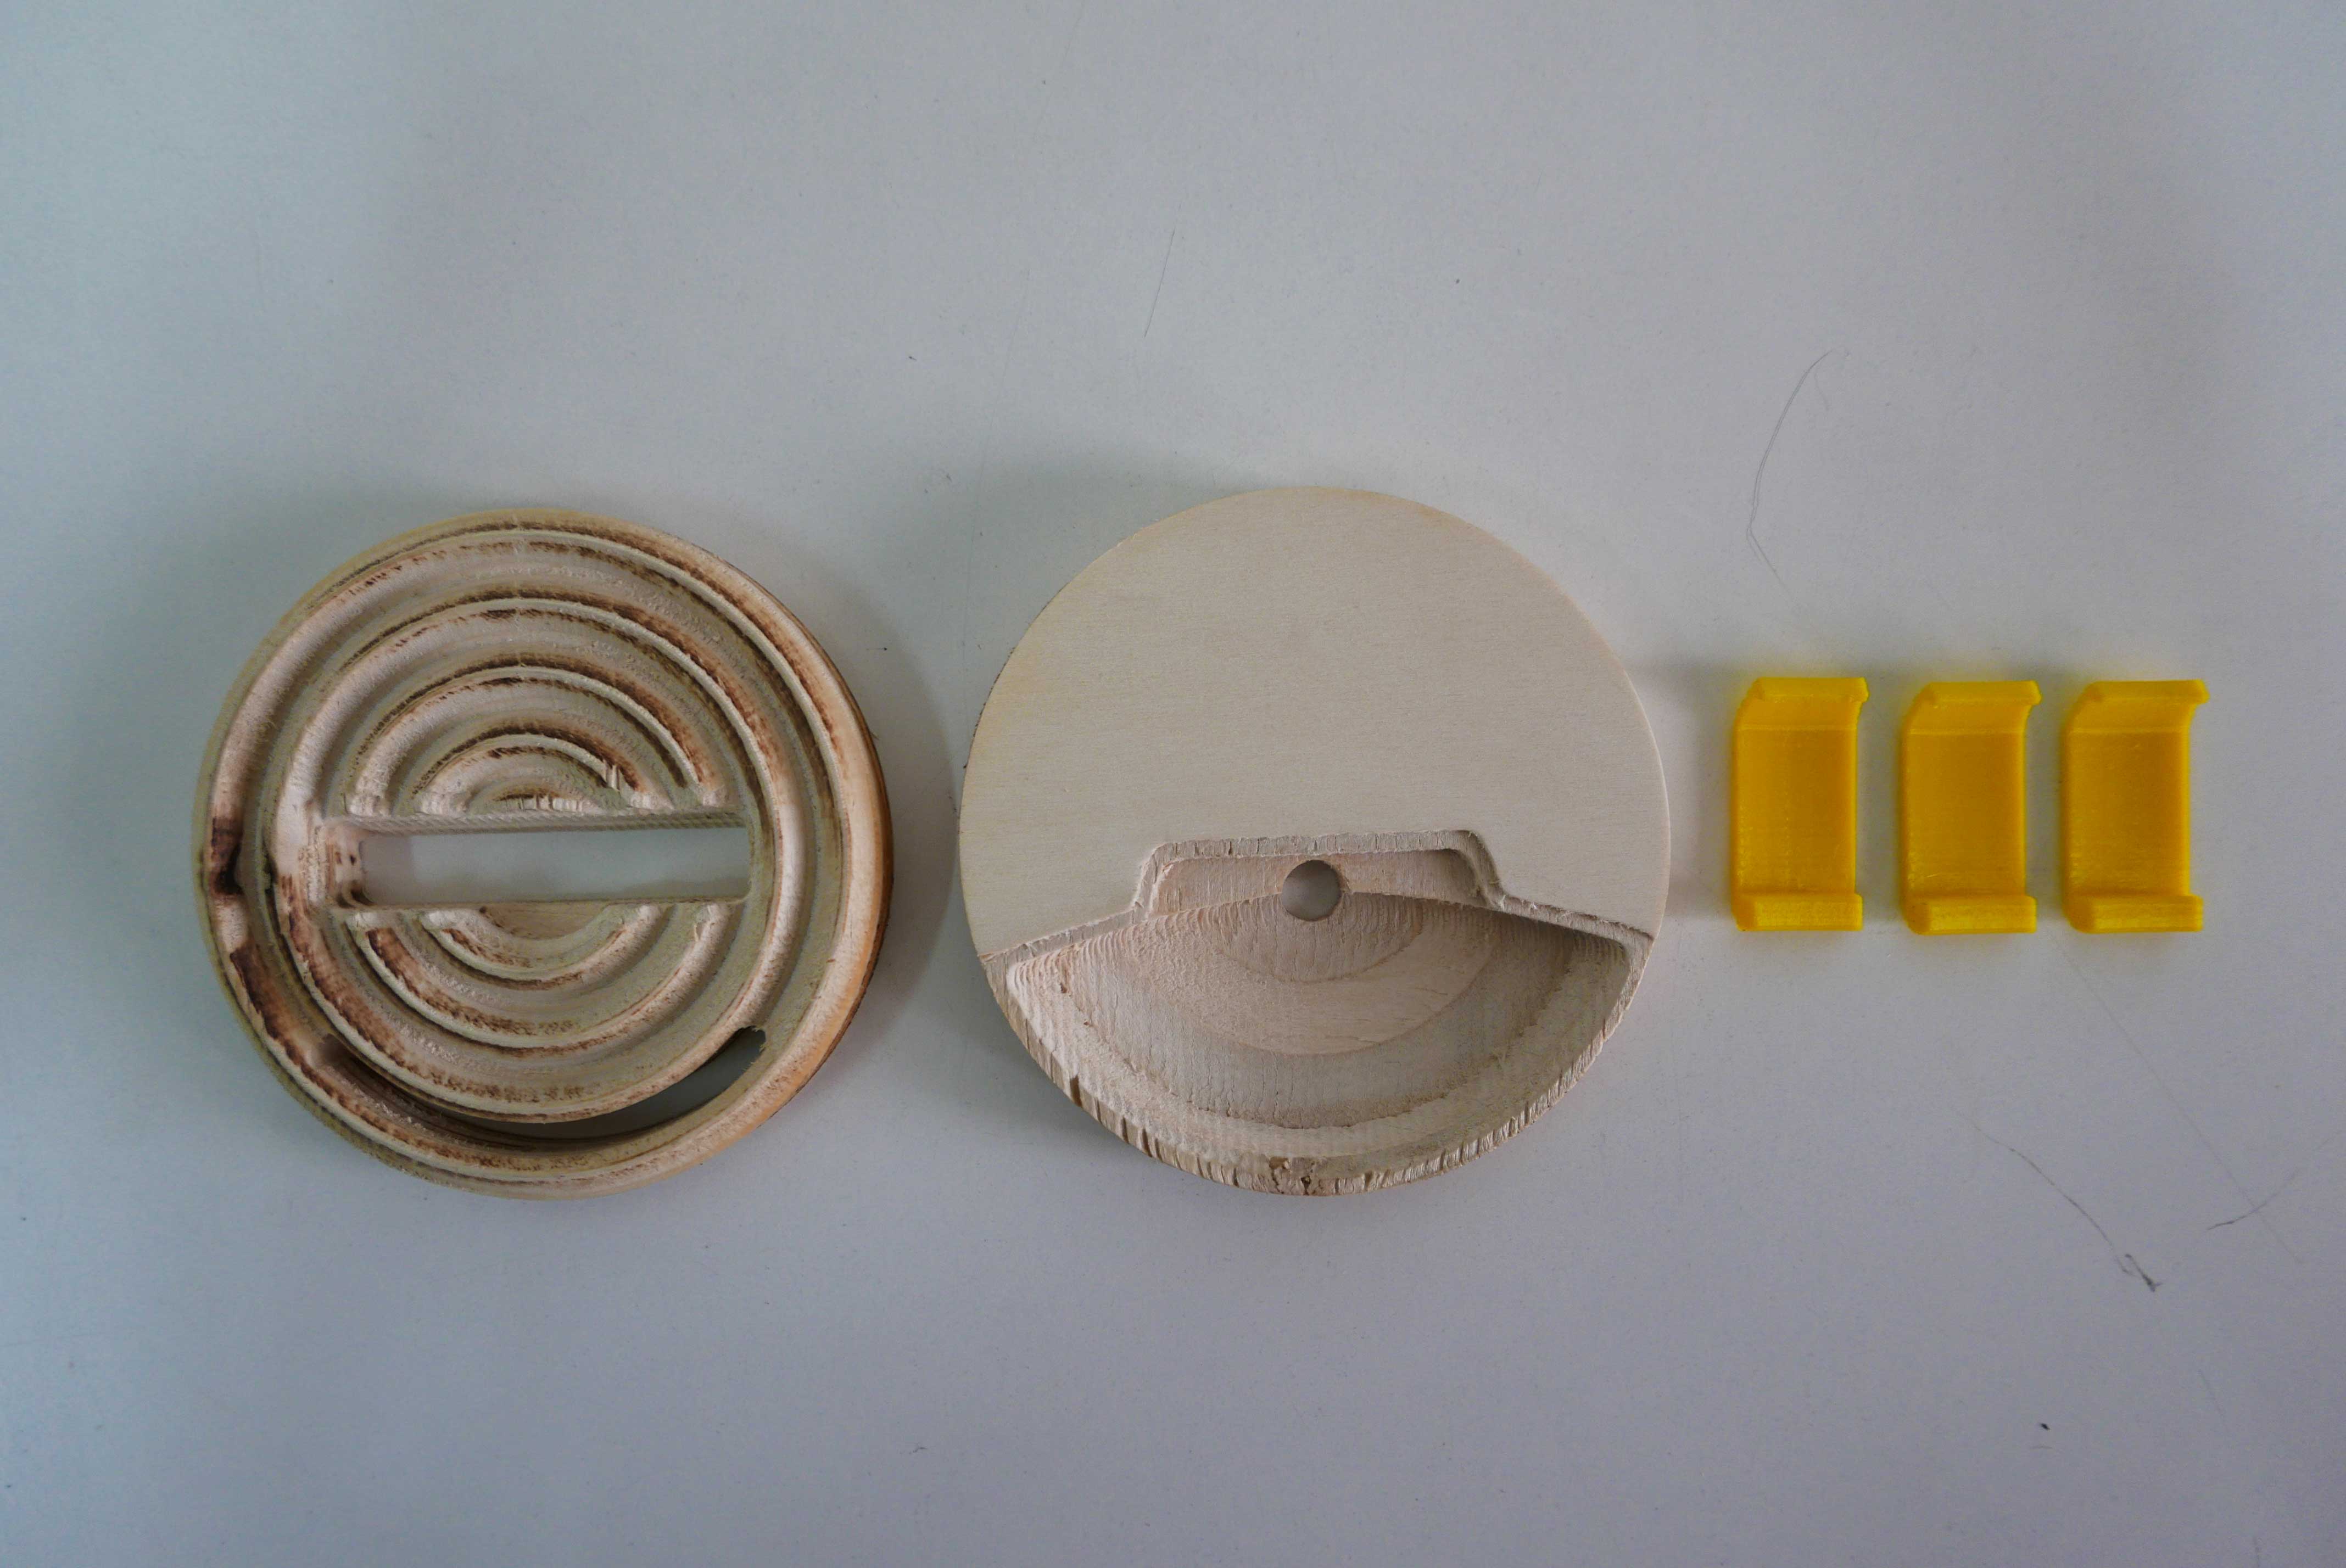
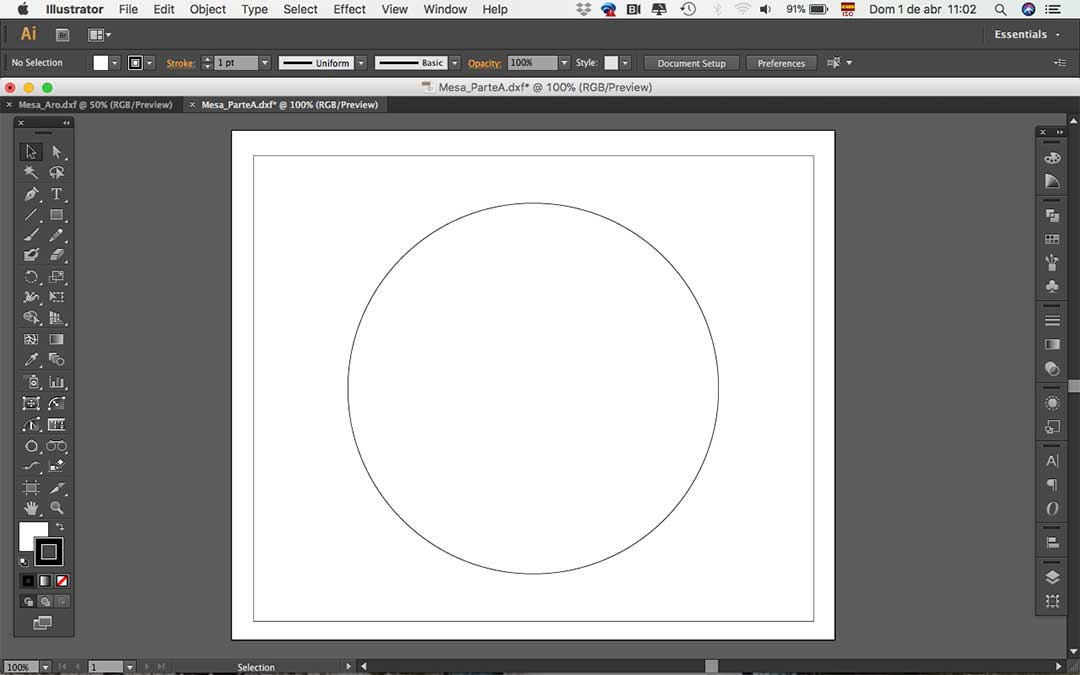
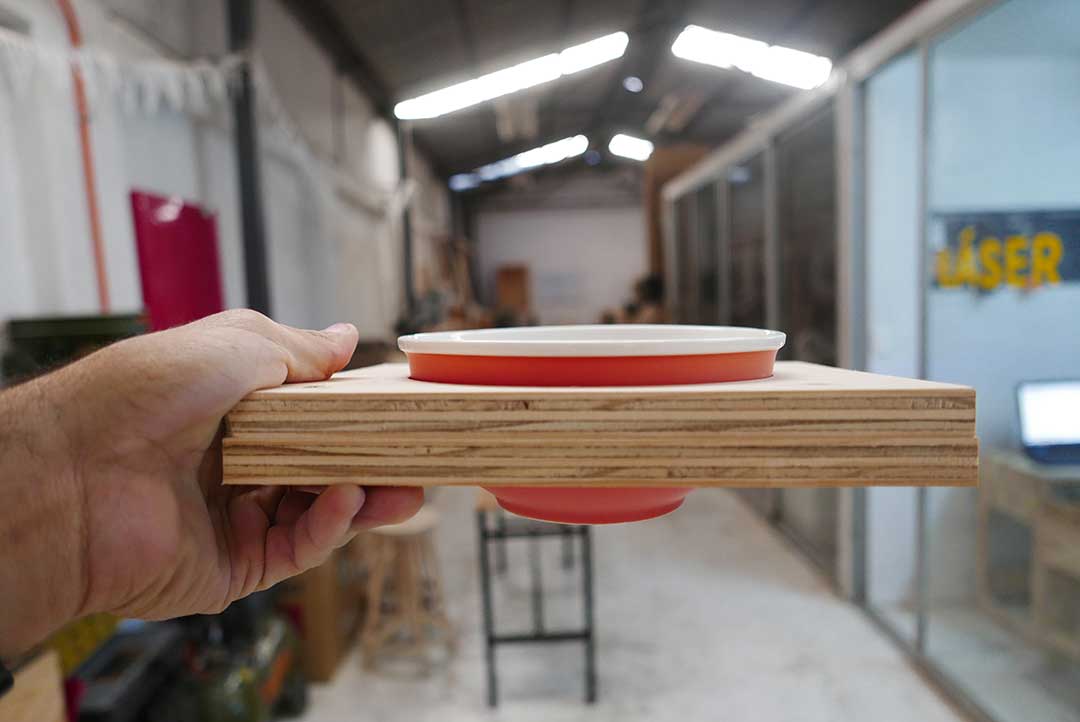
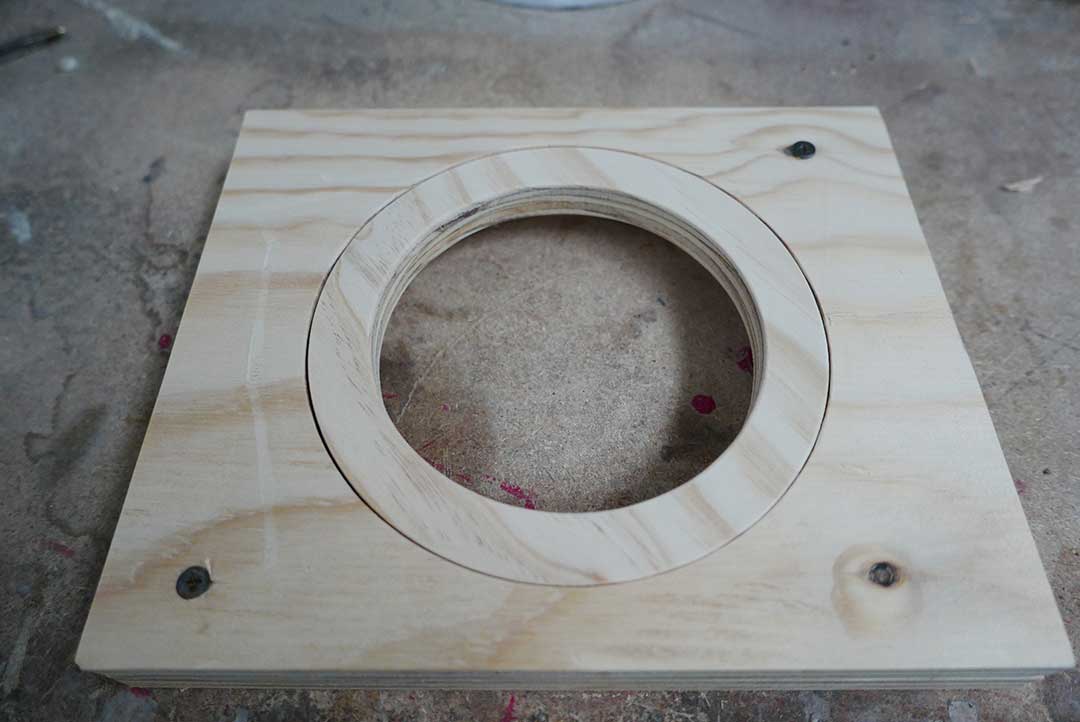
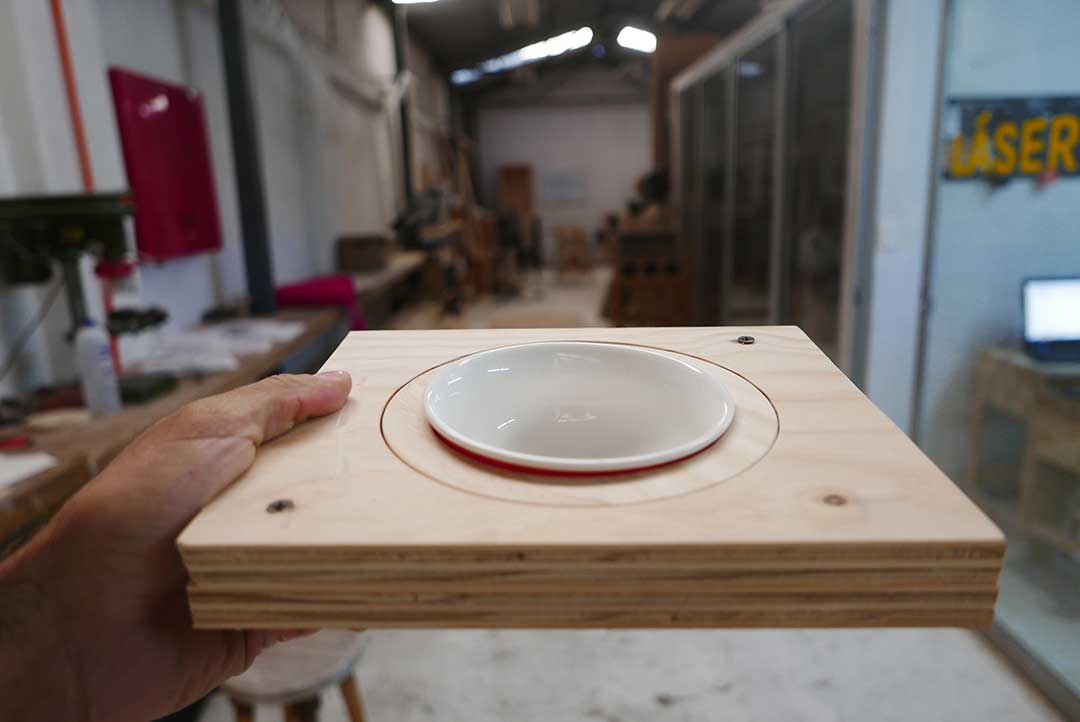
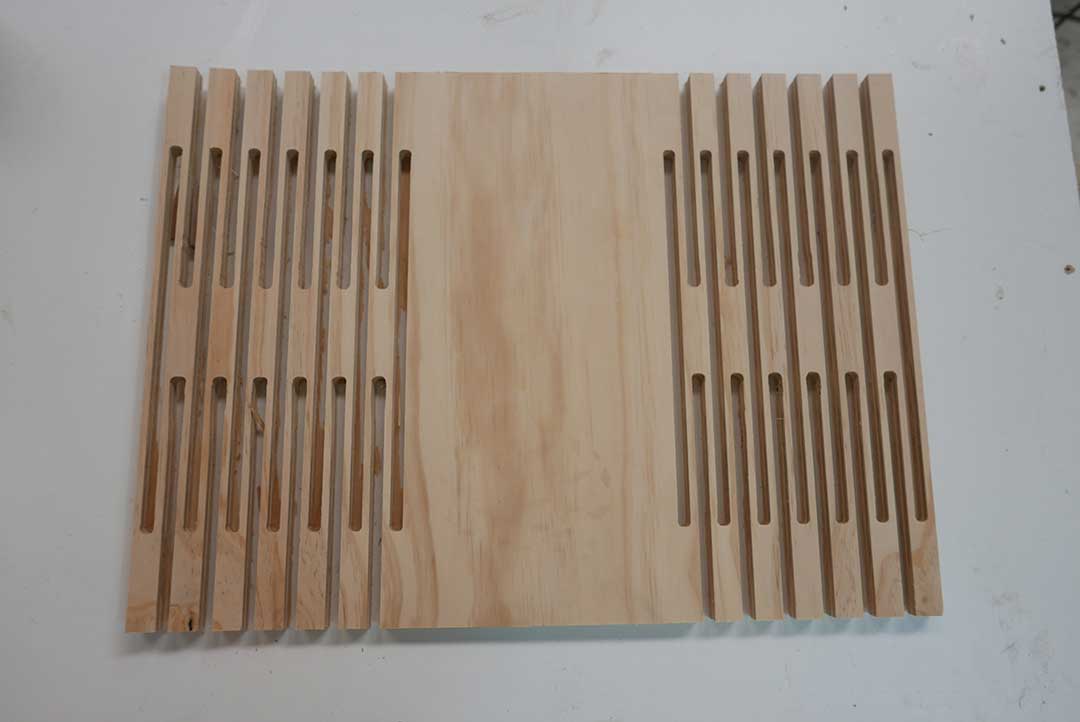
But still for this assignment we made some tests just to refresh our knowledge. We began by generating some files to test the alignment, speeds, feeds and toolpaths. Also, this test is a prototype from one of the parts of the chair I want to make as my piece of furniture.
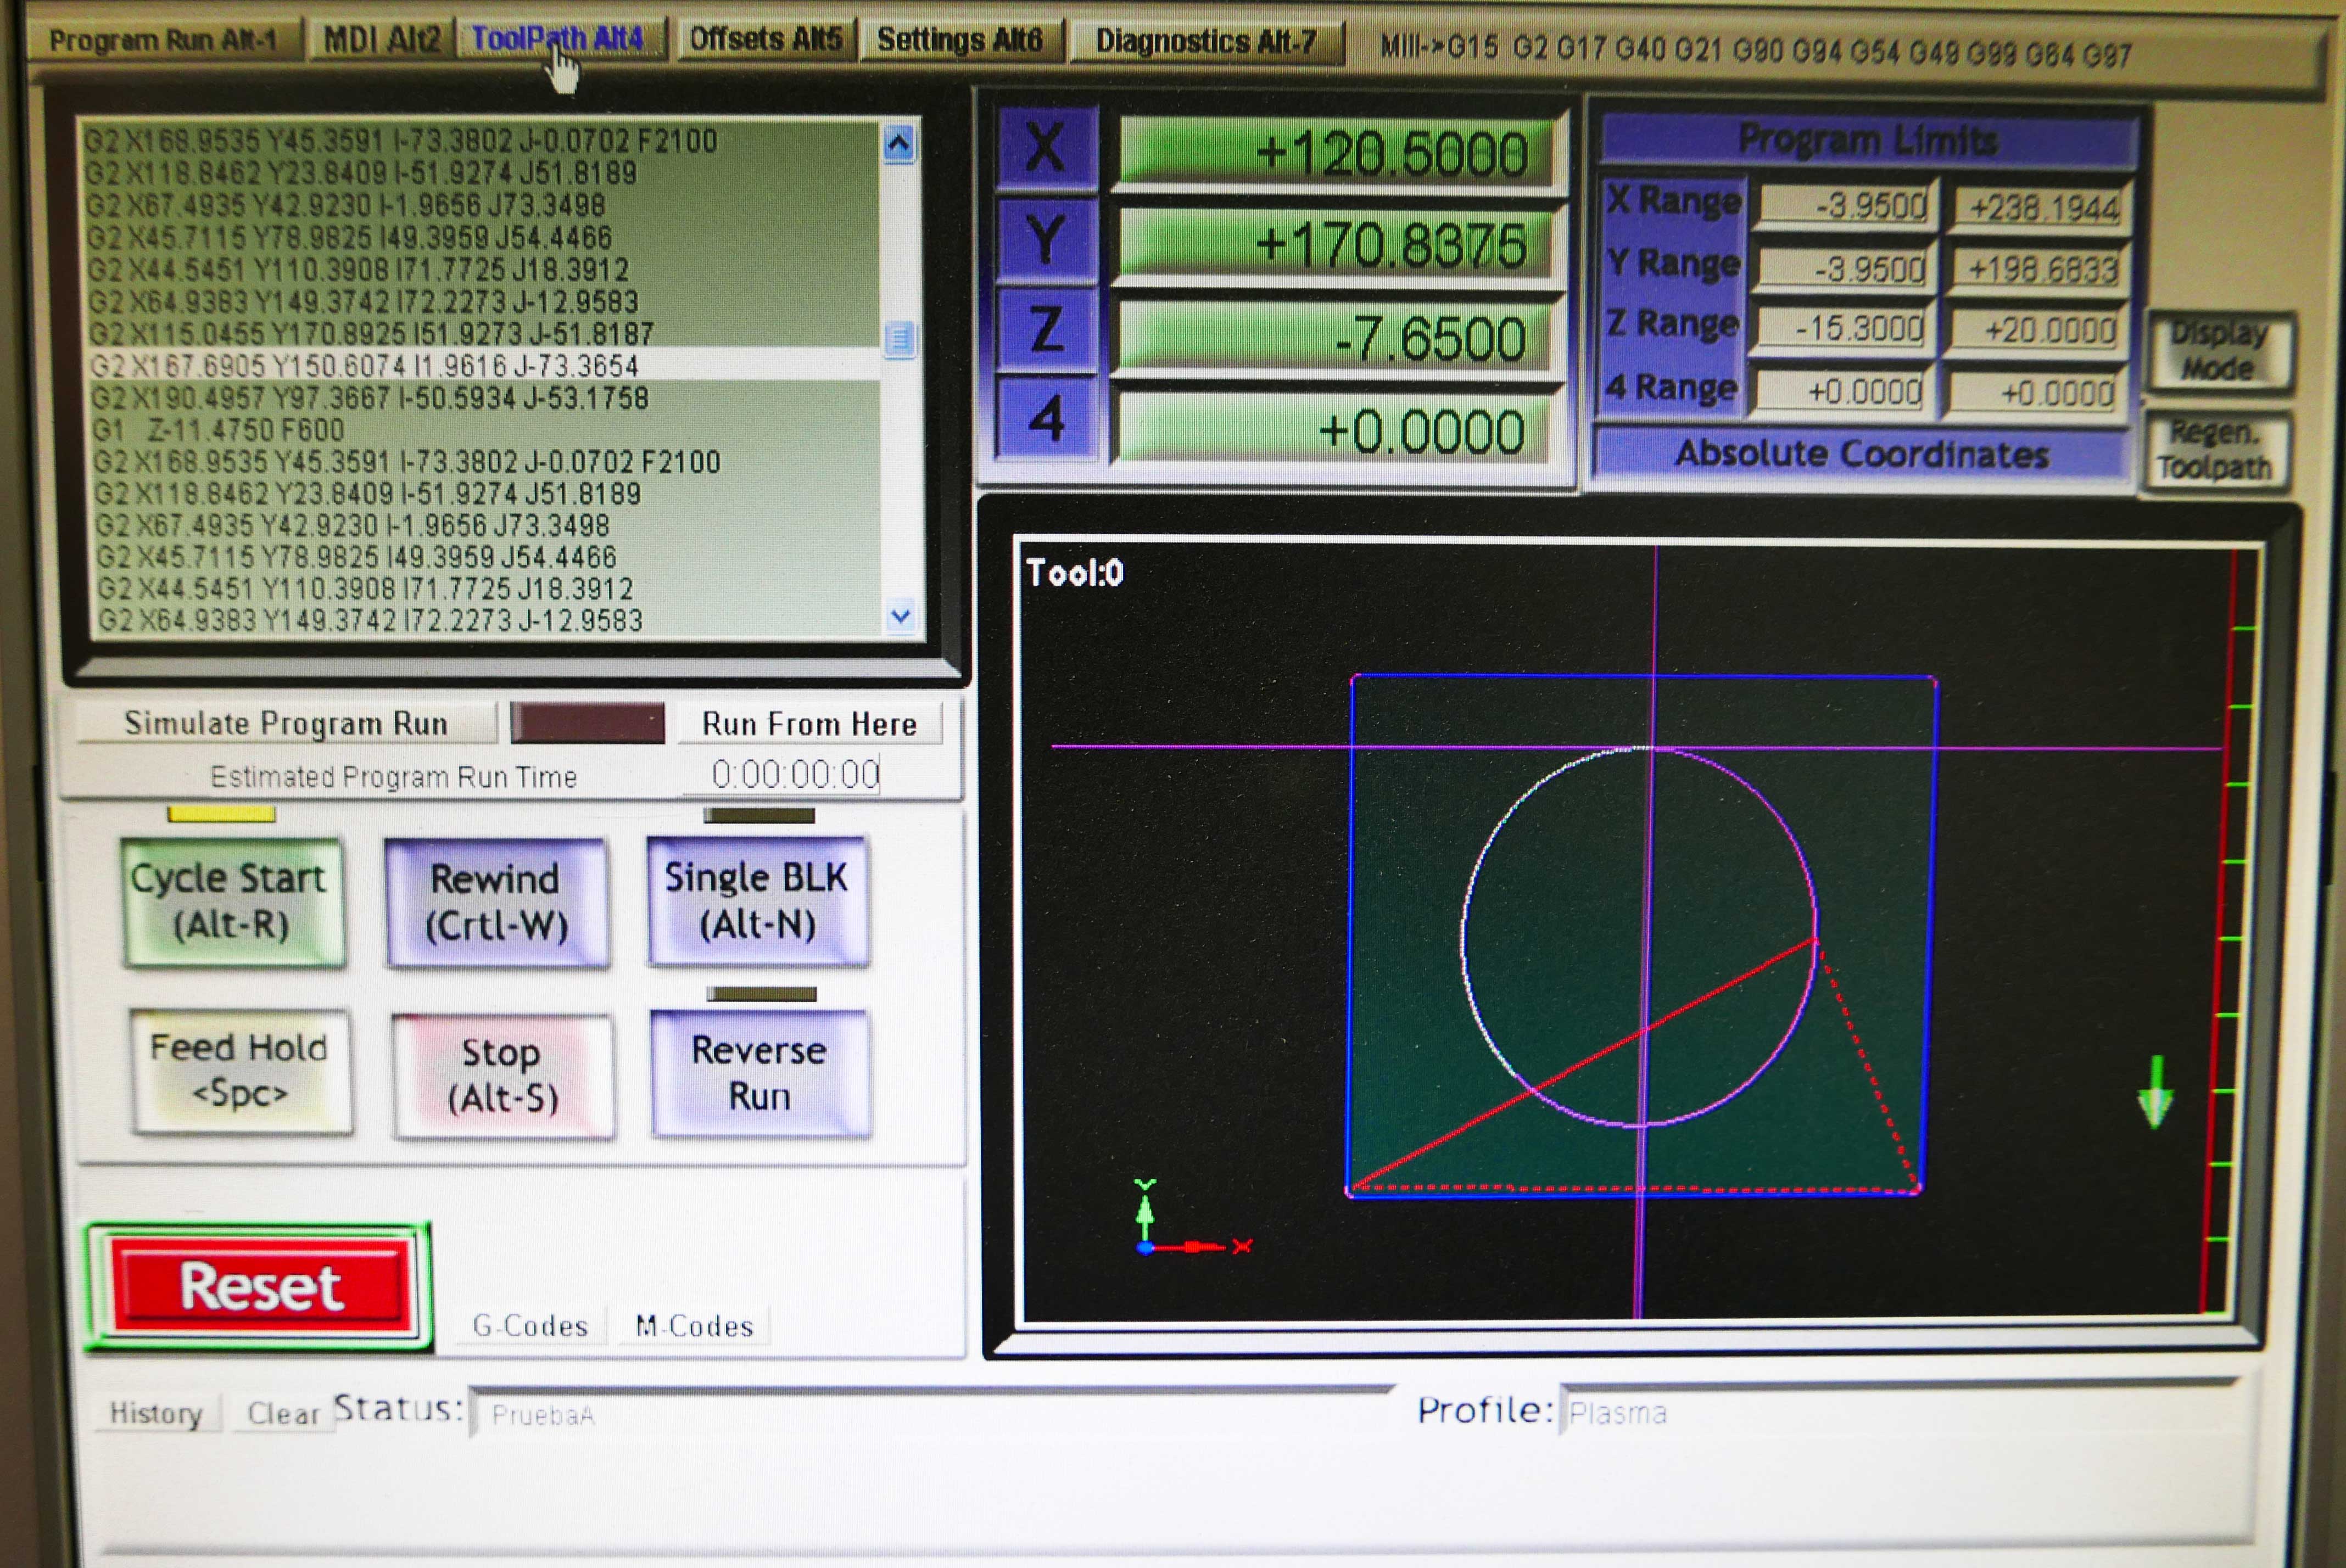
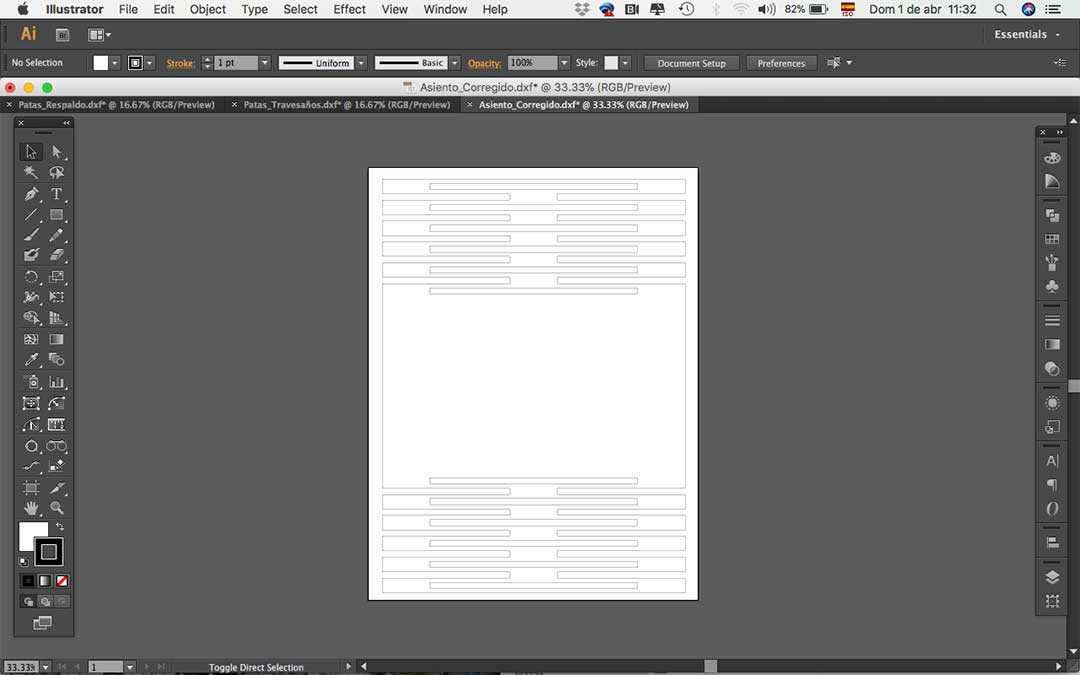
Here are some screen shots of the file:
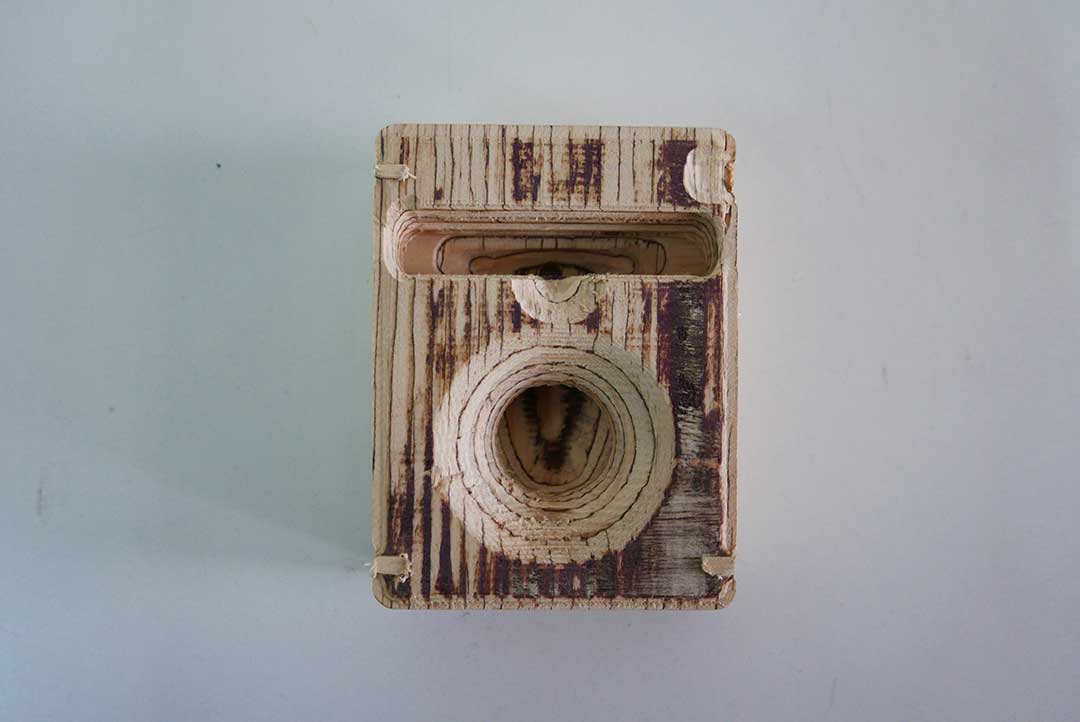
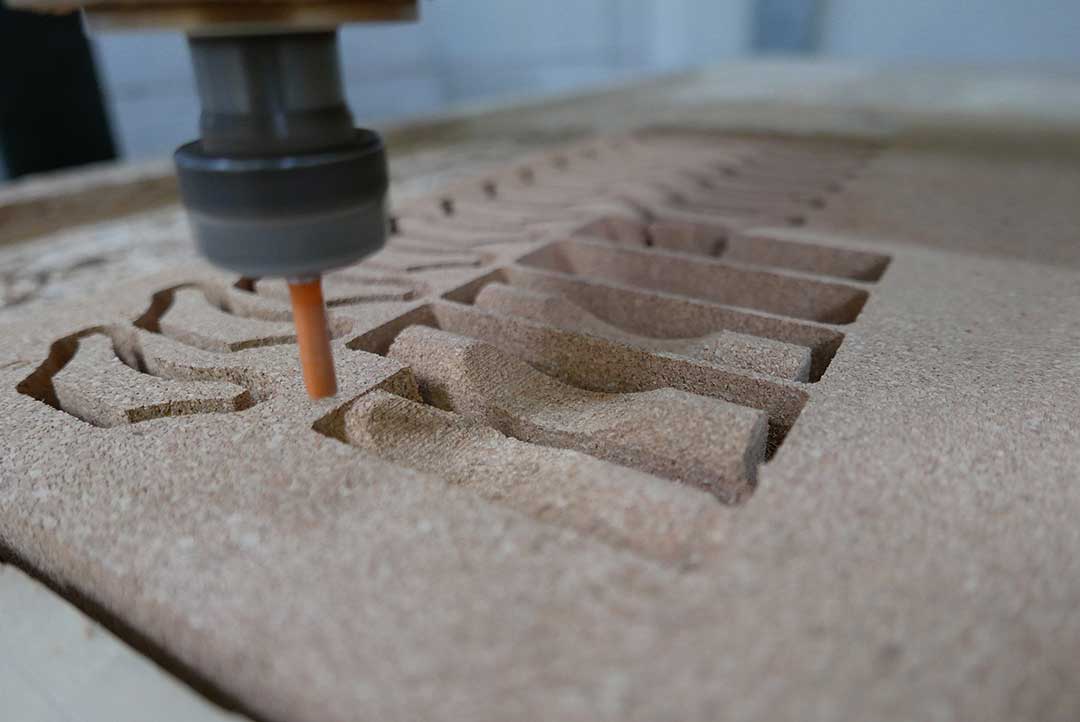
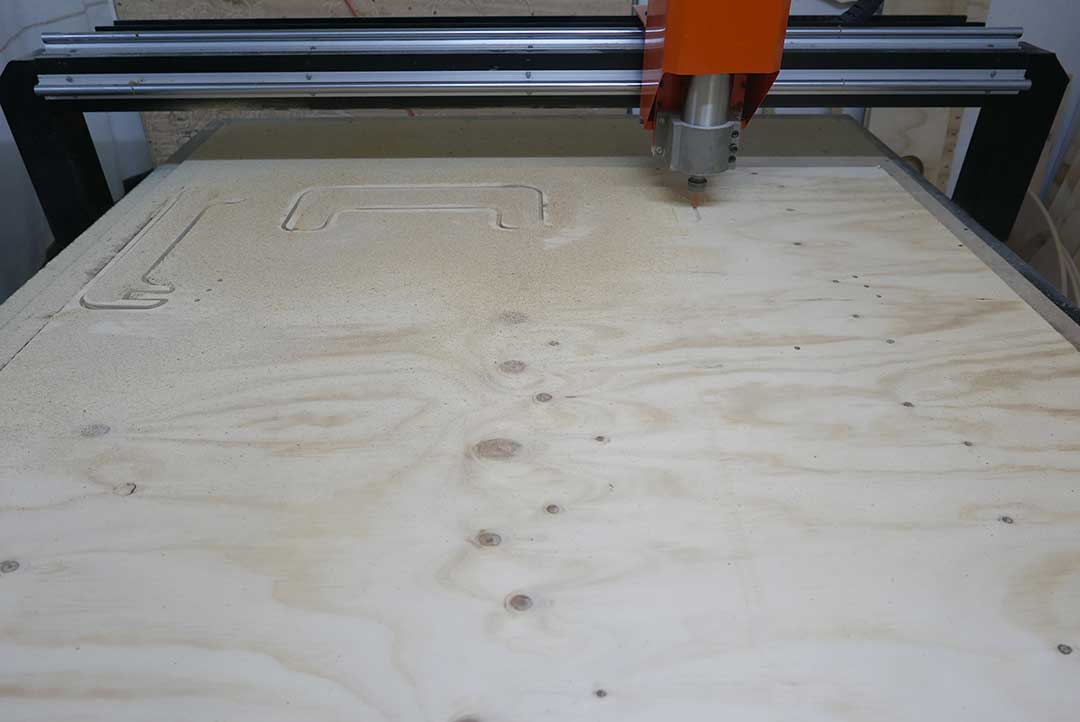
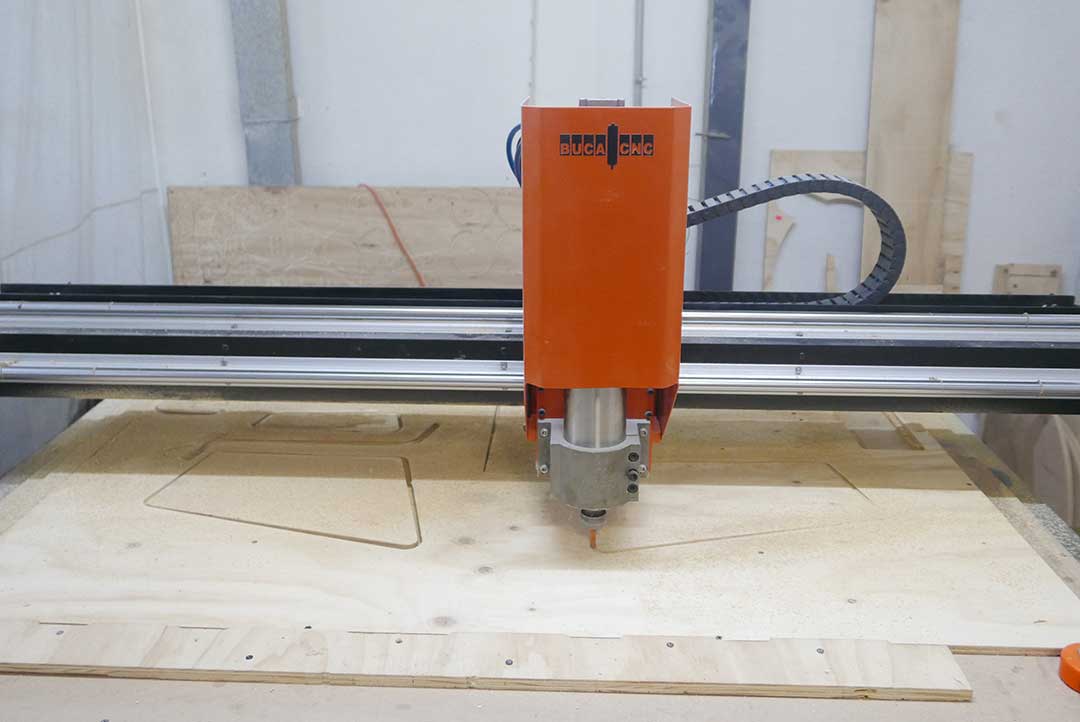
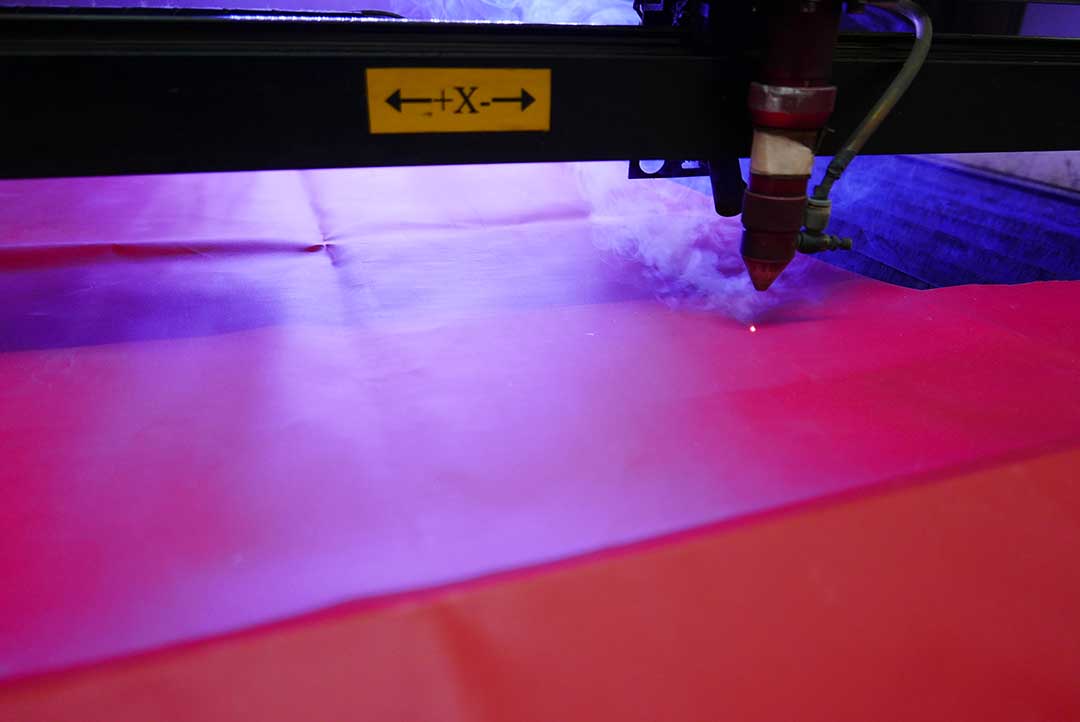
We set up the plywood and test the file first in the air just to be sure it worked fine. Then we tried different speeds and feeds for the prototype.
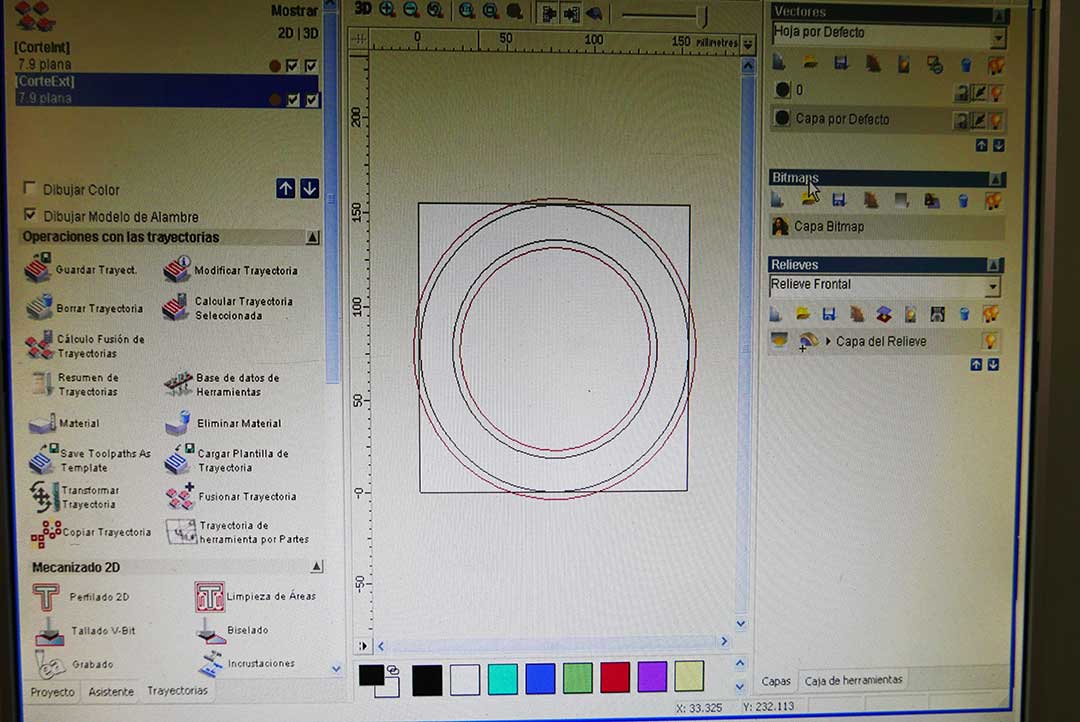
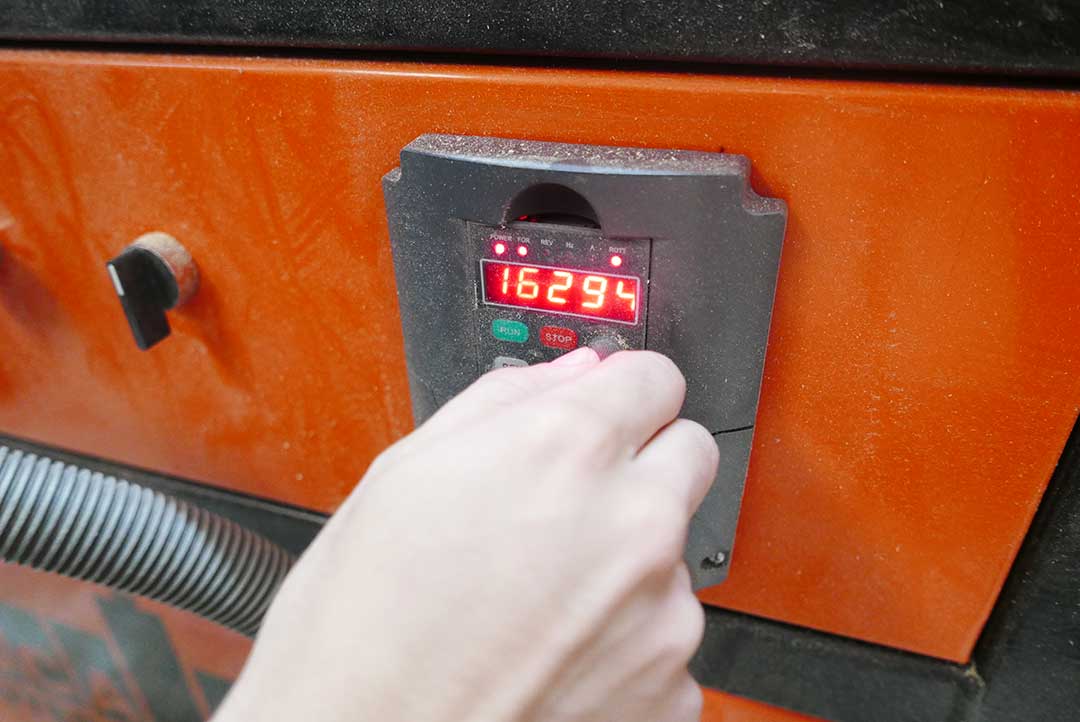
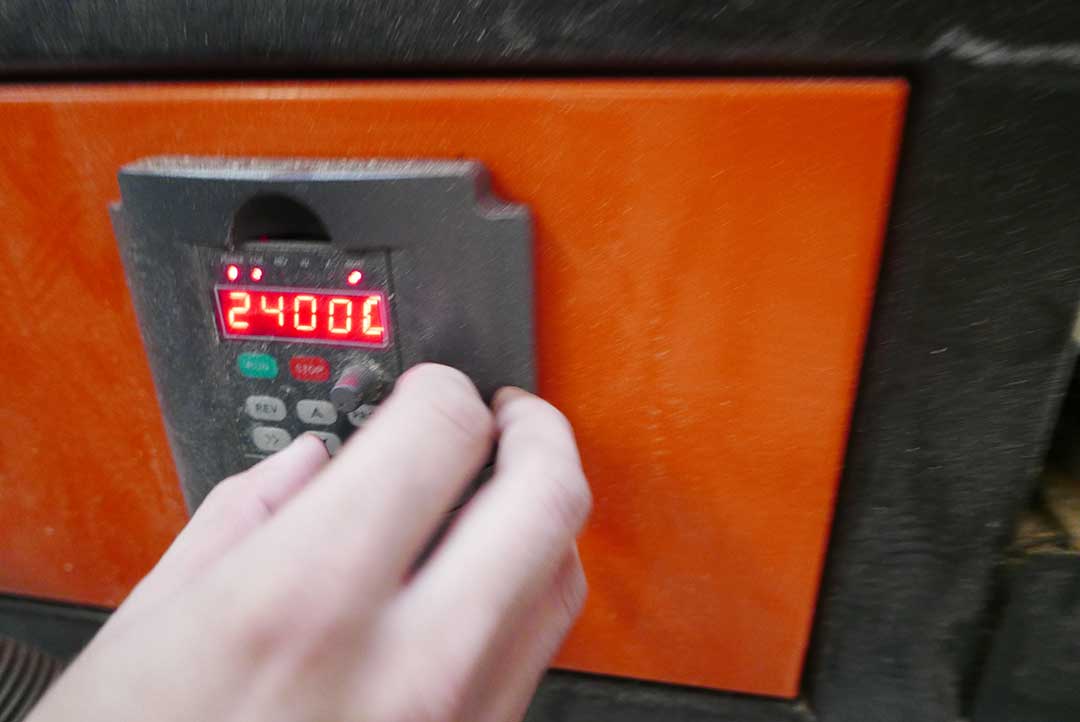
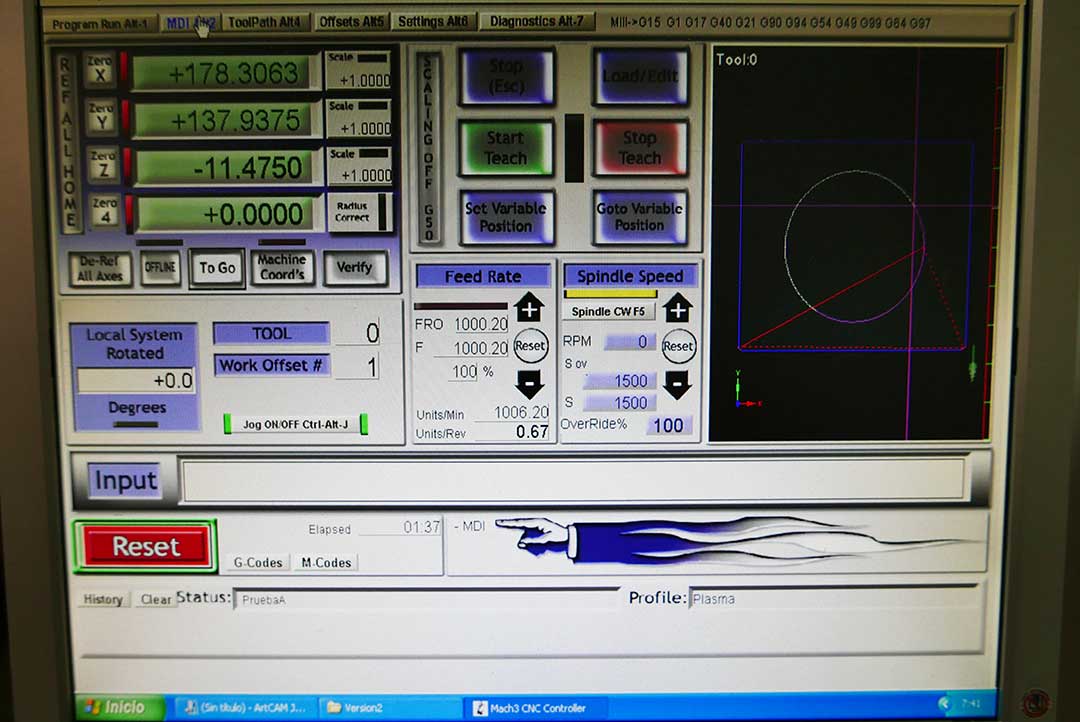
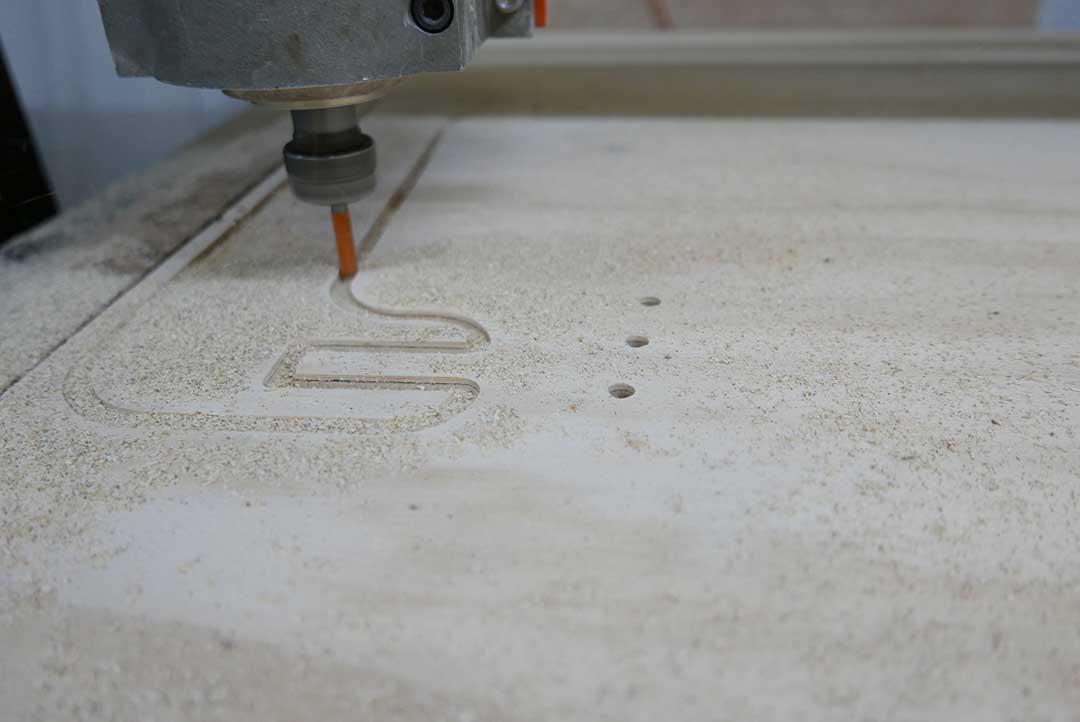
Also set up the origin, checked the toolpath and speeds. We are using a 7.9mm mill because we feel is one of the best mills to cut large formats in plywood.
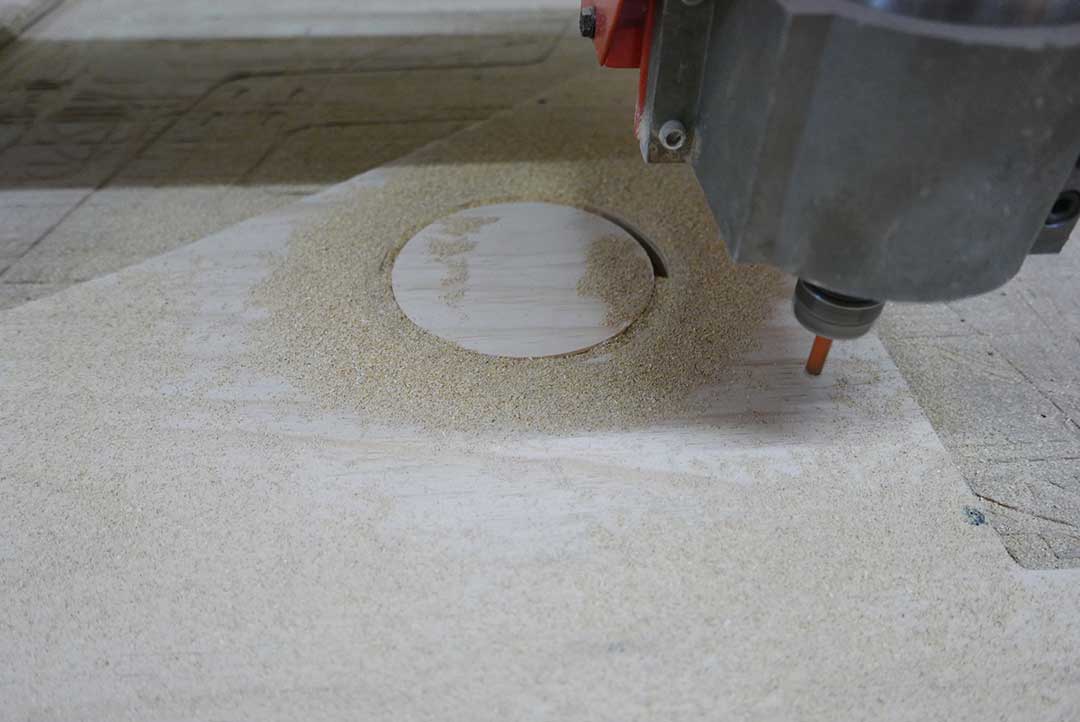
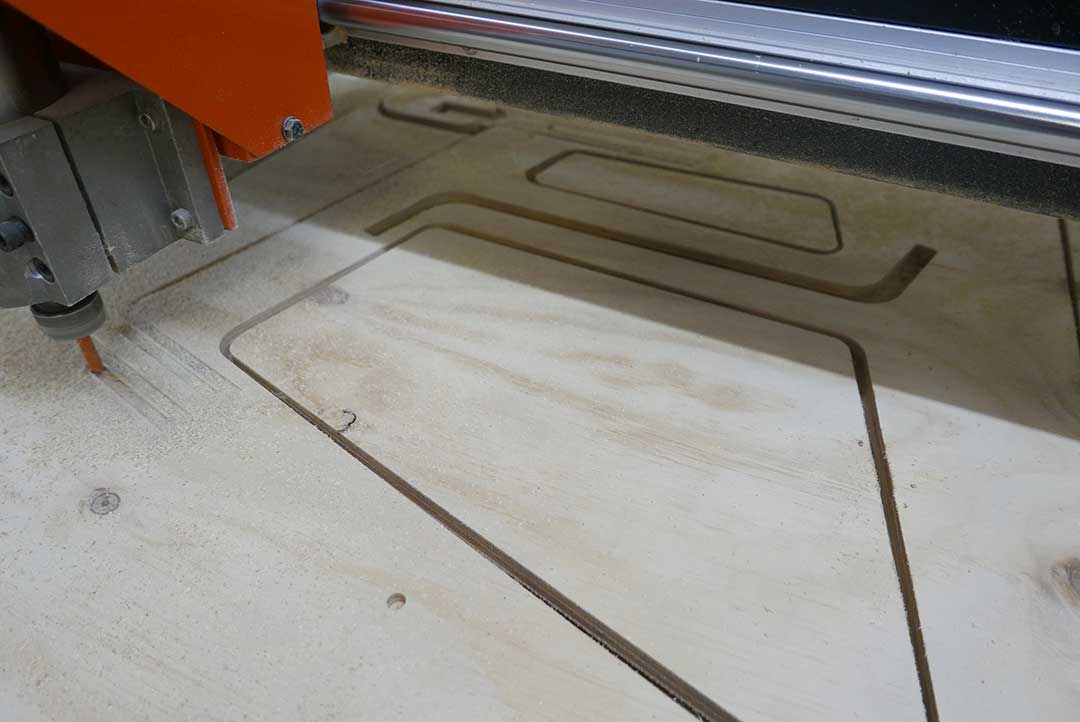
This is how the machining went, pretty smooth

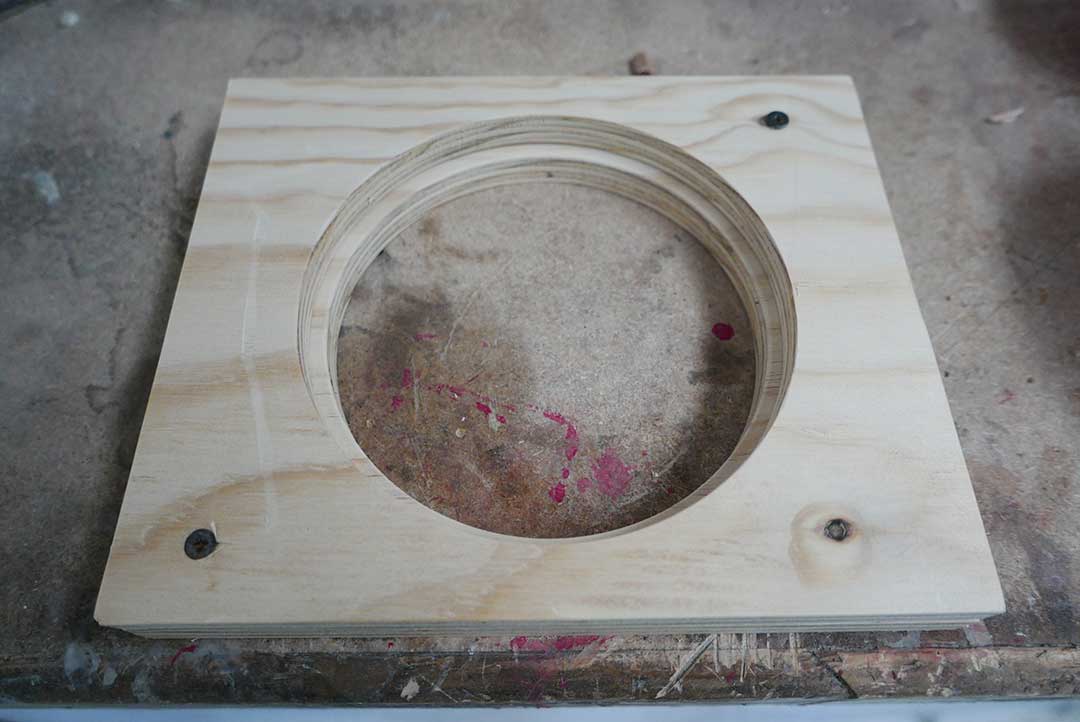
The test we did worked fine, the prototype fit perfectly and now we are ready to work on our furniture.
MAKE SOMETHING BIG
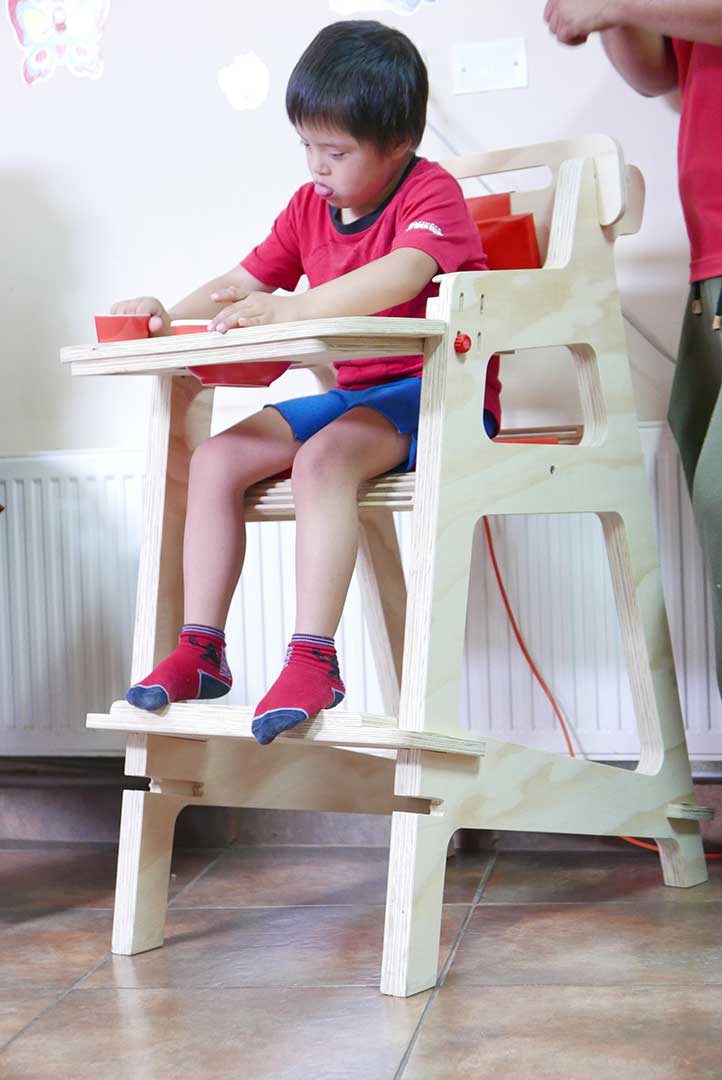
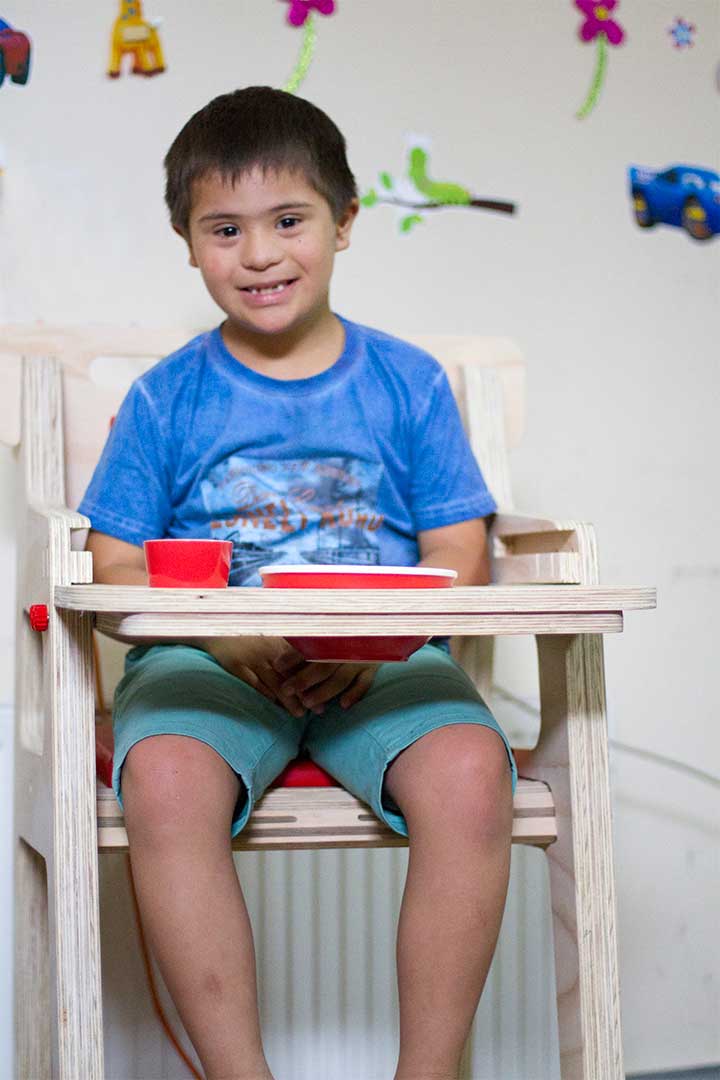
Then it was time to prepare all the files and materials to make my chair. This chair was very special for me because the purpose of it, is to help children with Down syndrome to correct their posture when they sit to eat.
Kids with this syndrome lack of strength in their back muscles and stomach, therefore, they cant sit properly when they eat and on the long run this becomes a problem for their back bones; also, they have a risk to choke with their food because their throat is not straight when they eat.
With all this requirements the chair needs to be multifunctional and at the same time adaptable for different ages and anatomies. This was a big challenge but with the help of the specialist I was able to get very good insights on how to design and construct the chair.
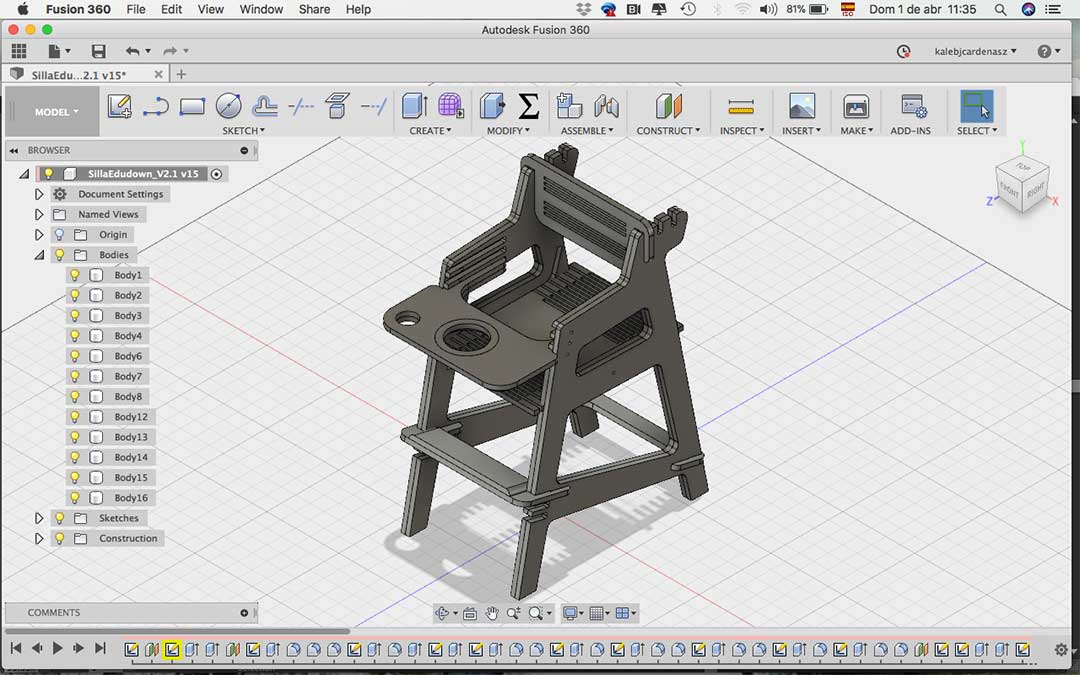
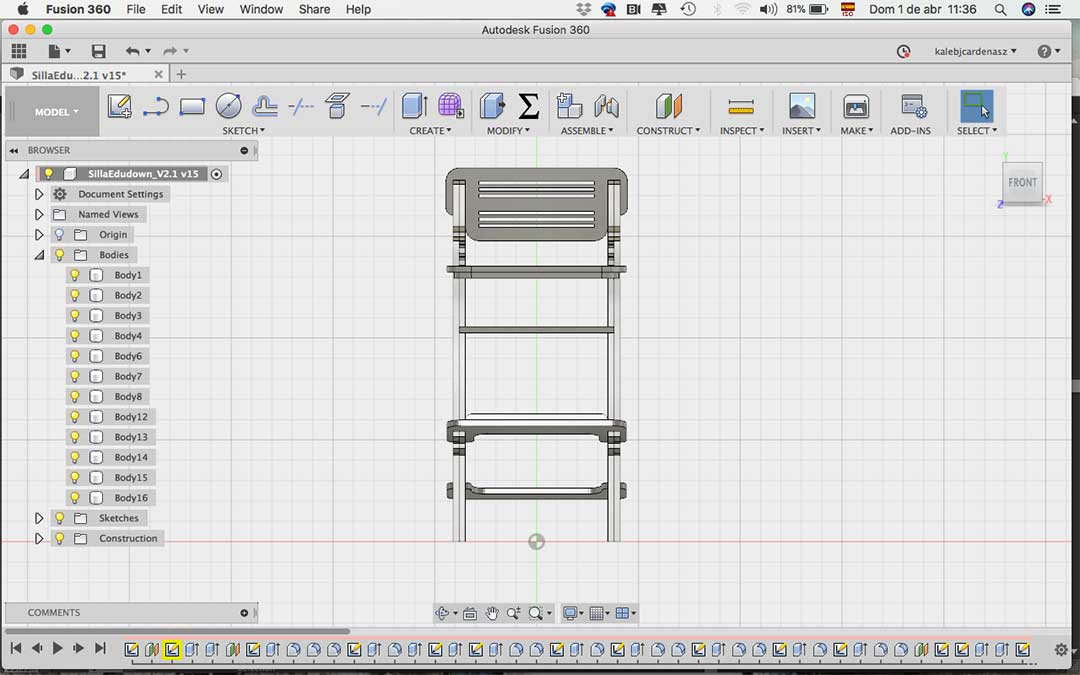
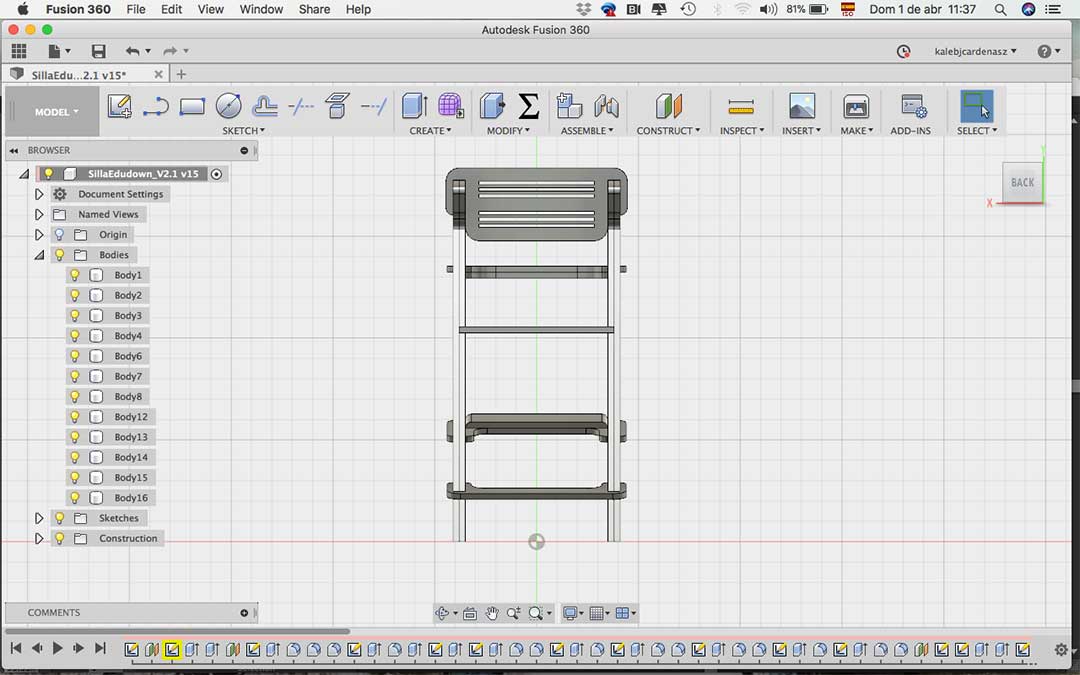
Then it was time to work on the files, I did my parametric 3D model on Fusion 360, this helped me a lot because I was able to change measurements all the time without working too much on the software.
After a few hours of modeling and measuring, the chair looked like this:

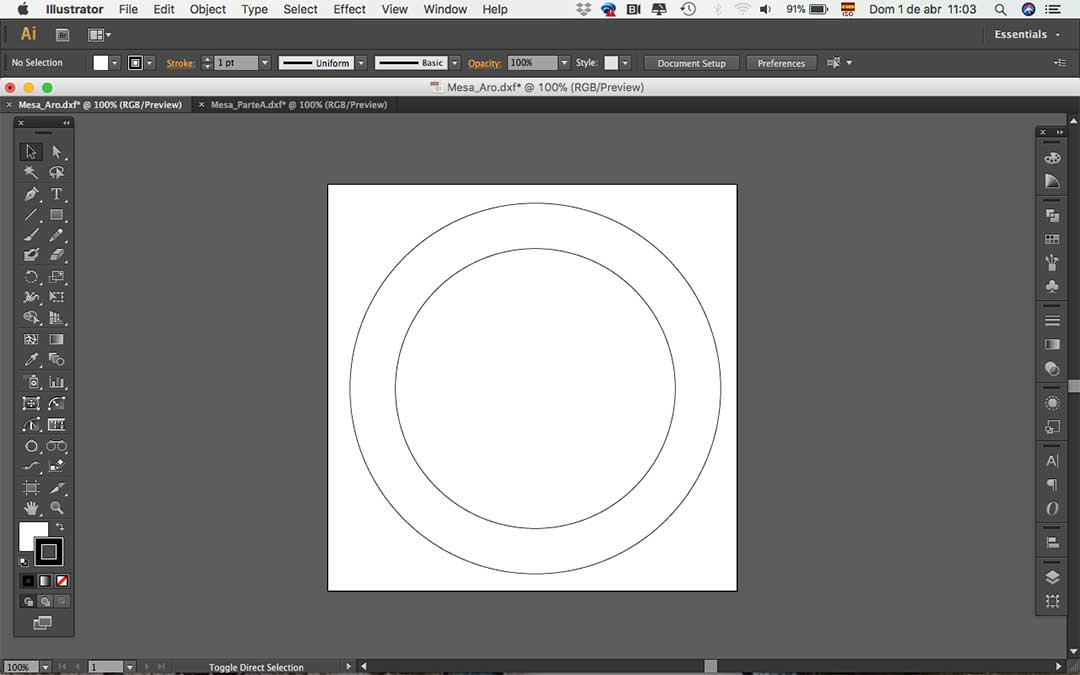
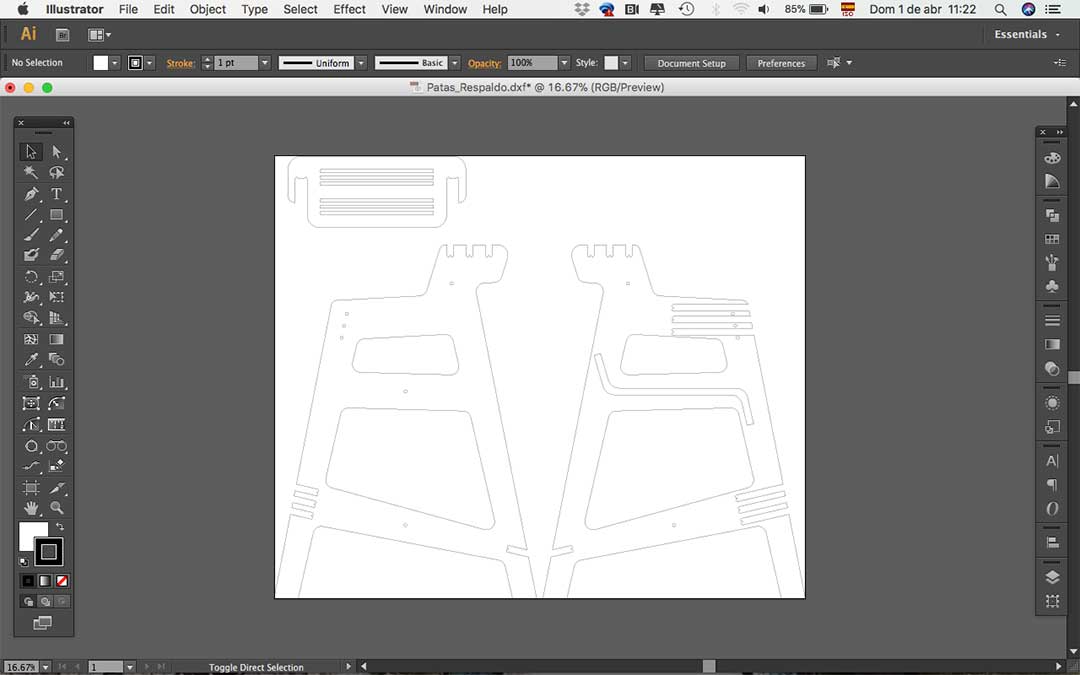
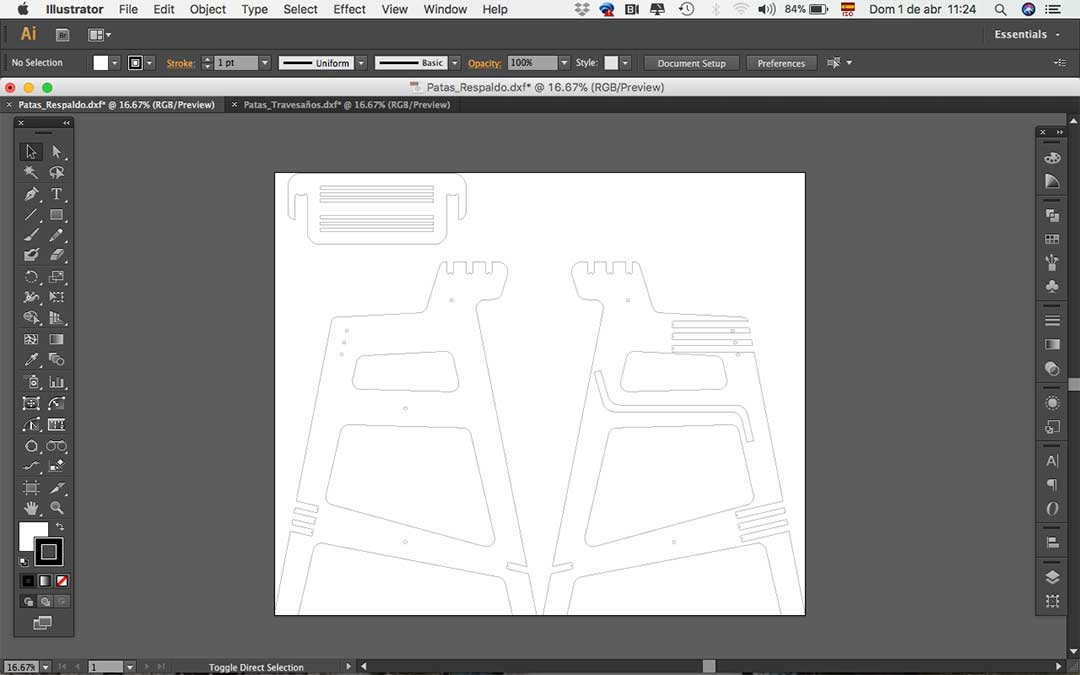
I was pleased with the design but now it was time to prepare the DXF files for the CNC machine and also choose the material to make the chair. I decided to go with 15mm plywood because its strong enough and at the same time not so heavy.
Here are some images of the DXF file for the CNC machine:
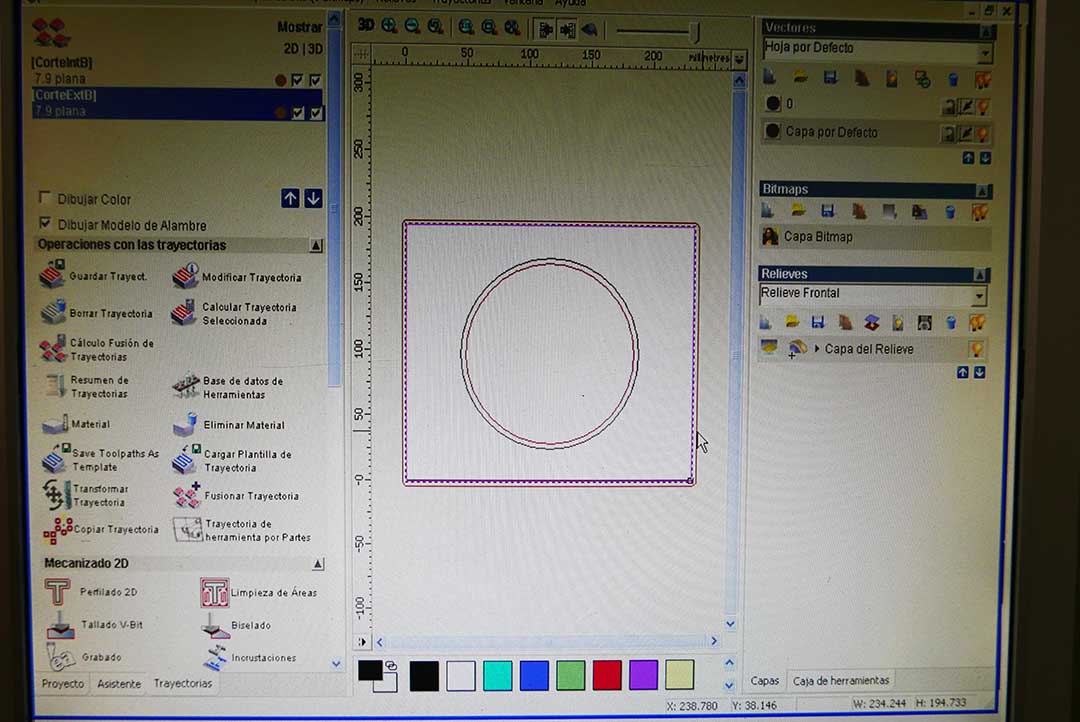
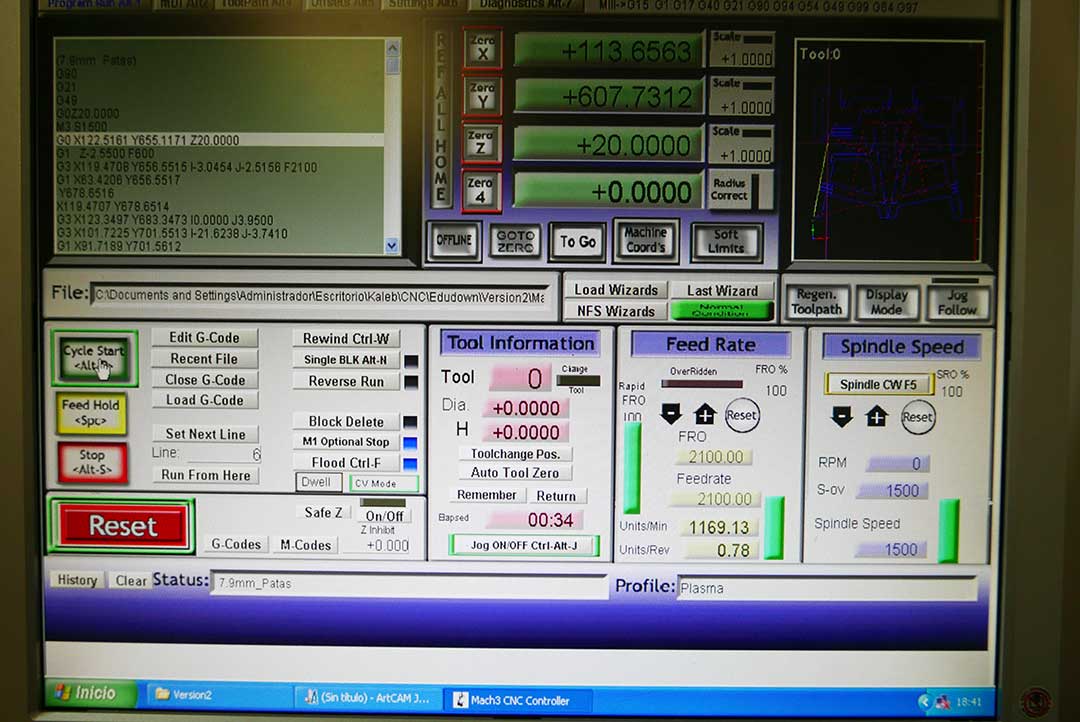
After setting up the board on the machine, I uploaded the file to the Artcam software in order to generate the G-Code. I’m using the 7.9mm mill to do this work because I need to cut for a long period and I don't want to force the mill too much.
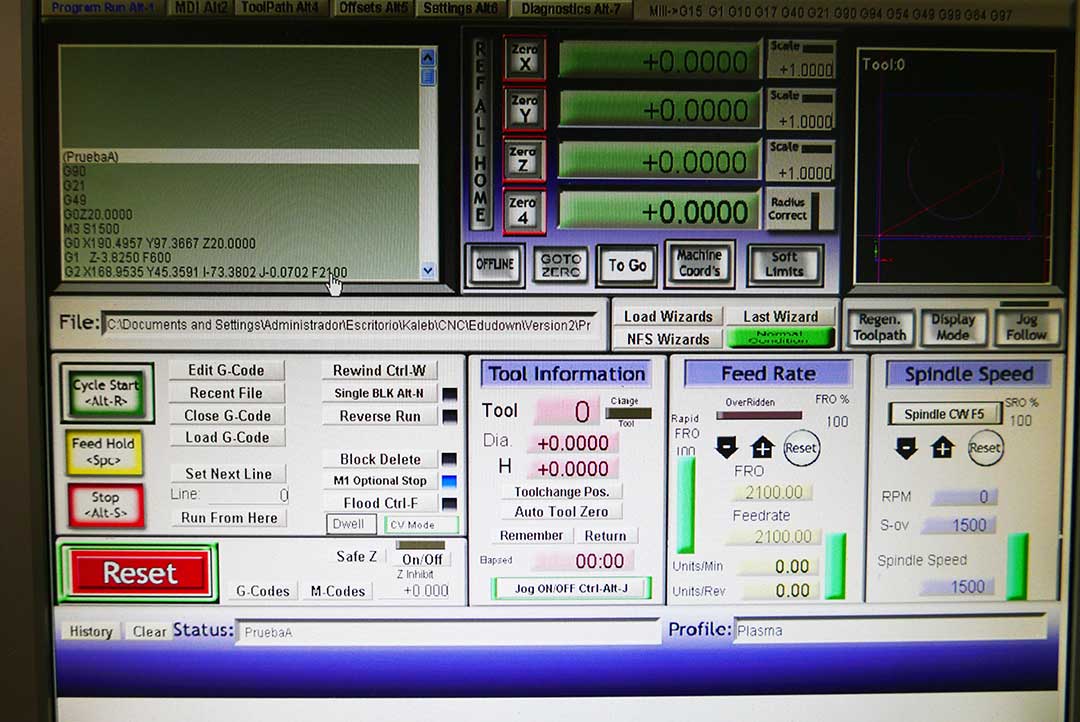
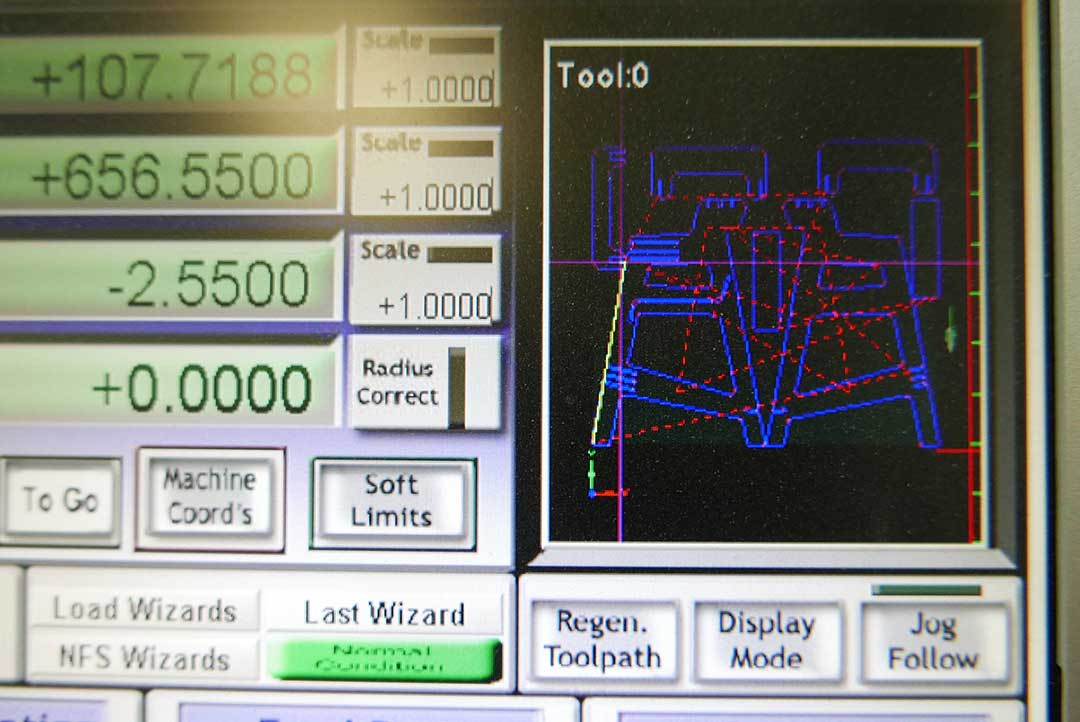
Then I exported the G-Code to the Mach software, the machine recognized the file and then I set up my origin and toolpath.
This is how the files look like:

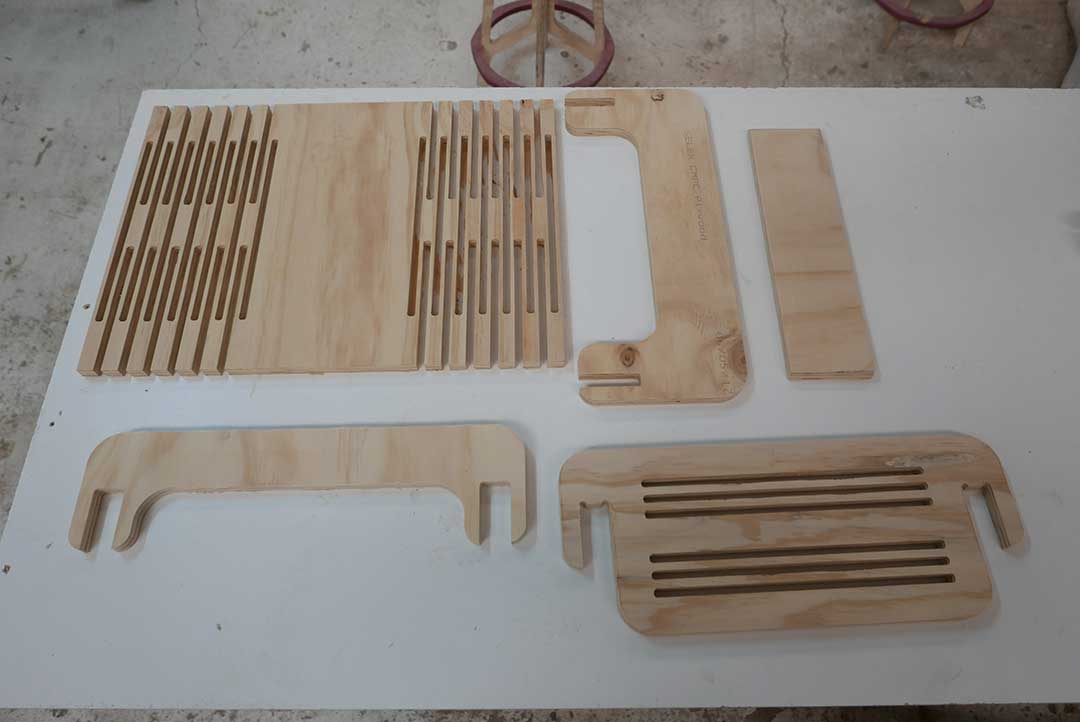
Now I’m ready to cut! Here are some images of the process of making the chair:

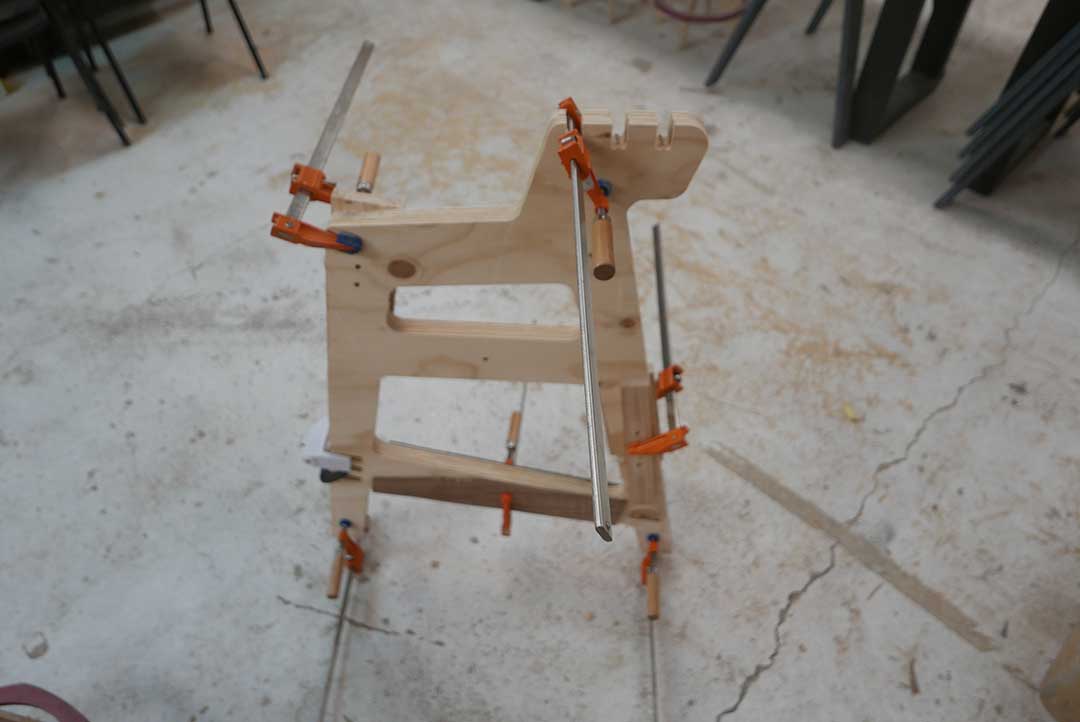
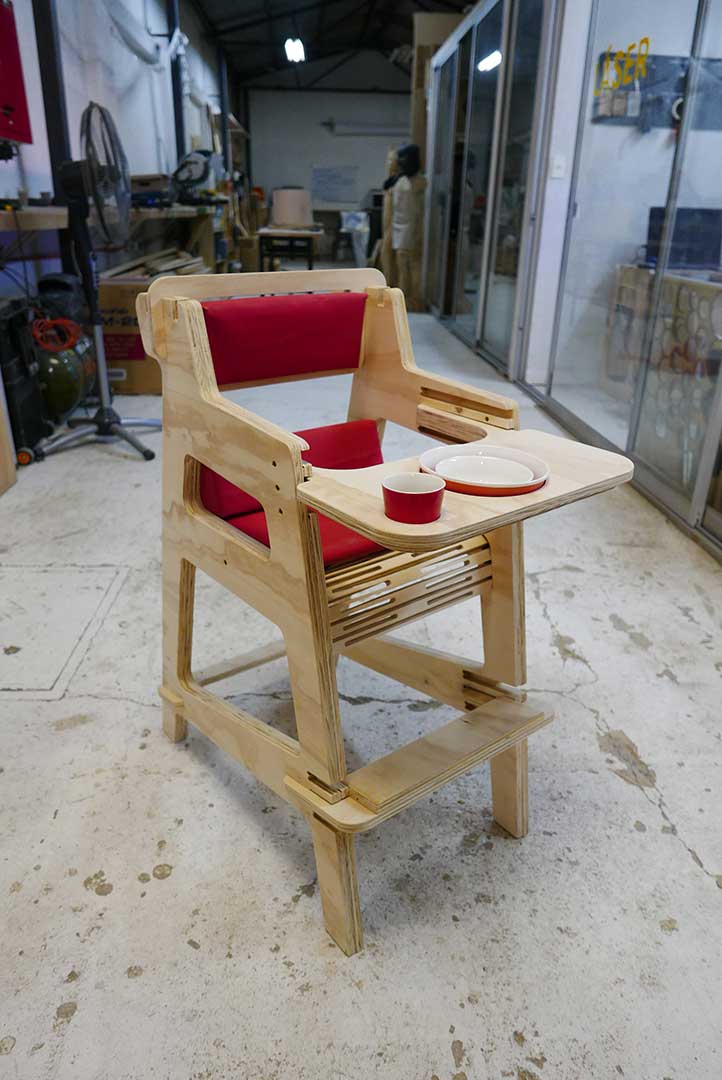
After cutting all the pieces it was time to glue and assemble some parts of the chair, I really enjoyed this process because of the craft side of building furniture. I’m using some flexible patterns in order to make the chair more comfortable and ergonomic, you can appreciate this in the seat.
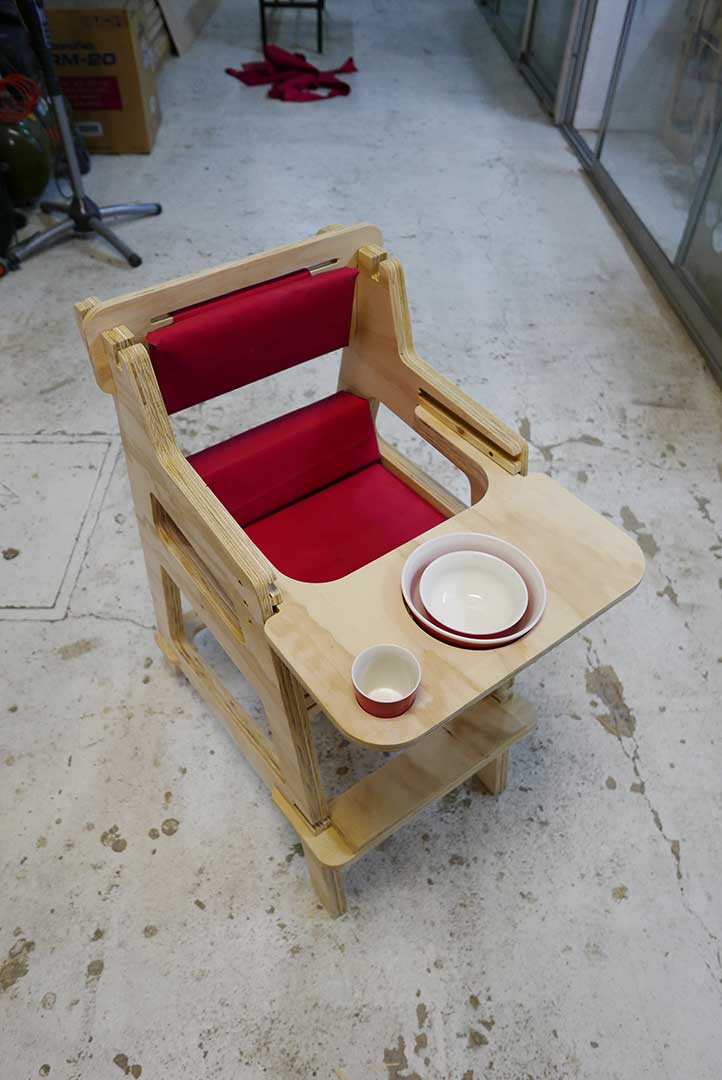
I also did some files to make a couple of cushions, one for the backrest and another one for the seat. I laser cut the textile and assemble it with the foam.

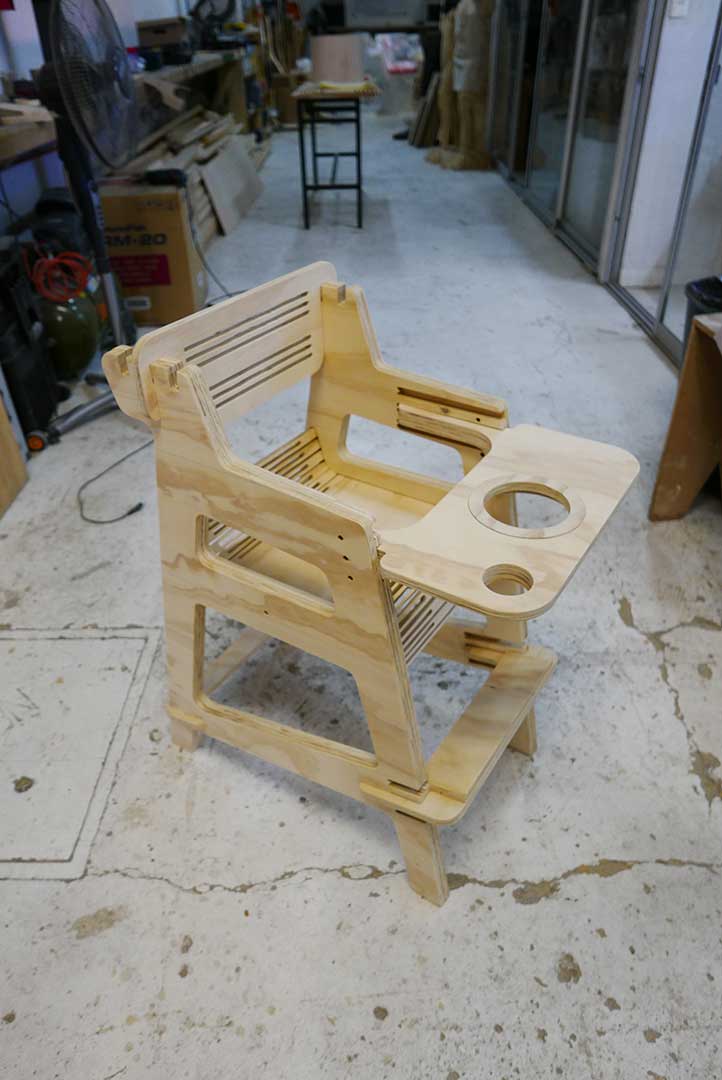
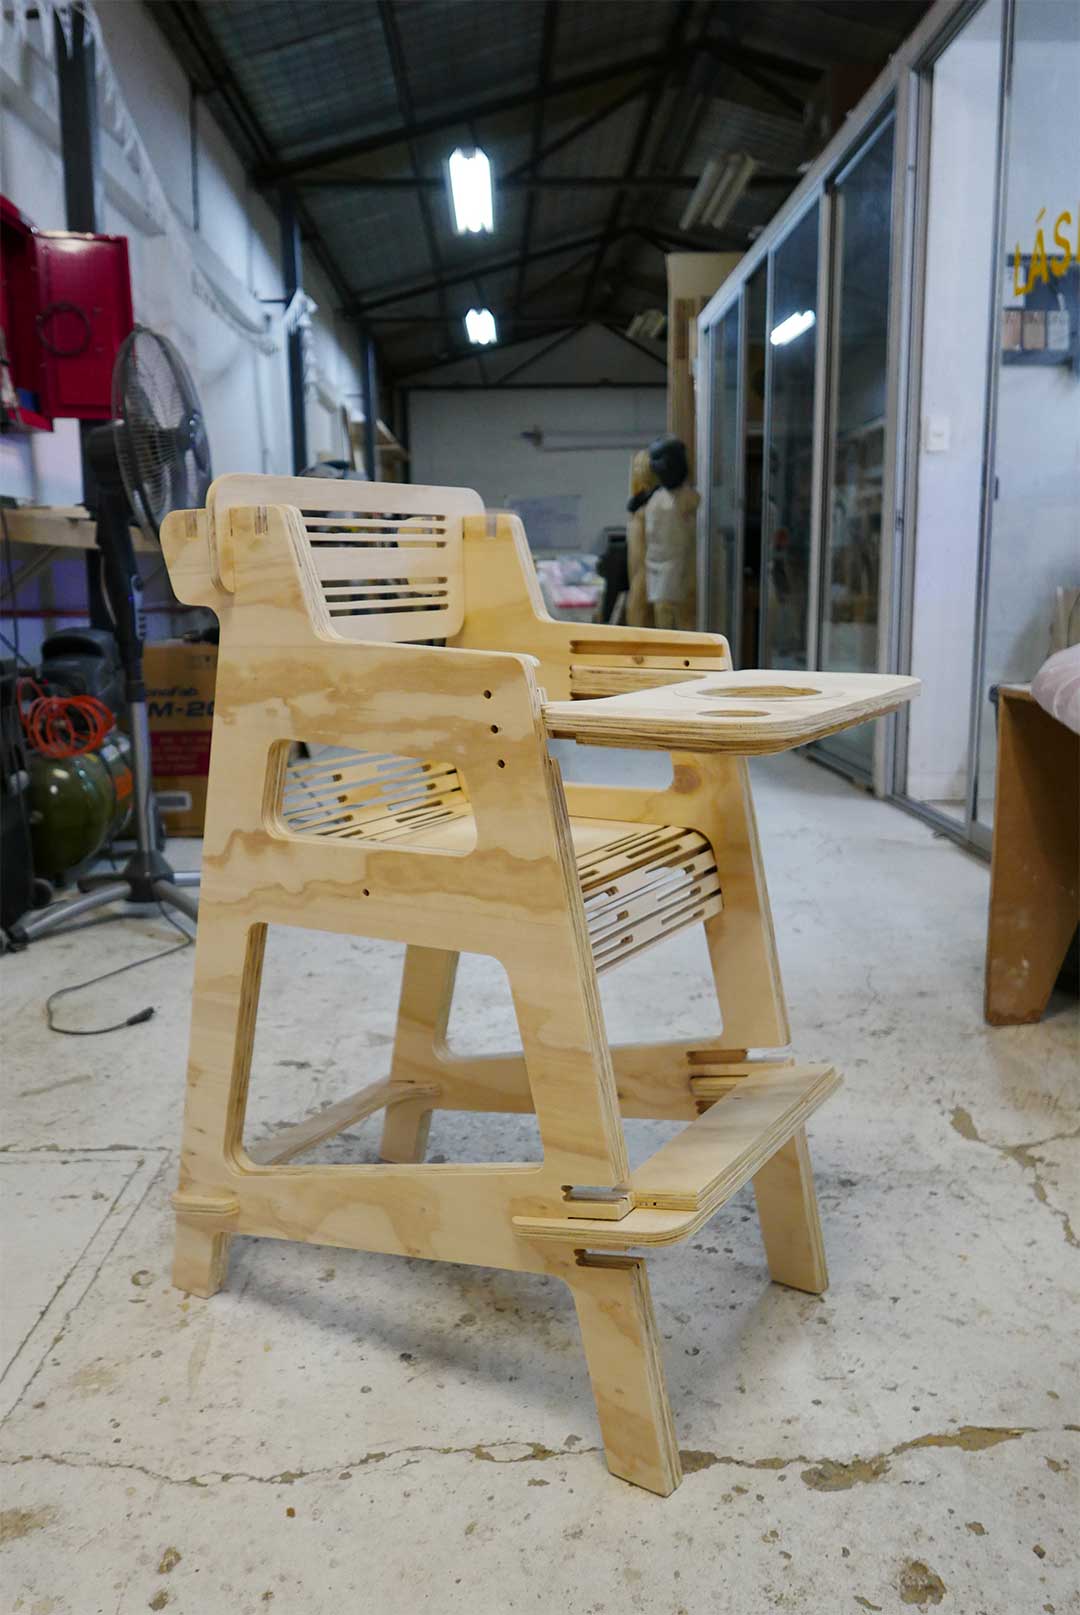
Now my chair is ready to be assembled! I was very happy to see that everything fitted perfectly, it is very important to always check your prototypes and make test in order to know your material tolerances, for plywood chair I have a 2mm tolerance in every joint.
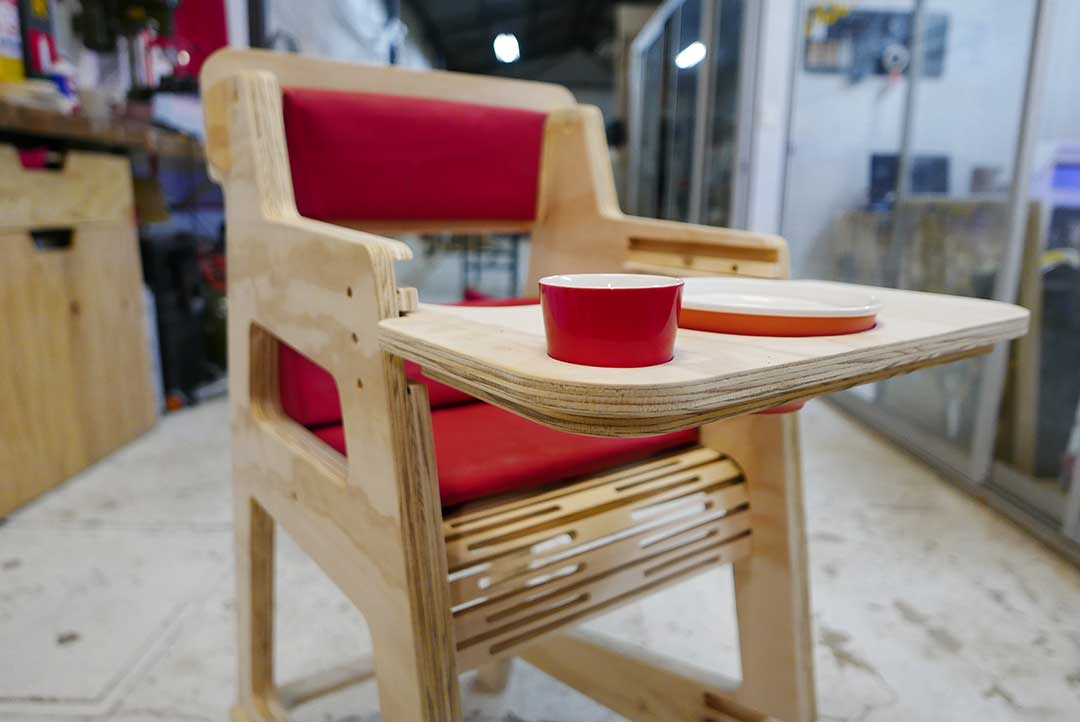
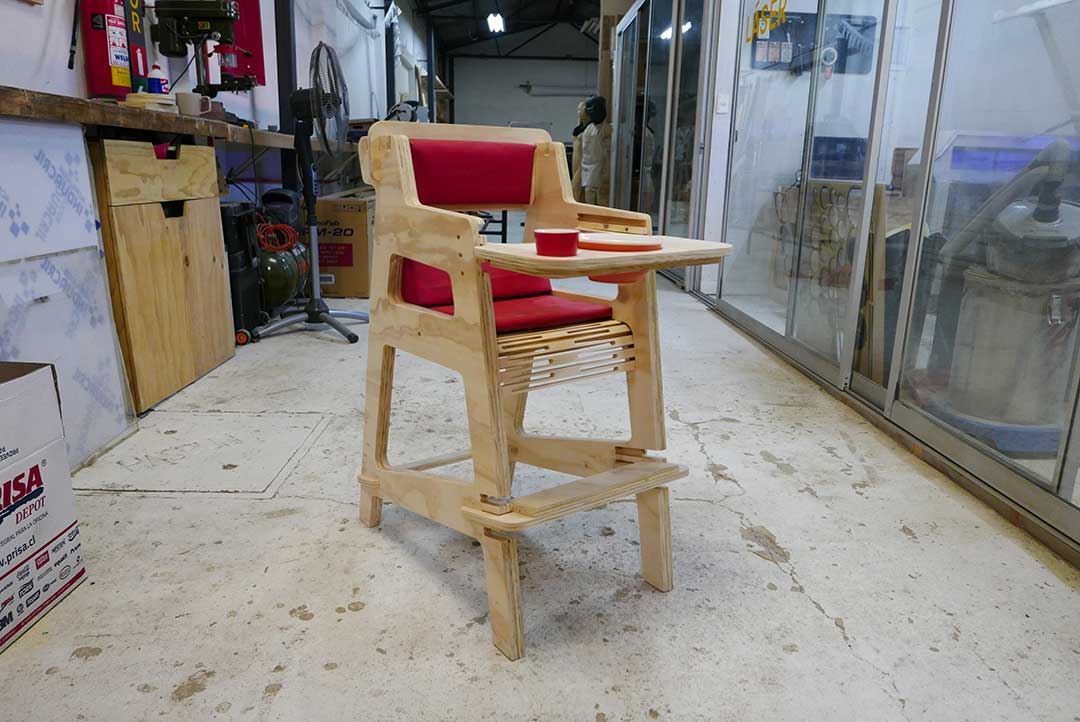
Now finally the chair is done, this is the result! And this is how it looks like when we gave it to the children. I couldn't be happier with this project.
FILES
All the files can be downloaded
here: