WEEK 9 - MOLDING AND CASTING
NINTH ASSIGNMENT
- Review the safety data sheets for each of your molding and casting materials, then make and compare test casts with each of them.
- Design a 3D mold around the stock and tooling that you'll be using, machine it, and use it to cast parts
Group assignment:
Individual assignment:
This week we learned the principles on how to make a 3D model in order to create a mold and then cast material on it, many different materials can be cast, we only tried a few but it was a great experiment.
REVIEW THE SAFETY DATA SHEETS FOR EACH OF YOUR MOLDING AND CASTING MATERIALS, THEN MAKE AND COMPARE TEST CASTS WITH EACH OF THEM
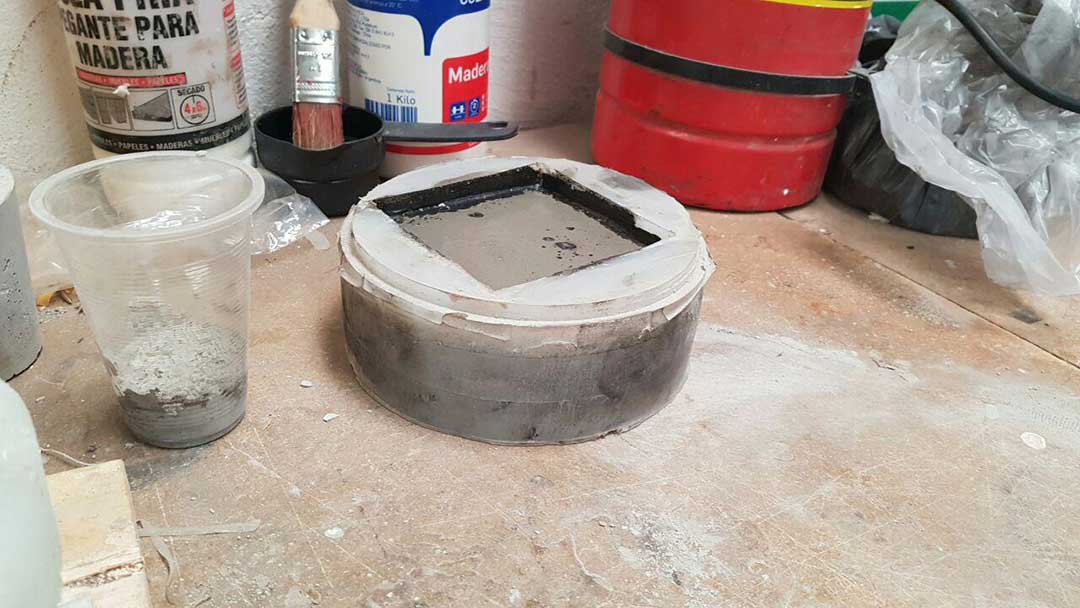
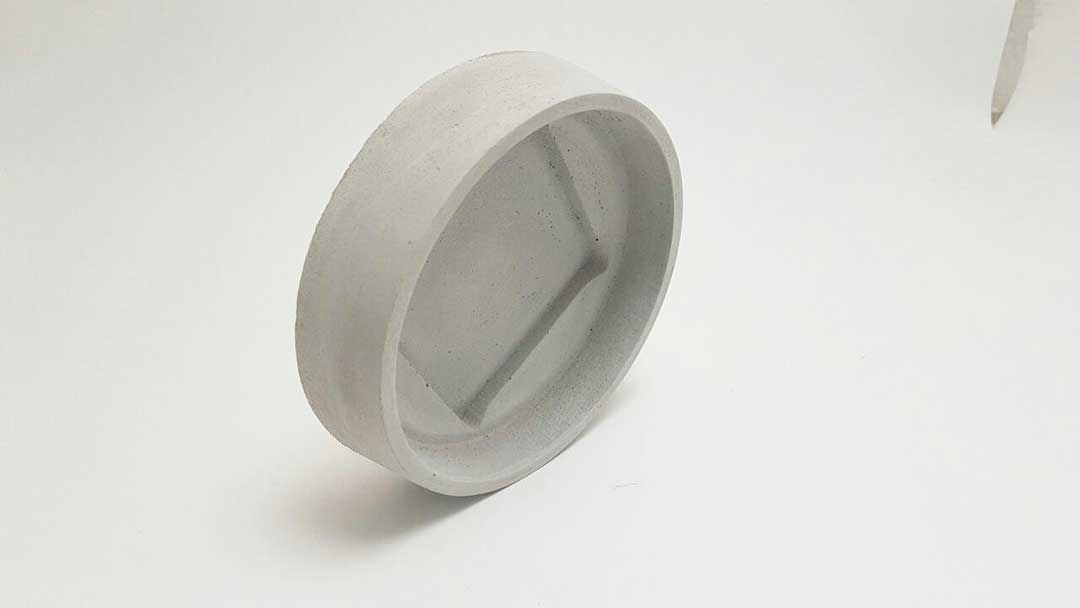
We began our test trying out different kind of materials in a polymer mold, this mold is for ice cubes but it worked for our test quite good.

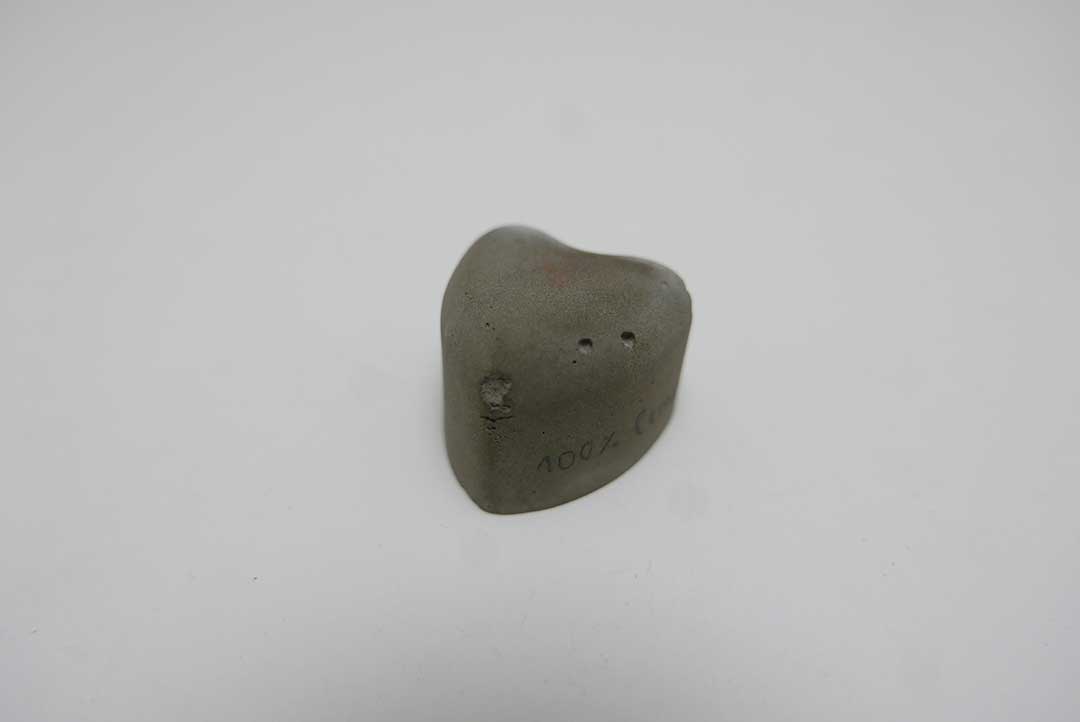
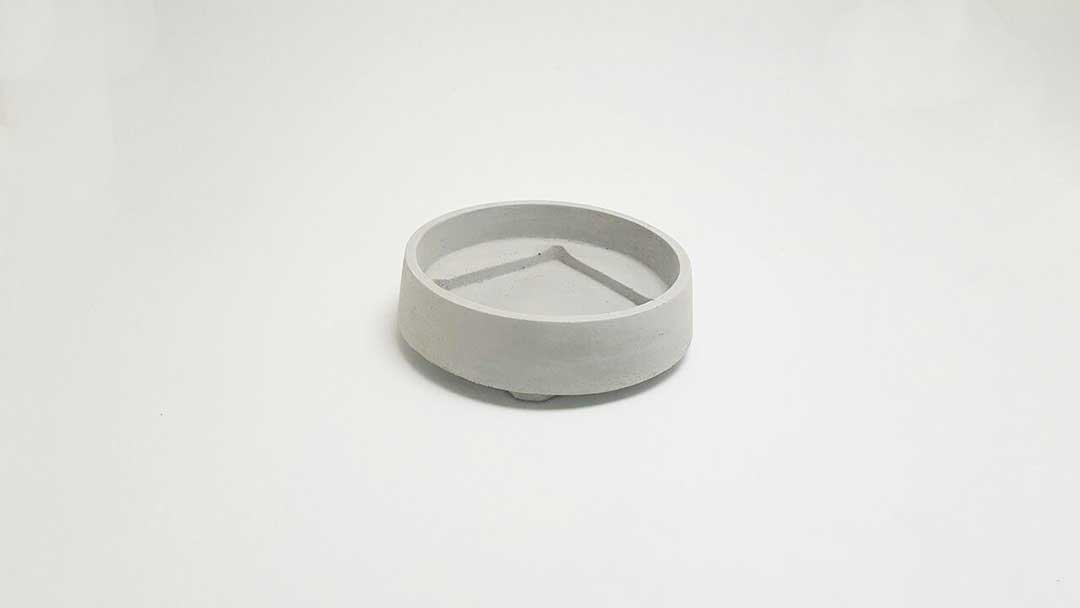
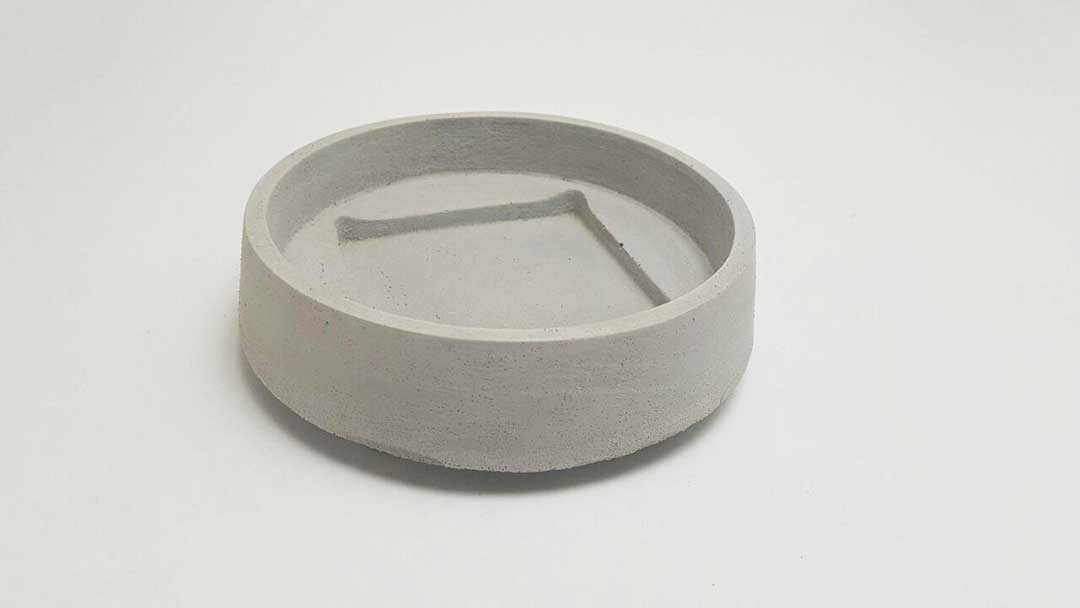
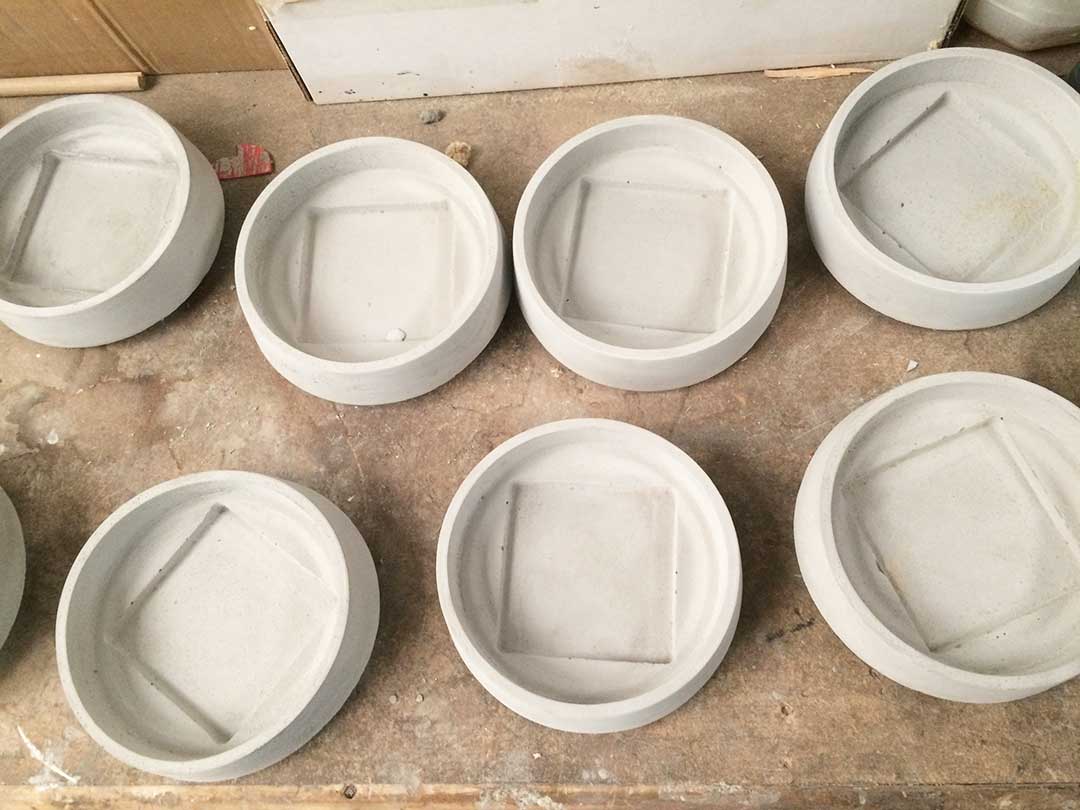
First we began by trying cement, this material is quite interesting because you can make many different kind of objects with it, from buildings to small products. Therefore it was very nice to analyze its possibilities.
We mixed 2 cups of cement and 1 cup of water. This is how the result looks like.
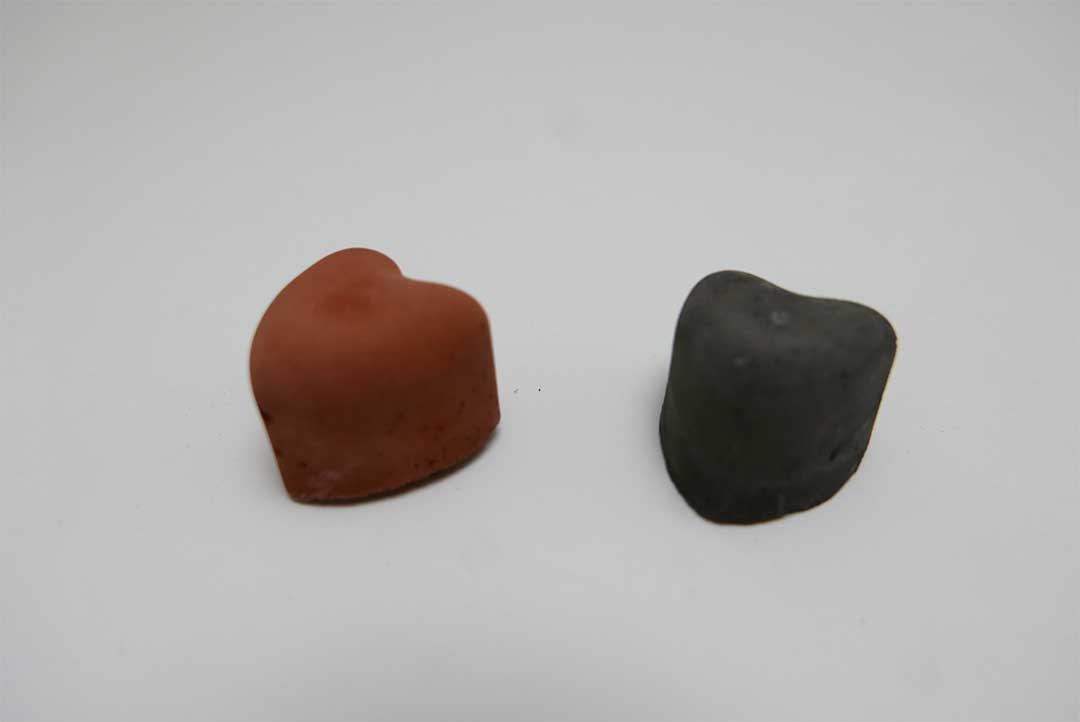
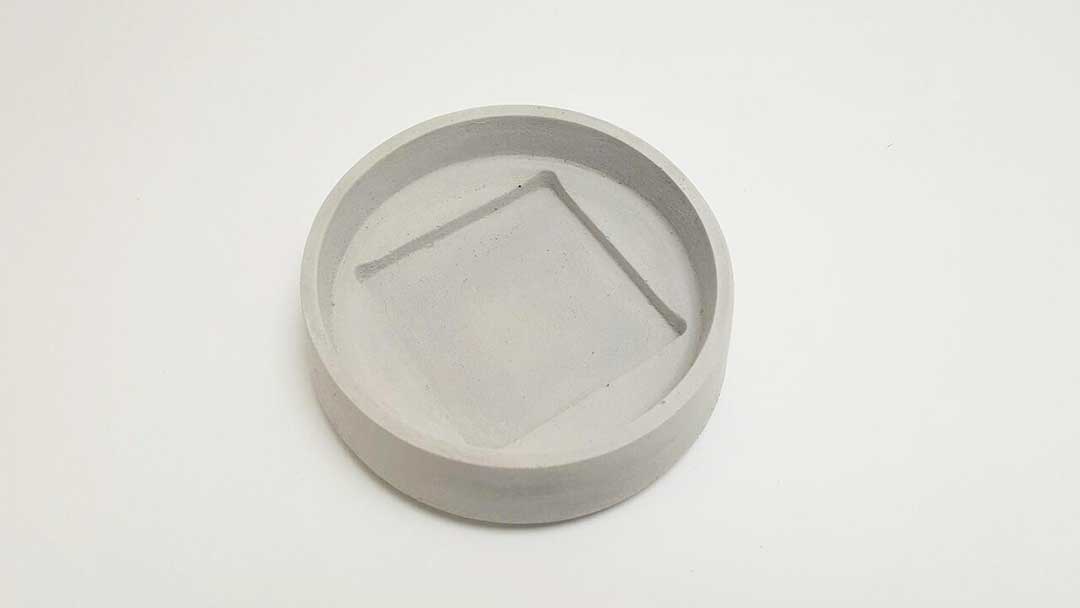
The second material we tried was tinted cement, the result was very similar to the first test but it was interesting to see the color that came from the mix.
In our Fab Lab we have a Bio-Lab, which is a ramification that studies the development of different material and their qualities. I thought this could be a great opportunity to cast some of the materials developed and see if I could use one of them for my project.
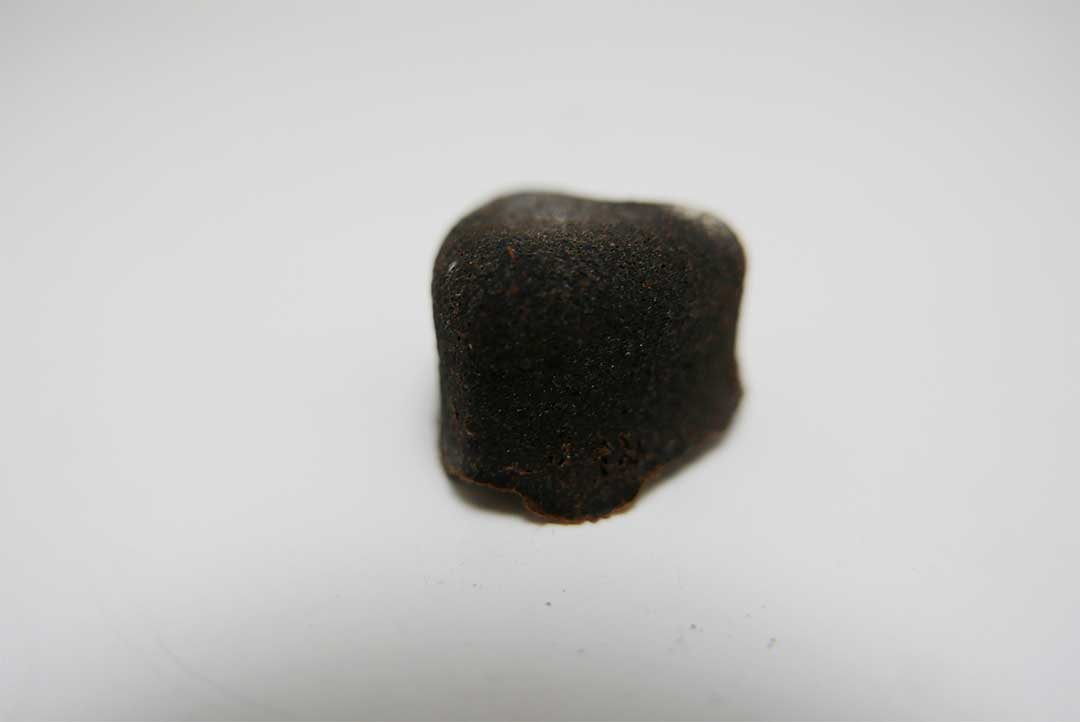
The first material we tried was coffee with pine resin, the result looked liked this and it´s main characteristics are bad resistance when used and moderate adaptability of shape. A good quality is that it smells like coffee.
Then we tried silicone the result looked like this and it´s main characteristics are great resistance, and good adaptability. I made a bad mix because you´re supposed to use 50% / 50% of component A and B, it had a bad contraction but a good end.
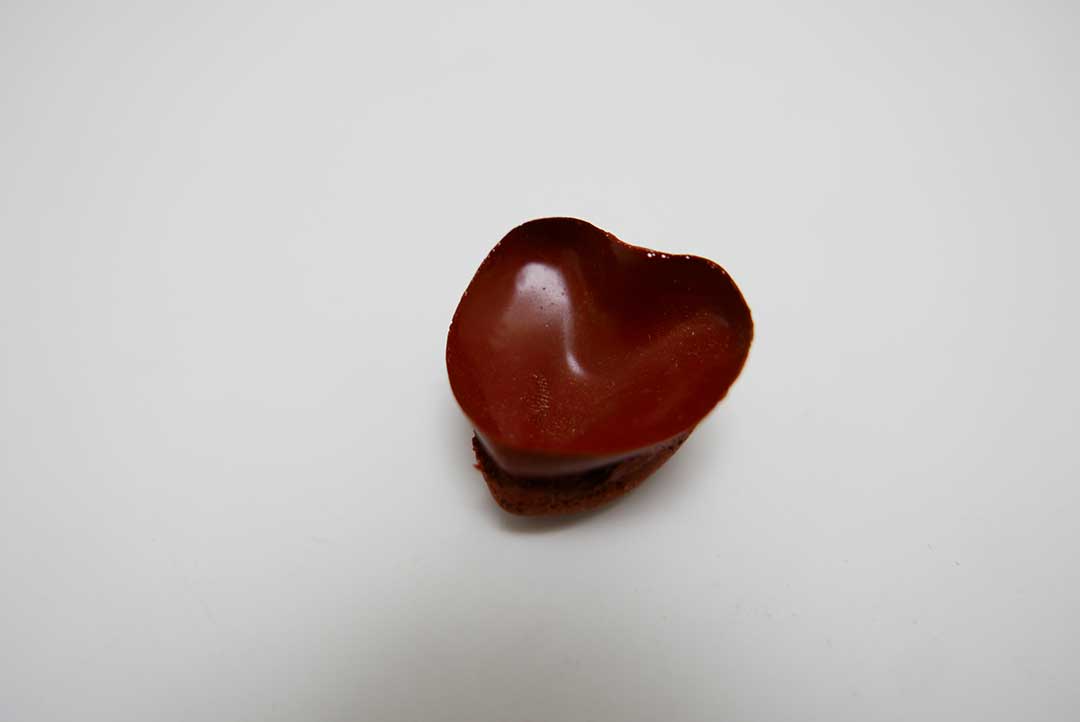
Finally we did a mix of paraffin with eucalyptus, the result looked liked this and it´s main characteristics are great ending but little resistance to heat.

I enjoyed trying new materials and specially watching the result, I believe this was a great test in order for me to make a mold and cast a real product.
DESIGN A 3D MOLD AROUND THE STOCK AND TOOLING THAT YOU`LL BE USING, MACHINE IT, AND USE IT TO CAST PARTS.
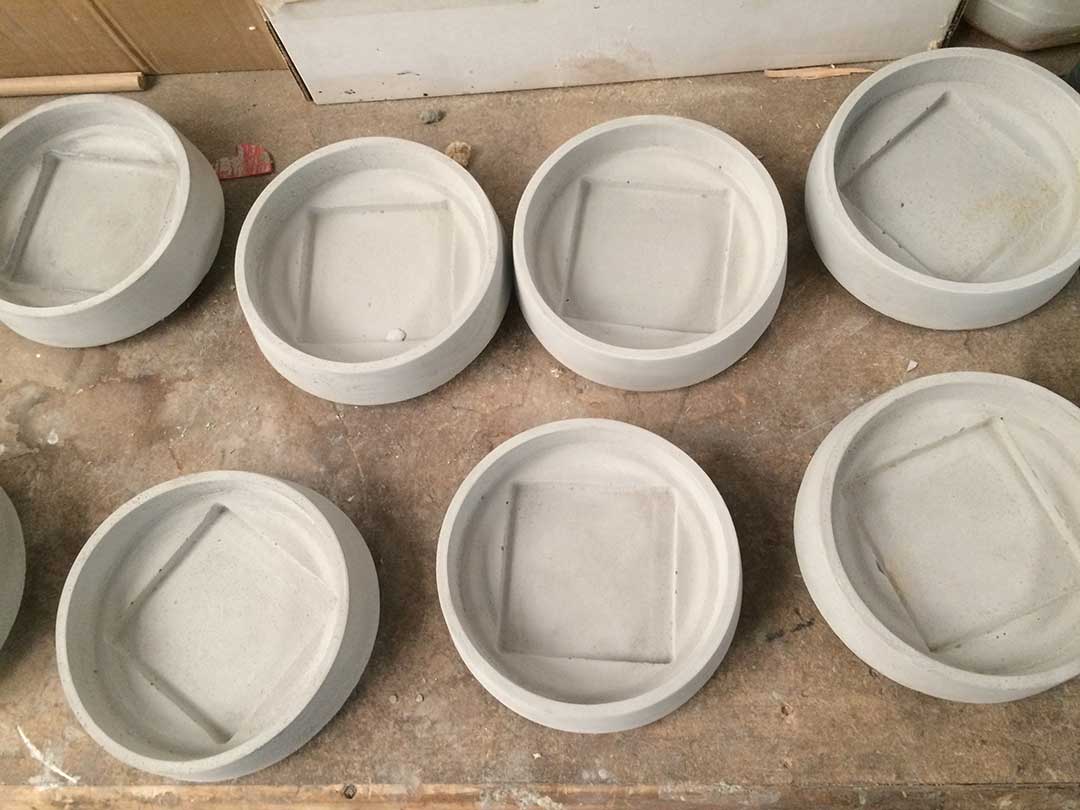
For this assignment I joined forces with two friends and colleagues from my fab lab. We have an internal brand called Maquinario and we are developing new products. Ignacio Araneda and Elvis Andrade are working on a new lamp called Eclipse. I helped them with the design and developing of the main part, which is casted in cement.
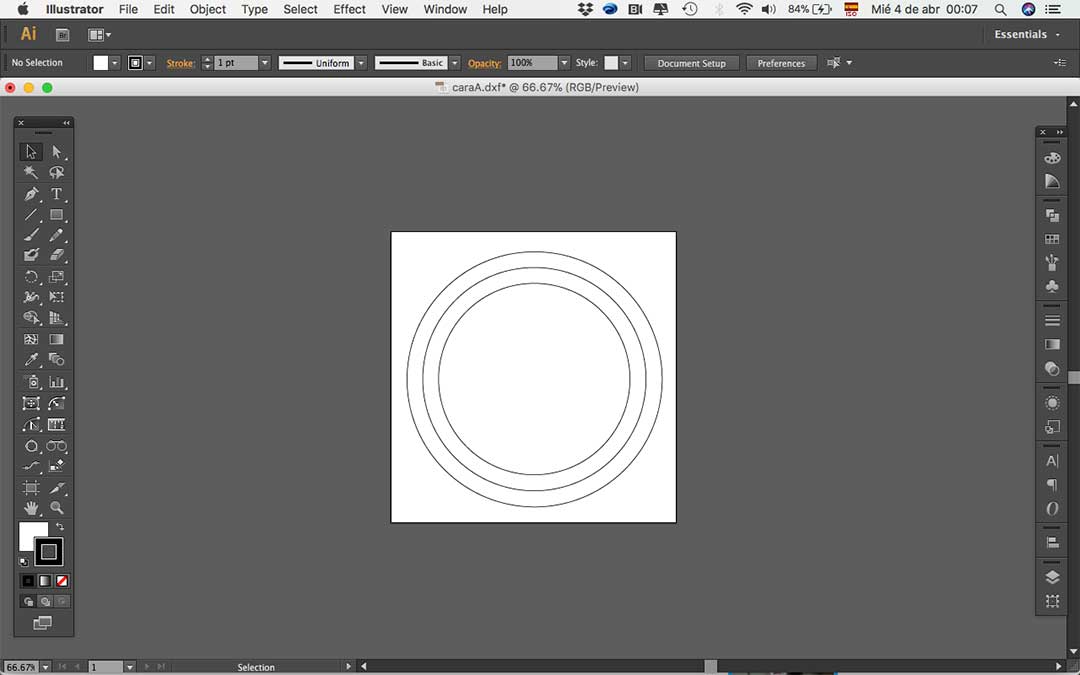
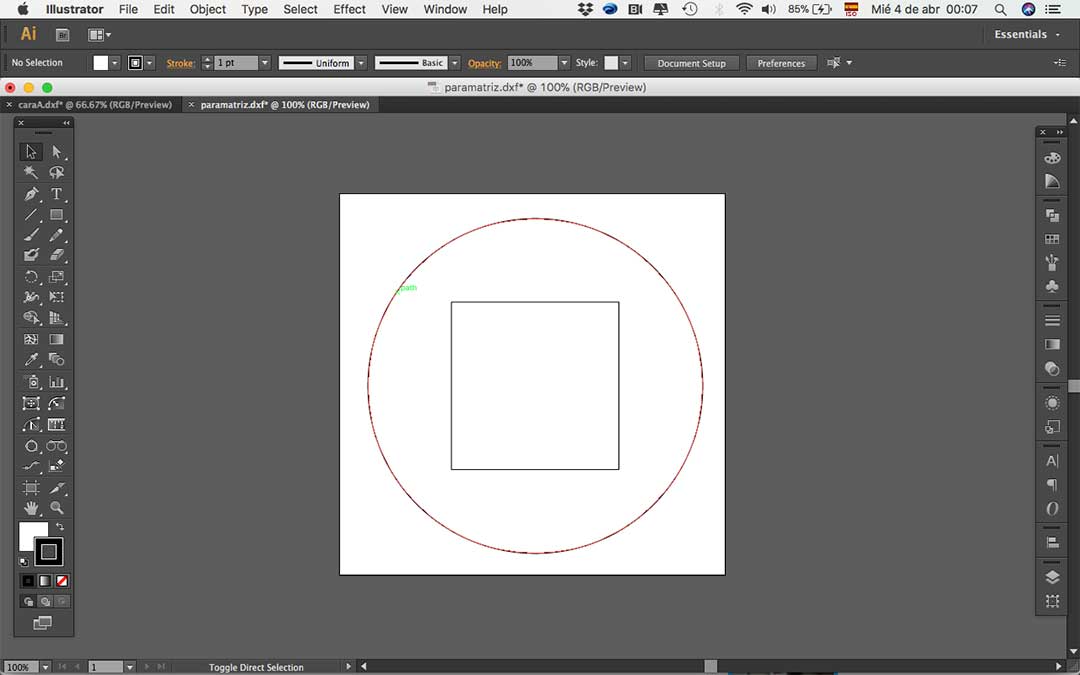
To begin with, we worked on a 3D model based on the designed of the lamp in Fusion 360; this model will work as the positive part to make the mold. The piece is big; therefore I must use MDF and machine it on the CNC.
Here is a print screen of the .stl file used for the machine.

Also it is necessary to make the .DXF files, which allows me to make the toolpath for the CAM software of the machine.
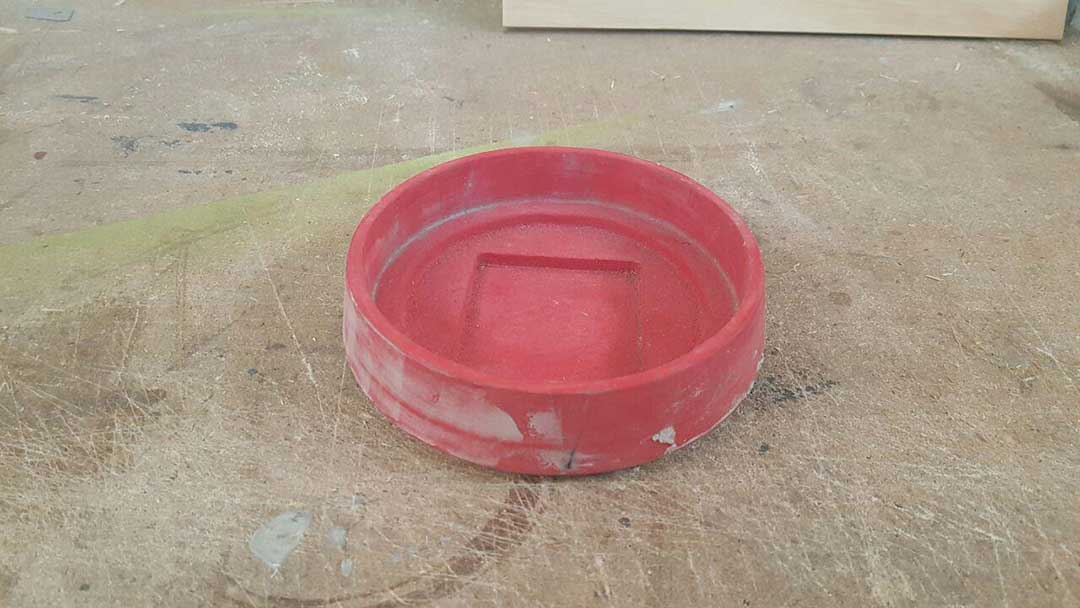
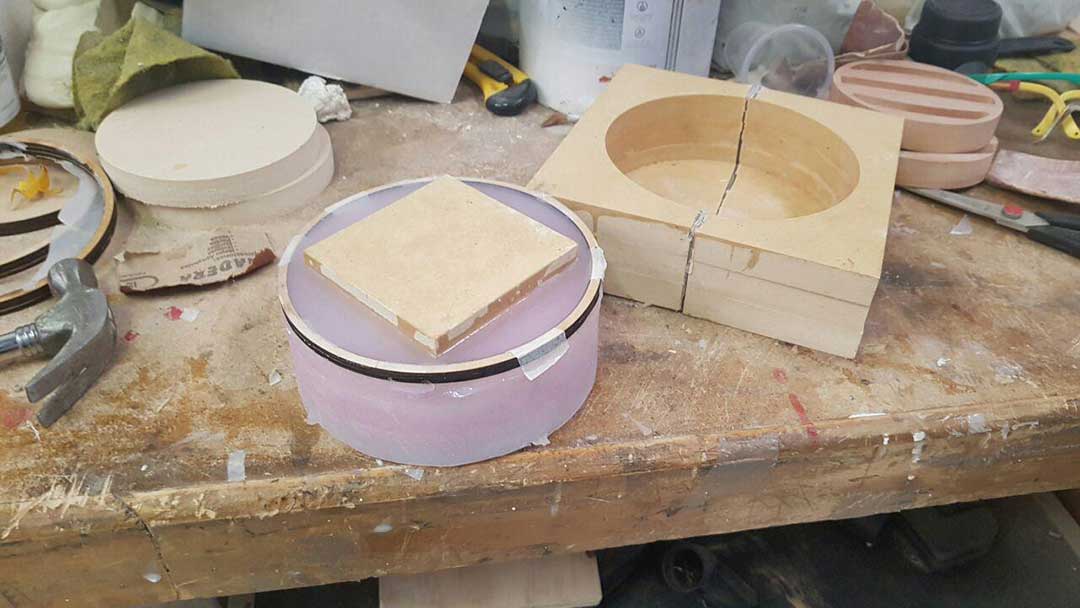
Then it was time to take my CAD files to the CNC and make the positive piece. I began my making a “box” for the shape; this mold is made with MDF and is meant to contain the piece designed for the lamp.
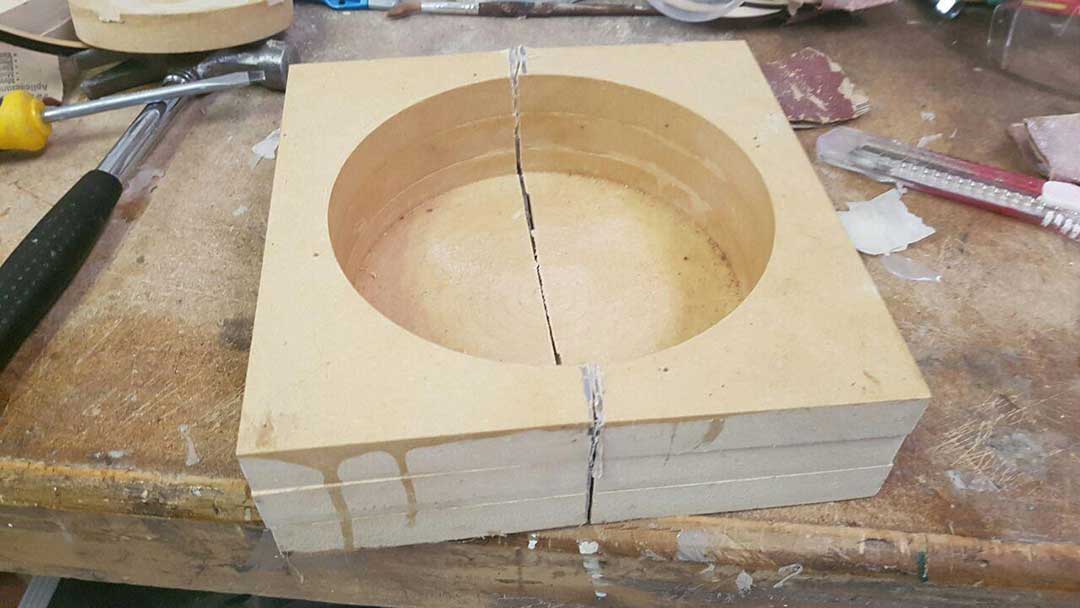
Then it was time to use the files to make the centerpiece (positive), which is the body of the lamp. Since this piece is made with MDF, I had to seal it with wooden epoxy paint; it worked great because I didn't wanted to ruin the model.
After the first tests we did with different materials I decided to go with silicone used for jewelry molding. I think this material will be flexible enough to release the cement piece after it´s dried.

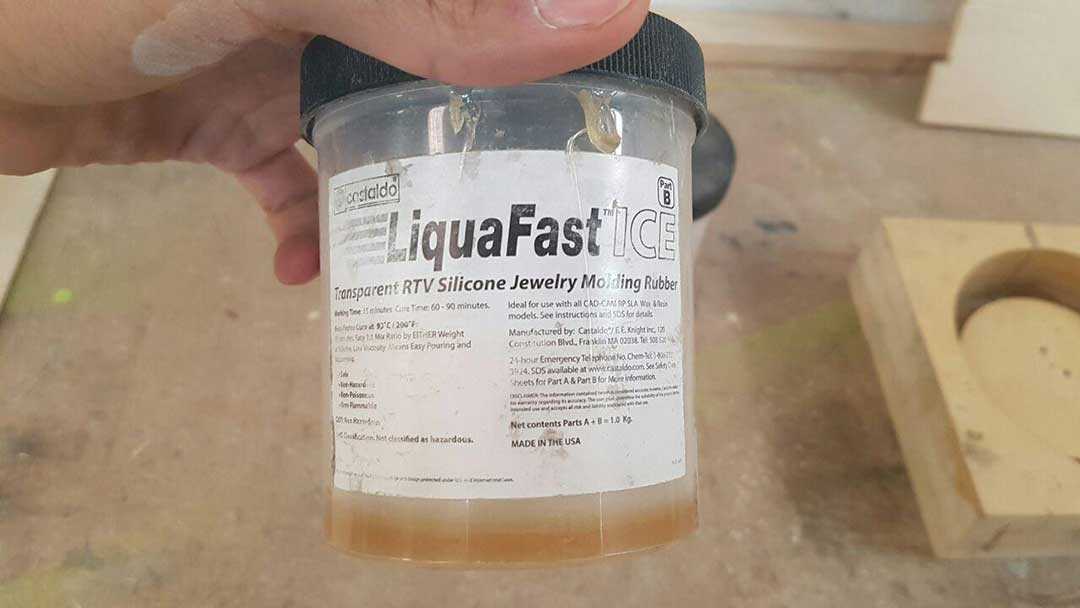
The amount of silicone needed is 50% of each component (A and B), which in this case, for the top part were 350gr. I mixed it very well and finally made the cast.
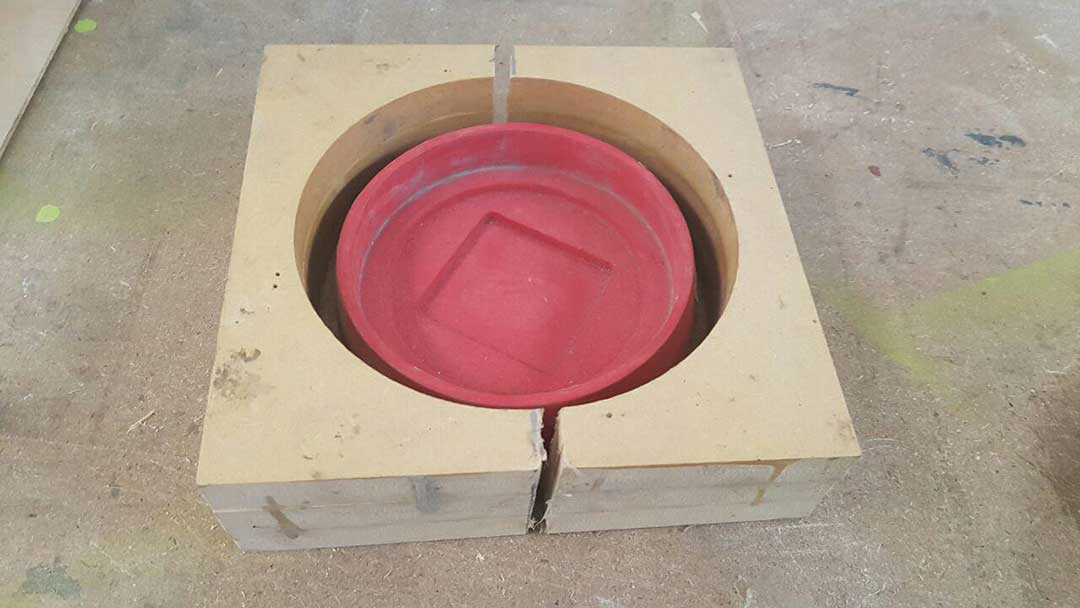
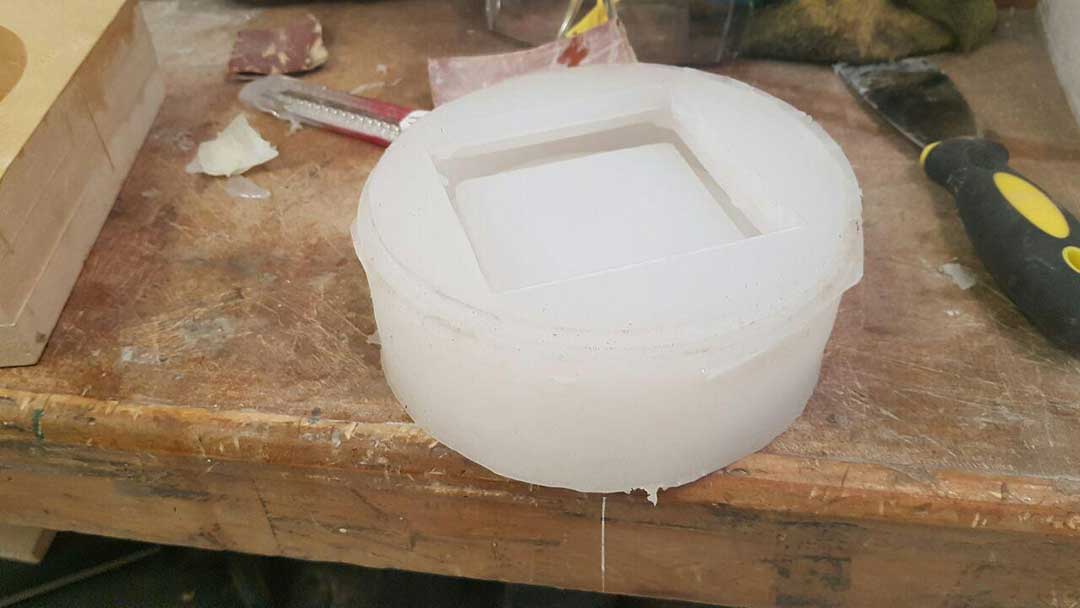
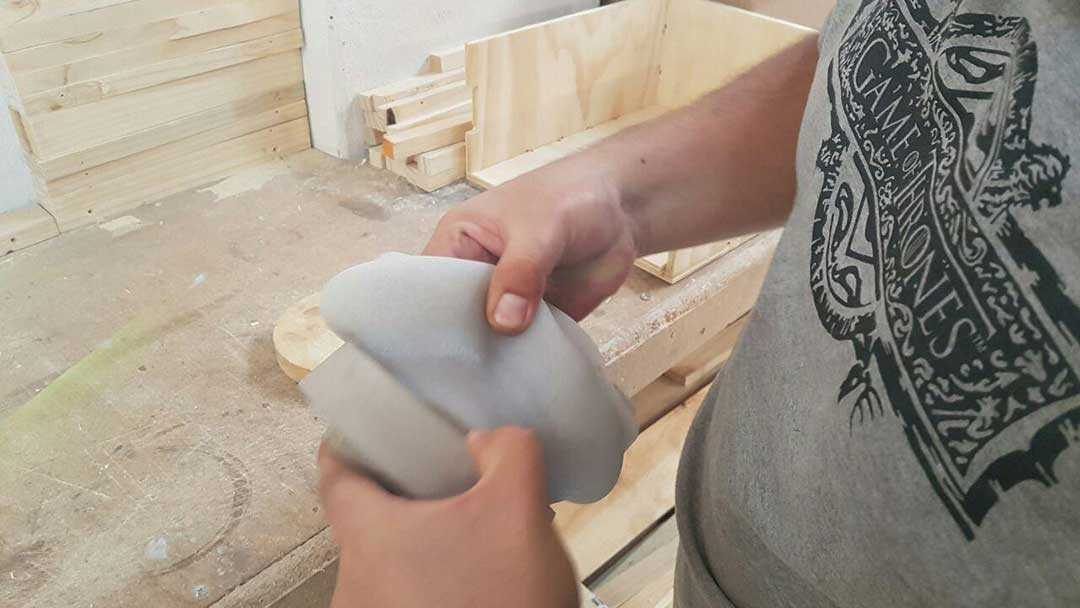
Like I mentioned, first I had to cast the top part of the mold, you can see it in this image.
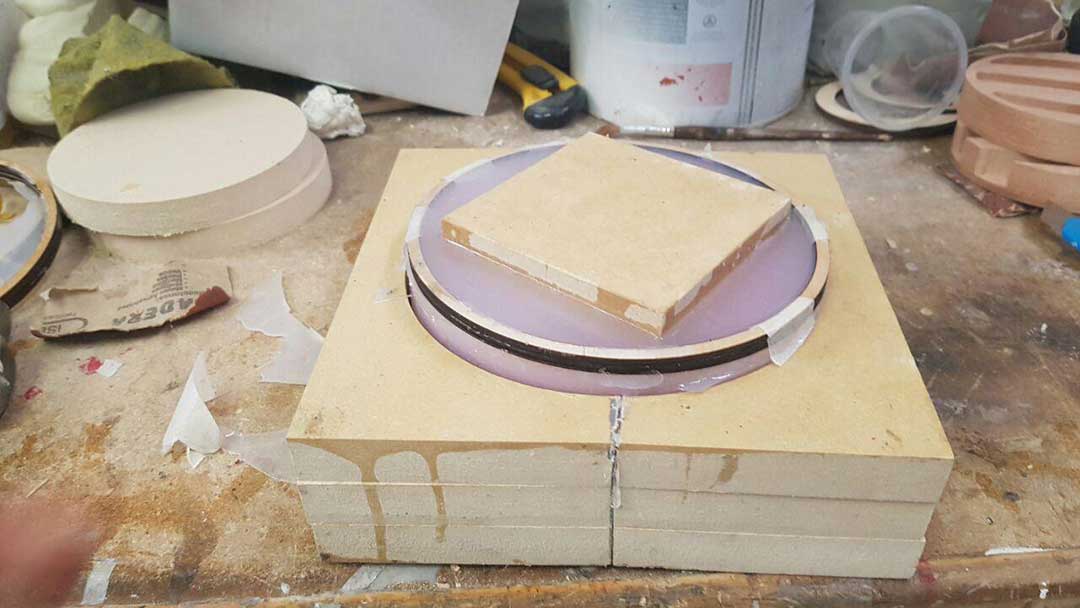
Then I turned it around and cast the bottom part, for this piece I used 150gr of component A and B of the silicone. I made a centerpiece, which holds the geometry and helps me to not waste so much silicone. Also laser cut some circles to contain the perimeter of the mold.
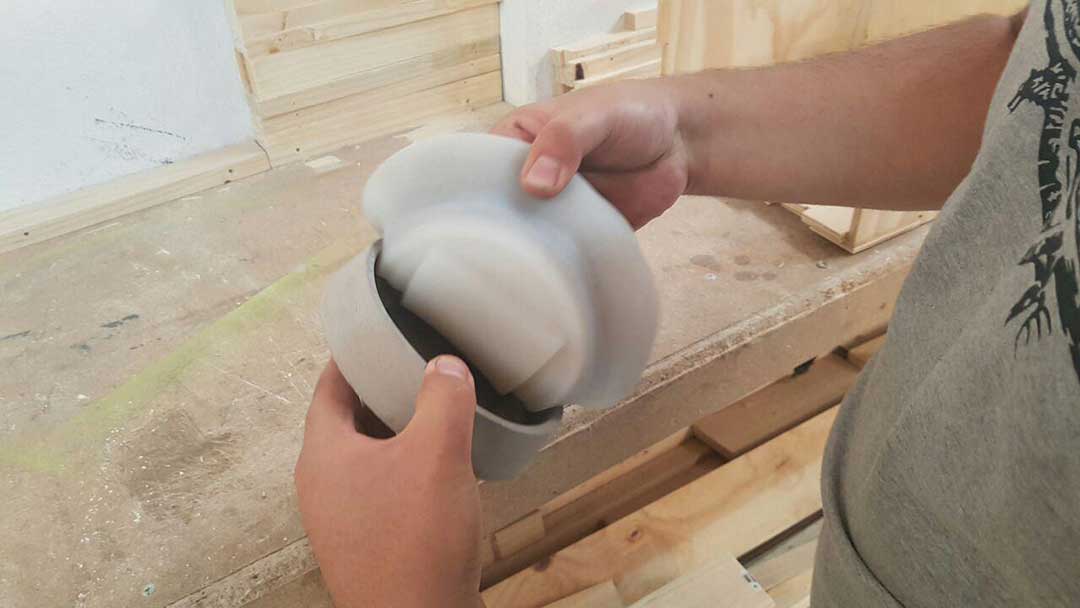
You have to be quick when you cast and also do it smoothly so that you don't generate too many bubbles inside your mold. This is how the mold looks like when it was getting hard.
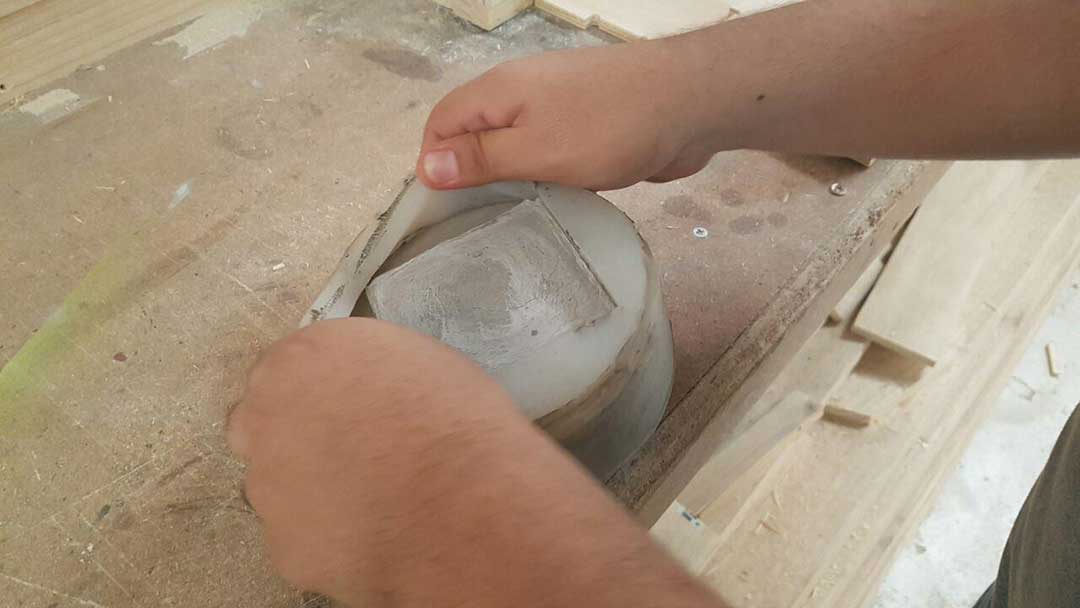
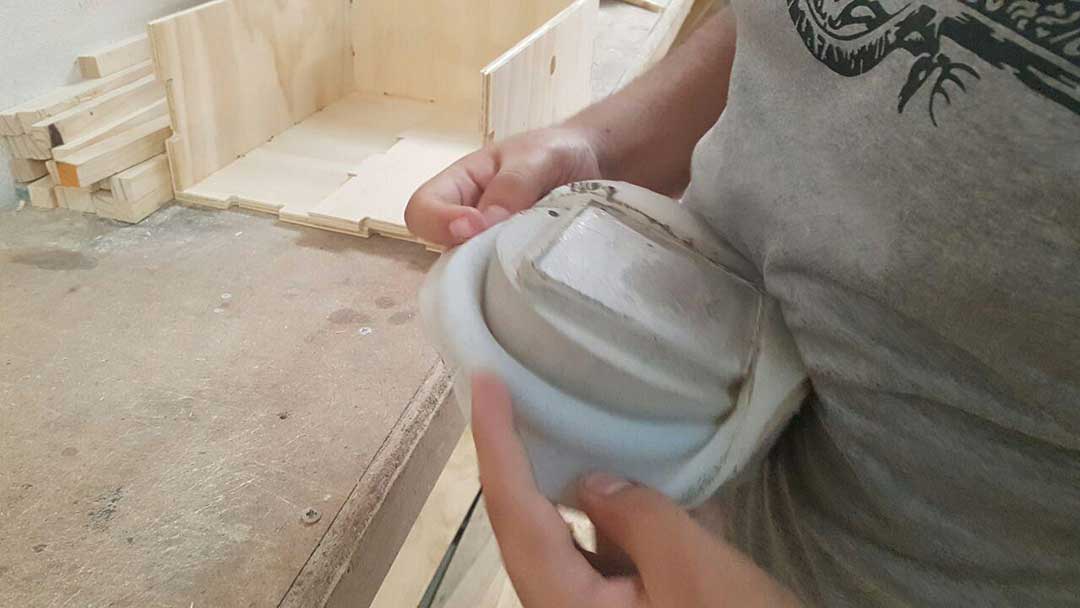
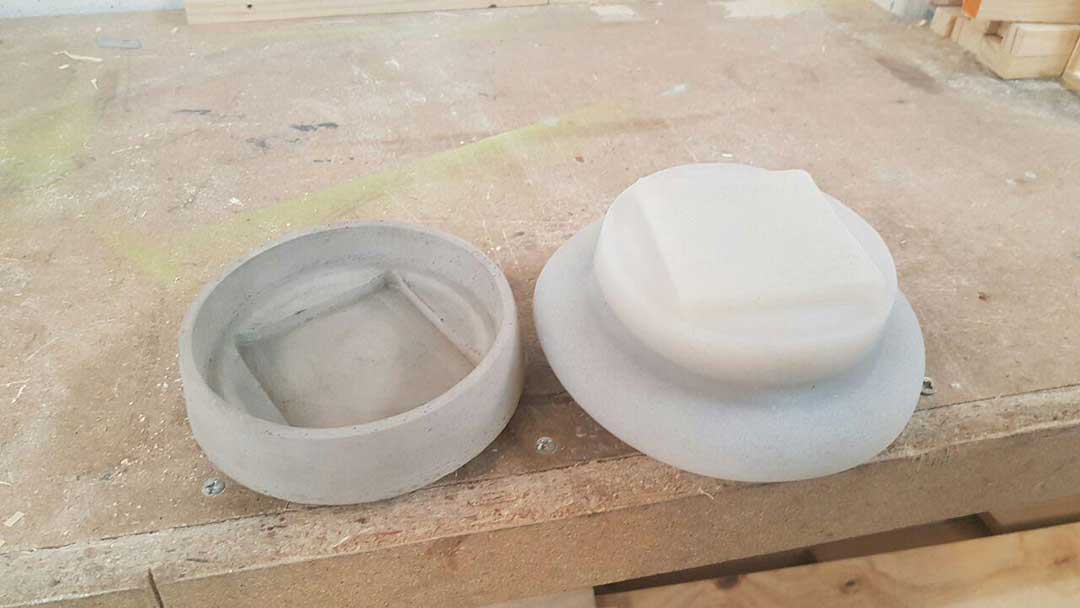
I was very happy when I extracted the MDF pieces, the mold looked great but then I had to try with the cement and see if worked.
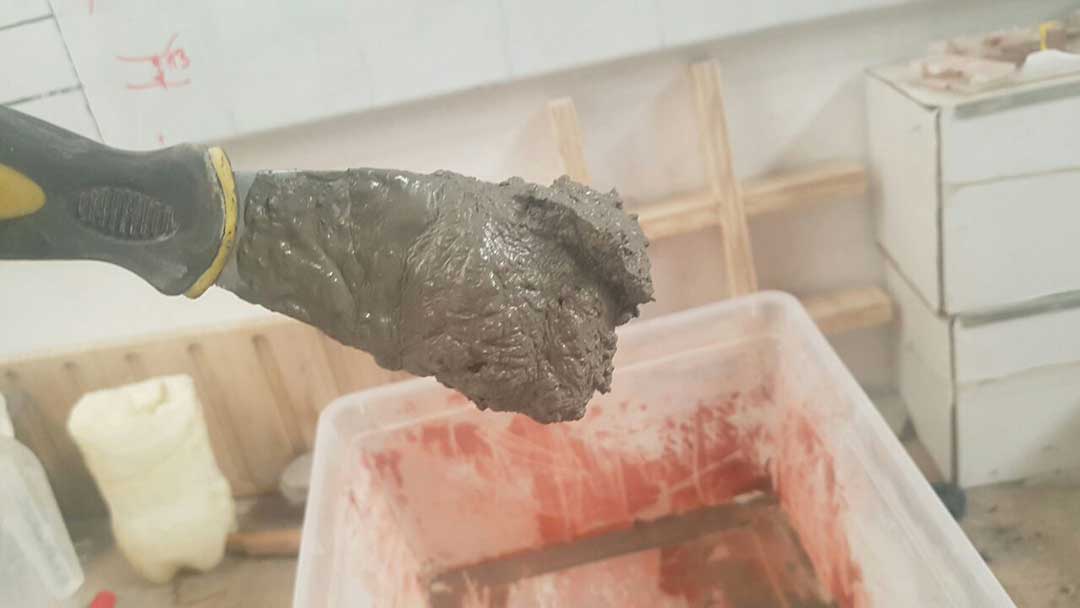
Fist I putted some mold release wax inside the silicone so that the cement could be released more easily, then it was time to prepare the cement. This piece needs 400gr of cement and 170ml of water, in order to have the right consistency.
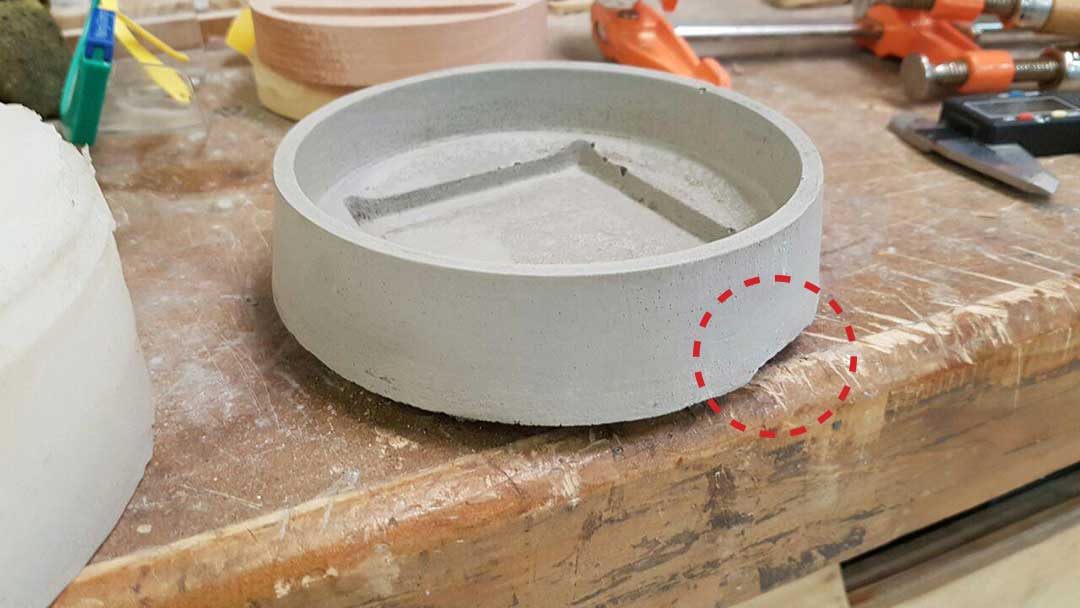
I casted the cement and made sure the entire mold was filled up with it. After I fulfilled the piece, it was time to leave it to dry for 24 hours inside the mold.
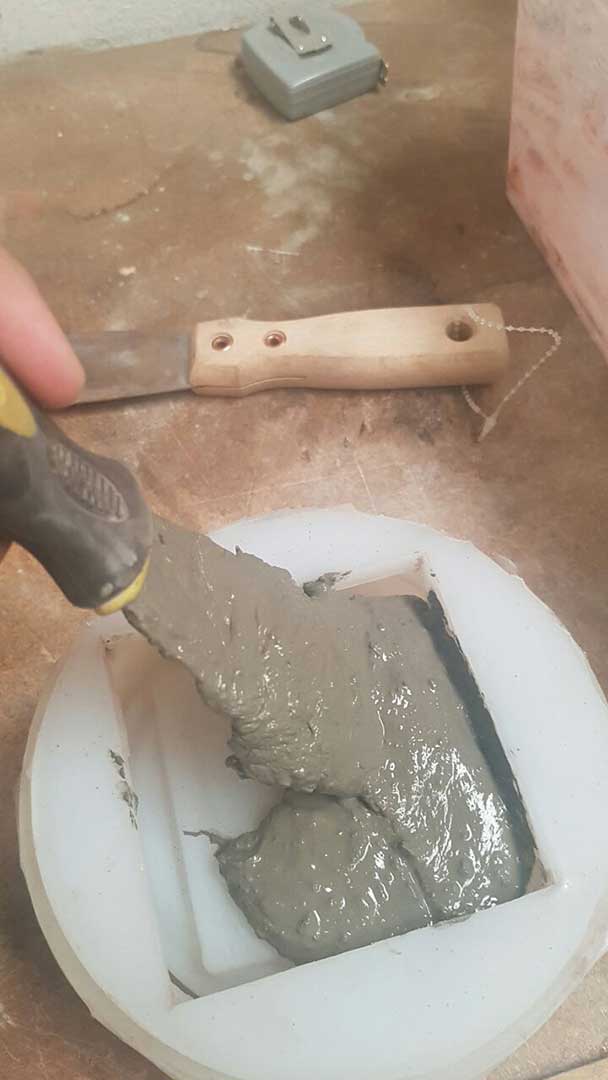
One important note is that I didn't use dirt or sand to mix it with the cement. Since this piece is made inside a mold, it is very easy to make the shape resistant, when you make something bigger and its not cast in a silicone mold, you need dirt so that it doesn't break.
After 24 hours it was time to unmold the piece, I was so happy because it worked! This is how the lamp looks like until now.
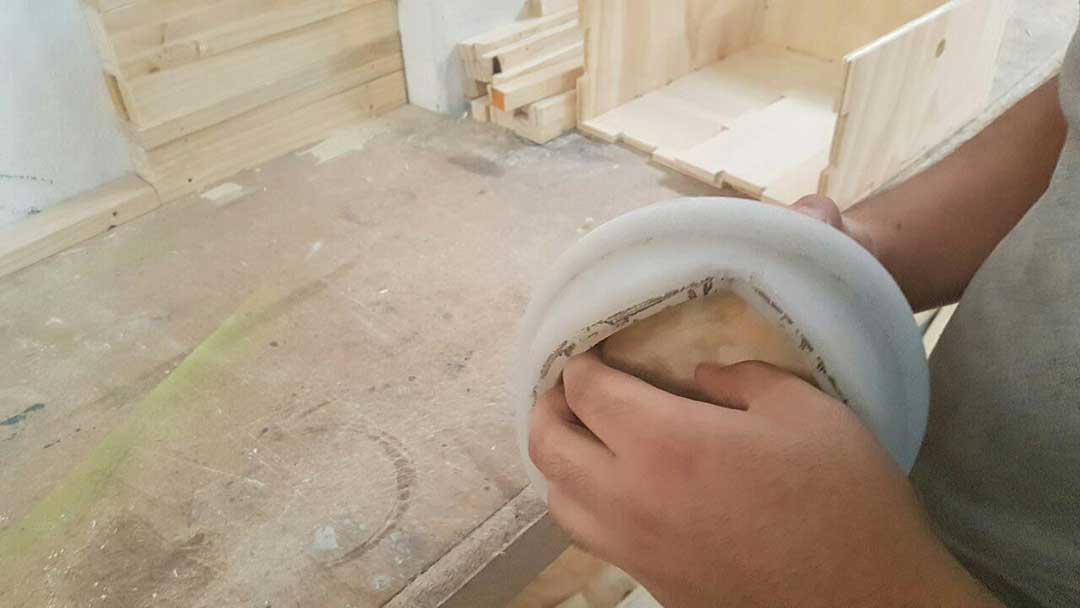

It was incredible to see how easy the piece came out, after unmolding it; I left it dry for 2 days in normal temperature (24 ºC). Cement is very delicate, it needs time to dry properly, otherwise it can break very easily.
Here is an image of a piece that broke because I didn't let it dry properly.
But when you do it properly, it looks great! Here are some images of the cast result after it dried out, it looked very nice! I was so happy with the result.

You can make many pieces from a mold like this, molding and casting can be very powerful when you make a good mold. ☺
FILES
All the files can be downloaded
here: