Week 5 Group assignment
*characterize the specifications of your PCB production process
Sunghyun An and Seunghwan Ji worked together.
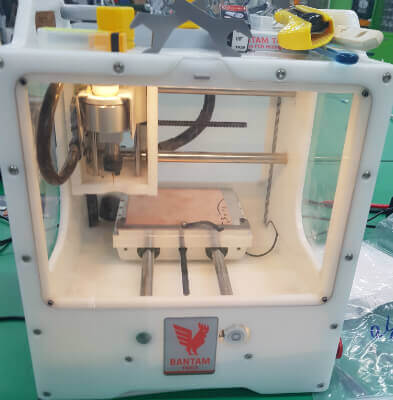
The millingmachine used in the Seoul innovation fablab is othermill,
but it has recently been changed to bantam, but it is still called othermill.
The othermill has an aluminum sacrificial board and can be used again
after making the top of the sacrificial board flat and reusable if there is a lot of steps.
Extensions supported by othermill are EAGLE (.brd), Gerbers, SVG (.svg), G-code (.nc, .tap, .gcode).
Some of the advantages of othermill are that when you need to do double-sided milling, it tells how to turn it over.
Also, the z-axis setting of the copperboard is easy.
After attaching the clip to the copperboard and fixing the desired position in the program,
the current flows as soon as the endmill comes down and touches the copperboard,
automatically telling the height of the copperboard.
In the case of Roland, you have to manually hold the z-axis.
It has the disadvantage of measuring the height by slowly lowering the endmill
while pressing the copperboard by hand.
The othermill has a limit switch on the left wall.
If you adjust the x-axis too fast, the motor will be overloaded and the x-axis will turn.
If the wall is nearer, adjust slowly.
If the origin is out of order, you can reset the origin with rehome.
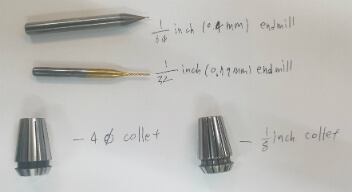
Some of the other tools used in othermill are endmill and collet, and from endmill, endmill uses two.
One is a 1/64 inch trace endmill, and the other is a 1/32 inch outline endmill.
I used 1 / 64inch (0.4mm) for tracing the PCB and 1 / 32inch (0.79mm) for cutting out the PCB.
In some cases, endmill breaks, if it is blunt, or if it drops, endmill does not tell the program after the change,
it may go too far. If you manage well, you can use it very carefully.
The collet holds the endmill and has a hexagonal cross-section.
The collet must be replaced according to the endmill used before use.
The collet should be cleaned of dust on the side of the collet.
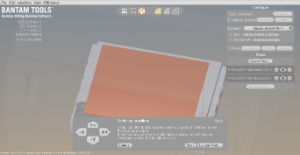
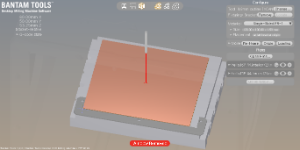
Use order of othermill.
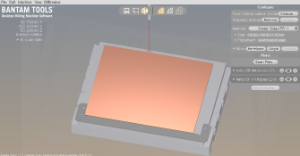
Basic screen of othermill
1.Material setting - The width and length of the copperboard must be set in the program.
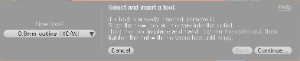
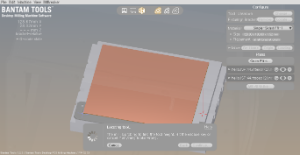
2.tool setting - You have to set which endmill to use.

After setting the endmill to fall out of the copperboard, the endmill goes down and measures the length of the tool.
3.Setting the z-axis using current.
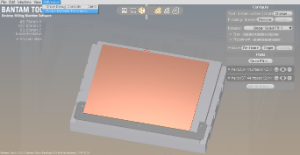

The error is small when you measure the z-axis about the middle of the milling part.


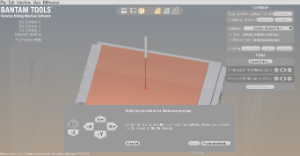
Once the setting is complete, start milling.