Week 10 : molding and Casting
- Design a 3D mold, machine it, and cast parts from it.
Fab Academy 2018 - Thierry Dassé
 To make my molding assignment, I have chosen a toy usually made in wood : a bilboquet.
I like this game because it needs more concentration than strength. Playing makes you becoming quiet.
To make my molding assignment, I have chosen a toy usually made in wood : a bilboquet.
I like this game because it needs more concentration than strength. Playing makes you becoming quiet.
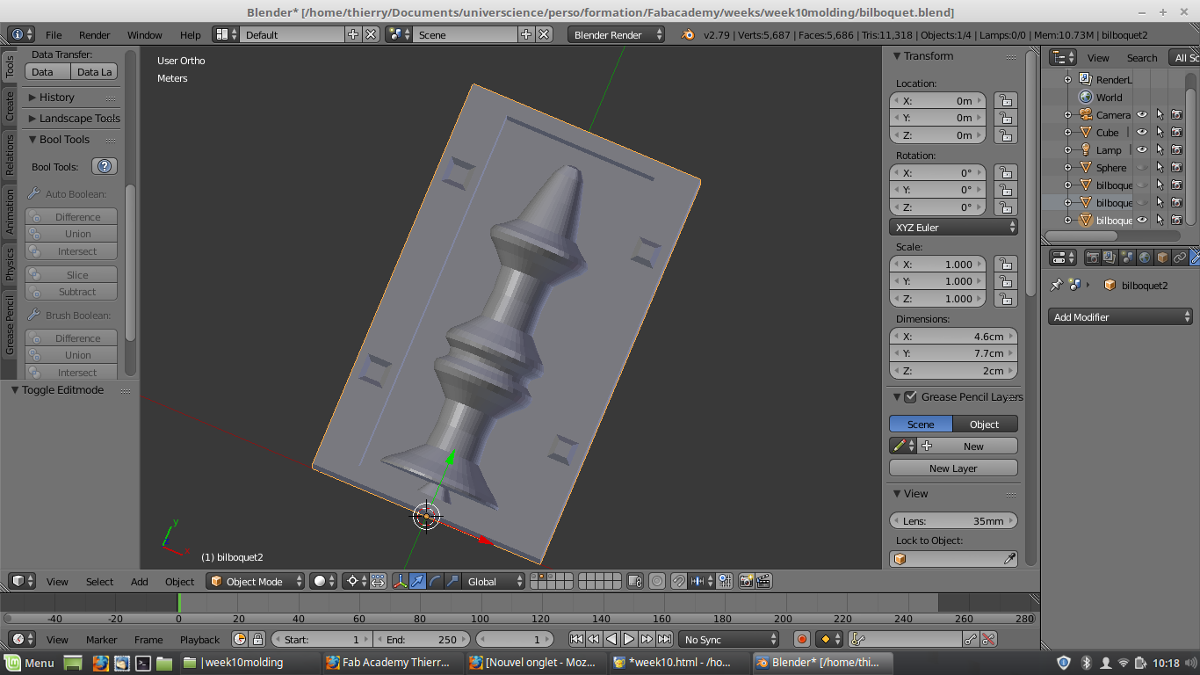
I designed the body in Blender, starting with a 2D sketch. After, I made a revolution using screw modifier.
At the end, I cut my bilboquet in two parts, and put it in a box to fit silicon with two pins and holes to control two parts position.
Bilboquet Blender file
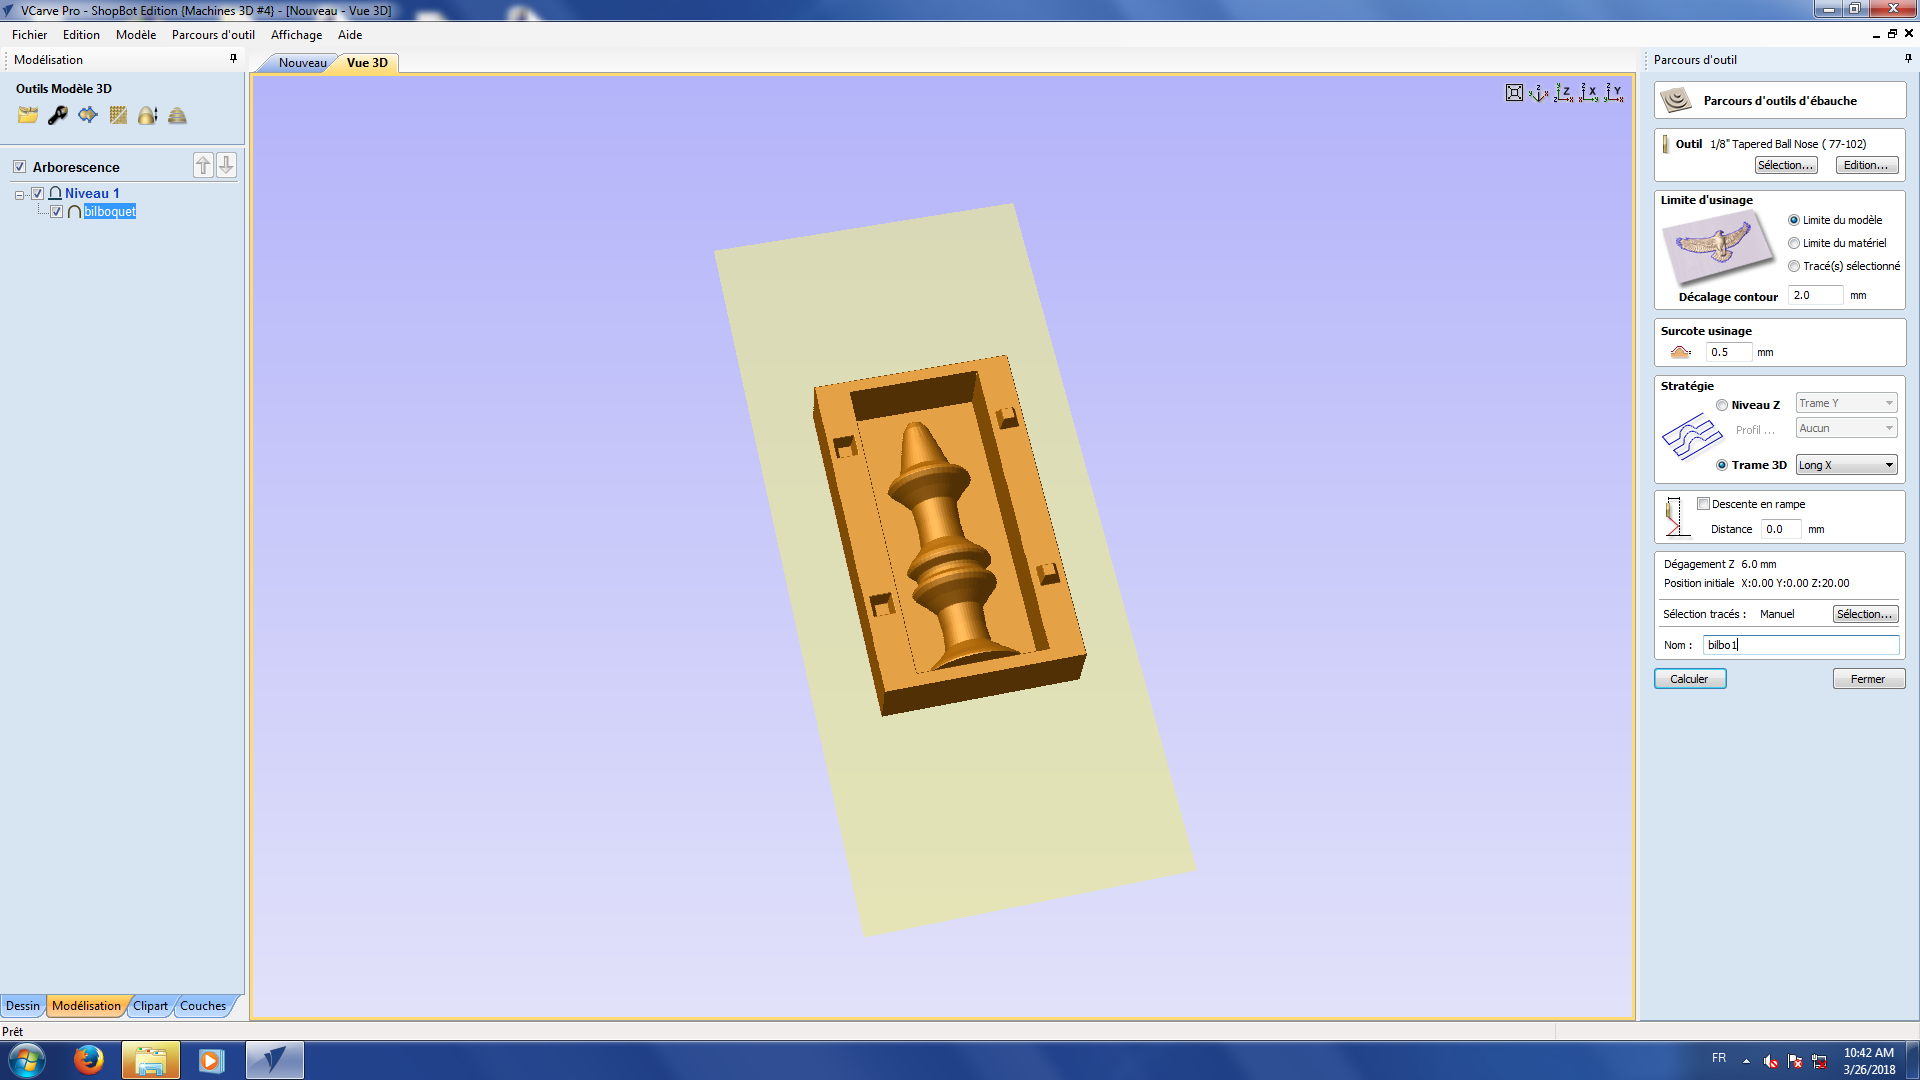
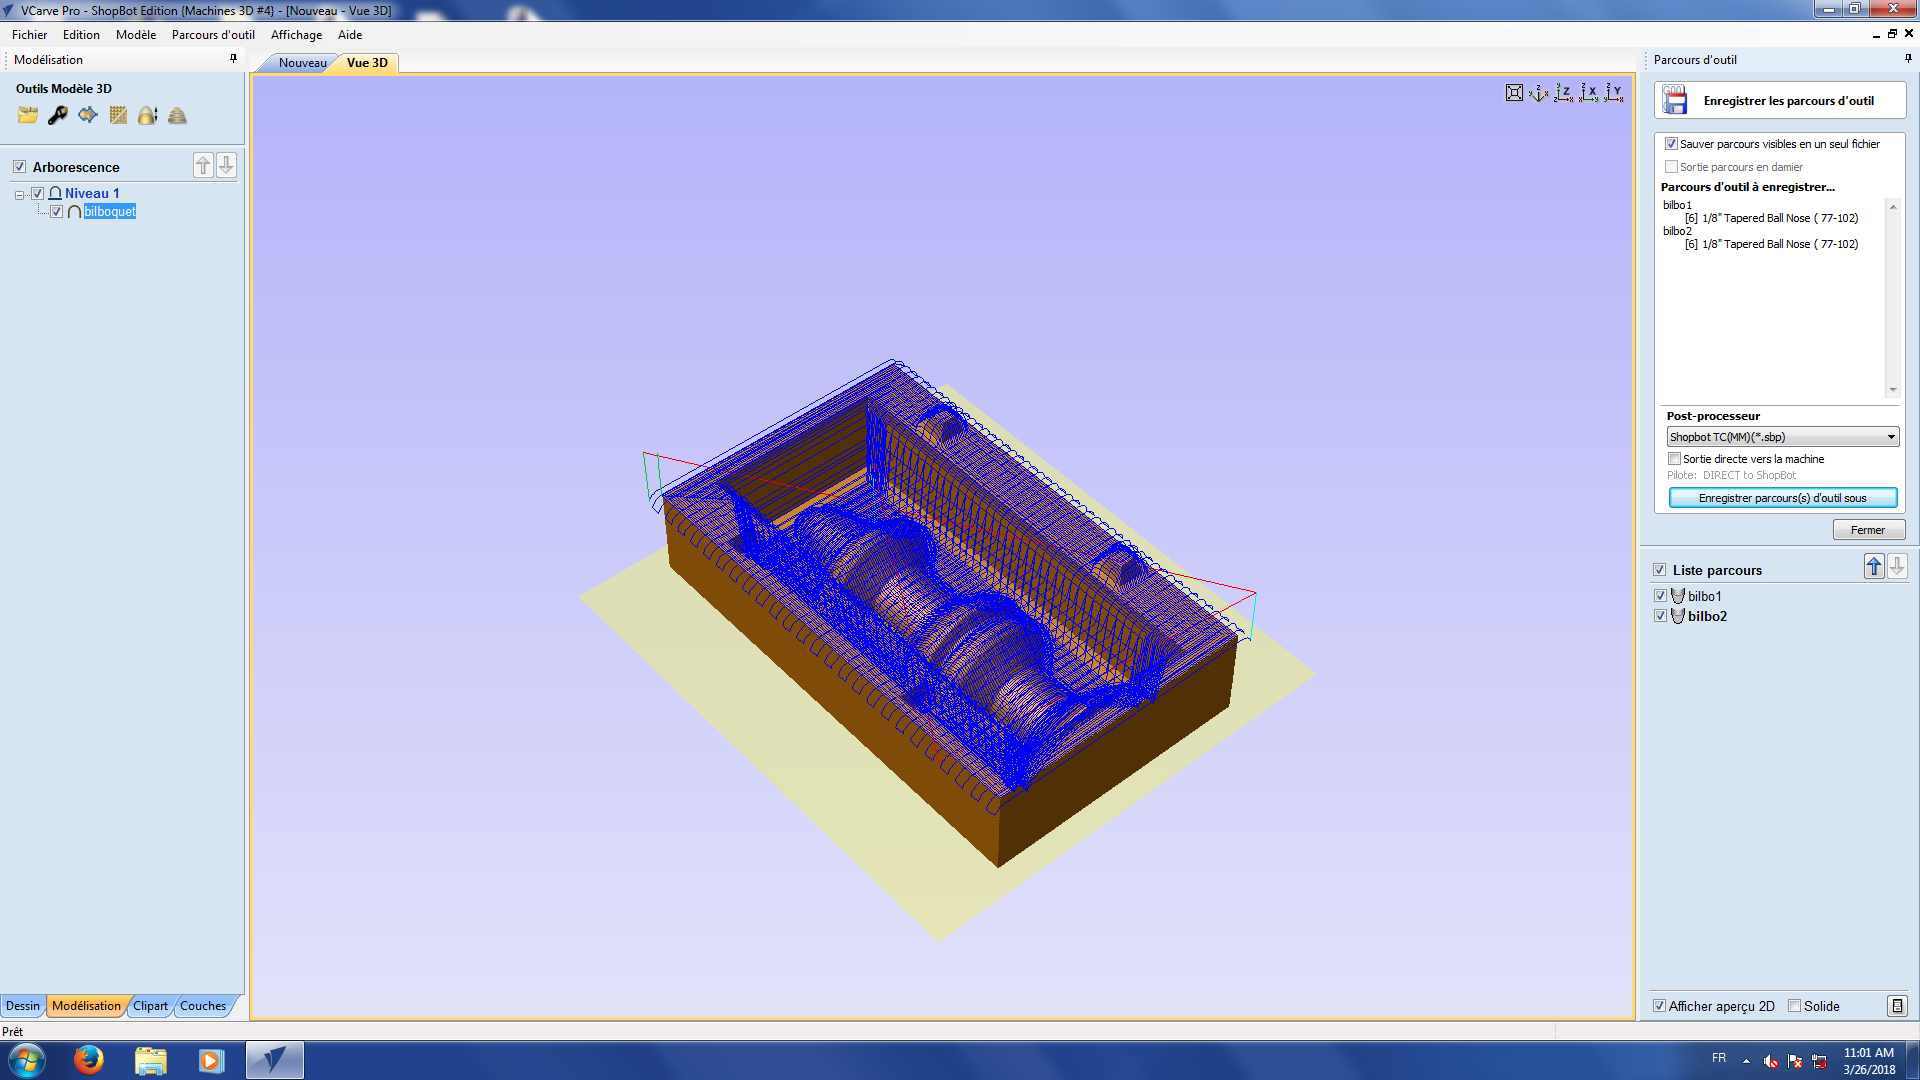
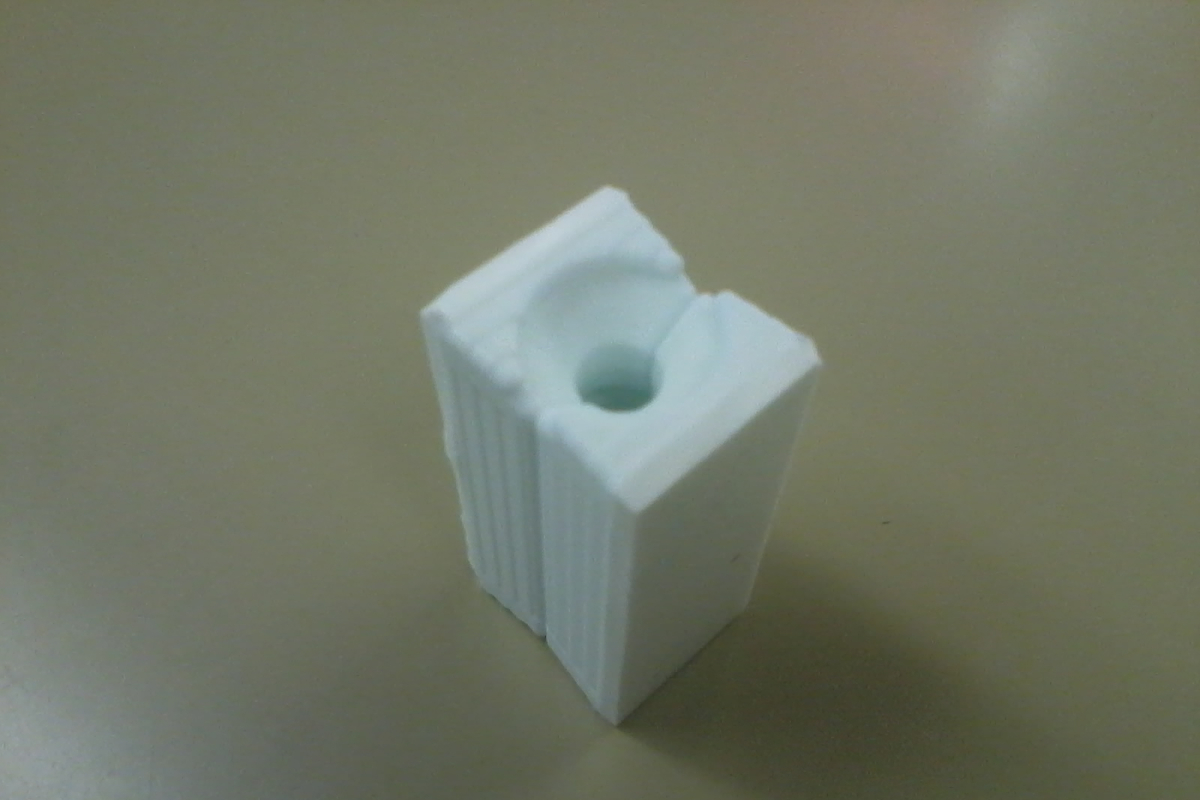
I mill my master piece in wax because it is a soft material, easy to mill and silicon mold won't glue on it.
I did my milling with a 1/8" Tapered Ball Nose because it's the smallest mill we have in the lab.
I did it in two phases, first is fast and draft path to remove a lot of material and second is finishing path,
closer to the geometry with small steps.
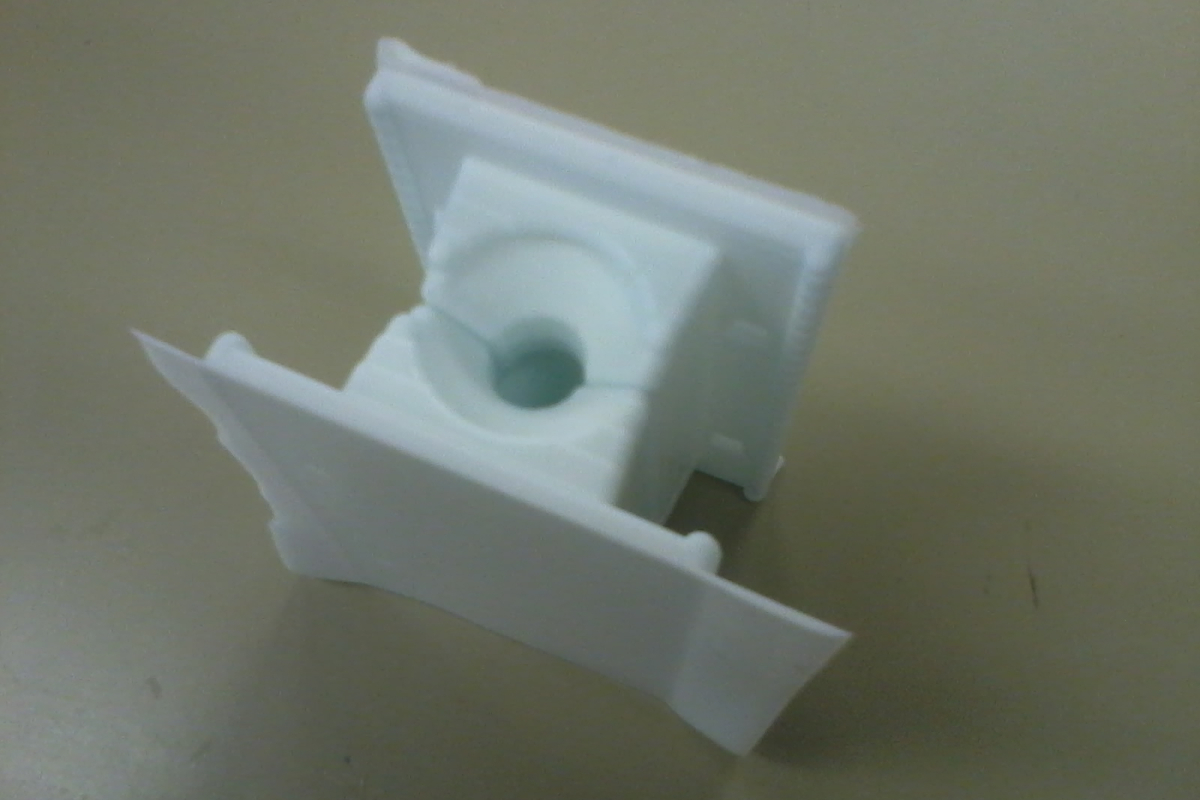
At the end of milling, I saw that my bilboquet were too close to the top and bottom of the cavity. The tool couldn't
mill enough. Hole to cast my epoxy will be bigger than expected.
I made two wax molds to be able to cast silicon in one time.
In order to prepare silicone mold, I needed to know quantity.
First, I used viewstl website. When You drag and drop your stl file, you know
model size and volume. By calculating the difference between cube bounding box and stl volume, I found silicon mold
volume.
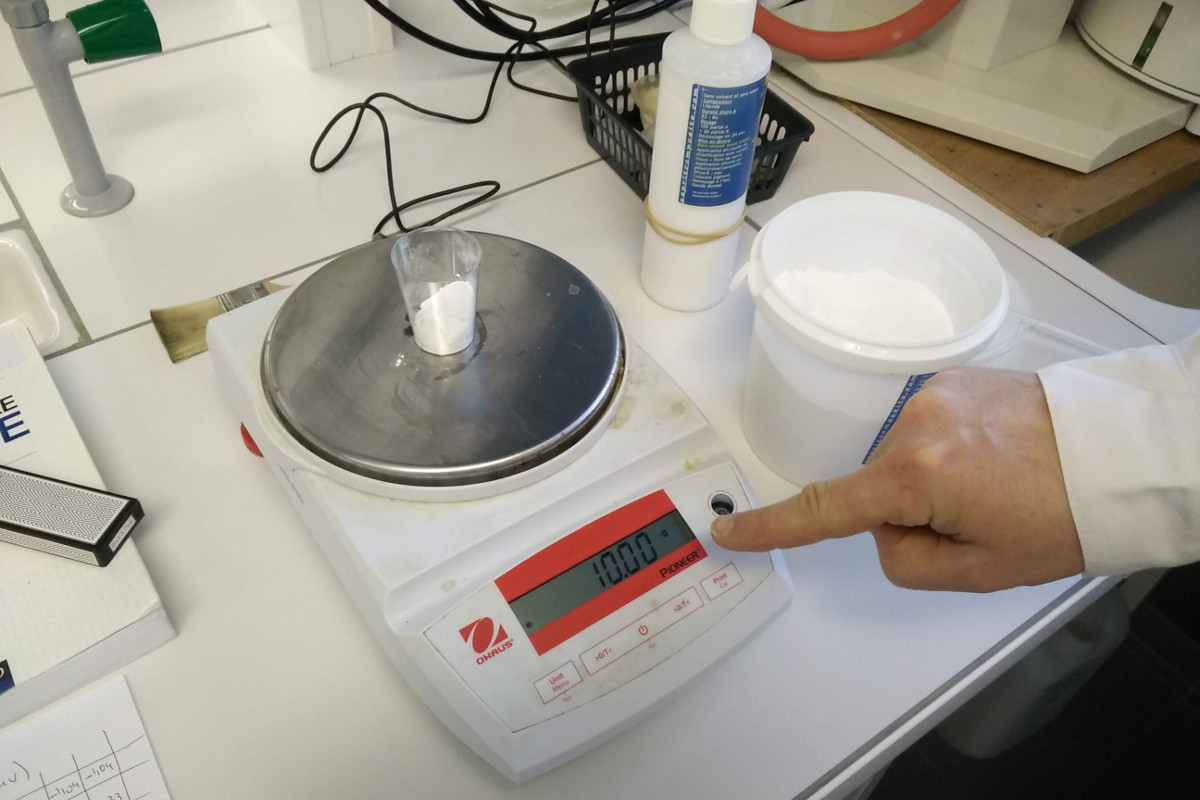
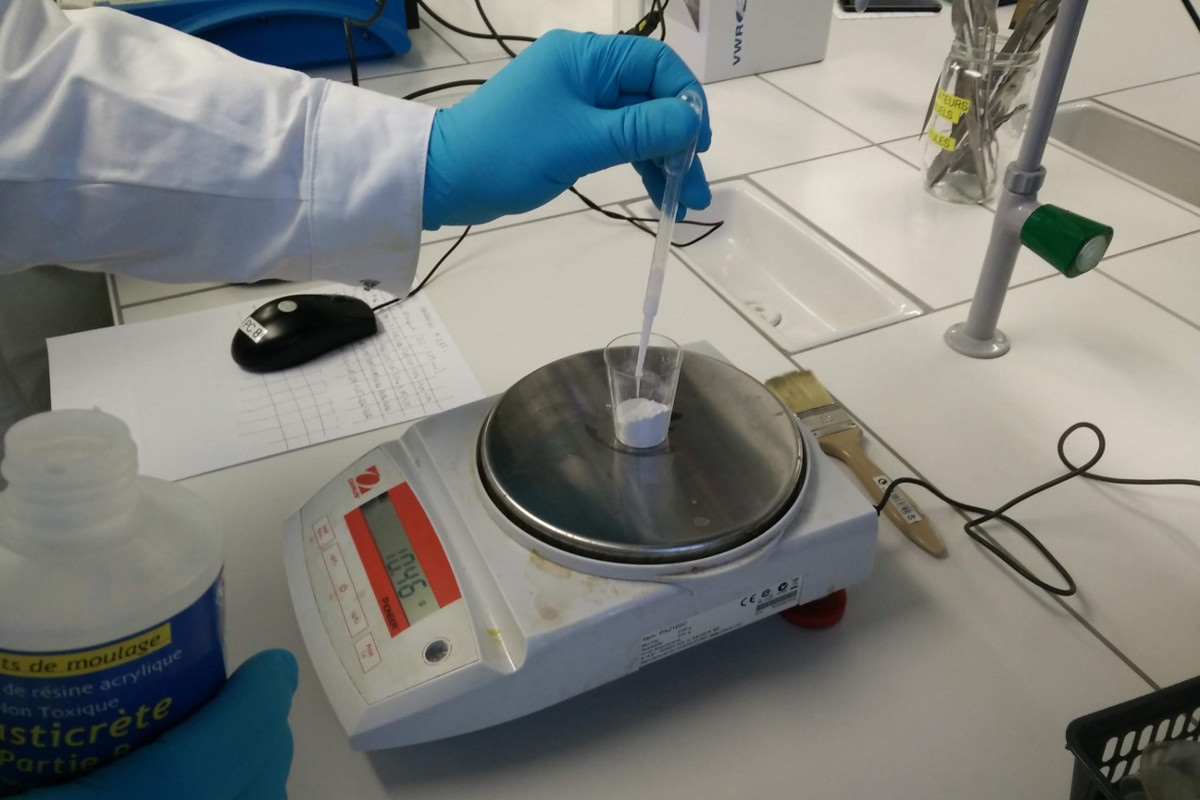
I also measured volume by filling milled part with water and weight it. Each hole is around 4 cl. To make two holes,
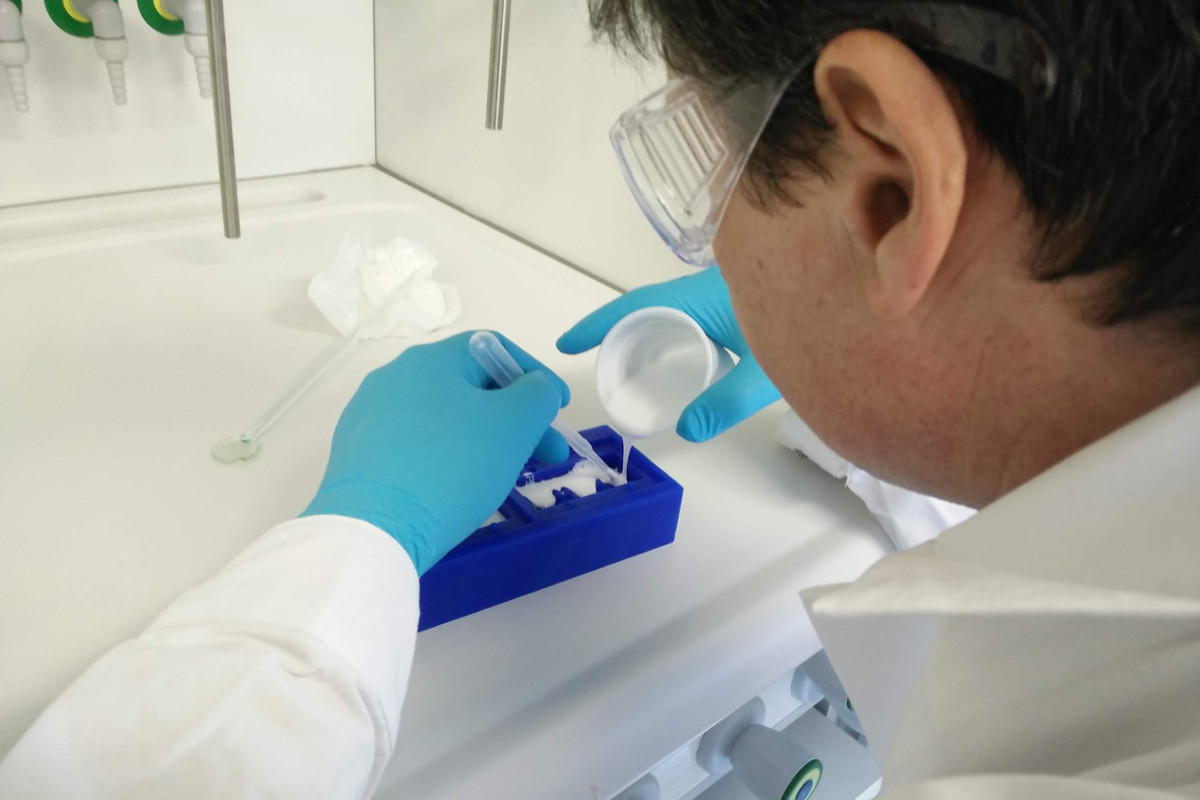
I decided to make 10 cl of silicon by mixing 90 g of base silicon and 10 g of catalytic product. I weighed it on a
precise scale. Even if silicon is not dangerous, each task has to be down with gloves, glasses and a lab coat.
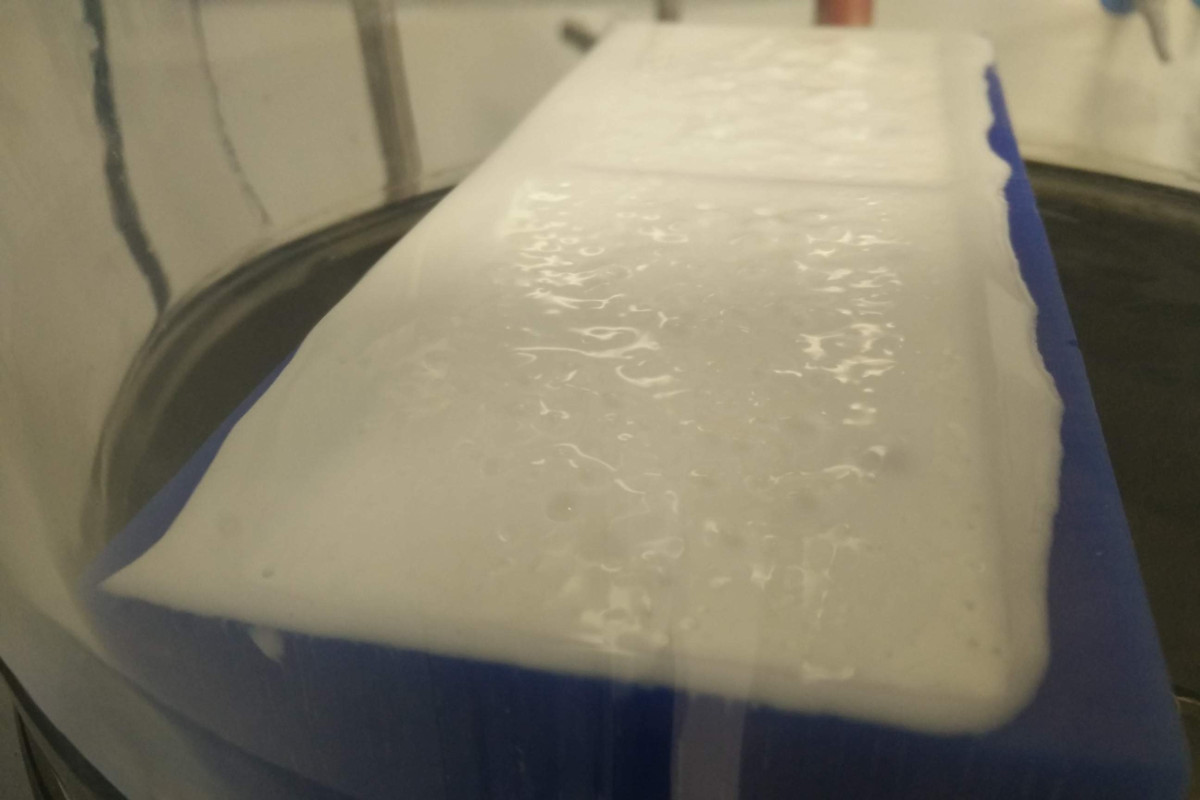
I mixed the two product during two minutes and cast it slowly in the wax mold to try not to add air bubbles.
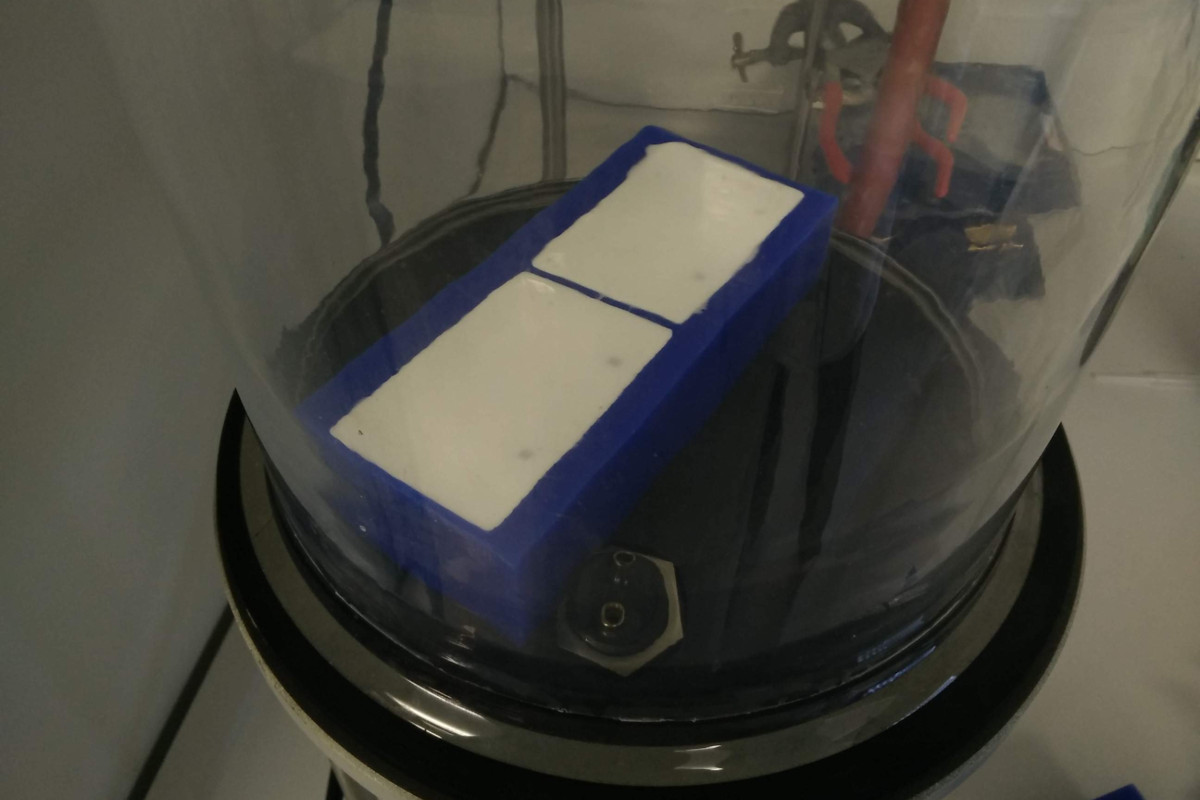
I put the mixture in an air vacuum during a quarter while bubbles appeared on the silicon.
After that, I let silicon for drying during one day under a hood.
Silcon datasheet
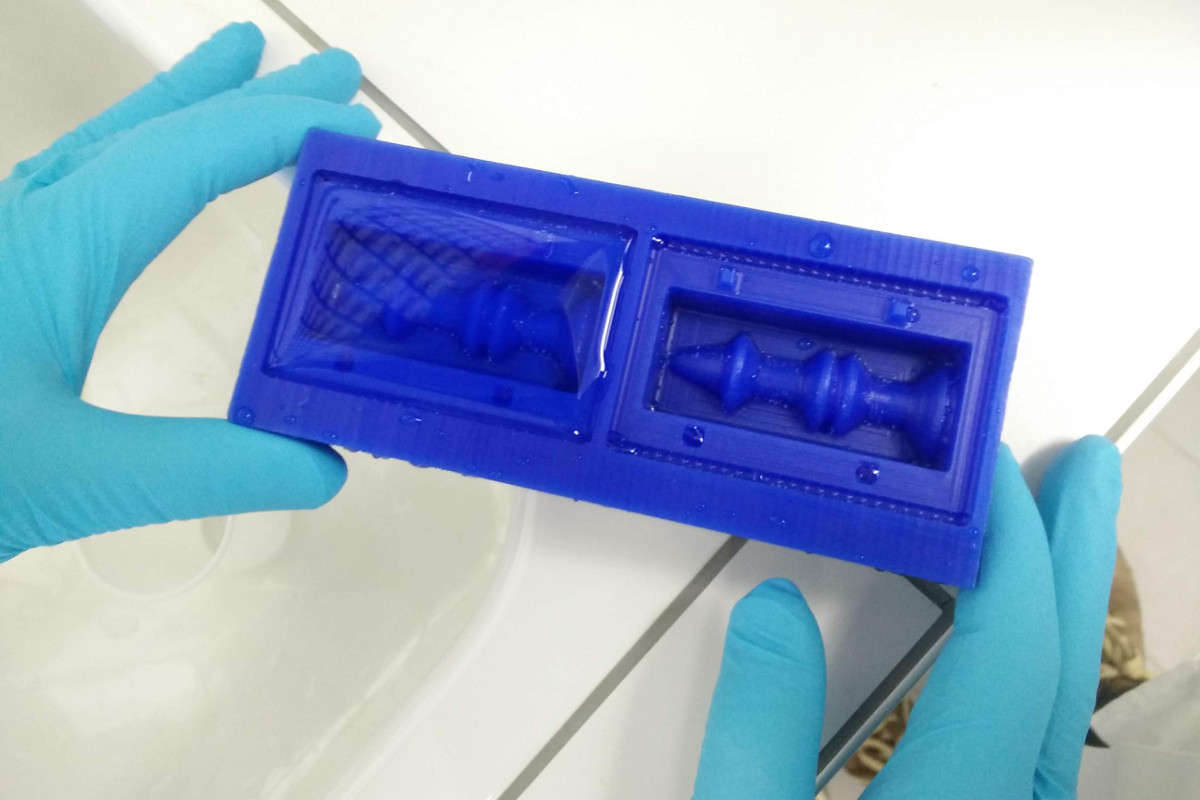
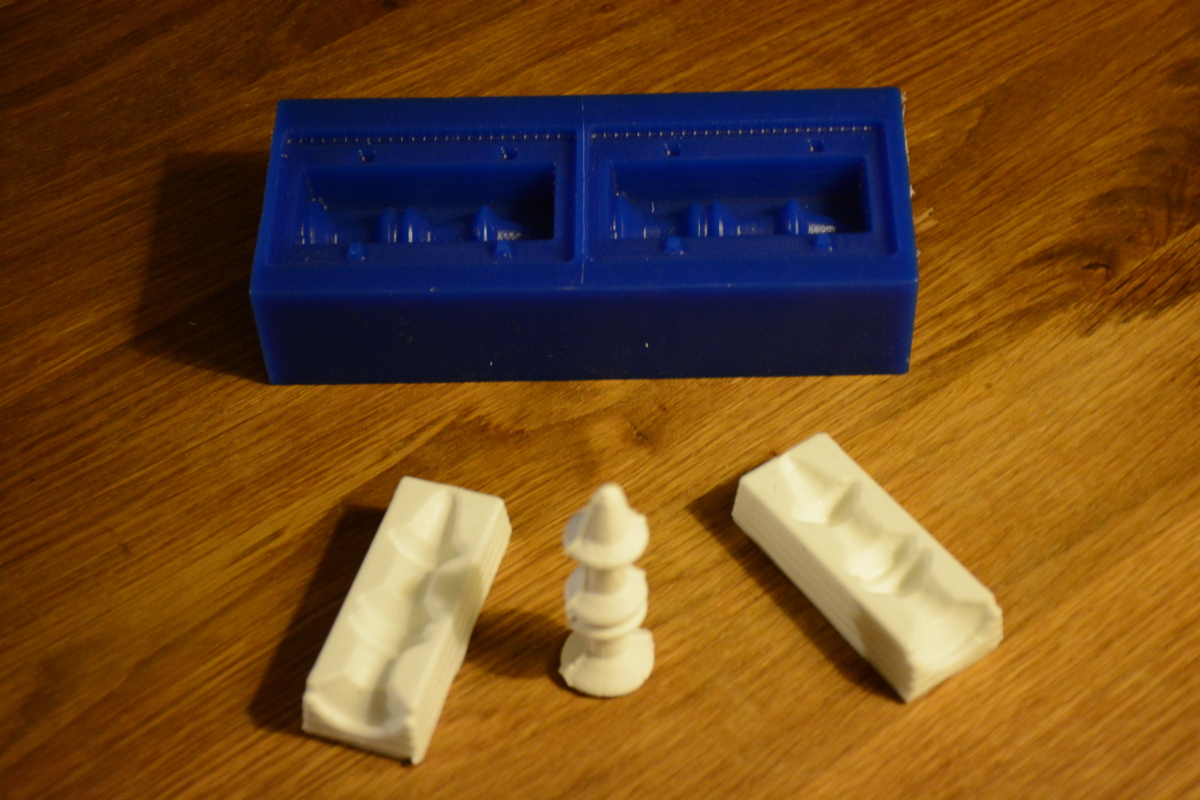
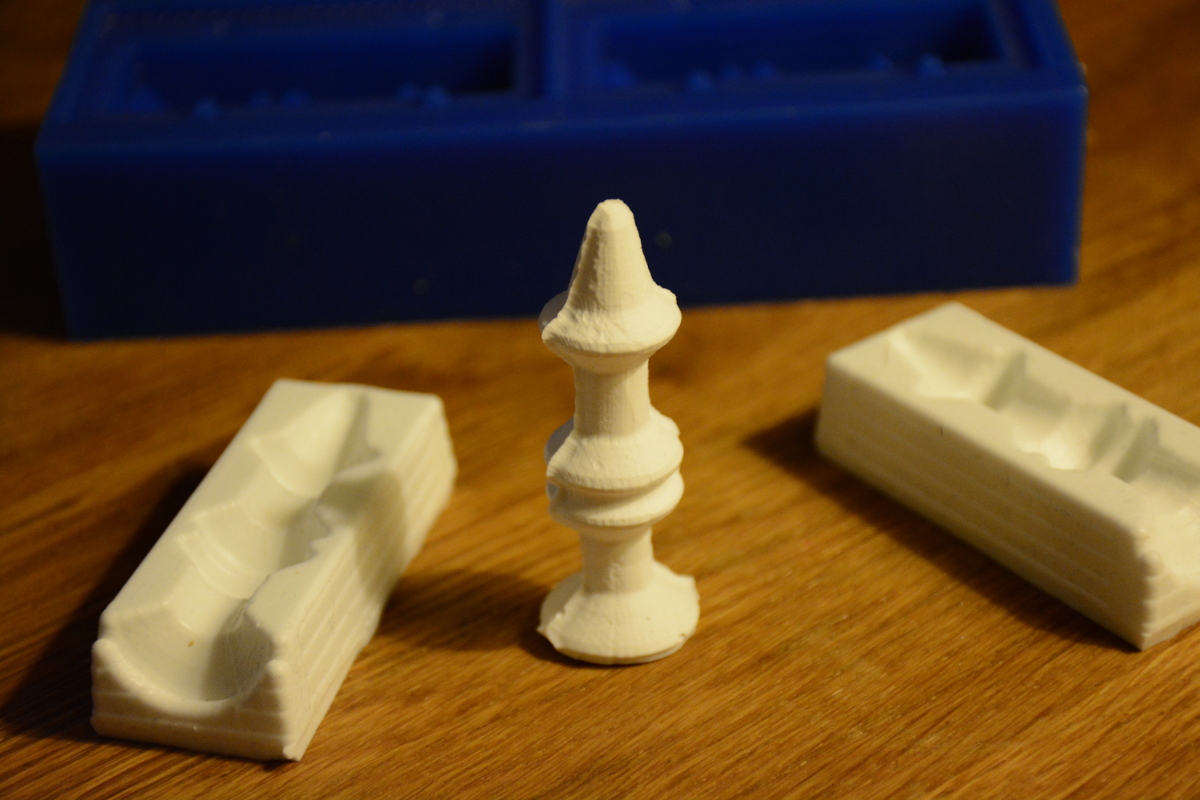
The day after, I took silicon off the wax mold and assmebled the two parts.
I realised that I made a mistake with slots. I designed them on the top of the wax piece. So when I put two parts together,
slots are behind and not in front of each other. I should have designed them in the bottom of my wax piece. They are now
useless, I cut them, adjust the two parts manually and fix them together with tape.
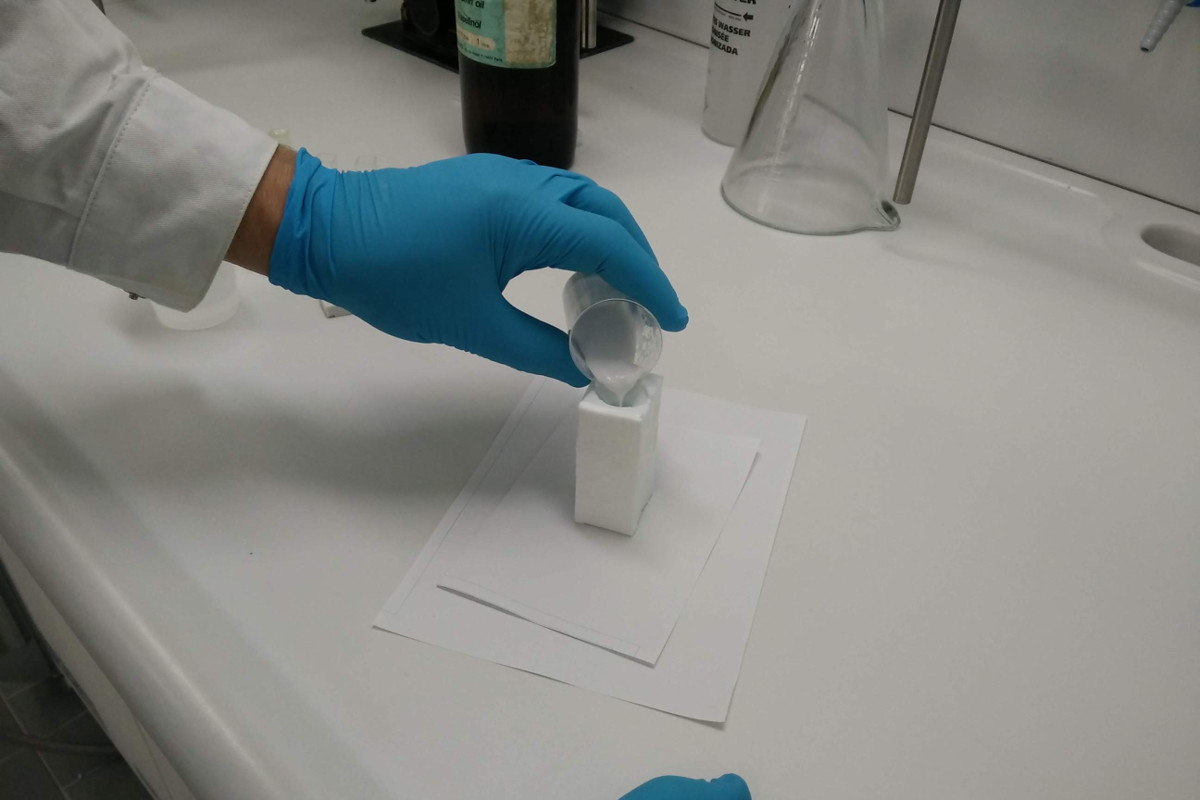
Then, I measure resin volume wich needs around 15 g of resin. I used plasticrete, an acrylic resin. I prepared 10 g of A
component, 5 g of B component, mix them and cast the mixture in my silicon mold. I let it for drying one day.
Plasticrete datasheet
At the end, I unmold my piece. There are extra material, due to silicon mold jonction, I can remove with a fill.