Week 2 : Project Management
- Build a personal site describing you and your final project
- Upload it to the class archive. Work through a git tutorial.
Fab Academy 2018 - Thierry Dassé
I started this week, reading about html to remember how to make a website because I haven't use html for many years.
I find a lot of informations on w3schools. Each tag is explained and you can find many examples.
Html section : https://www.w3schools.com/html/default.asp
After reading, I decidedto make my website by my own because it's a better way to understand than to use templates.
My website must be more simple but doing is better to learn html language.
At the end, I summarised most of tags I used below.
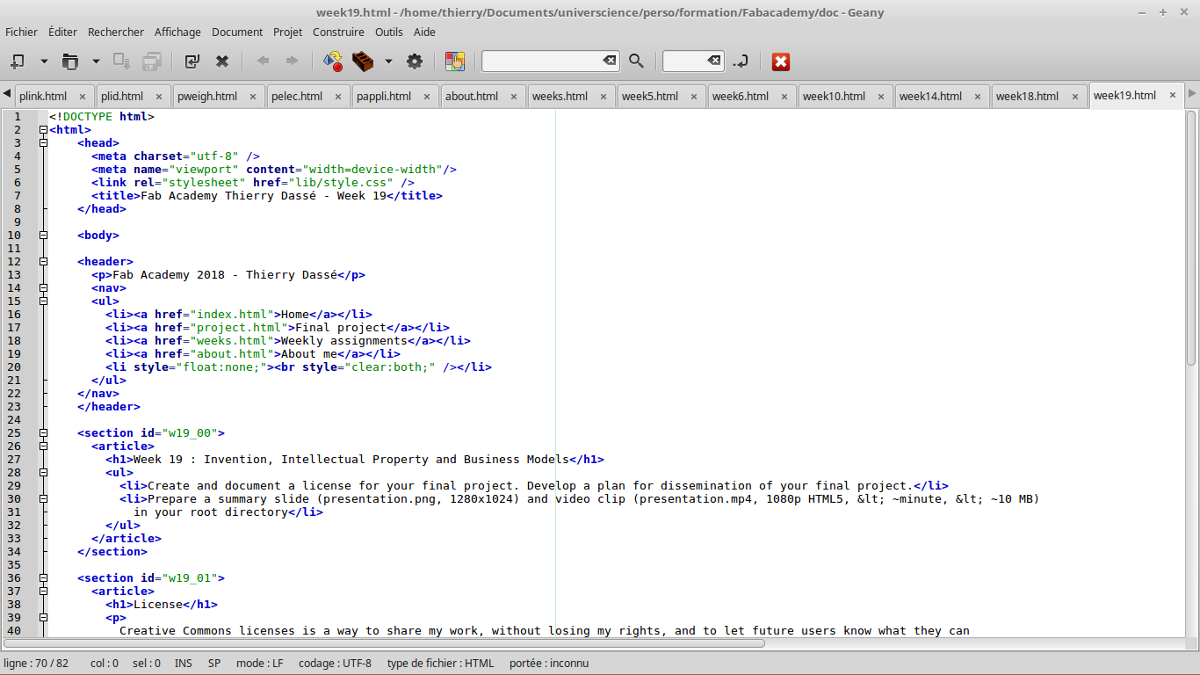
Html pages are text files, I used geany editor to type all and watched results on Firefox and Chrome.
A website is composed with text, pictures, videos... with markups for the browser to understand the structure
A basic HTML structure is:
<!DOCTYPE html>
<html>
</html>
The body part can be divide in semantic frames.
<header>
</header>
<section>
<footer>
</footer>
Ther can be several articles in section and several sections in a page.
Titles tags are <hx> where x is 1 to 6. <h1> is the most important title.
<h1>My main Title</h1>
Paragraph command is :
<p>Text in the paragraph. You can use <br/> if you just need a carriage return but want to stay in the same paragraph like at the end of this sentence.
And finish the paragraph with </p>.
Text inside <span> markup can have a specific modification.
Example:
This sentence has <span style="color:red;">Text in red</span> in the span markup.
Result:
This sentence has Text in red in the span markup.
To include images in your page, just use :
<img src="filename" [width=width] [height=height] alt="alternative text">
Parameters inside [] are optionnal.
Class and id are parameters you can add in a markup.
Class can represent an object's group you want to print same.
Id is unique. You can identify an object by its id in a link, in CSS or in Javascript.
Example:
<p class="code">This paragraph has a colored background like all examples in this page</p>
To put a link to another page, an anchor, an image, a file..., the syntax is:
<a href="file location" title="file location" alt="file location" target="_blank">Text to click</a>
Example:
<a href="http://Fabacademy.org">The Fabacademy</a>
Result:
The Fabacademy
An anchor can be defined in a page with an id in a tag.
Example:
<h1 id="w02_01">HTML5</h1>
<a href="#w02_01">goto html5 title</a>
Result:
goto html5 title
| & | & |
| < | < |
| > | > |
| € | € |
Example:
<strong>
Result:
<strong>
After writing informations and organize them in several pages link together using html markups,
I started to format all those datas using CSS.
It's very usefull to distinguish between datas and layout because you can easily change how informations look like
without modifying the content.
I also find a lot of explanations in w3schools.
CSS section : https://www.w3schools.com/css/default.asp
Html contains text, images... and CSS can format how this content is printed by the browser.
CSS syntax is :
markup {
Classes have a dot prefix :
.my_class {
Ids have a # prefix :
#my_id {
Use font-family, font-size and font-style to define font text.
Example:
body {
}
Colors main properties are background-color and color
Example:
p {
}
Result:
Text in white on a gray background
A color can be defined with a name, an hexadecimal number or a rgb command
red is equal to #FF0000 and rgb(255,0,0).
I used responsive CSS to adapt my web pages depending on the medias (widescreen, tablet, phone, ...)
Example:
section {
}
@media (max-width: 1024px){
}
If the screen width is higher than 1024 px, there is a left and right margin, otherwise not.
To upload my new website on gitlab, I read a great tutorial on git-scm.com.
While testing on my own website, I wrote all I learned about this version control tool below.
Source : https://git-scm.com/book/en/v2/Getting-Started-About-Version-Control
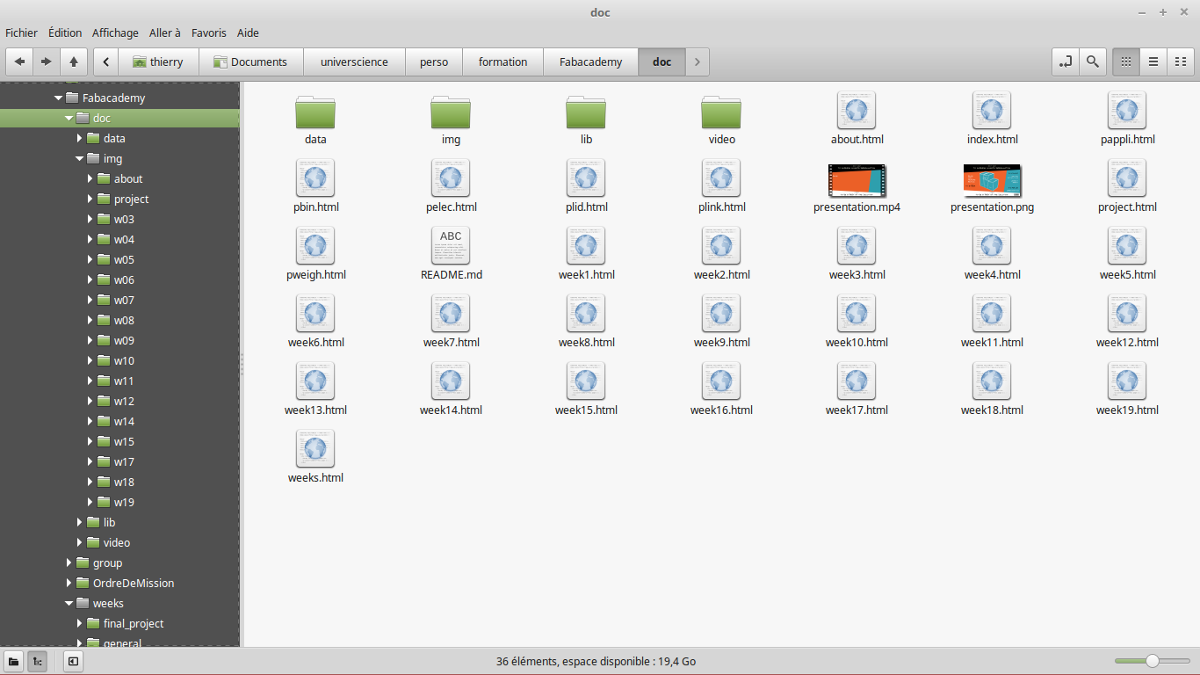
I made a git clone on a local folder on my computer and made commit and push to upload my documentation.
Git is a tool to manage a project, wich can be collaborative. Yous commit repositories of your modifications.
To install git on Linux mint 18.3, open a terminal and type :
sudo apt-get install git-all
To configure global datas of your projects, use git config like
git config --global user.name "student_name"
git config --global user.email "student_email"
git config --global core.editor your_text_editor
To create a project, drive in your directories, make a project directory and create a git project:
cd ~/Documents
mkdir my_project
cd my_project
git init
Or you can contribute to an existing project using http porotocol :
git clone https://gitlab.fabcloud.org/academany/fabacademy/2018/labs/student_lab/students/student_name.git
or use SSH. Then, you have first to create a ssh key with, on linux :
ssh-keygen -t rsa -C "student_email" -b 4096
Then goto https://gitlab.fabcloud.org/academany/fabacademy/2018/labs/student_lab/students/student_name
Sign in
In your Profile, choose SSH Keys menu.
Then copy file content of ~/.ssh/id_rsa.pub in Key frame and click Add key
After, you can import a git repository with :
git clone git@gitlab.fabcloud.org:academany/fabacademy/2018/labs/student_lab/students/student_name.git
To add files in your project :
git add README
git add *.html
git add *
git commit -m 'initial project version'
You can also remove files with:
git rm --cached file_to_remove
and move files with:
git mv file_from file_to
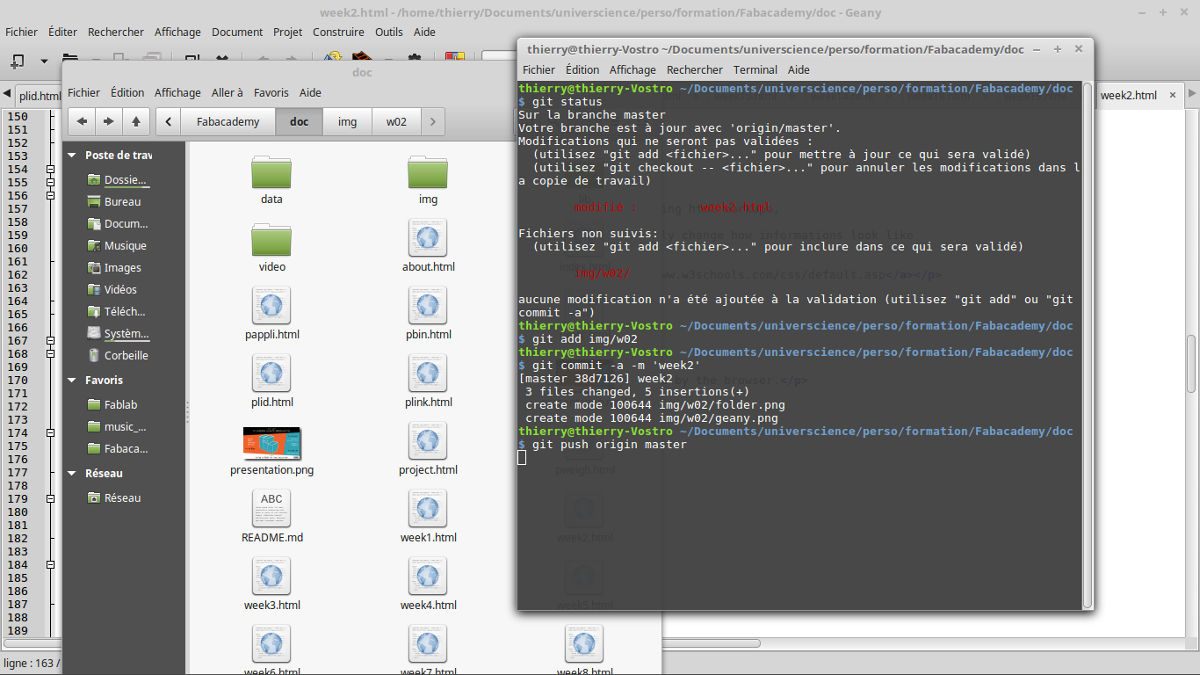
After works on your project, you can know wich files have been added, modified by typing :
git status
git status --short
When necessary, You can record modifications with :
git commit -m 'new version'
If you need to ignore some files, you can create a .gitignore file with list of files to ignore like:
my_tmp_file
*.pyc
All changes can be seen in the history with:
git log
To see what have been modified since last commit, type :
git diff file
To checkout modifications, type :
git checkout -- file
To send modifications to your web clone (origin server), type:
git push origin master
To test modifications on your project, you can make a temporary branch and merge it with your project when validated.
You can view all branches with :
git branch
result is something like:
* master
Branch you are working on is marked with *
You can create a new branch with :
git branch branch_name
Change branch with :
git checkout branch_name
To merge modification to master :
git checkout master git merge branch_name
Remove the branch with :
git branch -d branch_name
and to discard modifications
git branch -D branch_name