Week 6 : 3D Scanning and Printing
- Test the design rules for your printer(s) (group project)
- Design and 3D print an object (small, few cm) that could not be made subtractively
- 3D scan an object (and optionally print it)
Fab Academy 2018 - Thierry Dassé
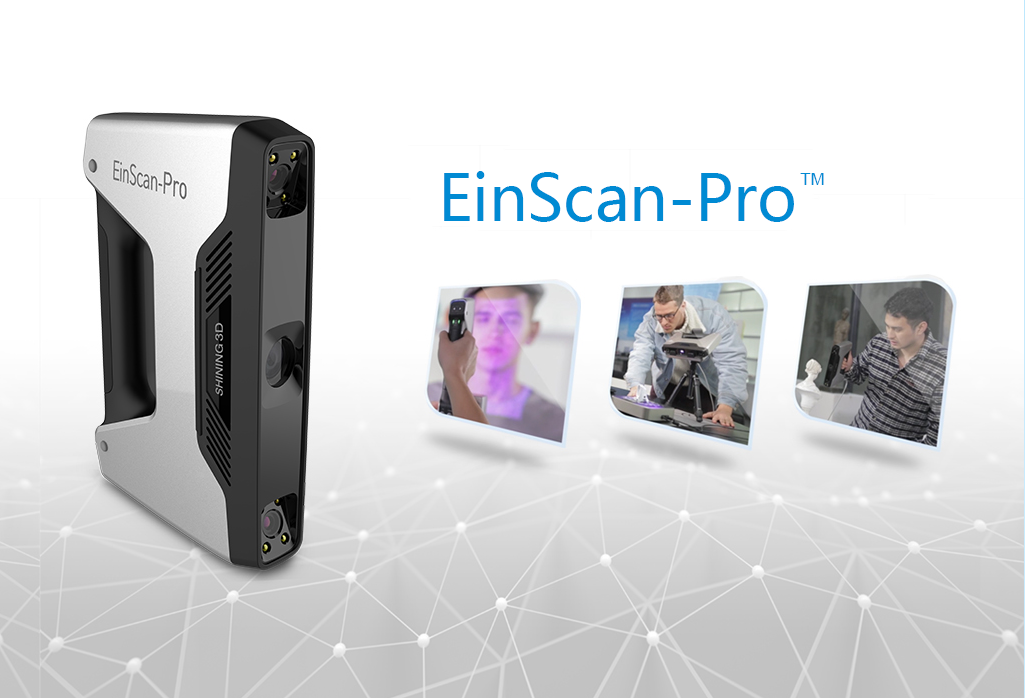
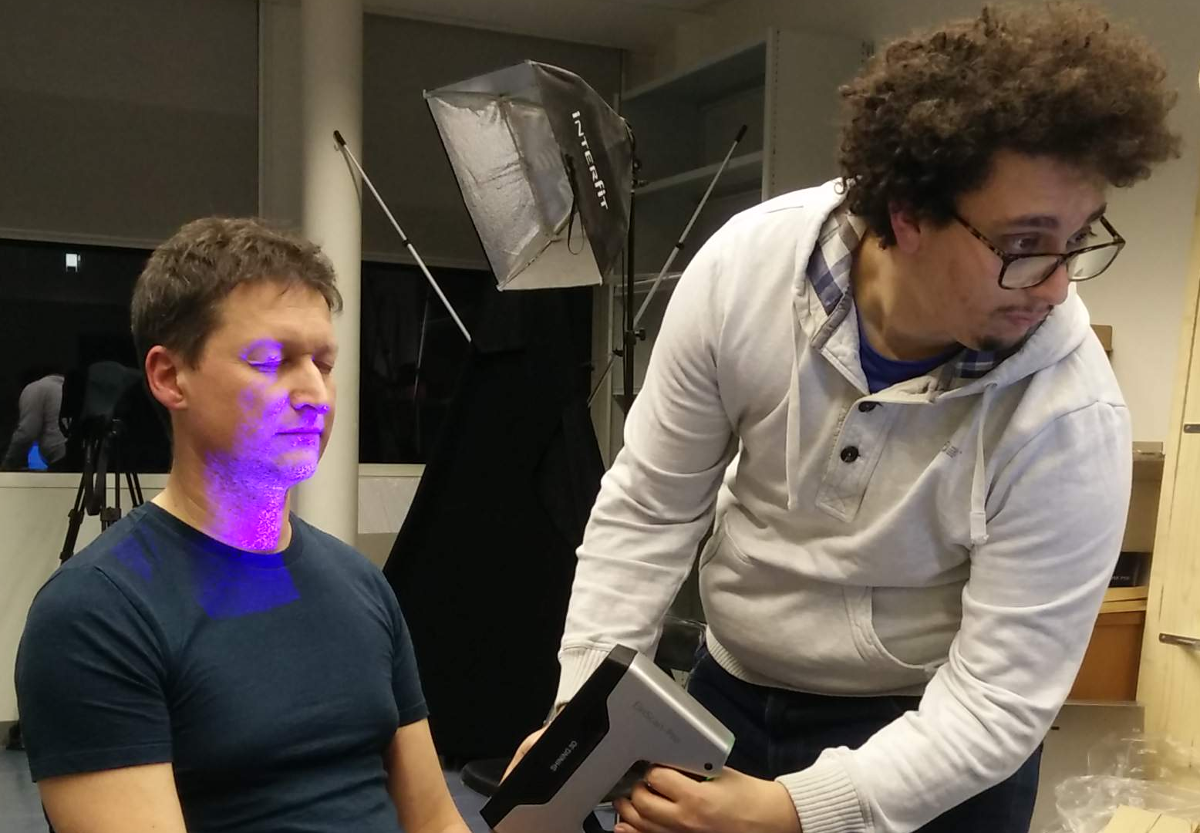
To scan in 3D, I used EinScan-pro, a hand scanner.
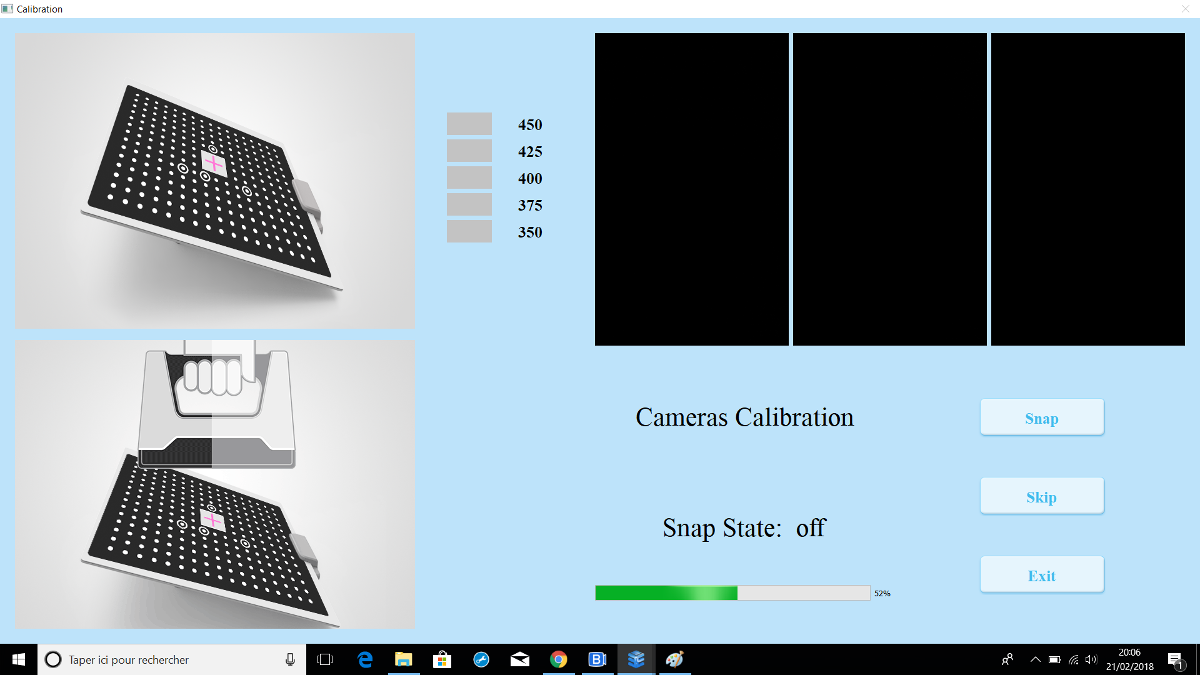
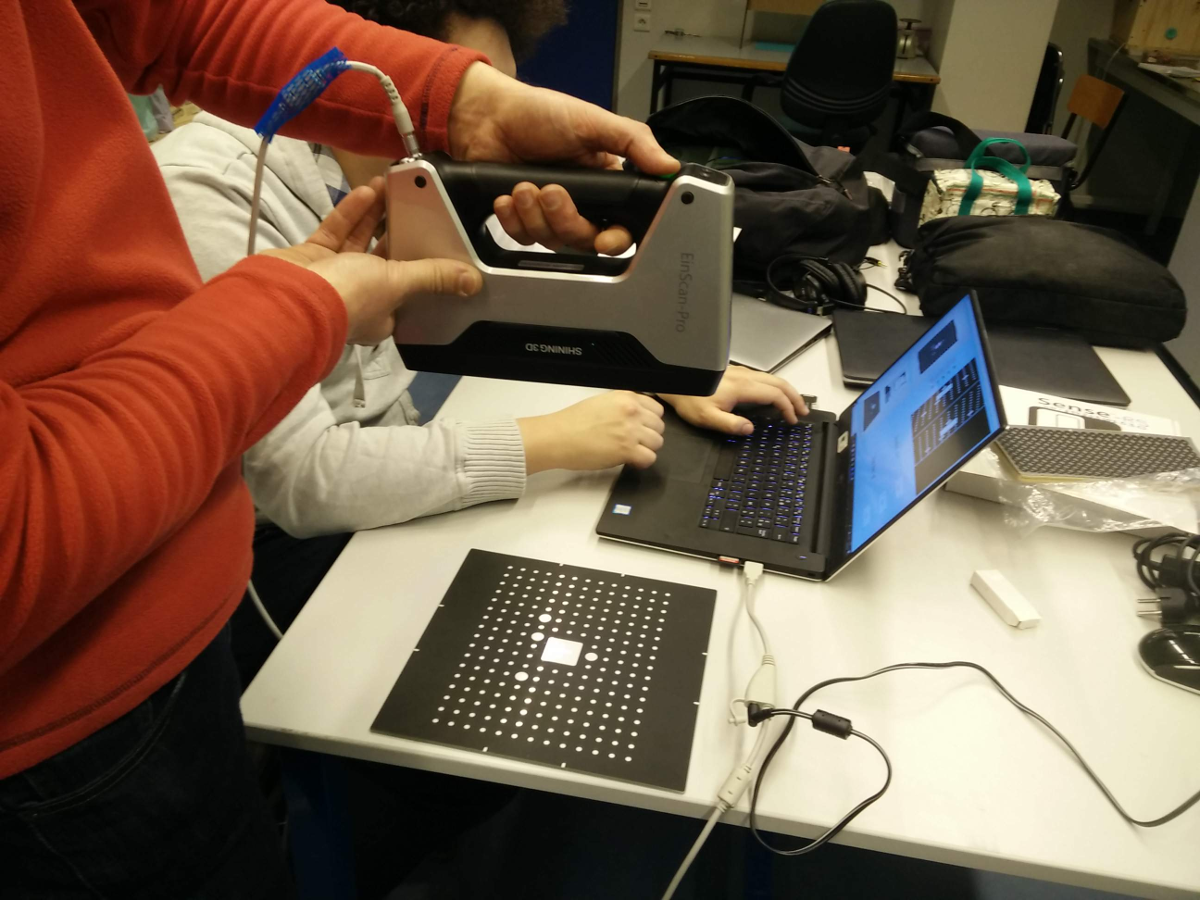
After installation, you need to calibrate the hand scanner using a grid. It takes a few minutes.
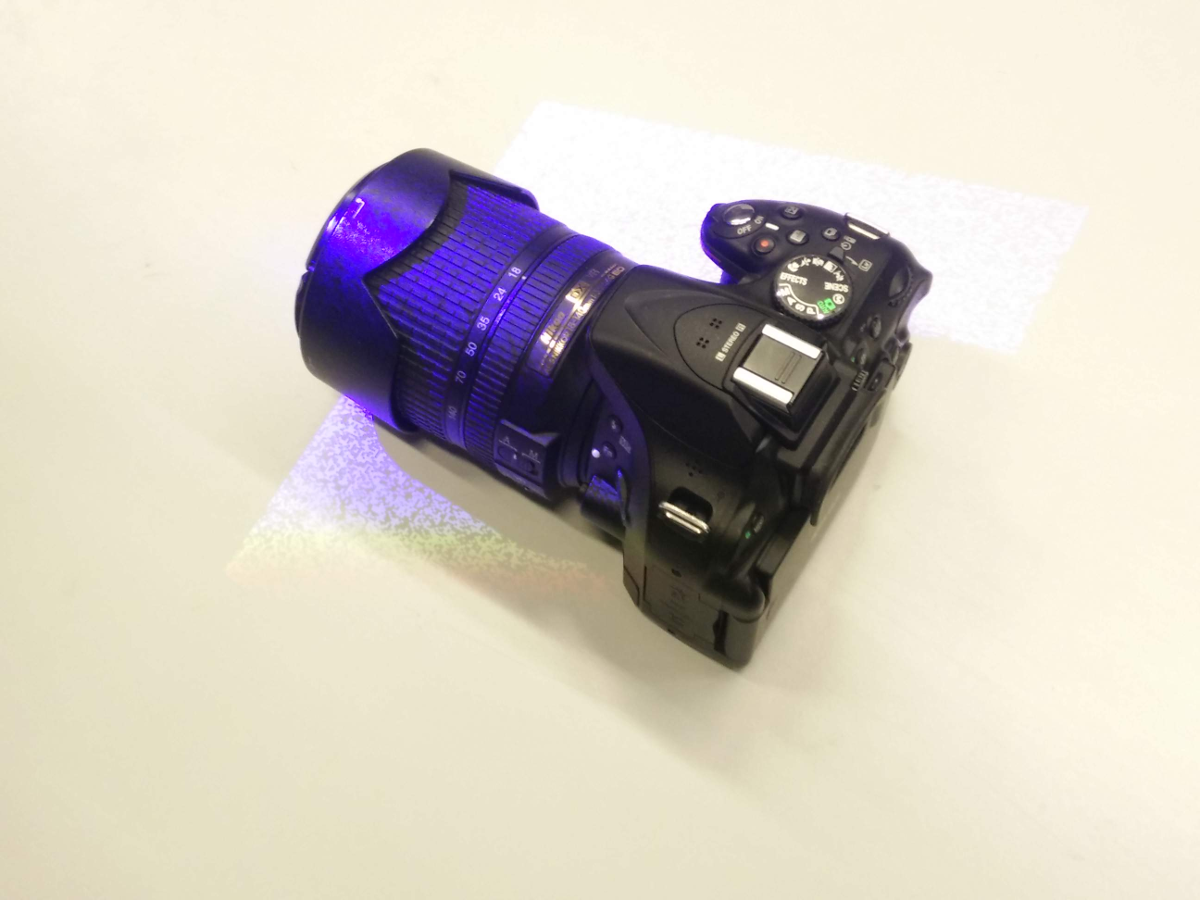
I tried my first scan in low quality on my camera but I only succed to scan some parts and result wasn't good maybe because details are very thin.
I tried then on Ben face and as other scan we did, the software crashed several times. The scan doesn't find hairs.
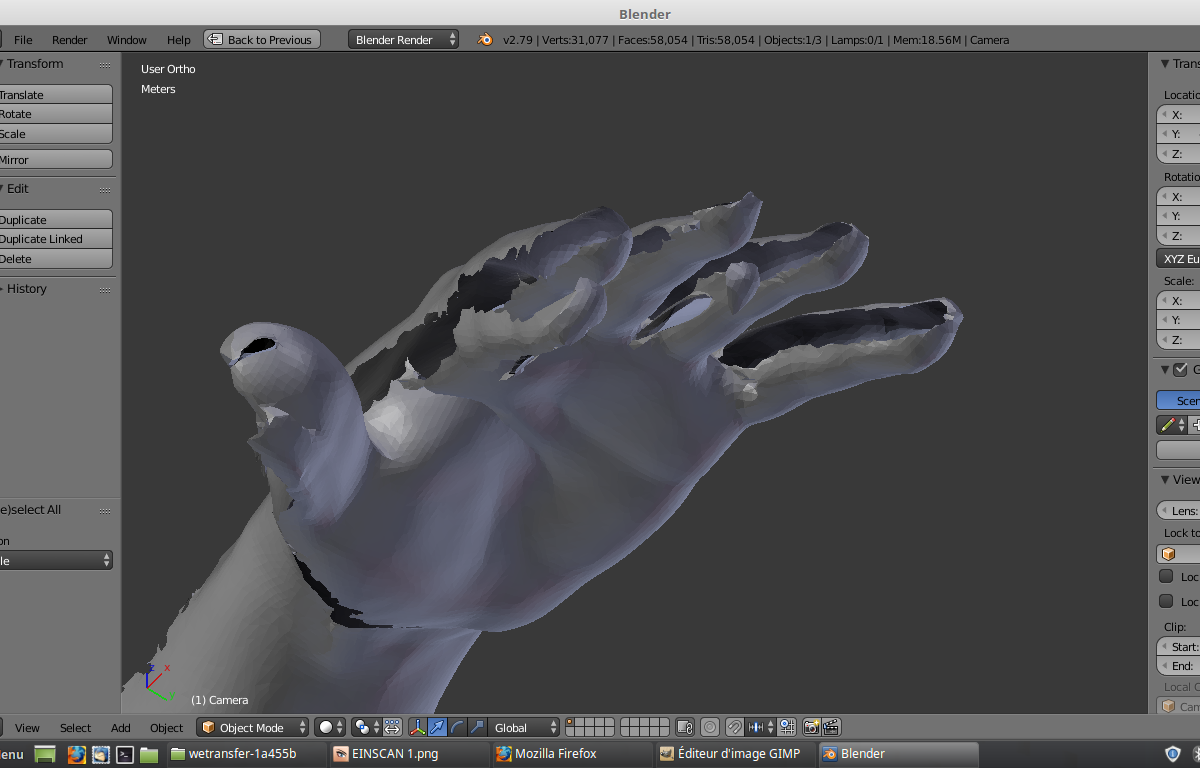
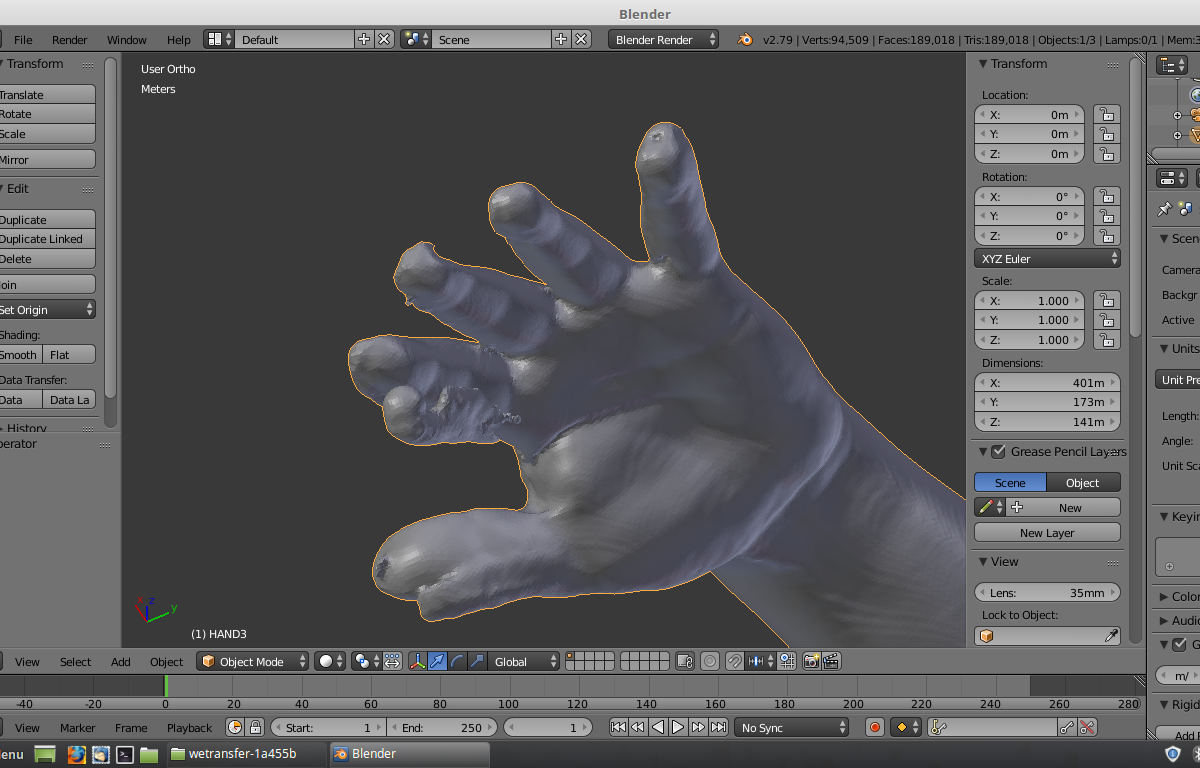
At the end, I tried to scan Adel hand and had a result.
After scanning you can merge open faces to make a closed volume.
My scan result has 31 077 vertices wich is huge.
I think that scanning is good for organic objects you want to reproduce without midification like sculpture, buildings ...
but not for mechanic pieces like gears. With a lot of vertices, it's very difficult to modify the piece.
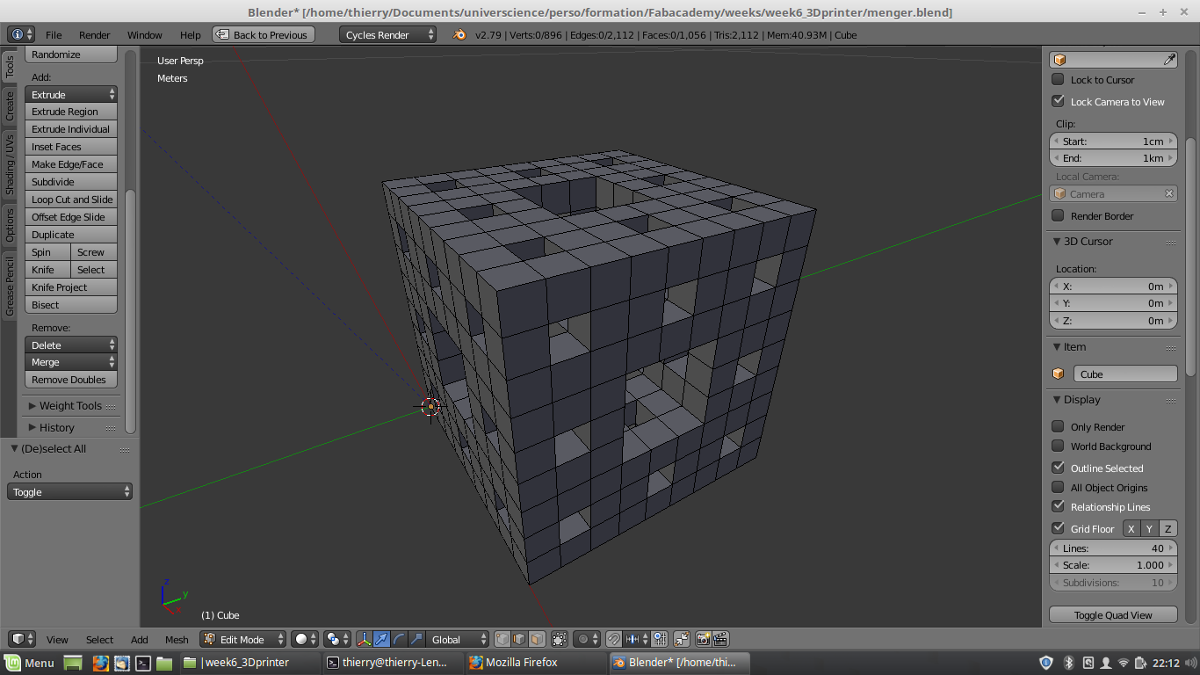
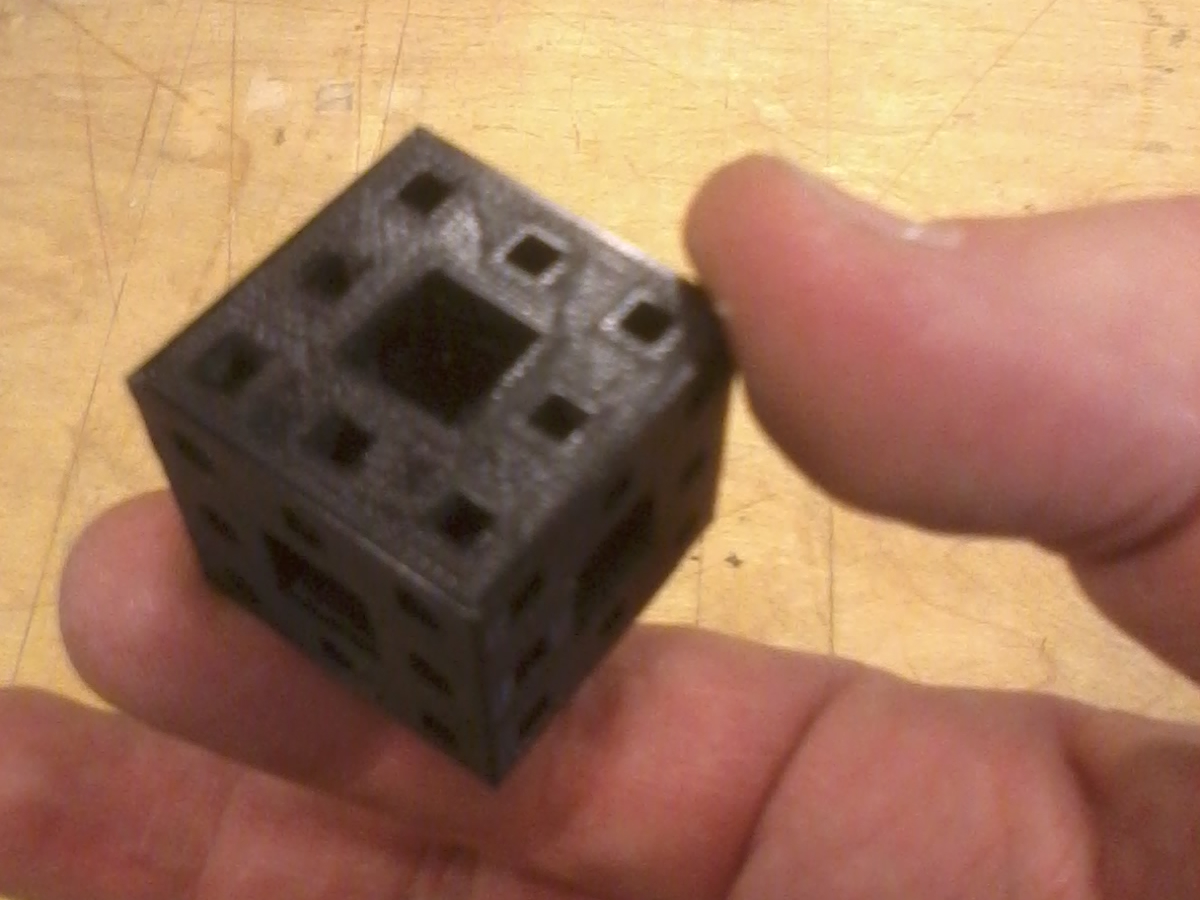
To test 3D printer, I choose a fractal mathematical object : a M2 Menger sponge.
This is a cube with 27 holes. it can't be made by moulding. It could have been made by milling if holes have been circle but not square.
I designed the piece with Blender. it's quite easy because Blender provides subdivide command and loop cut tool (Ctrl-R) to divide faces.
To design a Menger sponge, you can add a cube, then go to edit mode (tab key) and use (Ctrl-R and mouse wheel) to divide faces in 3 rectangles.
Do it 2 times more to divide all faces in 9 rectangles. Delate all center faces of the cube and then, on each face, selectcenter edges and extrude them
third depth. Selact all and remove doubles. You'll have a first level Menger sponge. You can now duplicate it 20 times to make a second level Menger sponge.
Be carefull to delete internal faces because slicers bugs a lot with it.
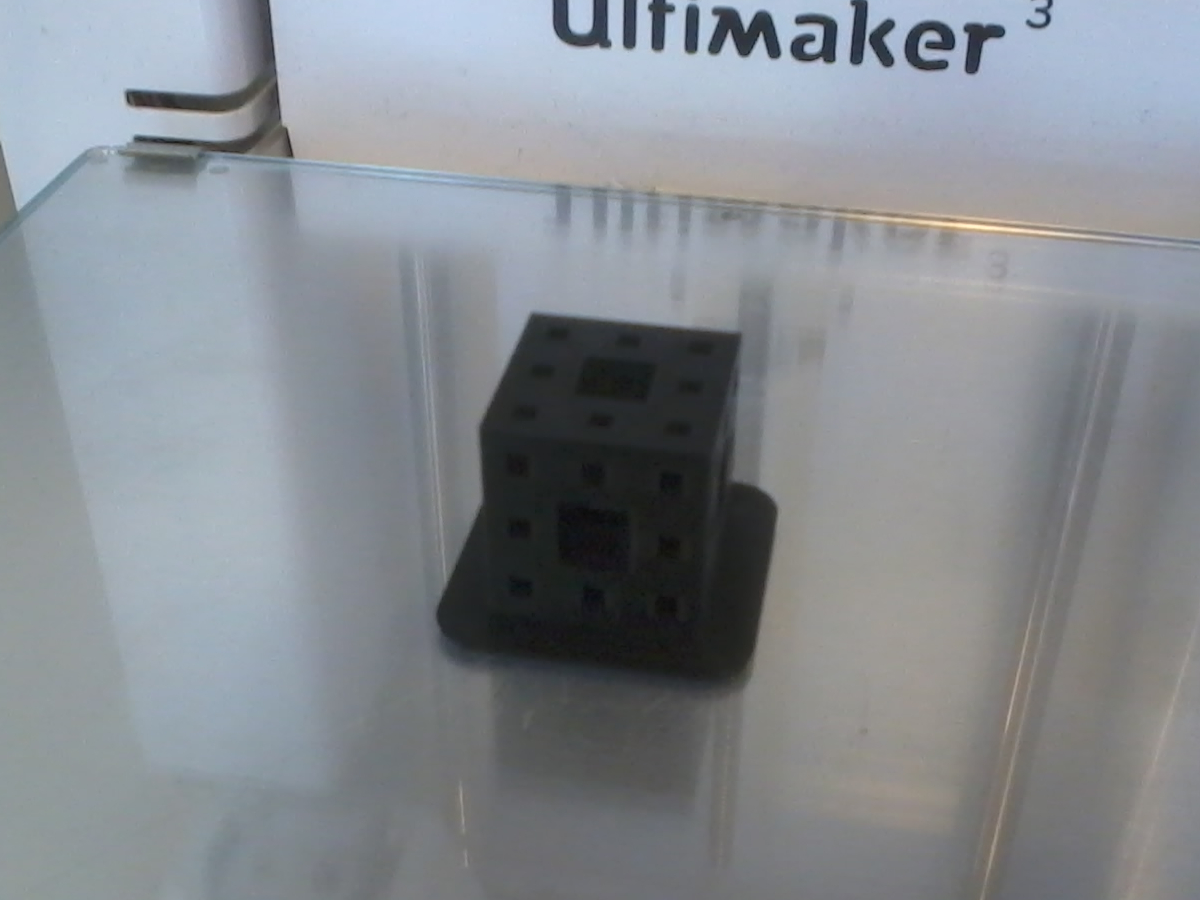
I tried to print the piece without support because bridge are quite small. if the result is not perfect it is acceptable, just small extra wires.
To print your design, you need first to export it in a standard format like stl. Then, open your stl file with Cura (open source software usable to print on
Ultimaker 3D printer) or another slicer software. This software will compute all stepper motors moves and nozzle heater to extrude material at the right place.
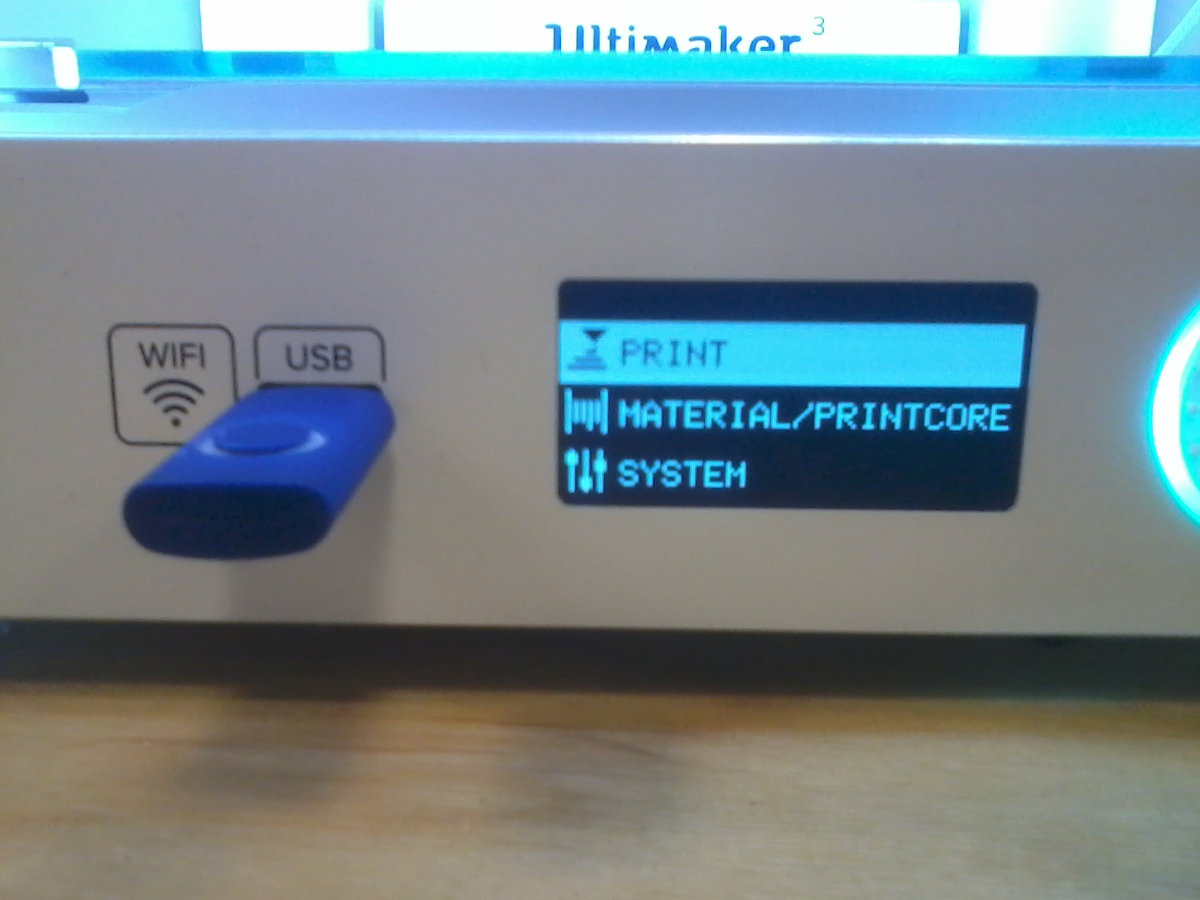
Cura will make a gcode file containing all informations to drive the printer. Copy this gcode on a USB key, insert it in the machine and using the rotary button,
select and click print command, choose your file and run the gcode. On the printer, you can also change the speed, move/replace material, change parameters...
Print Parameters :
Printer:
Ultimaker 3,
Print core : AA0.4mm
Material : PLA
Nozzle temperature: 210°
Build plate temperature: 60°
Cura 3.2.1:
Layer height: 0.1mm
Line width: 0.35mm
Wall thickness: 0.7mm
Top/bottom thickness: 1mm
Infill density: 15%
Print speed: 70mm/s
Generate support: no
Build plate adhesion type: Brim
Brim width: 7mm
Duration: 3h17
Weight: ~10g
Wikipedia : Menger sponge article
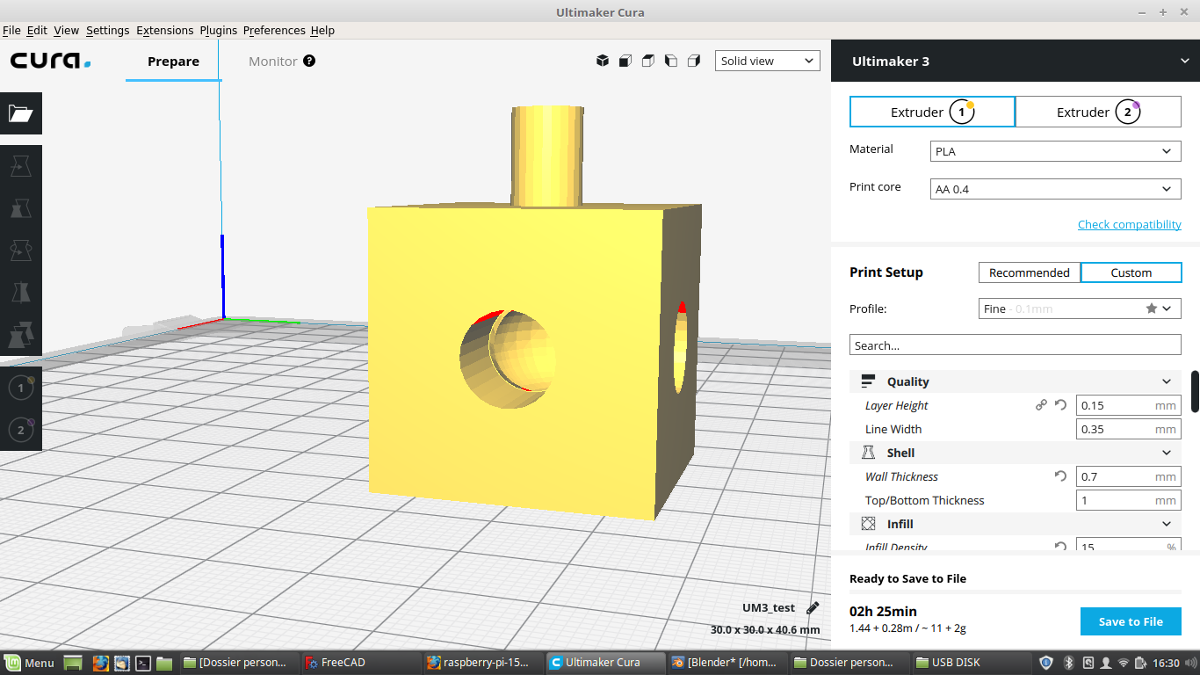
Wcube is composed by a cube with three holes front, left and right and a spherical hole in the middleand a rod made with a half sphere
and a cylindrical part.
When turning the rod, the half sphere in the middle of the cube let a fluid go from center to left or right depending on the angle.
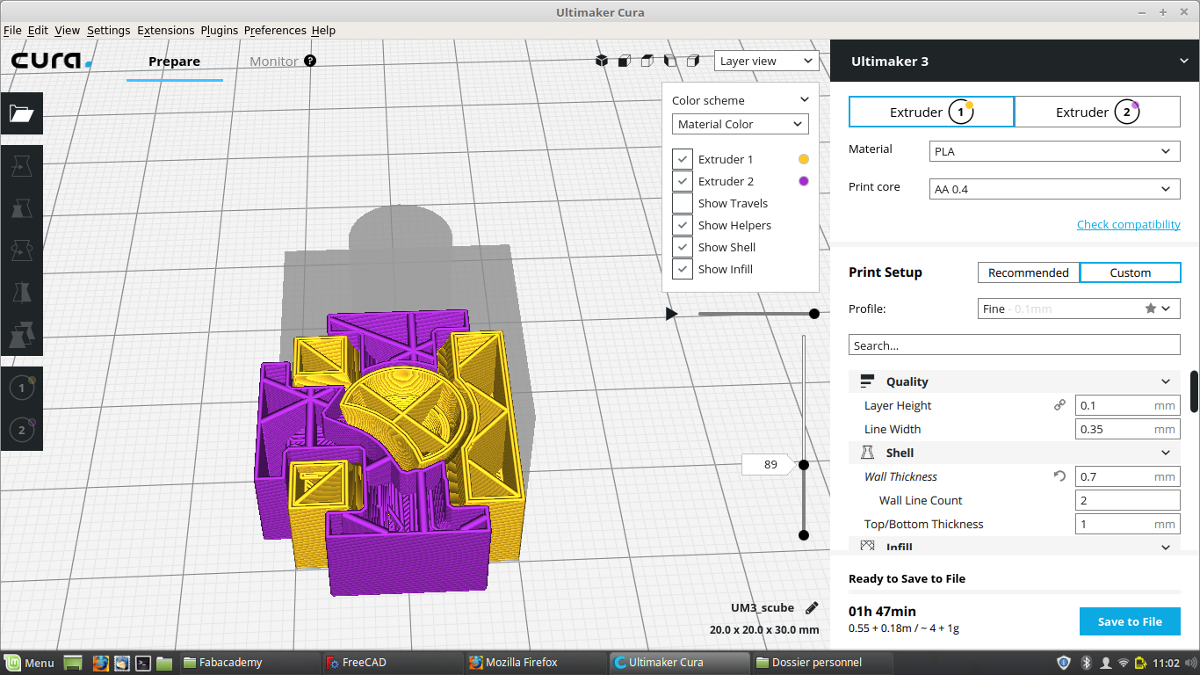
I print two parts together because, it would be impossible to put the rod in the cube after printing.
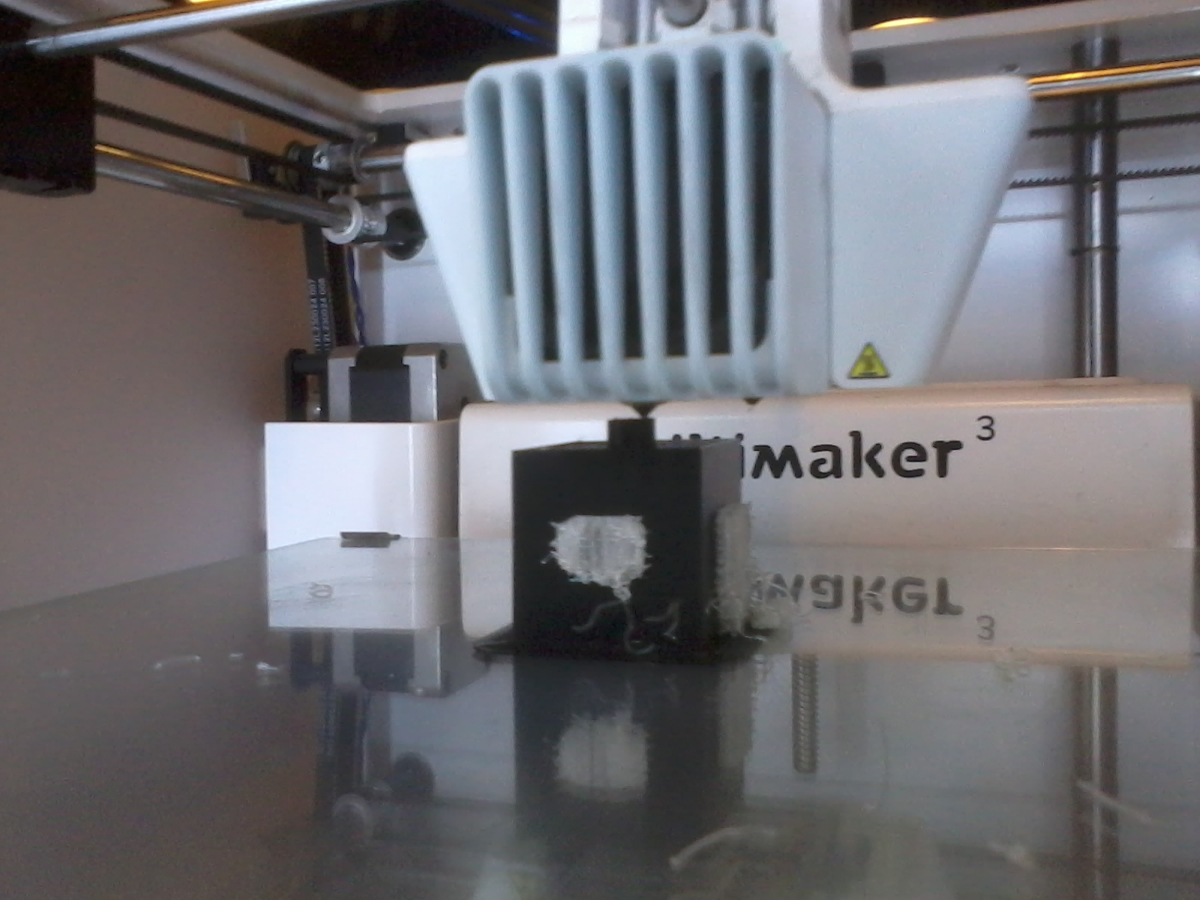
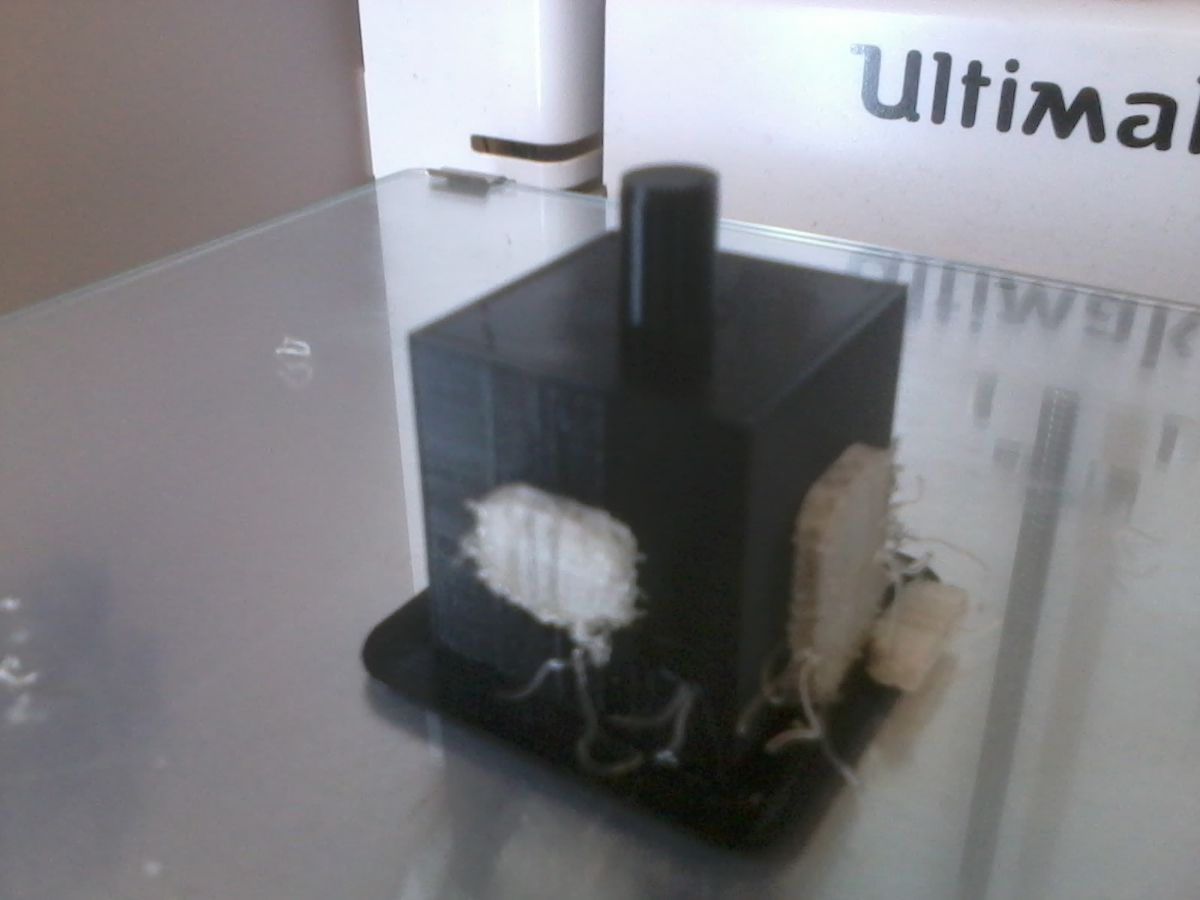
First, I tried without support but the two parts stick together and I broke the rod when trying to separate them.
Second time, I printed with a support in PVA wich is water soluble and it was fine.
Print Parameters :
Printer:
Ultimaker 3,
Print core : AA0.4mm & BB0.4mm
Material 1: PLA
Nozzle temperature: 210°
Build plate temperature: 60°
Material 2: PVA
Nozzle temperature: 215°
Cura 3.2.1:
Layer height: 0.1mm
Line width: 0.35mm
Wall thickness: 0.7mm
Top/bottom thickness: 1mm
Infill density: 15%
Print speed: 70mm/s
Generate support: yes
Support extruder: extruder 2
Support placement: everywhere
Build plate adhesion type: Brim
Brim width: 7mm
Duration: 3h17
Weight: ~10g