Week 8 : Computer controlled machining
- Make something big (on a CNC machine)
Fab Academy 2018 - Thierry Dassé
 I own an old table with Louis XVI style legs but without top. I put a broken marble top but have thought to make another one for many years.
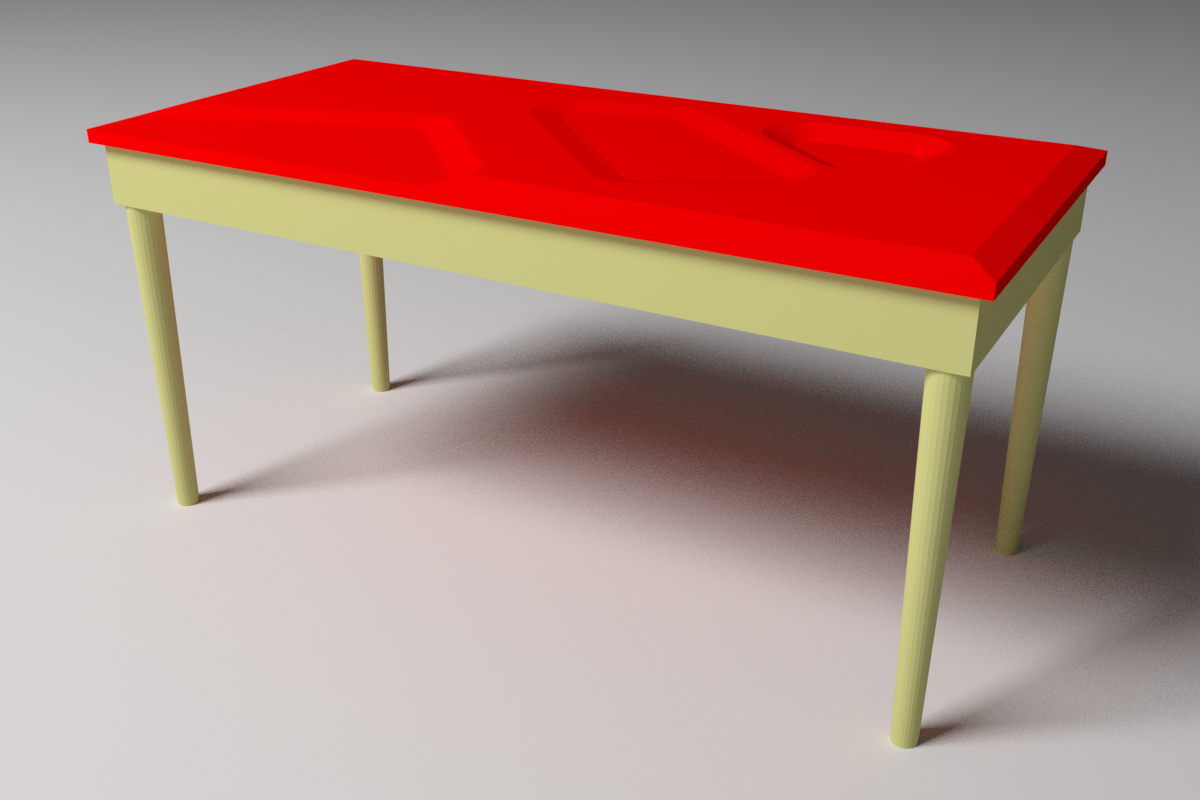
I wanted the top to be contemporary and not as classical as legs.
I started to think of a rectangular shape but with chamfered pockets on the top.
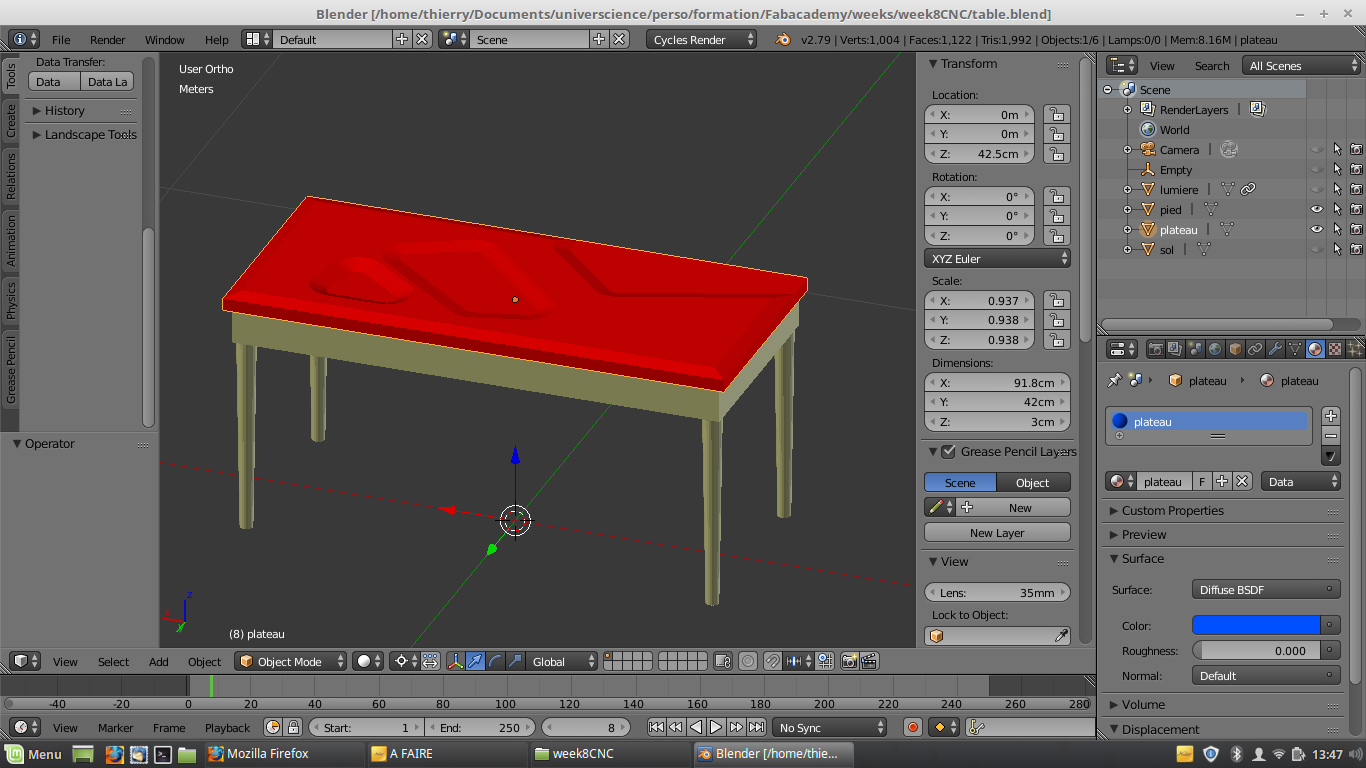
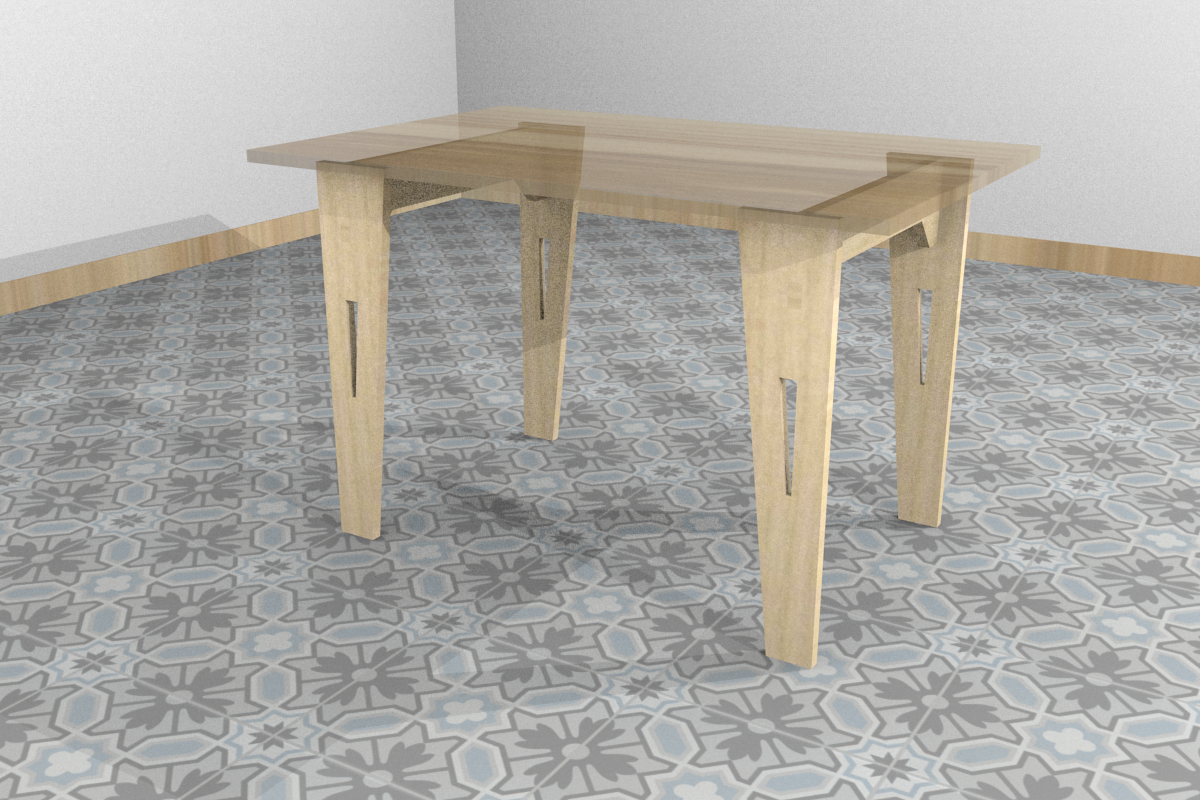
To see render between legs and top, I started to design simplified legs on Blender.
First, I wanted to make a Voronoi diagram on the top but with many holes on it, my table wouldn't have been usable.
I simplified it in three pockets on the top.
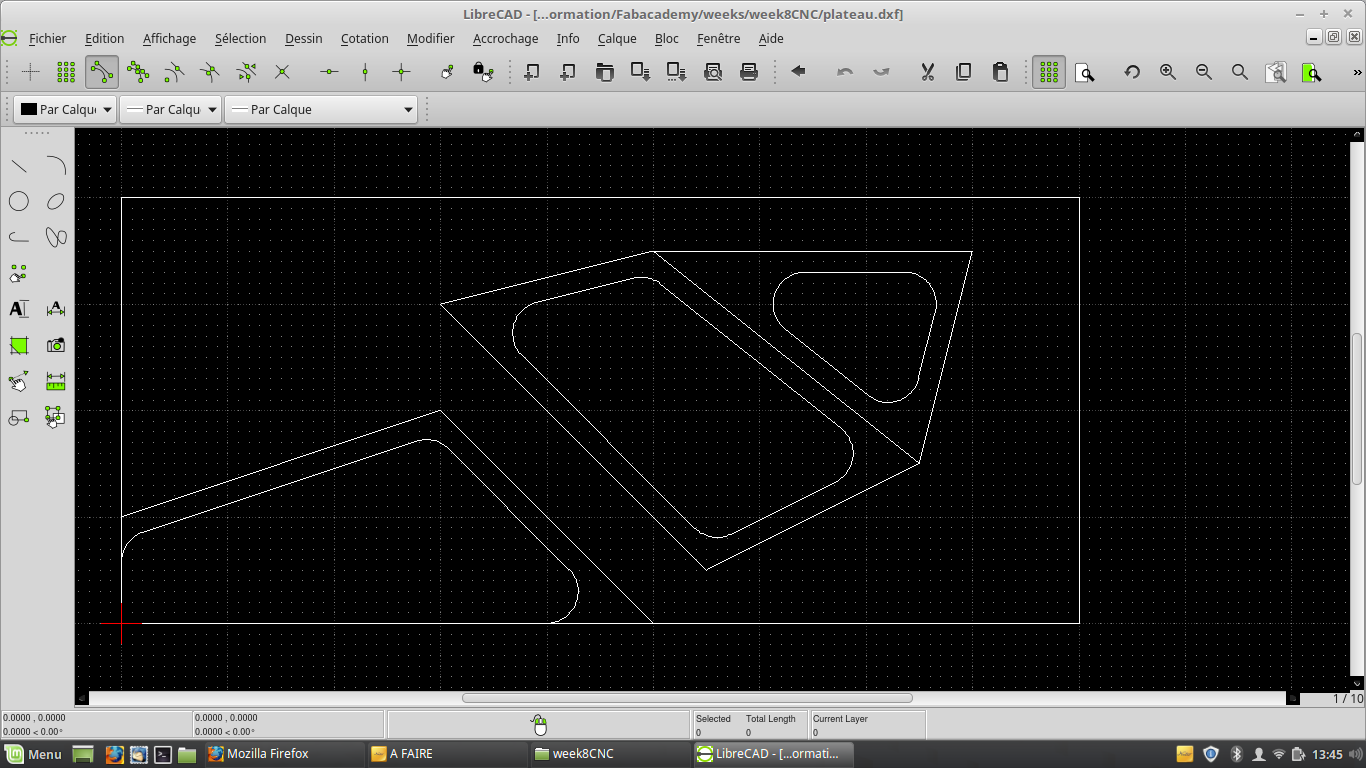
To design it, I first made a sketch on librecad because it's quite easy to make polylines with parallel edges and have round corners with filet tool.
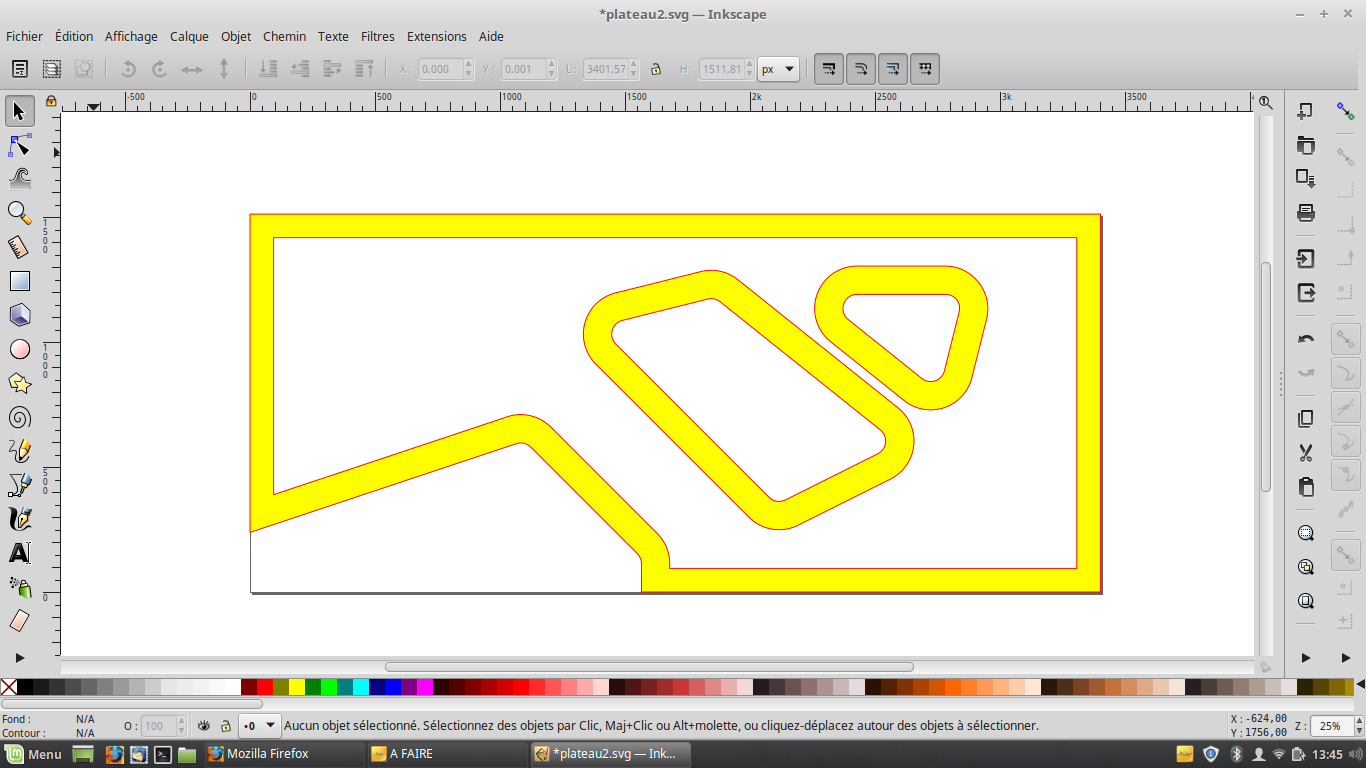
Then, I transformed lines to shapes with width using path to outline tool on Inkscape.
Then, I imported the result in Blender to make the volume with lines at different height.
At the end, I think it could have been easier to make it directly with Freecad. I tried with :
There are two limitations on Freecad. First, on a 8mm pocket, you can't make a 8mm chamfer. 7.99mm is possible but chamfer has to be less than 8mm. Second, the chamfer is always 45°. I didn't find a way to modify the value. In my case, I wanted a chamfer width 30mm width and an angle depending on pocket depth.
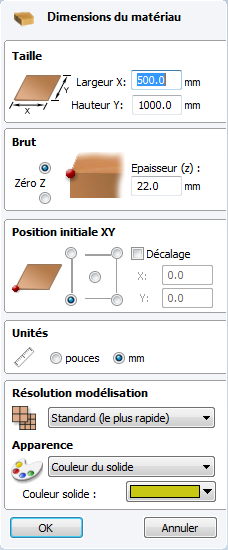
 To mill my table, I used a 1000x500x22 mm MDF sheet and Vcarve software.
I first create a new project and put enter my MDF sheet dimensions x : 500, Y : 1000 and thickness : 22.
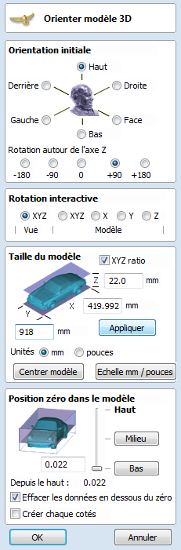
Then I export my table top in .stl and import it in Vcarve.
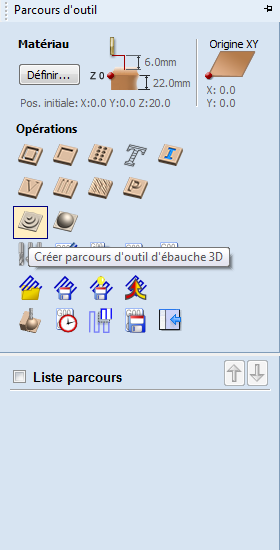
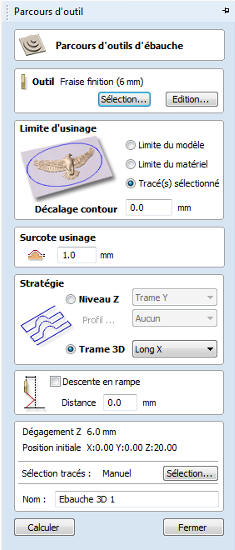
I choose a 10mm spherical mill. First, I set layer thickness to 1mm and start the mill. It was very slow
and when I had a look to the timing, the duration was 68 hours. I changed layer thickness to 5mm, increase the speed and
my table top will be made in 2 hours and 43minutes wich is better.
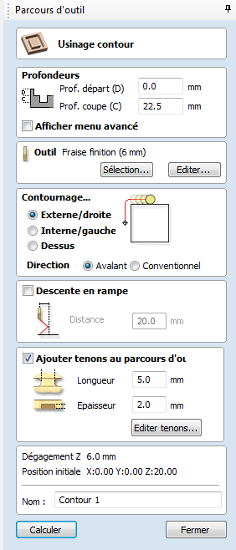
During the milling, I made the file to cut ouline with a 6 mm cylindric tool. Duration was 4 minutes.
I didn't have enough time to make a finishing path and have to make it by hand but result satisfy me.
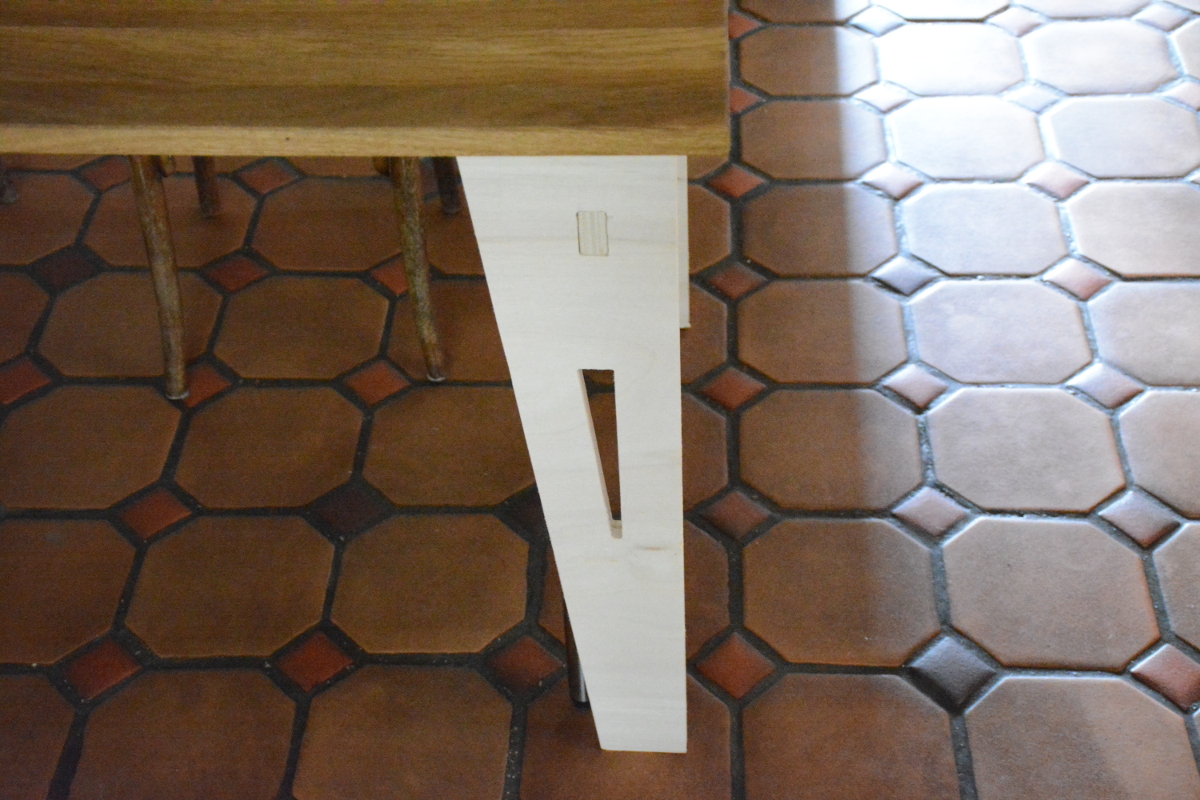
I also made table feet. Two feet are linked with a piece to maintain them vertical.
I used tenons and mortises to assembly pieces together.
I designed all on Inkscape for 22mm thick plywood and made a render on Blender to verify geometry.

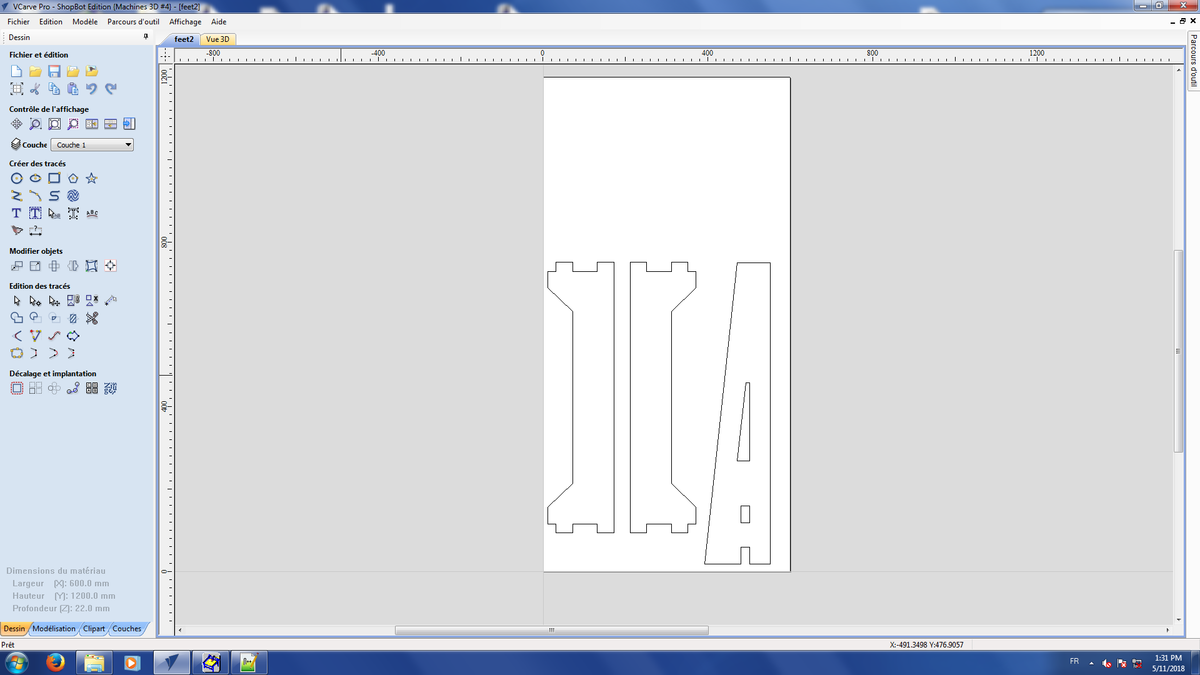
I also use Vcarve pro to make feet. I divide my pieces in two files to mill them.
I couldn't import svg file directly so I exported my sketch in dxf and pdf from Inkscape.
Size were not scaled good in dxf file but in pdf so I used this file format.
I first define material size : 600mm width, 1200mm height and 22mm thick wich is sheet size and maximum size on our shopboot CNC.
When I wanted to put my pieces on, I see that orientation was not good so I selected all lines and made a 90 degree rotation.
I first selected internal lines and use pocket menu, select a 6mm mill.
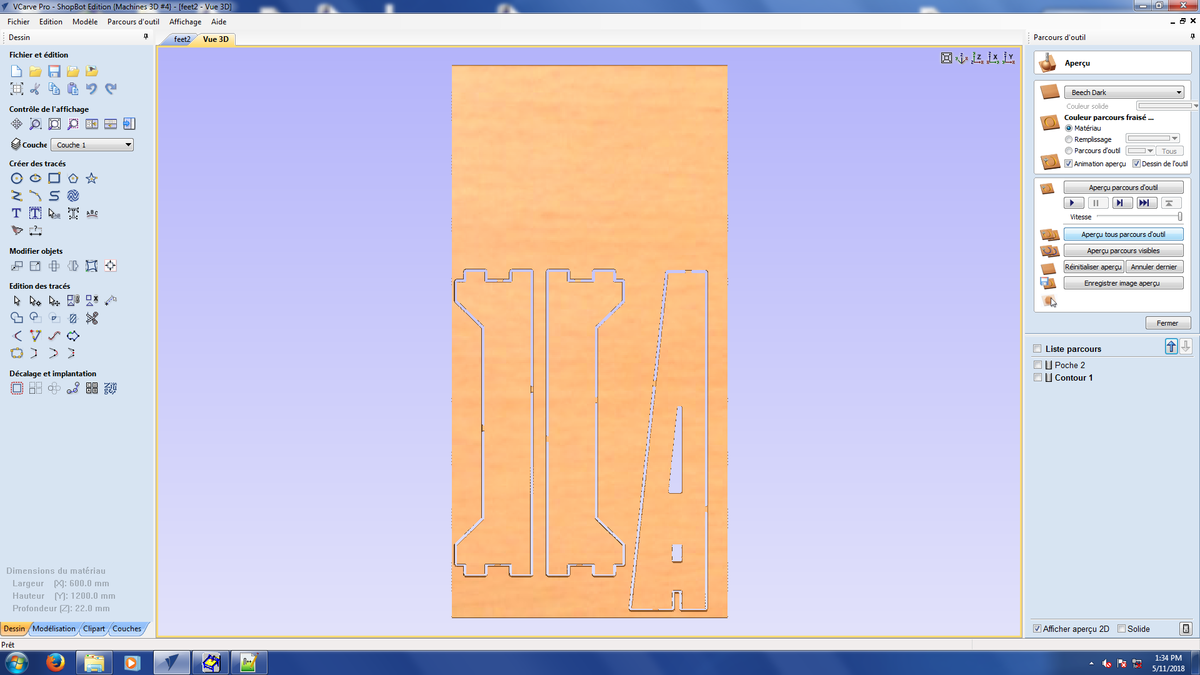
Then, I selected outline and use outline menu, select a 6mm mill cuting external and add tenons


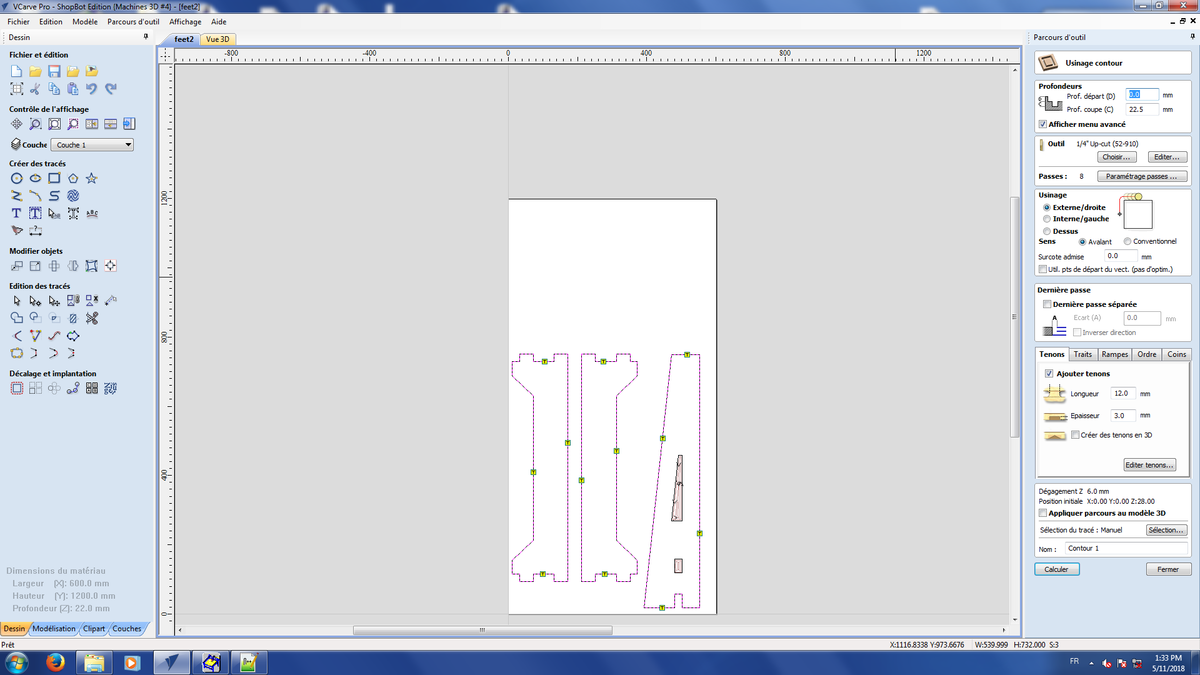
Feet1 and Feet2 vcarve files
Feet1 and Feet2 toolpaths files
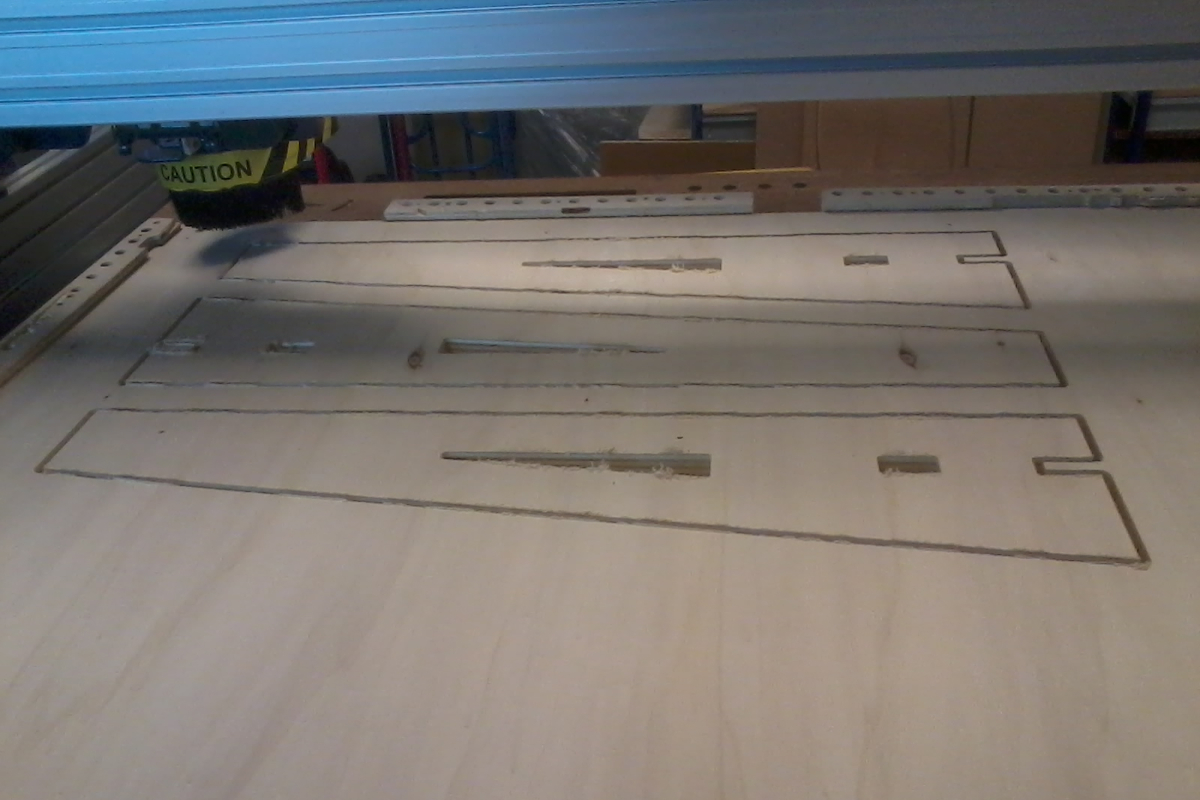
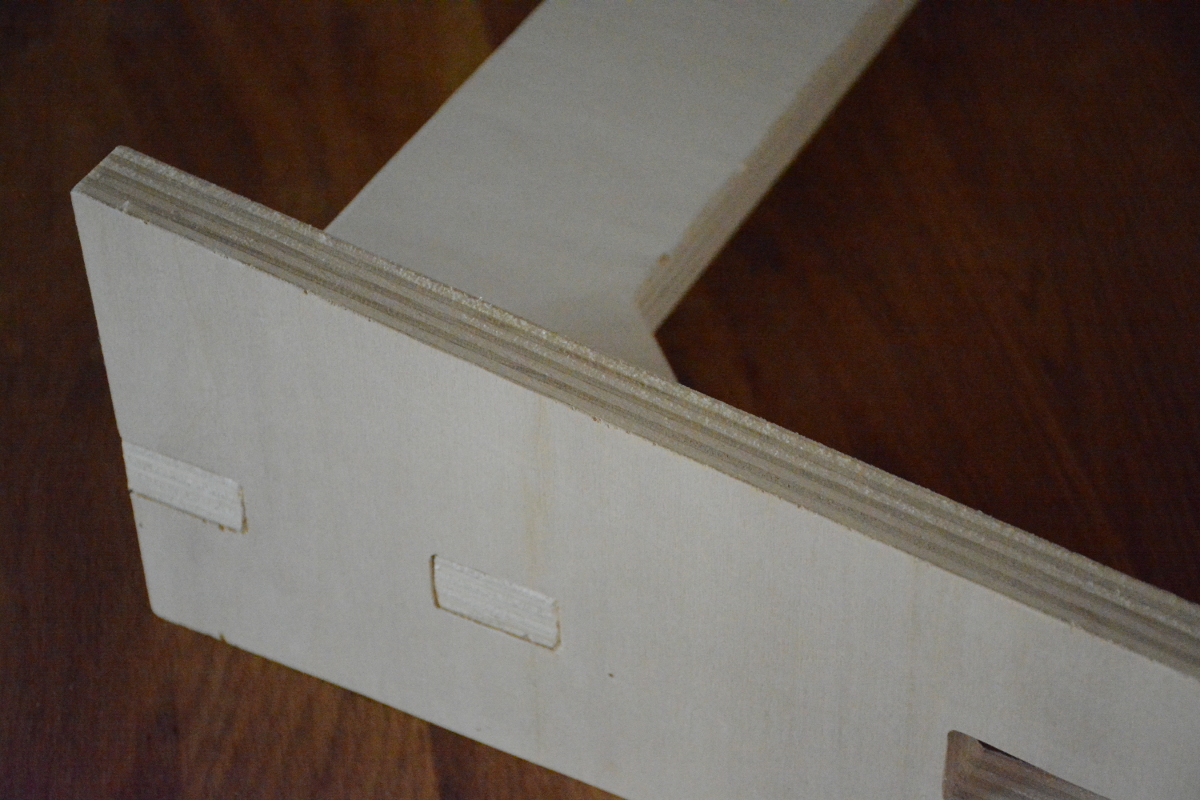
After milling my feet, I assemble pieces. With a 6mm diameter tool, my holes are round rectangle because Ididn't want to make extra holes.
So I add to file for tenons to enter in mortises.
After that, I assembled with a hammer. Feet are really stable and press-fit.