Experiment with Raspberry Pi 3
First, we have to download the operating system on https://www.raspberrypi.org/downloads/.
We choose Raspbian (raspbian-2018-03-14/2018-03-13-raspbian-stretch.zip ).
Then, we unzip and have a .img file.
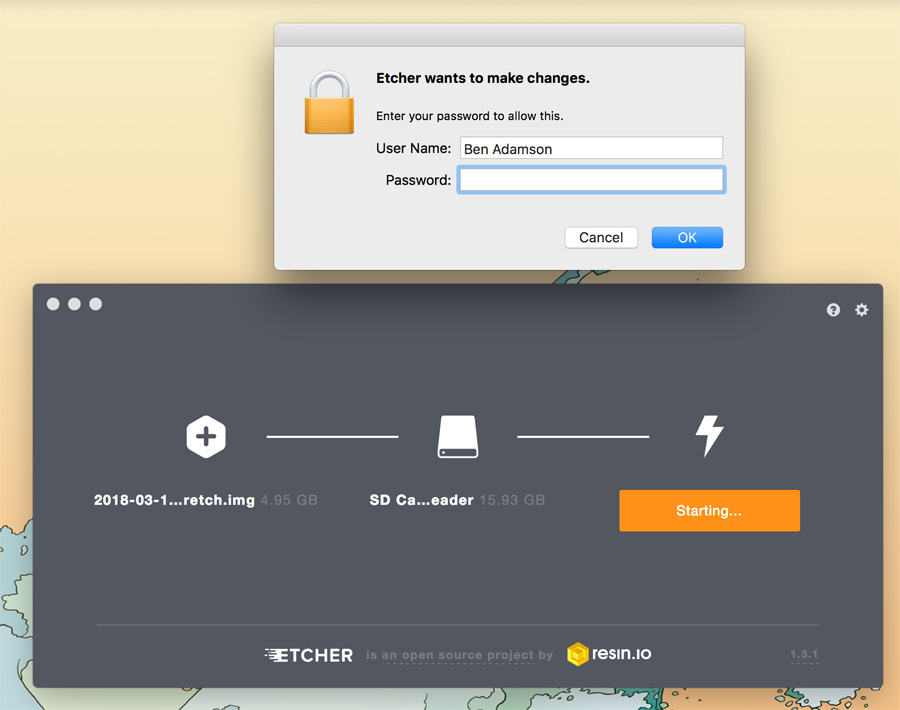
We started the group assignment by installing the Rasbian operating system on our Raspberry Pi. We did this by using downloading the OS image from the raspberrypi.org and flashing it to a SD card using the Etcher program.
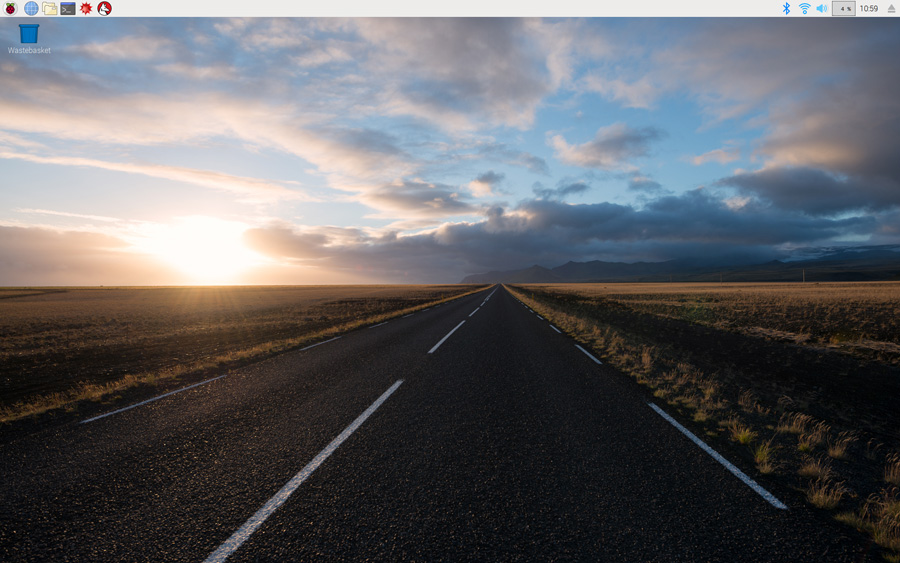
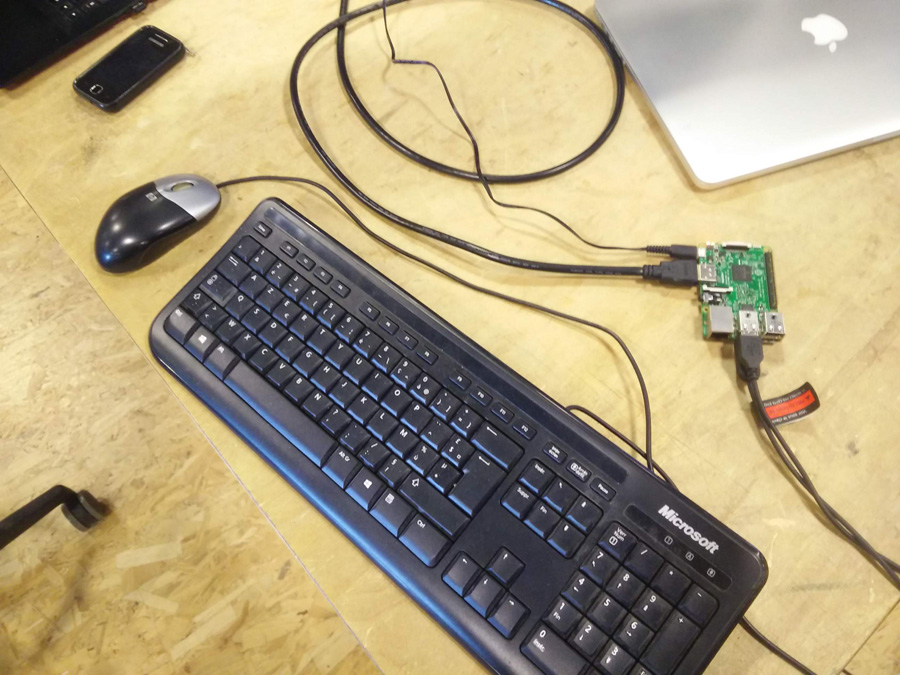
When this is complete, you can insert the mini-SD card (housed within the SD) into the Raspberry Pi and attached the necessary peripherals (mouse, keyboard and HDMI display). It loads up with a desktop just like any computer, running Linux.
We knew we had to test the use of GPIO and we searched online for the necessary libraries. We then realised that GPIO was included natively in this version of Linux (?).
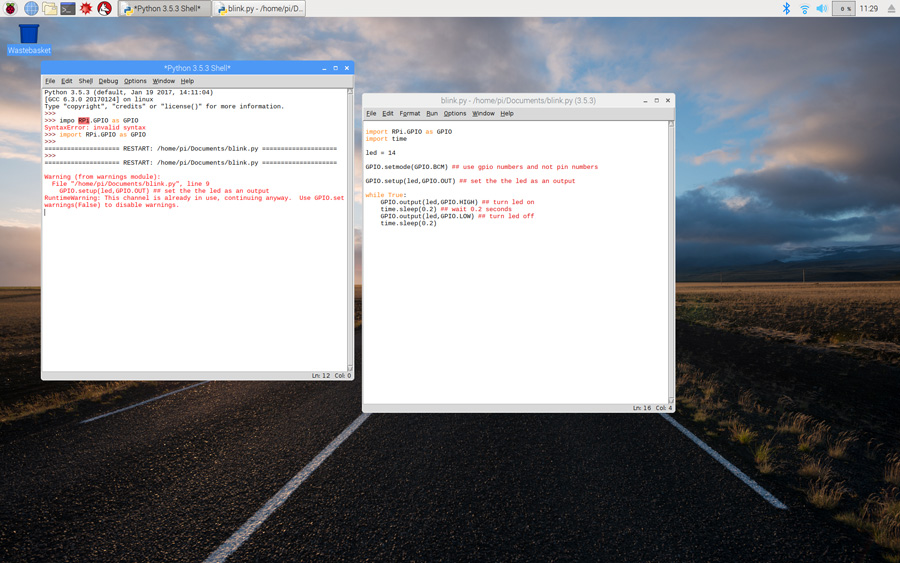
We chose to work with Python first. We ran the following code to get the Terminal line to return a basic printline command.
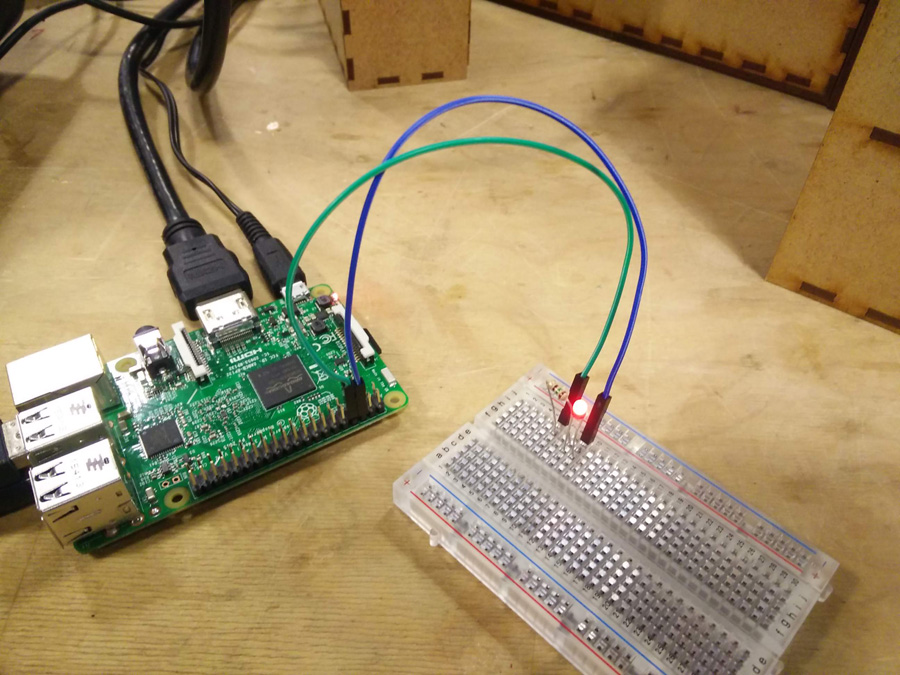
We then wanted to to see if we could get the Raspberry to get an LED to blink . We assembled two jumper cables, a resistor and breadboard and attached them to GND and 5v pins on the Raspberry. We then typed the following code,
import RPi.GPIO as GPIO
import time
led = 14 ## led is on GPIO 14
GPIO.setwarnings(False) ## disable warnings
GPIO.setmode(GPIO.BCM) ## use gpio numbers and not pin numbers
GPIO.setup(led,GPIO.OUT) ## set the the led as an output
while True:

We decided to take the experiment a stage further, so to get the Raspberry to switch between blinks when a button is pressed. We added a press button to the breadboard. The following Python code was run,
import RPi.GPIO as GPIO
import time
led = 14 ## led is on GPIO 14
switch = 15 ## switch button is on GPIO 15
GPIO.setwarnings(False) ## disable warnings
GPIO.setmode(GPIO.BCM) ## use gpio numbers and not pin numbers
GPIO.setup(led,GPIO.OUT) ## set the the led as an output
GPIO.setup(switch,GPIO.IN) ## set the the switch button as an input
while True:
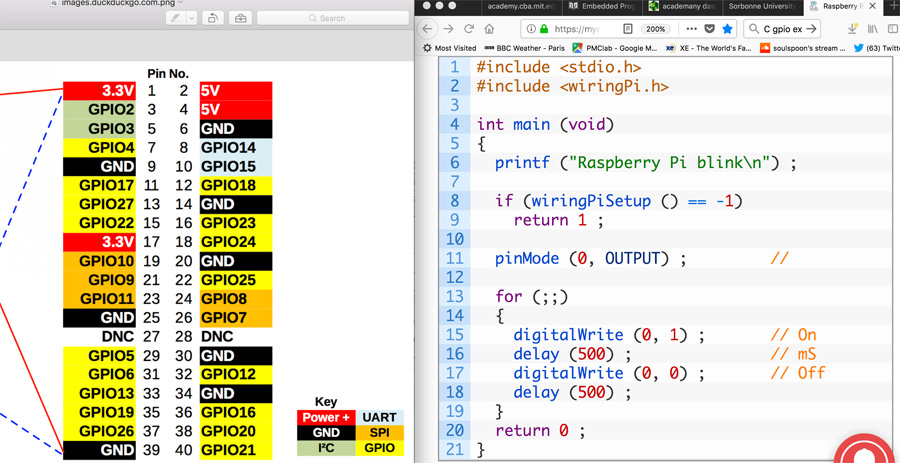
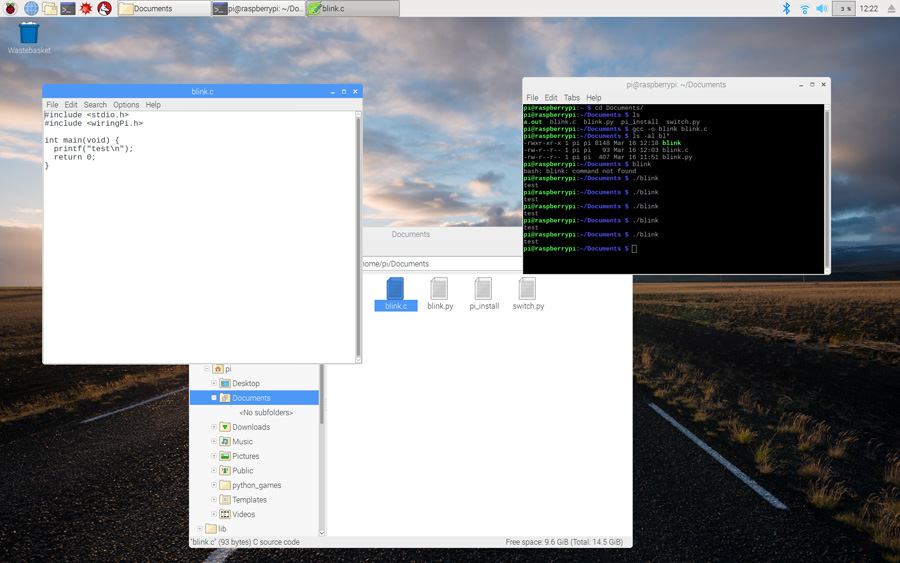
In a final step, we repeated our experiment in a second programing language, C. We prepared the following code for the blink
#include <stdio.h>
#include <wiringPi.h>
int main(void) {
}
And the following code for the switch
#include <stdio.h>
#include <wiringPi.h>
int main(void) {
}