Files
3D models:
SpiralSquare
Tip
Box
Board:
Clay board, BRDClay board, SCH
Outline
Board
Code:
CodeProject management
1: Brainstorm about projects.2: Pick out a project that you want to make.
3: Find inspiration on the internet.
4: Evolve the project.
5: If it’s something that has been made before - modifications, what can make it better.
6: Make prototypes.
7: Testing.
8: Evaluate.
9: Test again.
10: Make final modifications.
11: Finish project.
12. Evaluate - What can be better. What works?
Week 1
As a Final Project I really want to make a 3D clay printing machine. I’ve been working with clay before so I know a bit about it and I also know a place in Vejle where I can get the clay burned and glazed once it is printed and dry.I’m hoping that this project can contain a lot of the things we learn while taking the Fab Academy.
I think it would be possible to have a tank next to the printer filled with clay. Then attach some sort of pump which would pump the clay up in the machine and out the nostril. Because the clay is wet, there is no need to heat up the nostril in any way - this will only dry up the clay and then it wouldn't stick or come out at all. The problem with a pump would be that it might make bubbles when pushing out the clay.
When firing up the clay in the kiln you can’t have bubbles. The bubbles can make the clay burst into pieces or get cracks.
Another way to make it is if the tank is on top of the machine, but this could be difficult in the way that the clay weighs a bit more compared to the PVC/PCB. The problem there could be with this way is that you need kind of a “stop” thing. Because otherwise the clay would just run out.
I need to make some tests on the clay because it needs to be liquid enough to put in the machine and come out the nostril, but it also can’t be too liquid because then it will run out and splat together.
When you buy the clay, you get a big lump in a plastic bag. Because of this I need to test the density of the clay so I can get the same density every time.
Inspiration: Wasp 3D Clay Printer
Week 2
Clay printerI visited a woman called Anna Andersen who has a studio in “Fængslet” in Horsens. Ola knew her from a lecture she was at so she planned for us to come visit.
She has her own 3D clay printer. She made it from a delta printer she bought used. A glue extruder she also bought and then attached an air compressor. She designed some of the parts to hold the glue extruder in a 3D program and printed it in plastic. Her design is on Thingiverse
The glue extruder was very smart because it already came with exchangeable tubes for the clay. In this way you could have several batches of clay ready to be printed with.
She said that the air compressor is not the most precise way to press the clay out. You have to adjust it all the time, especially in the beginning of the print. Then you can can adjust it again later if it pushes out to much clay. With this method you always have to keep an eye on the things you print.
One of the really good things about printing with clay is that because the layers of the clay are so thick, It prints really fast.
She used a hair dryer if the structure was not that stable. In this way she could dry up the clay a bit before it falls together (this happened when we visited).
Week 3
I have been skecthing out some of the ideas I had to make the clay printer.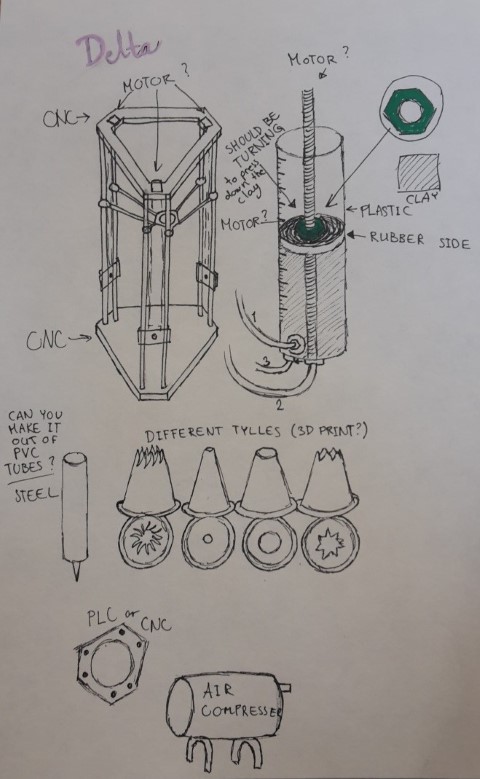
3D modeling
To see more about 3D modeling, click HERE.I’ve been working on the printhead to the printer.
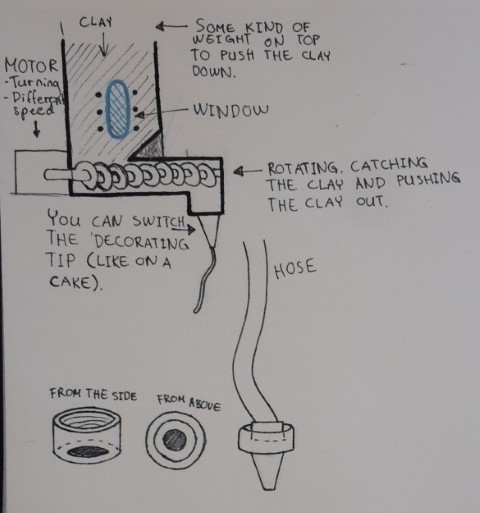
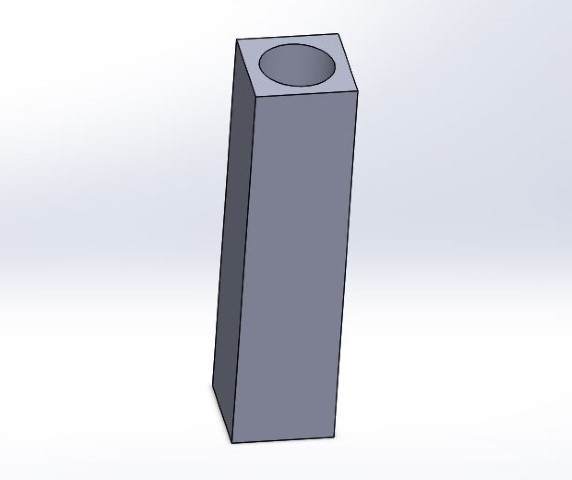
I’m figuring out ways to make the flow of the clay steady. I also want to be able to exchange the nozzle on the printer so I can use different thicknesses and in this way get more or less clay out. I want to make this really simple, so It’s easy. That’s why I made it with screw holes and then I want a nut on the other side to tighten it together. If it is not put tight together, clay will come out in between here.
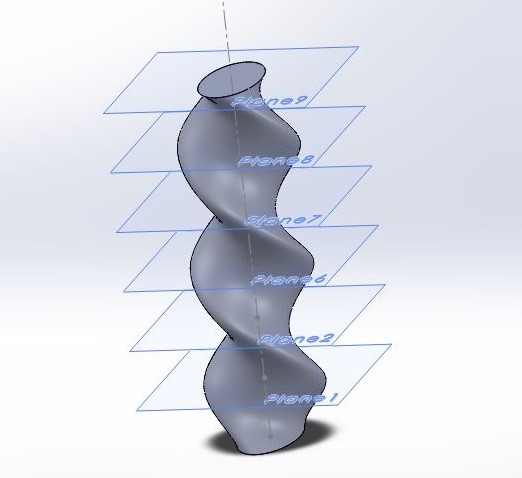
The models are designed in Solidworks. With the spiral I am working a lot with layers in order to make it into a spiral in the program.
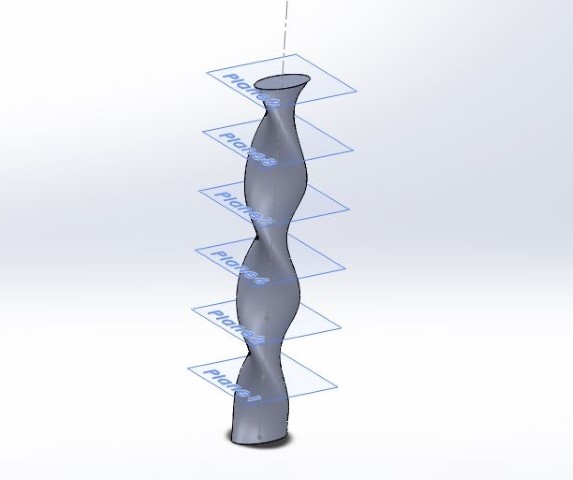
I made some adjustments to the spiral and made it wider.
I have also begun working on the nostril and the tube that the spiral goes in.
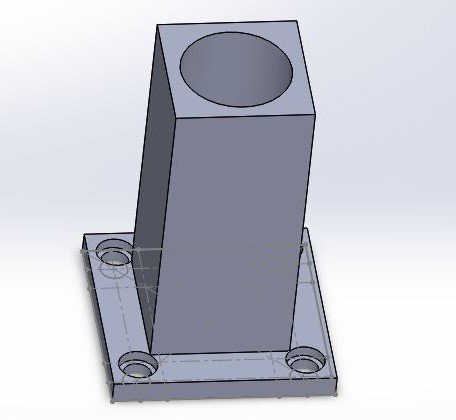
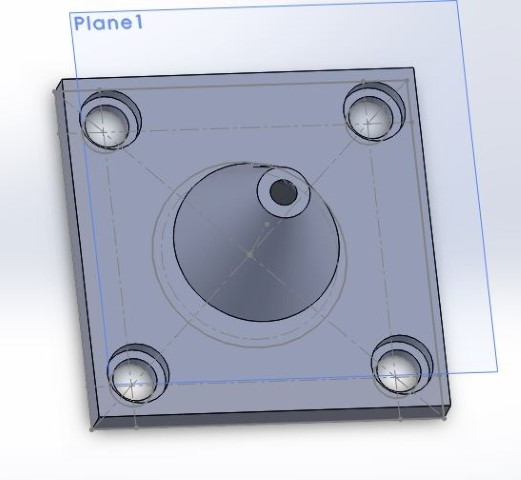
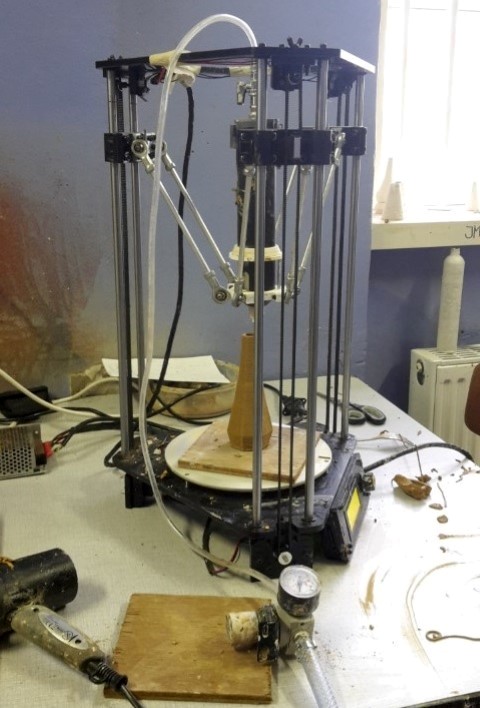
Structure of the printer
I began making the structure of the printer.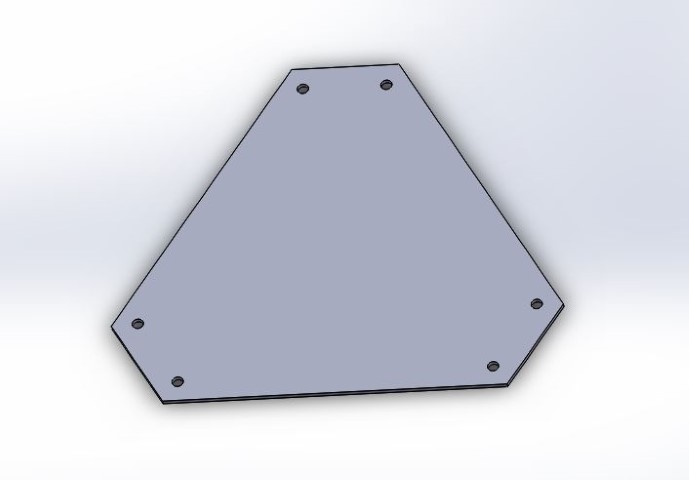
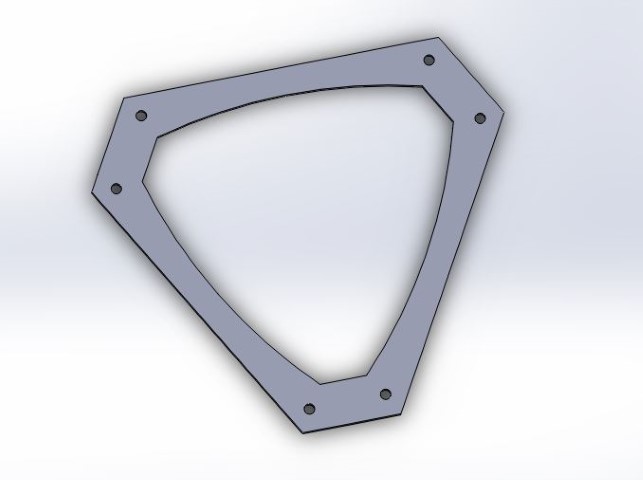
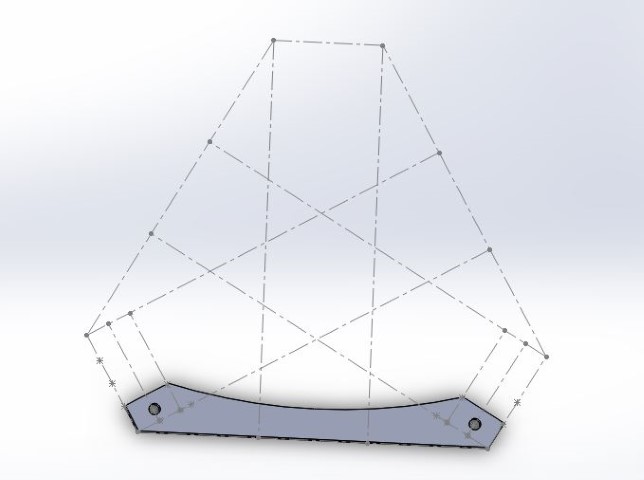
Machine skeleton
In the Mechanical and Machine design weeks we built the skeleton of a 3D printer.See the links for more informations:
Mechanical design
Machine Design
Clay exstruder
I am now focusing on the extruder for the clay. I have made a spiral and added a motor to it so the spiral should be able to turn around and helping to make the flow of the clay more steady. I am also working on making a syringe pump. So I am designing some gears to attatch to a motor and make them turn around. I am bying the syringe in bauhaus and filling it with clay manually before attaching it to the extruder.I am using a white clay with small chamotte. Chamotte is how big or small pieces of burned clay there is in the clay. And because it needs to go out trough a small nozzle I want the clay with small chamotte in.
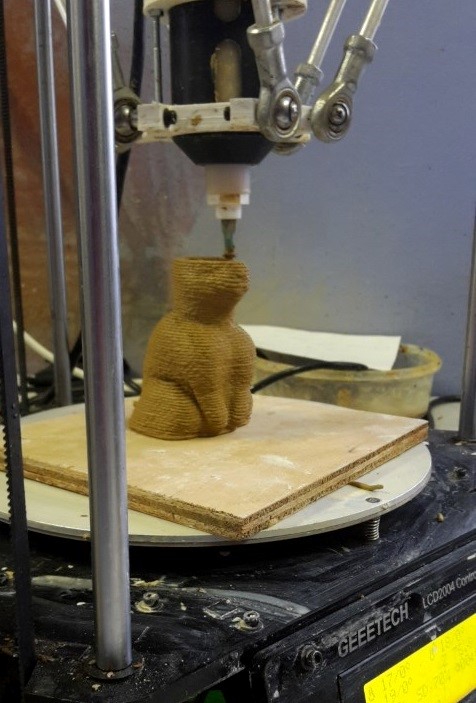
Testing on the 3D printer
To see more about 3D printing go to THIS side.I made a lot of test prints on the 3D printer to see if it would fit before I printed the big thing that took a lot of hours.
The first test is because there was an upcut on the motor that should be attached to the top. I wanted the extruder to be as close to the motor as plausible so it was well stuck.
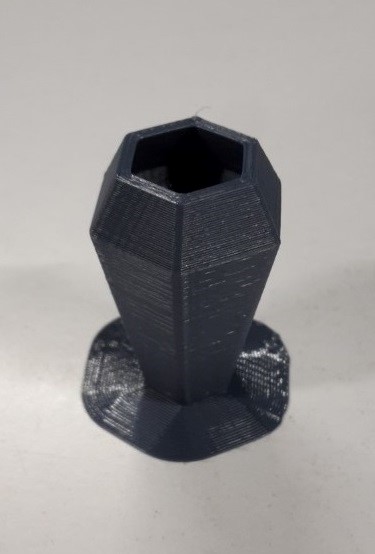
Then I made tests for the spiral. The first one I printed in this black PLA was a bit strange. It looks like the PLA didn't have time to dry before it came around and made next layer.
I then tried adding support and turn it around. I also turned it because I wanted the hole in the cylinder part to be precise.
I also made tests for the hole in the cylinder part of the extuder.
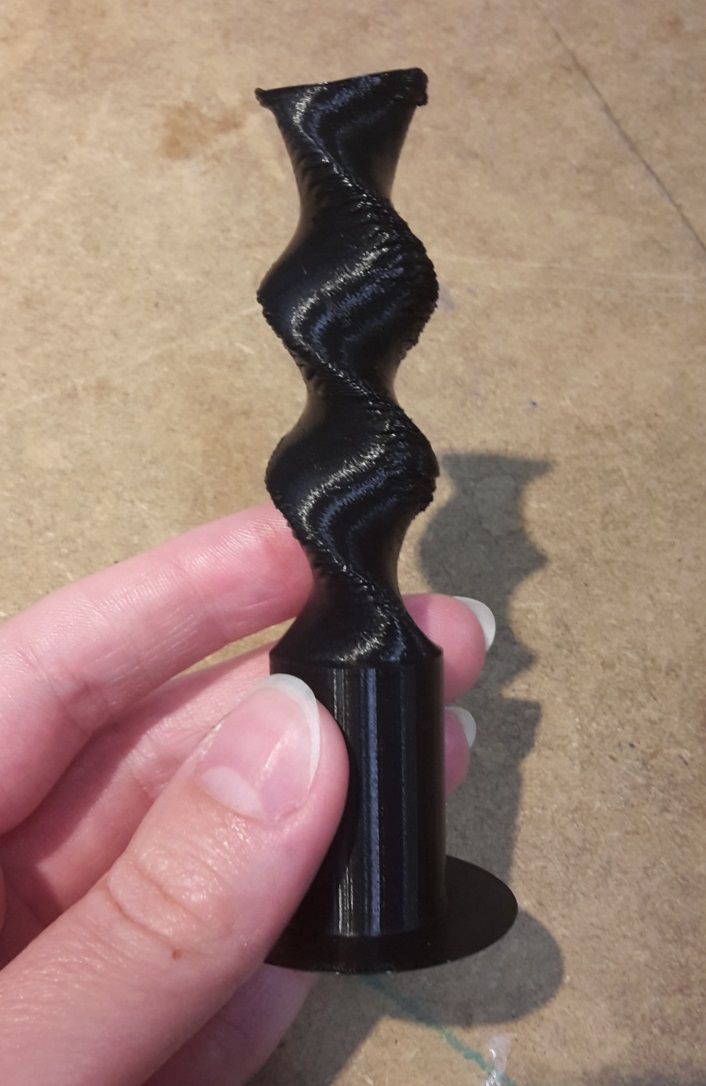
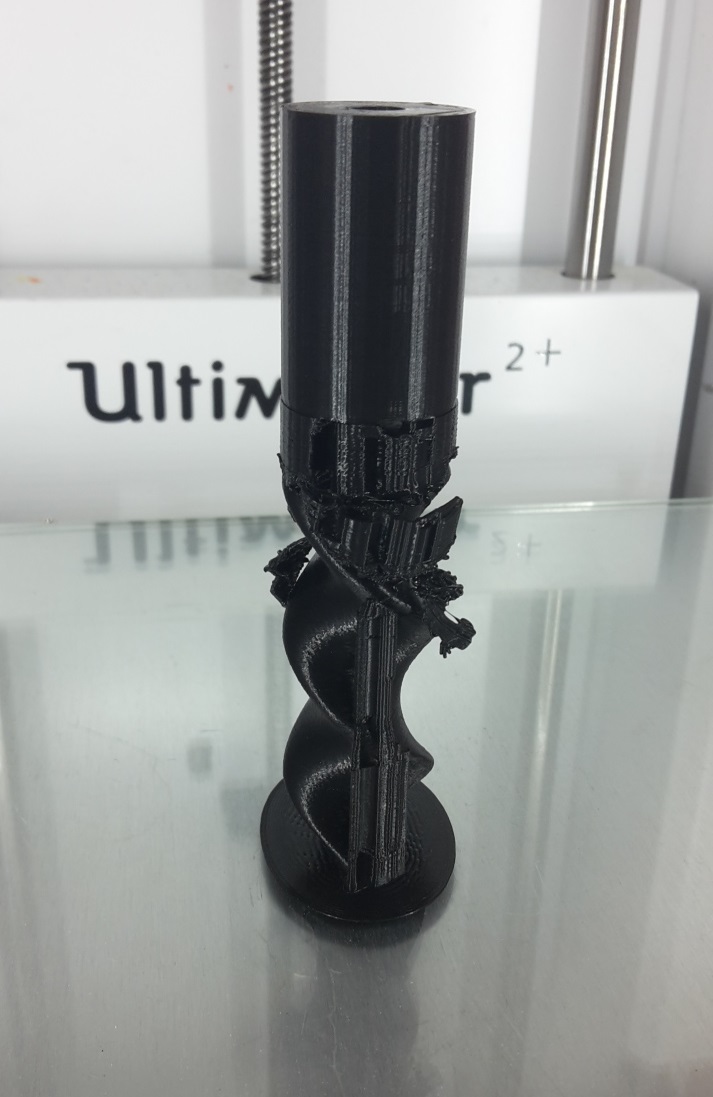
This is the main part with the support still attached.
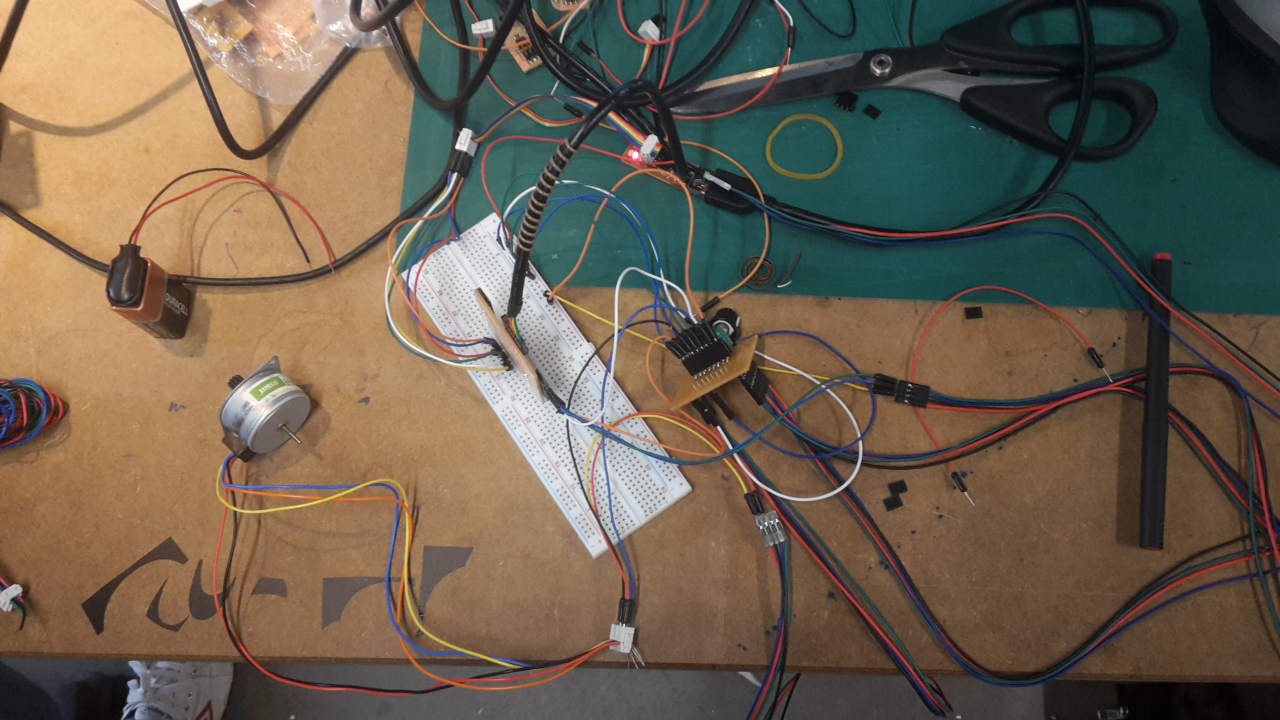
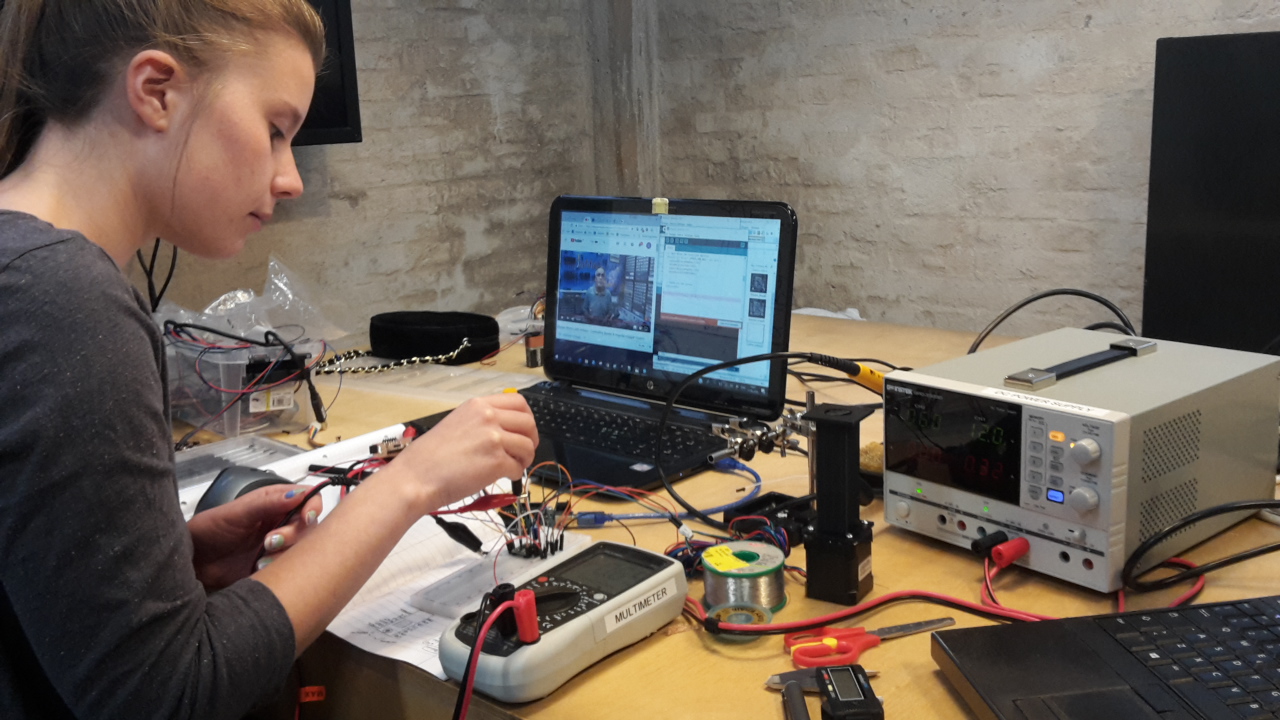
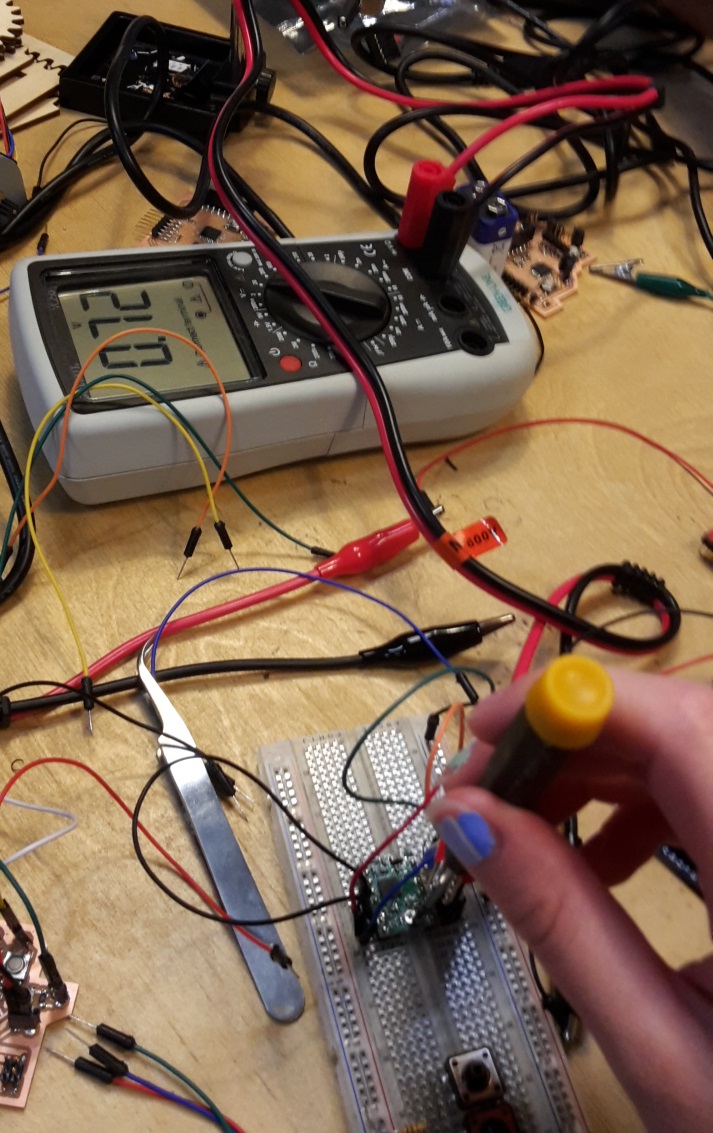
Electronics
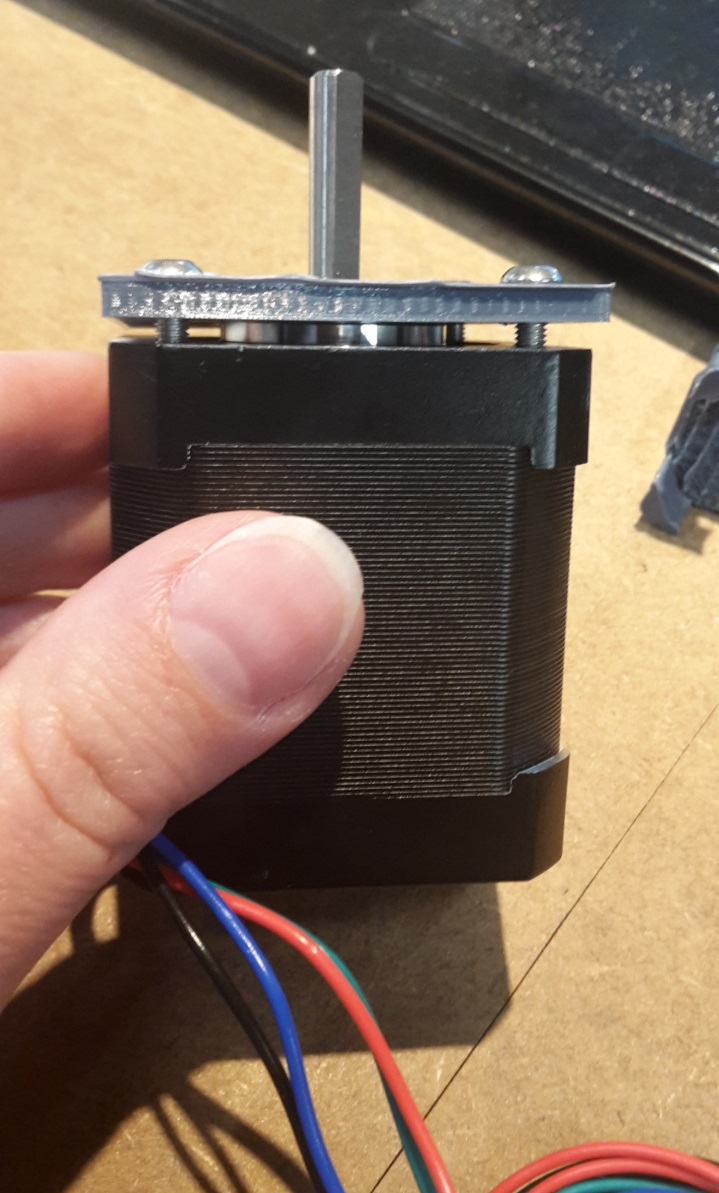
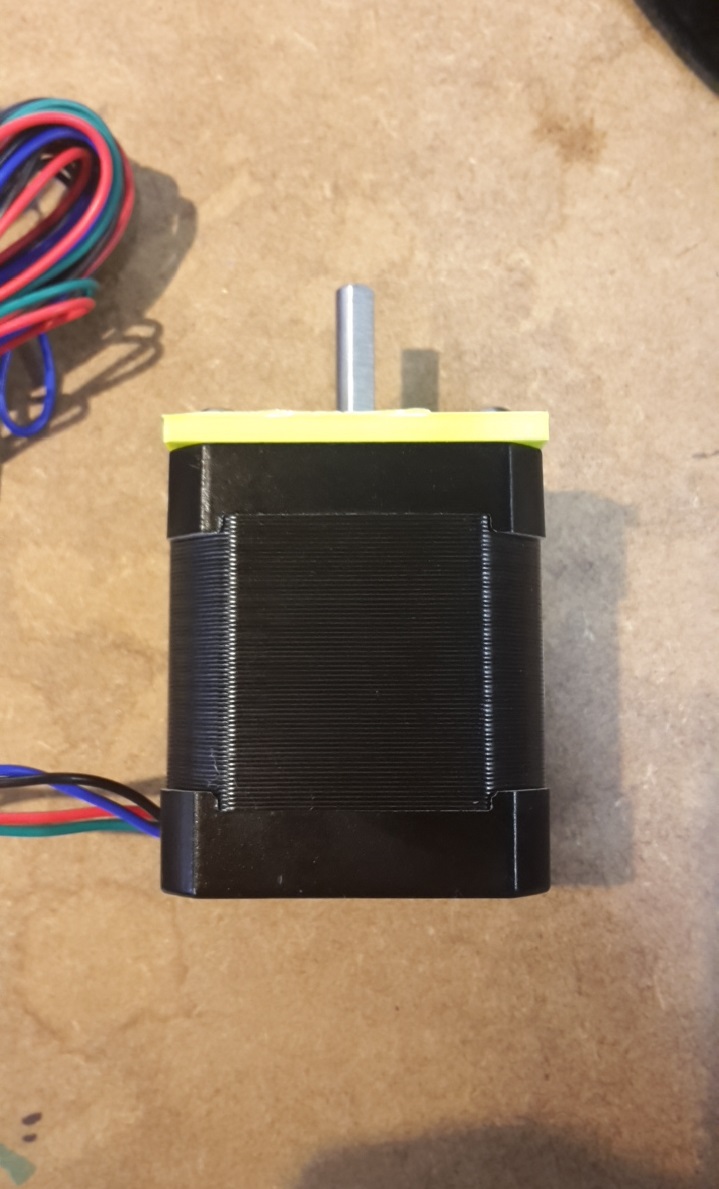
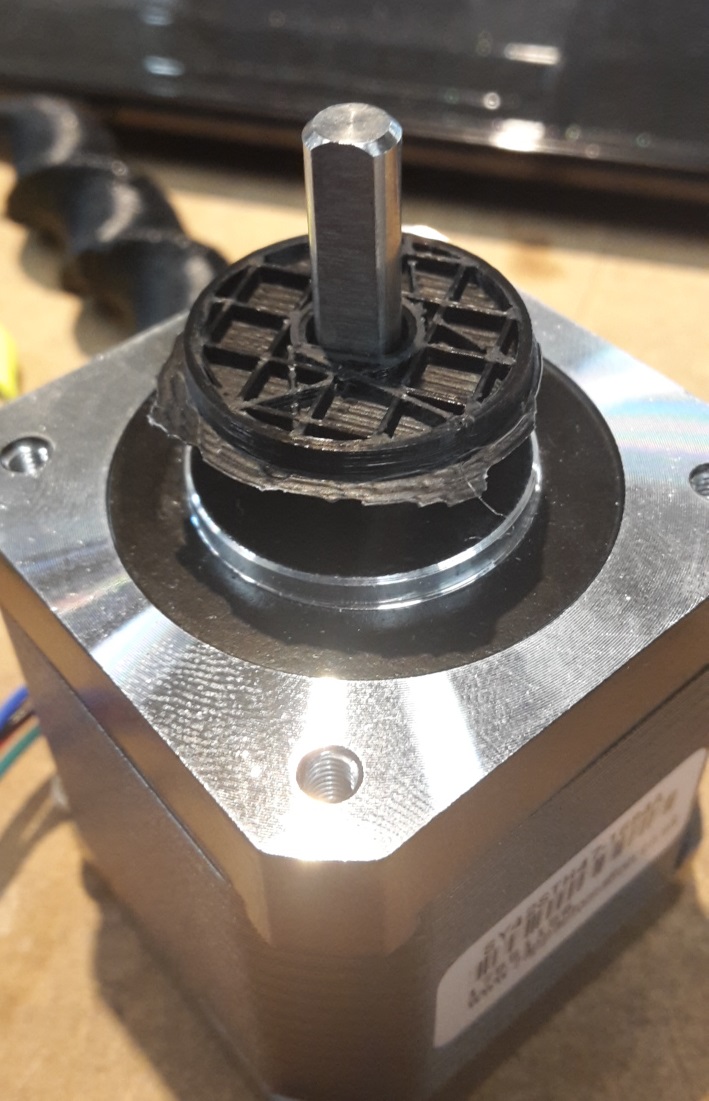
Tests with the first stepper motor board and stepper motor.
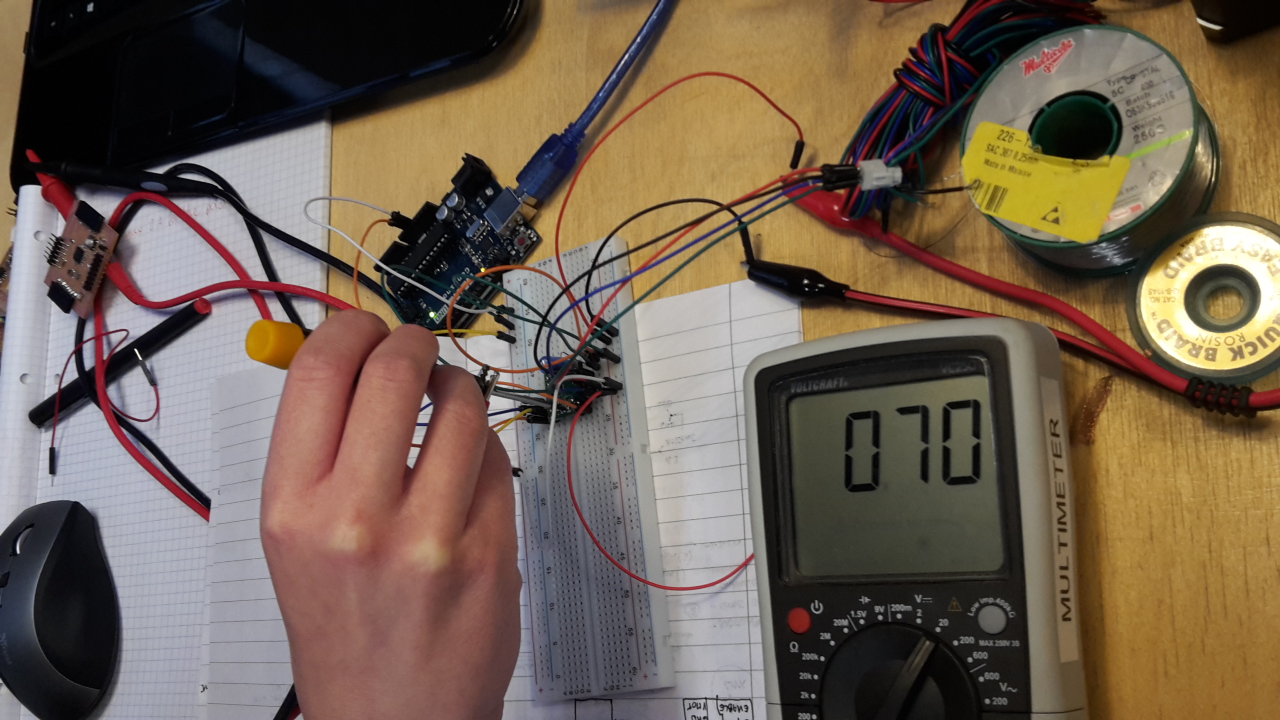
I had to adjust a screw on the pololu.
After adjusting the pololu you can add it to the board again. If it is not adjusted proberly, it might burn.
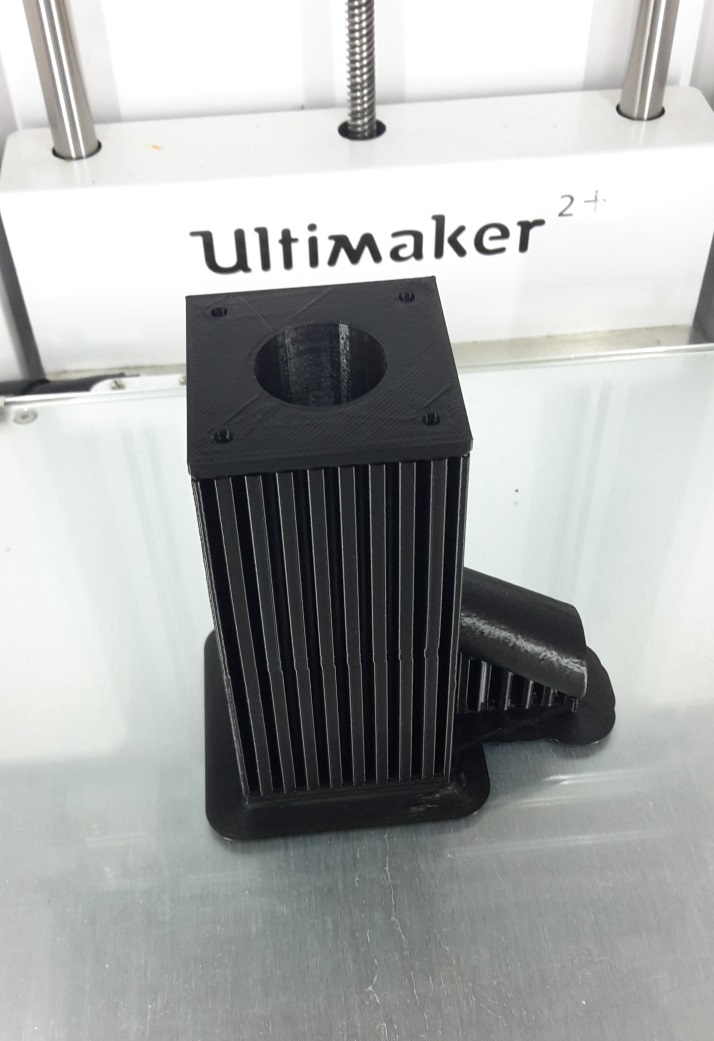
Finished 3D print
The extuder without any support.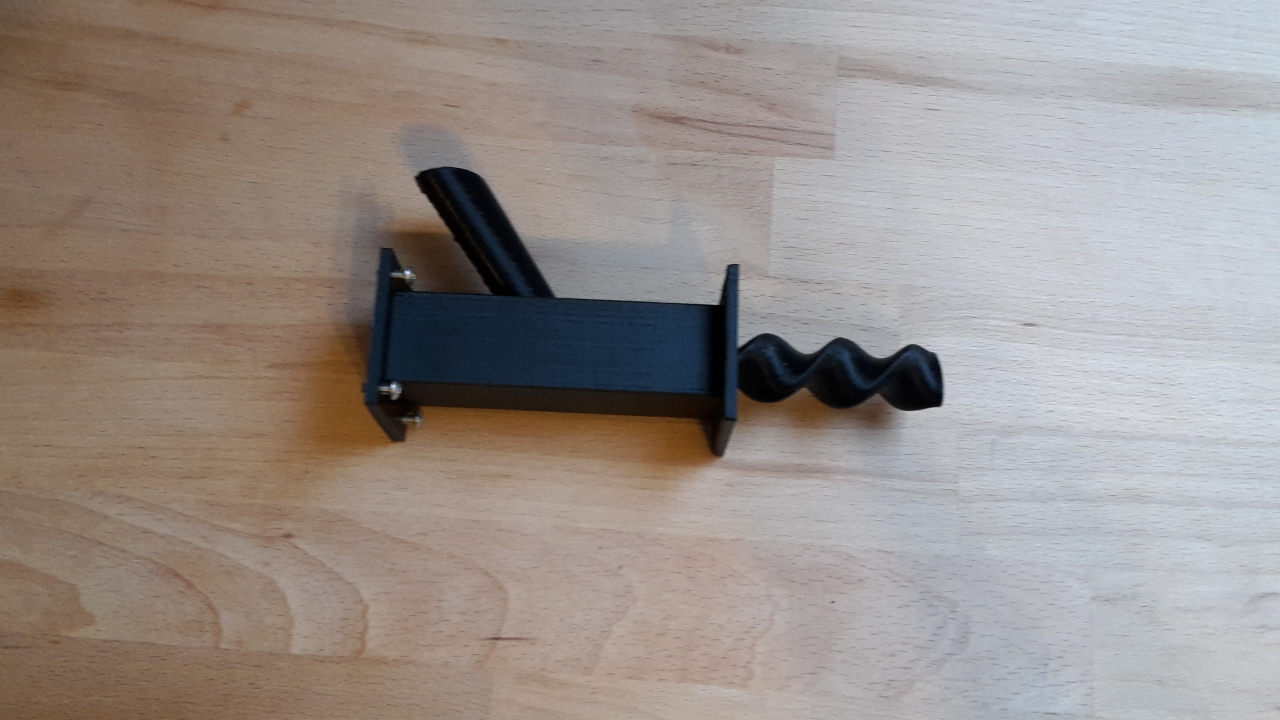
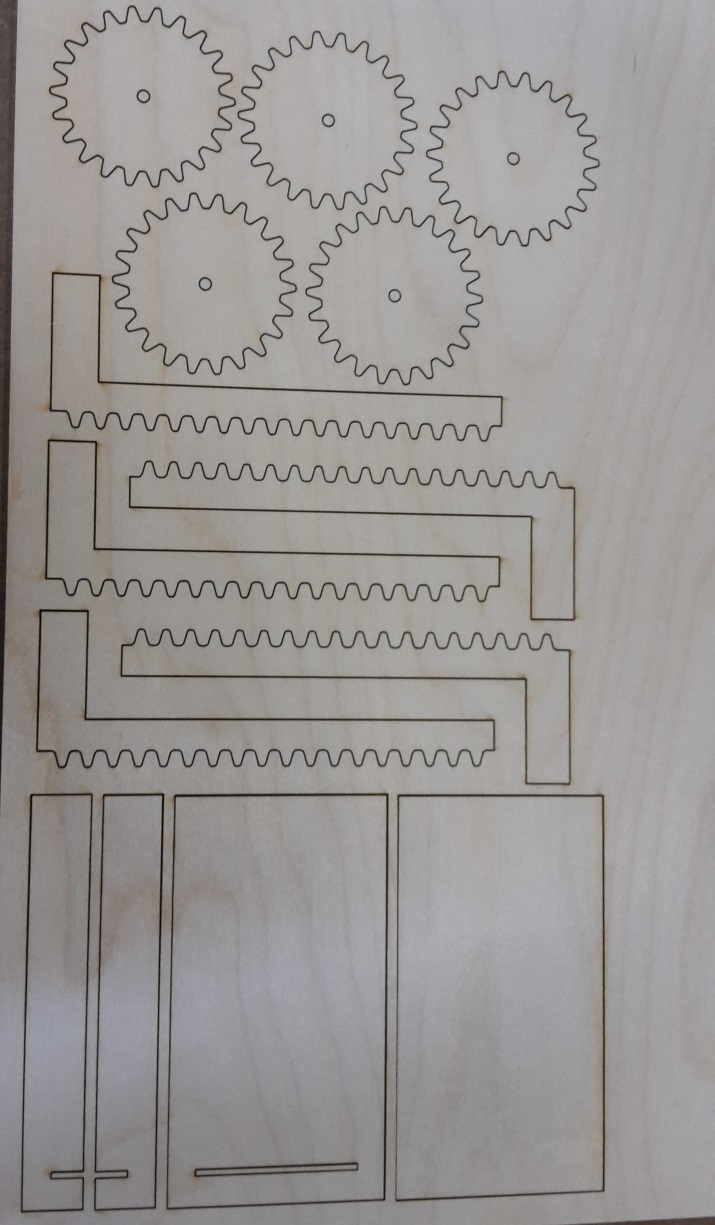
Gears
I tried making some gears to attach to a syringe that should push out the clay to the extruder.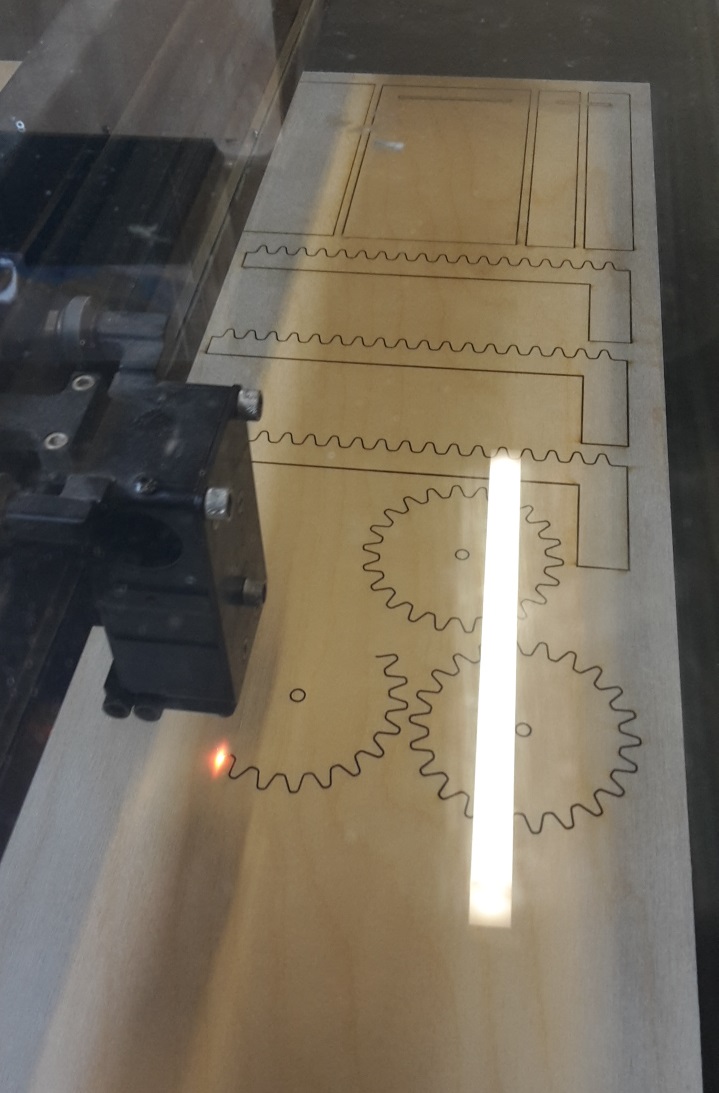
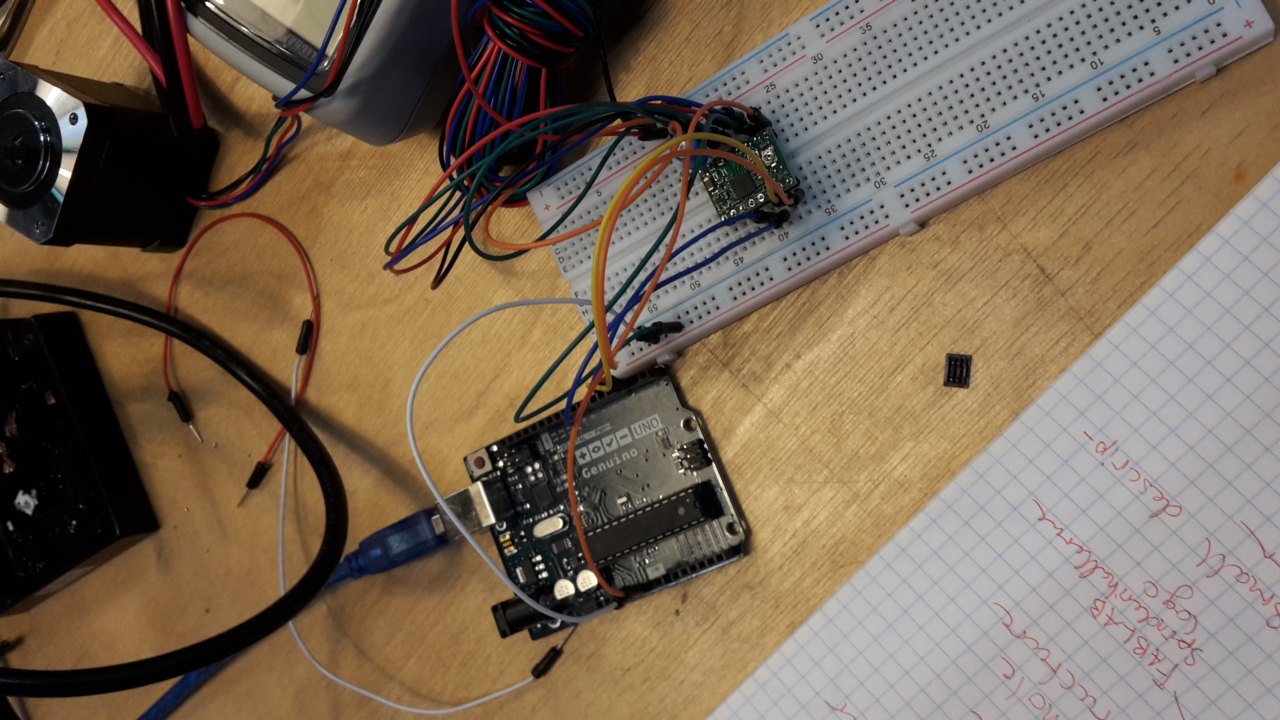
Finished Clay board
This is the finished CLay board without the pololu.A pololu and a 100uF capacitor is added.
I had to adjust a pololu again because the previously burned.

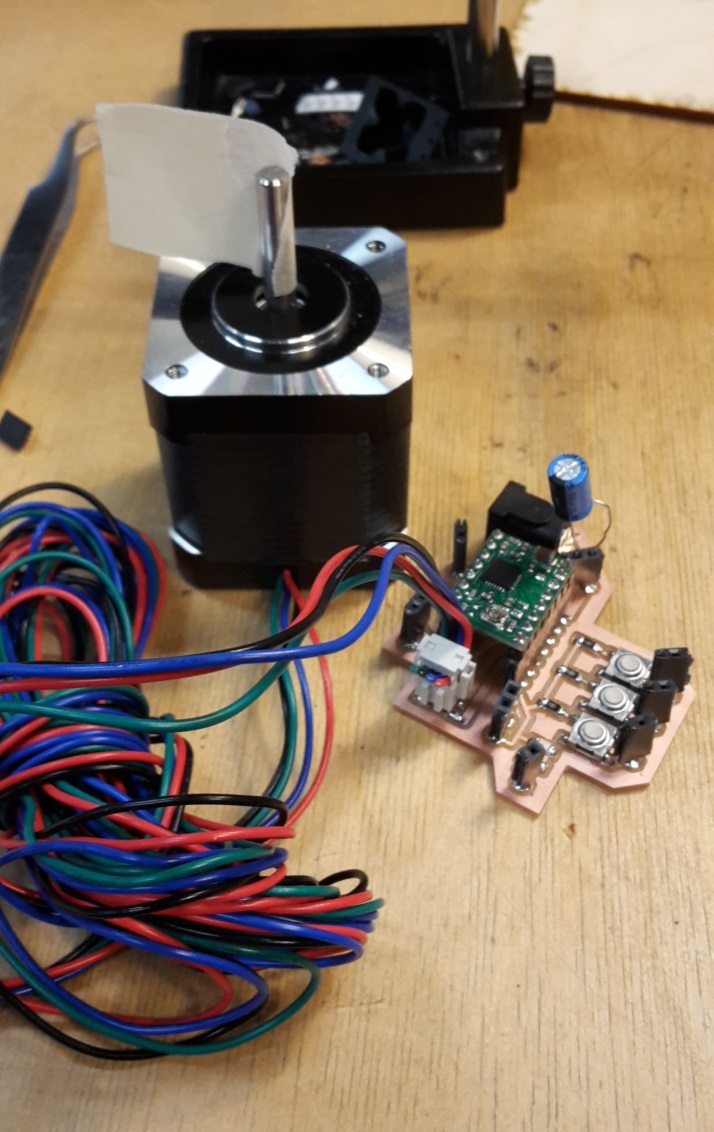
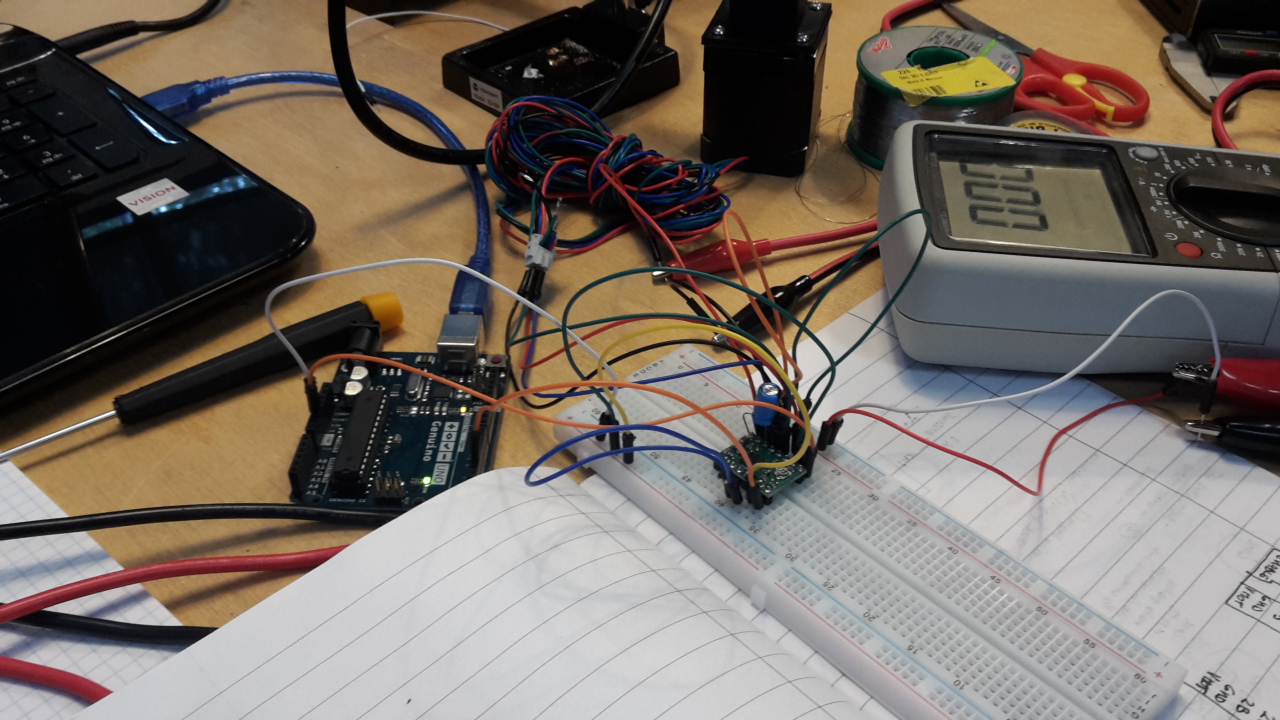
Wired up with labels so it is easier to navigate between the different wires. The wires are connected to the Arduino board.

Arduino code
This is some of the Arduino code used for controlling the clay board.Picture 1: From line number 18 - 27 here it is defined which of the pins on the arduino that should be used.
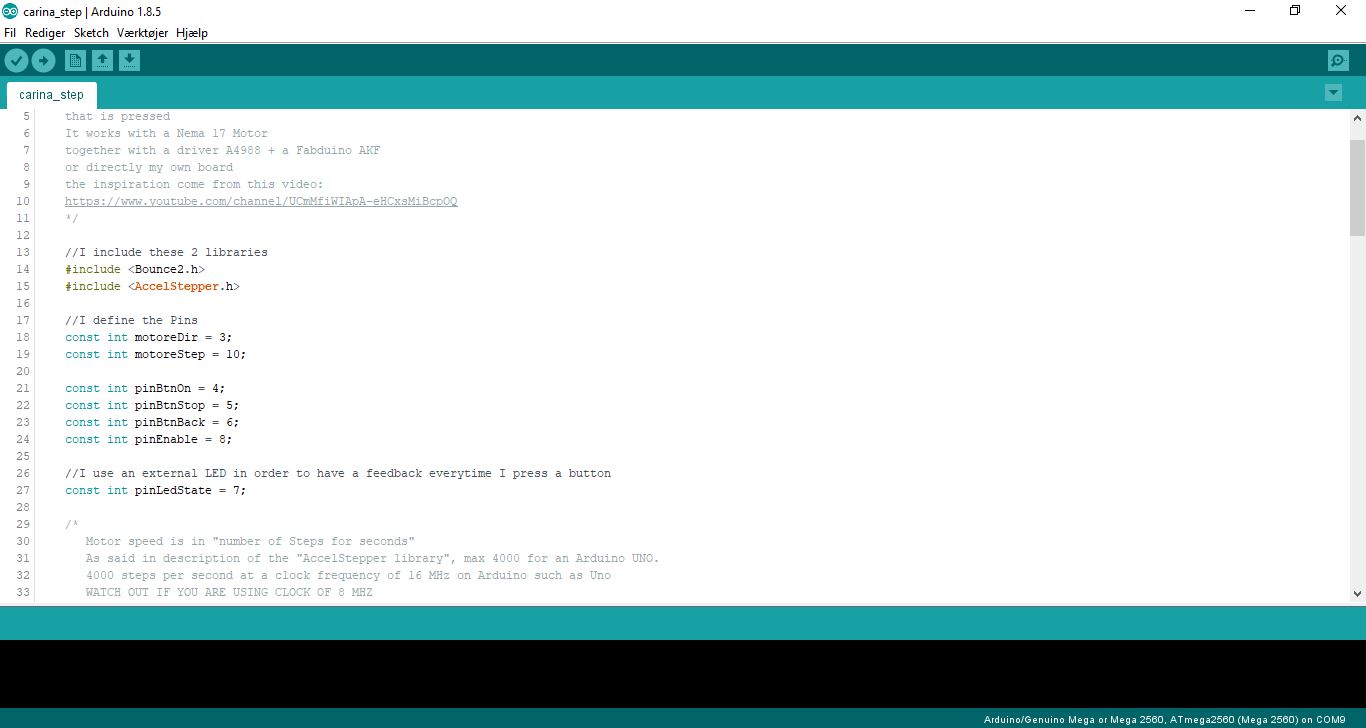
Picture 2: On line 35 you can control the speed of the motor.

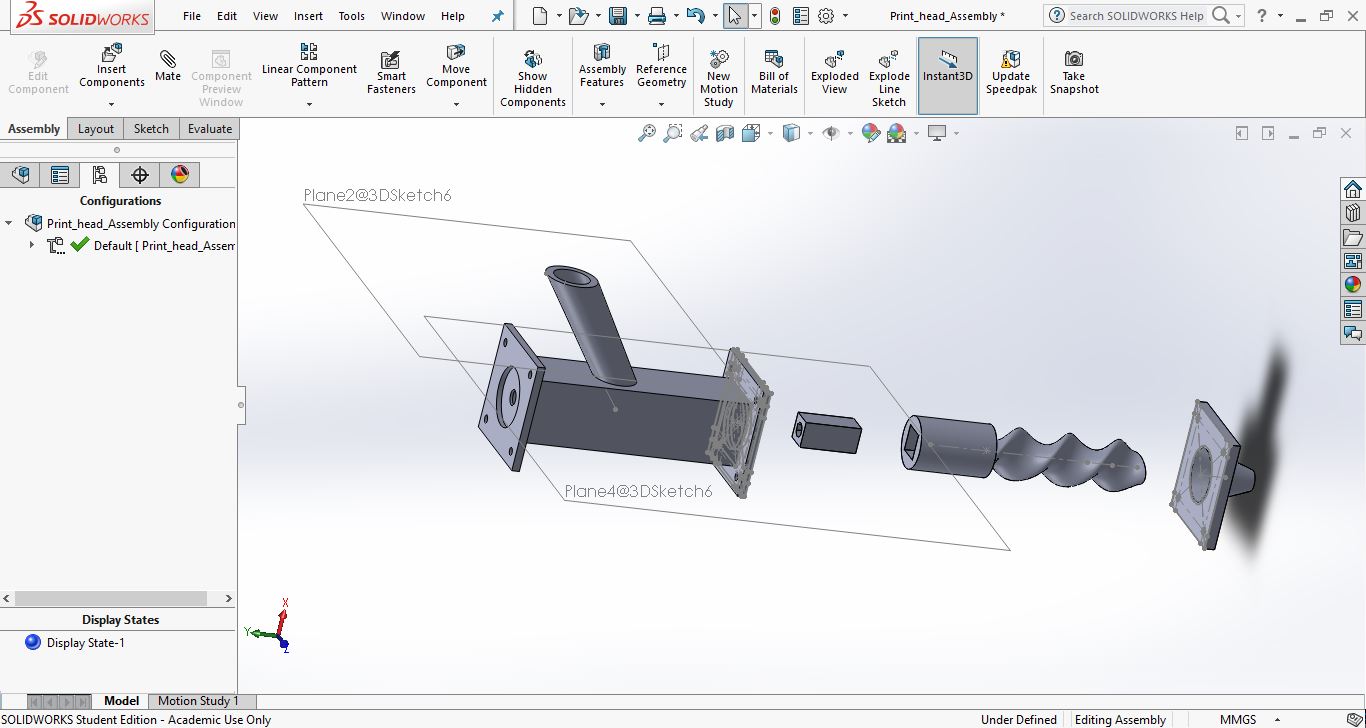
Final product
This is the final product and a Solidworks model so you can see what's inside.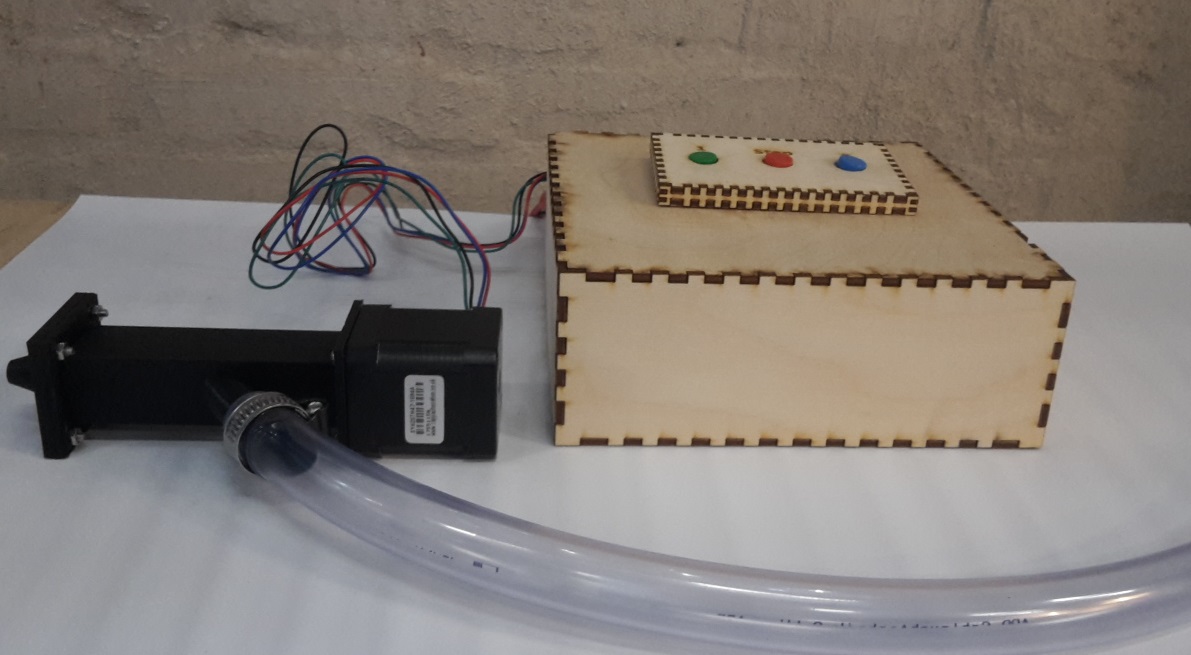
This is the final video of my project.