I would like to make something really big this week, but we do not have a platform milling machine in the lab, so I went to a local advertising company and used their machine. They also have board, but only 1.5mm plywood board. Then I designed a seat and milled it out.
DRAW THE SCHEMATIC
Well, I found that Fusion 360 is a really powerful tool –– it can do both 2D and 3D design. For 2D design, we can create a new sketch on a selected surface.
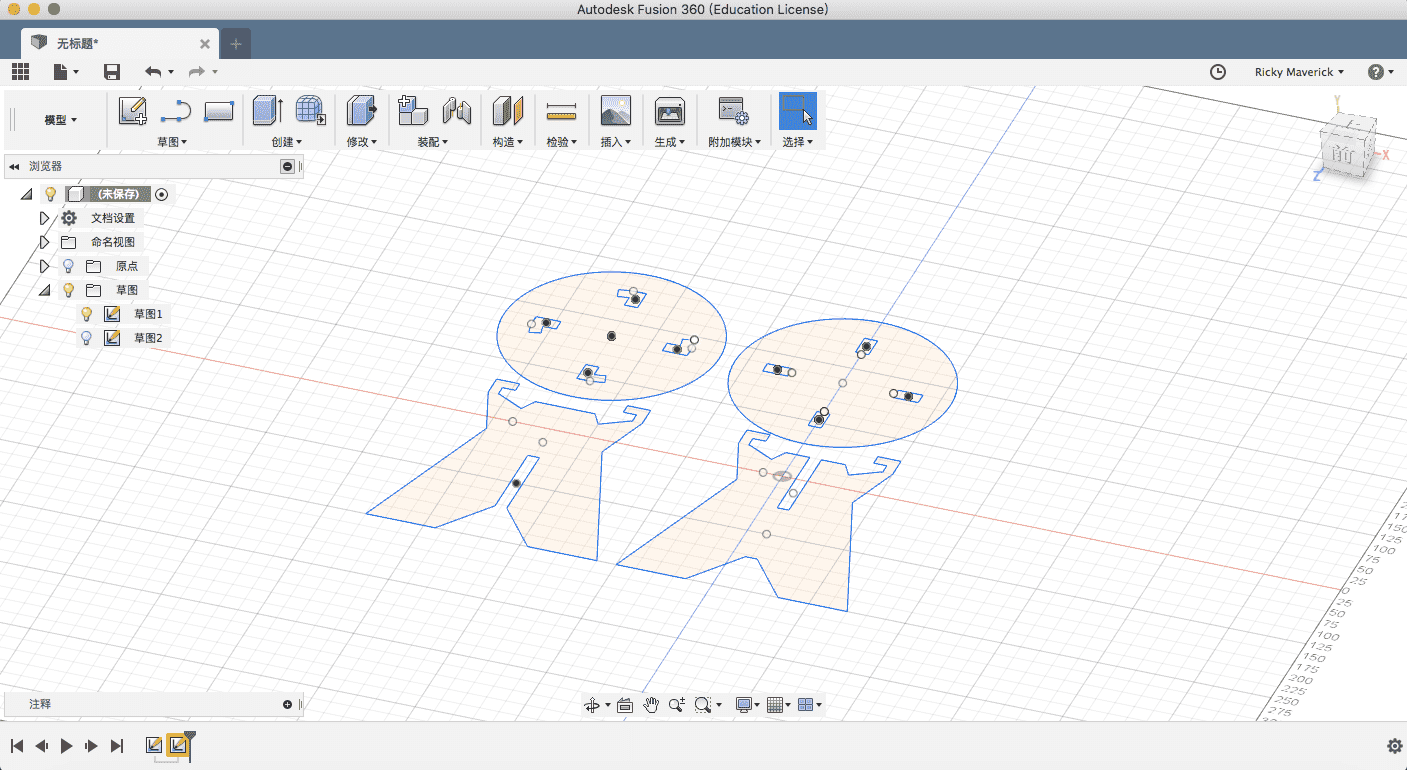
Then I visualized the parts and assemble them to see whether my design was okay.
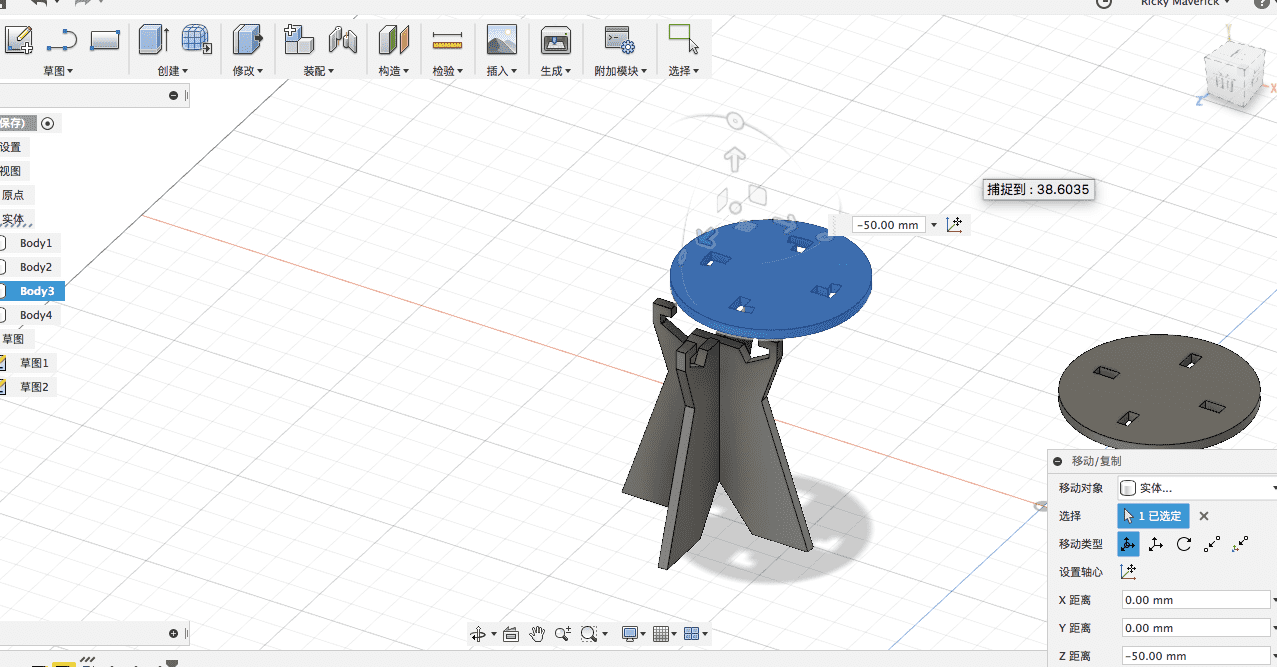
From the video below, you can see how the parts are assembled. Despite nesting, I designed a rotational lock-up structure, which allowed me to fix the nesting structure and the upper plate at the same time. The reason why I did not use dog bones is that the plywood is so fragile, and using dogbones will cause the board to break (some cracks occured during the milling process because of the uneveness of plywood board).
Previous design . with dogbones.
Modified design, rotation lock.
MILLING OUT THE PARTS
CONTROLLING THE MILLING MACHINE
To generate gcode, I used Wentai Cutting––a Chinese inkscape widely used by advertisement companies, which can control both vinycutters and milling machines. And you just need to import the dxf and click "print" ––then the machine will start working according to the automaticly generated gcodes if you have connected it with your computer through a USB serial. In fact, you can still use fab modules.
For the CNC controller, I would like to use mach3 but they only have a bundled software called NC Studio. Then following the worker's advice, I set the cutting rate to 1500 mm/min and rotating rate to 10000.
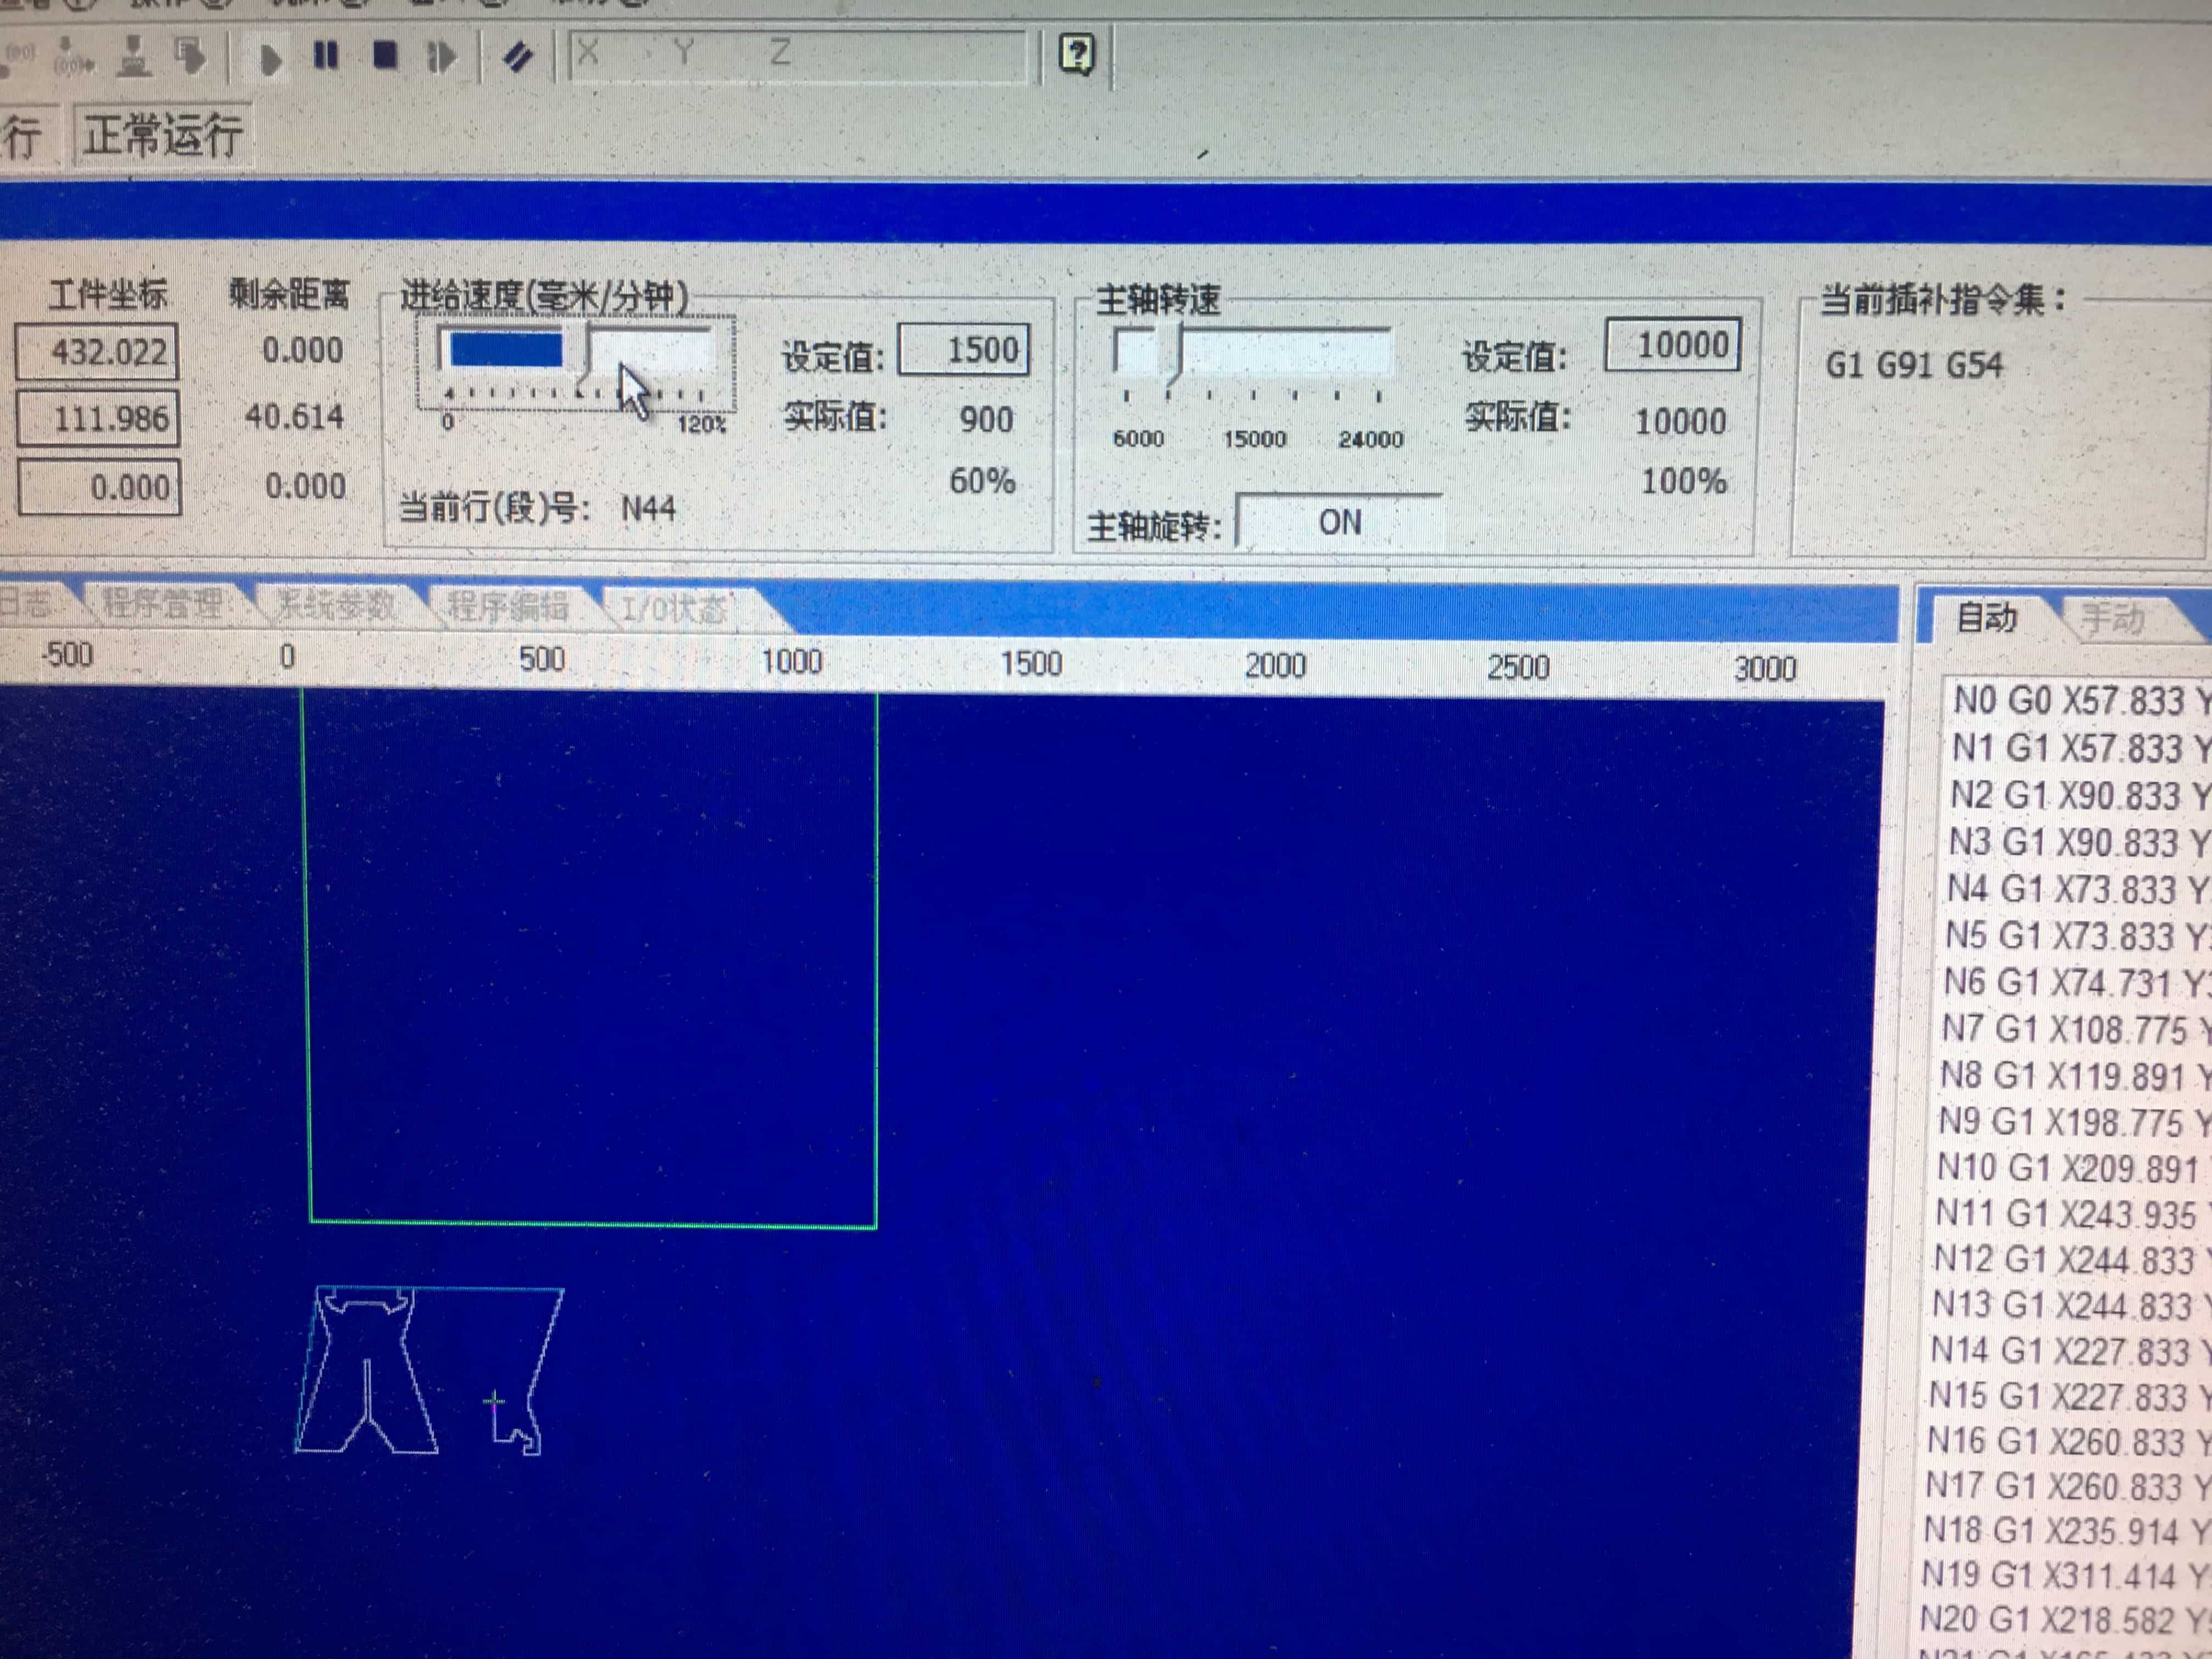
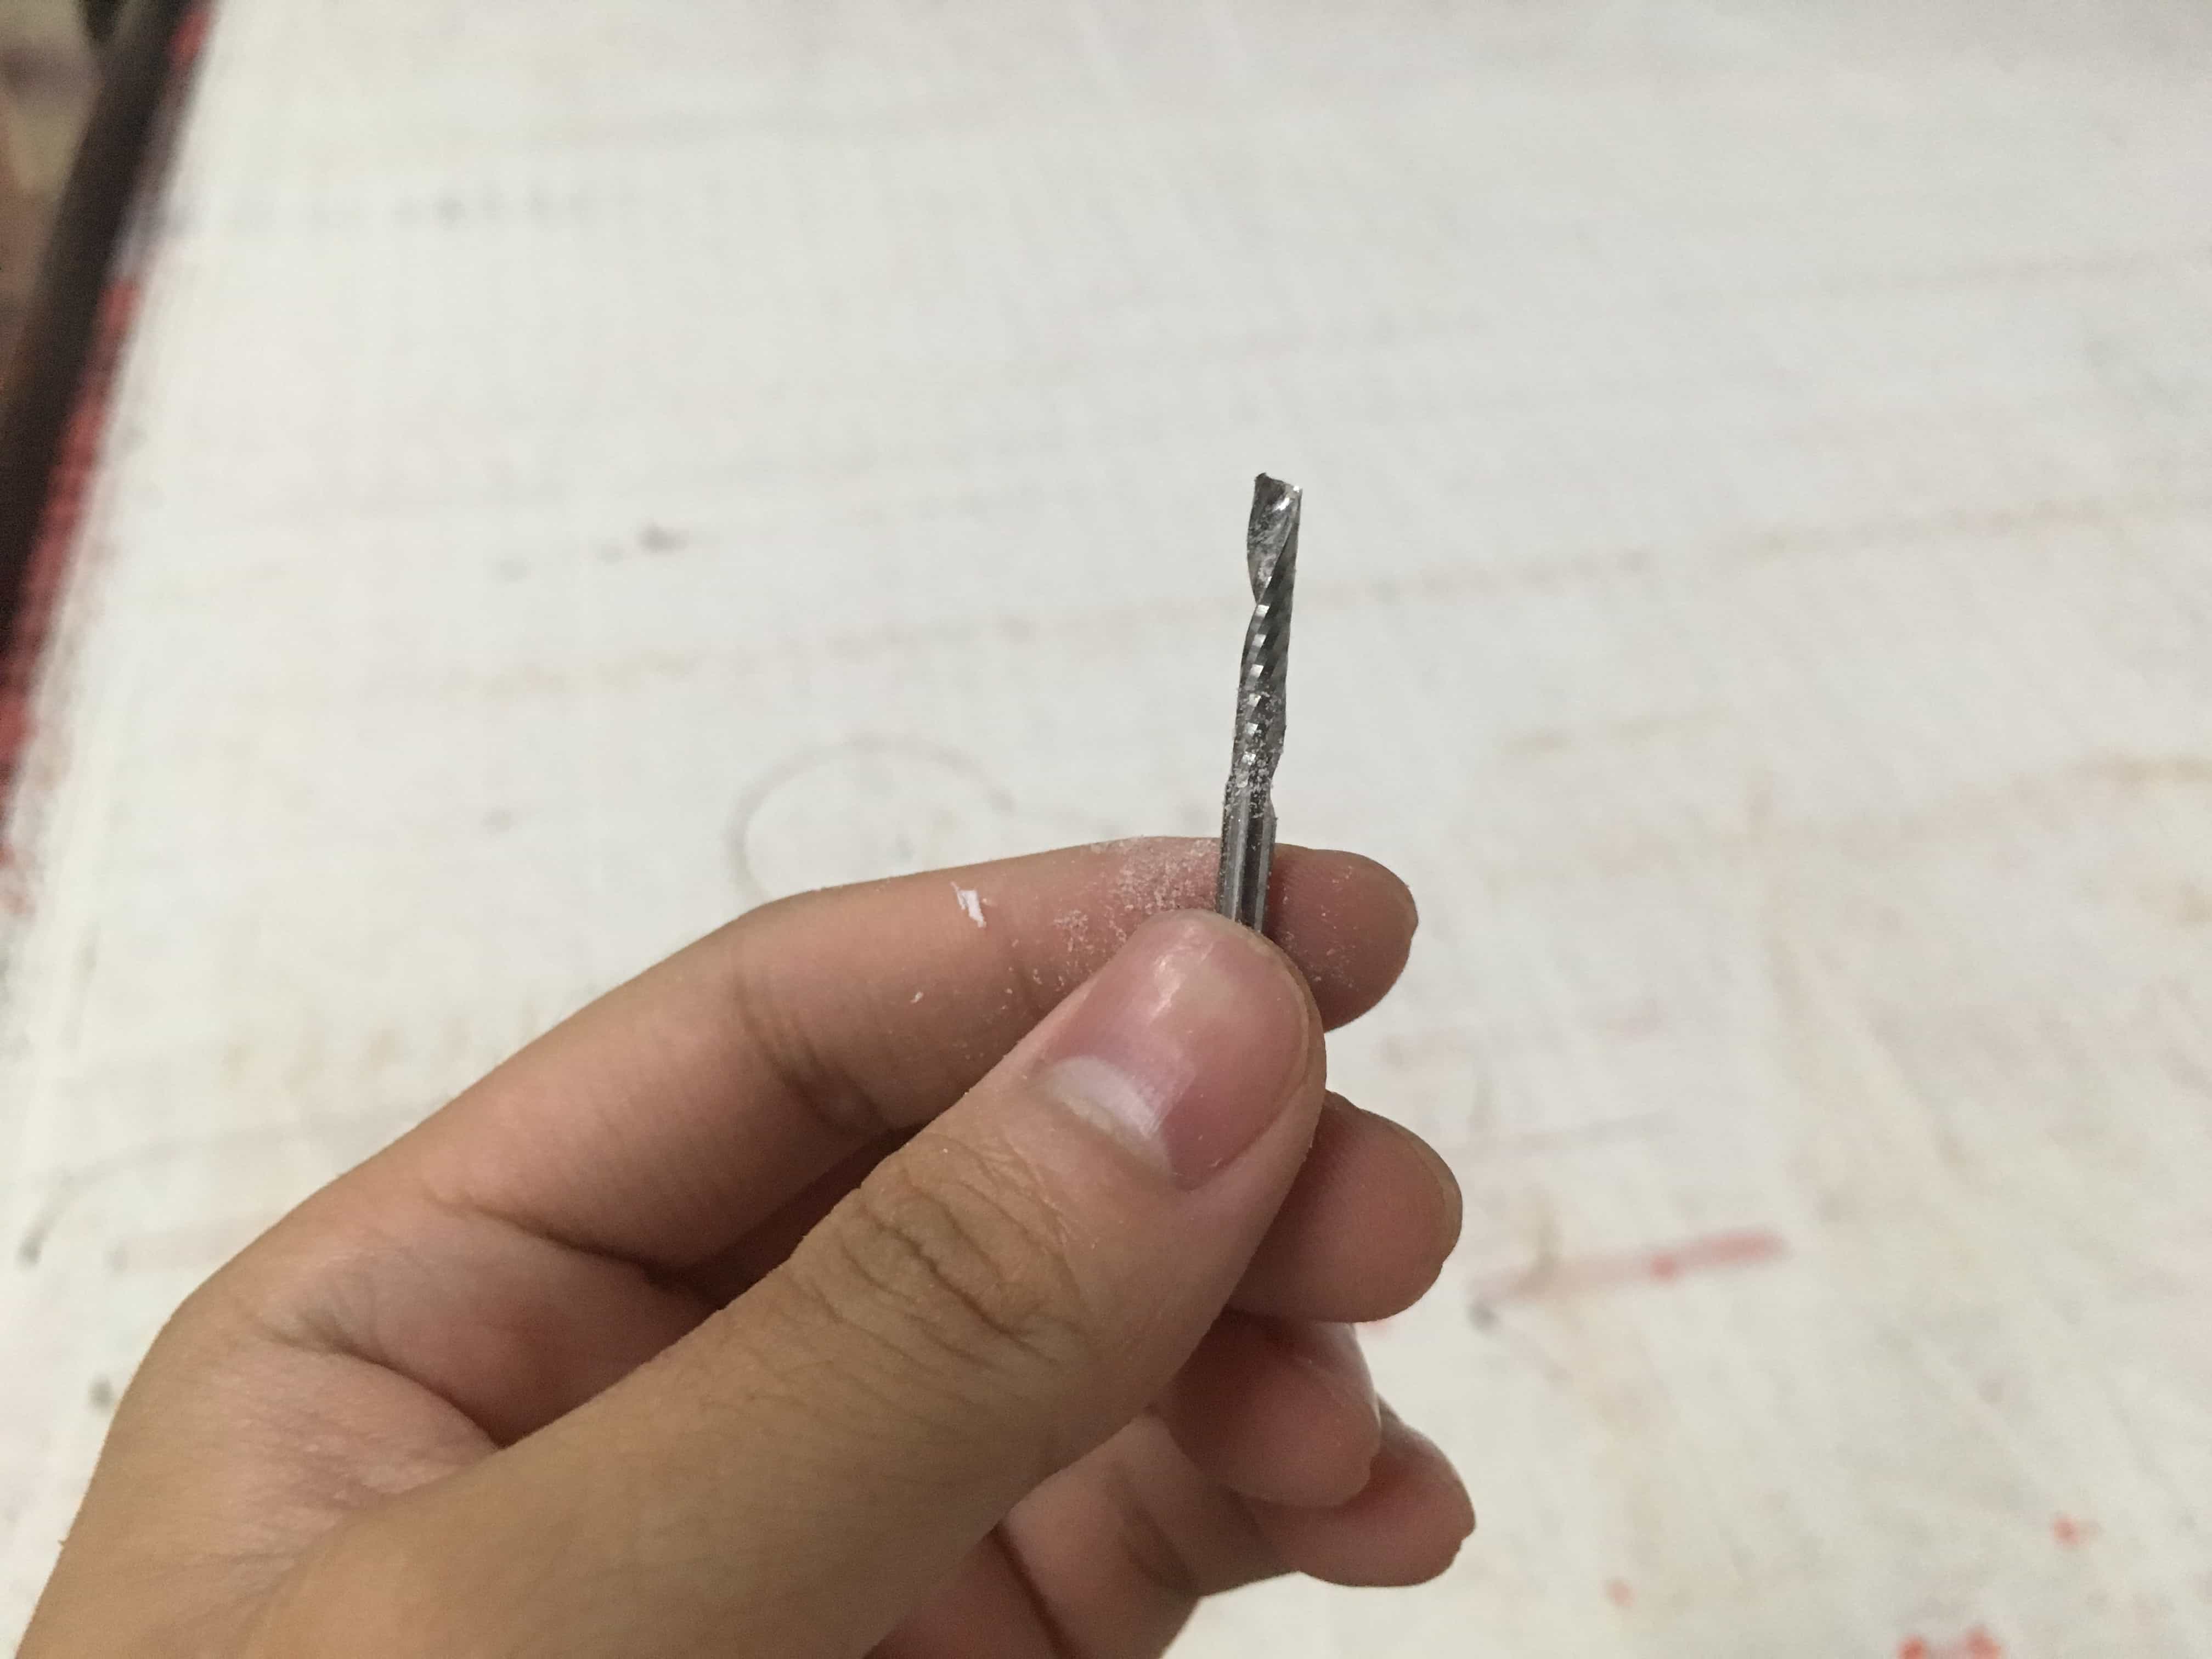
The thinest tool they have is 3mm tool. (Choose the knife in Wentai cutting)
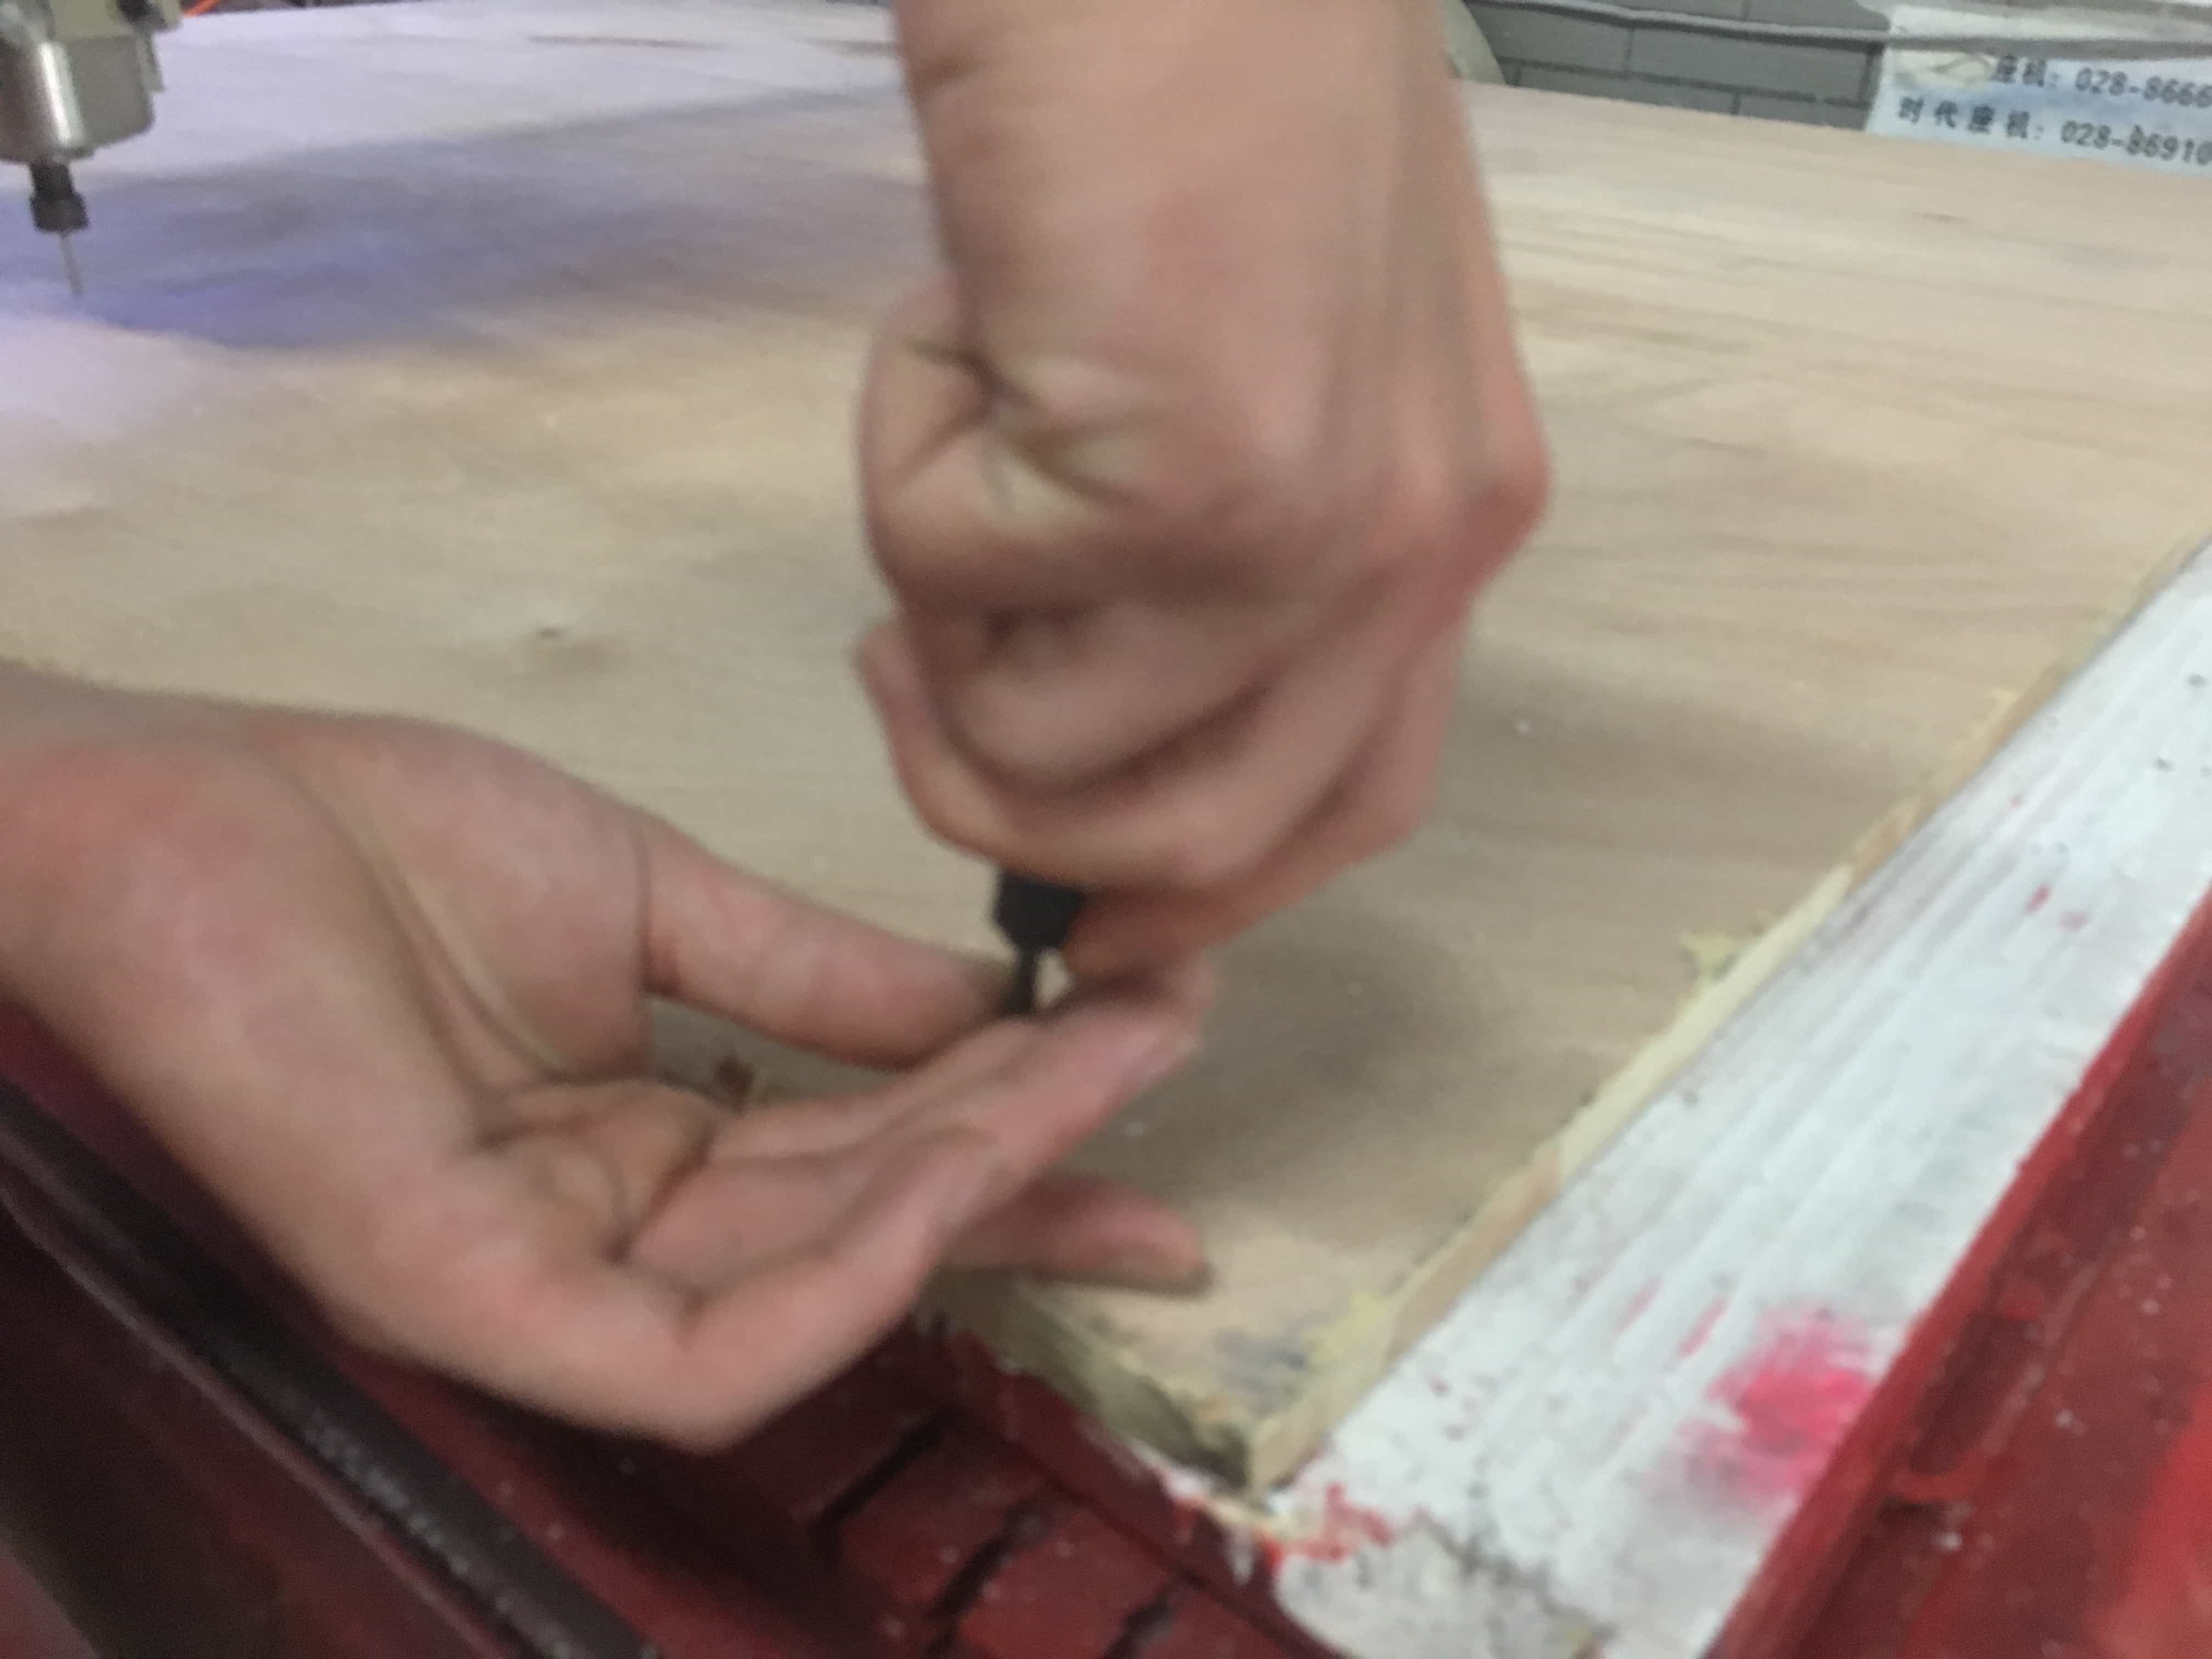
I manually controlled the machine, drilled holes and installed screws to make the board fixed on the platform.
I used time elapse to record the video so it looks much faster.
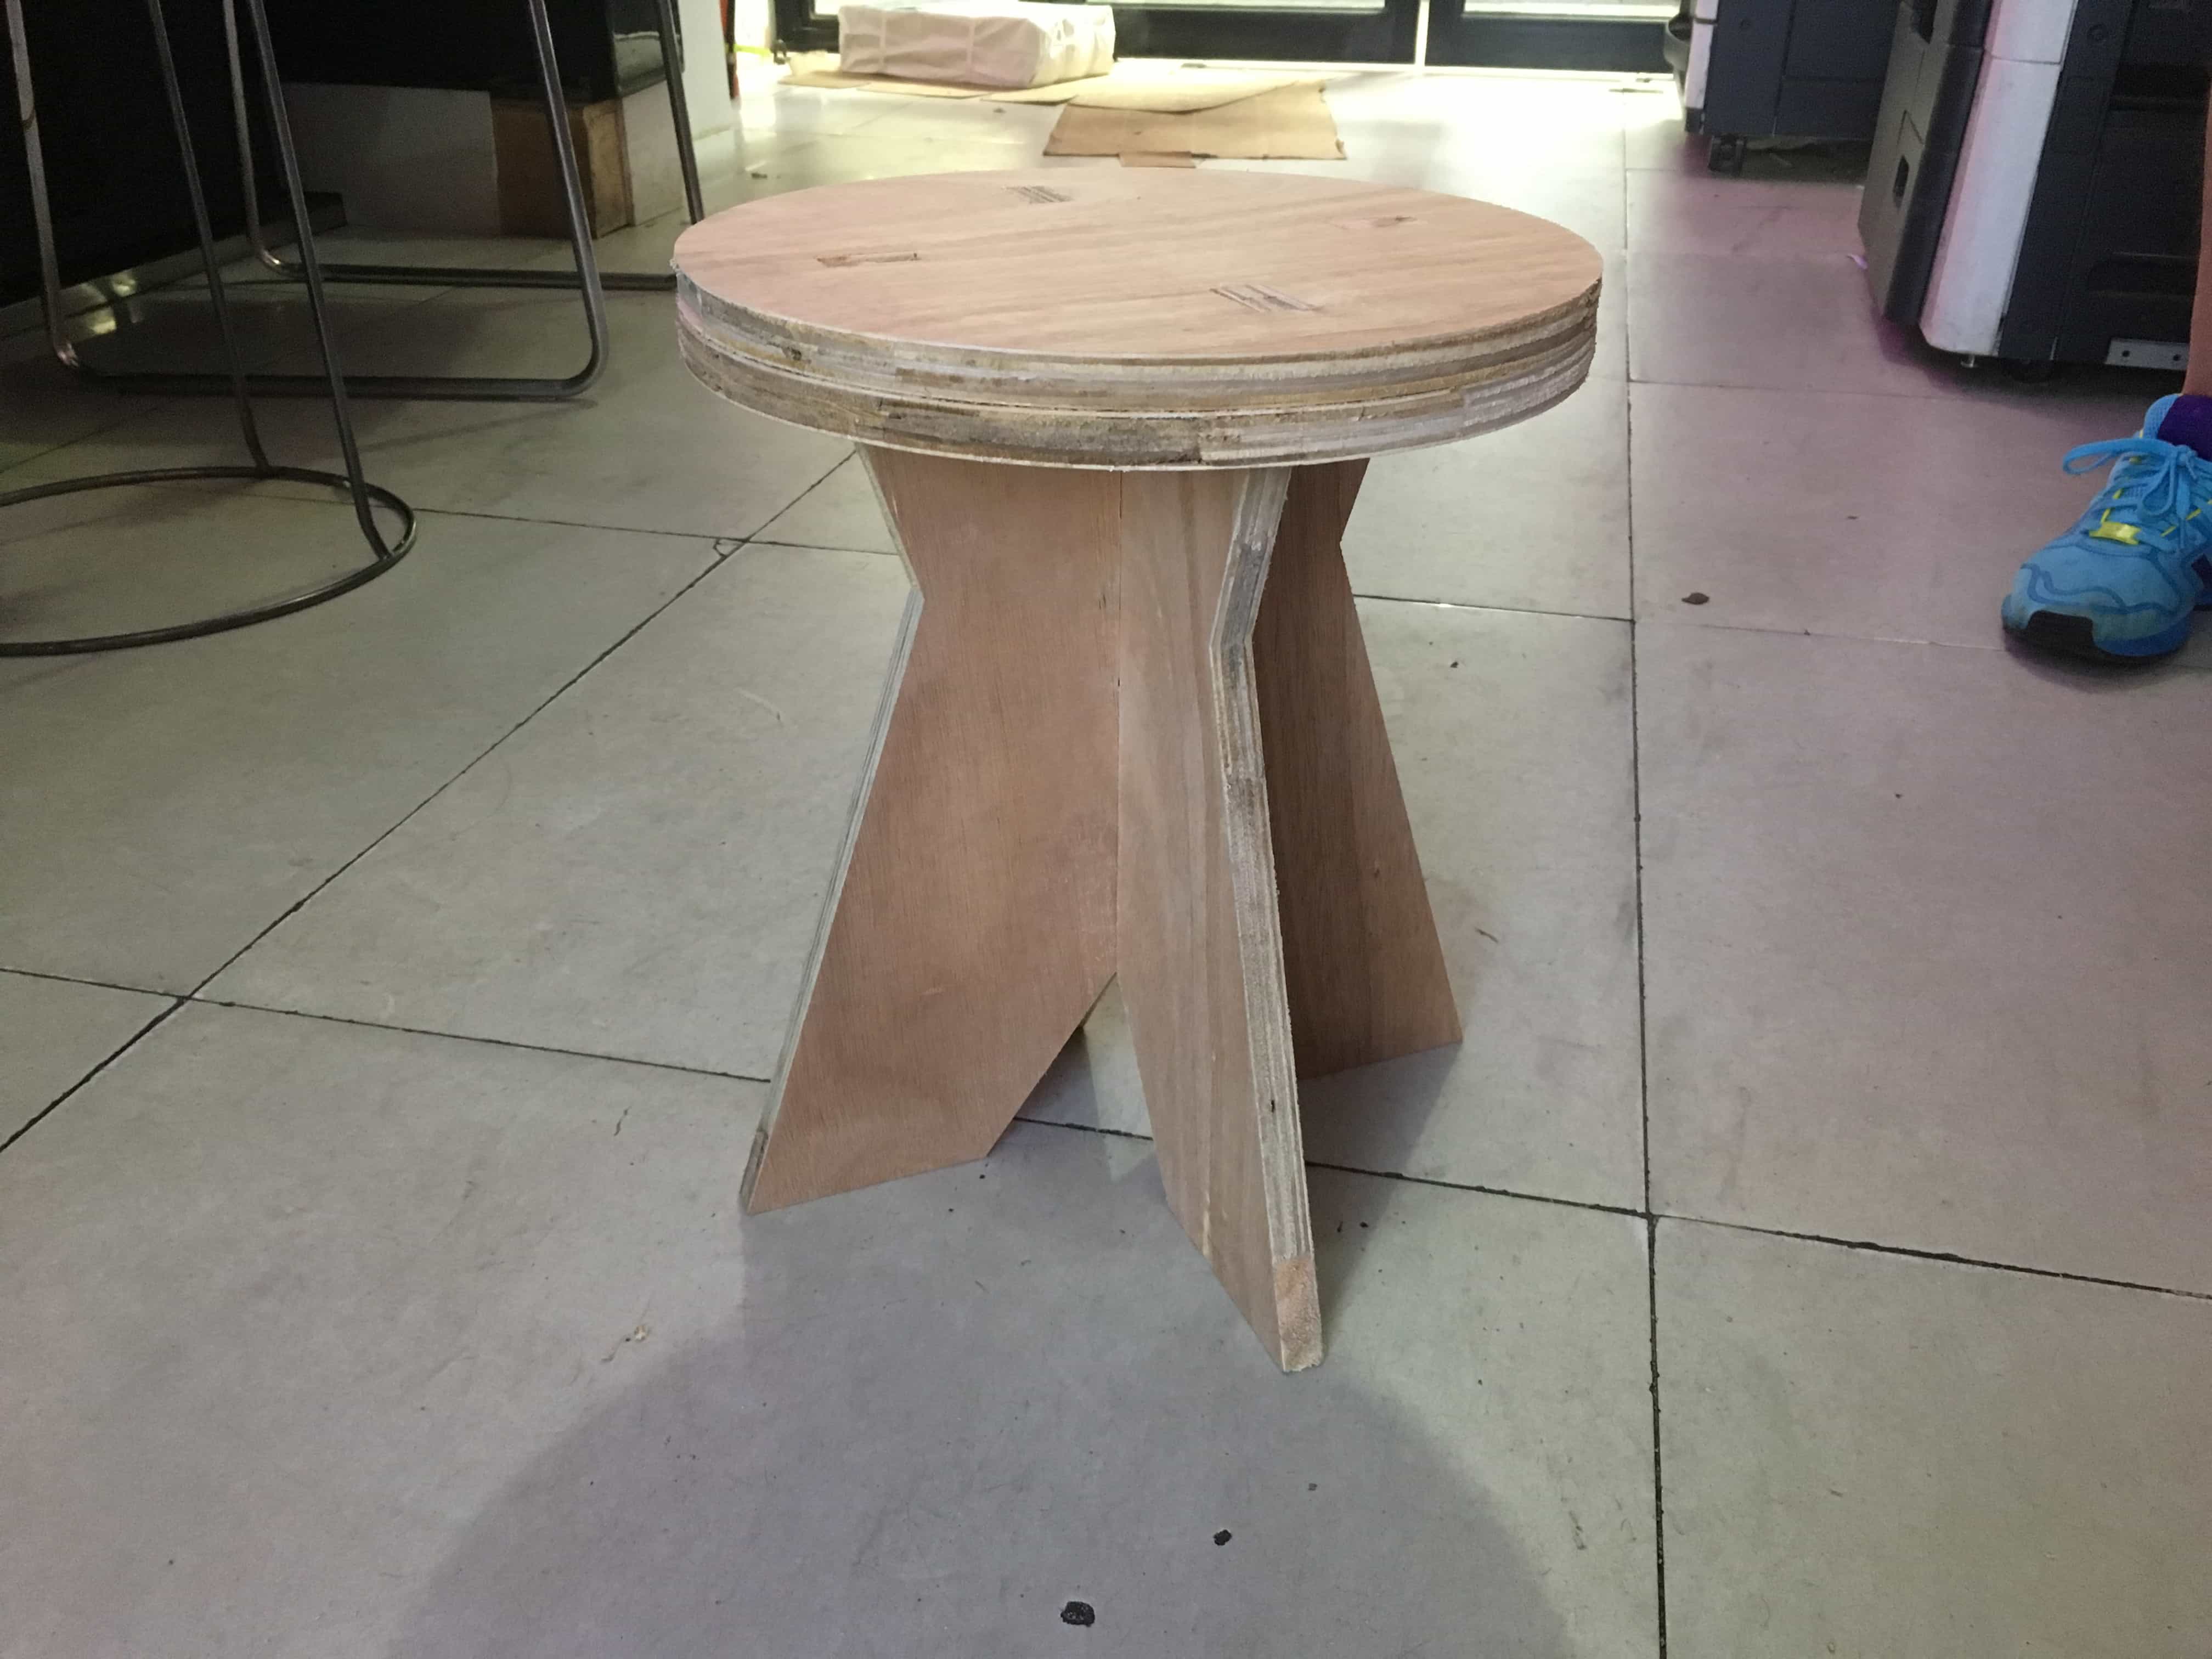
ASSEMBLING THE PARTS
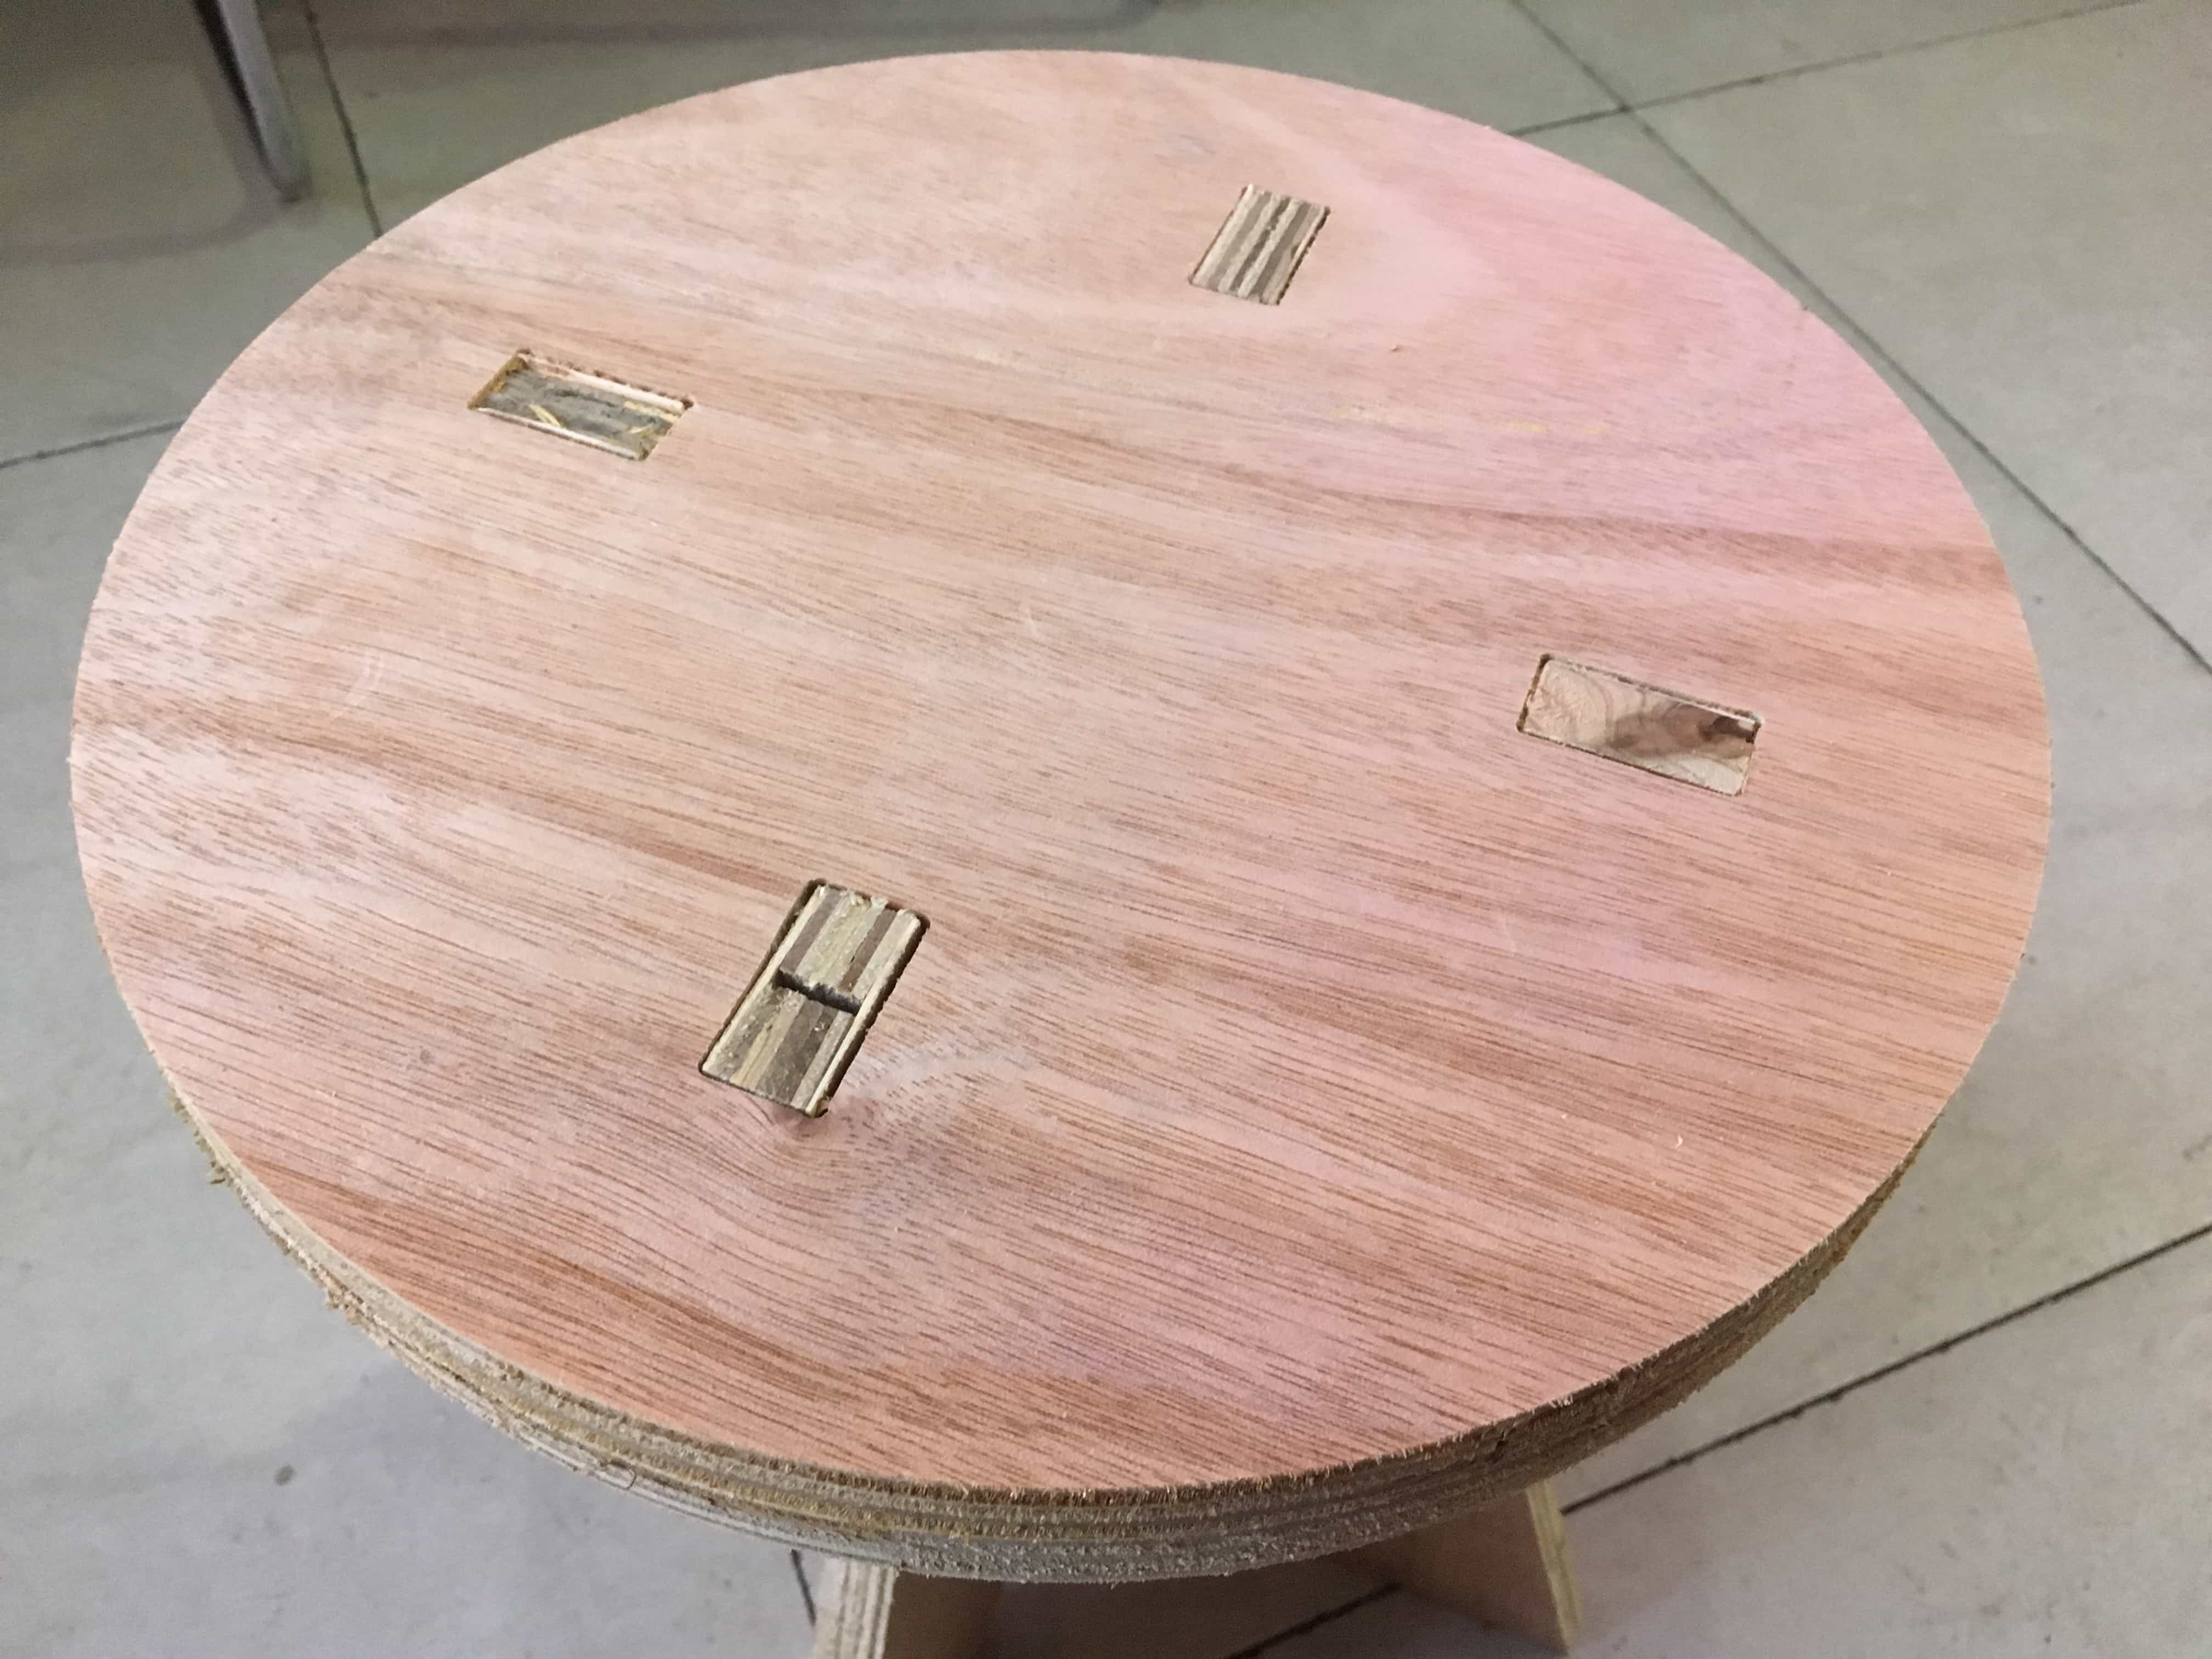
Then I put all the parts together according to my design. When doing with wood or plywood, be careful about the wooden fibers––they really hurt!

PROBLEMS FIXED
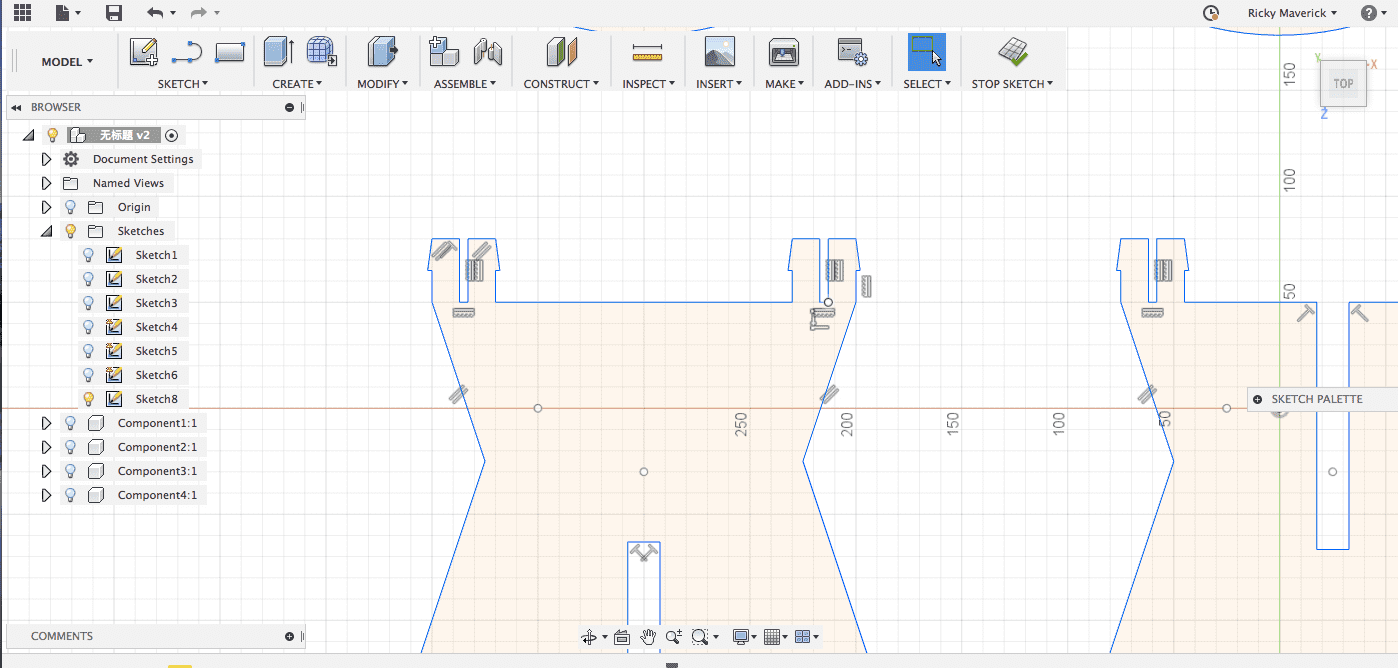
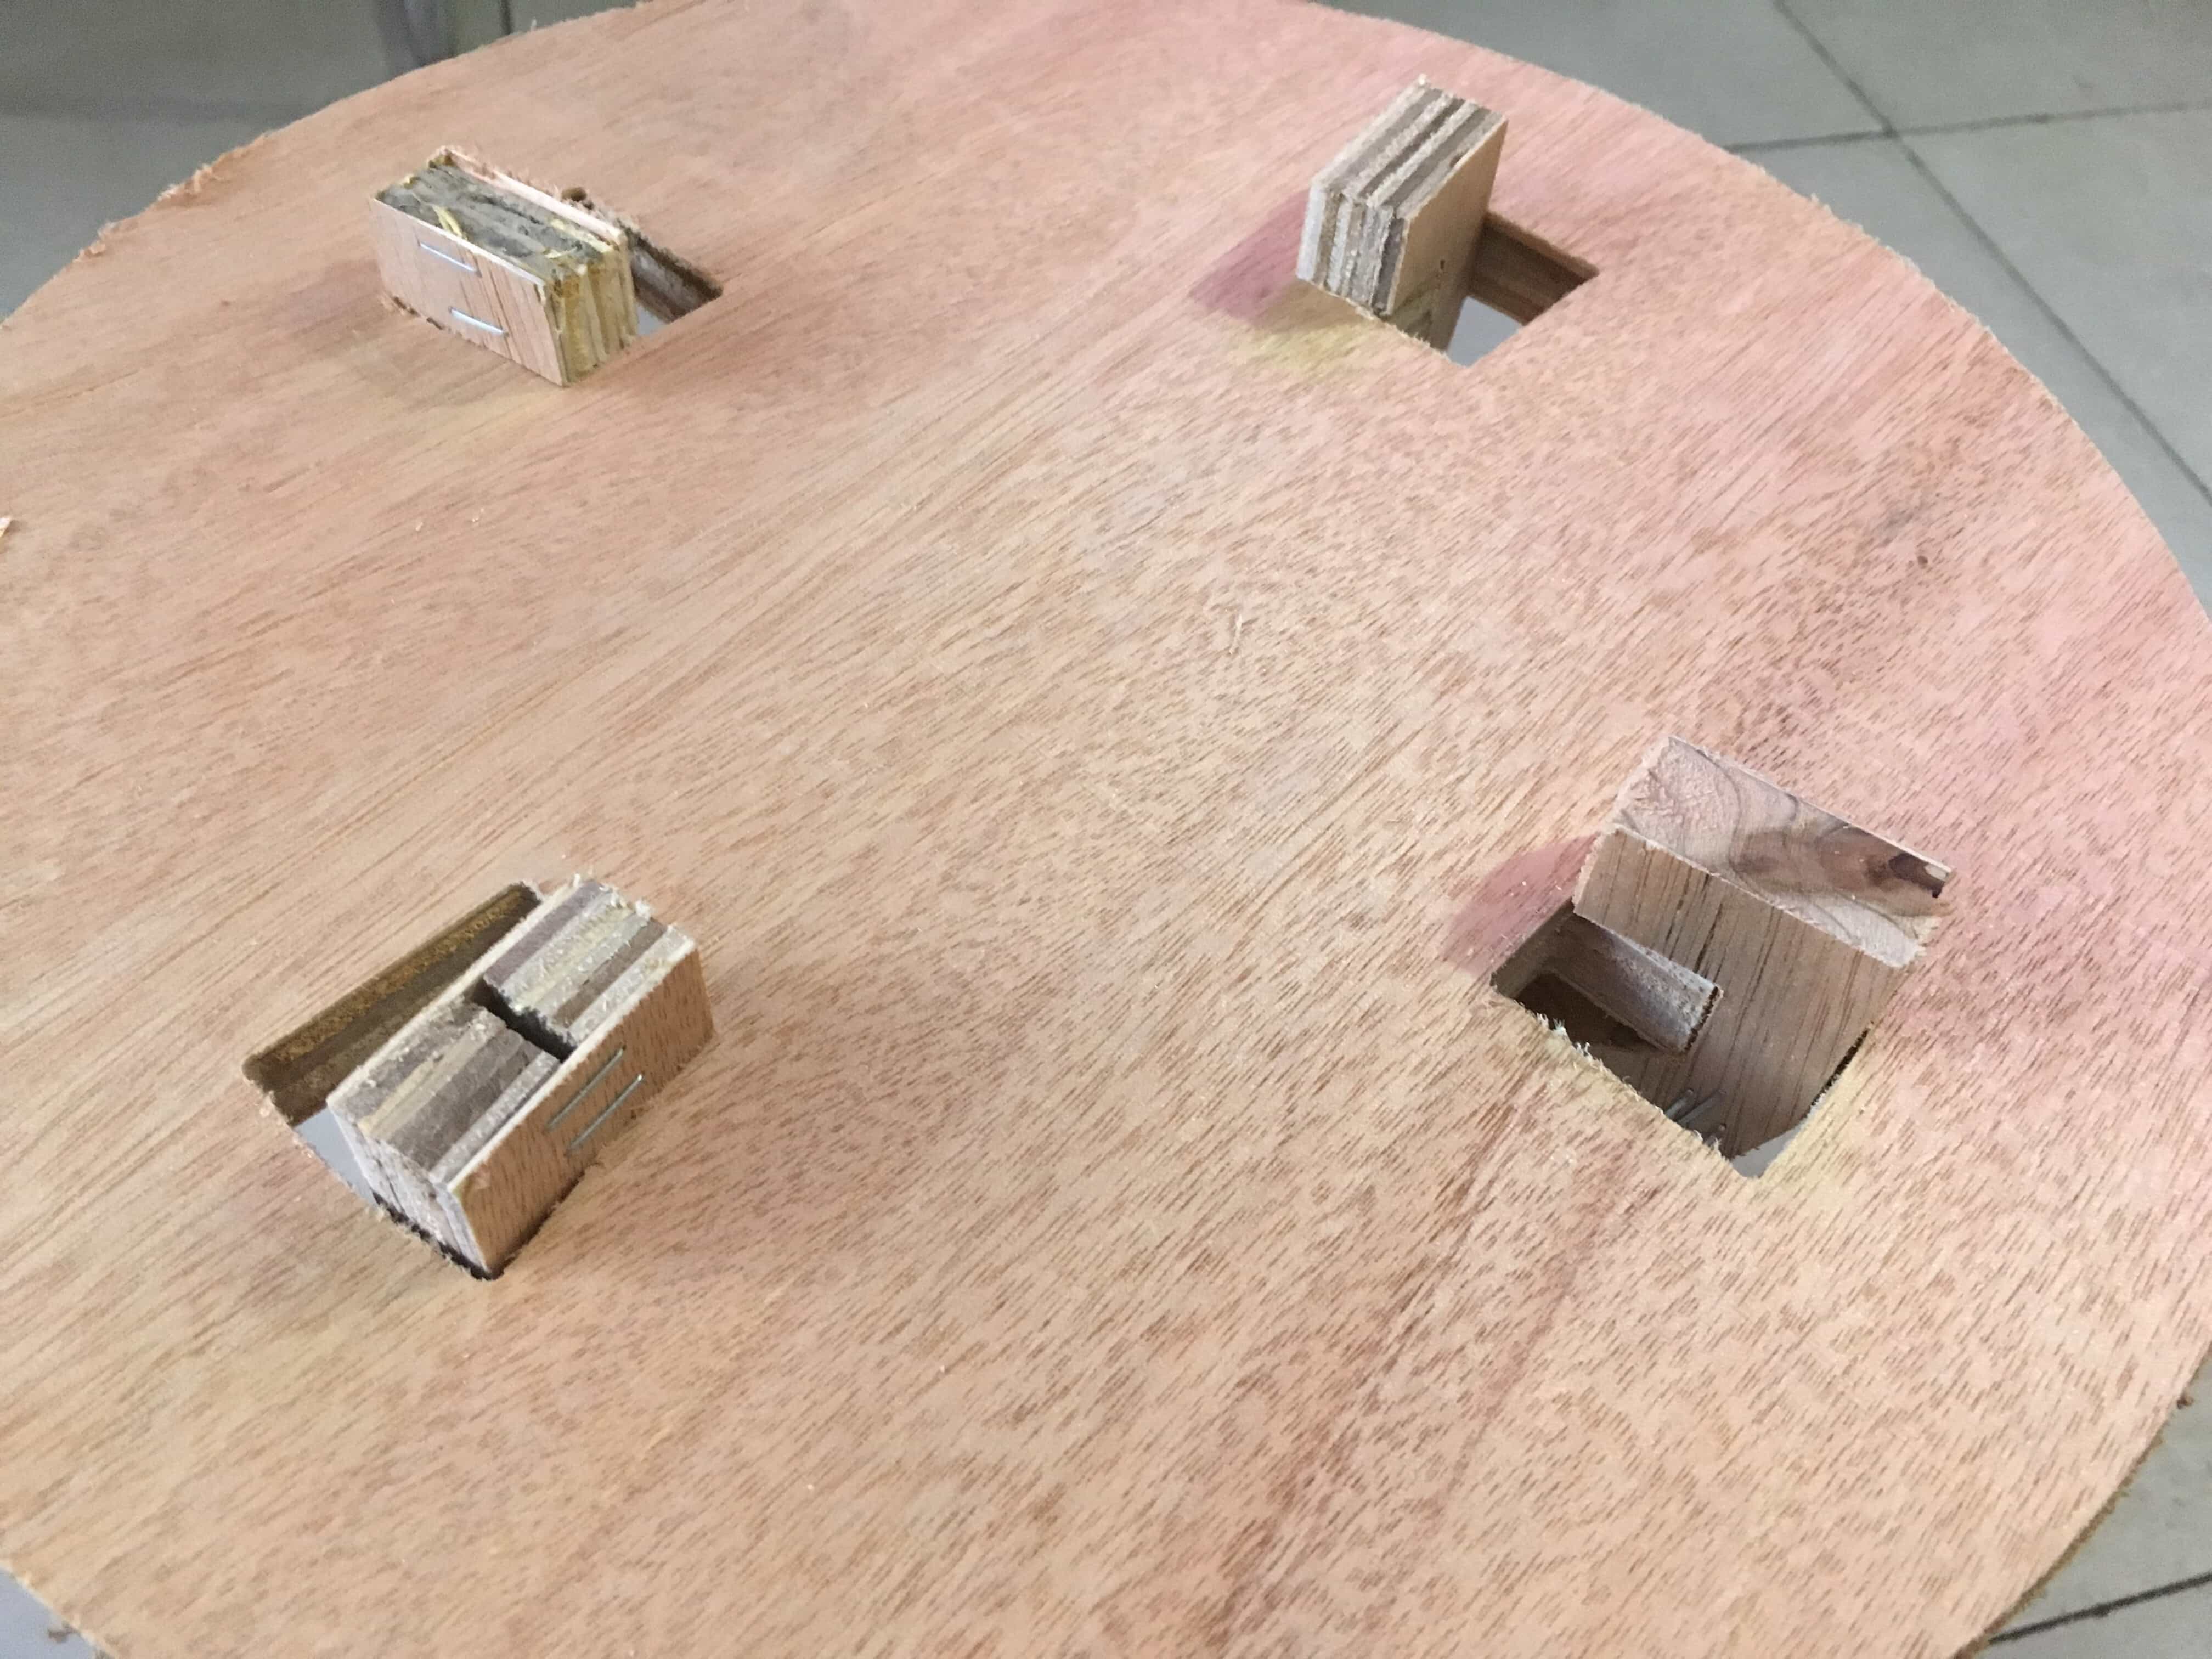
It is the problem about the tool path. It is a 3mm tool, and when I was cutting acrylic board with that machine, I found that the rectangulars cannot be cut perfectly ( a cylindrical milling tool can never cut a 90 degree angle) and my acrylic nestings could not be assembled. So this time when I was designing the seat, I gave 2mm space to each right angle nestings. It really worked.
