Week 6
-
3D SCANNING AND PRINTING
Group Assignment
Test the design rules for your 3D printer(s)
Individual Assignment
Design and 3D print an object (small, few cm) that could not be made subtractively.
3D scan an object (and optionally print it).
Test the design rules for 3D printer (GROUP ASSIGNMENT)
This process is documented here.
Design and 3D print of an object (INDIVIDUAL ASSIGNMENT)
In the beginning I made a piece with many curves. That was my first 3d printed piece and made it really fast, due to my intention was probe the finish and the time needed to print a single piece.
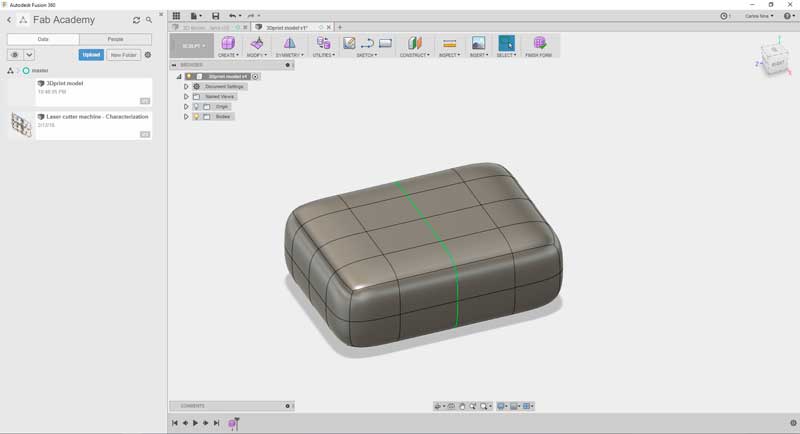
With the "Create Form" tools, I modify the initial for until get this.
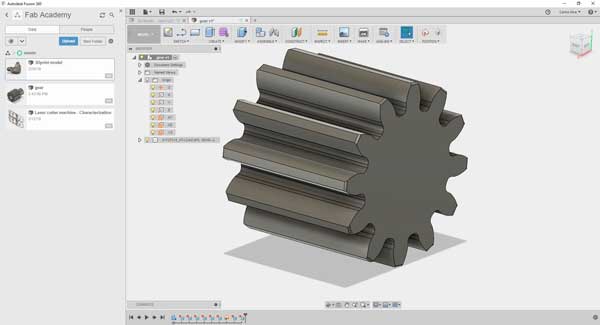
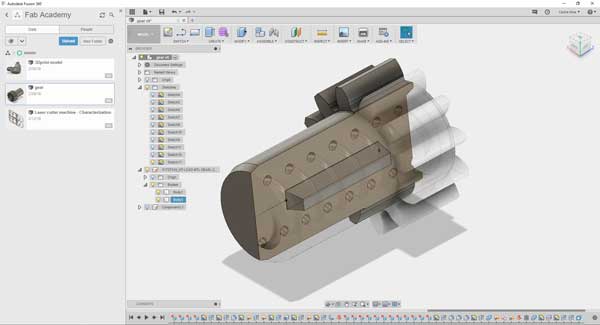
The 3D model was made with Fusion 360. the 3d printed pieces looks like this.

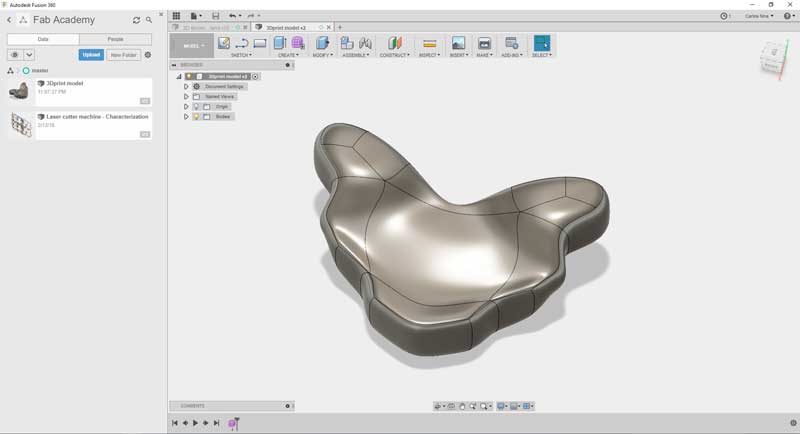
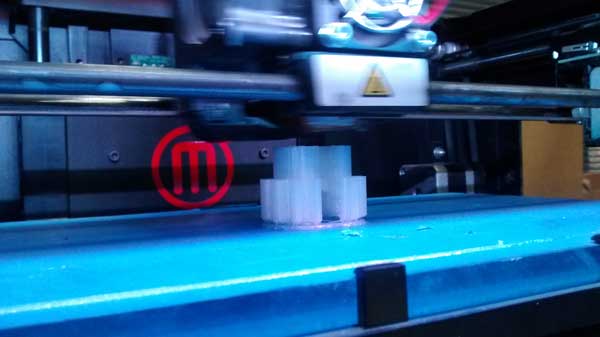
Due to the surface quality is not too good - I mean is not bad, but I am habituated to steel CNC machined finish- I decide to model another piece more geometric shaped. This piece can't be produced by subtractive methods..
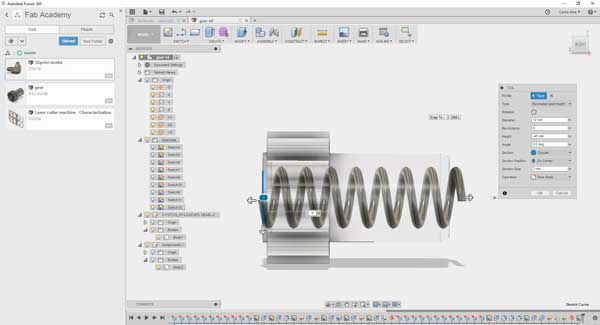
Here I create an spiral hole inside the piece.
The piece is cutted by a half.

Finally I create a slot on one side and a extrusion on the other one, to ensure the both parts fit "exactly".
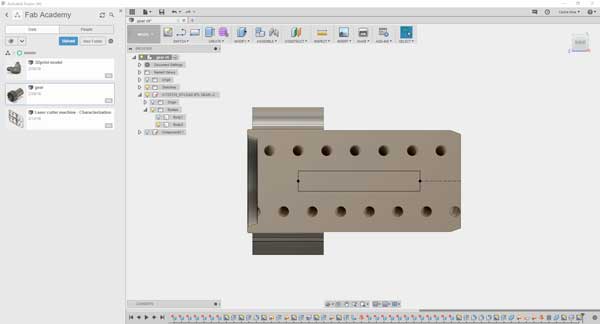
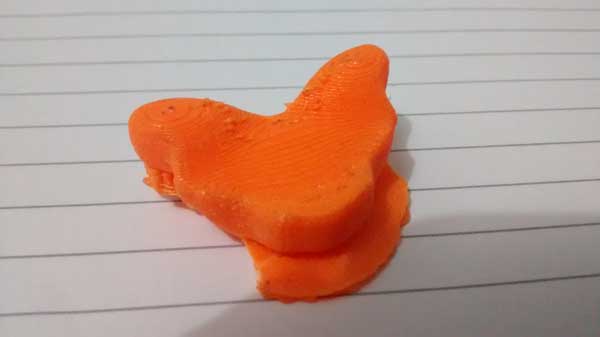
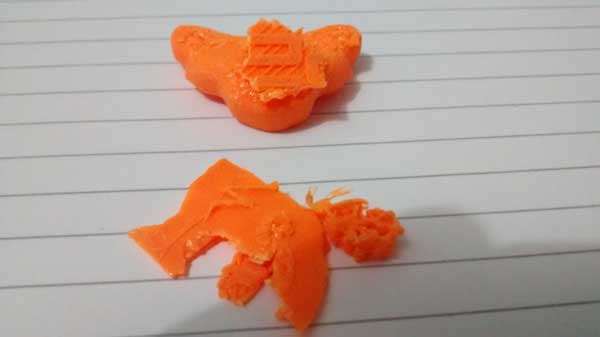
The printed piece looks this way:
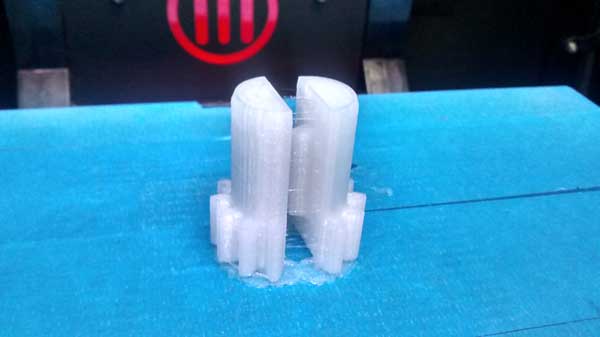


Due to this pieces has an internal spiral hole, it can't be made with subtractive methods.
3D scan of an object (INDIVIDUAL ASSIGNMENT)
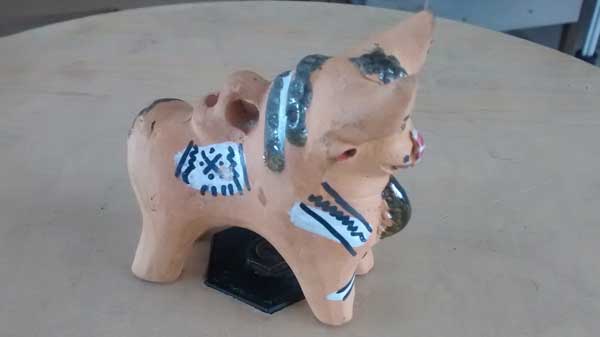
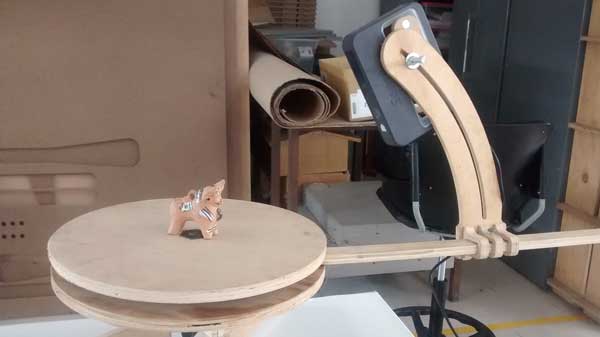
My first option of an object to scan, was a traditional handicraft of the south of Perú, called "Torito de Pucará" (I have a couple of them on my home). It's a symbol of prosperity, commonly gifted to new families. More details here and here on spanish.

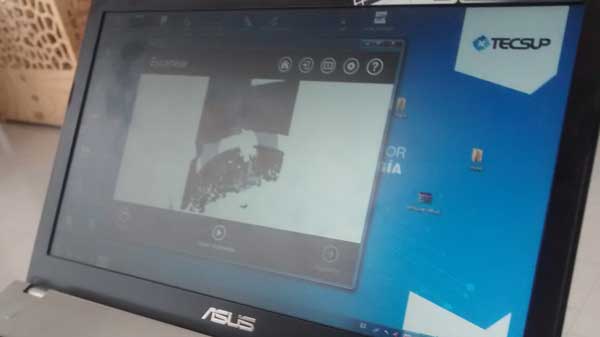
The first step of the process, to try to scan the piece with the Sense 3D scan, is place the piece on a base plate. Then, we move the scanner around the piece. The laptop connected to the scanner collects the images and build the 3d representation.
Unfortunately the piece is on appearance, too small to be scanned with this device.
The scan, just can't collect enough data to build a 3d mesh. So, we need to try another way to scan.
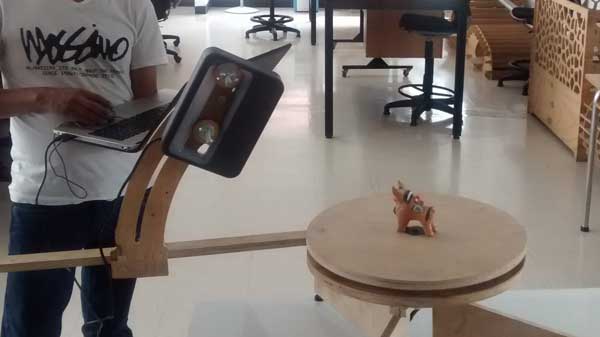
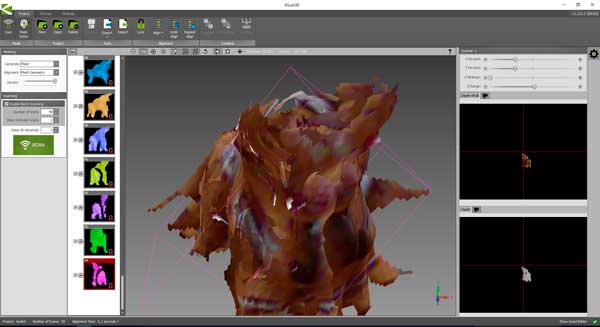
The next option to scan was use a Kinect and a software called KScan3D. On this case, the device is fixed and the piece must rotate to take shots on different sides of the piece. There was a rotating base of the Fablab, so that was a little more easy.

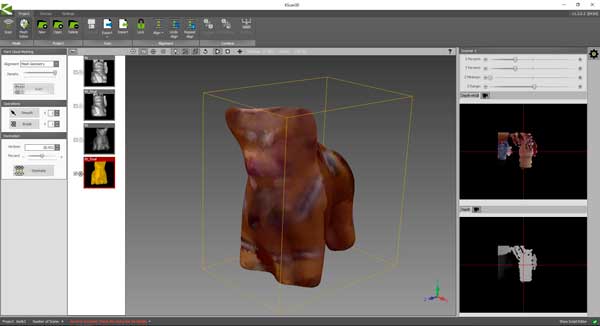
The result of the scanning is a colored mesh. This process has no a good precision. Actually, the dimension are no trusted, but it's a good way to obtain complex geometries with a reasonable approximation.
To get the files for this assignment, please visit my repo on Github: https://github.com/CarlosNinaOchoa/fabacademy2018/tree/master/Week-Assignments