Computer Controlled cutting
This was a really interesting activity, we were able to use the Vynil cutter, Laser cutter and engraving machine and use our CAD and drawing learnings learn at
previous activities.
Group assignment
Group assigments are always a goal to achieve, Although it was the first time we work together, I believe we understand each other very well. Each of the members
of the group are major in different areas such as: Design, Mechanic, Electronics, which is very valuable. It gives us more confidence to ask someone in order to get some help.
Our team members are:
- Andrea Lazo
- Carlos Nina
- Renzo Chirinos
Assignment:
The assignment consist of:
- Characterize your lasercutter
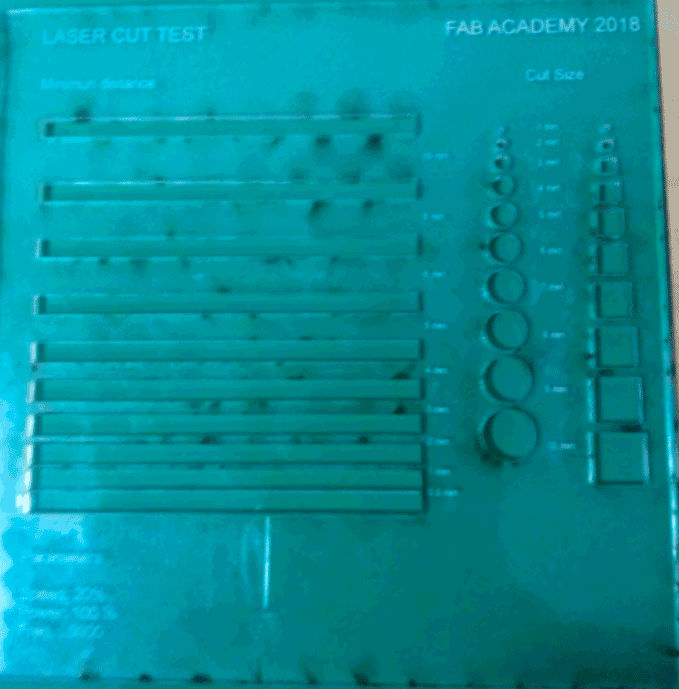
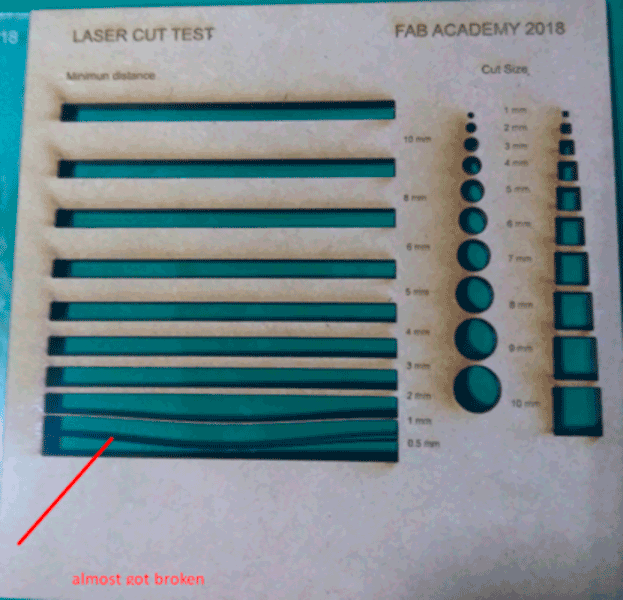
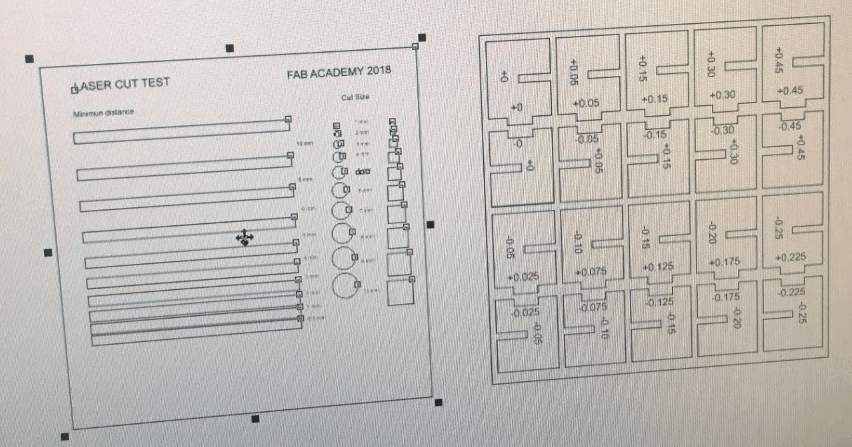
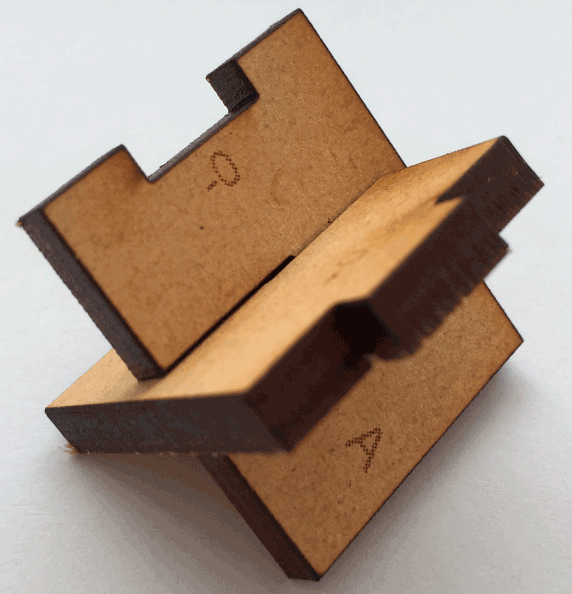
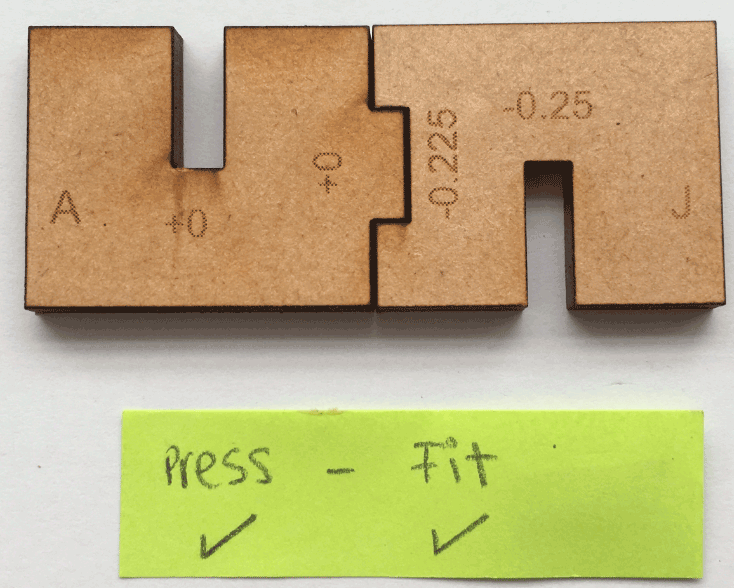
- Making test part(s)
- Vary cutting settings and dimensions
Characterize your lasercutter
Laser Epilog Legend 36EXT
TECSUP Lab has these laser engraving machine. Some important things to consider prior the put it on operation.
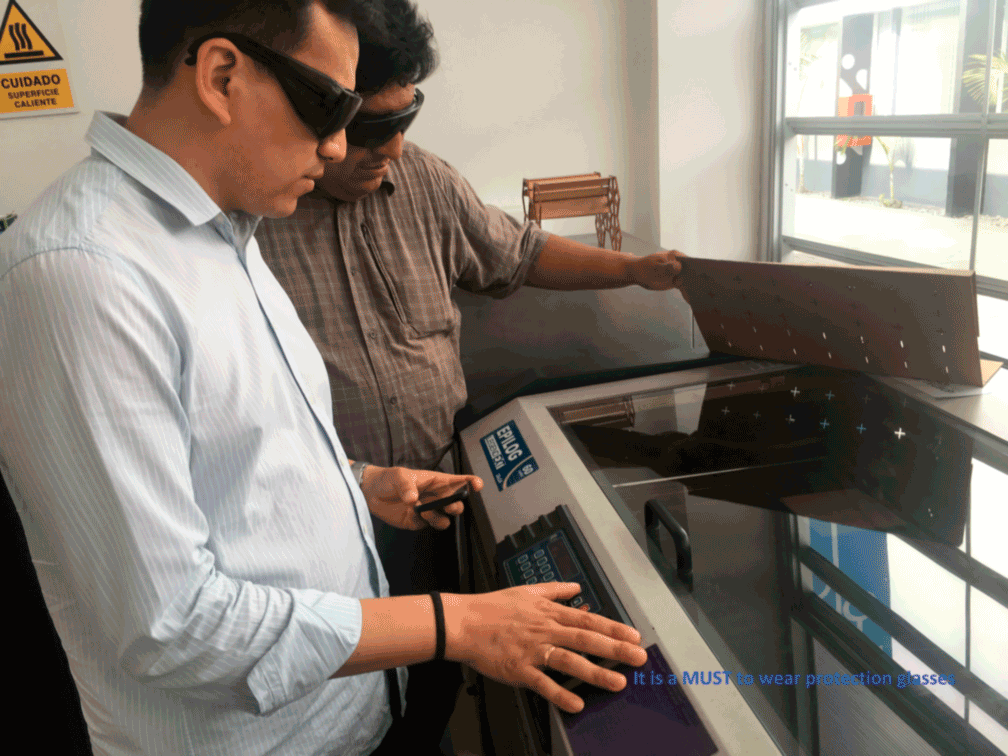
As long as it is a laser equipment, special glasses are needed for its handling. It is a MUST to wear it.
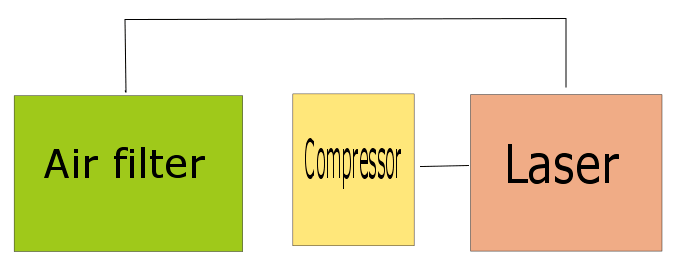
The equipment consist on three phases:
- Air filter
- Compressor
- Laser and engraving machine
Air filter
It is very important because it extracts the emissions that the material releases after the laser cuts the material.
Our lab is implemented with a Purex filter. It acts like an air purificator, since it handles active carbon.
Compressor
It is really importat that prior the operation of the laser machine, it should be power on. It is because it injects air
towards the material where the laser cuts and avoids the flame to increase. It also helps the the optical part of the lens
against the humidity. Our compressor is made by GAST
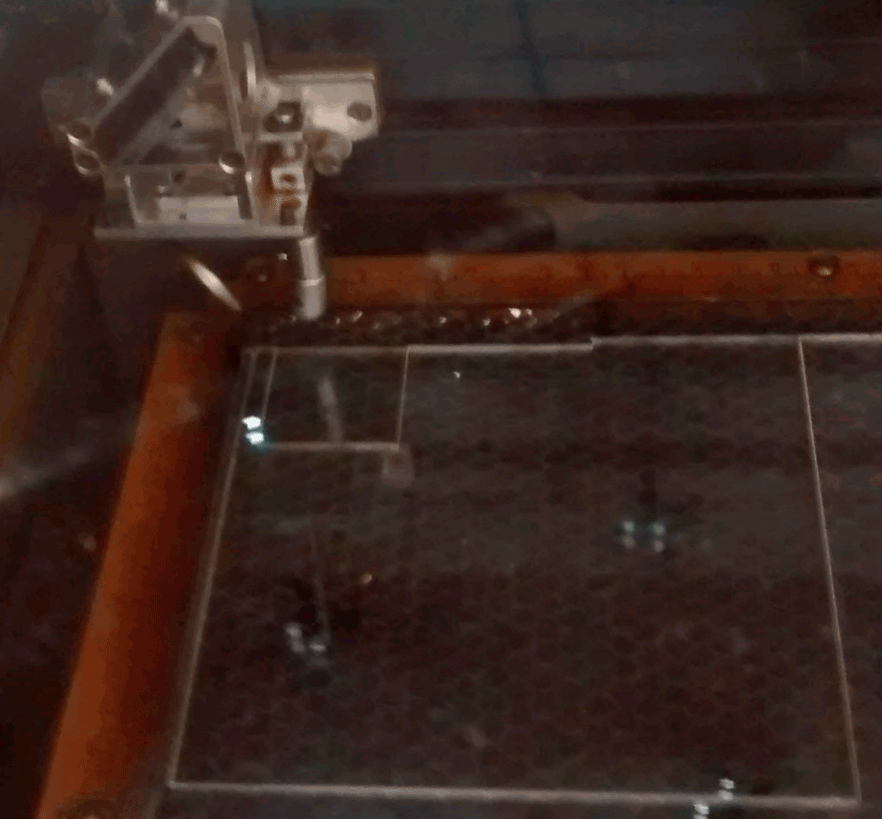
Laser and engraving machine
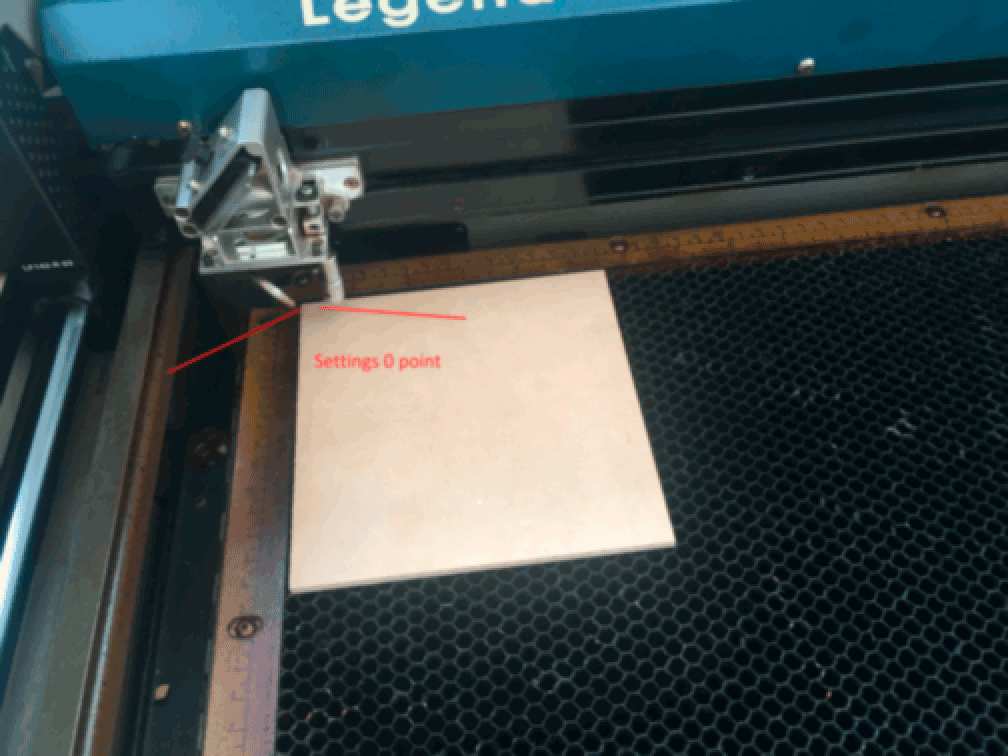
The first steps we have to learn was the installation of the lenses, we have to clean the mirror and its lens. Then the we have to configure the settings
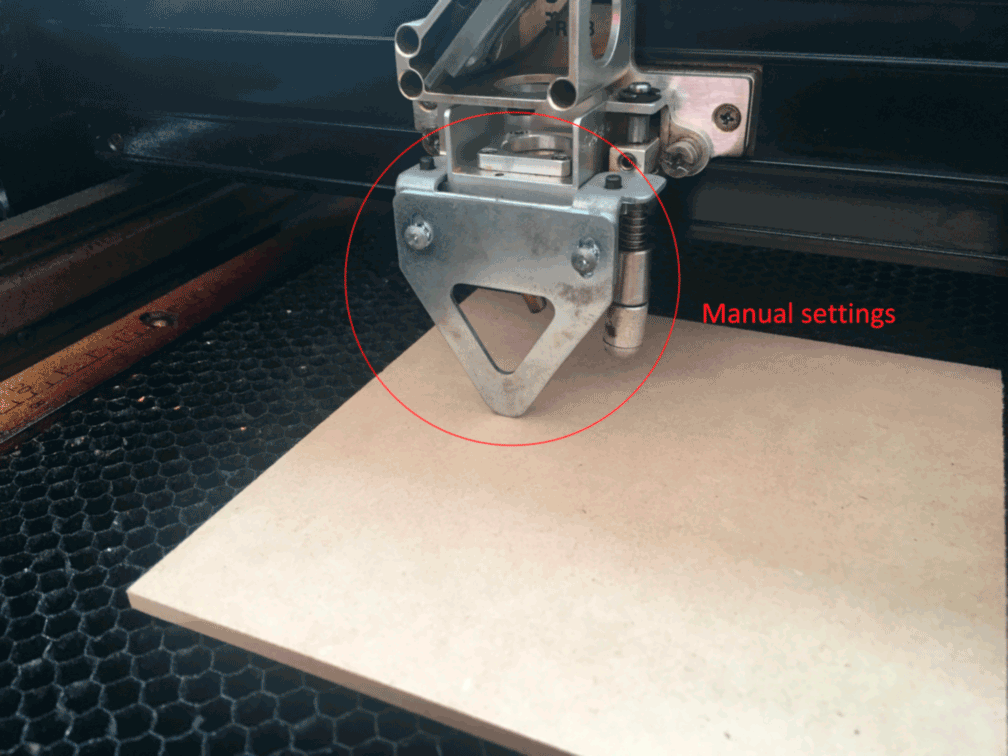
Then we have to put the table on the correct position according to the thickness of the material. These can be done manually or auto. If we are going to use
the manual configuration, we need to handle a triangle that comes with the equipment. Once it is touch the material, it means that the equipment is properly set.
Automatic way can be done by pressing the automatic button on the menu of the equipment. You may see more information about its characteristic fo the laser at
Laser Epilog Legend 36EXT
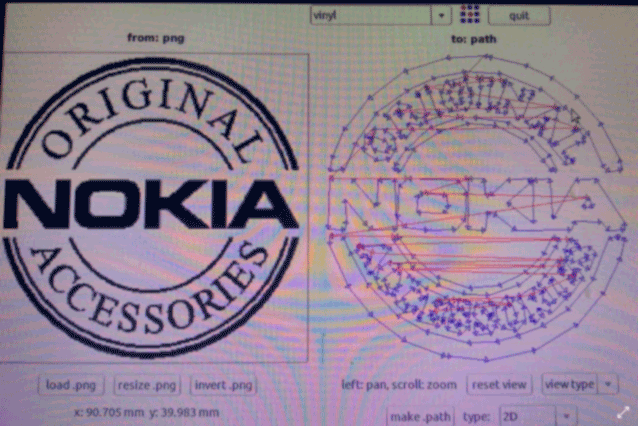
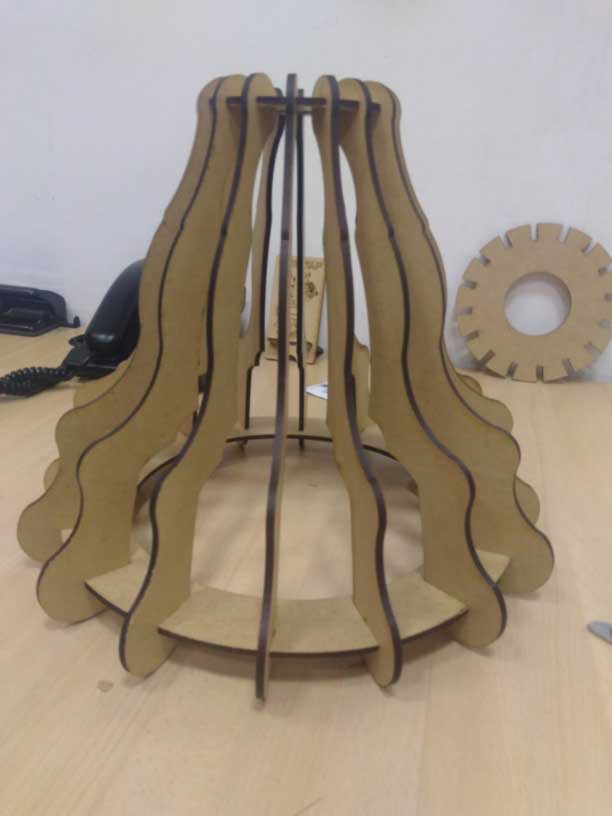
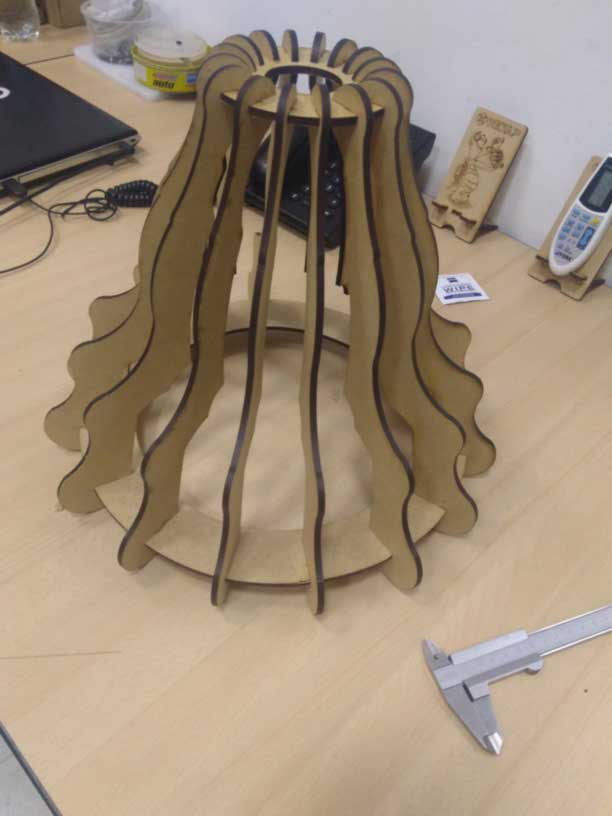
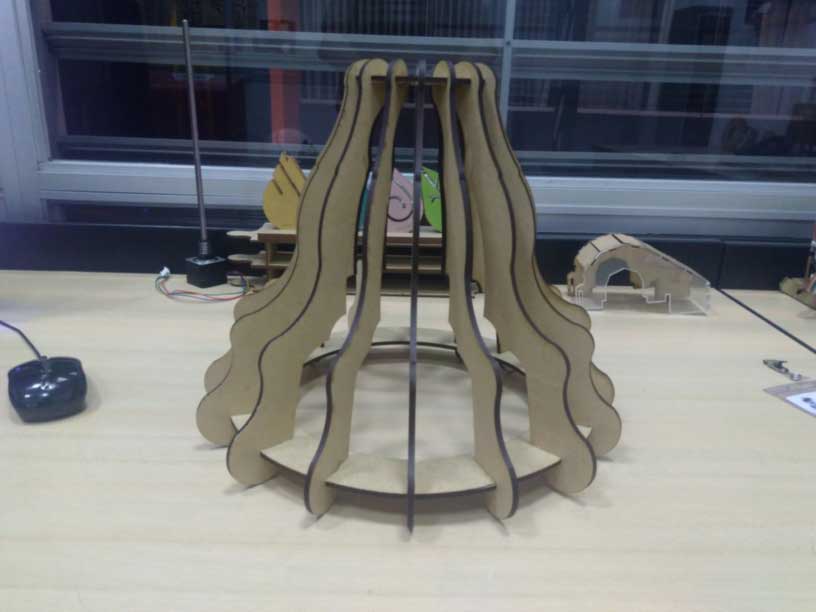
Then it was time to put the material, we have tried to raster and cut with: acrylic and mdf.