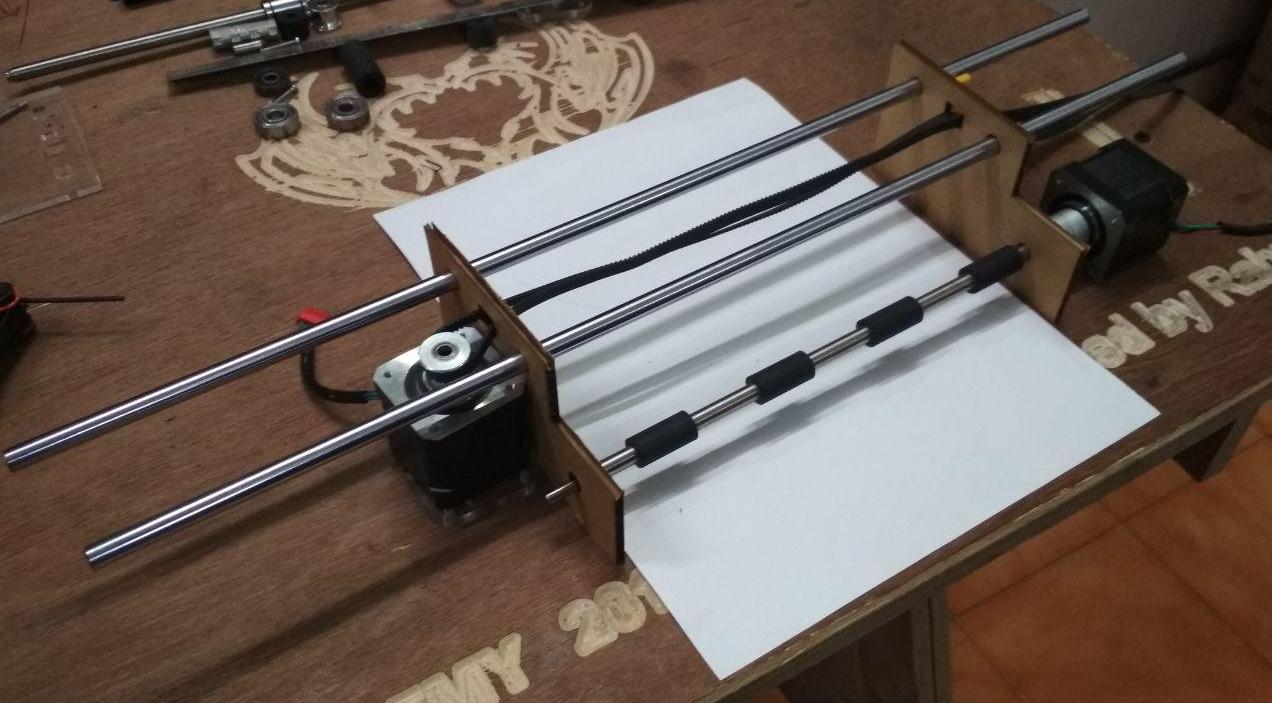
Below is the picture of the assembly of rods and belts through the side-frame.
Making the printer-head
Here is the design file : (.f3d).
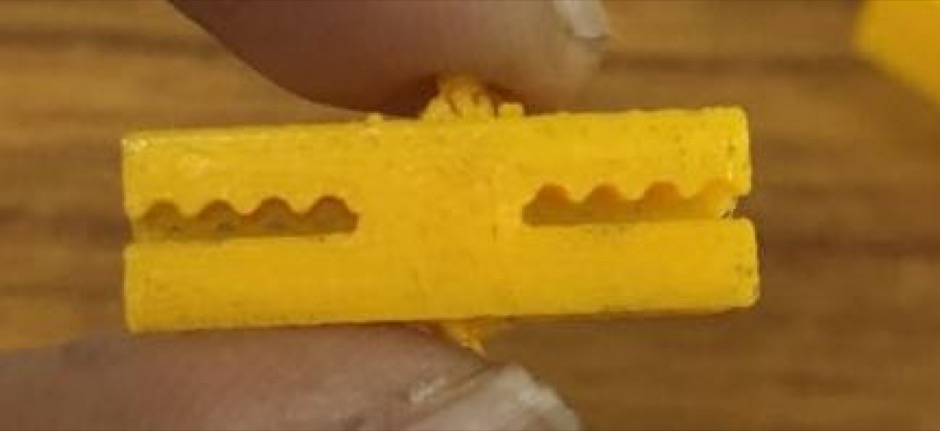
Test-printing a belt clamp for the printer head. One belt has to be movable while the other one is fixed in the printer head.
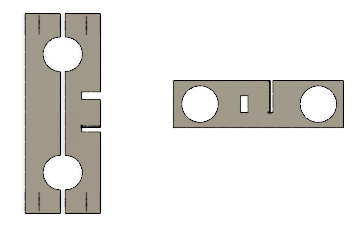
The following are the two designs that we tried for the printer head. The design on the left, which has two parts, is the first one that we tried. However, for the machine, we finally settled on the design on the right side, which is a single piece.
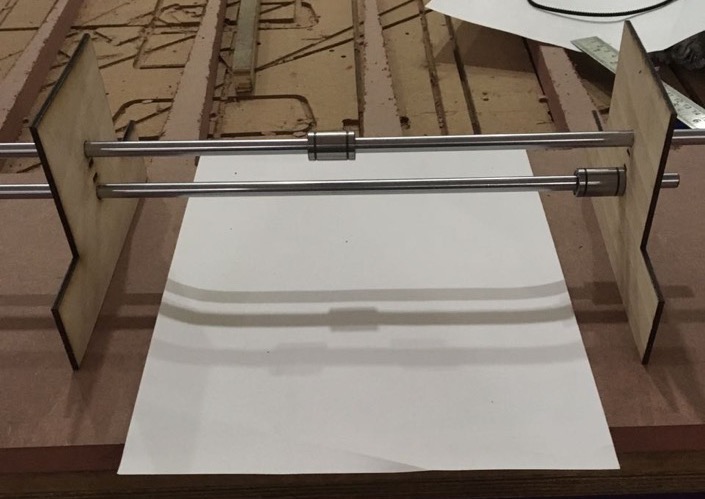
The two parts of the printer head to fix the rods and then screw the two parts together tight.
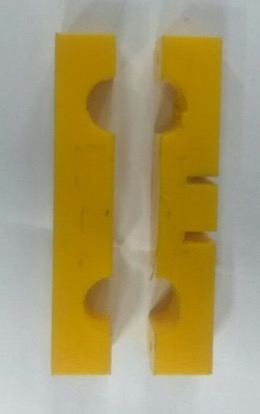
Fixing the rods and testing. However, we had doubts about equal alignment of the two rods and hence shifted to a single piece printhead.
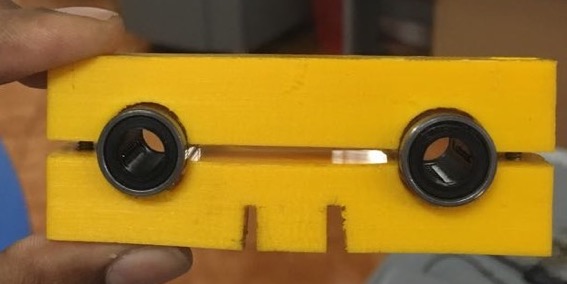
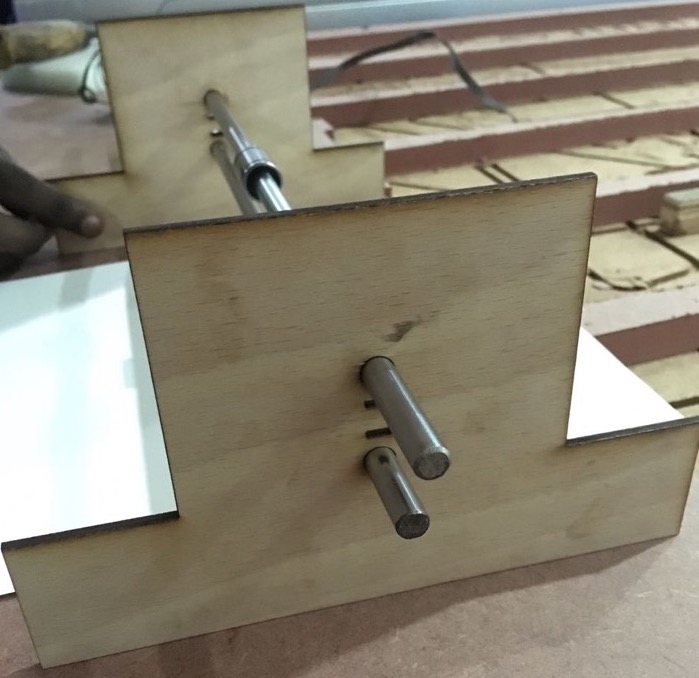
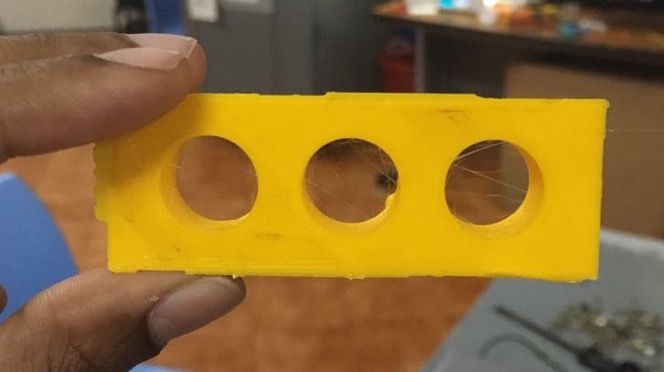
Testing different diameter holes of 15.1mm, 15.2mm and 15.3mm to check which tightly holds the 15mm rod. The 15.3mm diameter hole seemed to be the right fit and hence I used this dimension to design the printer head.
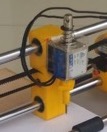
The final design of the printer head, as a single piece. It is holding the solenoid in the picture below.