After googling for a while on interesting cooking experiments that people do with the lasercutter, I decided to go conservative this wildcard week and stick to learning a well-defined process.
I have been interested to know more about composites because they are used to make prosthetics and orthotics. They could also be used to make portable assistive devices like light and strong adaptive chairs. However, I wanted to start with something easy and useful for my final project.
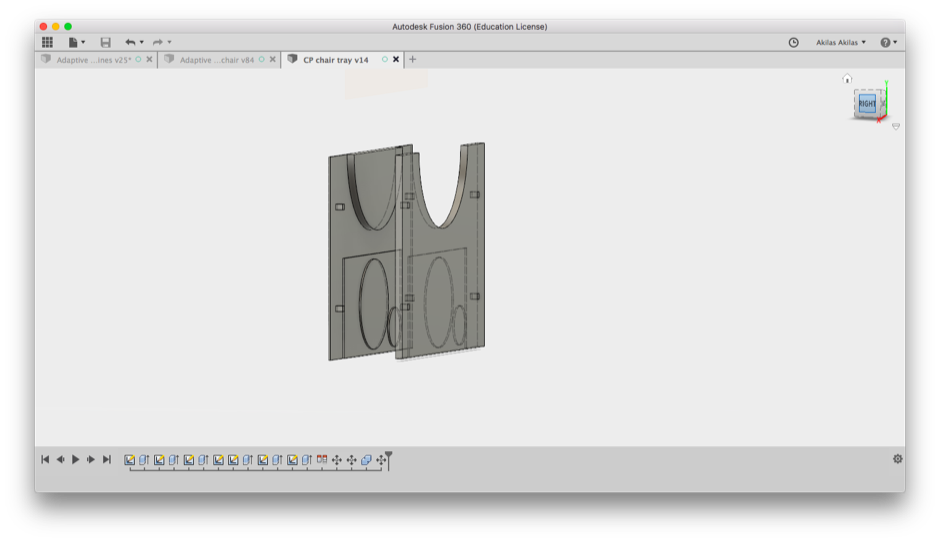
I started designing the beam from which the kid's head is suspended in the dynamic head support system. I thought that if the beam is in composite material, it would be stronger to bear the weight of the head. I had to rule this idea out because the instructors said that for this assignment I have to make something bigger (in the order of ft^2). I then tried designing a contoured backrest that can be strapped to any chair but gave up and started making a simple tray that can be slid into the slots in the side panels of the adaptive chair that I had milled for my shopbot assignment.
For some basic theory on composites, check this Wikipedia page. The property of a composite material is different from that of its constituent materials, which are the matrix (resin) and the reinforcement (fibre). The properties of a composite mostly resemble that of the reinforcement (fibre). The resin holds the fibre together and helps it to take the desired shape. Resin also helps to spread the mechanical load from the fibre to the entire composite material.
Check the video below for what I made this week:
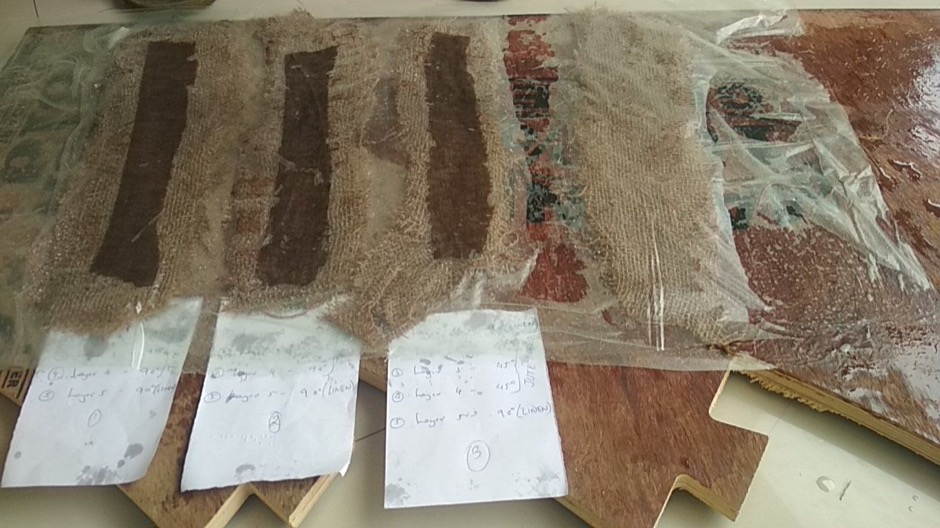
1. Test coupons - Group assignment
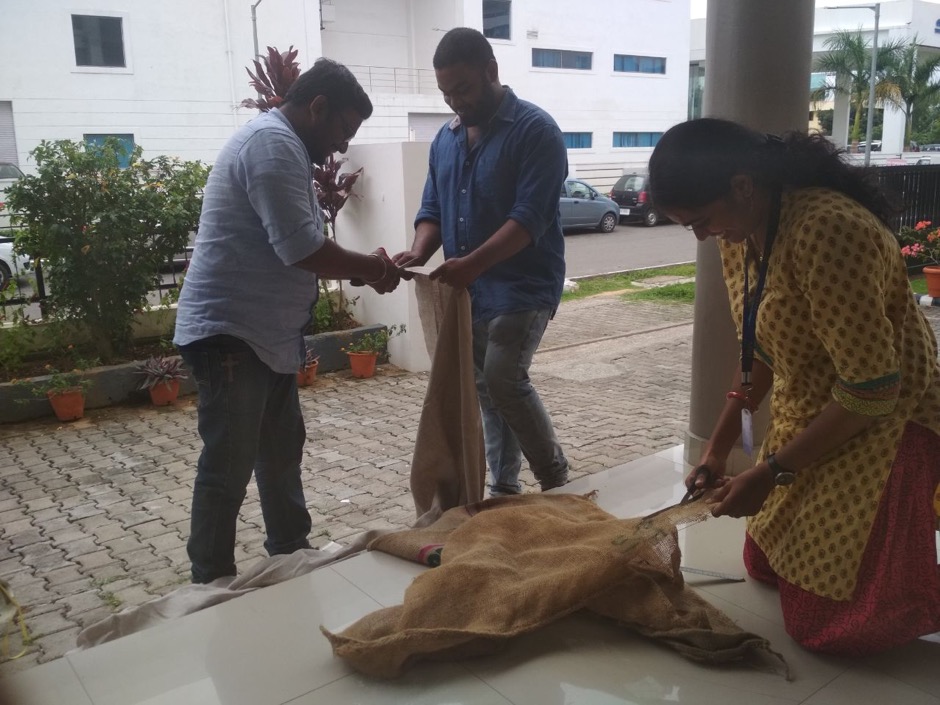
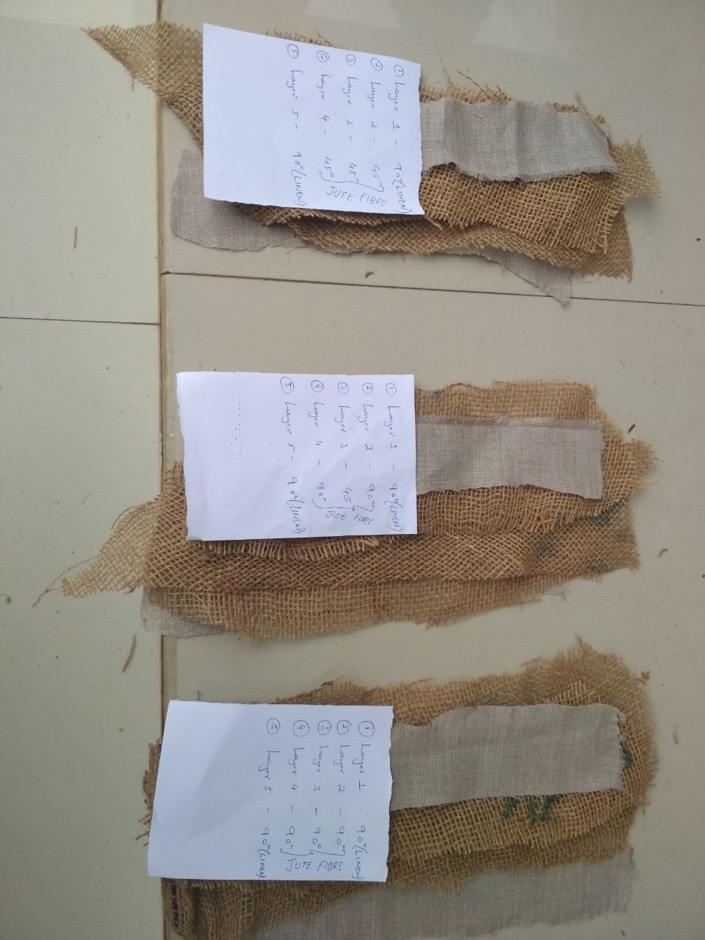
We made test coupons with different orders and orientations of fibre layers, to test which gives the strongest composite.
1. Layers 1 and 5 - Linen (90 degree orientation) and layers 2,3,4 - Jute (45 degree)
2. Layers 1 and 5 - Linen (90 degree orientation); layer 3 - Jute (45 degree); Layers 2,4- Jute (90 degree)
3. Layers 1 and 5 - Linen (90 degree orientation)and layers 2,3,4 - Jute (90 degree)
1. Cutting jute and linen layers
3. Labelling the 3 different layerings as described above
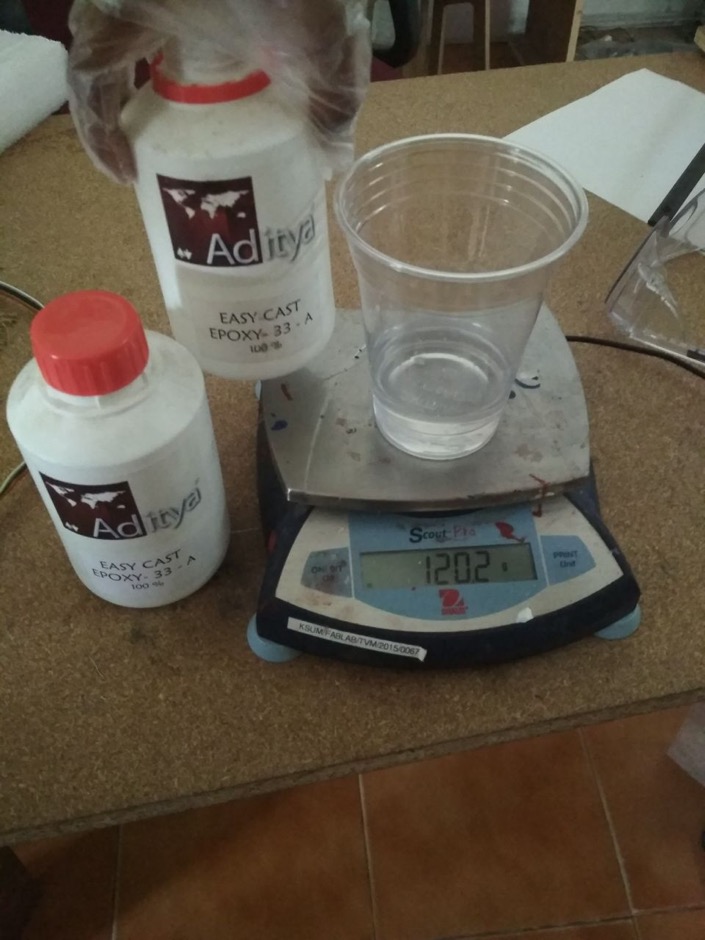
4. Easy Cast Epoxy resin: Parts A and B mixed in a ratio of 100:50.
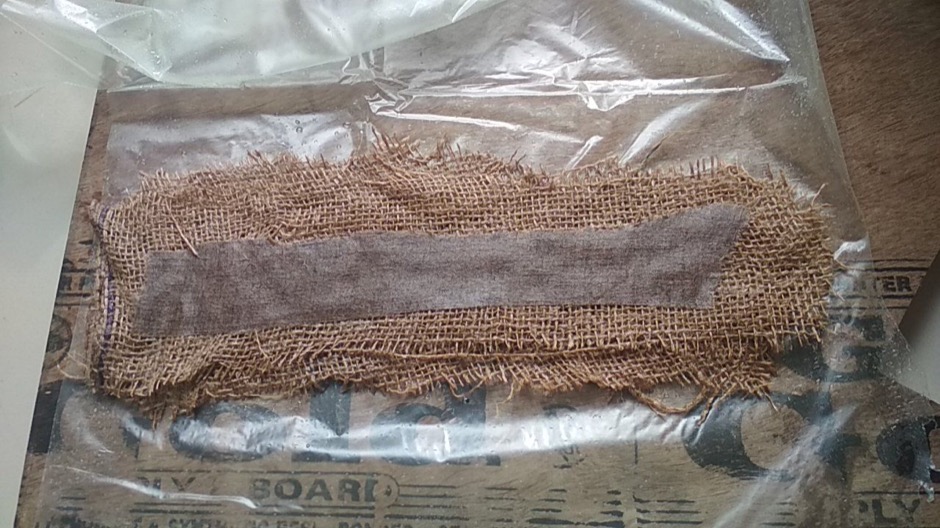
5. Soaking the matrix in resin.
6. Sandwiching between 'breather/perforated plastic' to let out excess resin.
Left for curing for 24 hours at room temperature, between two planks of 18mm plywood.
The coupon with the three jute layers at 45 degree orientation was adjudged to be the strongest, based on a bending test by three different people in the lab.
2. Designing the mold
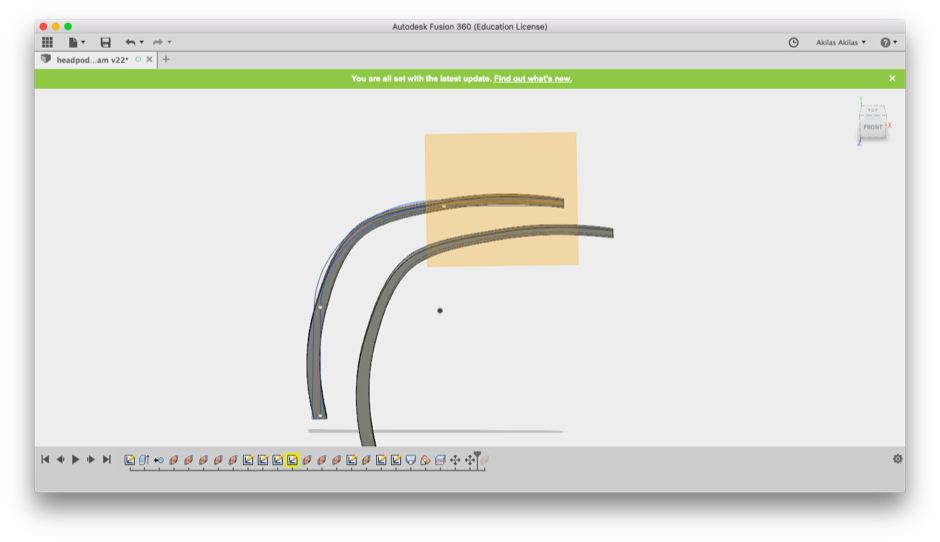
Here are the design files created using Fusion 360: (.stl)and (.f3d)
This is the beam for the dynamic head support that I designed first. I intend to try making the composite out of it later for my final project.
I was puzzled if I should use the design of the object itself or a negative of it to make the mold. Since we are going to laminate the composite by vacuum-bagging, using the object shape itself should give the desired end result in composite.
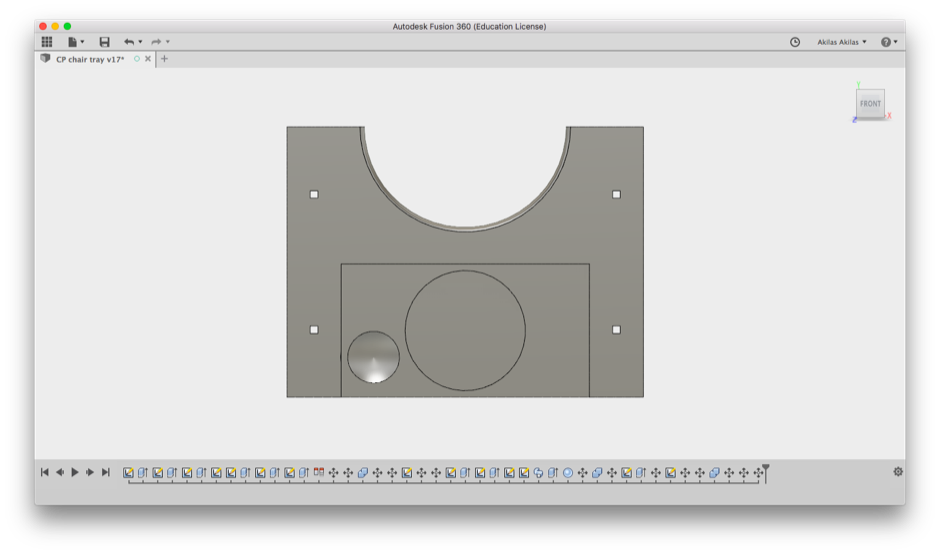
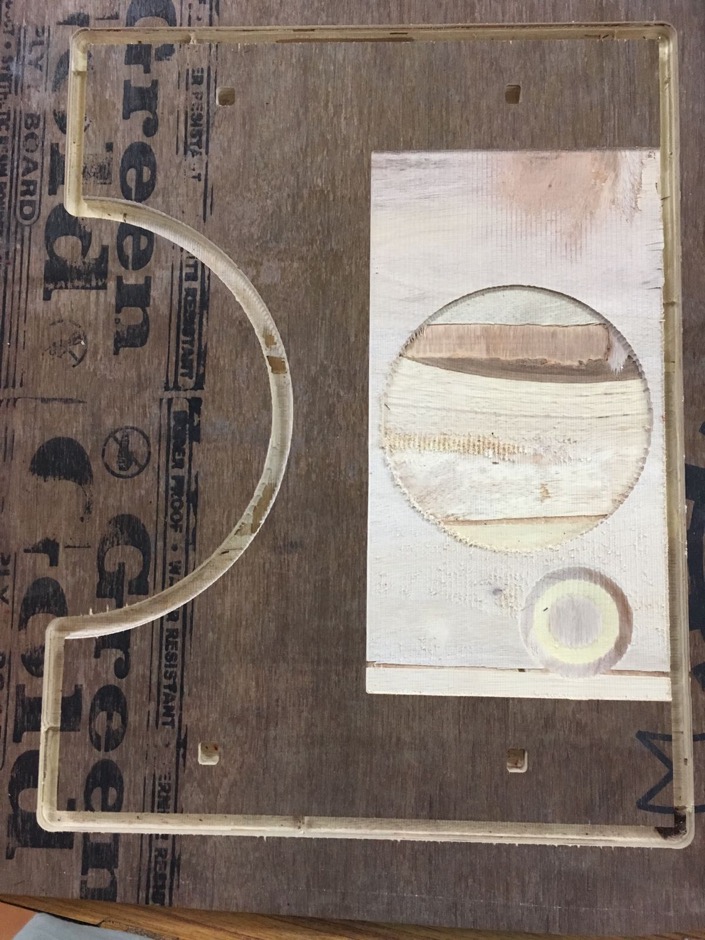
The final design to be milled using Shopbot.
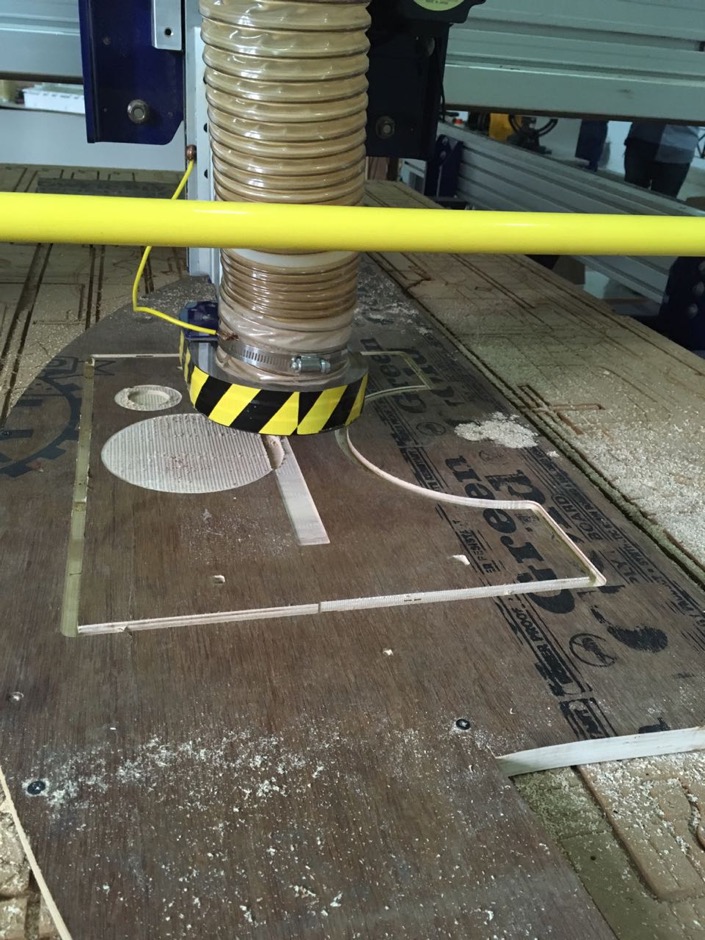
3. Milling the mold
Here are the toolpath files created using PartWorks 3D:
Roughing toolpath - (file is a tad too big)
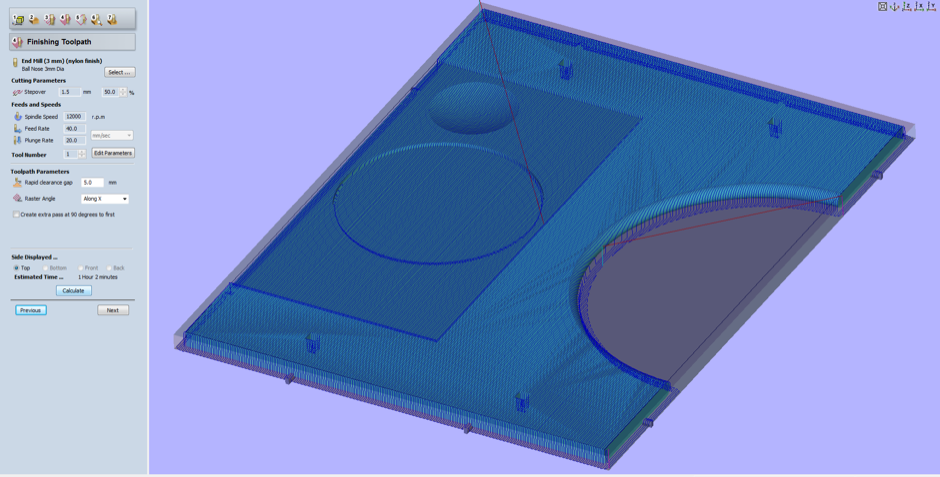
Finishing toolpath
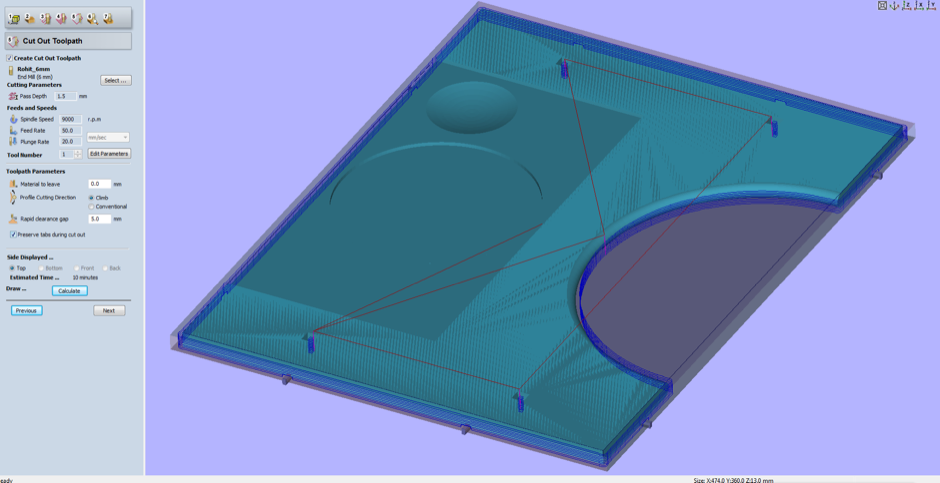
Cut-out toolpath
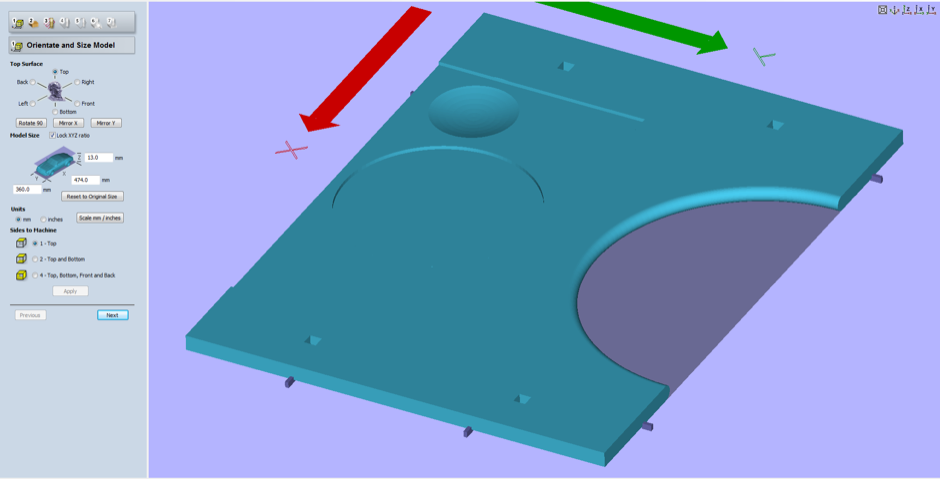
1.Specifying material dimensions.
2.Choosing the right orientation
3. Generating the roughing toolpath
4. Generating the finishing toolpath
5. Generating the cut-out toolpath
The milling took 2 hours in total.
4. Composite preparation
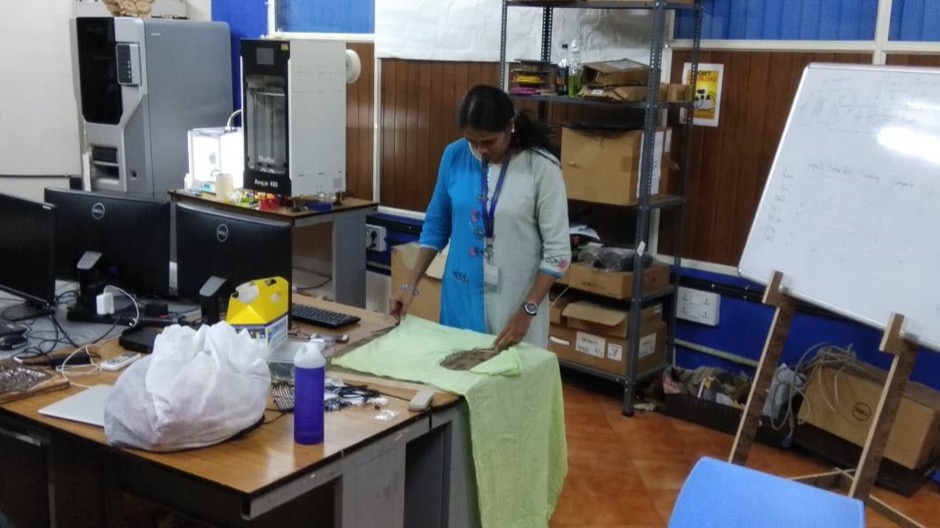
1. Cutting cloth materials as per the shape of the mold.
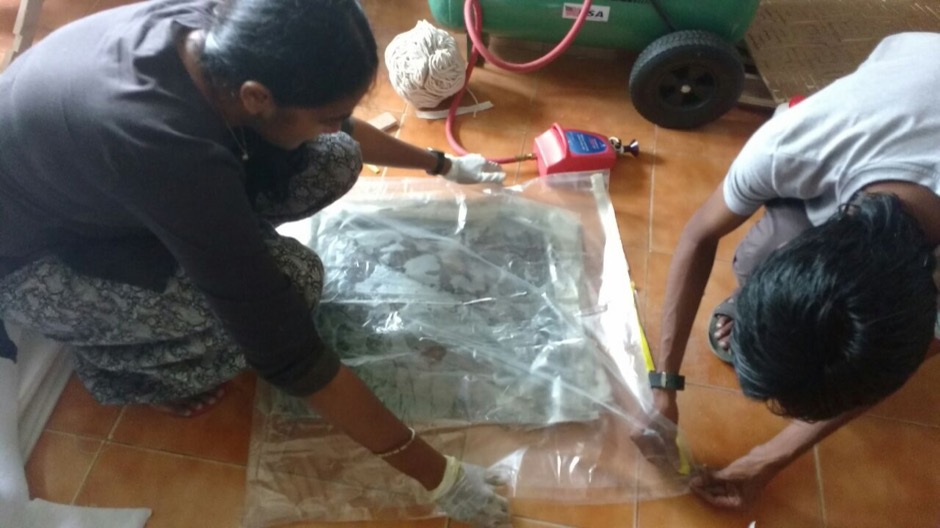
2. Two layers of linen cloth, followed by soaking with resin. Now Yadu is helping me put the assembly inside a plastic bag to get it ready for vacuum bagging.
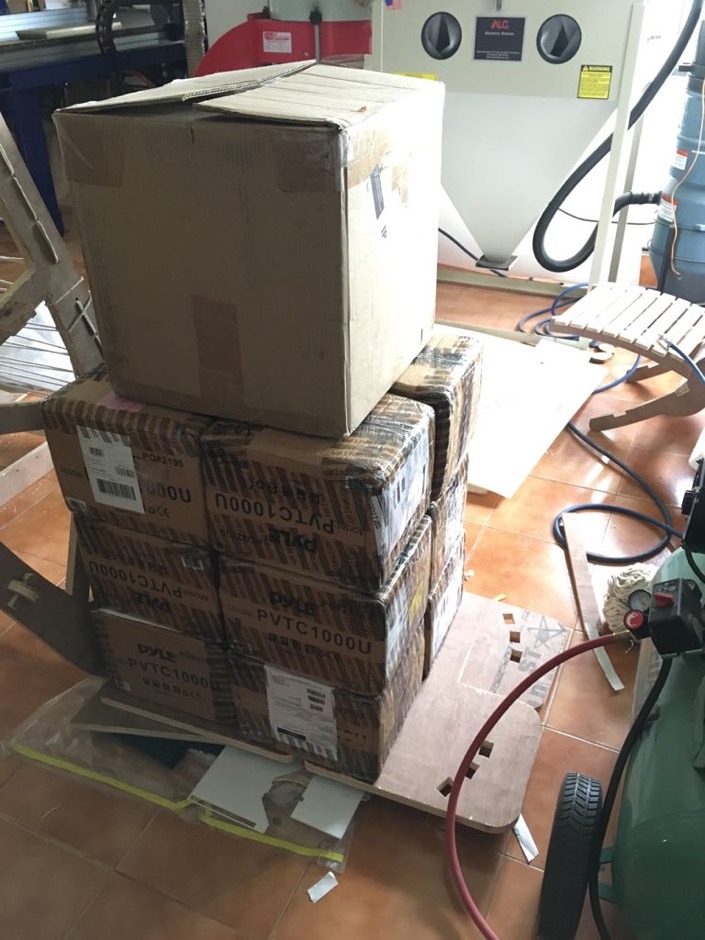
4. Not taking any chances. Heavy boxes on top of the vacuum-bag.
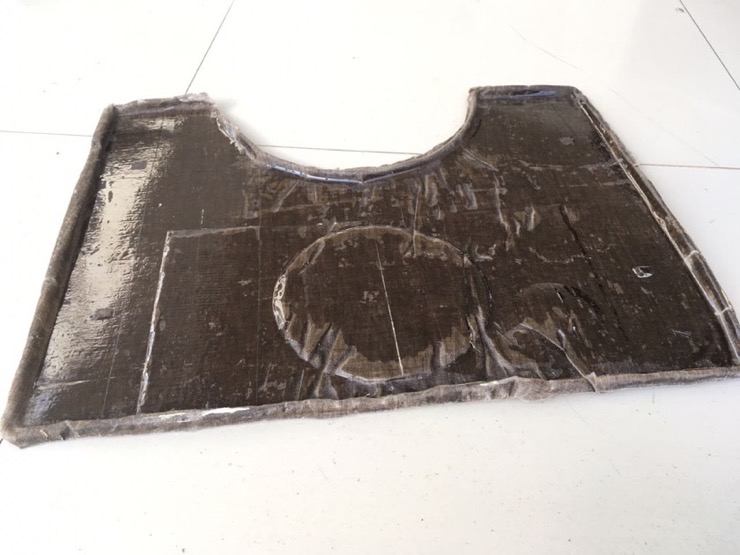
5. After 24 hours of curing. See the video above for a clip of me removing the composite from the mold.
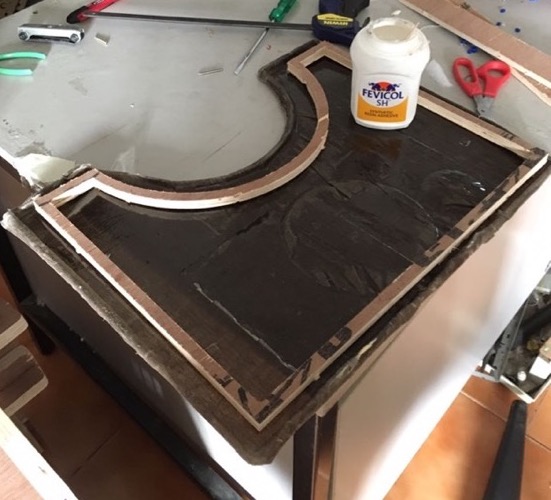
6. Trying to stabilise the tray with a wooden frame.