I have tried out Adobe Photoshop, Tinkercad and Rhino earlier. This week I explored GIMP, Inkscape, Autocad and Fusion 360.
I found GIMP more difficult to use than Adobe Photoshop - I guess it's just a matter of practice before getting used to it or may be because in Photoshop I have only edited videos. I have never tried much photo editing.
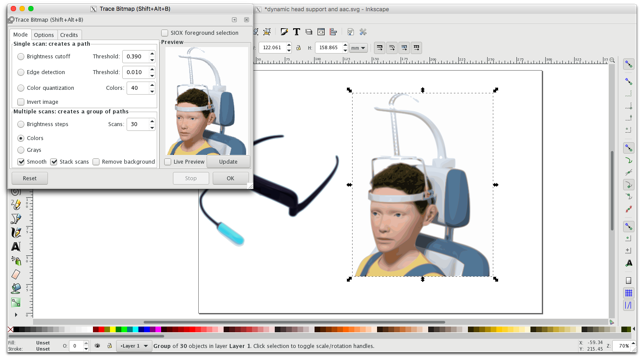
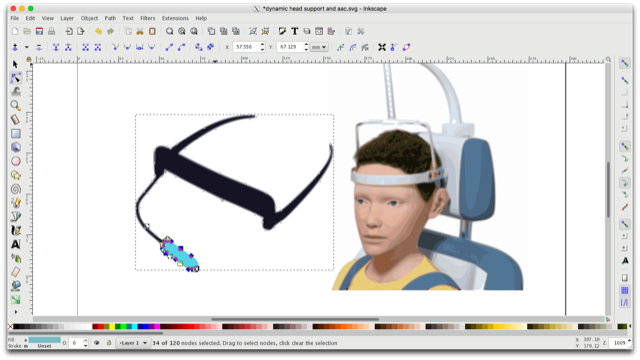
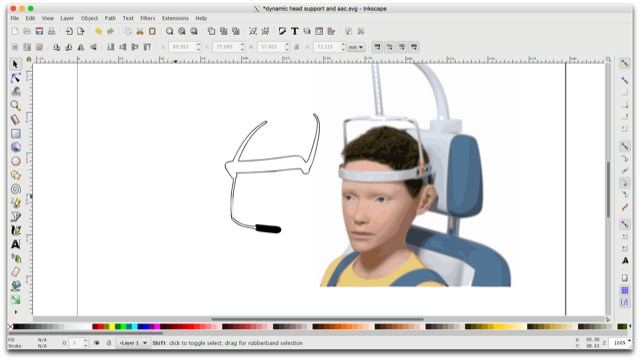
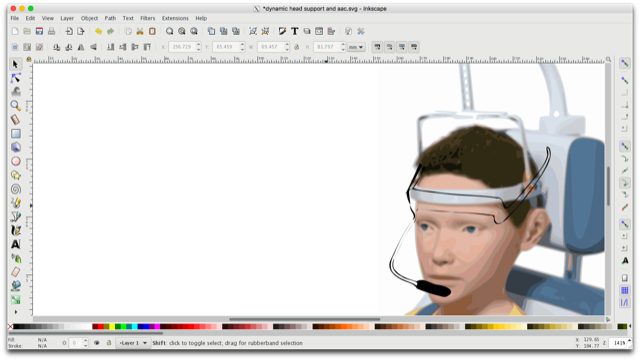
Inkscape was great.
I really enjoyed trying Autocad, especially because our instructor passionately demonstrated its different unique and handy features. Autocad is great for 2D operations but looks limited for 3D.
Fusion 360 is very easy to learn and use for 3D operations. I could only try the basic operations. I would love to learn more - especially assembling parts and simulating.
Here are the design files:
Inkscape file 1
Inkscape file 2
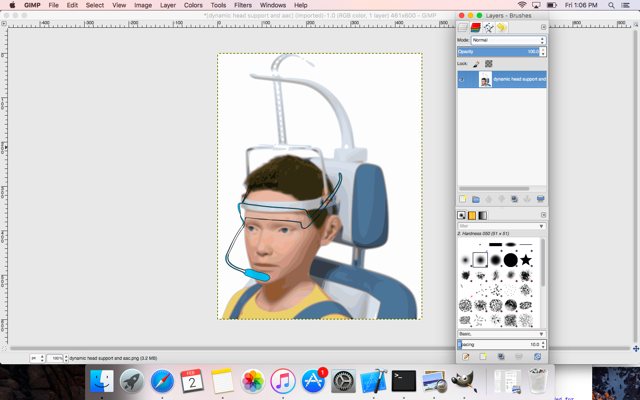
GIMP file 1
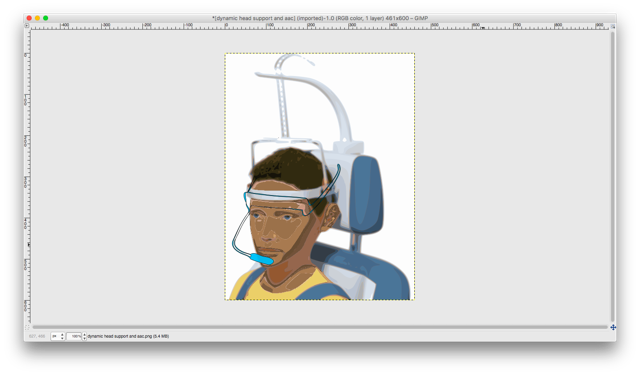
GIMP file 2
1. 2D designing: Inkscape and GIMP
2. 3D designing: Autocad
3. 3D designing: Fusion 360
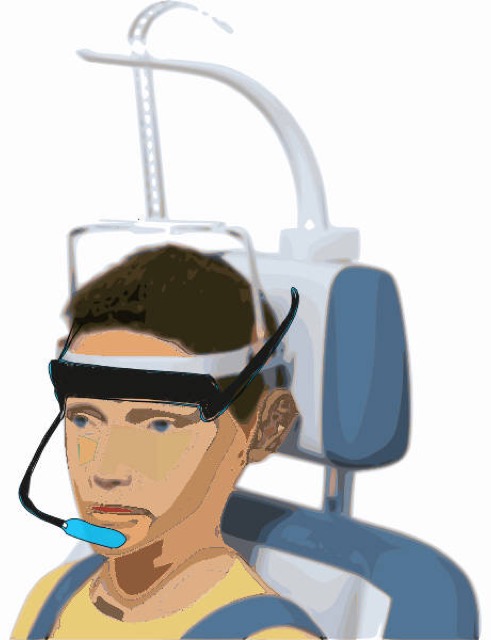
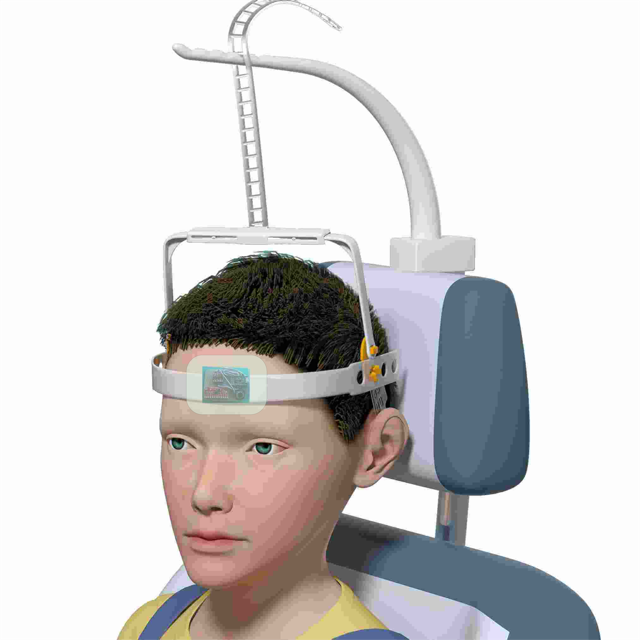
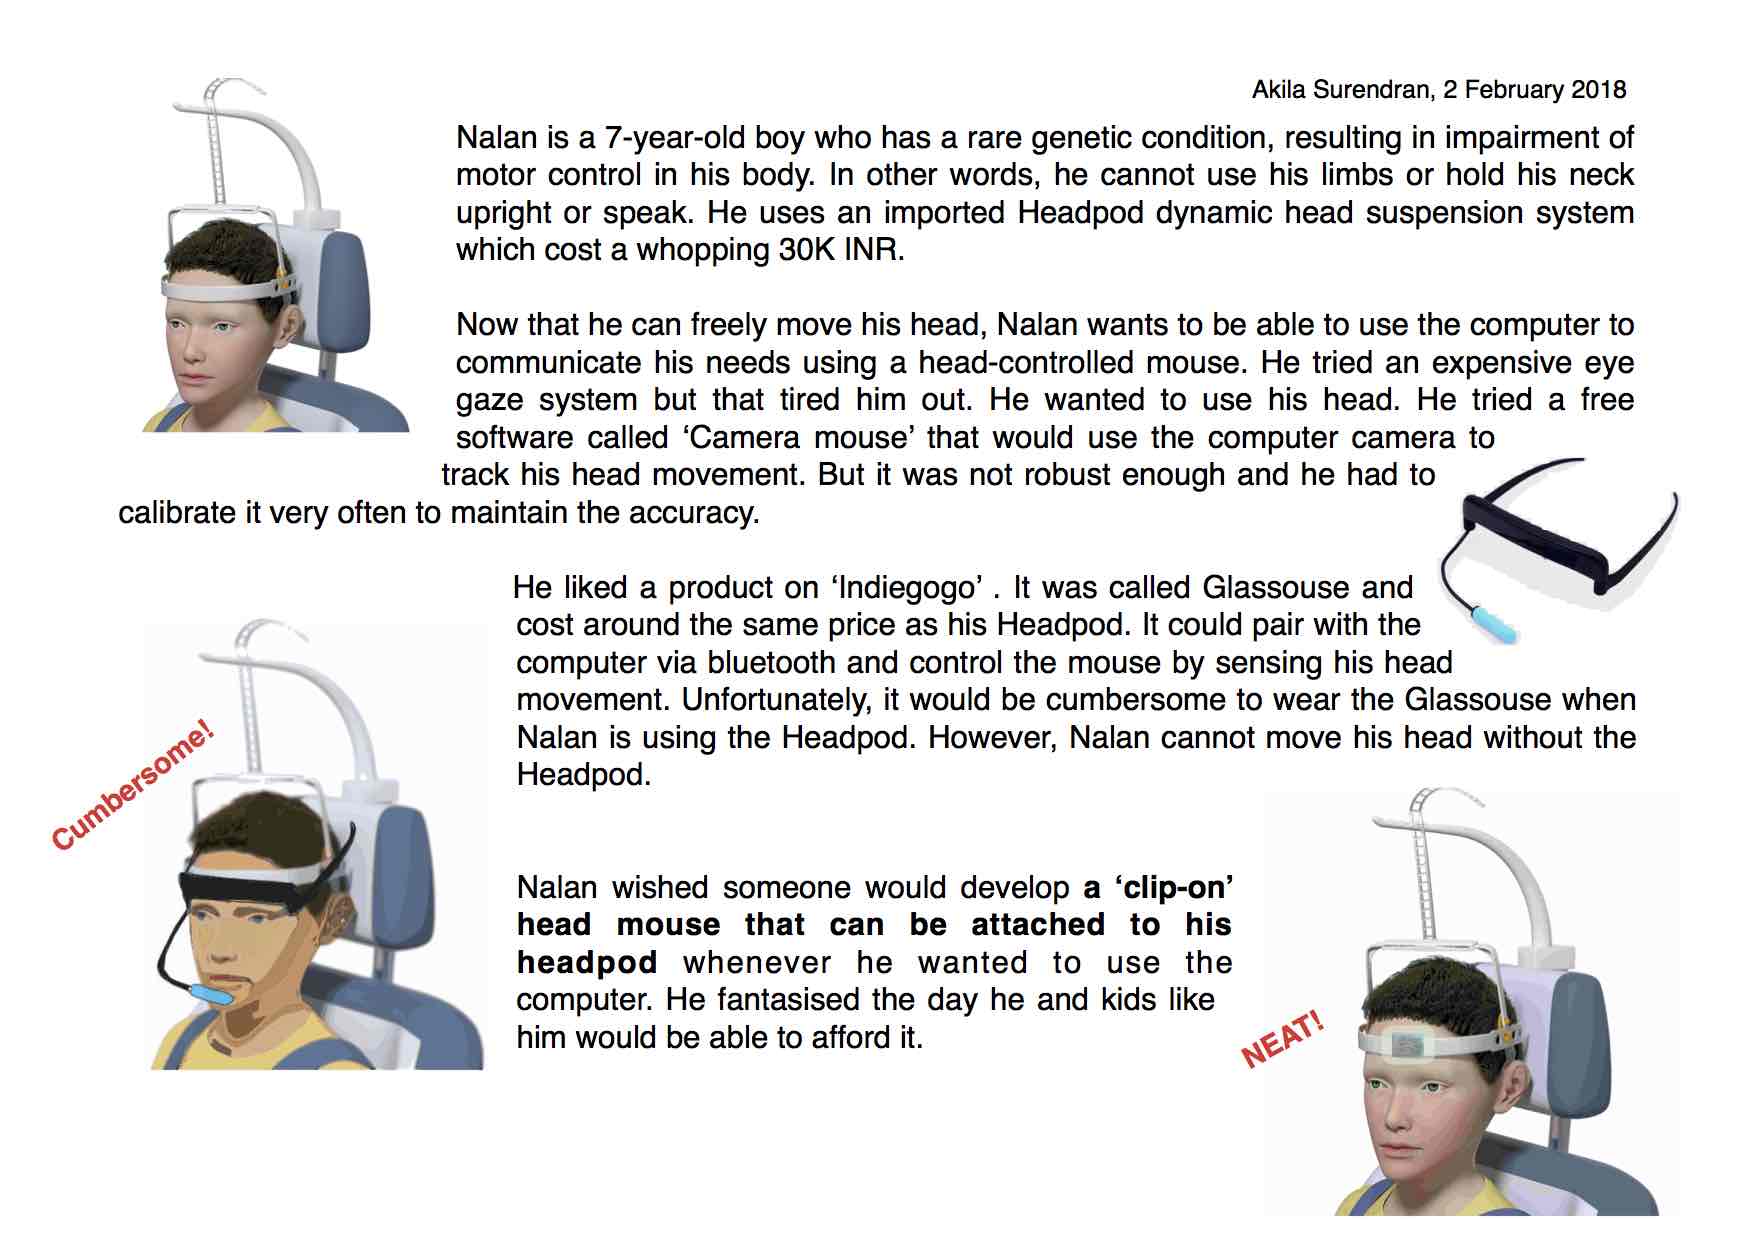
After doodling around a little with Inkscape, I decided to use it to make a graphic that would demonstrate the need for my final project idea. Here it is: