
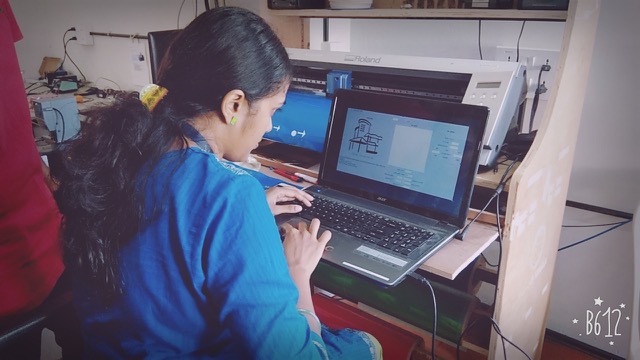
I typed 'Fablab' and clicked enter from the Commandline to open the machine module.
I loaded my design file (.svg) as input. Image resize options are available on the software.
I had to choose 'vinyl' as the material from amongst vinyl, copper and epoxy.
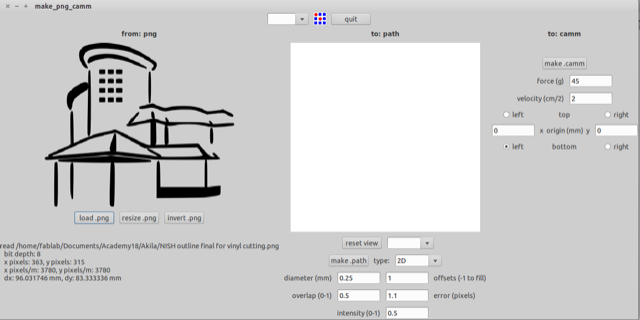
I increased the overlap error (pixels) to 1.5 because the preview screen showed a clear and less complicated design at that value.
To adjust the cutterhead options : diameter is to be kept fixed.
The origin was chosen as 'bottom left'.
Force (g)=90
Velocity (cm/s)=5
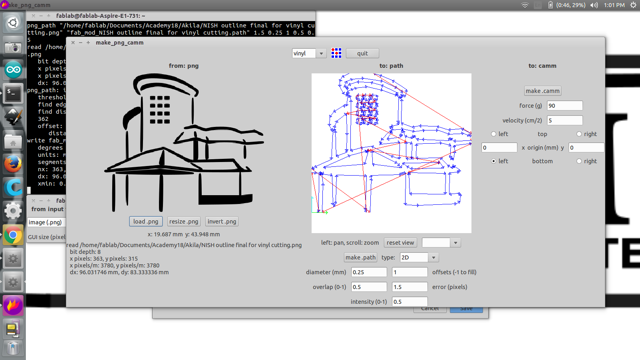
Click make.camm and finally 'Send it'.
At the machine, pull the lever to fix the vinyl sheet appropriately. (some funda: distance between two holes is ~ 16 mm)
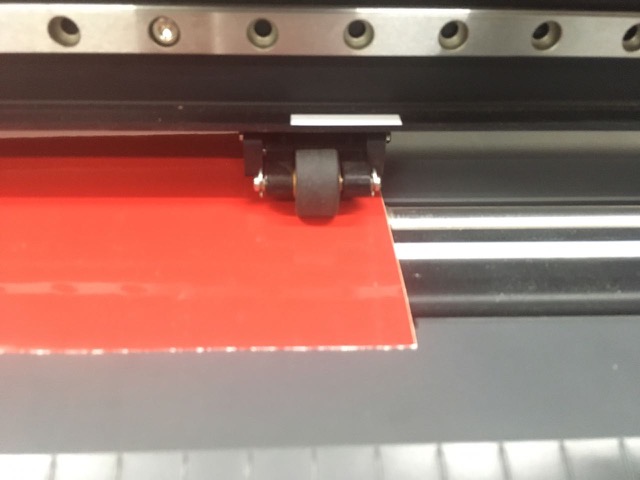
The two rollers have to be kept under the white guiding line, at the ends of the sheet.
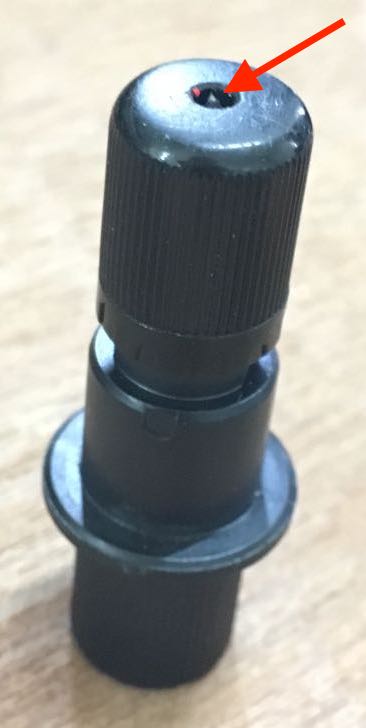
The above picture is of the container housing the cutting tip. It has to protrude to a length of two-third of the vinyl sheet that it is cutting, so that only the sticker portion is cut. The thickness of the vinyl sheet that we are using is 0.3mm. So the tip has to protrude to a length of 0.2mm. This can be adjusted by rotating the cap counter-clockwise. One full turn would extend the tip by 0.5mm.
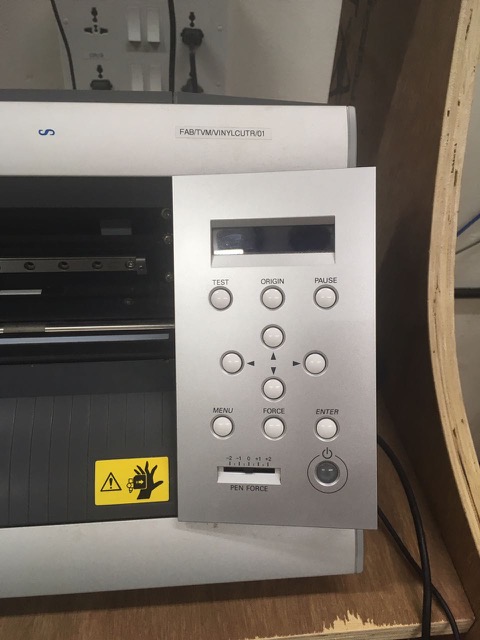
On the machine panel, use the buttons with the arrows to adjust the position of the cutterhead on the sheet, keeping in mind the origin chosen on the software. Long press 'Origin' button.
You may choose to hold the 'Test' button to check everything.

Choose 'Roll' with the control buttons and press 'Enter'.
Watch the machine speed through the cutting!
Cut out your design from the roll.
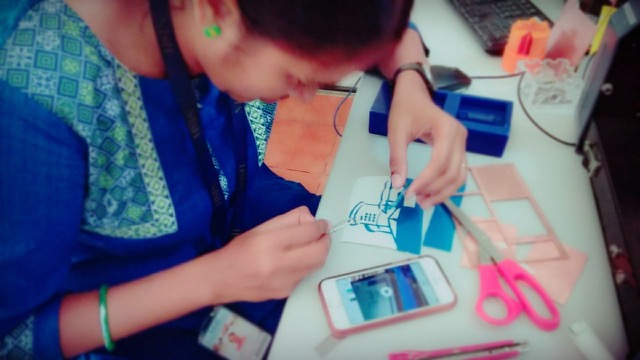
Weed out the unnecessary portions by referring to the design file and using forceps and a penknife.
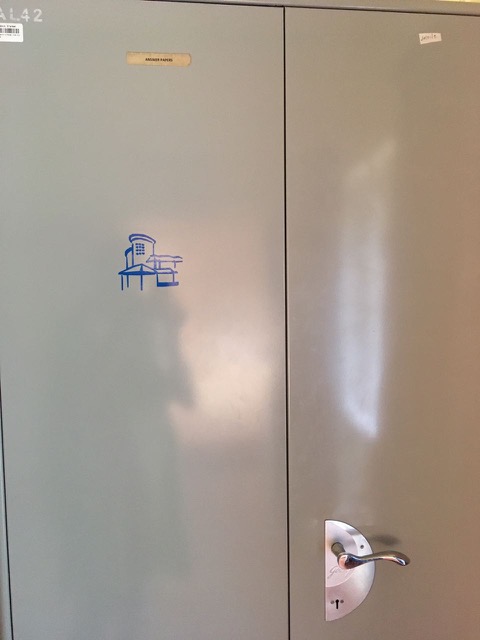
Use a transfer adhesive sheet to stick on the design. The adhesion to this transfer sheet should be lesser than the adhesion by the vinyl sticker on the target surface. Then, it would be easy to stick on to the surface and peel off the transfer sheet.