Week 2: Project Management
Assignment:Work through a git tutorial,Build a personal site in class archive describing you and your final project
In this week Professor Neil talked about Project Management and Documentation. We had to start by preparing our Laptops for the fab academy. I understand Linux is the best requirement for this course so, I choose Ubuntu 16.04 for this course. My system was already dual booted with ubuntu 16.04 and Windows 10. I am a Linux user from my school times. Here we are using Gitlab for the fab academy, I already got mail from fab academy regarding my login credits for git lab. All our documentation works are going to store in git lab.
Preparing Laptops
In order to prepare laptop for the fab academy, we need to install some software. In this week we went through git and webpage for documentation. So I need to install git and webpage editor for doing this work. I start with installing git then go with Atom a webpage editor.
Git
Git is a free and open source distributed version control system used to manage workflows between multiple people working on the same file. It helps us to manage our own project locally using a version control tool or if we want to modify a code that is located in a remote central Git repository. More details
Installing and Configuring Git
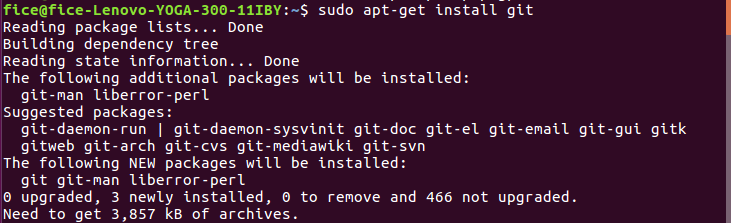
Open gnome terminal in ubuntu by pressing Ctrl+Alt+T then type
sudo apt-get install git
Create a repository in Gitlab for personal website Head over to Gitlab,GitLab is a repository manager which lets teams collaborate on code here our gitlab account is created by fabacademy and send login creditals through mail.Login through that link and create password for that.
After that Clone the created repo to our PC.
git clone https://gitlab.fabcloud.org/academany/fabacademy/20Here my git installation and configuration is finished next step is to create a webpage for documentation. So I start with installing Atom web editor.18/labs/fablabtrivandrum/students/amith-gnair.git
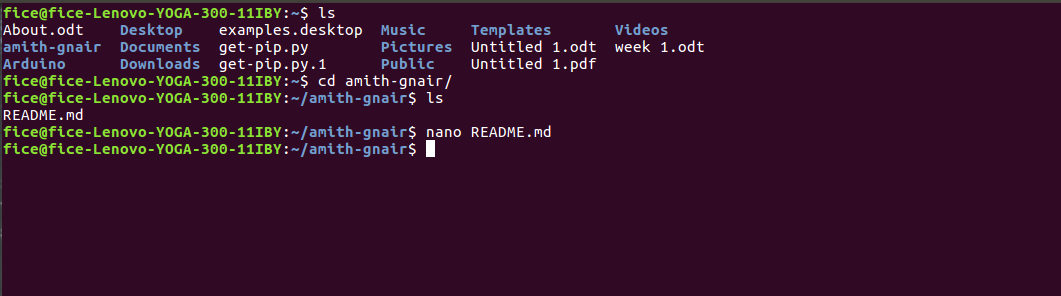
Go to local Repo by using cd and ls commands

The next step is to specify your username and email address to your GIT repository using “git config” as shown below
                git config --global user.name "user.name"
                git config --global user.email email@email.com

Go to local repository and make some changes in README.md file in that folder and save that
Now we need to push this.Status ,Add, commit, and push your changes:
                  $ git Status
                  # status of the folder
                  $ git add --all
                  #adding files
                  $ git commit -m "Initial commit"
                  #Adding Comments
                  $ git push -u origin master
                  # pushing
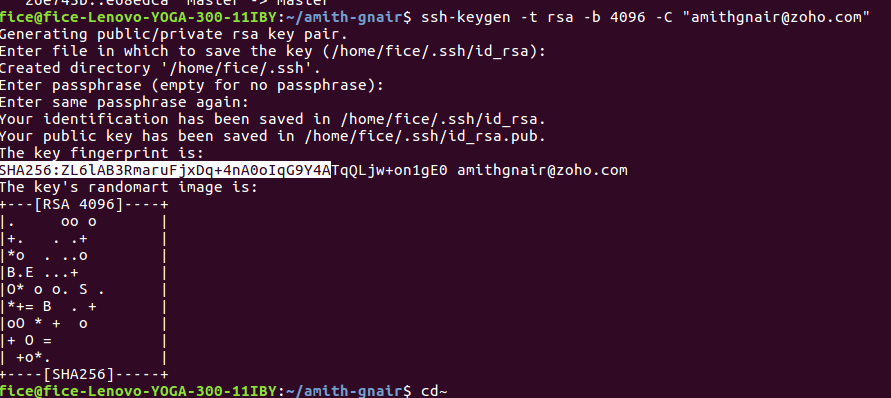
Creating SSH Keys:SSH keys are used to identify computers, it helps in pushing easy without passwords.Inorder to generate a ssh key open terminal and type
ssh-keygen -t rsa -b 4096 -C "your_email@example.com"
Add your public key to gitlab account by typing this command in terminal
cat .ssh/id_rsa.pub

Go to gitlab account Profile Settings → SSH Keys -Paste the content under “Key” Give a title to identify which PC has the above Key -Click on Add key and Done.
Here my git installation and configuration is finished next step is to create a webpage for documentation. So I start with installing Atom web editor.
Atom
Atom is a free and open-source text and source code editor for macOS, Linux, and Microsoft Windows with support for plug-ins written in Node.js, and embedded Git Control, developed by GitHub. Refer this to learn more about atom editor and working of this
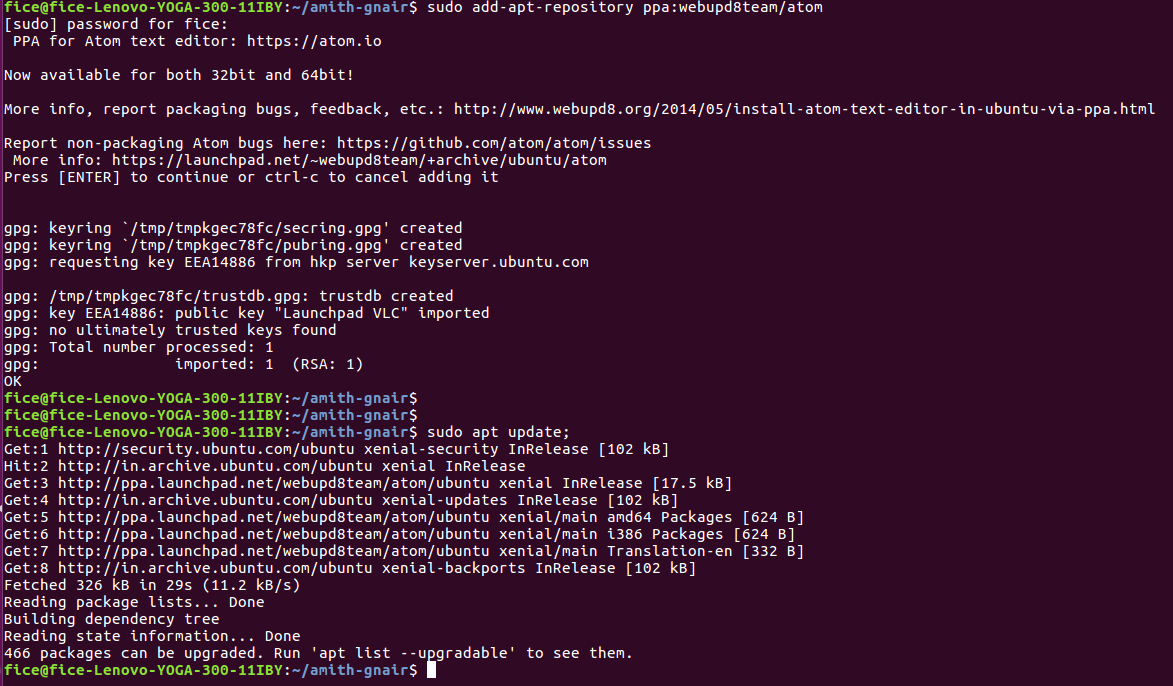
Open Terminal and type below commands to install Atom
                  $ sudo add-apt-repository ppa:webupd8team/atom
                  # pasword and hit enter
                  $ sudo apt-get update // updates the packages
                  $ sudo apt install atom

Web Design
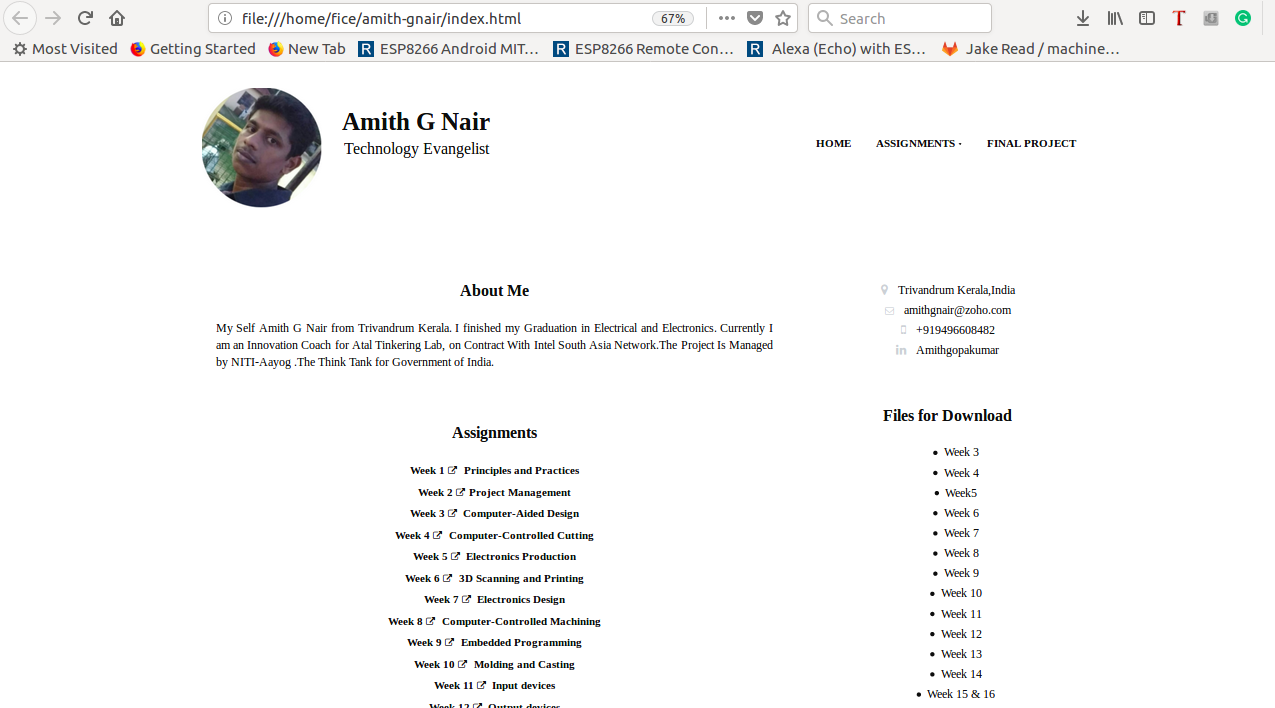
I have little knowledge of HTML and CSS, but website development is a time-consuming process so, I searched a free bootstrap template, and download it and edit to meet my needs.
Various links to download free html templates link 1: link 1: link 1:
I download a Free bootstrap templates,created by 3rd Wave Media: link , its a free version website licensed under Creative Commons Attribution 3.0 License.and it looks good for me.I download that and open in atom editor to edit my changes.Sample website that i download doesnot have home buttons so i used W3 schools tutorial to refer the code for placing buttons.
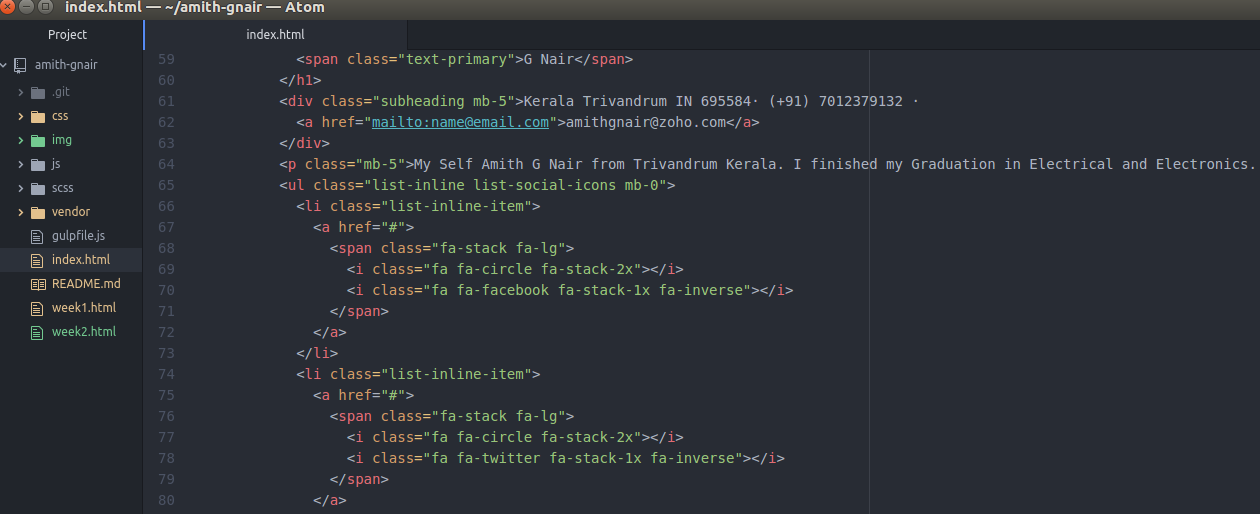
Atom editor is used for editing web pages and adding new codes.What i do to make website is first edit the index.html file and change the style sheet .CSS is a language that describes the style of an HTML document so inorder to change style i edit style.css file.
For learning basics of Website desigining refer this
                   <DOCTYPE html>       //  Defines the document type
                   <html>    //     Defines an HTML document
                   <head>   ///   Defines information about the document
                   <meta attributes />
                   <title>    //   Defines a title for the document
                   </title>
                   </head>
                   <body>       //  Defines the document's body
                   <h1>        //   Defines HTML headings
                    <p>      // Defines a paragraph       This is a simple HTML Document
                       </P>
                     </body>
                     </html>
I use atom editor to open the html code, using atom i can view the preview of changes i made in website . After makeing the pages and i add about me in webapage and put these files in local repo and push the files to server .
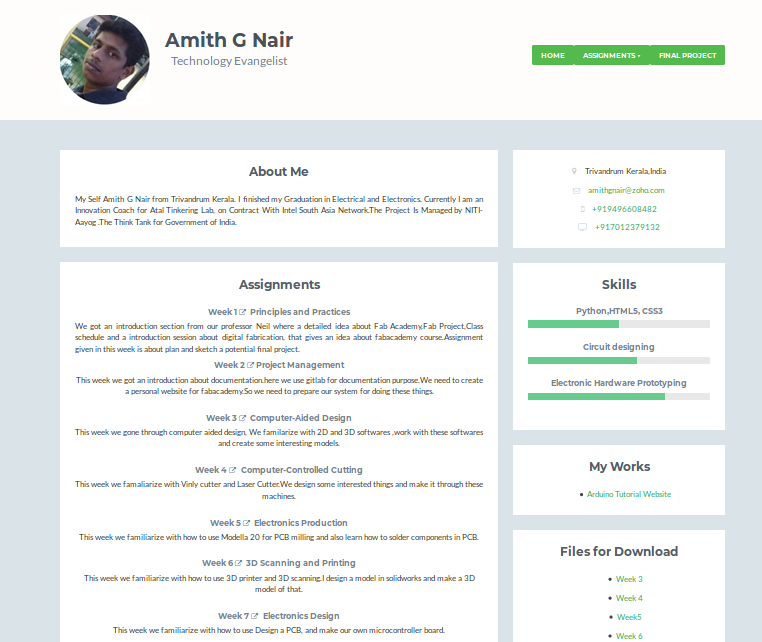
Editing the HTML page is very tricky for me, a lot of confusions one thing that makes me happy is google and the internet is available we can do things nicely. First started with editing the index pages, which is the front page that shows our details and what assignments we complete during this course. I made some changes in the look of my page. Changing the font to Times new roman and colour to pure shiny black finally its good to see.