Week 3: Computer-Aided Design
Assignment:Model (draw, render, animate, simulate, ...) a possible final project, and post it on your class page with original 2D and 3D files
In this week assignment, we need to familiarize with 2D and 3D designing and modeling. I don't have much experience in 2D and 3D designing I need to start from root level. Initially, I start with a 2D design using Gimp, My paint, Inkscape, After completing 2D design I start with Solidworks and Autodesk Inventor for 3D modeling.
2D design
- Raster: GIMP,MyPaint
- Vector:Inkscape,Coreldraw
3D design
- Solidworks, Onshape, Blender, Inventor.
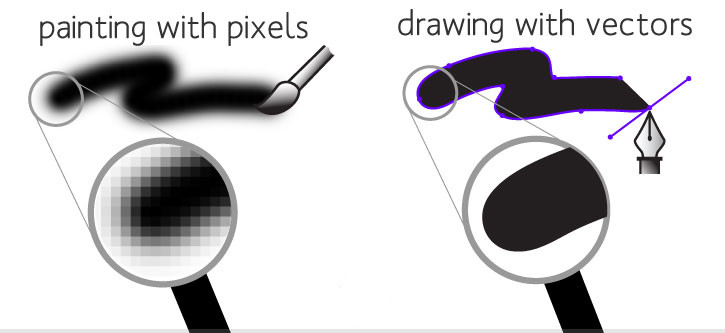
This is the first time I hear about raster and vector images.So i searched in google and find out two links that help me to under stand what is raster images and vector images
Raster and Vector Images
There are two types of images Vector and Raster . Raster images are created with pixel based programs,they are commonly available in genral formats like jpg, gif, png, and are widely used on the web. Vector graphics are created with vector software and are common for images that will be applied onto a physical product.
Refer these links i used to learn link1, link2
GIMP
GIMP is a free and open-source raster graphics editor used for image retouching and editing, free-form drawing, converting between different image formats, and more specialized tasks.
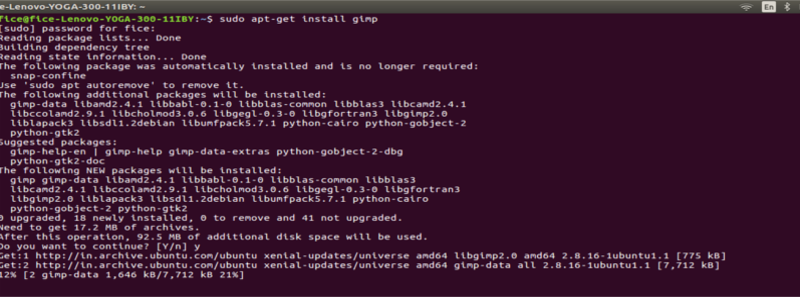
Installing Gimp
Gimp is opensource software so we can install it through ubuntu software center or Terminal.For me terminal is easy so i go with that way. I open terminal by using Ctrl+Alt+T and type
sudo apt-get install gimp
After installing GIMP I start working on that, I follow the tutorial that I saw on the website. Refer this link used to learn how to use gimp software for image editing. Important Key controls used in GIMP : Shift+E (export),Ctrl+N(new file) ,Ctrl+O(open file),Shift+C(Crop),Shift+T(Scale),Shift+F(flip) and (Shift +E Eraser).
Working on GIMP: Go through the tutorial in gimp website and design a logo in gimp software.
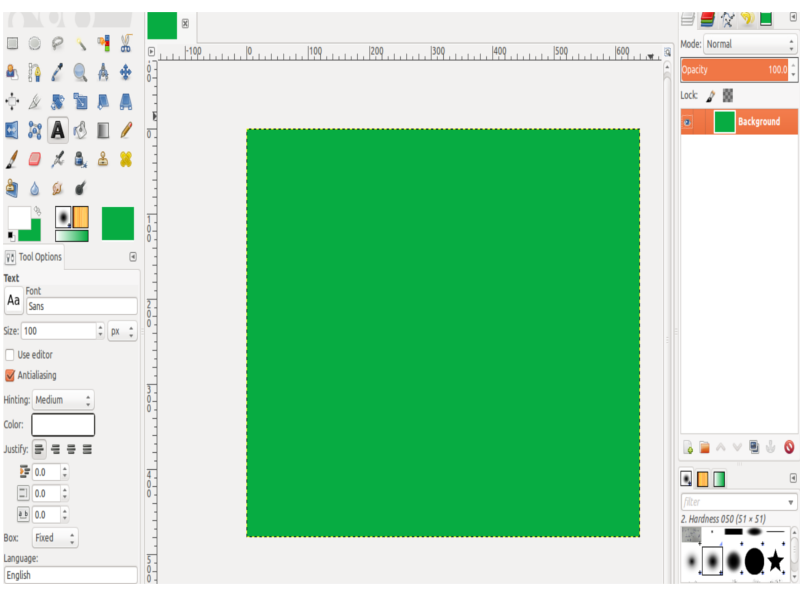
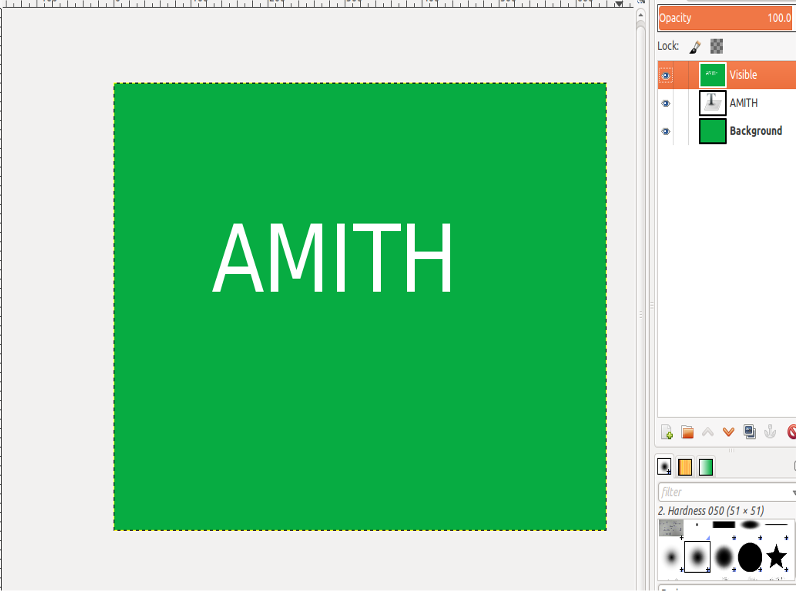
- File -New and New image box is opened here you give width and height details . After a new image box is opened with the size you given.
- Go to Foreground colour and set colur to green and fill the image with green using bucket tool.
- Adding some text to image , Use Keyboard “X” to swap the colur in foreground , Text in black colur dont make a sensce with black background . So i swap text colour to white and then add a text using text tool.
- Go to layer tab and right click on the text layer and just made “New from Visible”. And we can perform some funtions on this layer .
- Go to Fliters -Blur and Choose Gaussian Blur after setting blur raduis to 9 and hit enter.
- Create a New layer from content menu ,a dialog menu appears , thatask about what to fill ,it doesn’t matter what it gets filled with, so you can leave it at whatever. I choose white and hit enter.
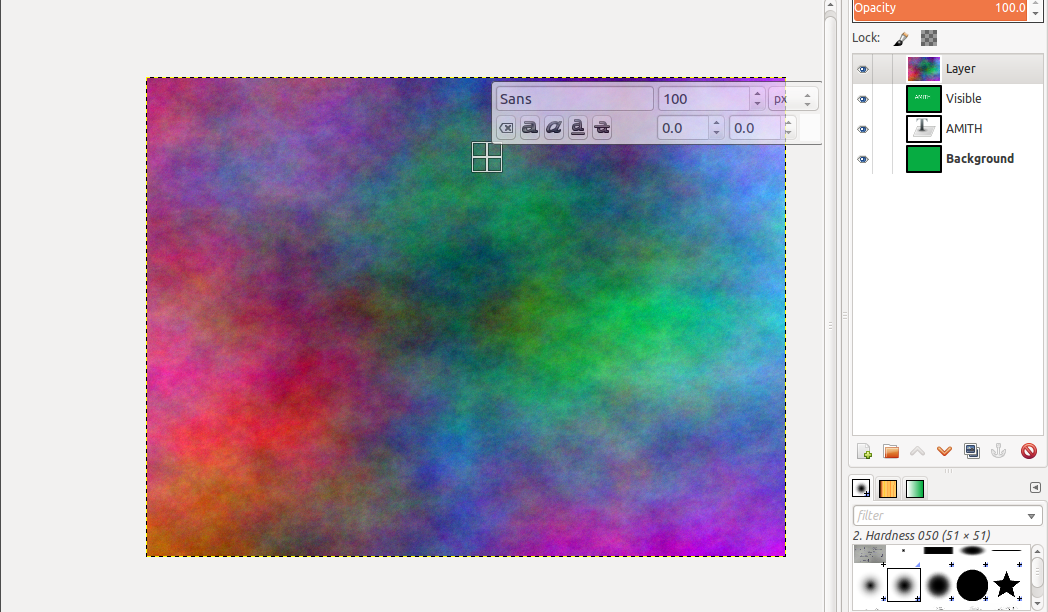
- Here I use to fill this by Entering some Colour using Plasma plugin.
Filters → Render → Clouds → Plasma…
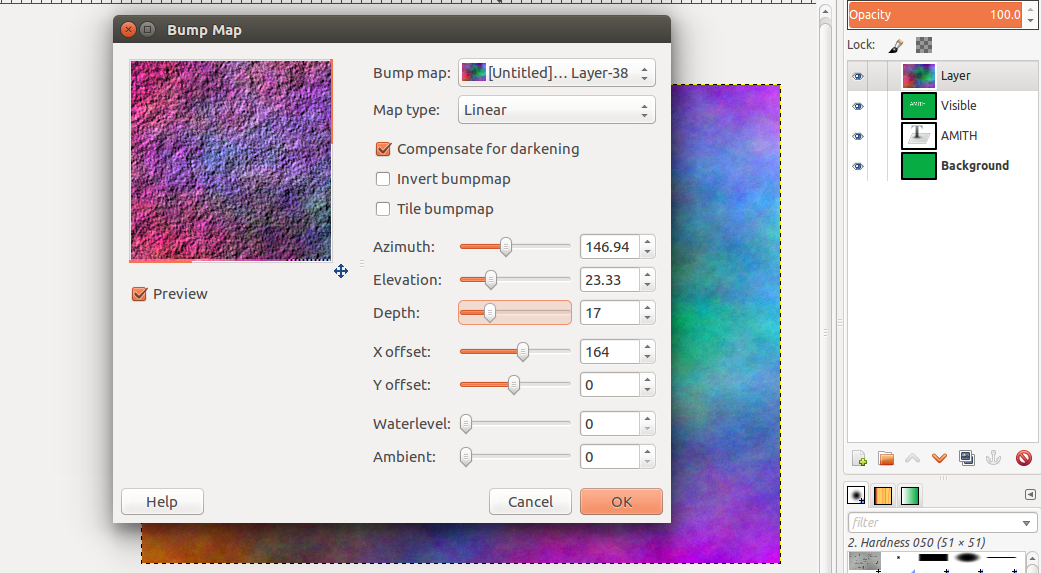
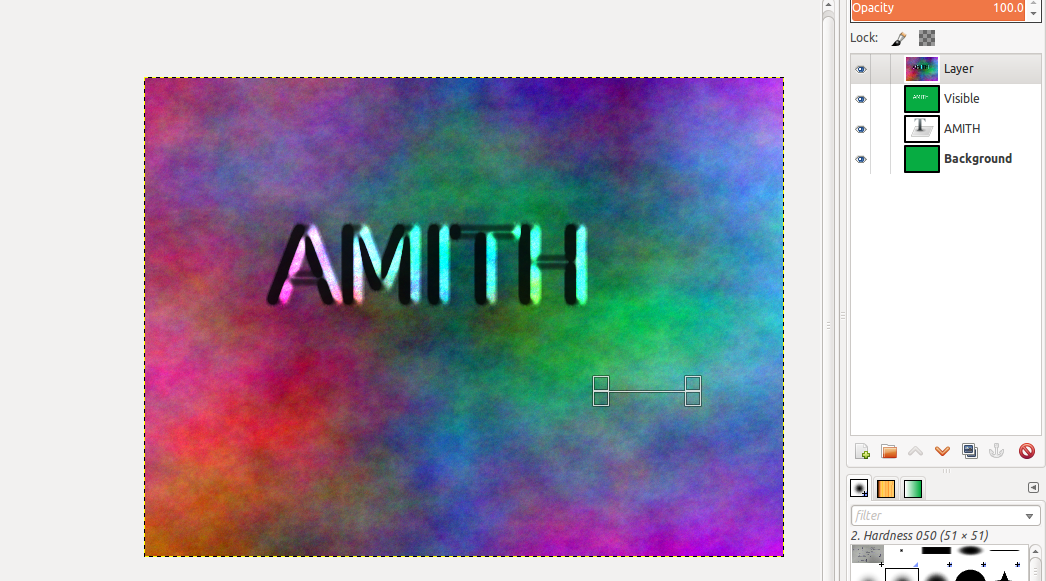
- Now we are going to use Bump Mapping : Generate a fake 3D shape on this plasma layer.
Filters → Map → Bump Map
here in which you change values present in that, Depth shows the illusion of depth of image -
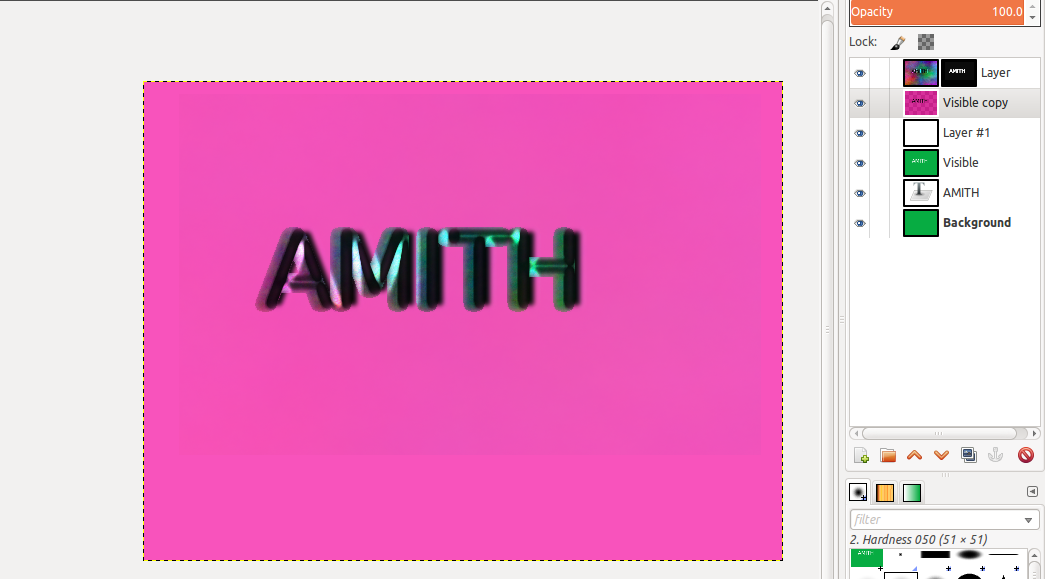
- We are ging to use Layer mask to Isolate the Bumpmapped text. Layer masks are a fundamental tool in image manipulations.that allows as to modify the transparency of the layer.
Layer → Mask → Add Layer Mask
- Copy the “Visible” layer, and paste it into the layer mask for the plasma layer and Acitivate then Left-Click on the “Visible” layer in the layers palette to activate that.
- Copy the Visible Layer into Mask Layer , then we get a result names : this Floating Selection into the mask, we need to Anchor it:
Layer -anchor layer
- Final Export that as png Using Ctrl+Shift+E
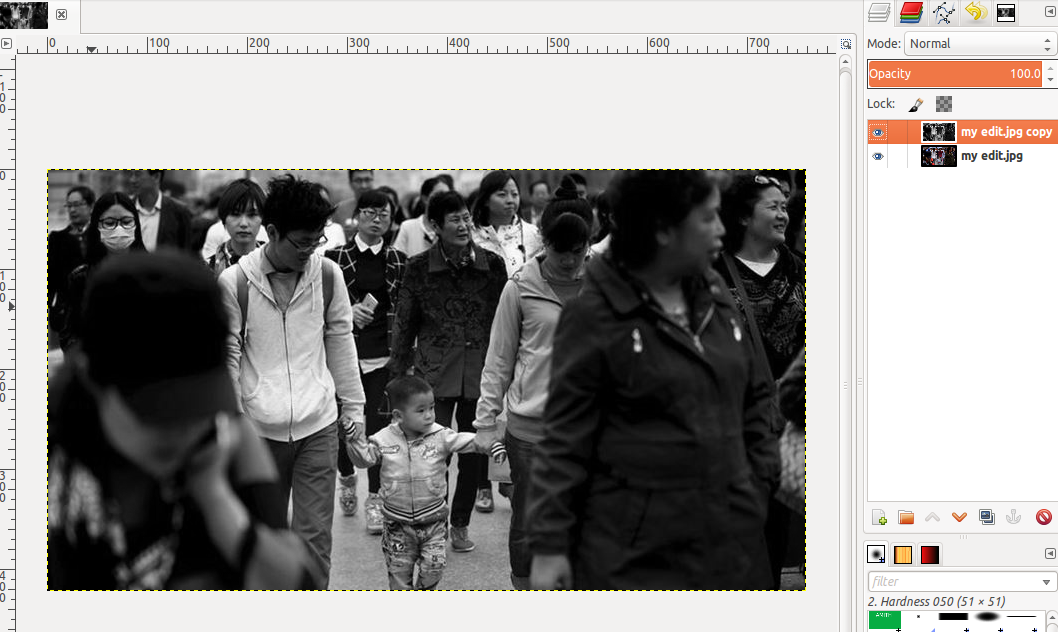
My Second Tutorial Work using GIMP : Refering GIMP website .In this tutorial i gone through Selective Colorization
- download a crowd Image from Google and Open it in GIMP
- Create a duplicate layer by Layers-Duplicate and Make it Desaturate using Colurs-Desaturate
- Set My forbackground colour to black and use the Paintbrush Tool to paint areas of the image i want the color

MyPaint
MyPaint is a free and open-source raster graphics editor for digital painters with a focus on painting.it a fluid like software rather than gimp.
Installing MyPaint
Here i Install MyPaint using ubuntu software center.

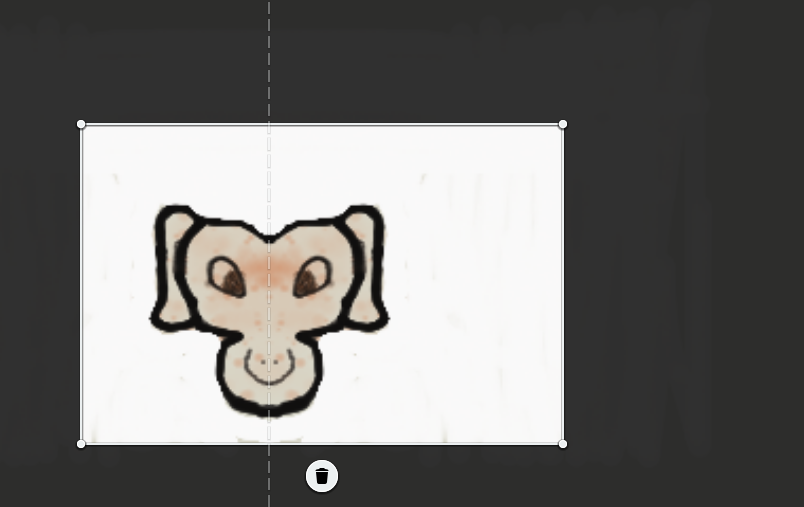
After installing i open Mypaint I Just create a picture using brush and symmyery key (Butterfly shaped in menu bar)
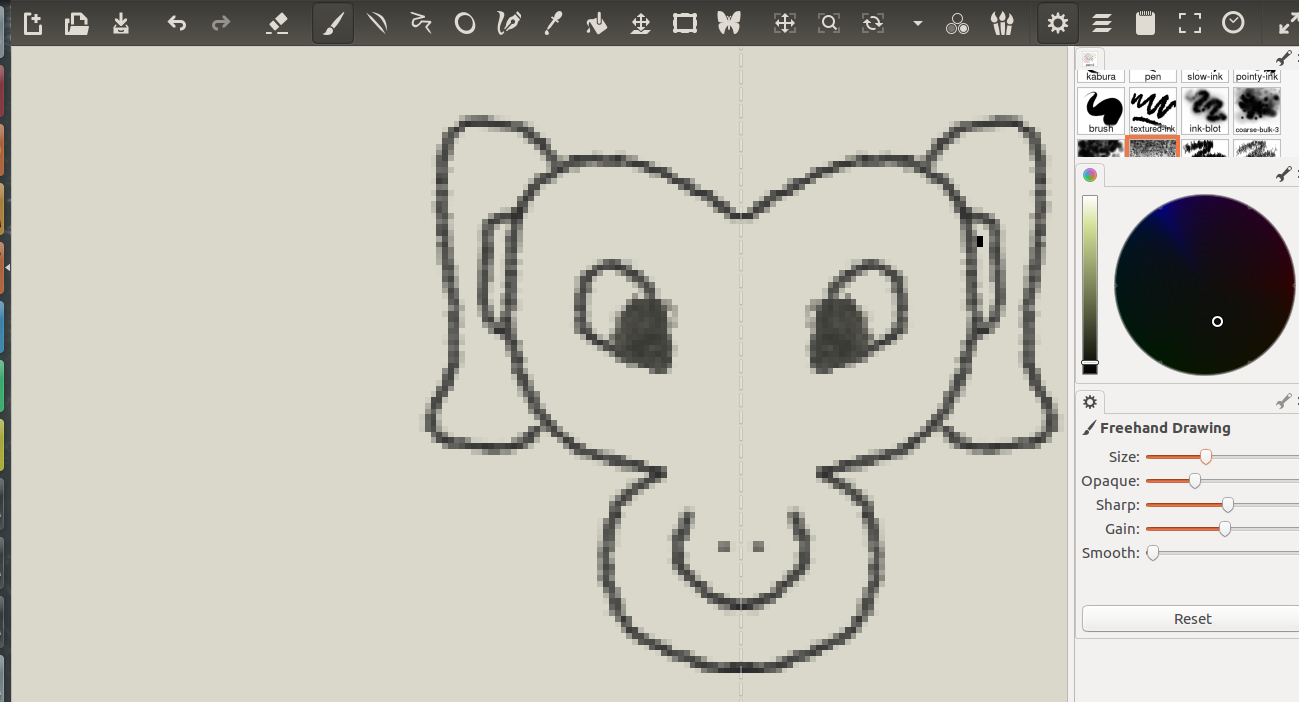
After that i colured that image using diffrent brush syles that available in menu bar.
Informations and working of my paint software is got from this source
Inkscape
Inkscape is an open-source vector graphics editor .Inkscape use Scalable Vector Graphics (SVG), an open XML-based W3C standard, as the native format.I am new to this software so i need to install this software in my pc . After installing I go through this this webpage to study How to use Inkscape?.
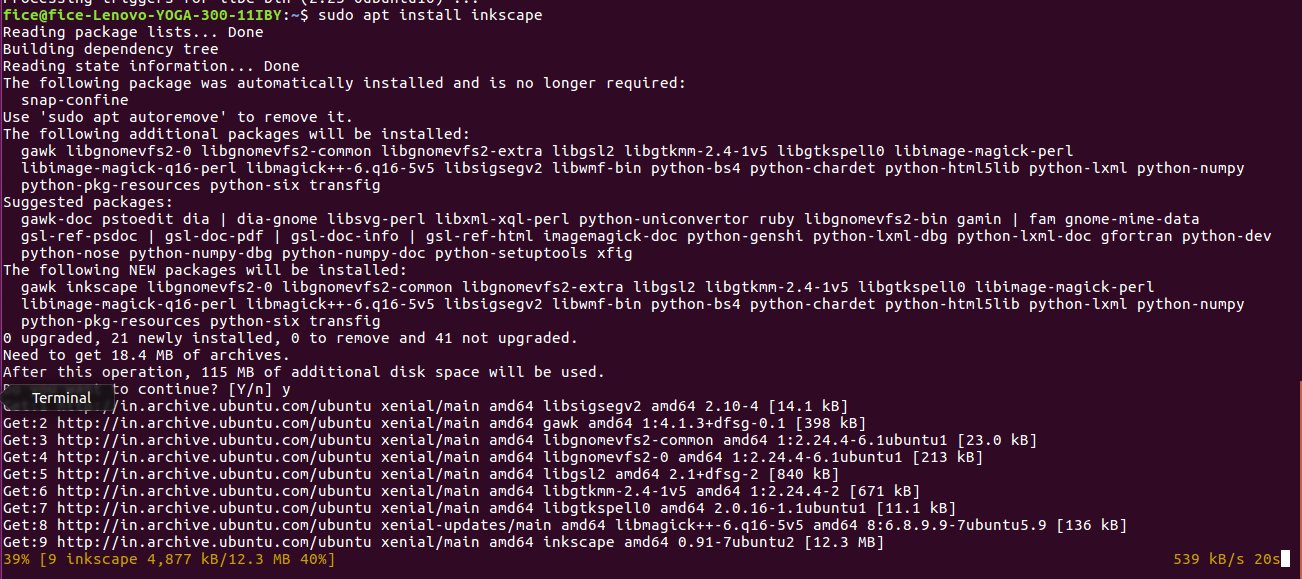
Installing Inkscape
Open command terminal by pressing Ctrl+Alt+T and Type
sudo apt-get install Inkscape
After installing Inkscape i start working on that by simply follow the learning resources that i simply found on the Inkscape main page .Resurces for learning are available in inkscpe webpage. This page is well documented and give lot of informations about how to perform editing in inkscape .For me this first experience working with 2D desiging.This page helpd me to learn basics of drwaing , how to perform bit map. what we need to consider editing a image etc.
Important Key controls used in Inkscape:Ctrl+arrow keys to scroll by keyboard ,Shift with the wheel to scroll horizontally,undo your last action, press Ctrl+Z,redo the undone action by Shift+Ctrl+Z,duplicating an object Ctrl+D
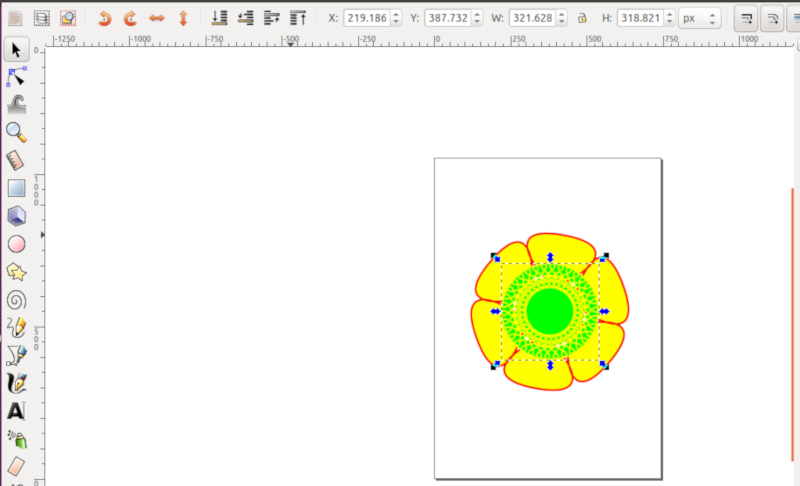
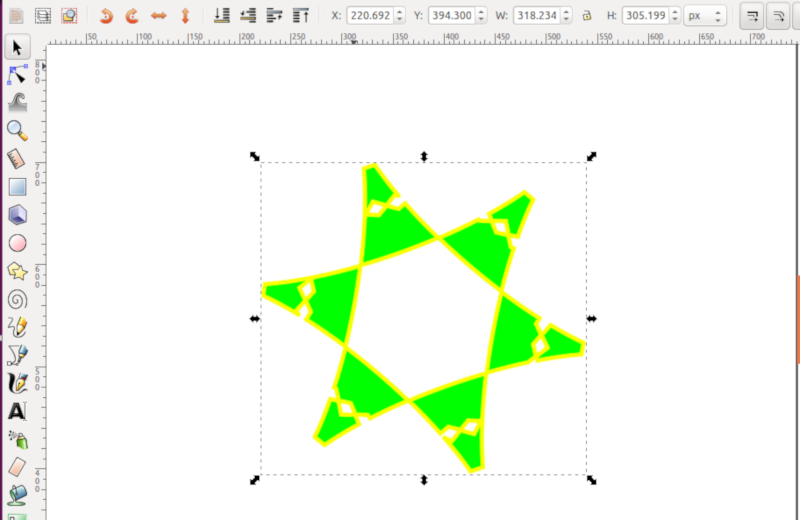
First I go with drawing star of 6 corners, change the stoke and round value that I got a small sticker . Hence I draw a star and also change storke value
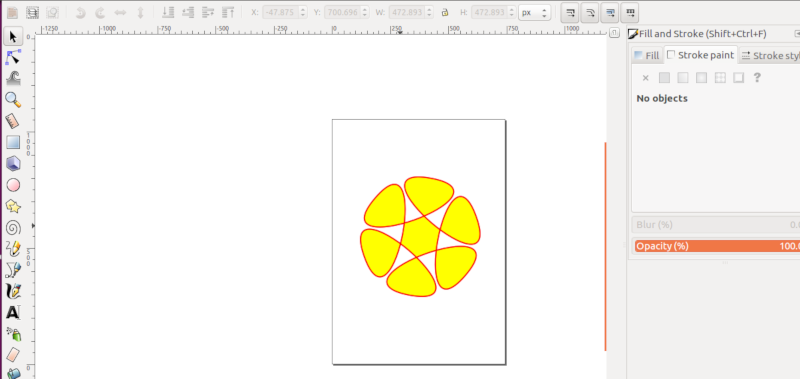
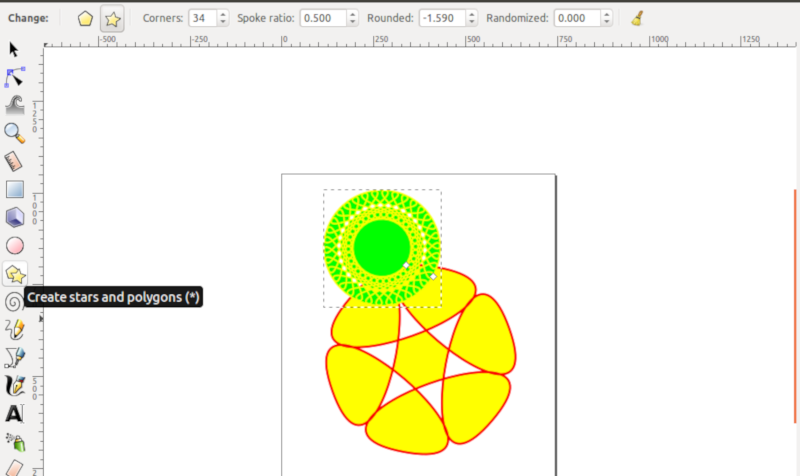
Select Star and press Shift+Ctrl+C Object to path and select start to the back by Object > Lower to Bottom. With both shapes selected,then i perform Path > Difference.
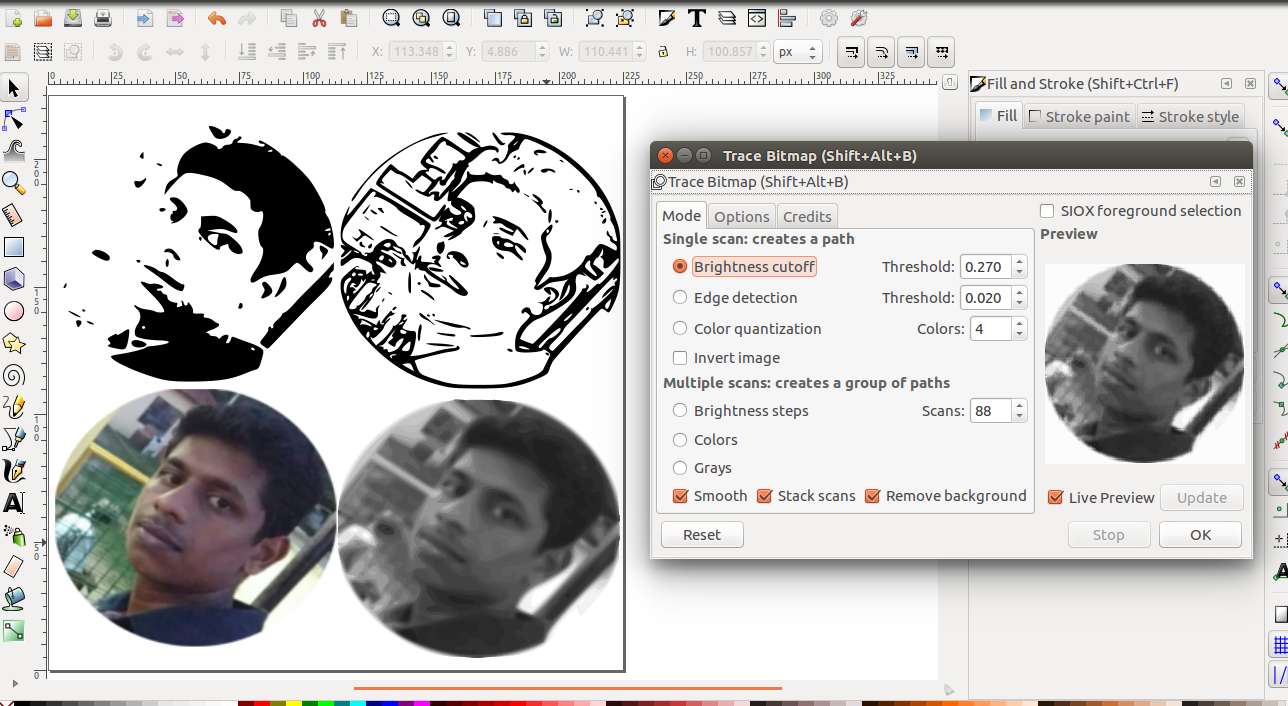
Tracing BitMaps
Bitmap tracing is the important feature of inkscape.I open my photo in inkscape and perfrom the bitmap function available in that.In oder to trace bitmap press Shift+Alt+B
3D Designing and Modeling
3D design is the process of using software to create a mathematical representation of a 3-dimensional object or shape. The created object is called a 3D model and these 3-dimensional models are used for computer-generated. I am not familiar with 3D modeling so I need to start from basics, in order to learn and do 3D designing, modeling we need to use some software. I choose Fusion 360, Autodesk Inventor, Rhino and Solid Works.
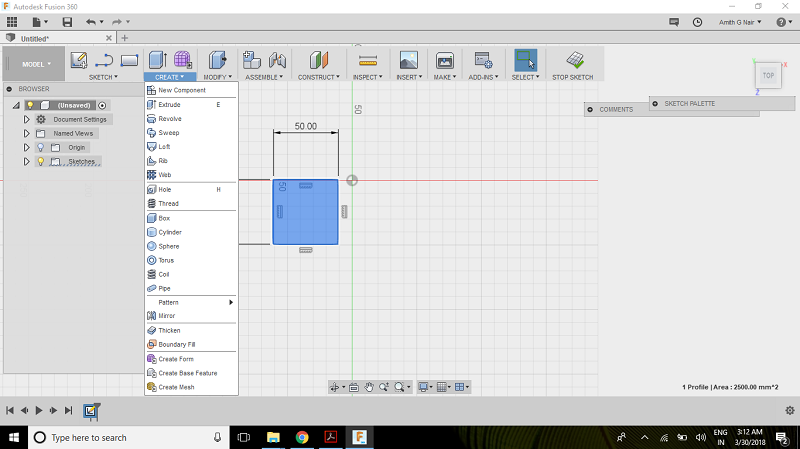
Fusion 360
Fusion 360 free 3D CAD/CAM design software for students.i install fusion 360 on my windows system and work on that.I refer the tutorials seen in their autodesk website to learn. Link of tutorials i refered
My Work
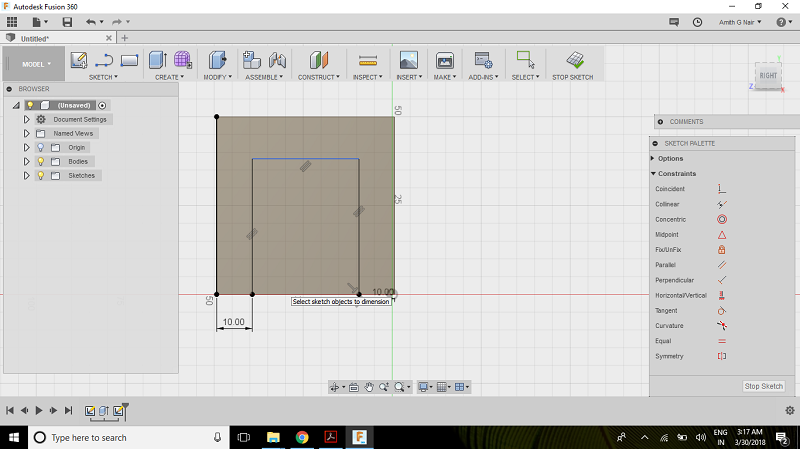
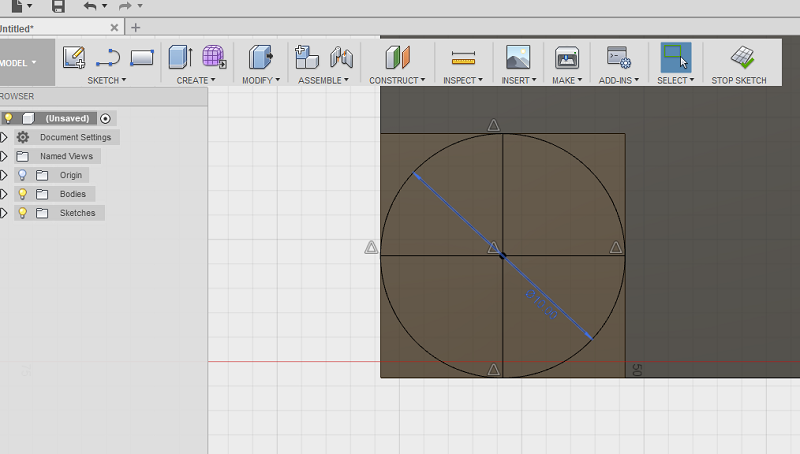
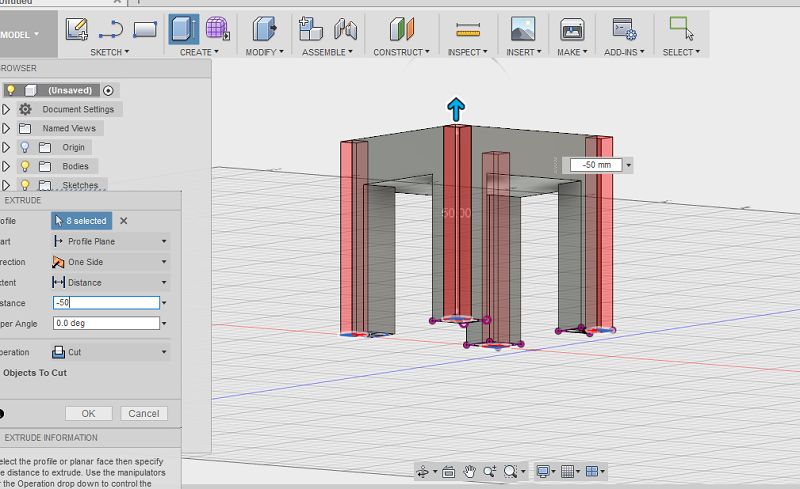
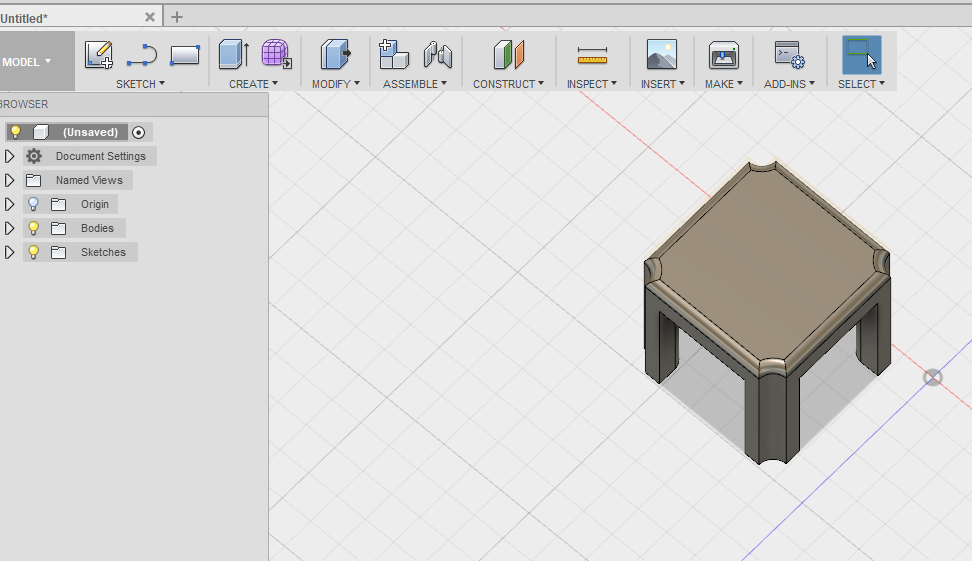
First click sketch and choose the appropriate plane, Draw the basic shape of the part, here I planned to design a 3D model of stool. So Fist I draw a square of 50mm and then extrude the 2D shape into the required thickness to get the 3D profile. After creating the 3D profile and I create a new sketch in one of the sides and perform cut function similar function is done on another side to so I got the 3D shape of stool.
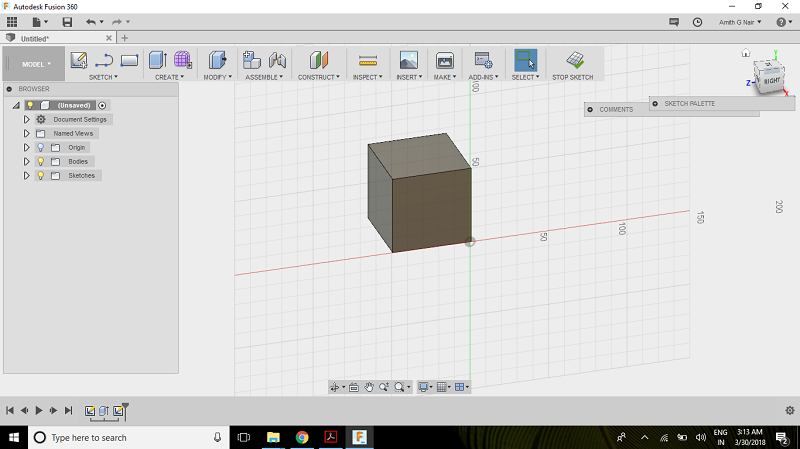
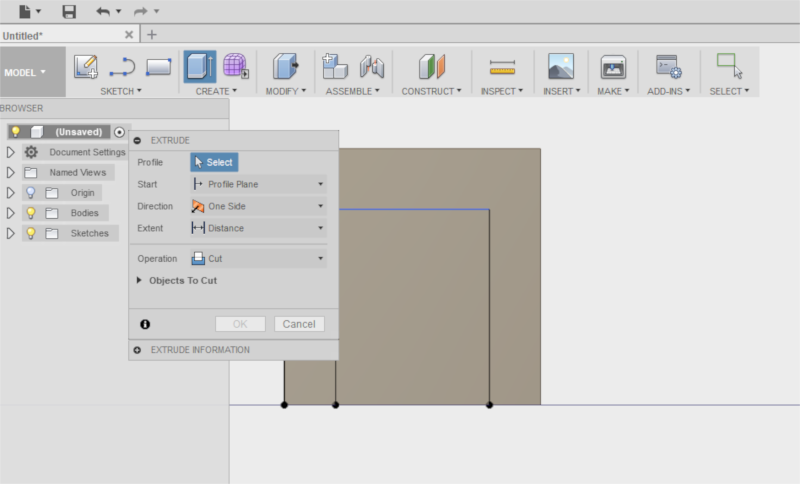
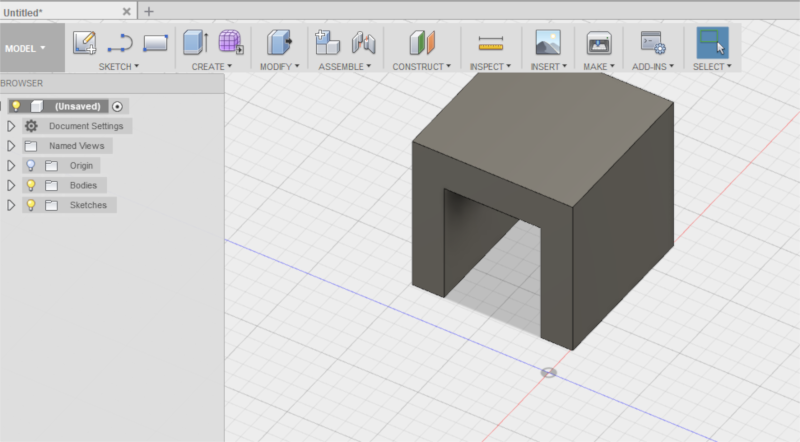
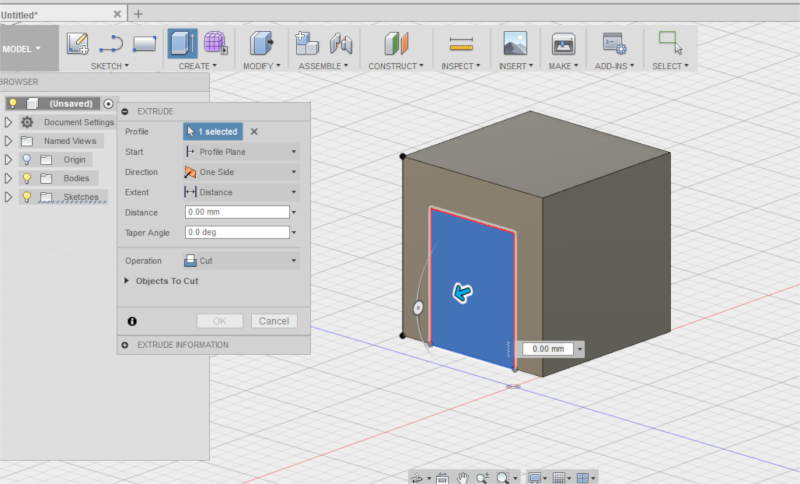

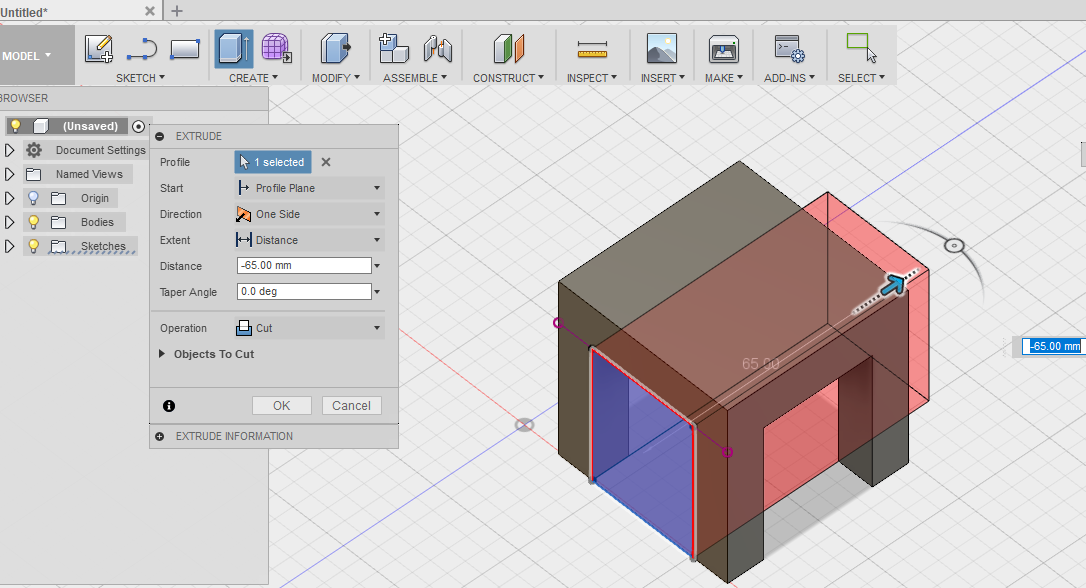
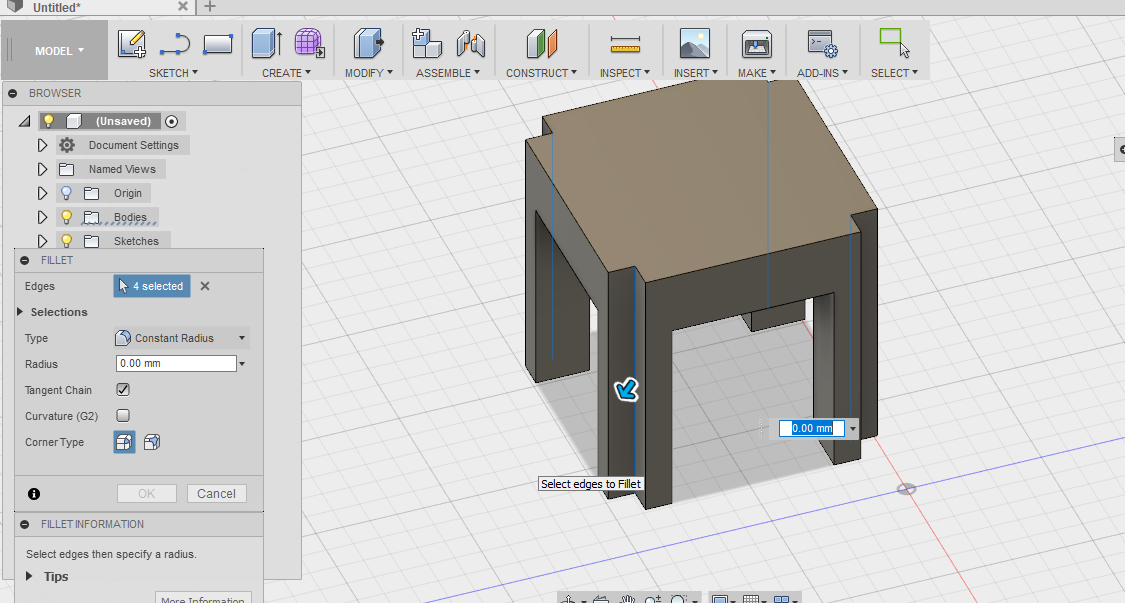
After gettingthe 3D shape , i perform cut function on the legs of stool and also perform fillet function to round the edges of the model giving an appropriate radius of curvature.
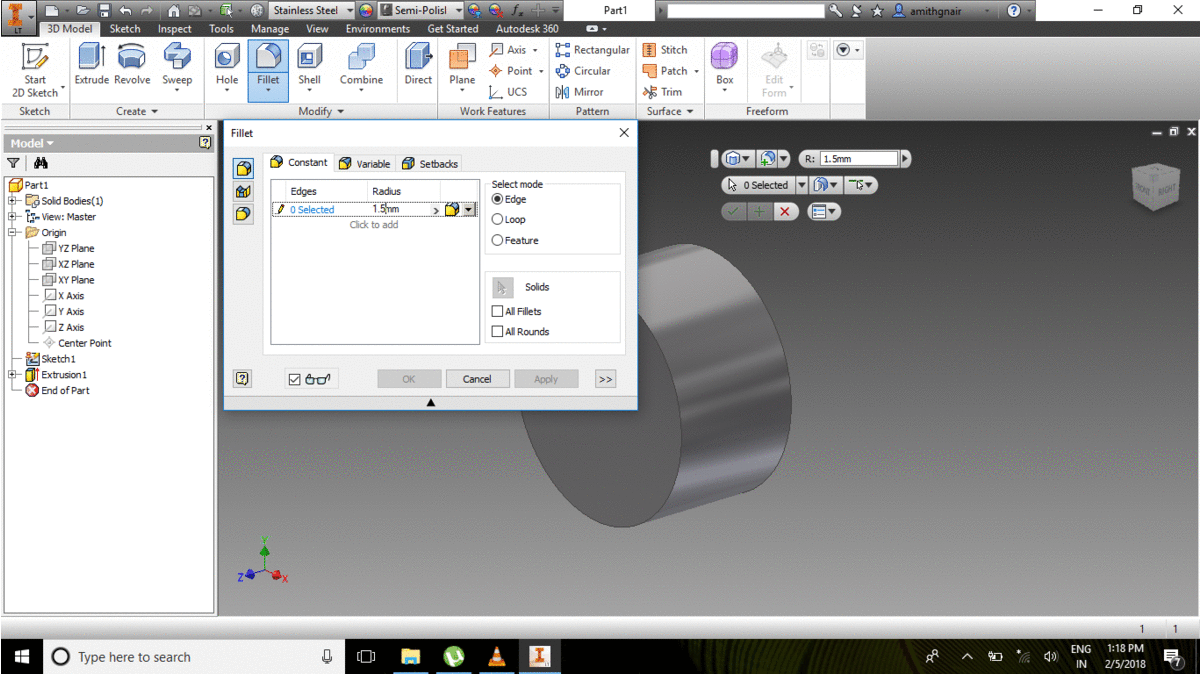
Autodesk Inventor
After My work with fusion 360 , i just go with Inventor 2015.Autodesk Inventor is a computer-aided design application for 3D mechanical design, simulation, visualization, and documentation developed by Autodesk.Functions are almost similar and its seems more compactable for mechanical desiging..
My Work
To familiarise the tools I want to make a simple mechanical nut. First I need to create a new file, open the inventor and select standard. Apt.It opens the work windows. After opening the work window, I select the planes XY, YZ.ZX and select sketch chose front view and drew a circle then finish the sketch. After finishing the sketch, I extrude the circle.
After extruding I got a cylindrical shape ,then perform fillet function on both sides of the cylinder .After that, I draw two circles on the front face of the circular shape I extrude and then draw a six-sided polygon in which corners are touched inside the cylinder outer circle and perform extrude function (cut) after once again extrude (cut) the inner circle of Nut. After that, I add a thread to inner portion.
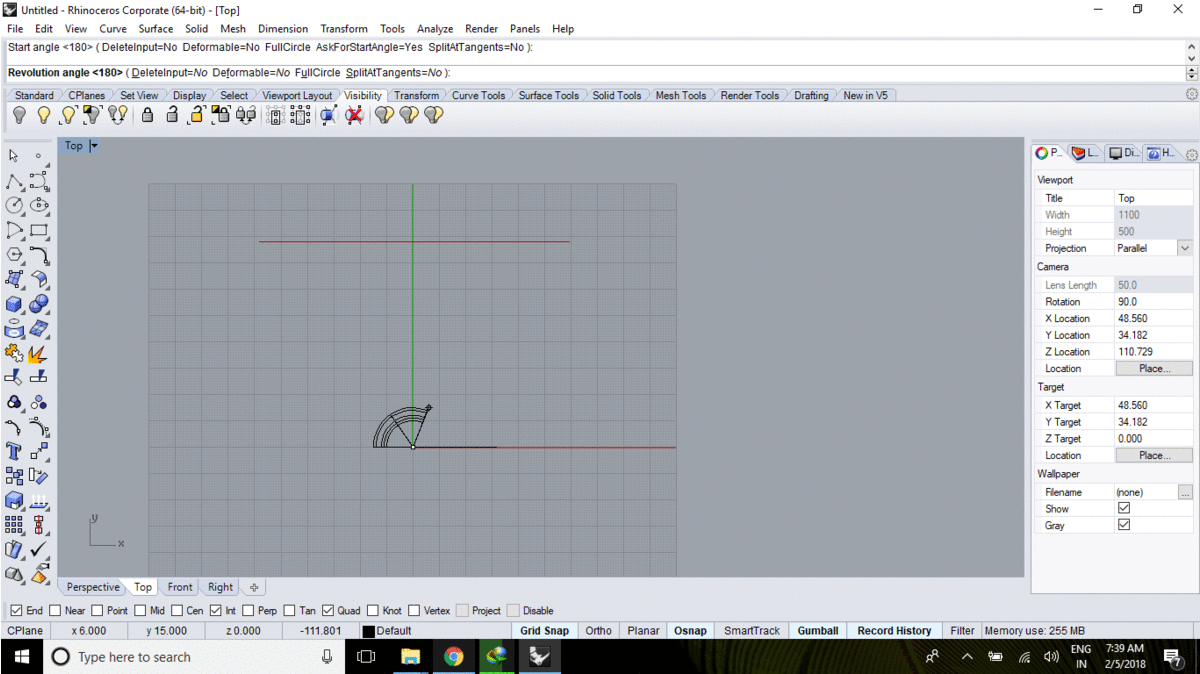
Rhinoceros
Rhinoceros apart form other softwares these are not parametric but here I can do parts in a single file , for other software we need to do in different files and after completion we need to assemble them .
My Work
Open a new file, perform a sketch using polyline command, after completion of the sketch, select the curve and perform revolve function.After performing revolve I got a 3D model of a flower pot.
After making flower pot , i just download a bottle image from google and open it in rhino using pictureframe command then using scale command and polyline command to draw bottle outline.
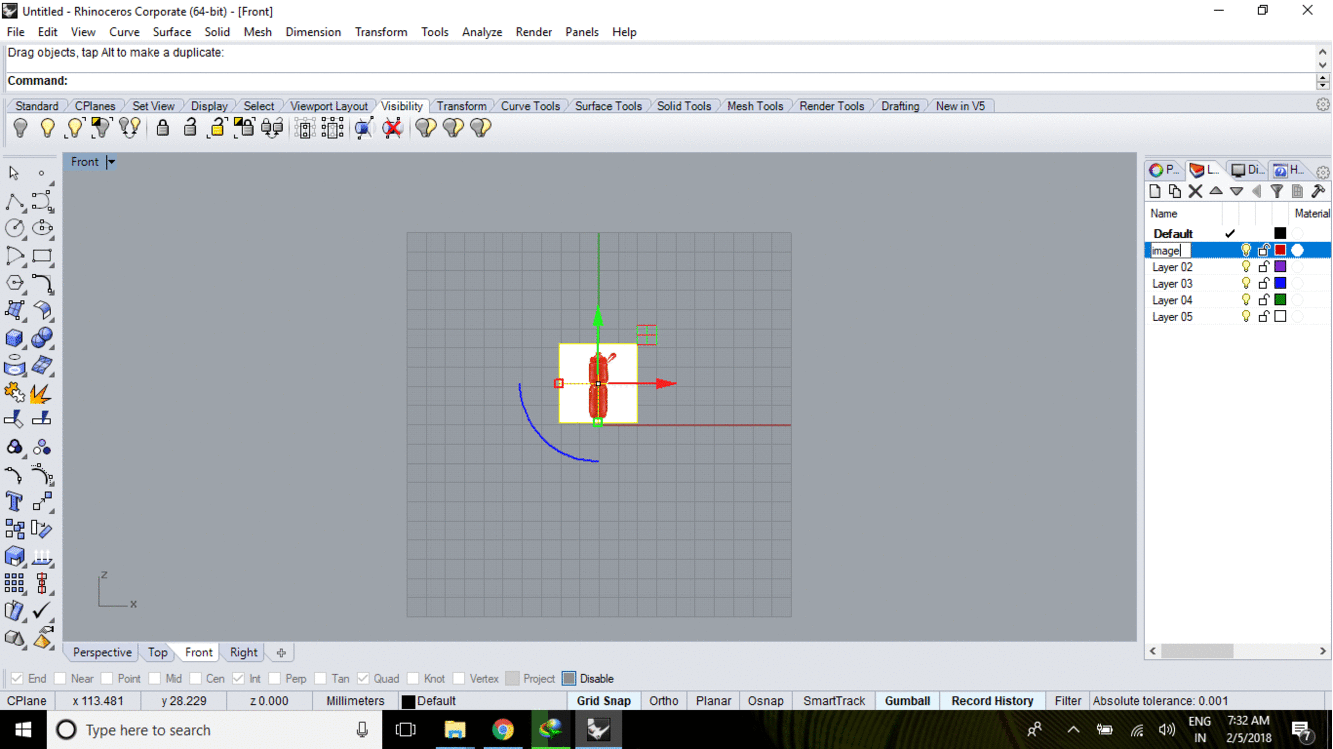
What i did is only draw half side of front view and then perform the revolve fuction with respect to axis which passing through the center of image and finally i made the 3D model of bottle. .
Conclusion
During this week I familiarise with Fusion360, Rhinoceros,Autodesk Inventor. After learning a single software, I gain confidence that I can try any software.
For the press-fit construction kit design I tried Autodesk Inventor (Link) and for 3D printing a model that cannot be manufactured using additive technology I use Solidworks (Link) and for Big Machine week (Shopbot) again goes with Solidworks and Fusion (Link). And for Wildcard, I go with Fusion360. After all these, I completed as much software I can.
For the Final project, I planned to use fusion360 for modelling the case of my project: Final project Link