Home
Project : De-Humidifier for PLA and ABS materials
Introduction
I always wanted to do something useful for others. I had many project plans, but during 3D printing week I found out that some print is not extruding as it is meant to be. When I learned that it was because we have high humidity level these PLA & ABS materials should be kept in cold and dry place.
I thought about doing a project on keeping the PLA & ABS material cold and dry place. So I researched many sites and our instructor VINOD have suggested some ideas
I Found out that DHT11 / DHT22 Temperature - Humidity Sensor will be able to show how much humidity is present in the air
So next step was to find how to condense the air inside the PLA storage.For that I saw Thermoelectric Cooler Peltier Module (TEC1-12706) is useful. It was not available here,So I purchased Online
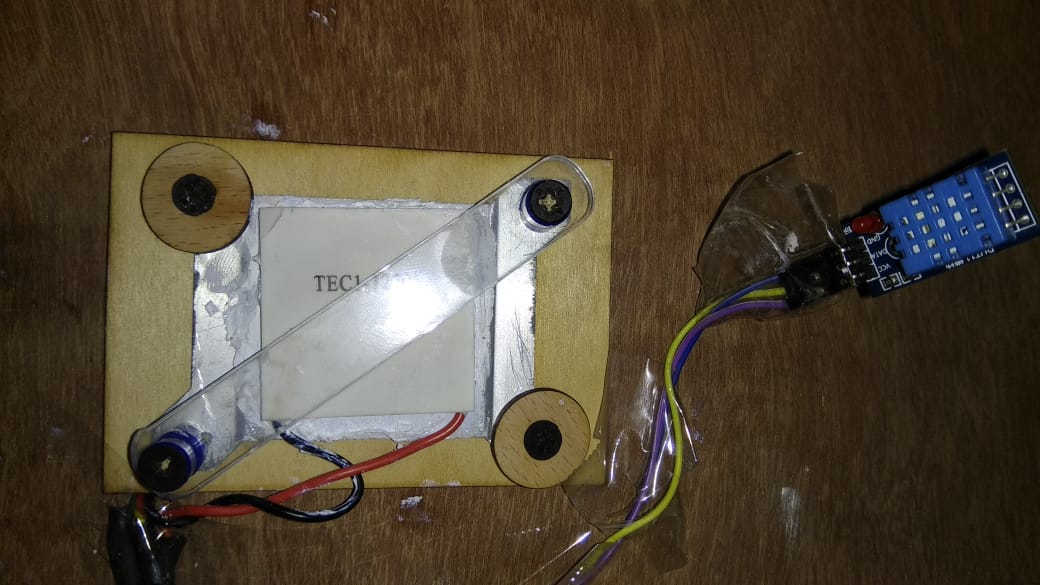
Thermoelectric Cooler Peltier Module (TEC1-12706)
I found out that one side of the peltier cooler gets heated so next challenge was to find something to transfer the heat from the other side of the Peltier cooler
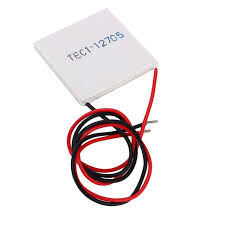
Thermoelectric Cooler (Peltier Module) - TEC1-12706. Utilized in high-end consumer, commercial, and military-grade applications for extreme performance and maximum energy efficiency, TEC1 Peltier Modules provide unmatched temperature differentials (DTmax) in cooling or heating applications
Size: 40mm x 40mm x 4mm
Usage: Refrigerator/Warmer
Thermoelectric coolers (TEC or Peltier) create a temperature differential on each side. One side gets hot and the other side gets cool. Therefore, they can be used to either warm something up or cool something down, depending on which side you use. You can also take advantage of a temperature differential to generate electricity
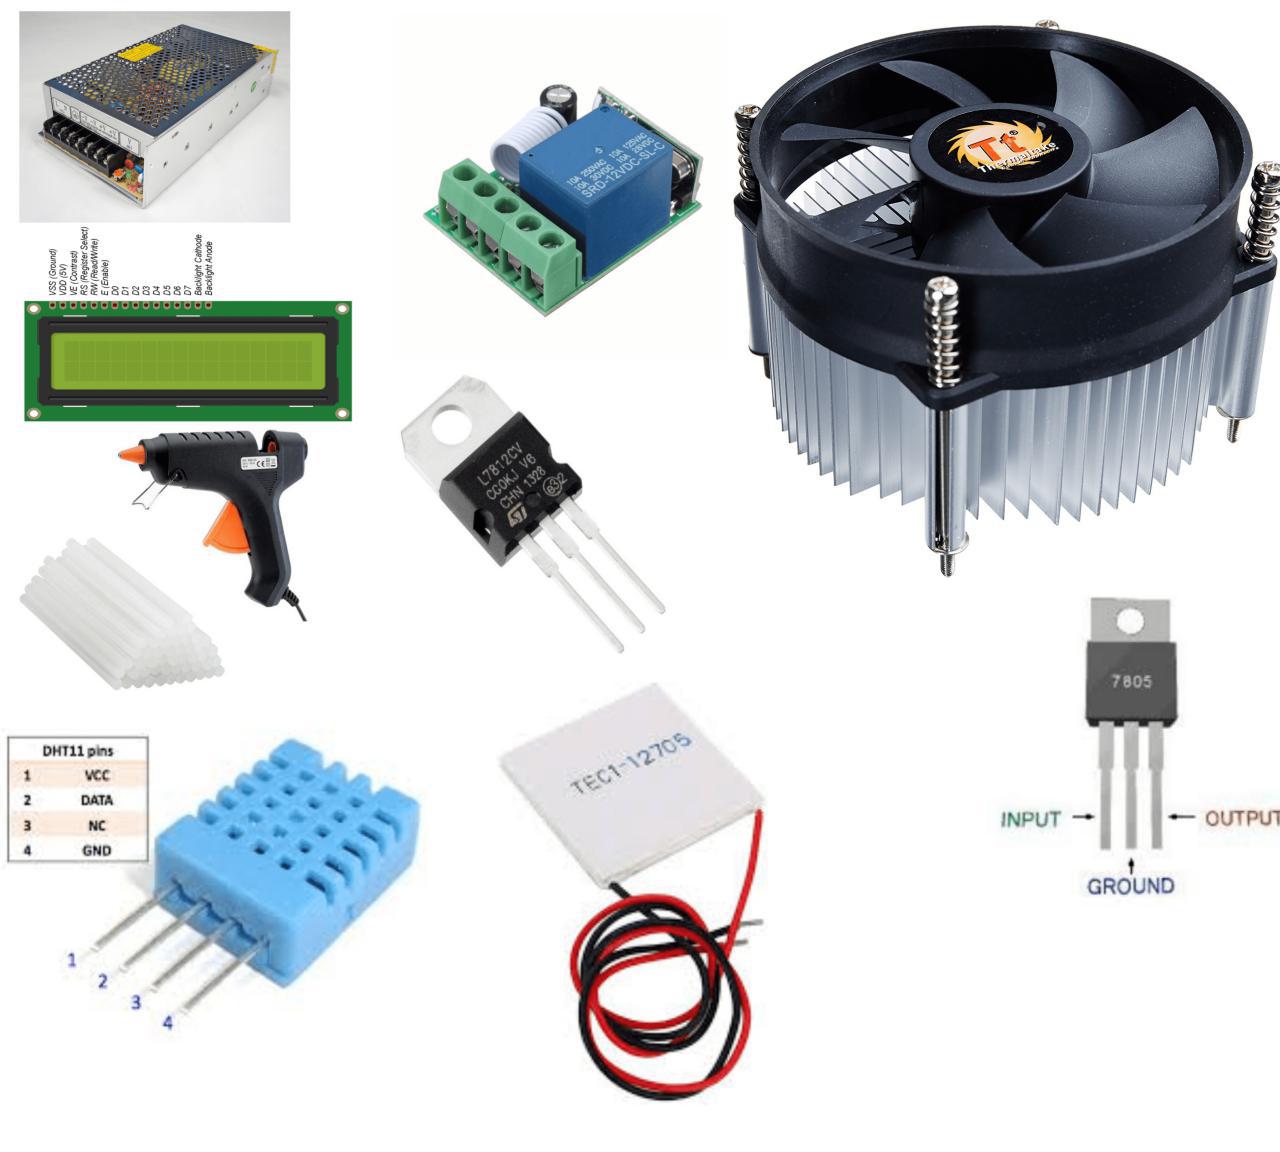
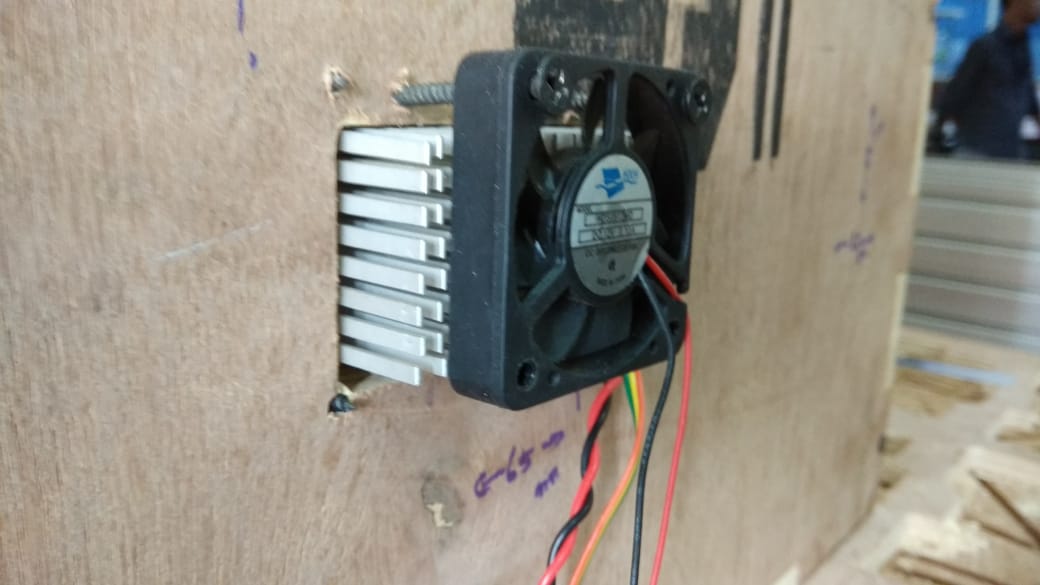
For that I found out Thermal Paste is good at transferring the heat.So I bought a tin of Thermal Paste and a HeatSink.Also decided to have a fan to take the heat out
By applying DC power source to a TEC, heat will be transferred from one side of the module to the other. It creates a cold and hot side
Next thing I was wondering is about the working,It need not be working all the time if there is no humidity. So I took a Relay Switch so that I can set a condition like about"Peltier cooler should work if the humidity is above 30%-40%.
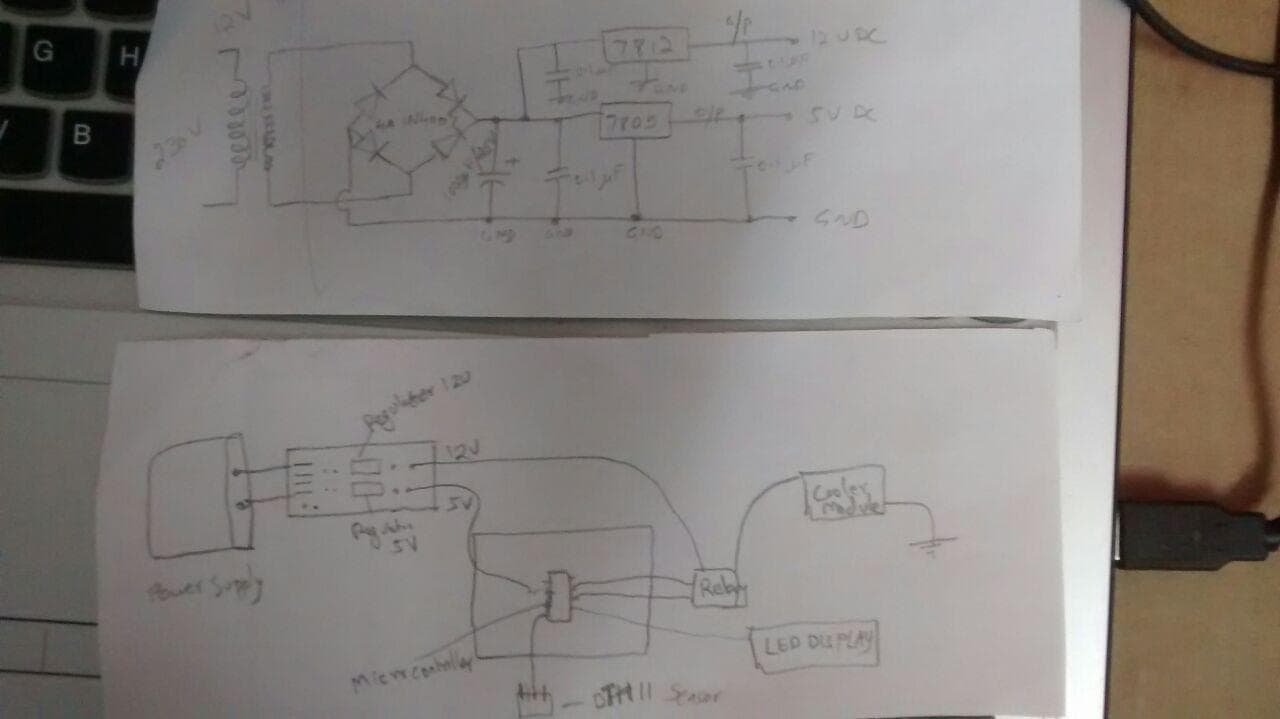
Im going to use a 12V 2A - Power Supply which is needed for the working of fan and Peltier Cooler. So inorder to convert AC to DC I have purchased a 7805 regulator to convert 12V to 5V.
And also to see the Temperature and Humidity,I bought an LCD with I2C module
I done the PLA storage design in CNC Machining Week itself.Please refer the CNC Machining week for the design Here
Uses and Application
Used to prevent humidity for PLA and ABS materials
Have to convert AC to DC, and using a relay switch to connect Thermoelectric Cooling Peltier Plate Module
It can be used in every FABLABs
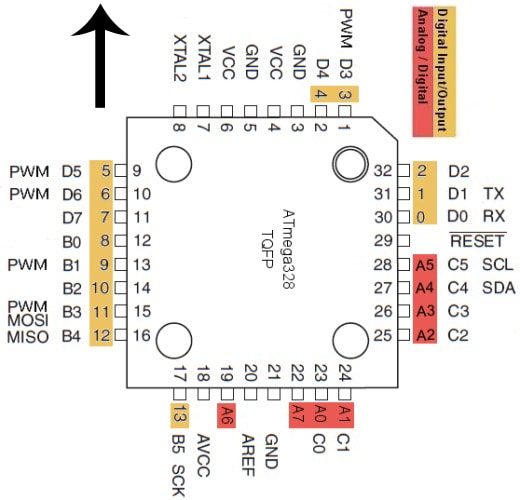
I used ATMEGA328 instead ot ATTINY44
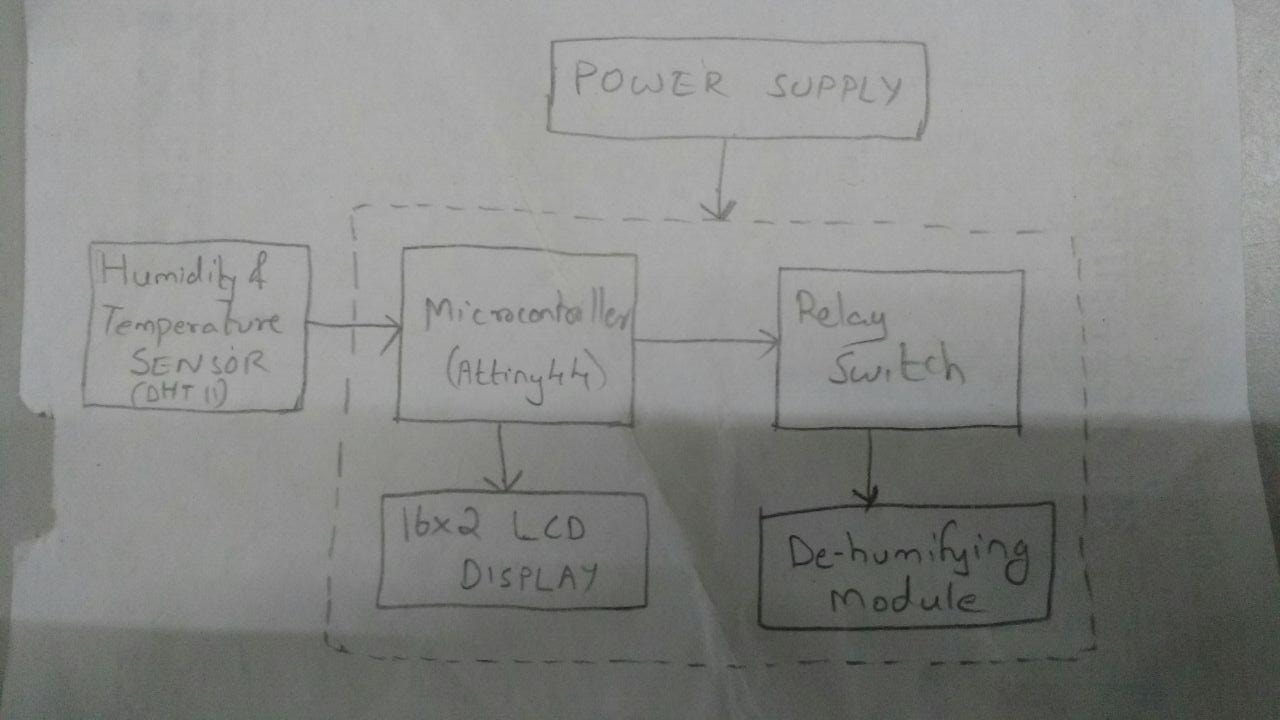
A Humidity & Temperature Sensor is given as the input to the microcontroller
As Humidity is above 40%, the relay will be active and De-Humidifying Module works
Minimum humidity will be set to 30%
Relay act as a Switch for De-Humifying Module
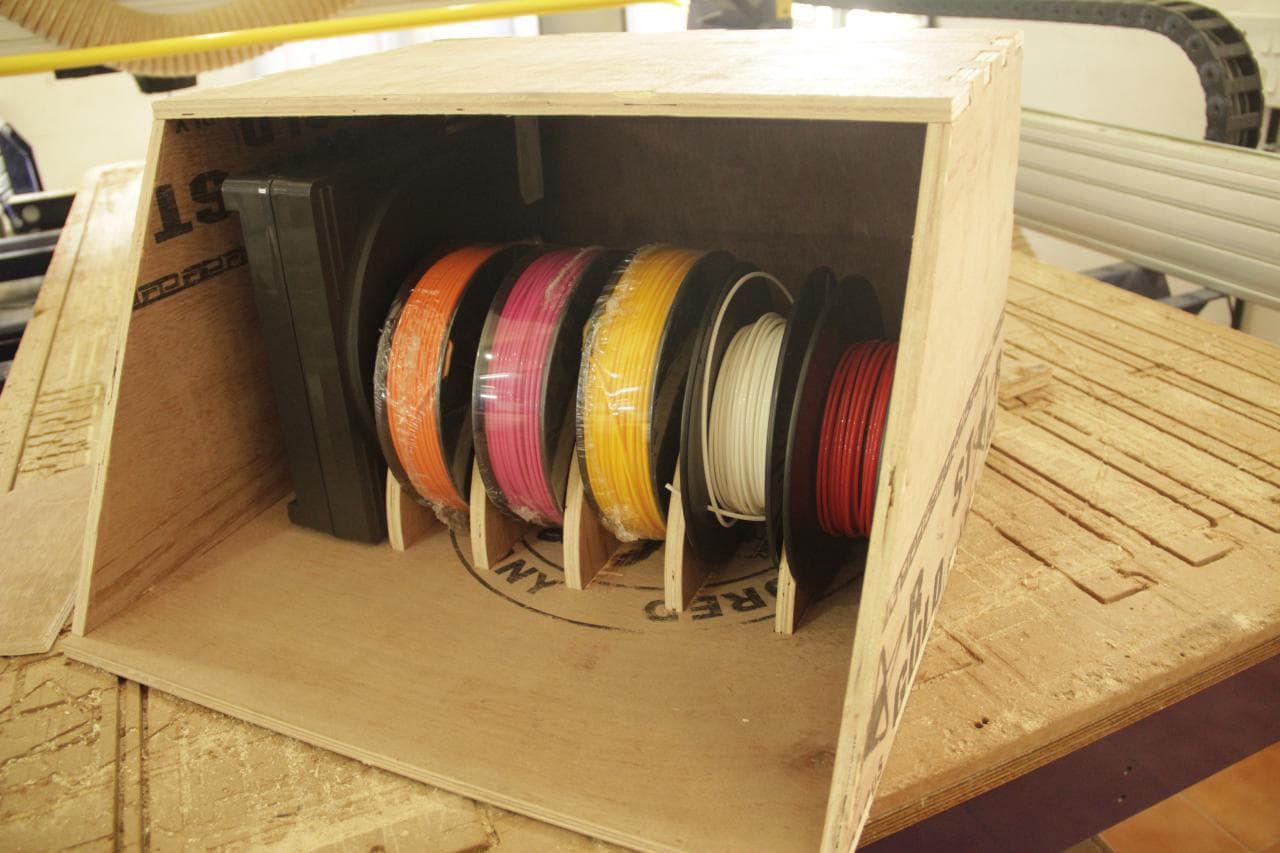
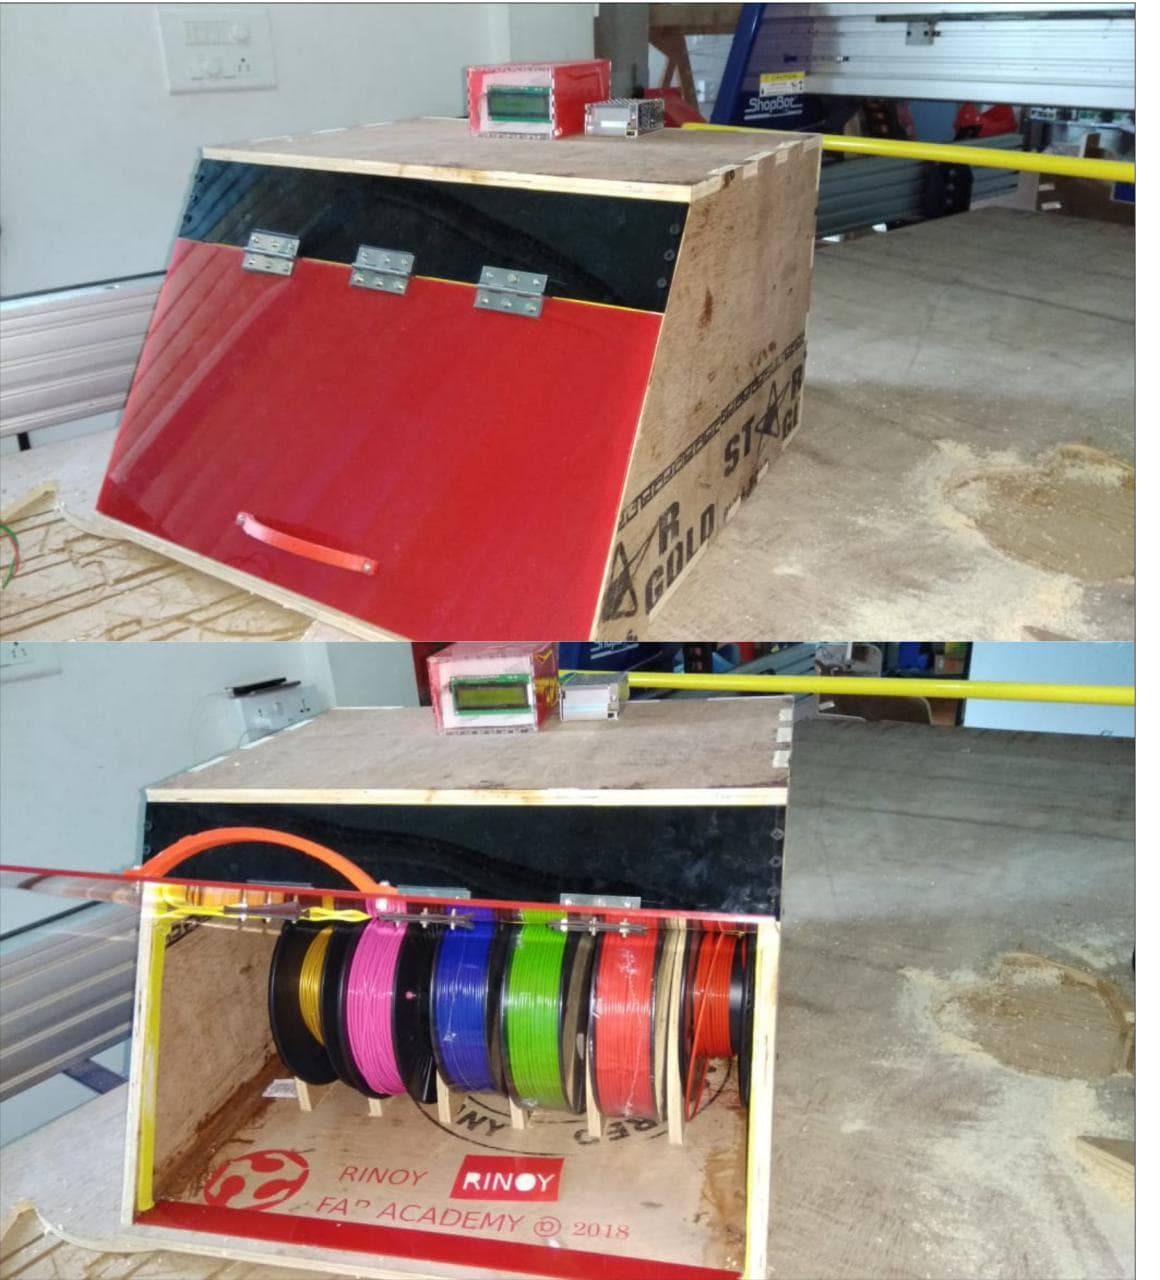
PLA & ABS material is stored in a closed air contained box
Process Involved
PCB Designing
CAD Designing
Embedded Programming
Vinyl Cutting
Laser Cutting
3D Printing
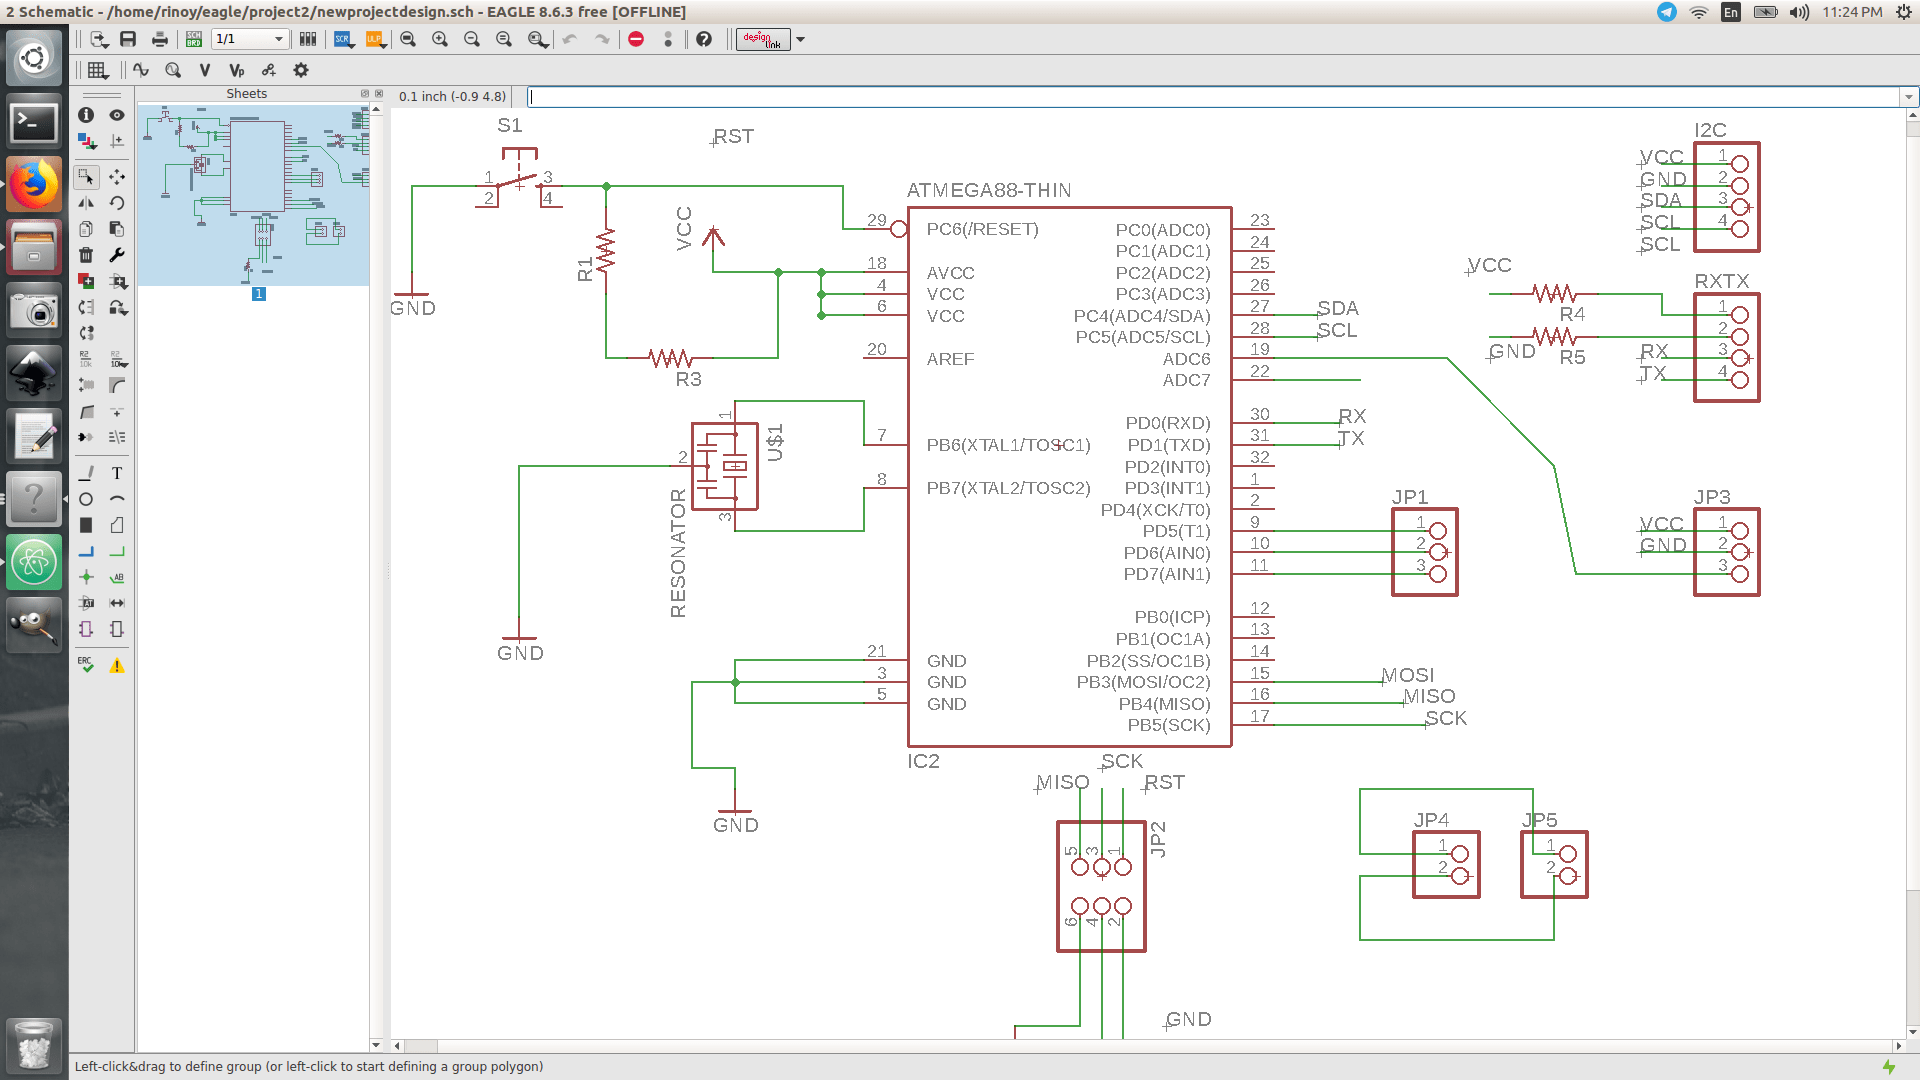
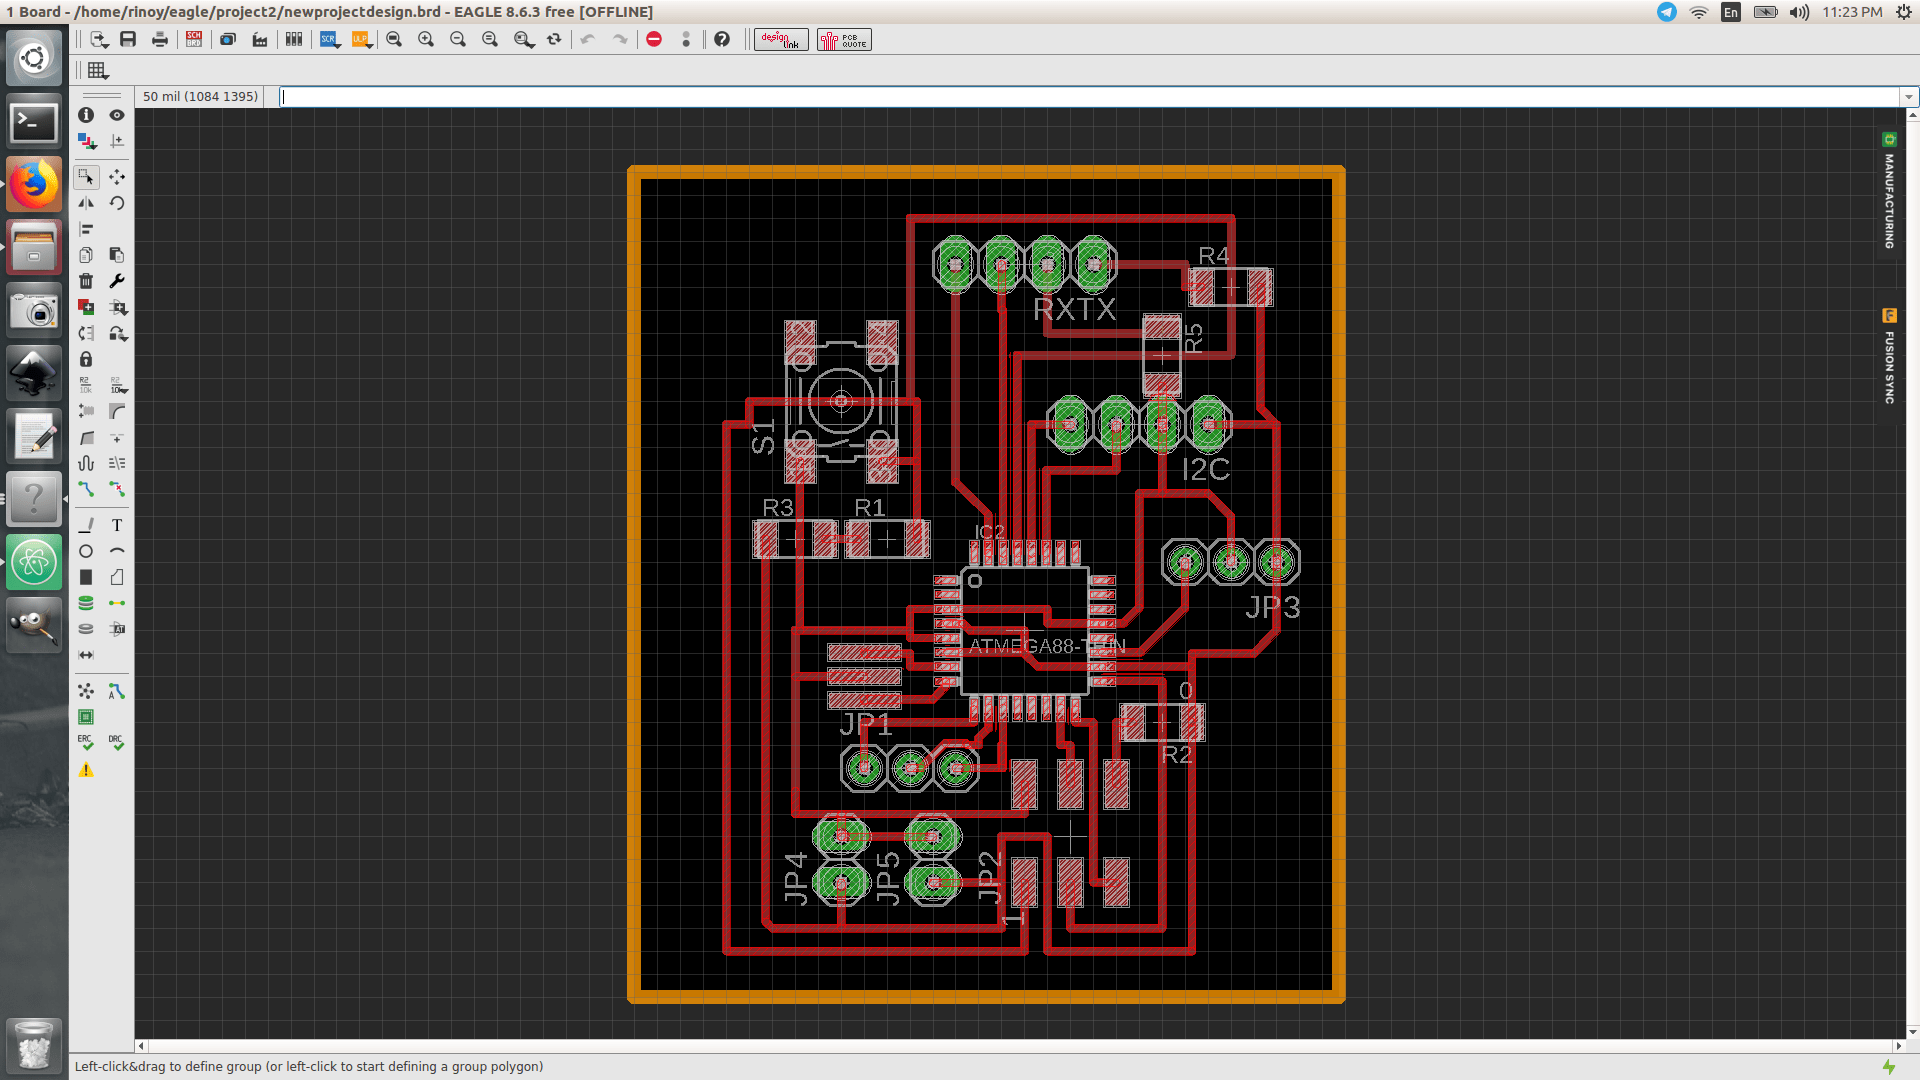
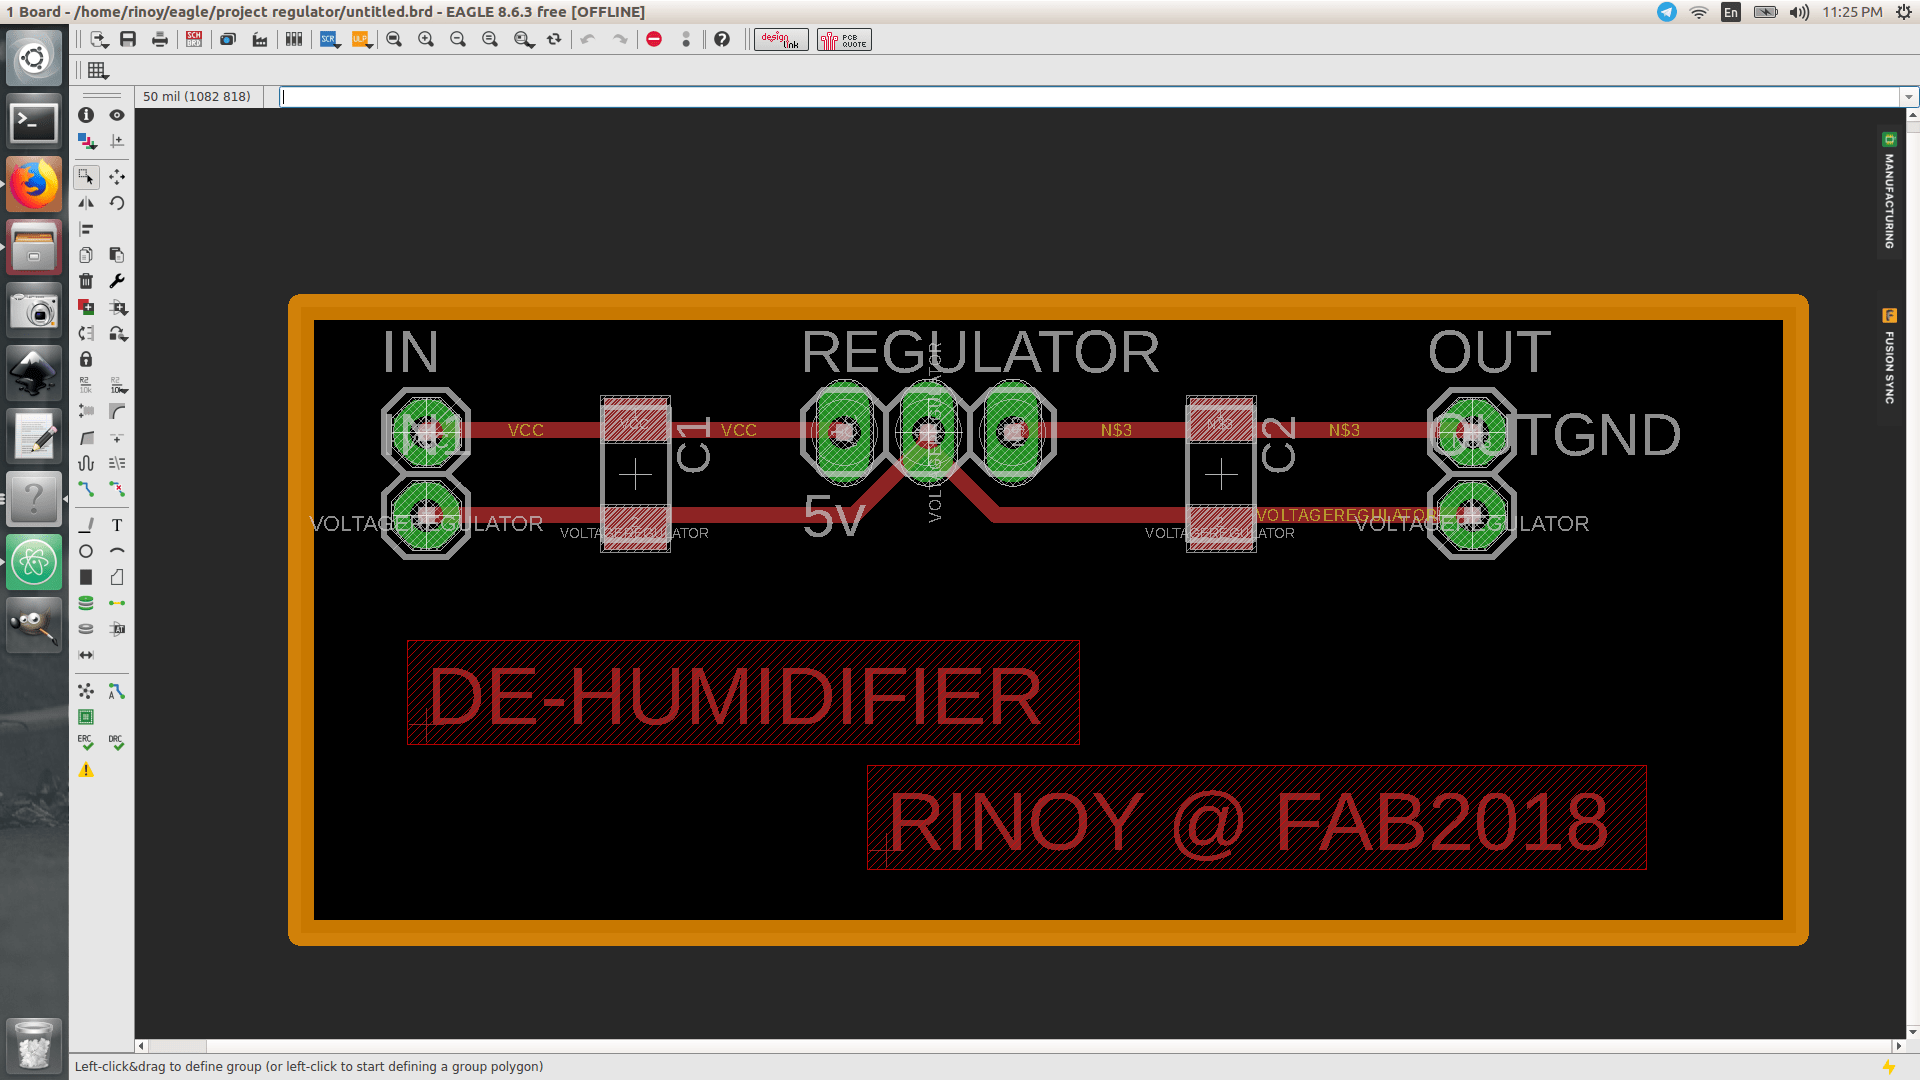
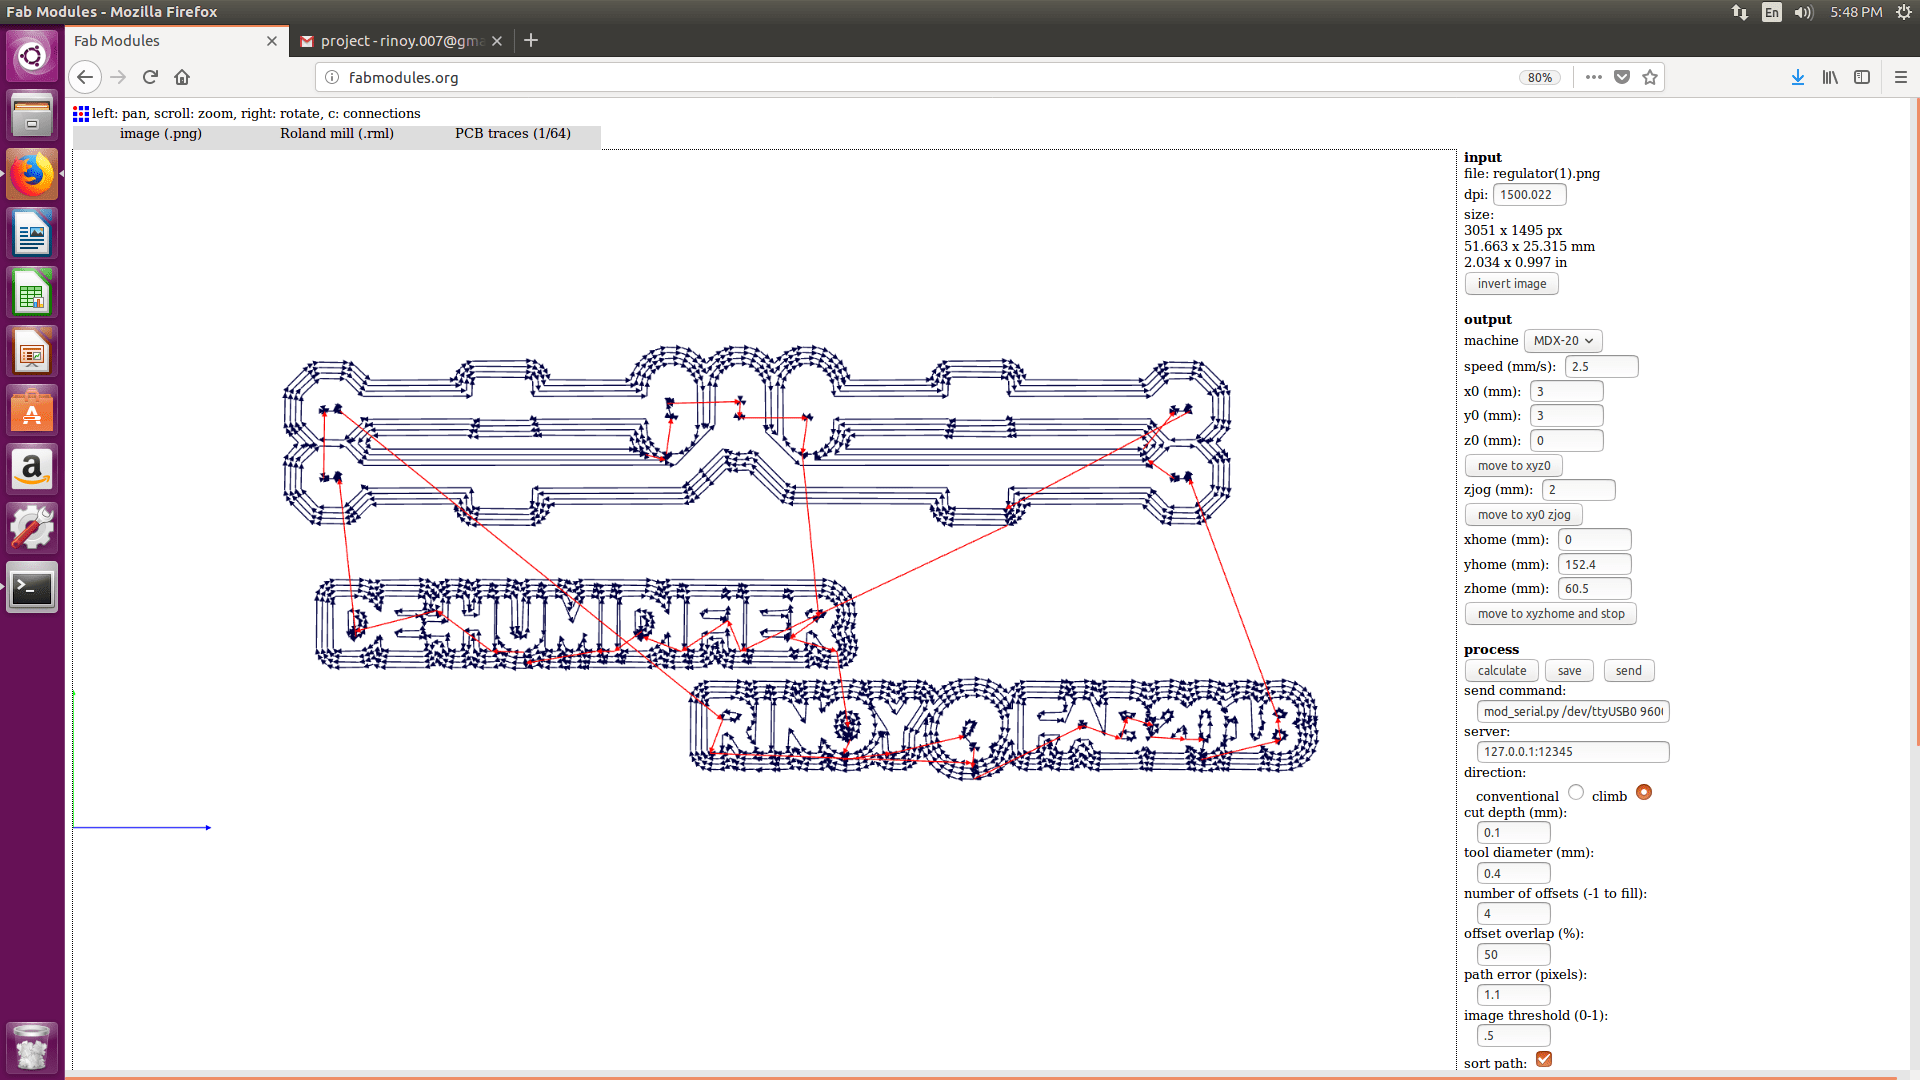
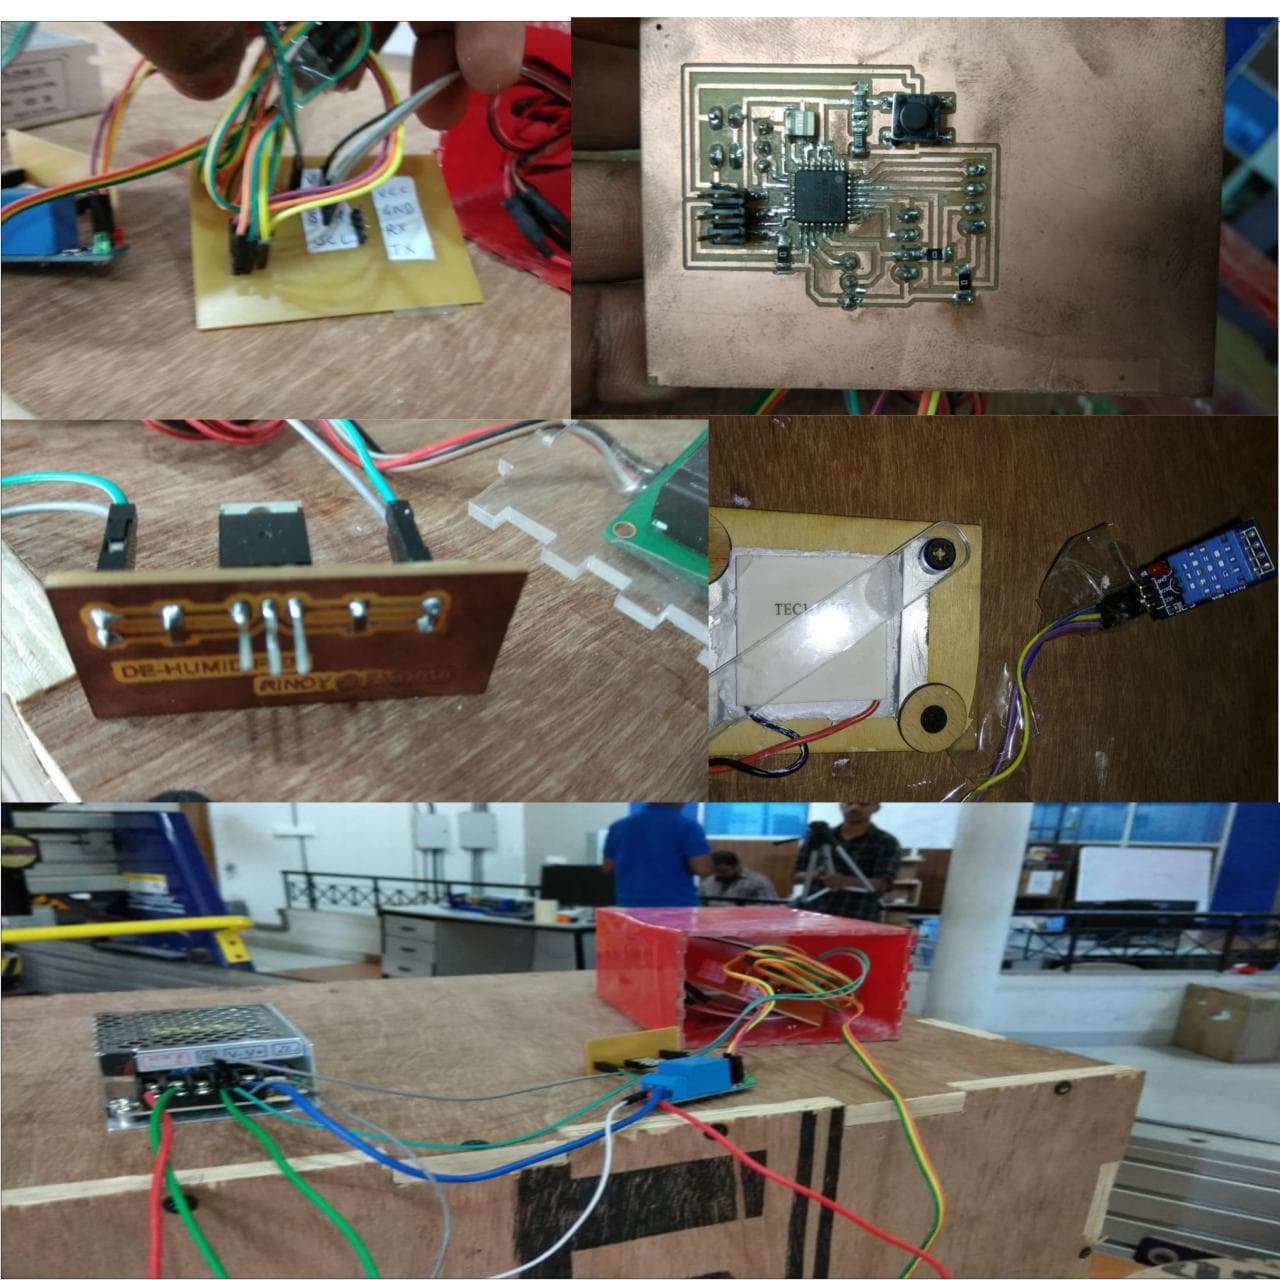
For PCB Desigining I wanted to use microcontroller - ATMEGA328
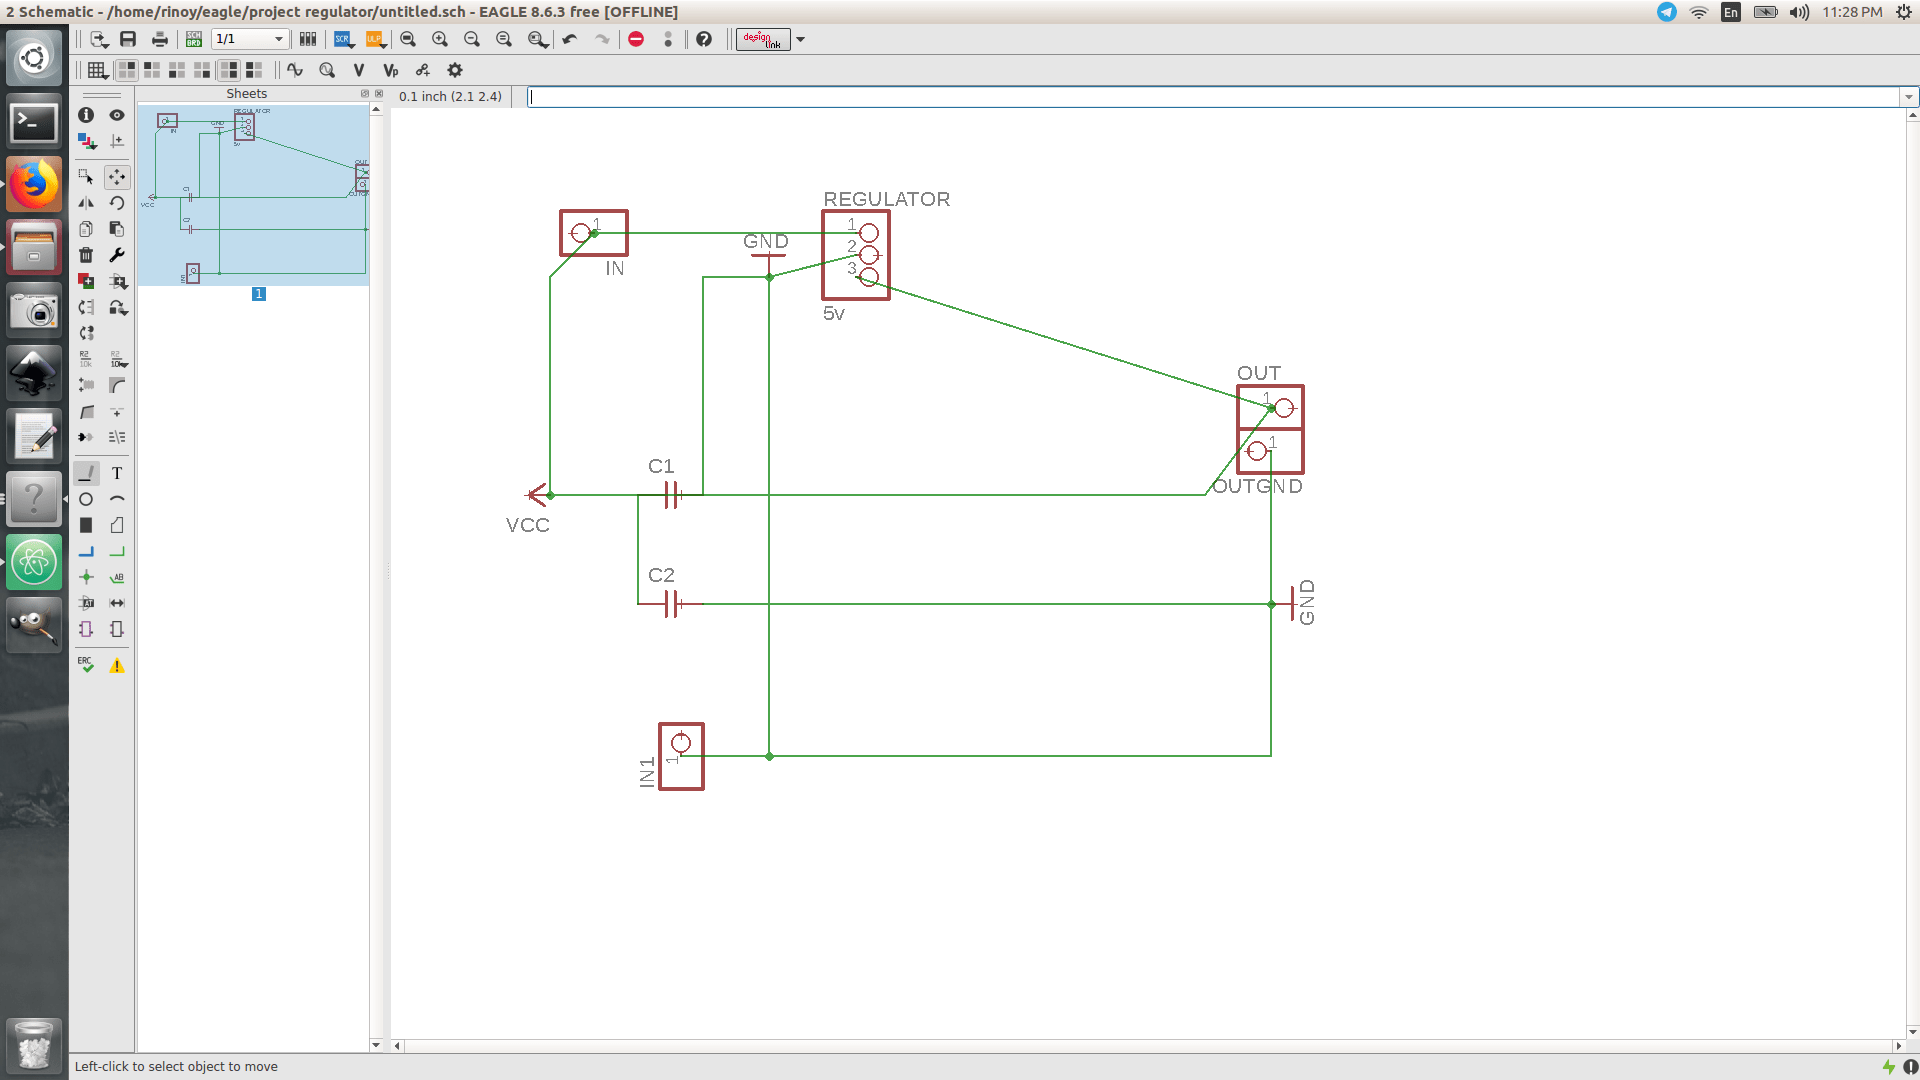
I have designed my project board without the regulator 7805.So I had to design a board just for the regulator too
I gave separate pins for I2C Connected LCD, FTDI, Sensor
Board for Regulator 7805
For CAD Desigining
For CAD Desigining I have done in CNC machining week Here
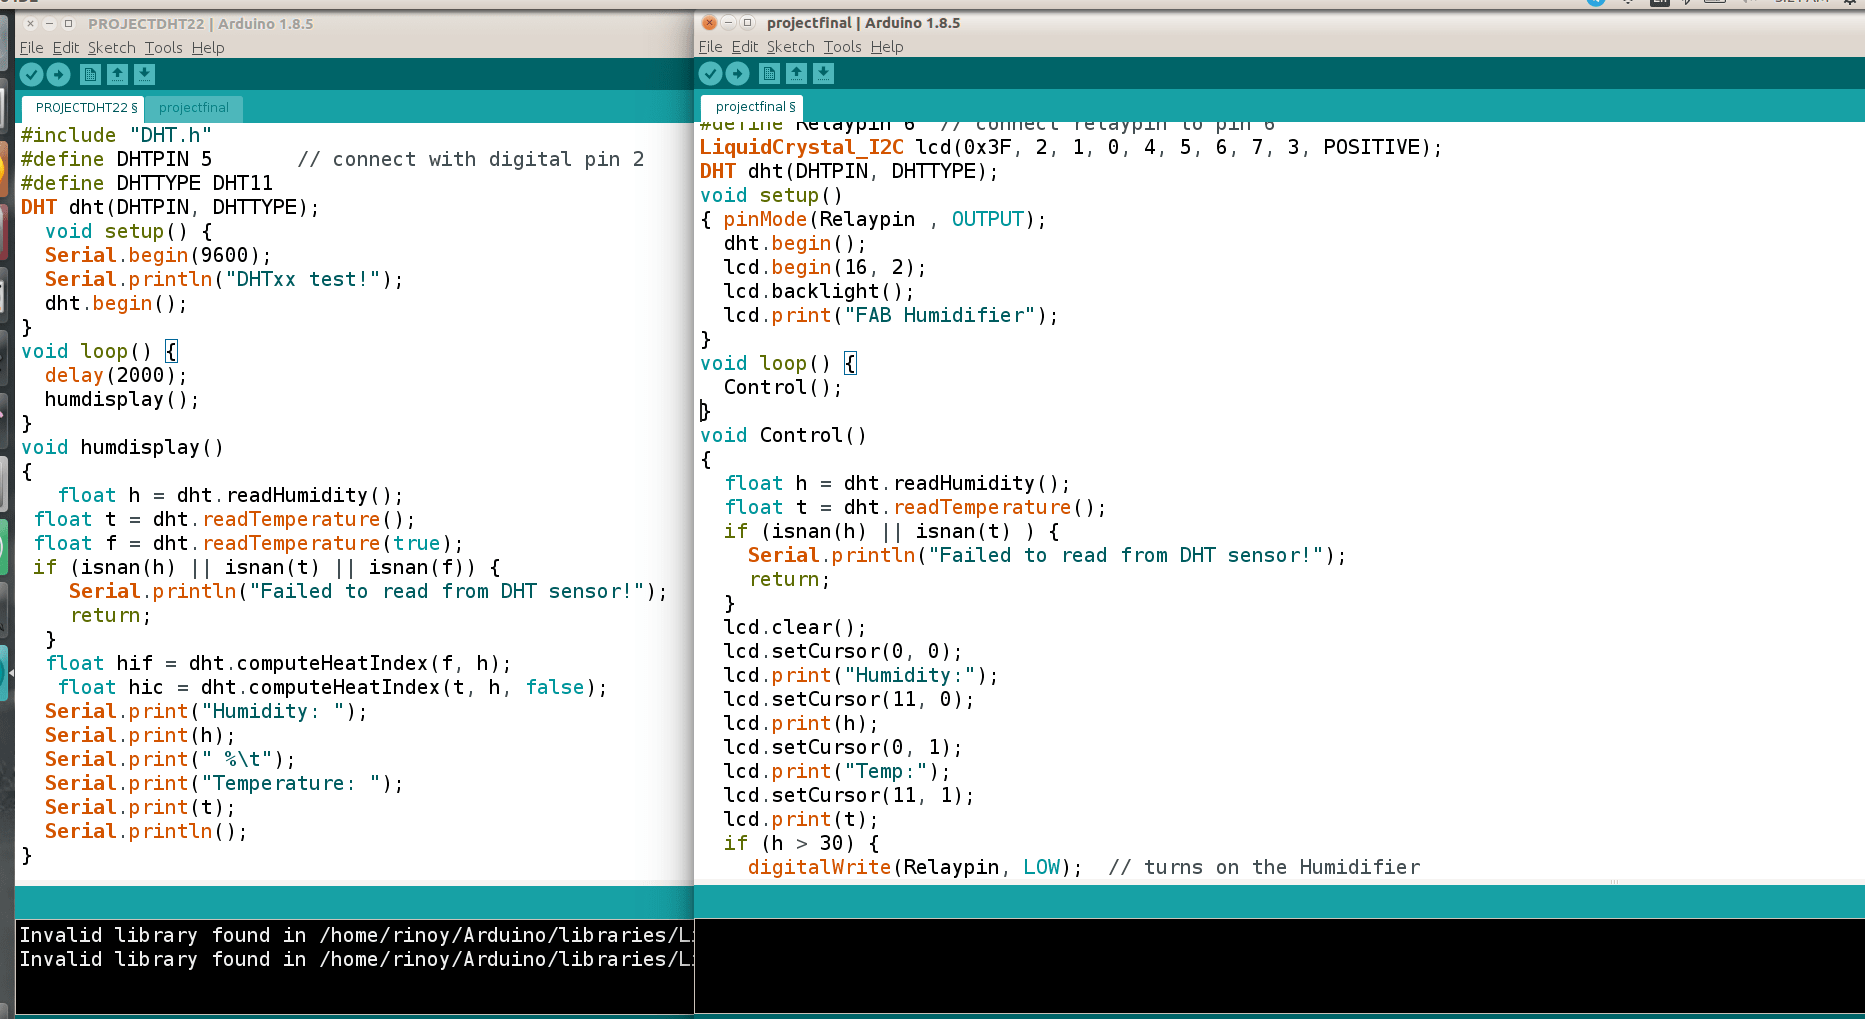
For Embedded Programming
First I had done a program to Display the Humidity and Temperature and then I had to add the condition to switch the working of De-Humidifier(Peltier Cooler Module)
Please find the arduino code for each below
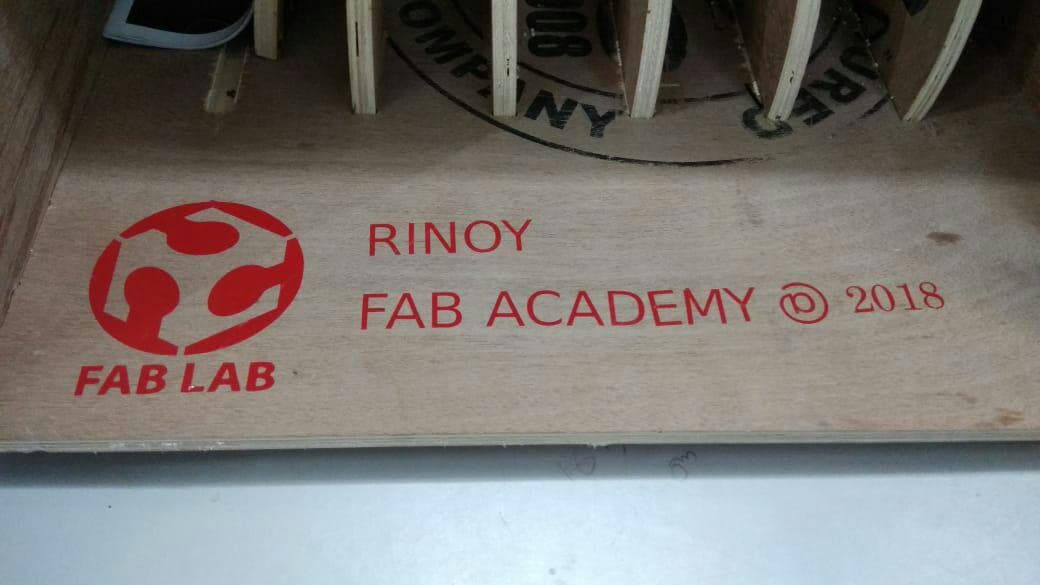
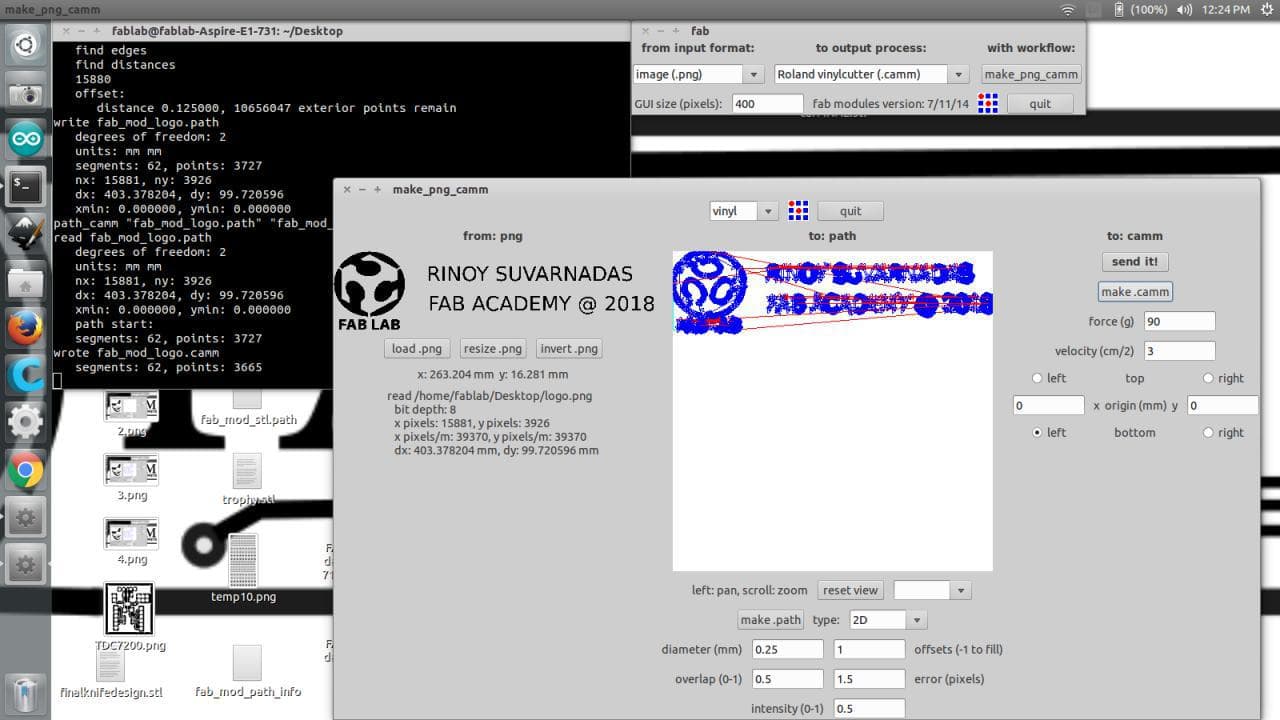
For Vinyl Cutting
I have done FAB ACADEMY Logo and My name to cut in Vinyl, so I can put the vinyl sticker in my Final Projects

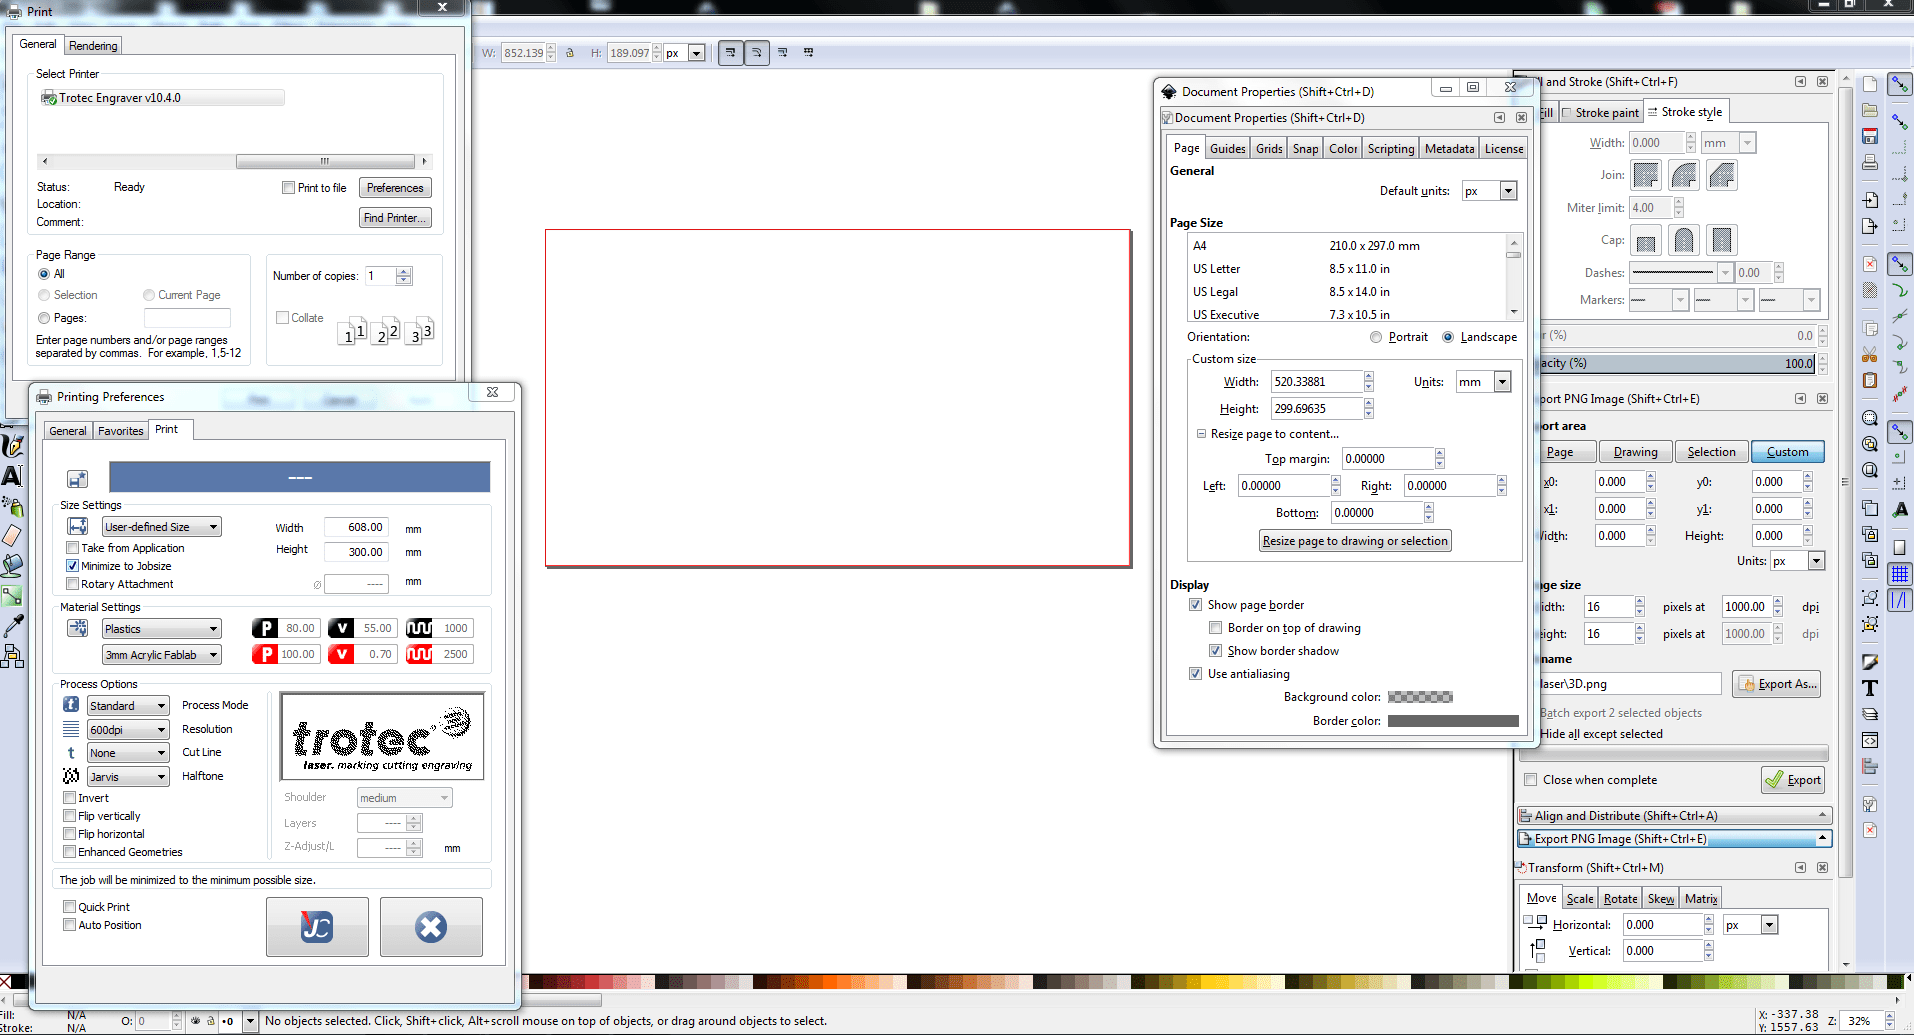
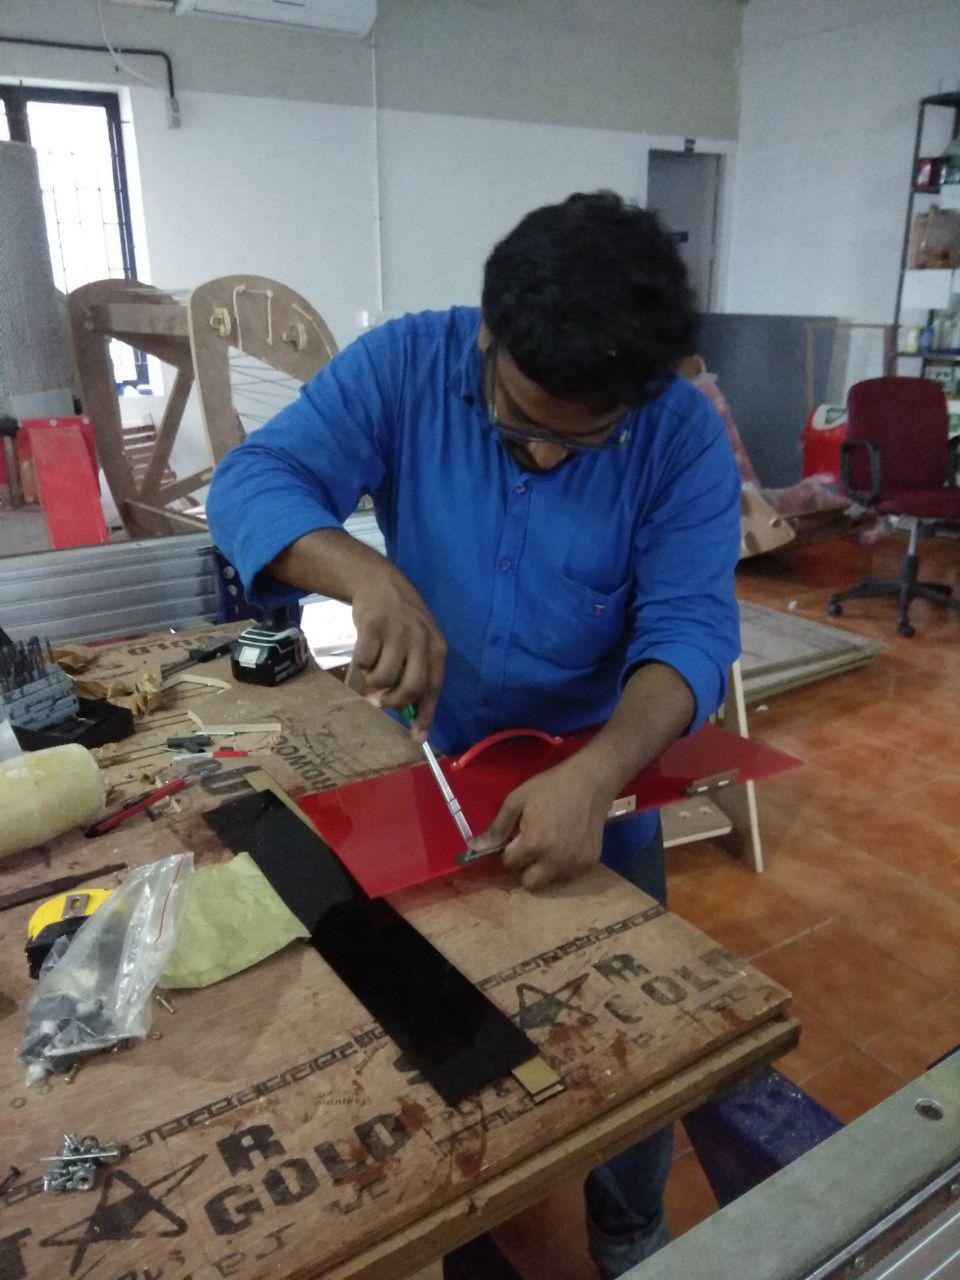
For Laser Cutting
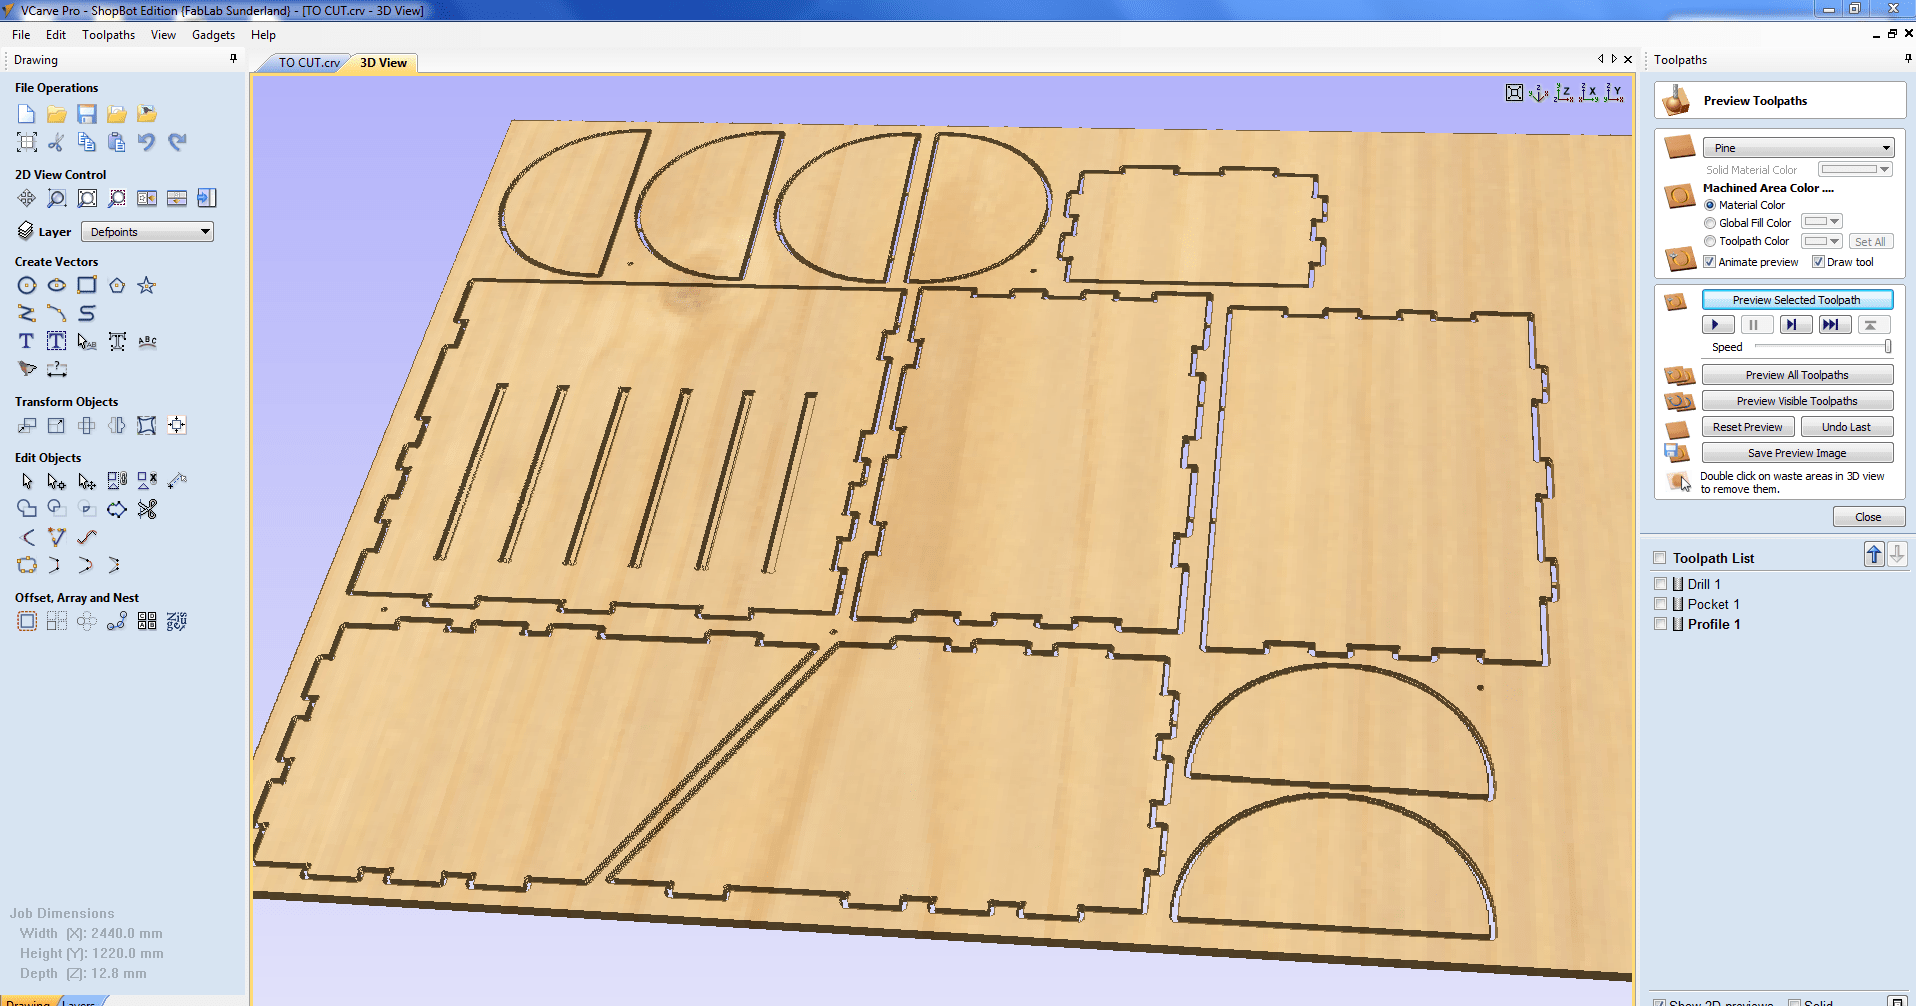
I have cut the doors to fit in with the 2D design which I cut during CNC machining Week
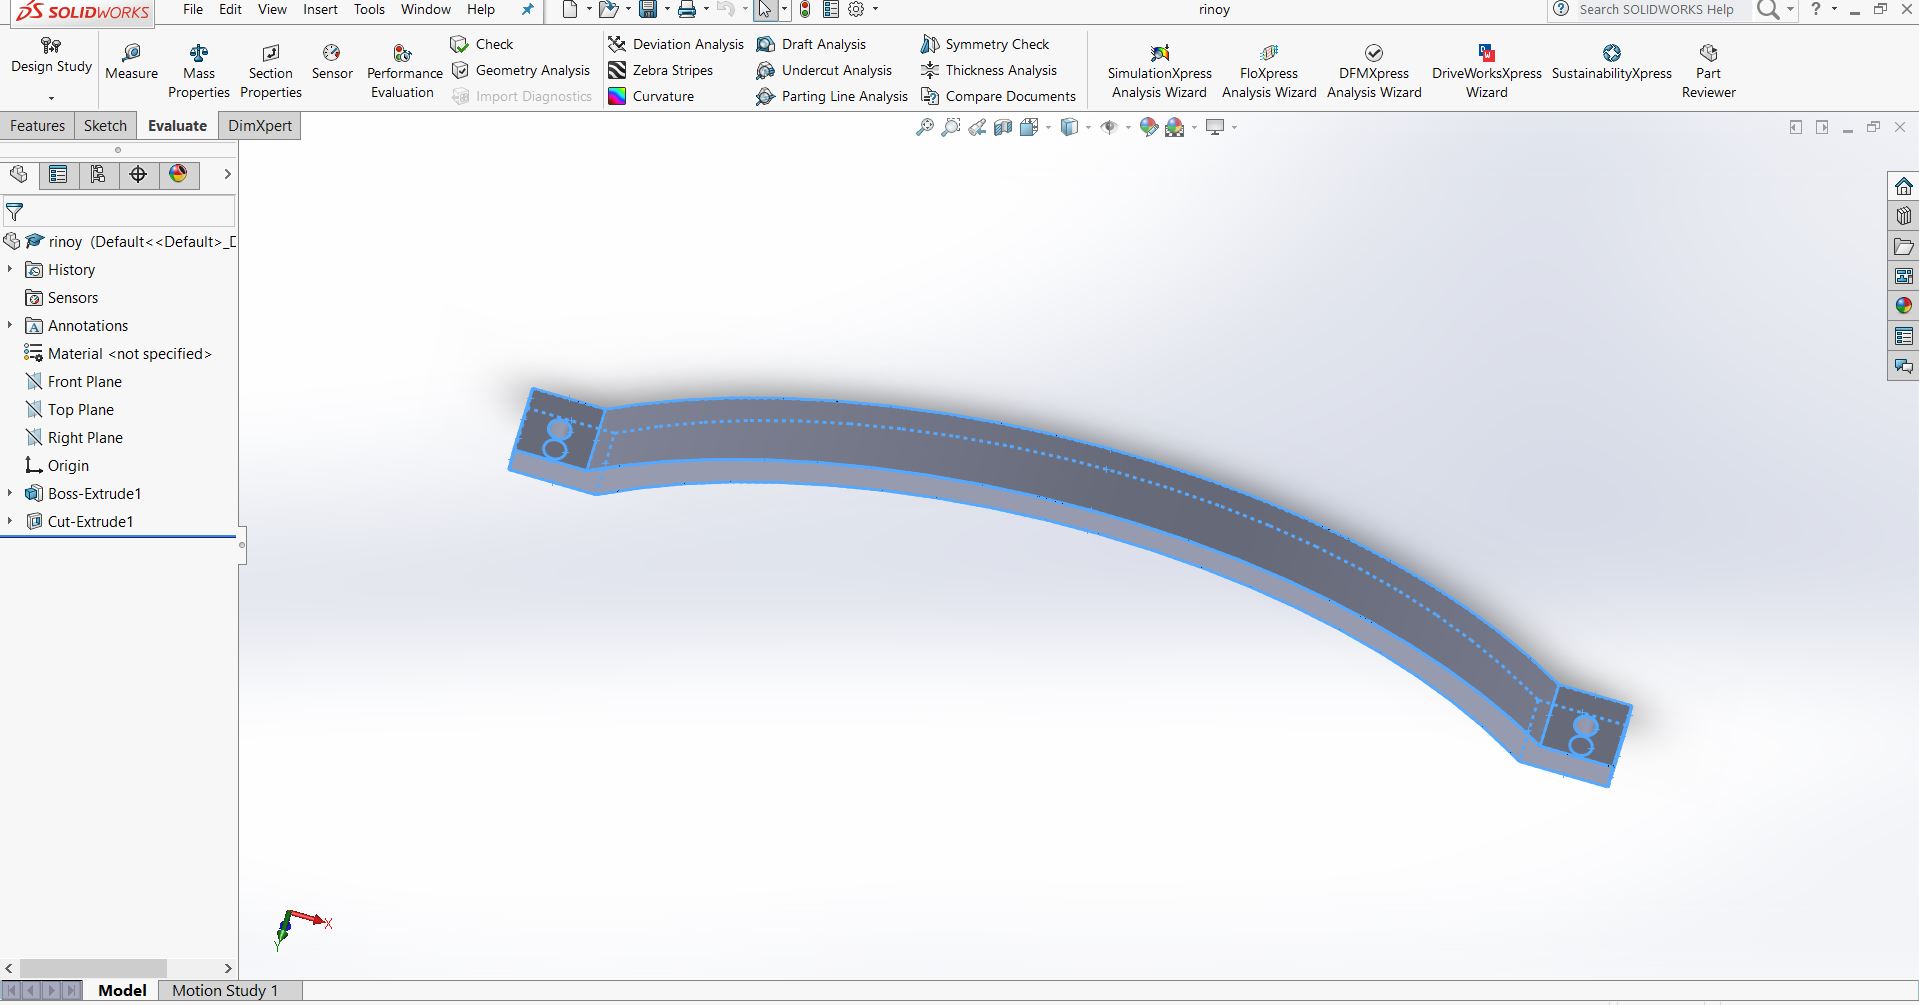
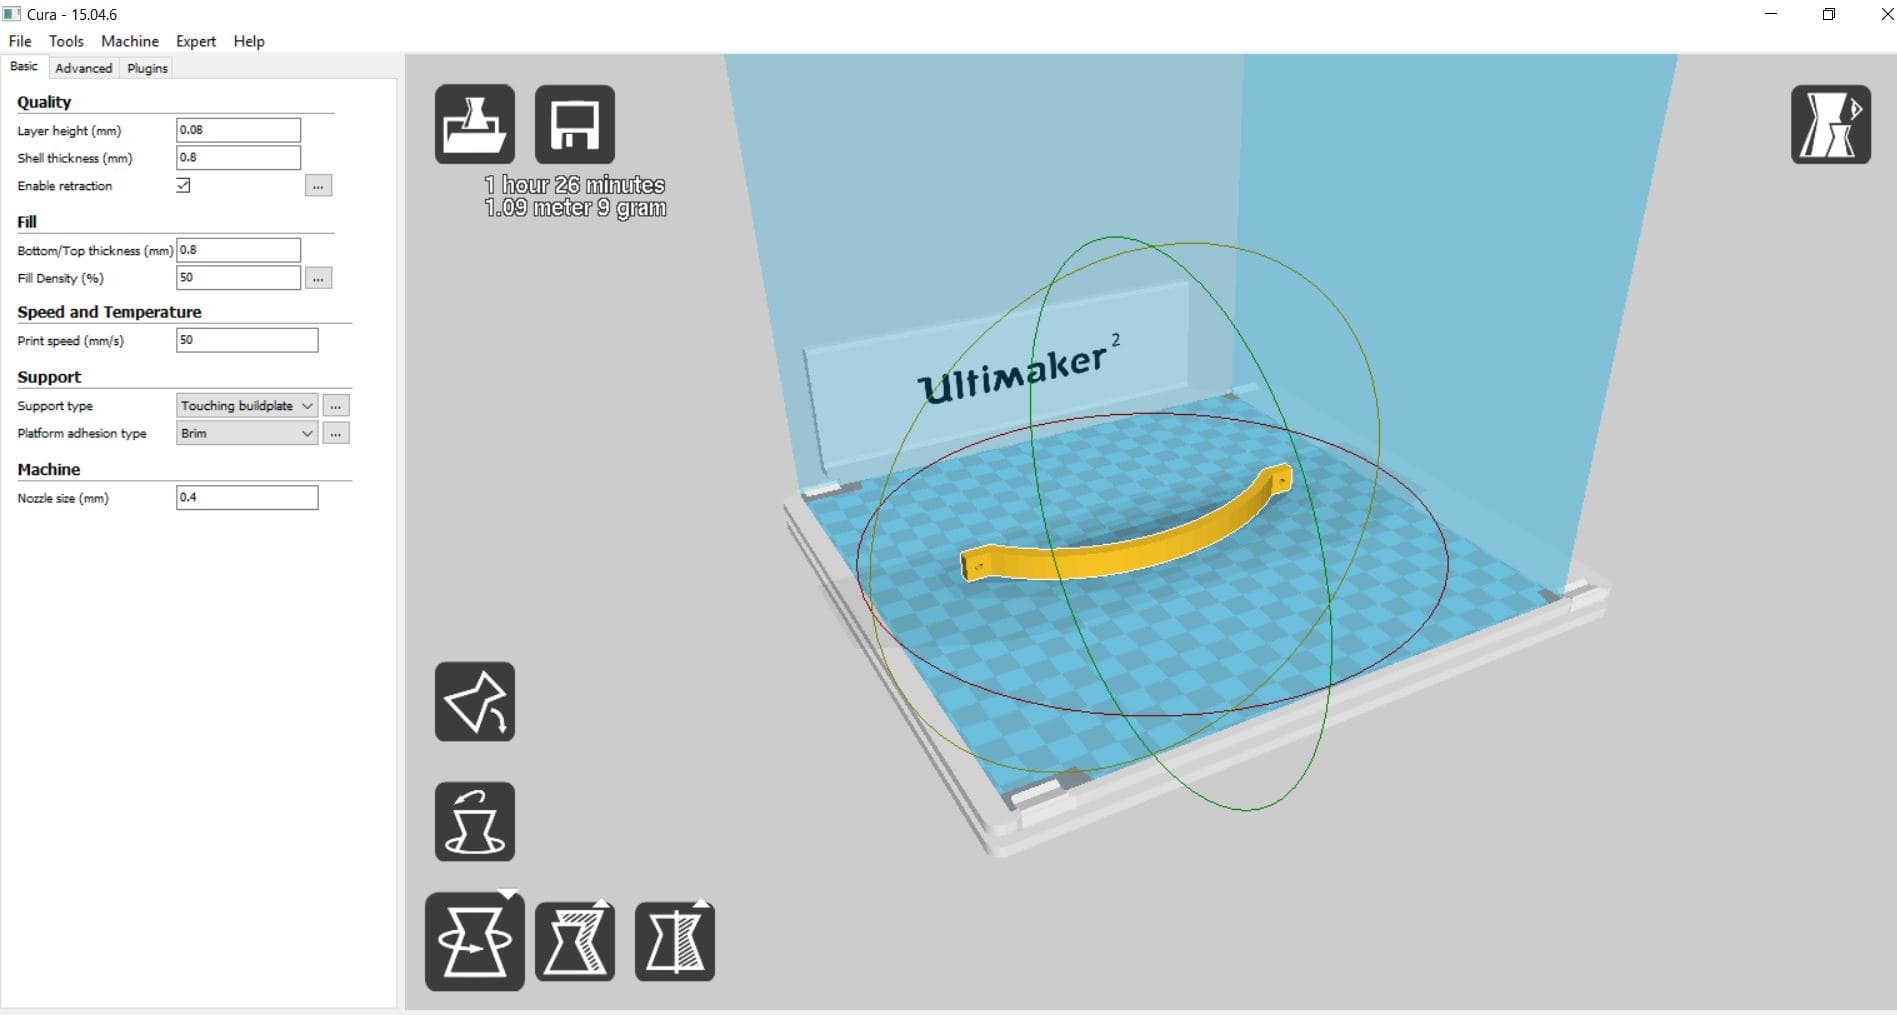
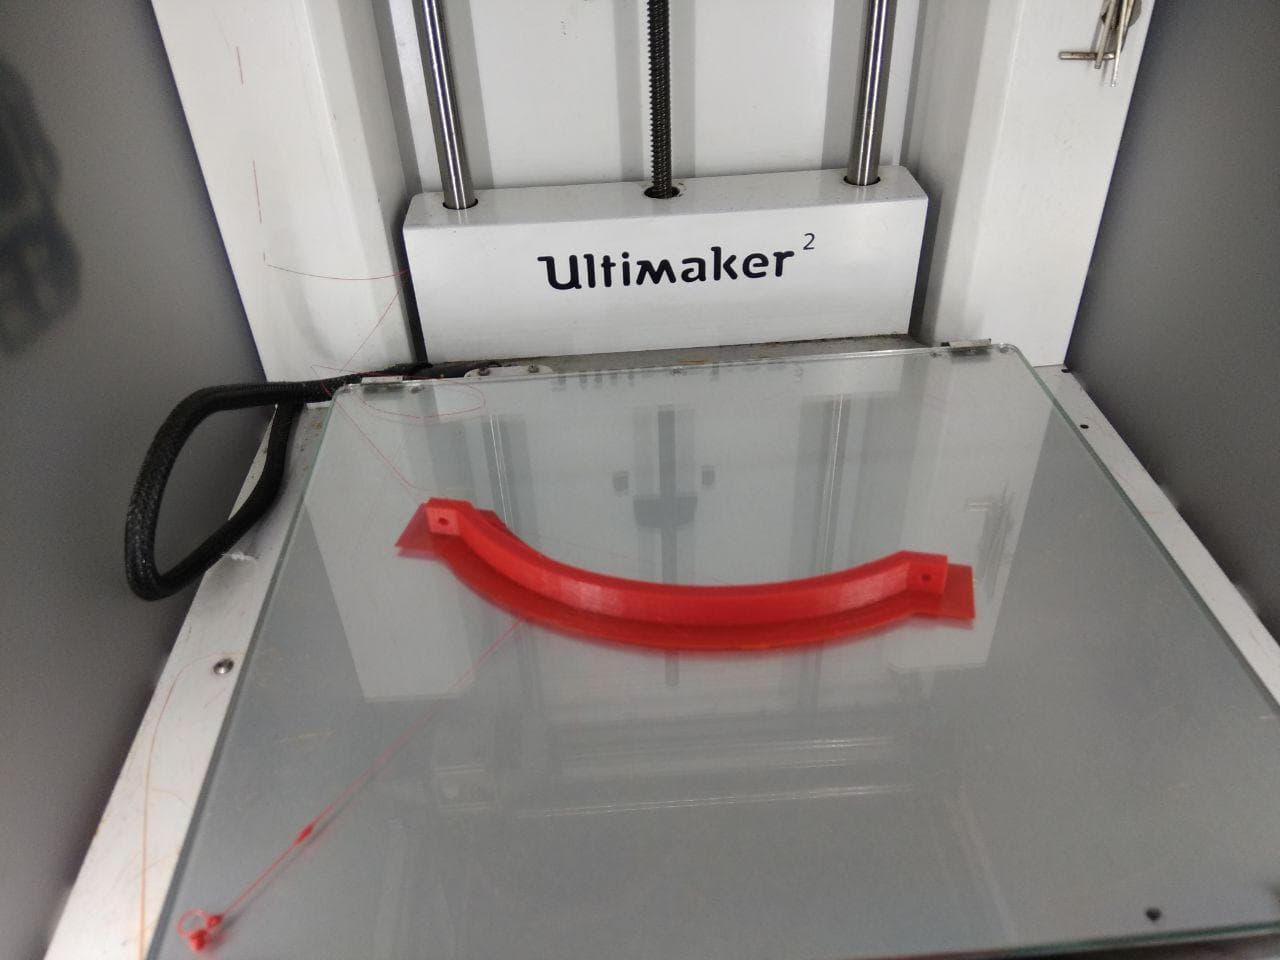
For 3D Printing
I have given a 3D printed Door Handle to my project which is fixed to the acrylic Door.I used 3mm ACRYLIC
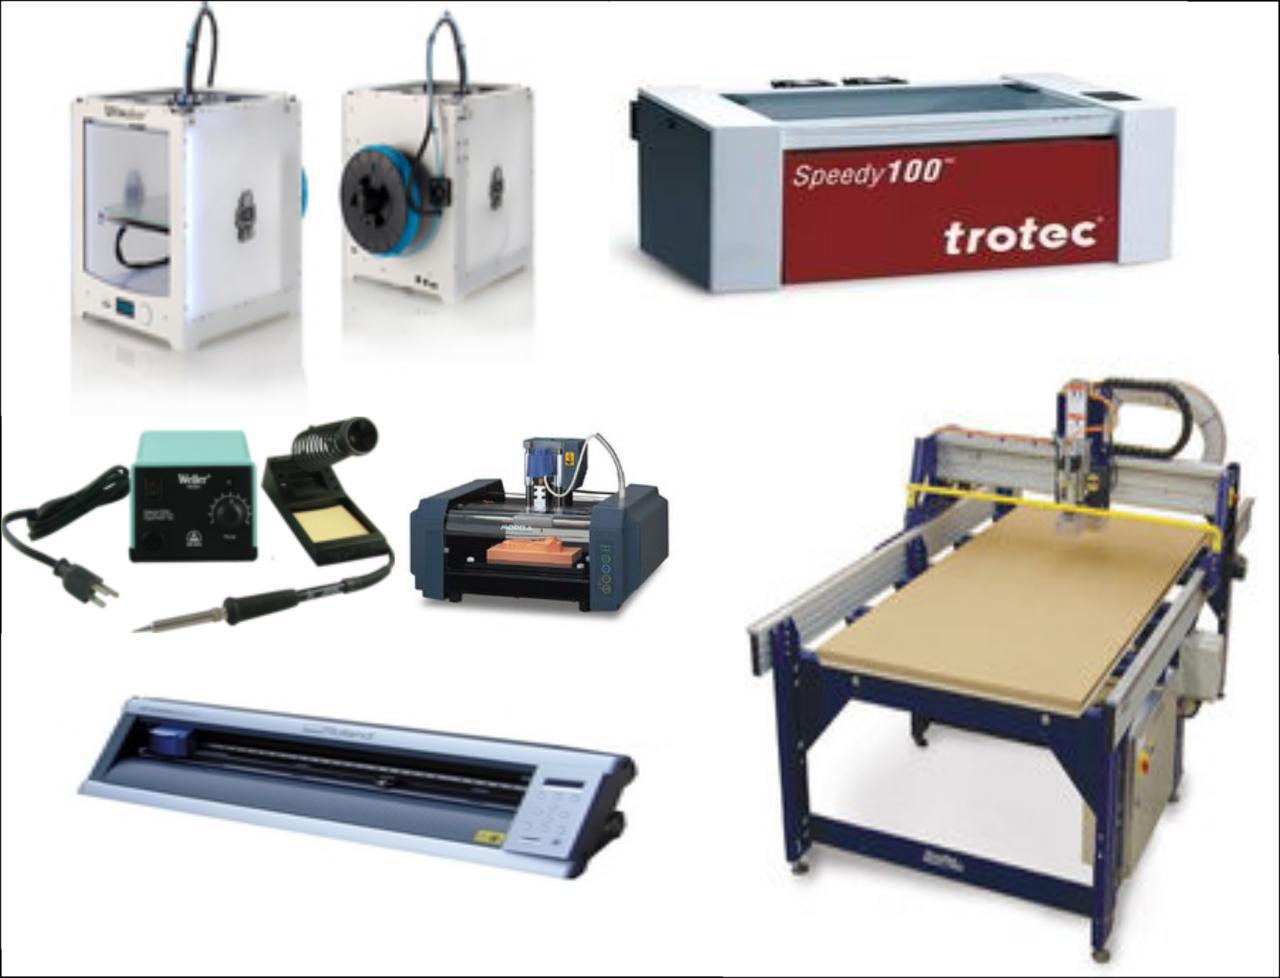
Machines Used
SHOPBOT
Vinyl Cutter - Roland camm-1 machine
Laser Cutter - Trotec Speedy100
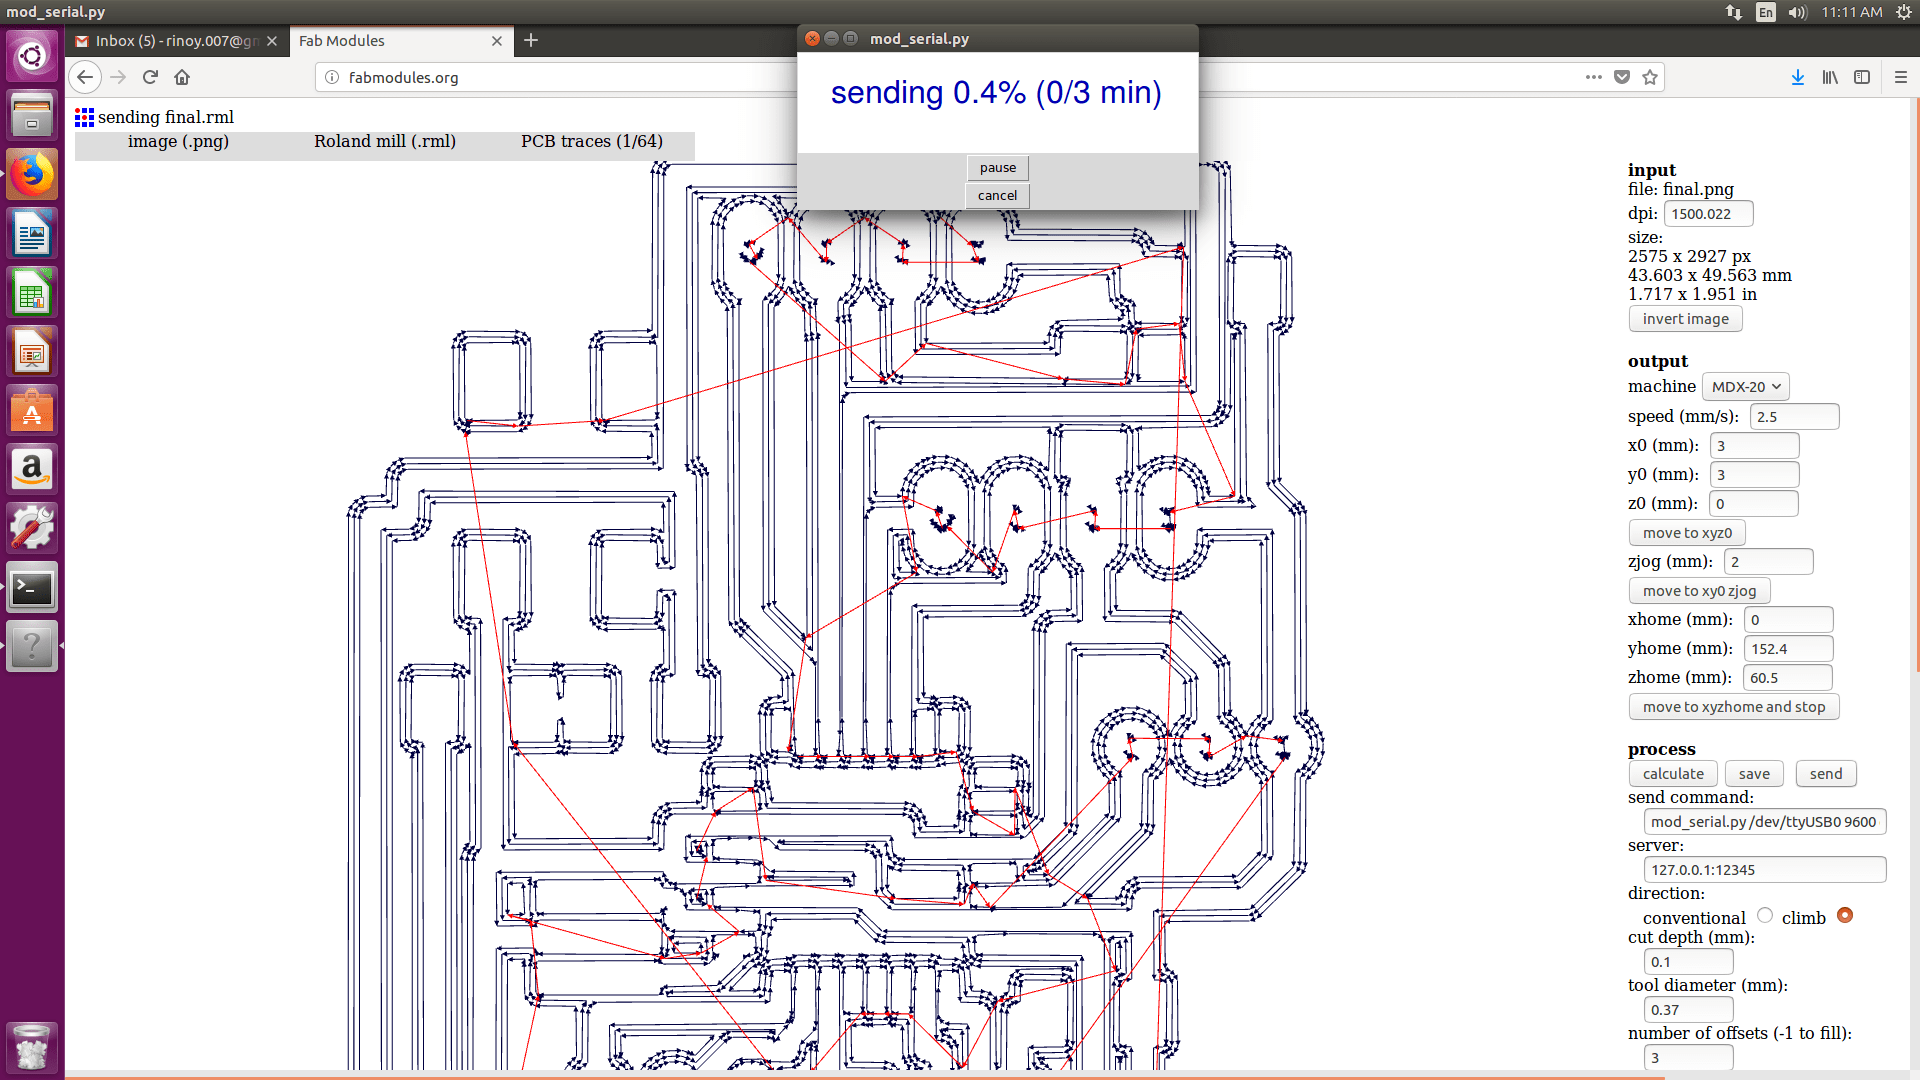
PCB Milling Machine - Roland Modella MDX-20
3D Printer - Ultimaker 2
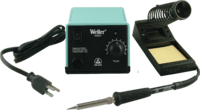
Soldering Station
SHOPBOT
For CAD Desigining I have done in CNC machining week Here
Vinyl Cutter - Roland camm-1 machine
I have explained the Vinyl Cutting process earlier
Laser Cutter - Trotec Speedy100
I have cut the doors to fit in with the 2D design which I cut during CNC machining Week.I used 3mm ACRYLIC
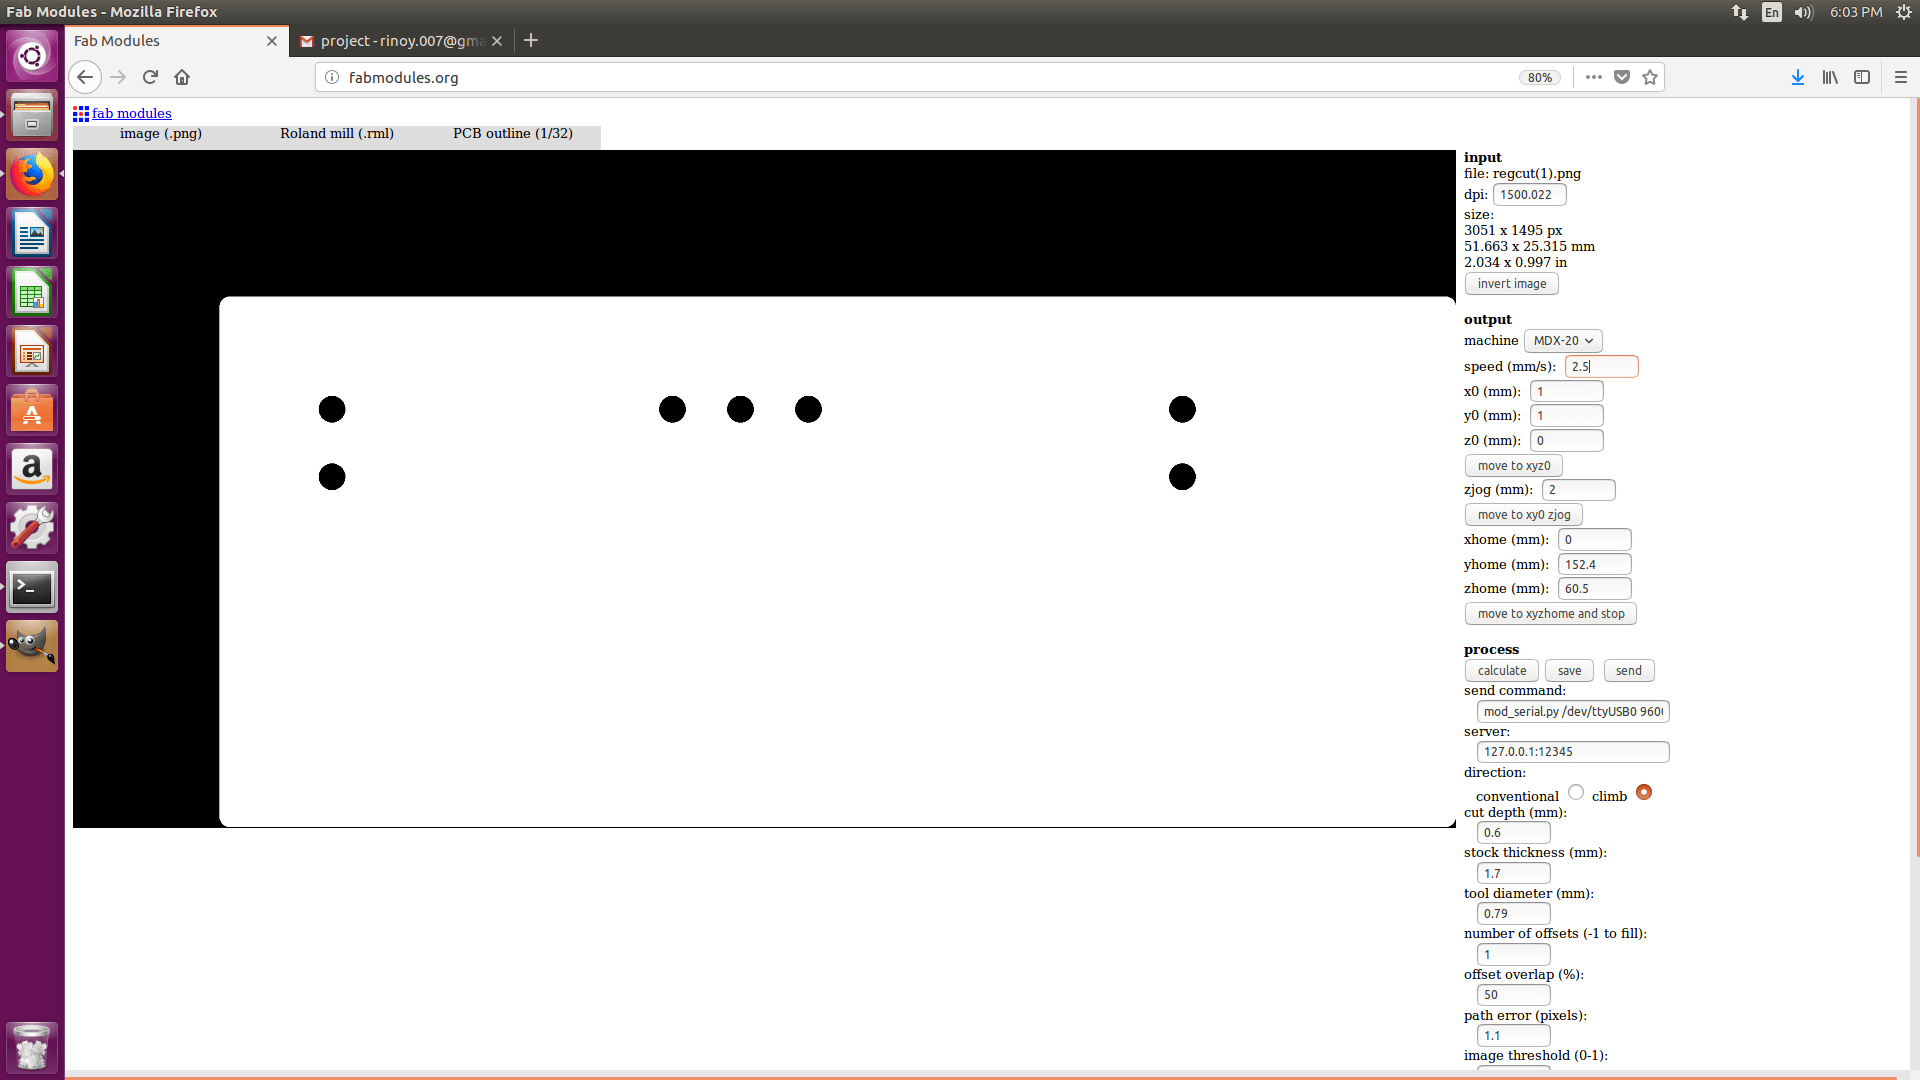
PCB Milling Machine - Roland Modella MDX-20
I have designed my project board without the regulator 7805.So I had to design a board just for the regulator too

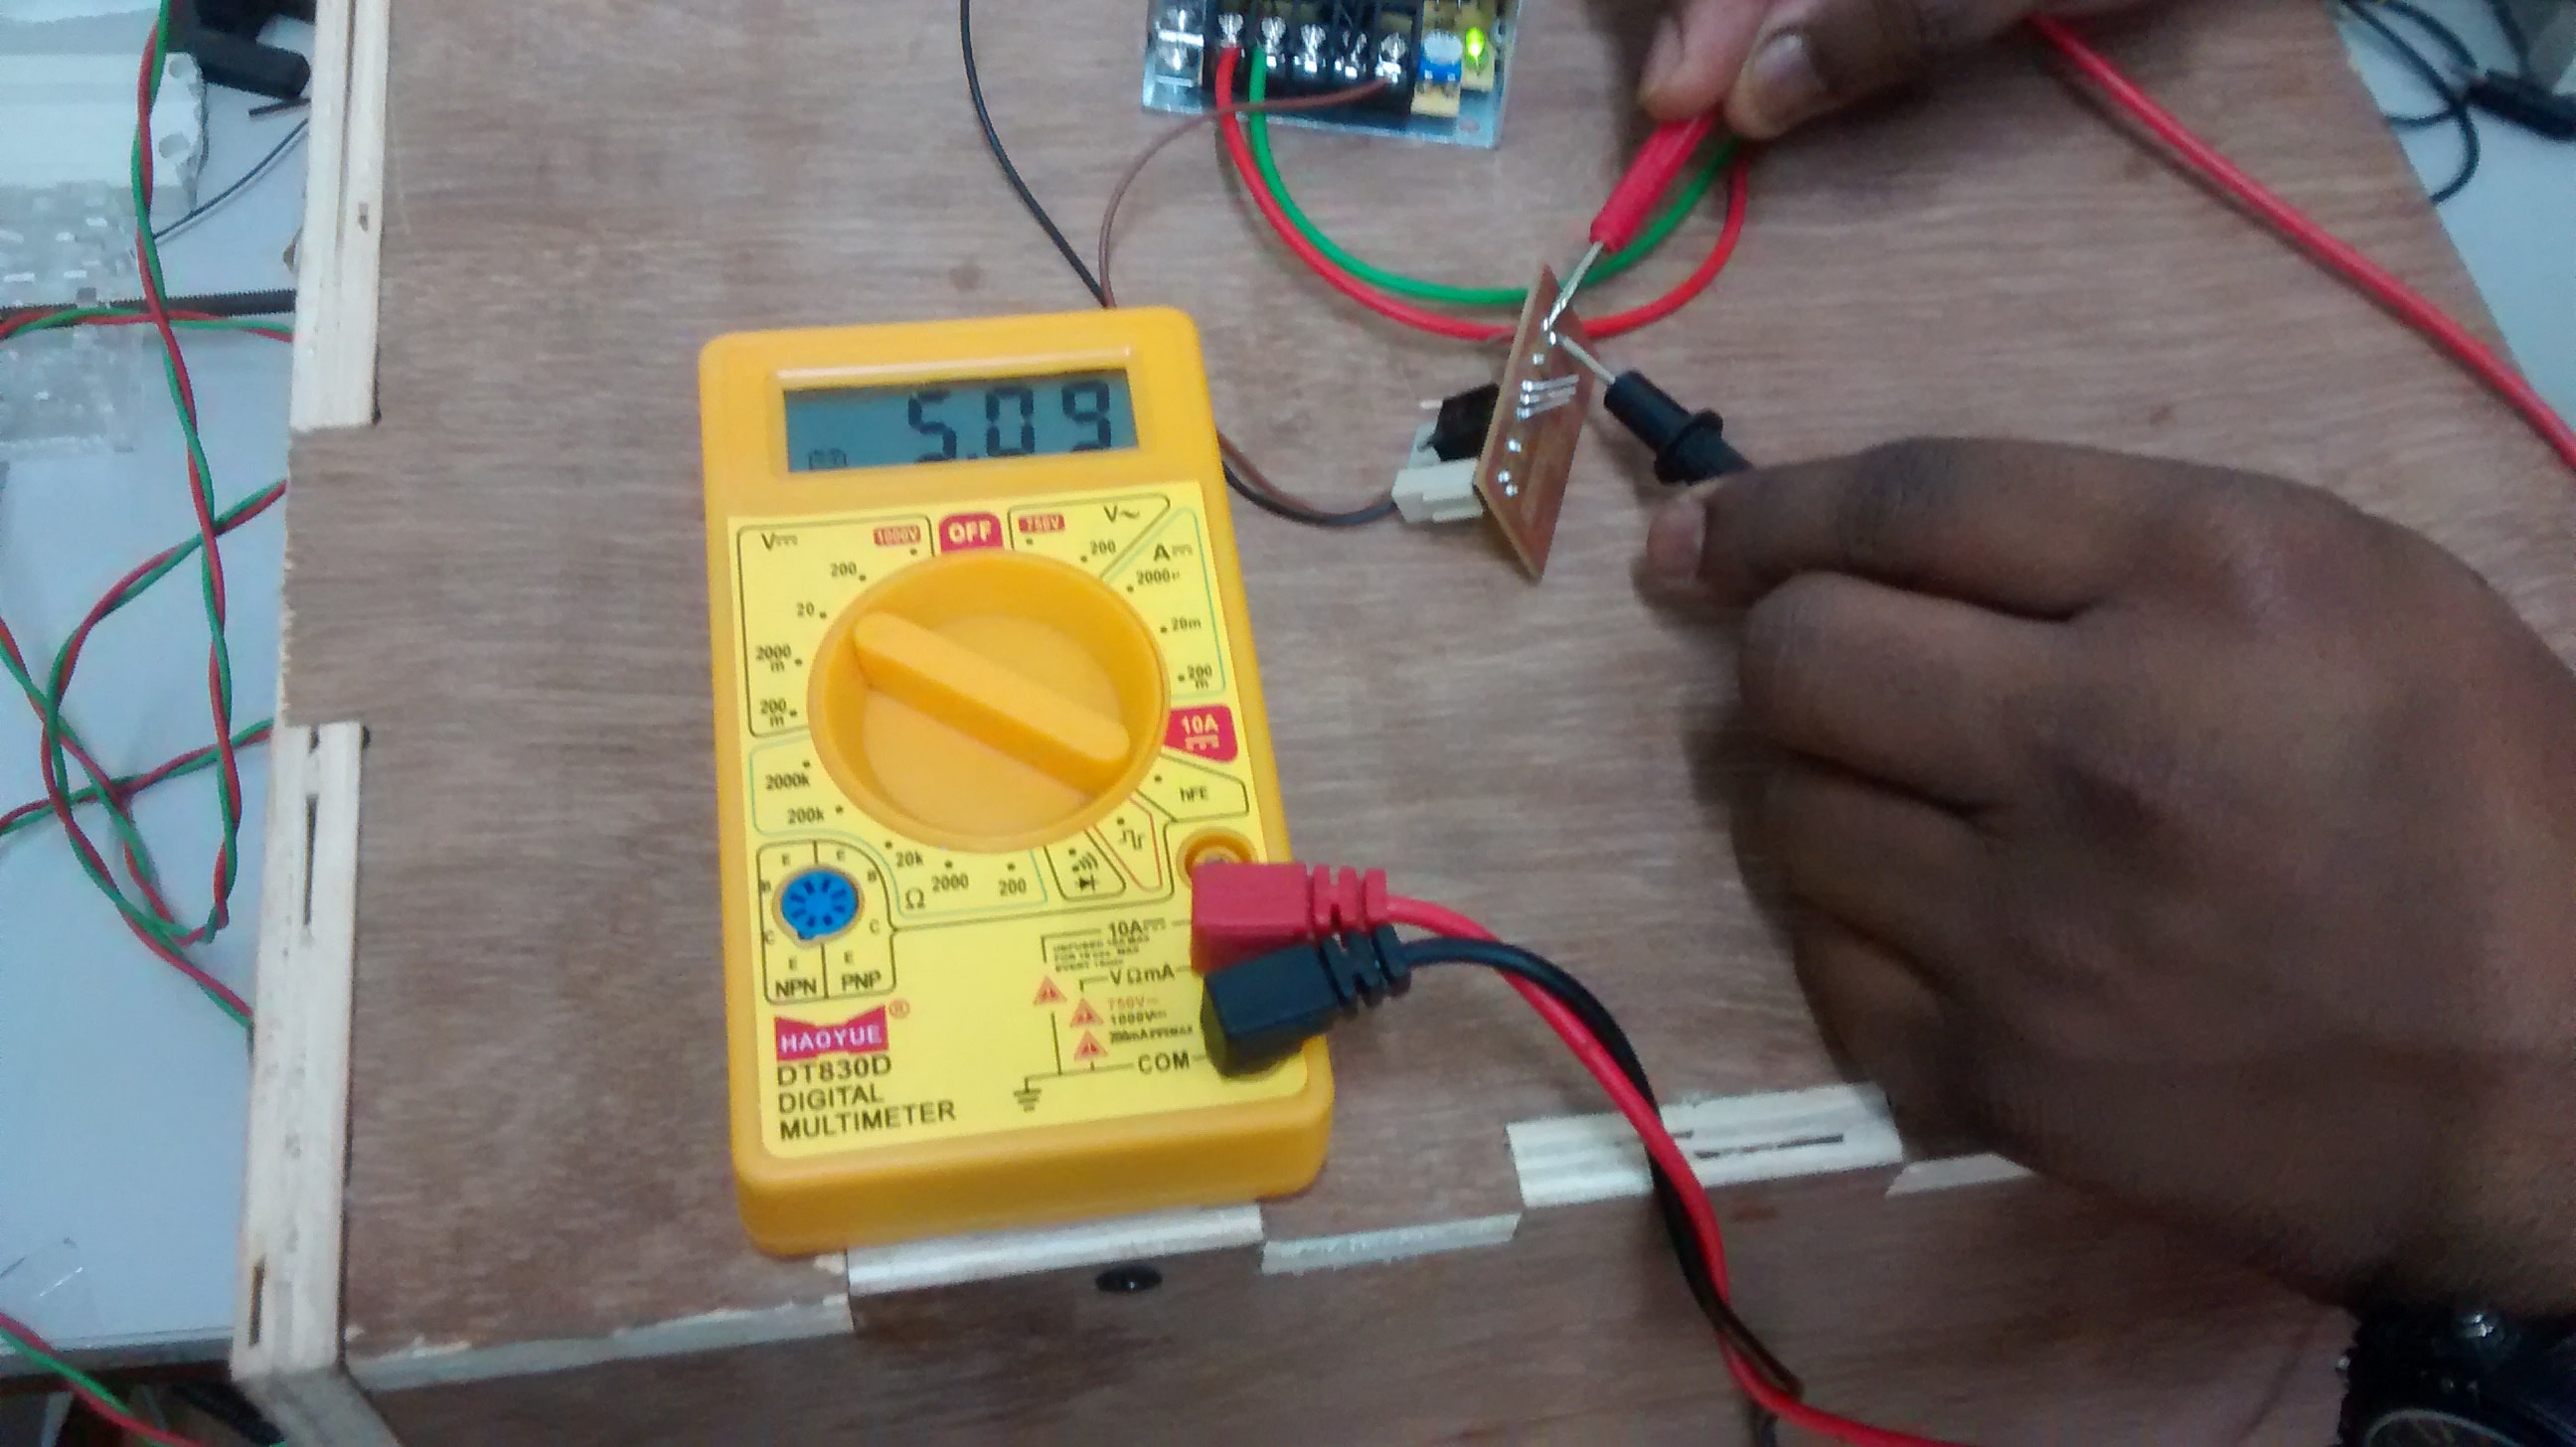
Testing the Regulator board connected with Power Supply
Regulator board is working fine as the Output is 5V, where the input of power supply is 12V - 2A
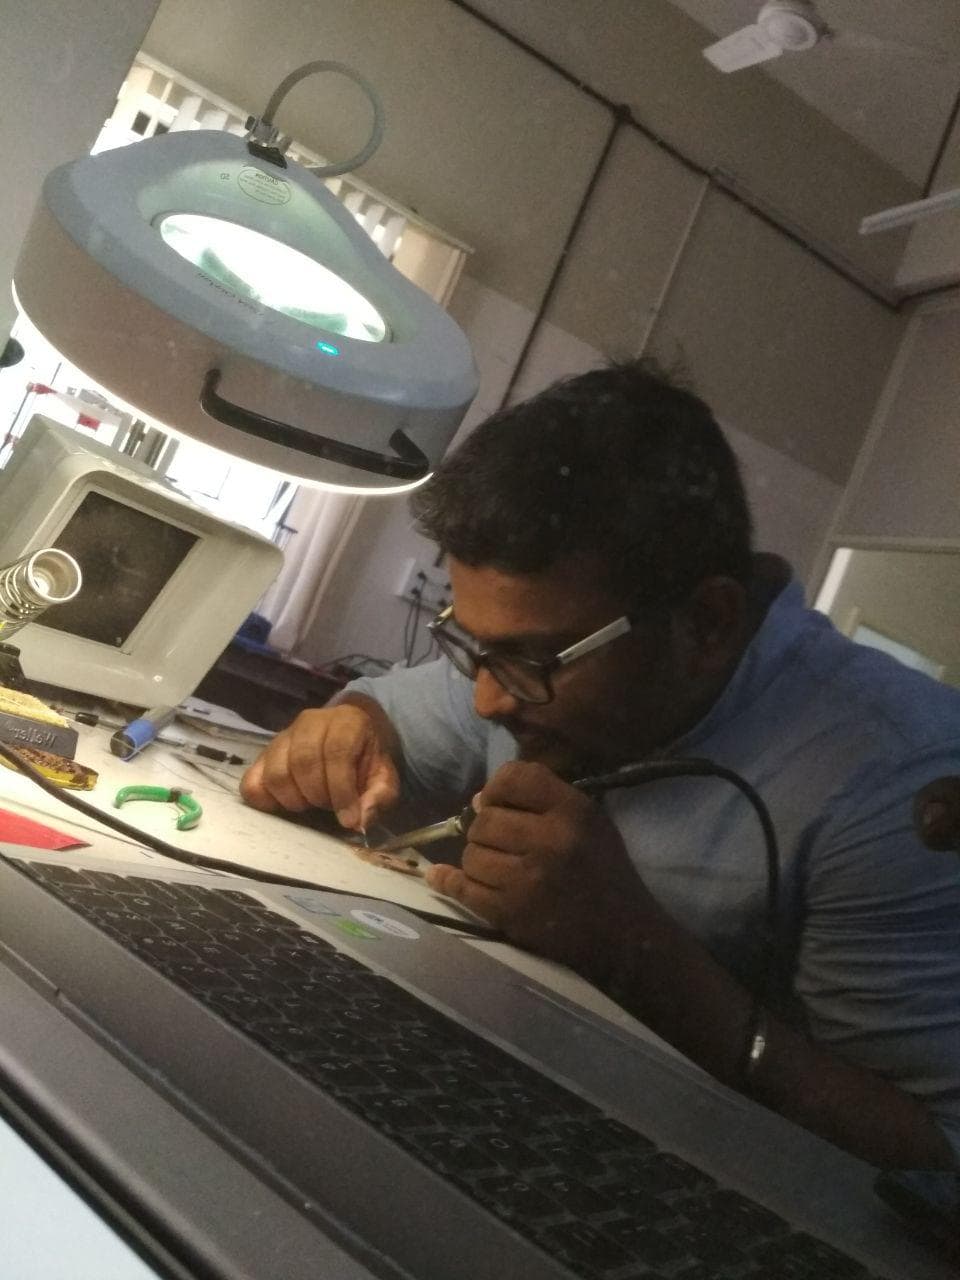
Soldering Station
I have soldered my Main board and Regulator Board
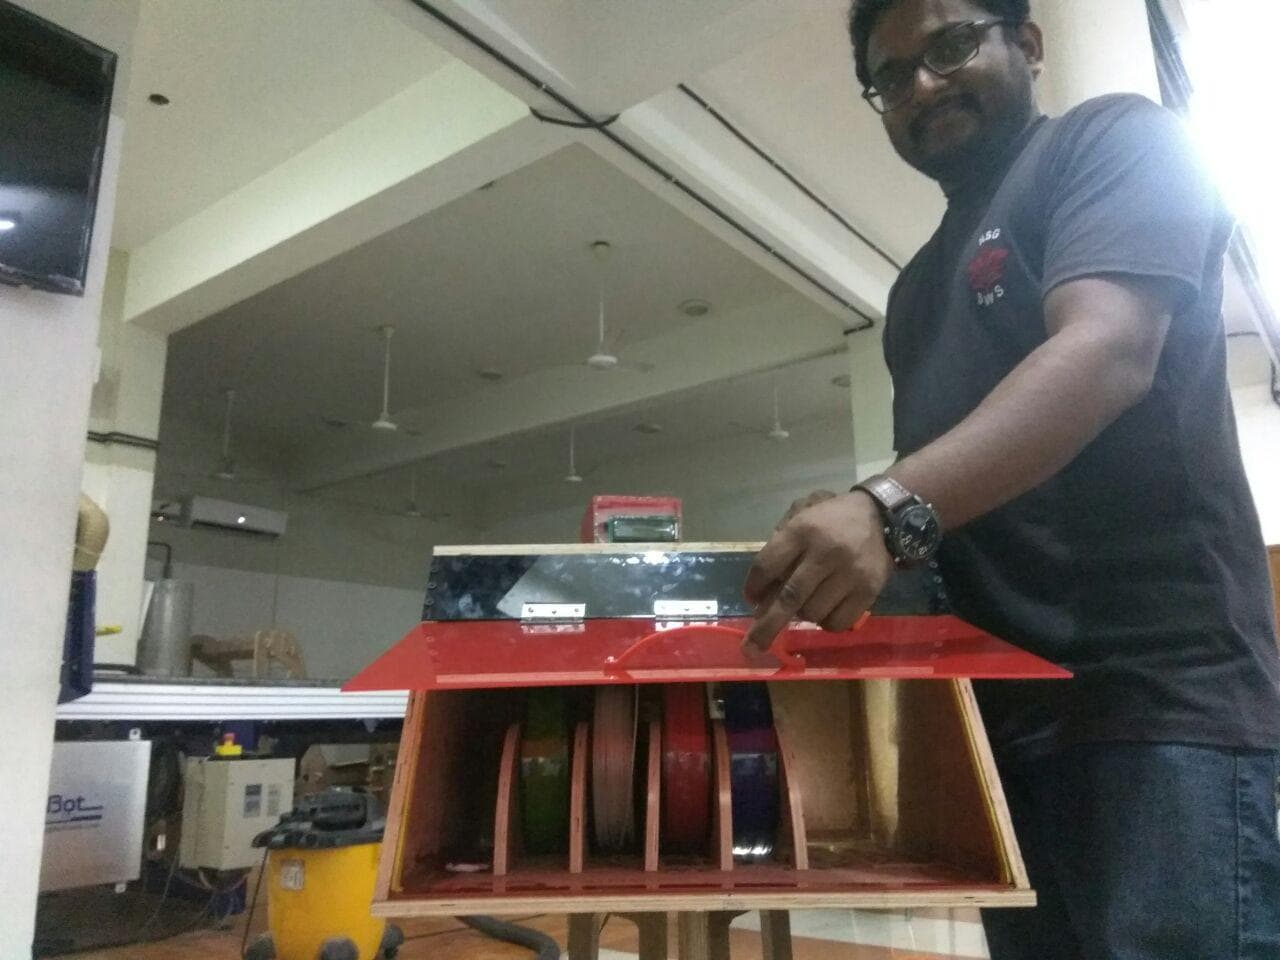
3D Printer - Ultimaker 2
As you can see Im holding the door handle Open
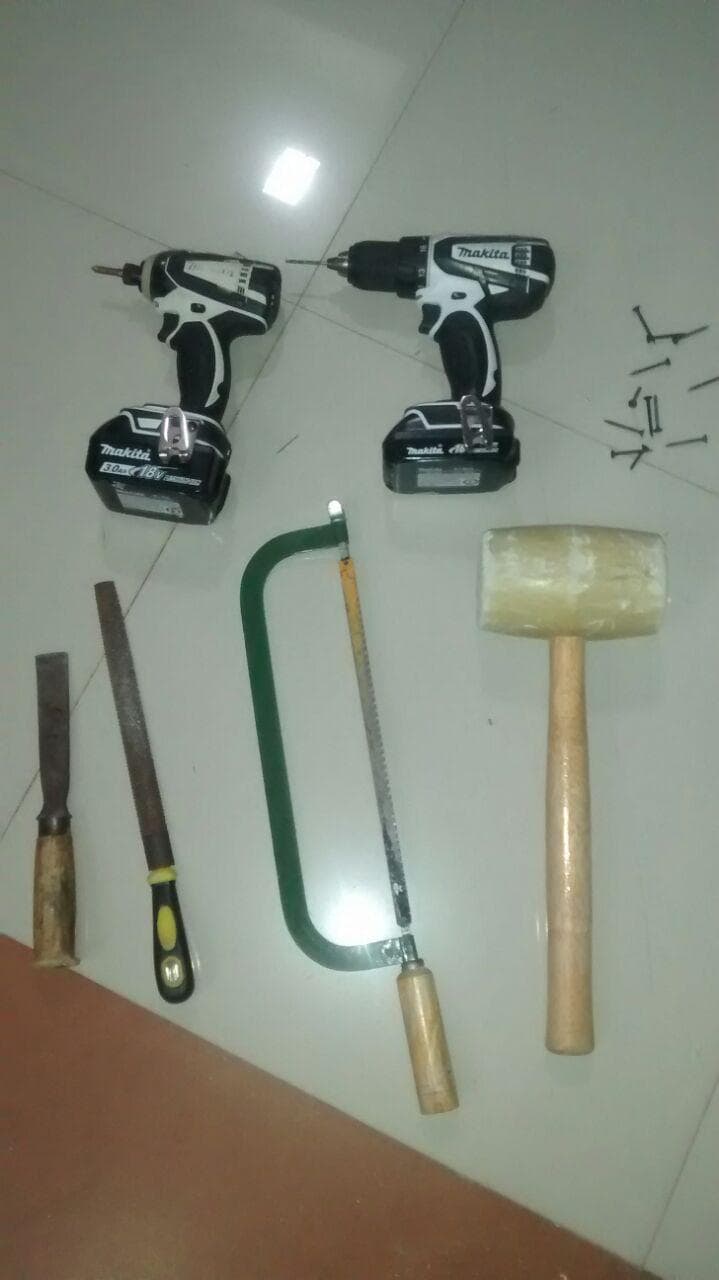
Tools Used
Hand Drill
Screw Driver
Hammer
File
Bill Of Materials for the Project - De-Humidifier
Thermoelectric Cooling Peltier Plate Module - 150 INR
Heat Sink + Heat Sink Paste(Thermal Paste) + Mini-Fan - 400 INR
Relay Switch - 150 INR
LCD Display + I2C Module - 350 INR
This cost me around 1050 INR which is around 16 DOLLARS
Board Components, Sensor, Plywood, Acrylic Sheet and 12V-2A PowerSupply was provided by the LAB which I think is around 30 Dollars
The total cost for my project will be less than $46 (<2700INR)
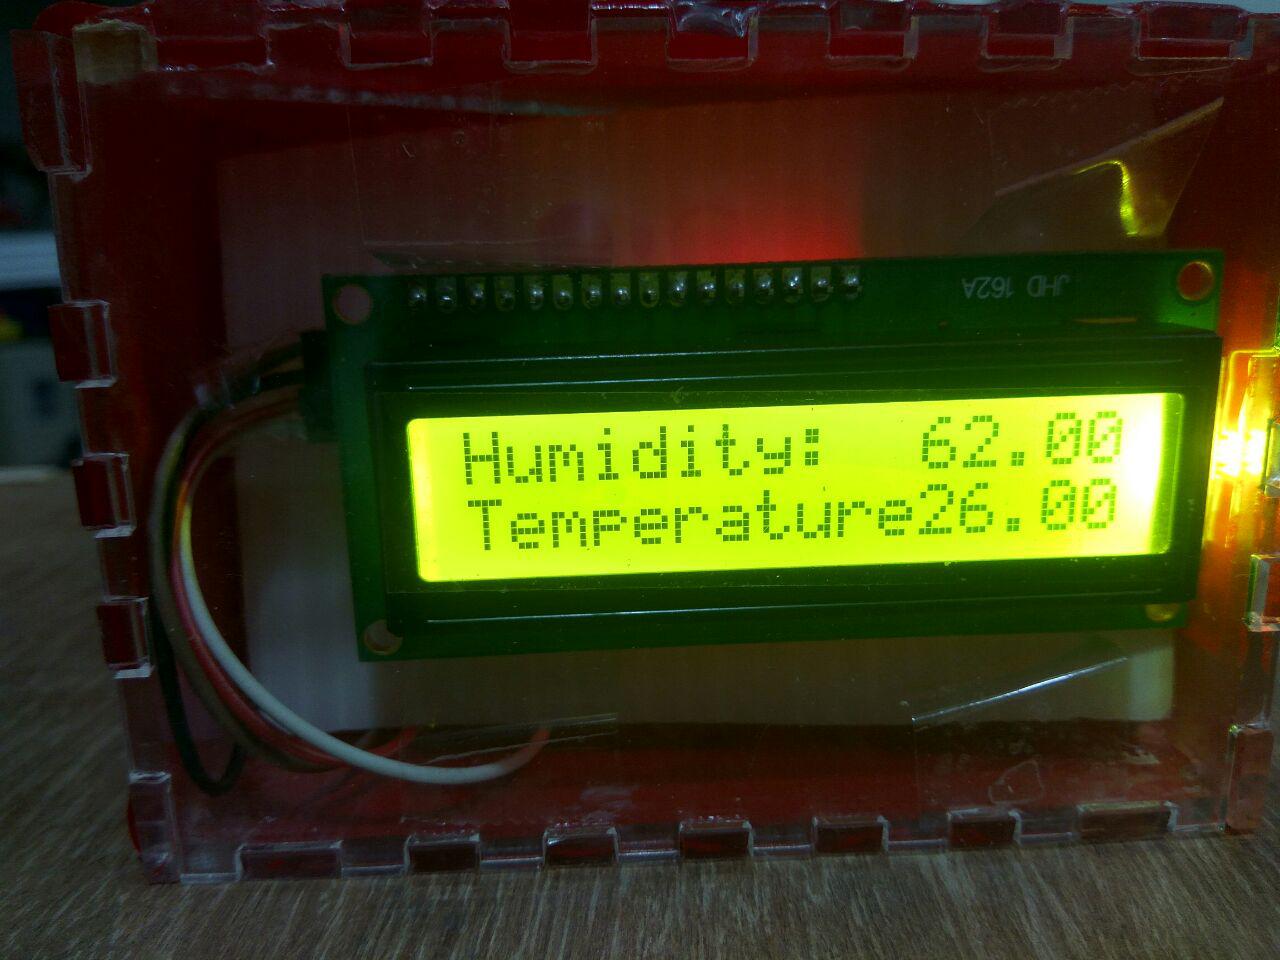
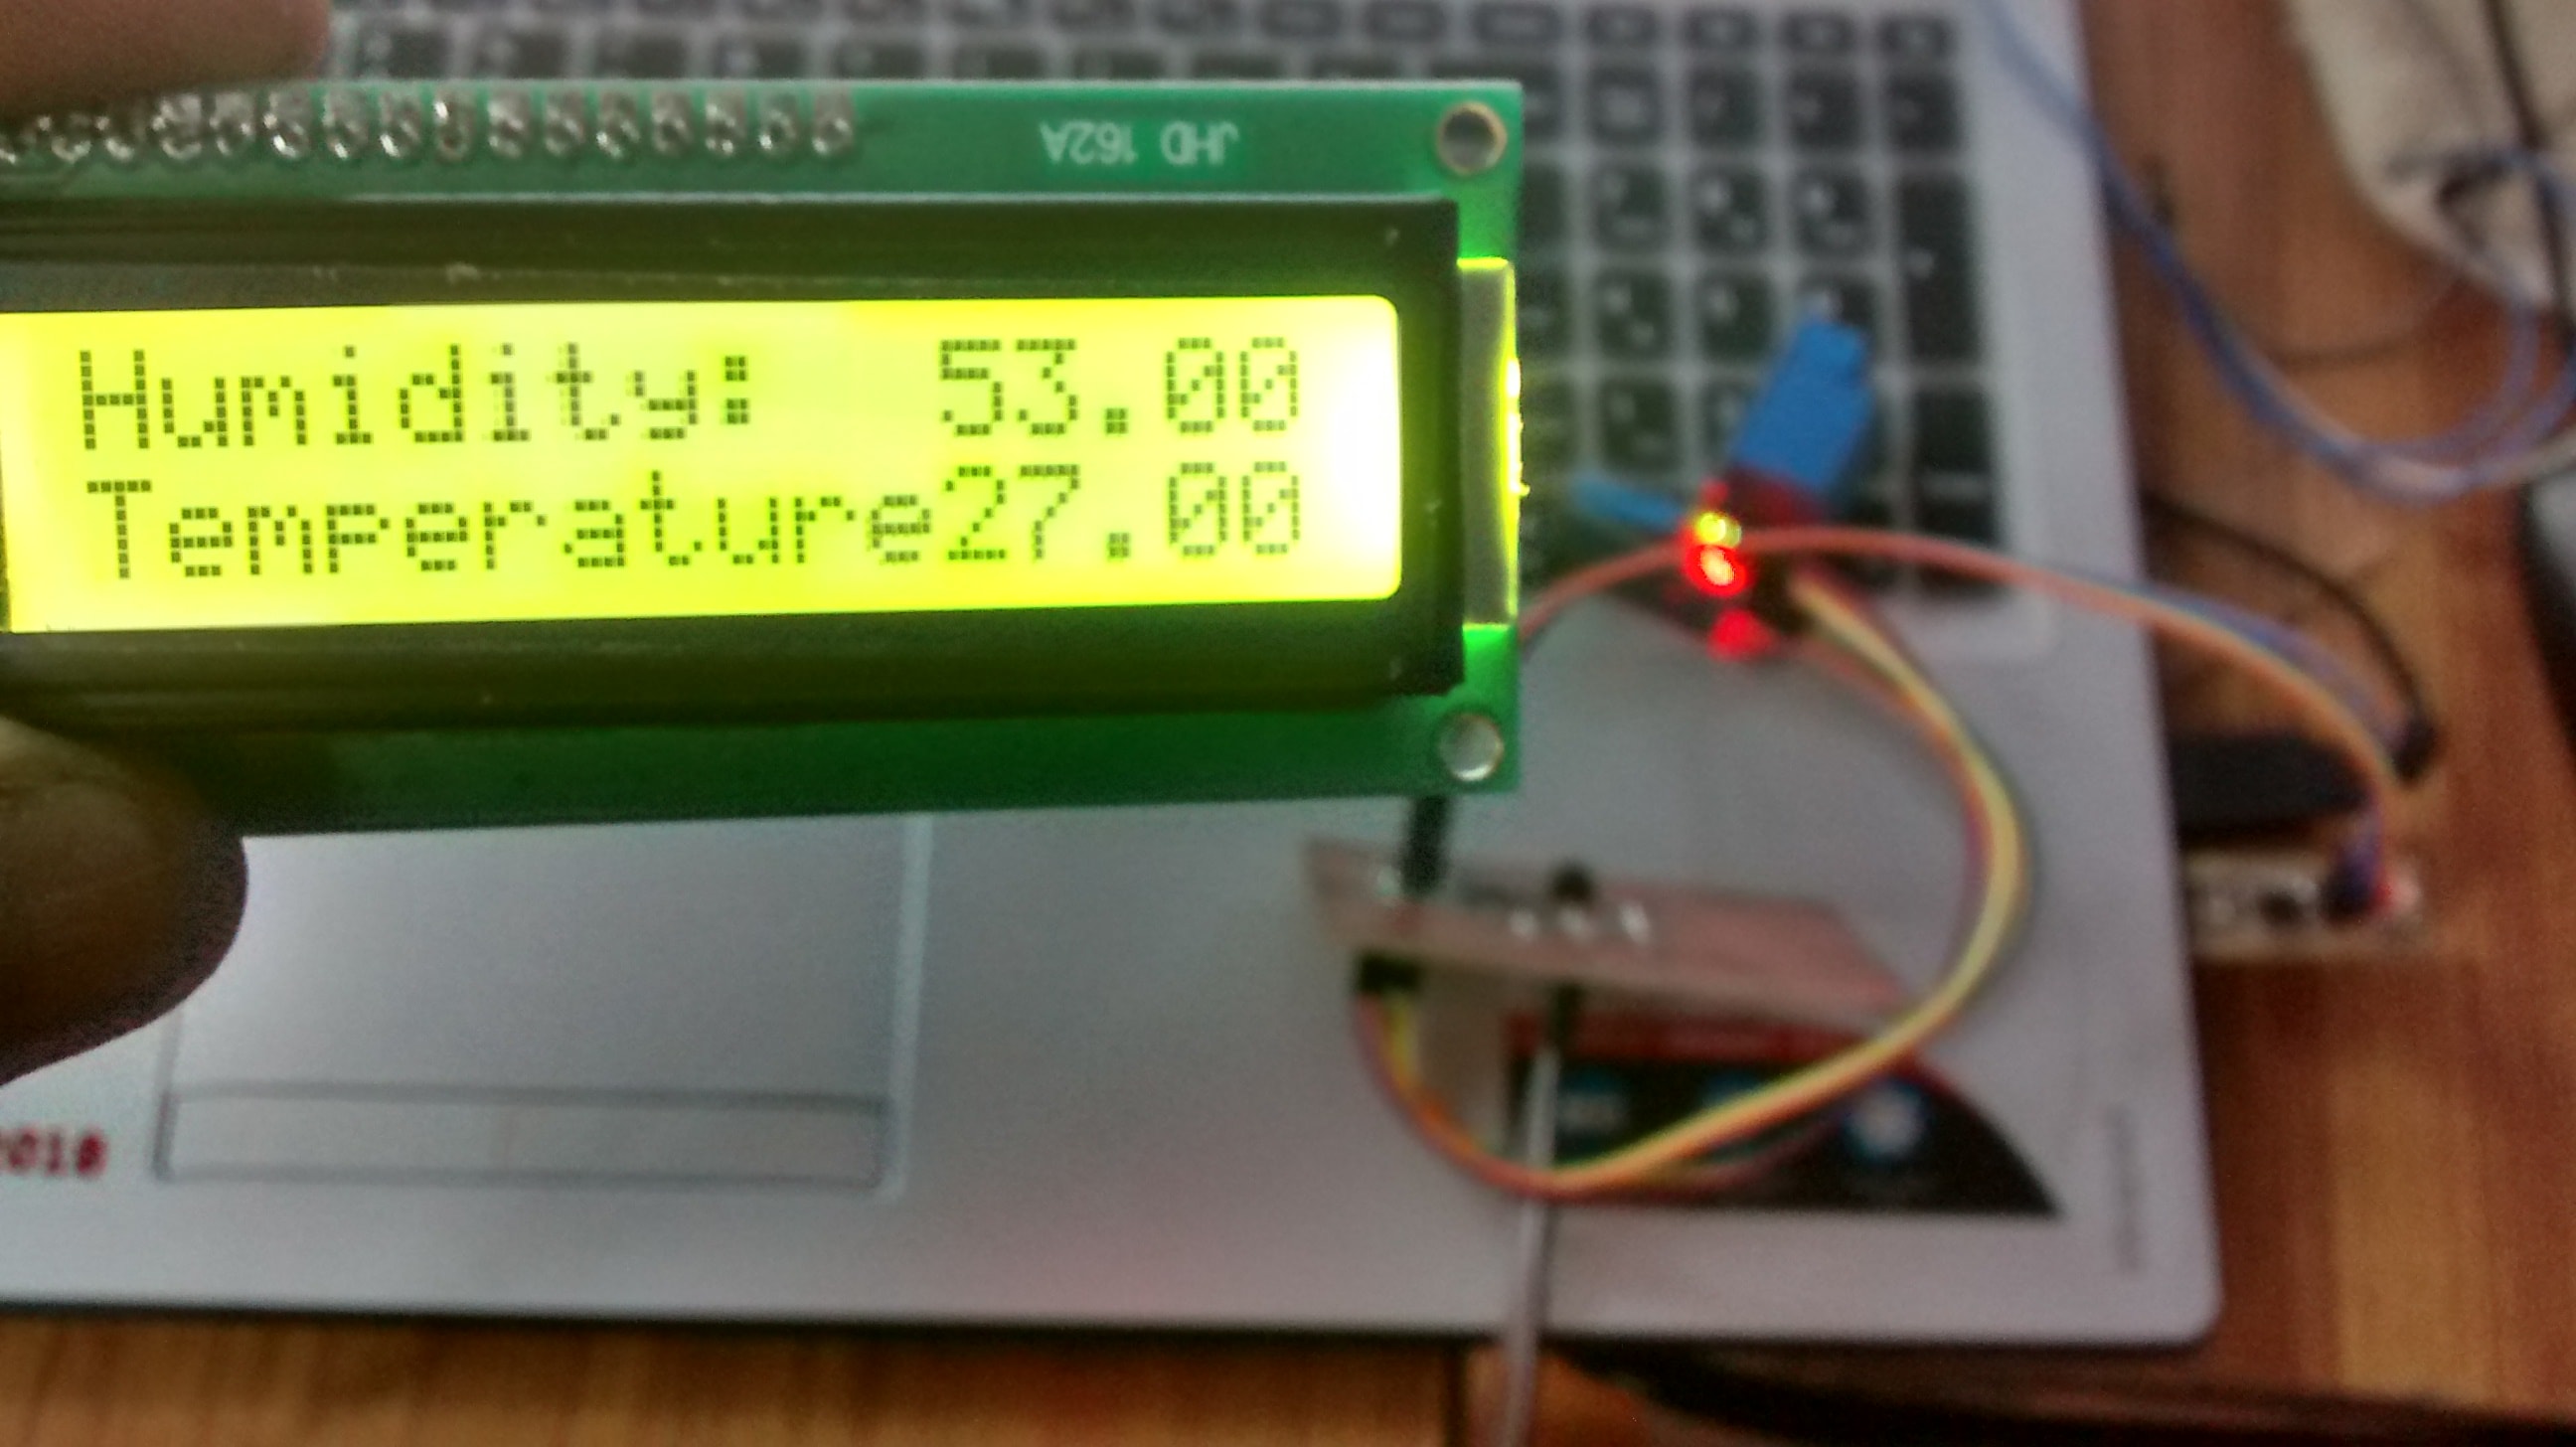
Testing the DHT11 Sensor and LCD Display working
I wanted to test, If the sensor and LCD is working fine.So I connected and programmed them to findout how it responds
Seems its working FINE
Working Code for Sensor and Display it on LCD
I wanted to test the sensor as well as the LCD Display.I also wanted to see how the data is displayed.
Assembly of my Project
1. First thing I did was insulate the 2D design that was machined by shopbot. For insulating I used local Adhesive Synthetic Resin.
I was very keen to keep the PLA storage air tightened.Inorder to get the accurate temperature and humidity inside the PLA storage.
2. Then I fixed Thermoelectric Cooling Peltier Plate Module to HeatSink which was connected to a fan. I gave an extra layer with Thermal Paste in between Thermoelectric Cooling Peltier Plate Module and HeatSink
I heard that the Thermal Paste tansfers lot of heat.When I tested the peltier cooler module,One side was cooling and the other side was getting hot.So that Hot temperature should not be allowed to stay on that cooler module.So I used Thermal paste to transfer the heat to the HeatSink.And for extra guarentee I had used a Fan attached to HeatSink, so the fan would take out the heat that is converted to the heatsink.
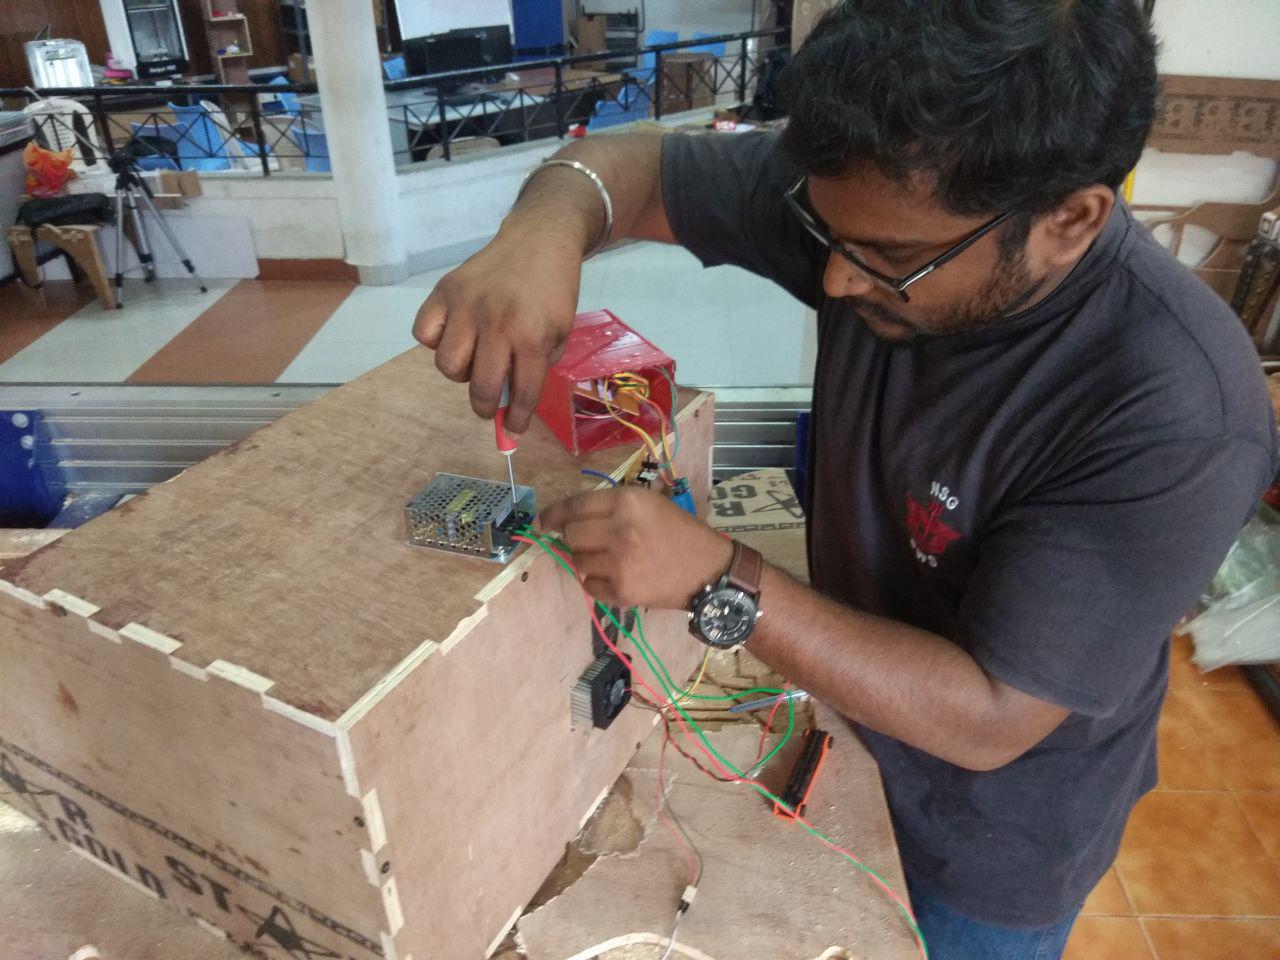
3. Wire Connection
Board Connection - Sensor
Board Connection - Relay Switch
Board Connection - I2C LCD Displays
Board Connection - Regulator
4.Power Supply to Board via "Board Connection - Regulator"
I forgot to add regulator to the board which I had designed.So I made a small board just for the Regulator,so the input of the board is the
voltage from the power supply which is 12V, and output is 5V which will power the Main Board.
5. Fixing Door
Hero Shot of my Project
SLIDE for the Project - De-Humidifier
Click Here to view my Slide
SLIDE for the Project - De-Humidifier
Click Here to view my Video
Licence for the Project - De-Humidifier
I choose this project to be under license by MIT License (MIT)
Copyright (c) 2018 rinoy.007@gmail.com