COMPOSITES
In the wildcard week we have to incorporate digital fabrication process and do an assignment in any field.Some are like
composites, textiles etc.Composites was my choice.Composites as the name implies is something made up of two or more constituents or materials
of different chemical and physical properties combined together.These different constituents are generally categorised as matrix and reinforcement.
The main matrix materials are fusible polymers,in our lab we are using epoxy whereas reinforcement materials can be glass,carbon,natural fibres etc,in our lab we
are using cotton cloth,burlap etc.
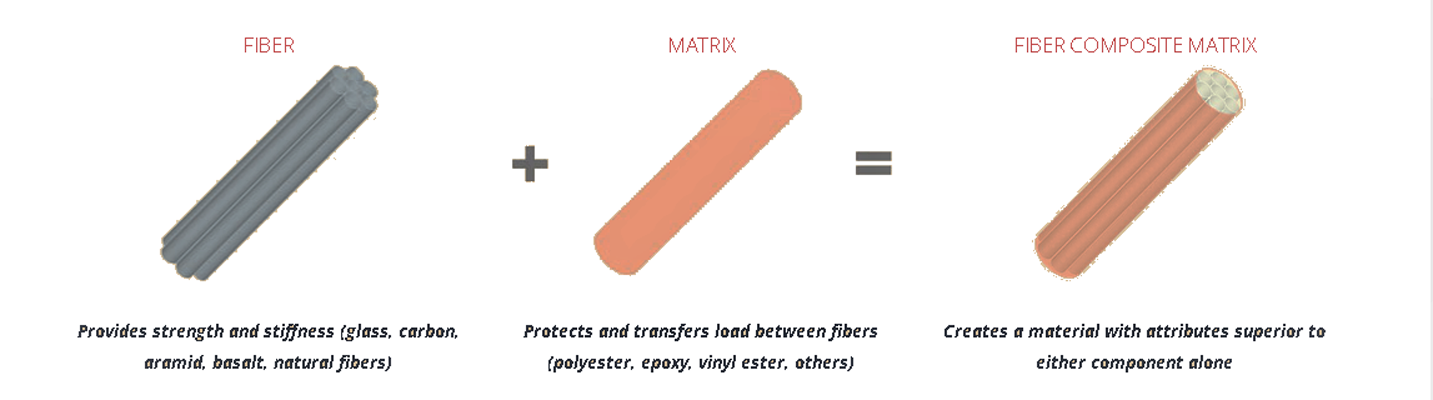
how composite works
The main advantages of using composites are high strength to weight ratio,lightweight,high impact strength ,improved stiffness and thermal and electrical insulating properties.
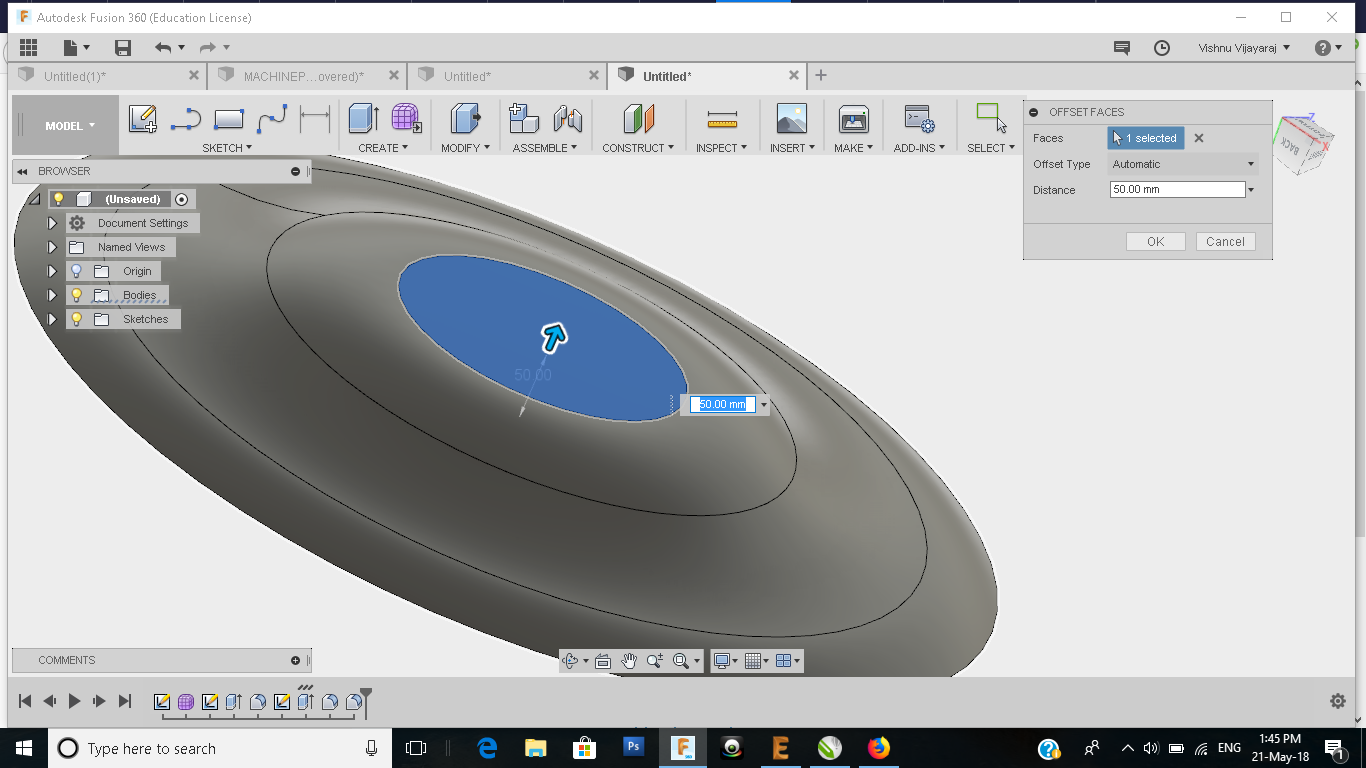
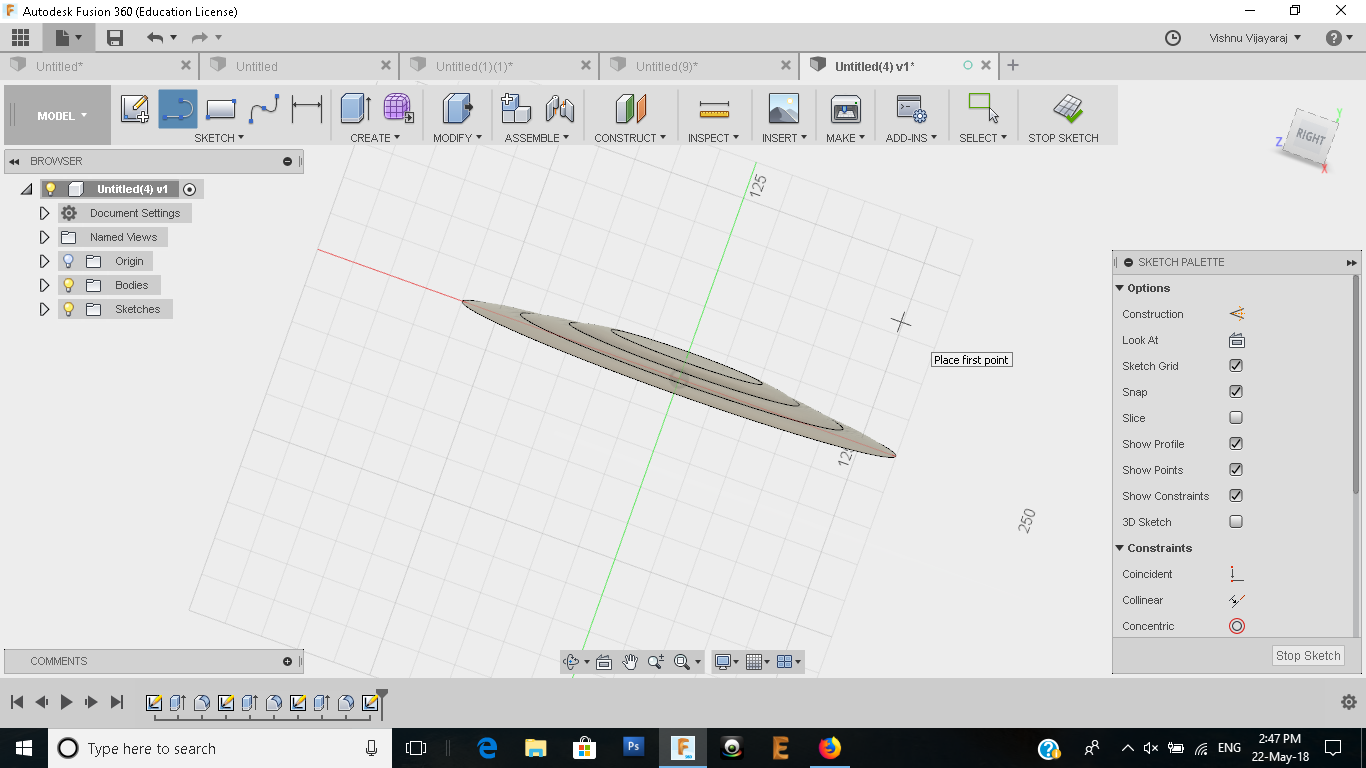
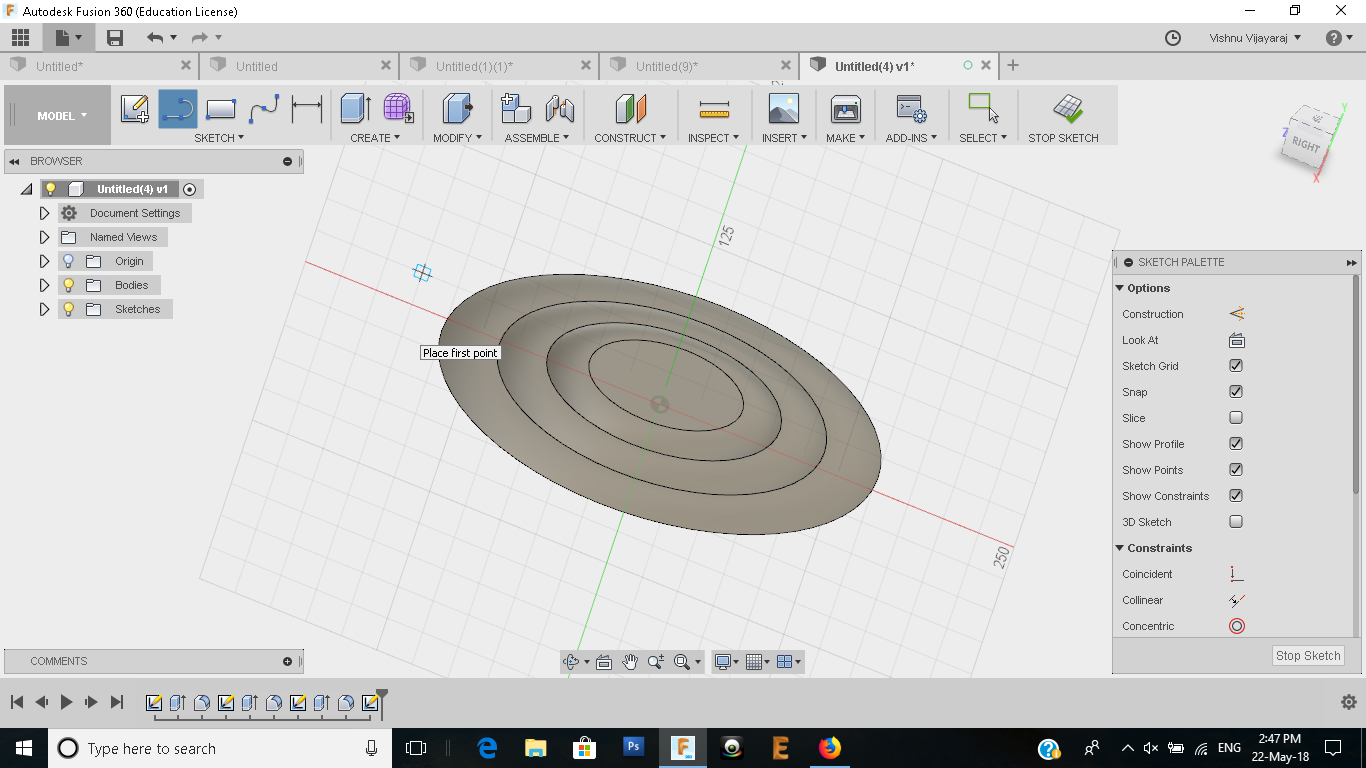
Designing of Sheild
There are a lot of cool things we can make using composites like aircraft wings,skateboard,fan,boats and so on.I was really having a confusion about what to make and finally
decided to make a shield-(captain america shield was the inspiration).So as usual started the designing in Fusion 360.Designing part was rather easy and the screenshots are as follows:
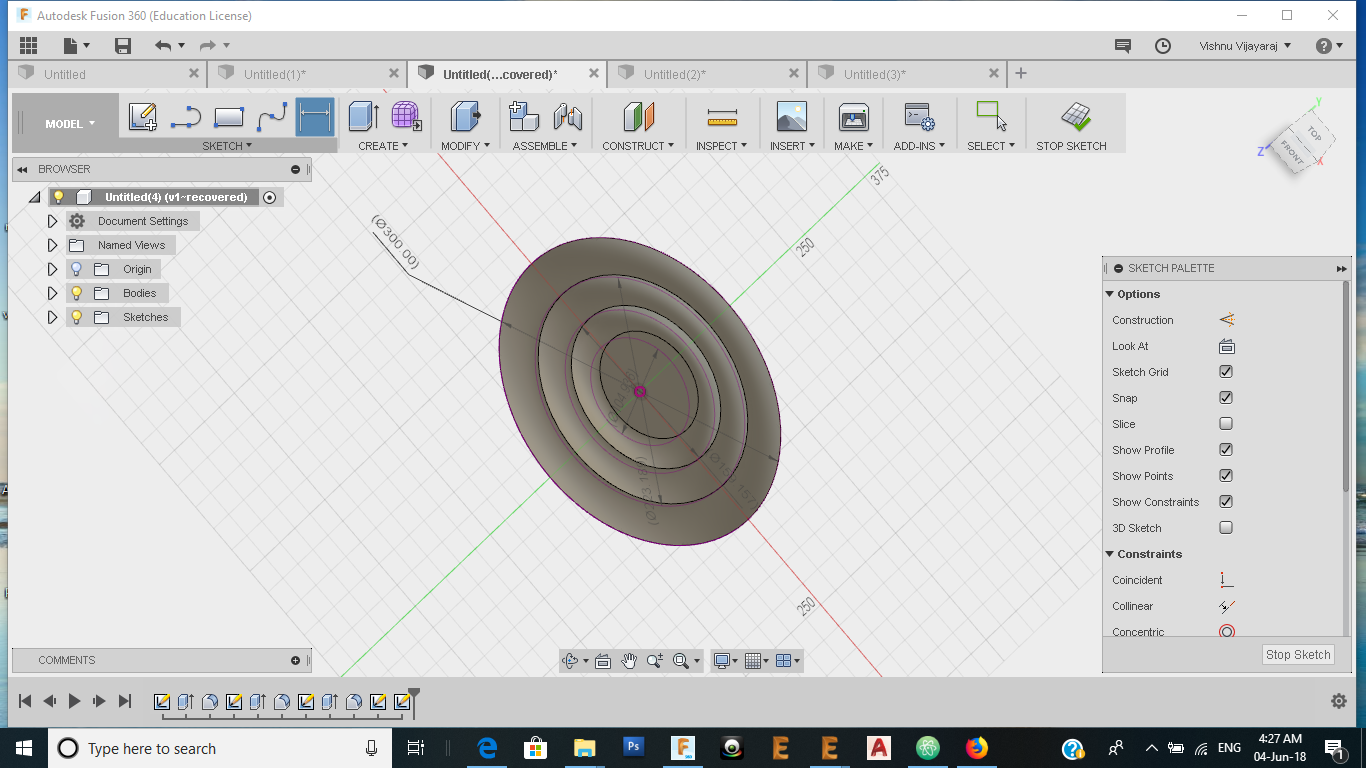
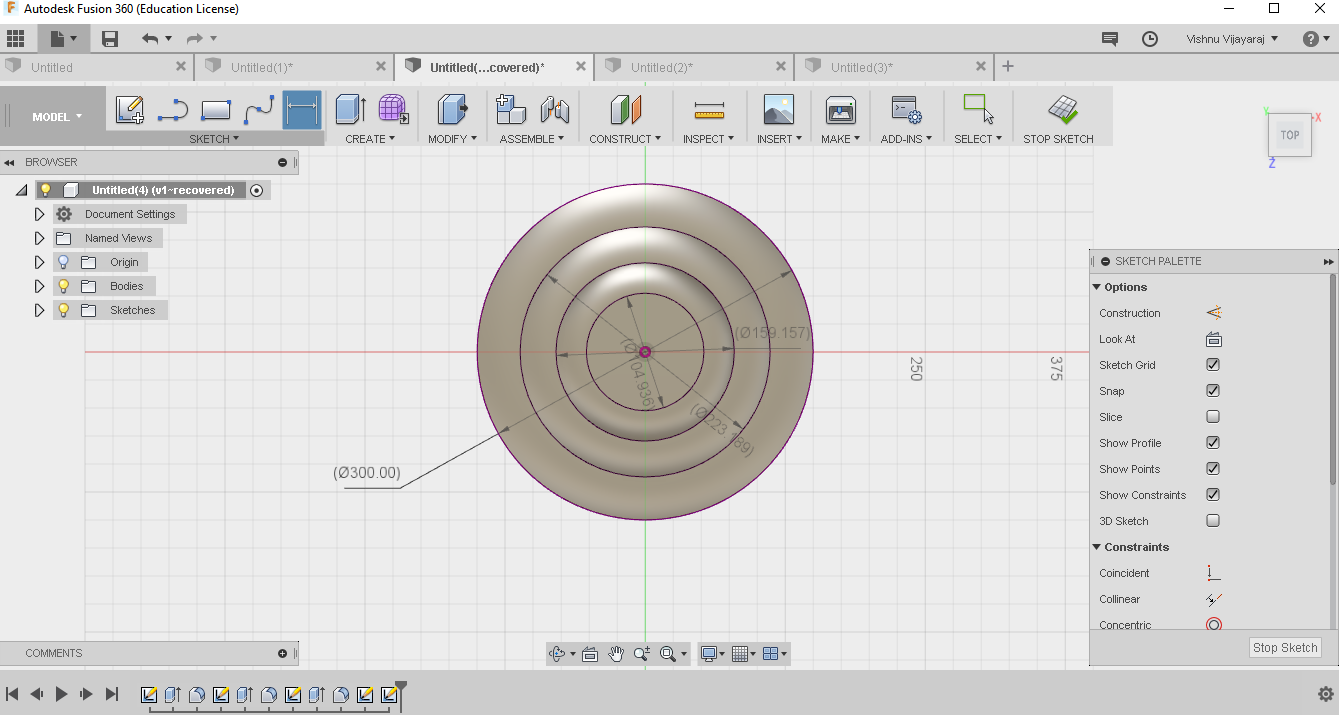
Designing of mold
Partworks3D
Shopbot works on g-code.For generating the gcode we have to use a software called Partworks3D.So the first step is to export our 3d design in .stl formal
and open it in partworks.In partworks we have to undergo 7 steps to create the gcode for machining using shopbot
In the first step the .stl file opens in partworks and we can set the model in orientation.We have to set the top surface and also if we want to rotate we can rotate the model
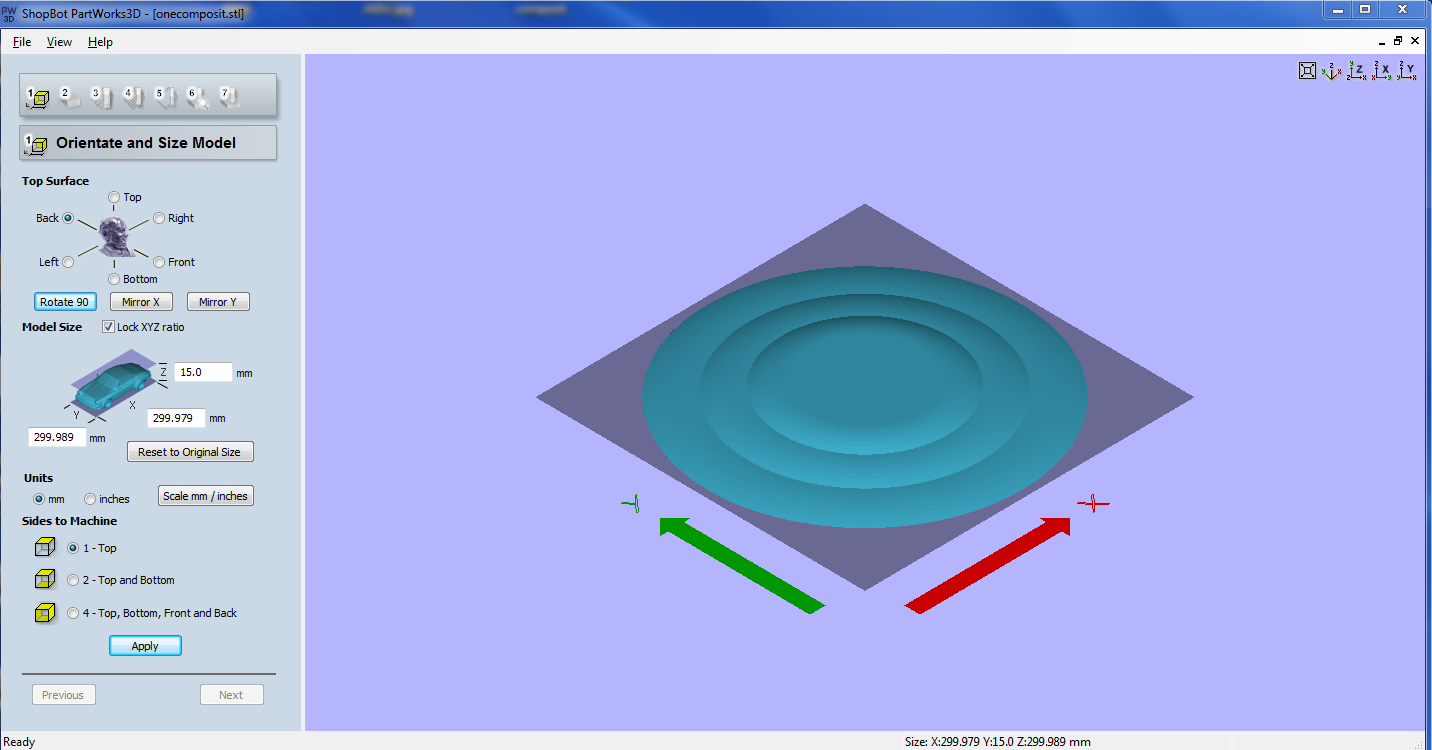
SETTING ORIENTATION FO MODEL
In this step we can have an edit on the material size.The size of the model is auto set from the .stl file in the previous step.now we can give the dimensions of the material.by default it assumes the same dimension of the model.We can also add tabs to the mould in this option.Always check and make sure the material size is never less than that of model and also the note the orgin point.
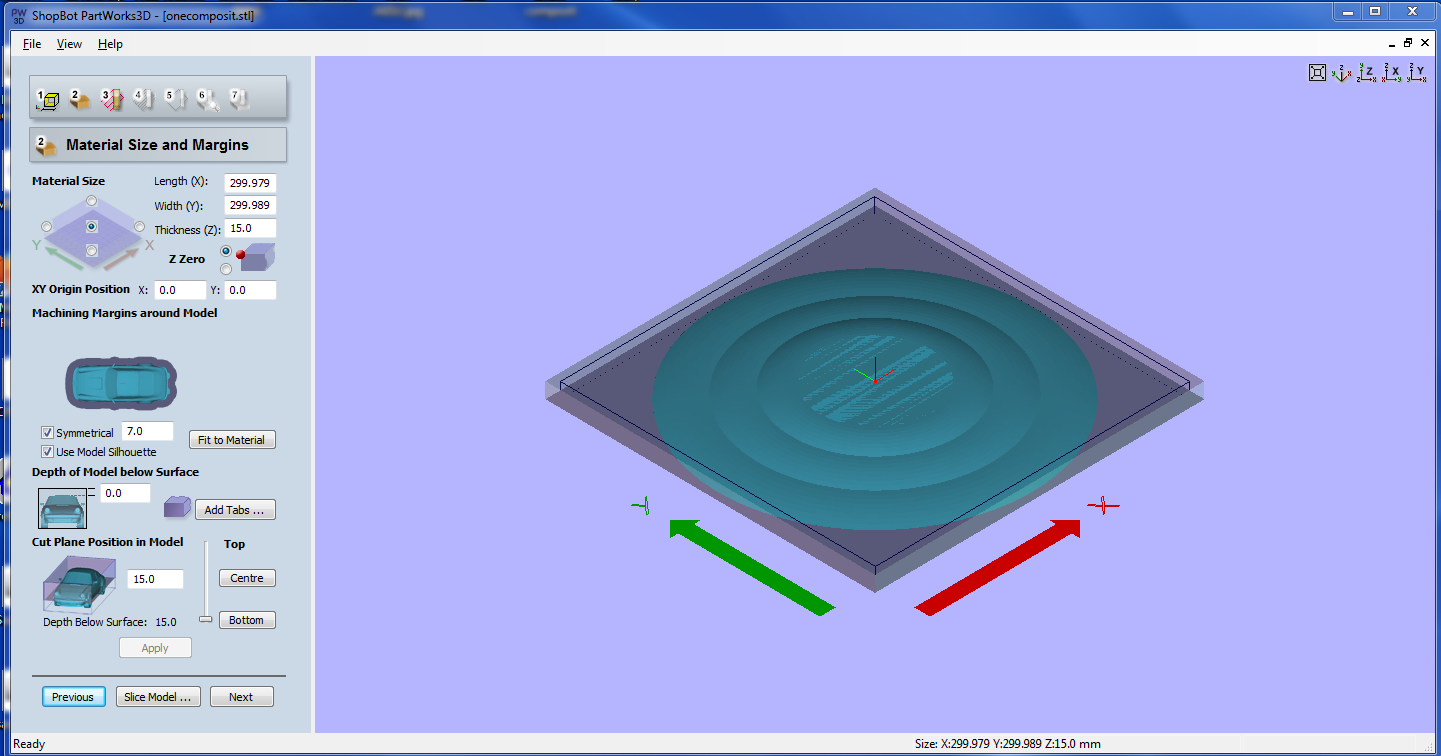
MATERIAL SIZE AND MARGIN
In the next step we have to select the type of end mill for rough cut and we get the estimated time
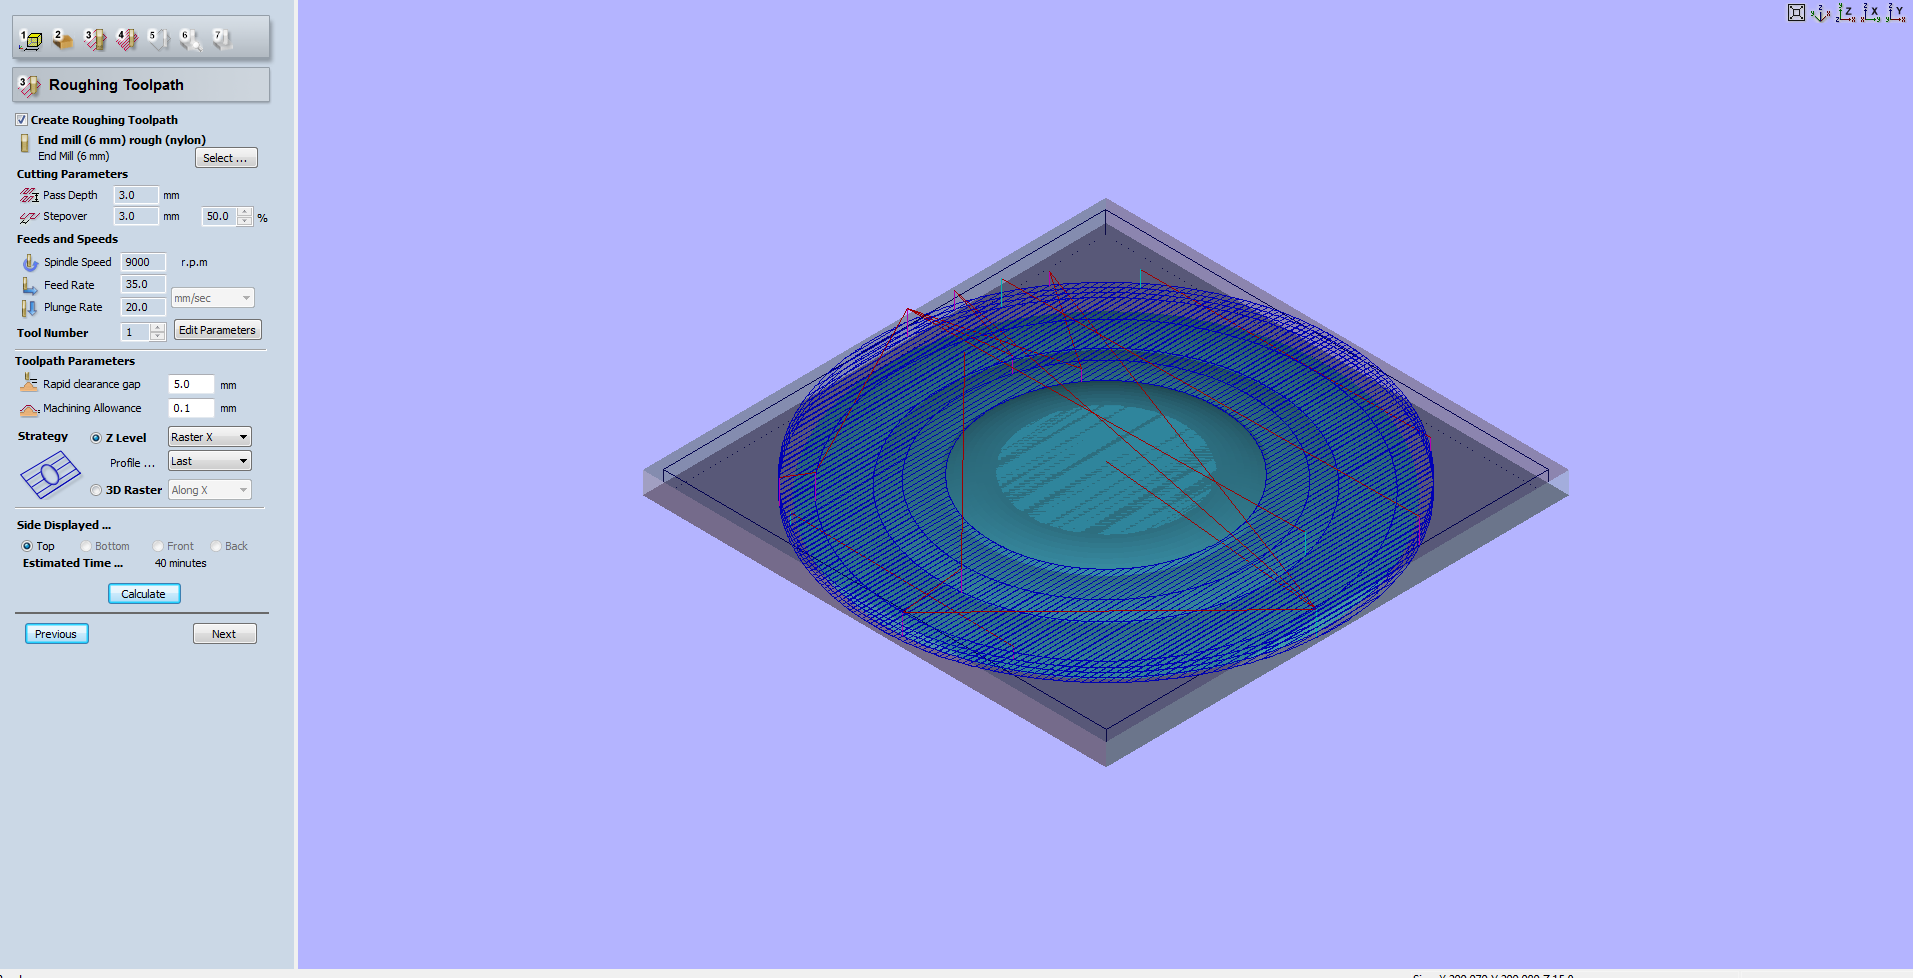
ROUGHING TOOLPATH CALCULATION
In the next step we have to select the type of end mill for finishing cut and we get the estimated time
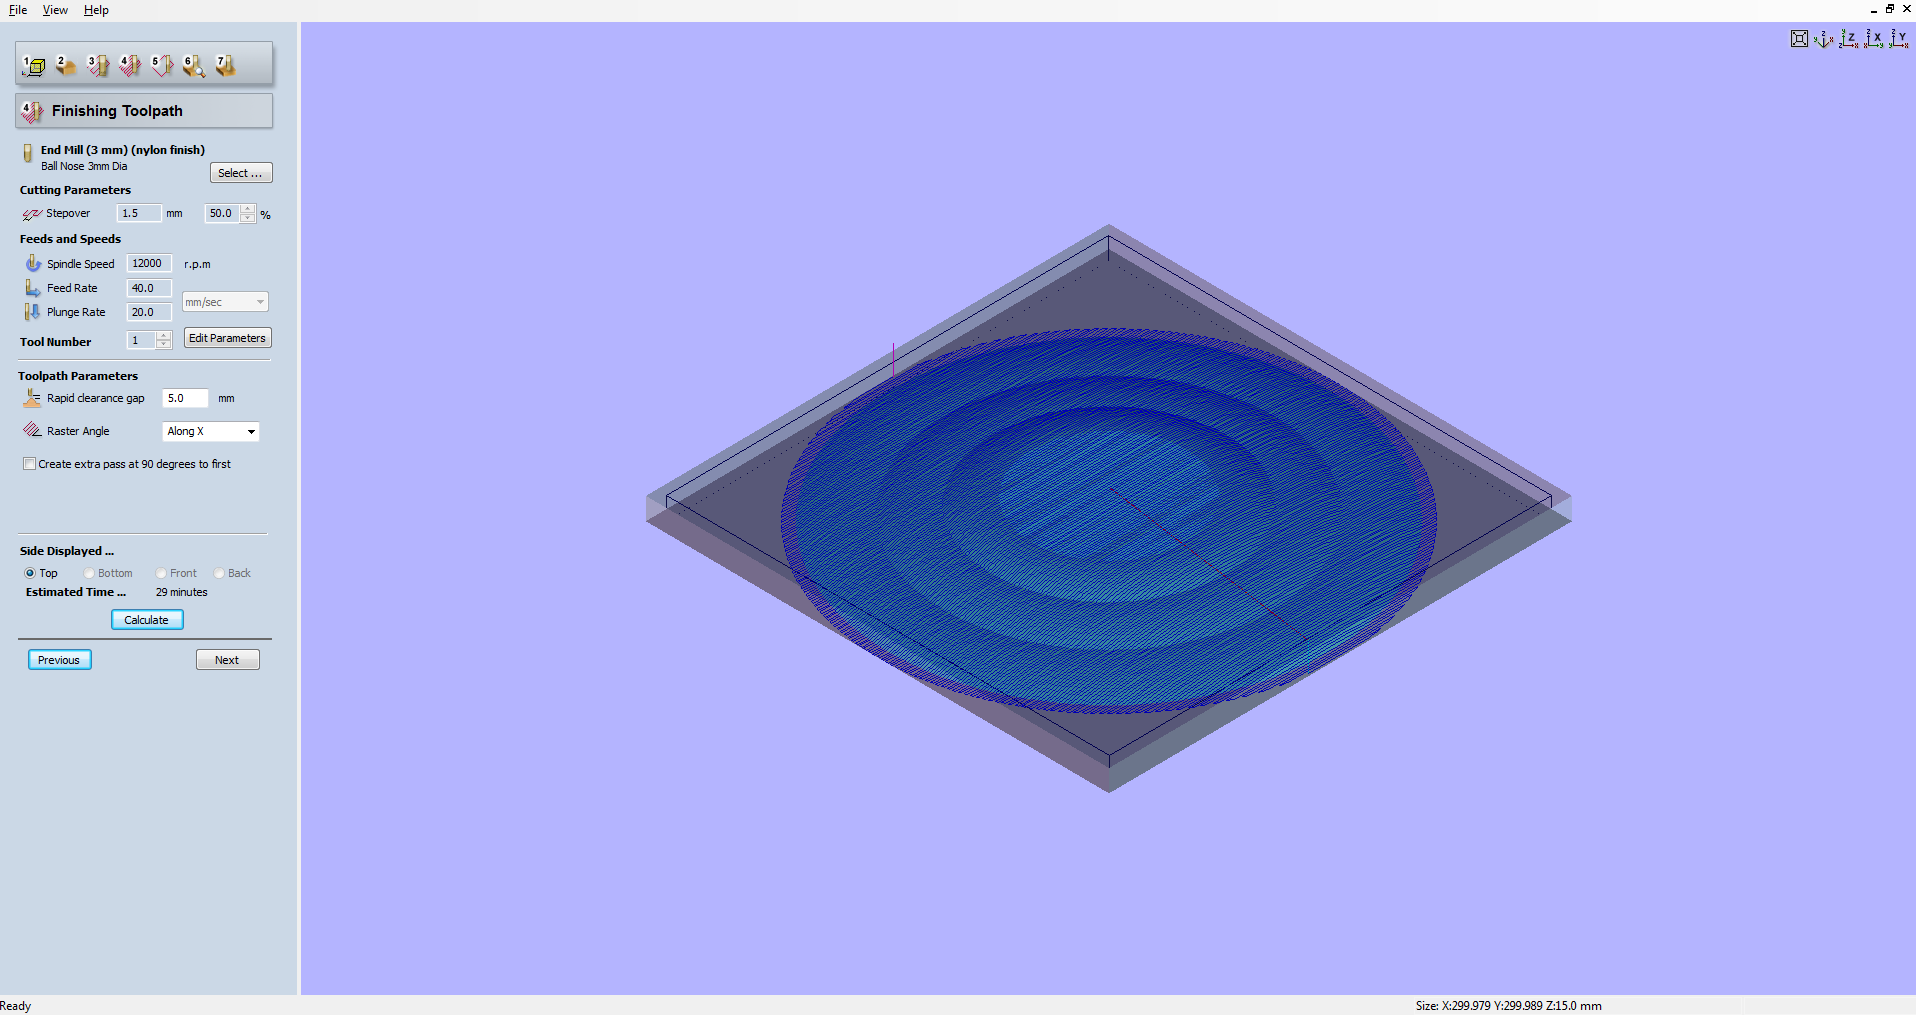
FINISHING TOOLPATH CALCULATION
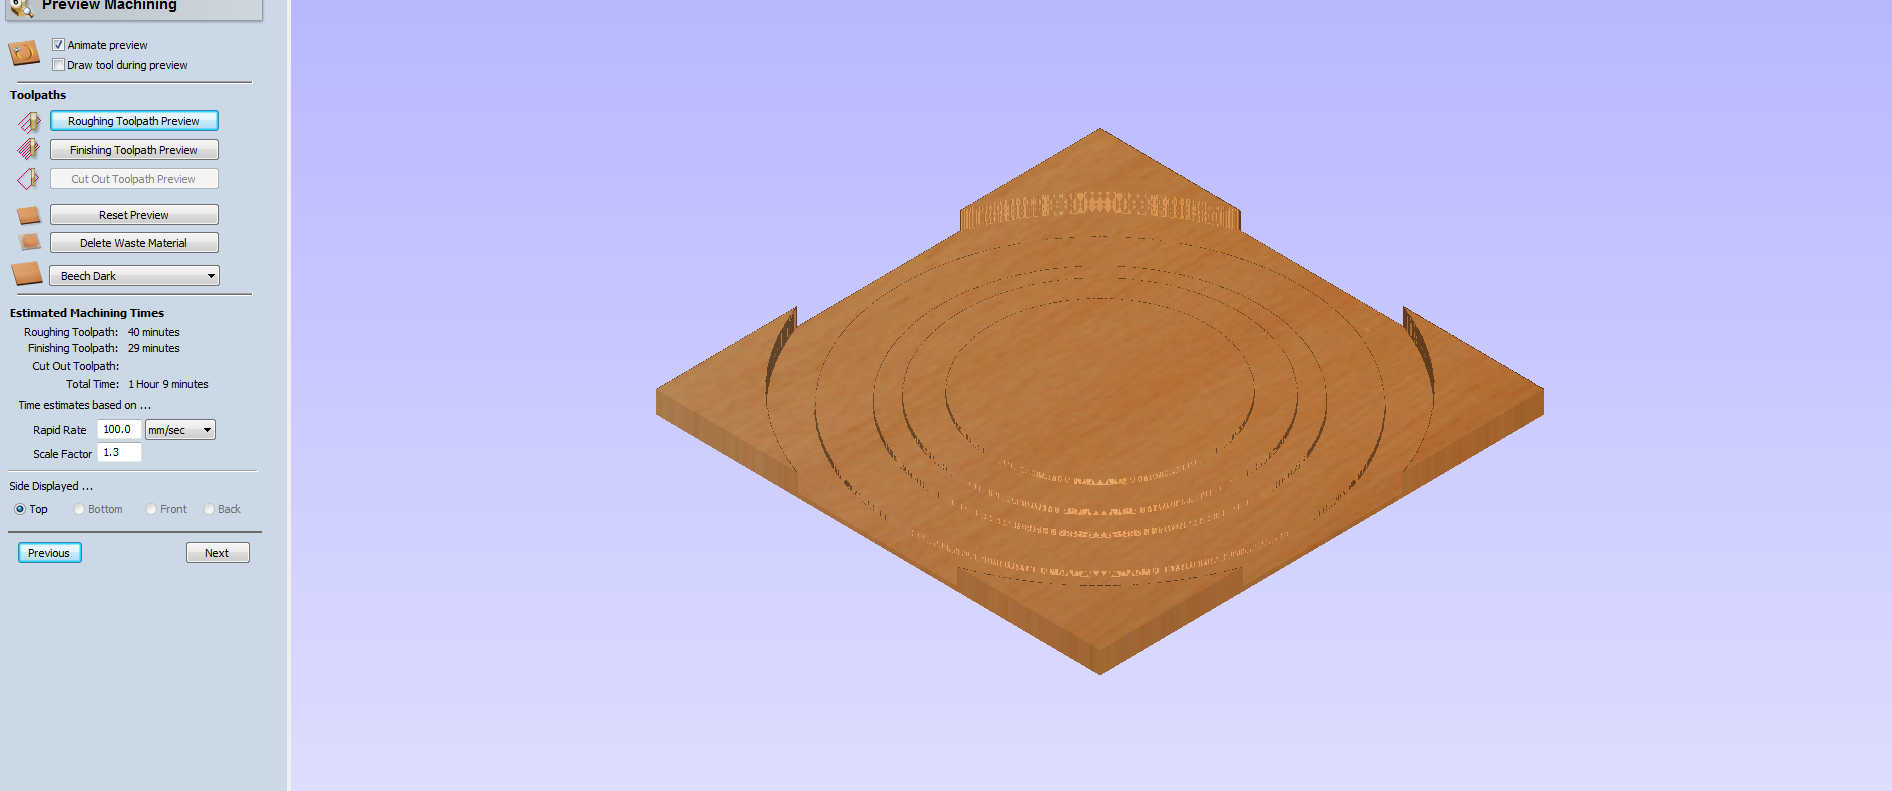
PREVIEW OF ROUGHING TOOLPATH
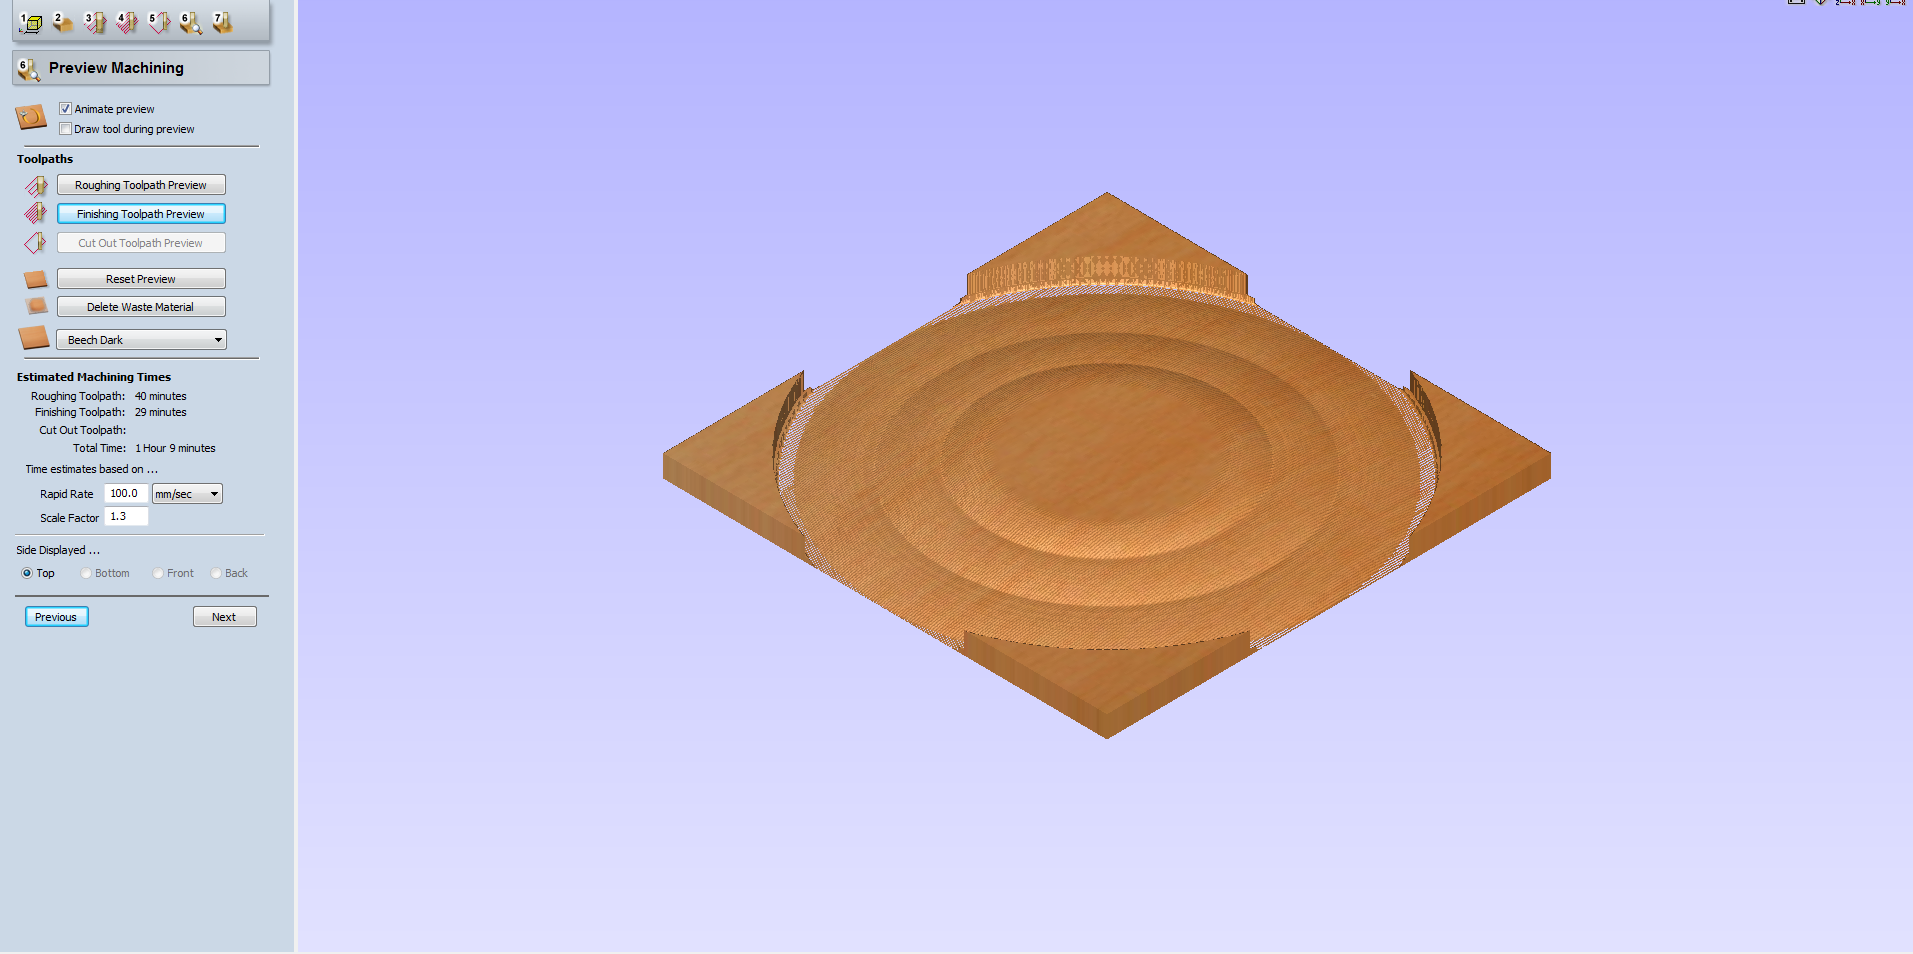
PREVIEW OF FINISHING TOOLPATH
Now this is the last step where we save the toolpaths as .sbp format which is the gcode for the shopbot

Machining of Sheild
For making the composite we have to make the mould of the model first.In my case I have made the positive mould as this would serve the purpose.The projection was
less than 18 mm so I got a piece of 19.5 mm plywood from the scrap serving my sheilds dimensional needs and started to machine it using shopbot.To know more about shopbot settings refer my
computer controlled machining ddocumentation
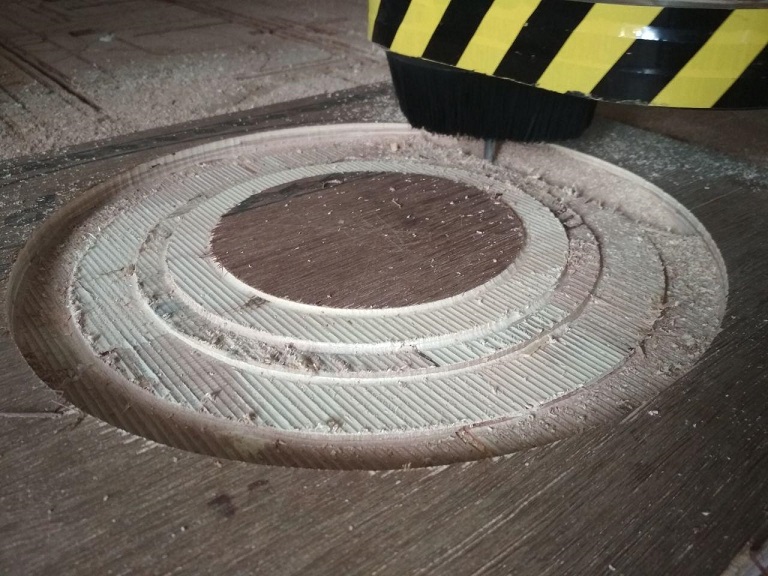
rough cut finished
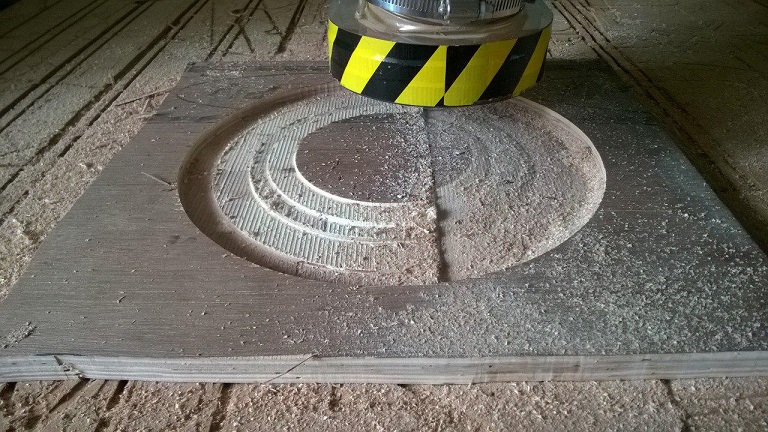
finish cut in progress
Composite set-up
So the first step in composite set up was to give a coating of cellotape to the plywood to make sure that the composite does not get attatched to the plywood.
I also drilled two holes and inseted two bolts along with a washer to get a grip to hold the sheild.I used vaseline inside the drilled holes to prevent the bolt getting attatched to the plywood.
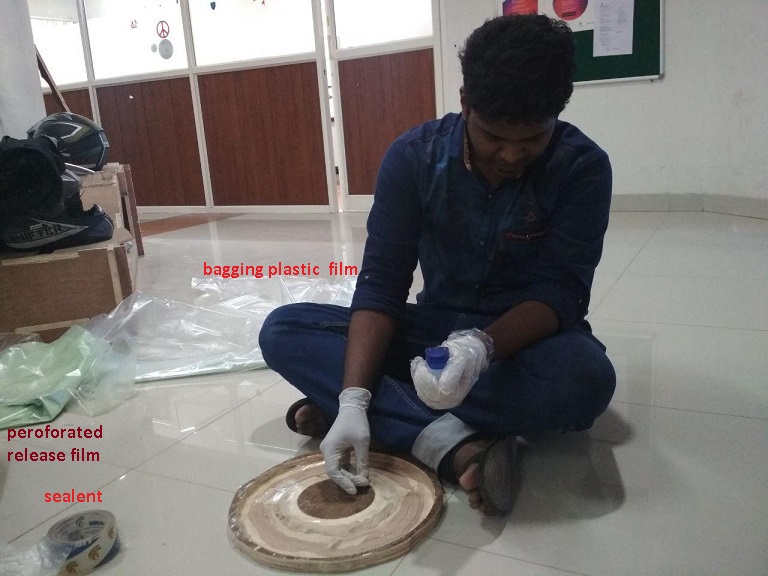
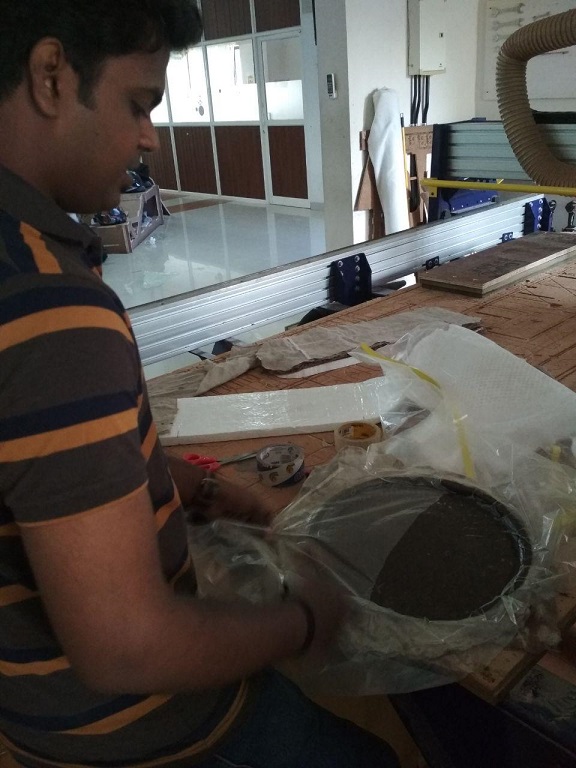
After finishing the coating, the next step is to make the vacuumbagfor the vacuuming purpose.This is to ensure that no air is entrapped between the reinforcement layers.
Makinh the vacuum bag should be a careful process such that there should not be any air pockets in the sides ,then the process will not be effective.We are using plastic film and sealents to
prepare the vacuum bag.
Since mine and rinoys model was circular we decided to keep them opposite to each other and use a single vacuum bag.At first we made a plastic bag but it had many air pockets so our
intructor Lancy felix also joined us while making the vacuum bag.

Now its time for me to mix the resin and apply it to the reinforcement fibres.I had used linen cloth as reinforcement.
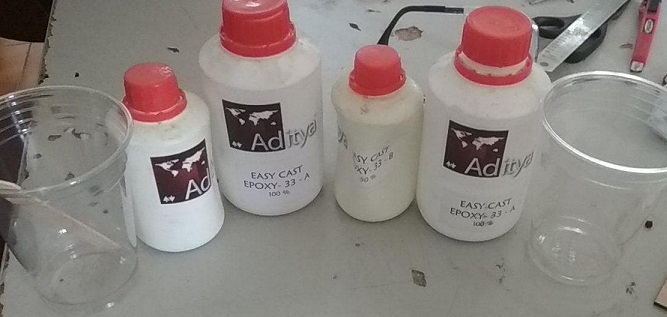
Aditya Easy Cast Epoxy-33-A and Easy cast-33-B
We used Easy Cast Epoxy resin having Part A and Part B which is mixed in a ratio of 100:50 for the matrix. Normally it has a curing time of 24 hoursin room temperature but it can get cured earlier when heated to a higher degree. I had used 4 layers of cloth for making the composite.A mistake I made was that i didnt cut the cloth according to the shape so it was difficult to fix the cloth well in the mold.I then used a sponge brush used for screen printing purpose to apply the resin which effectively worked and was sticking to the sides.
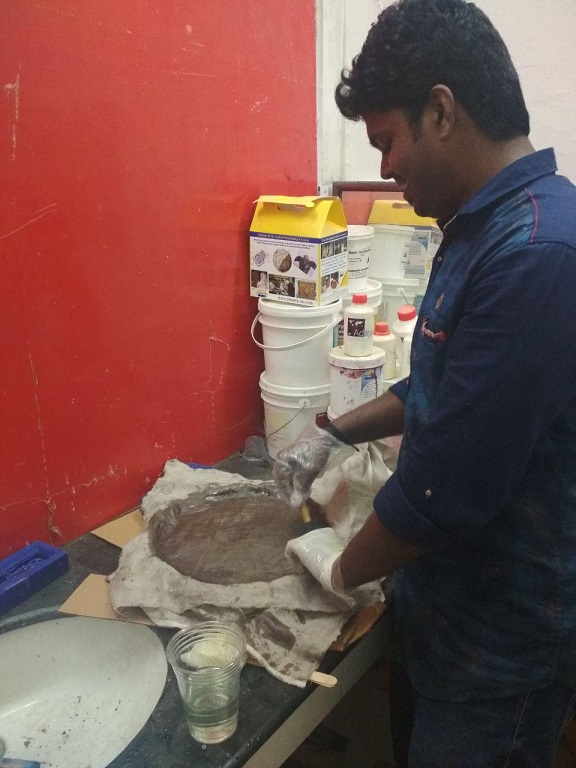
Resin application on cloth
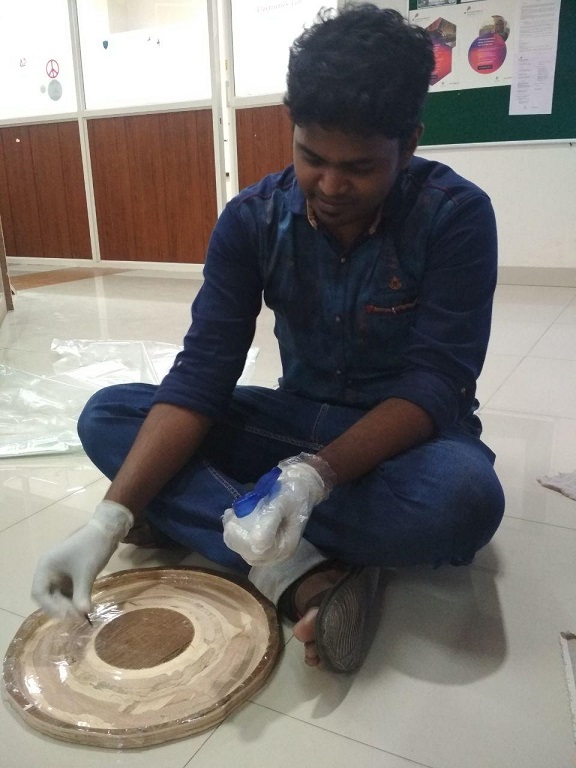
Now everything was set and ready for vacuuming purpose.Mine and Rinoys model was placed opposite to each other and kept in the vacuum bag.A layer of plastic bagging film and breather was surrounded on each mould and the vacuum pump was connected to the bag.The sides of the vacuum nozzle was sealed using sealent and was vacuumed.
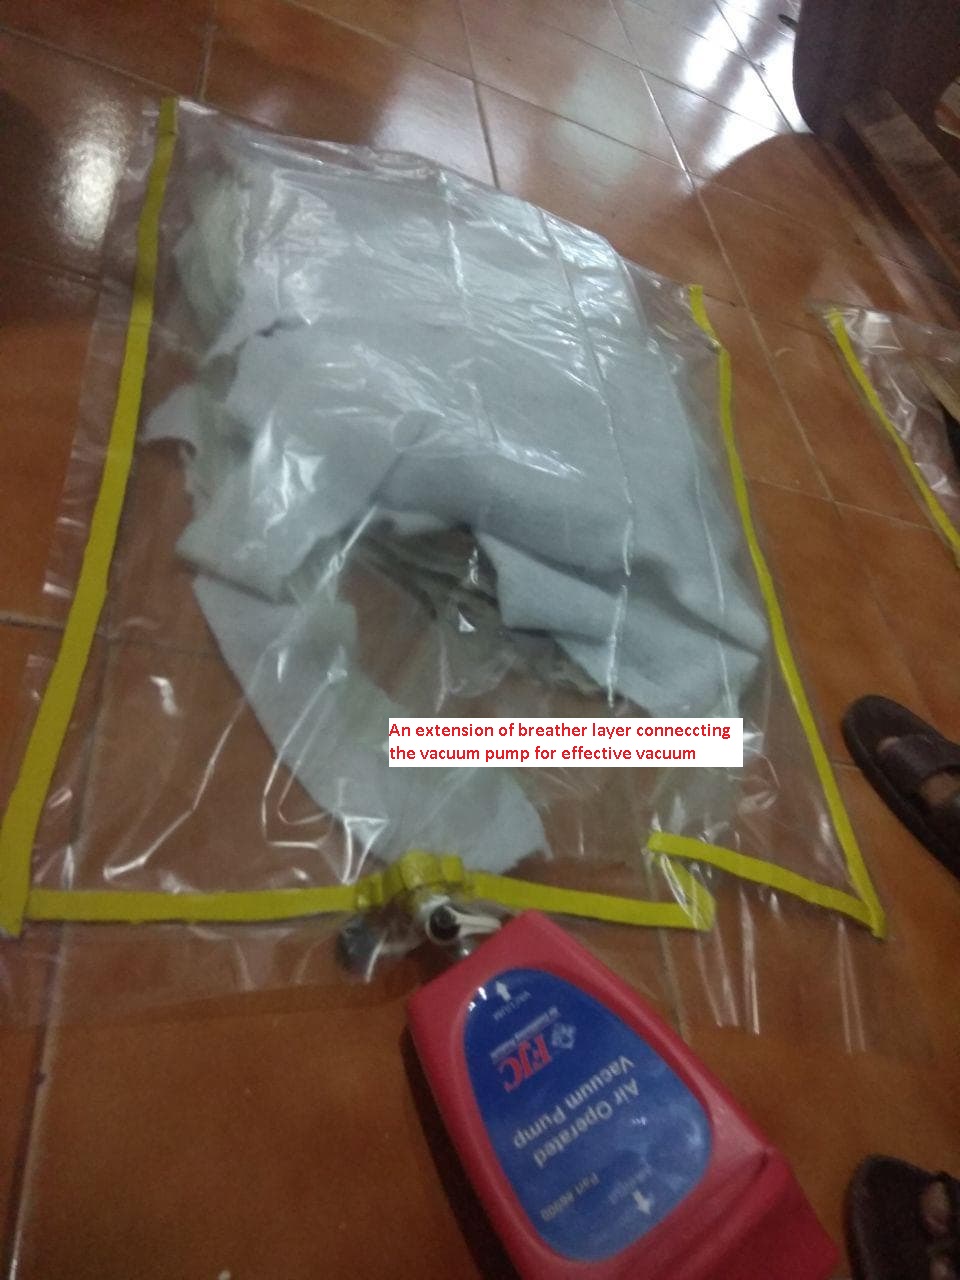
Ready to be connected to the air compressor
After Vacuum process,the mold was kept under load for the whole night.For the bottom mold we used sponge sheets and was placed on sawdust sac such that each mold gets
good amount of compression to set.unfortunately I forgot to take the photo of the load application
It was kept for a whole night and was opened the next day.
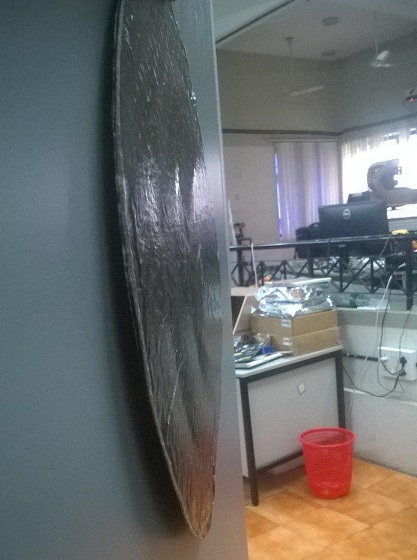
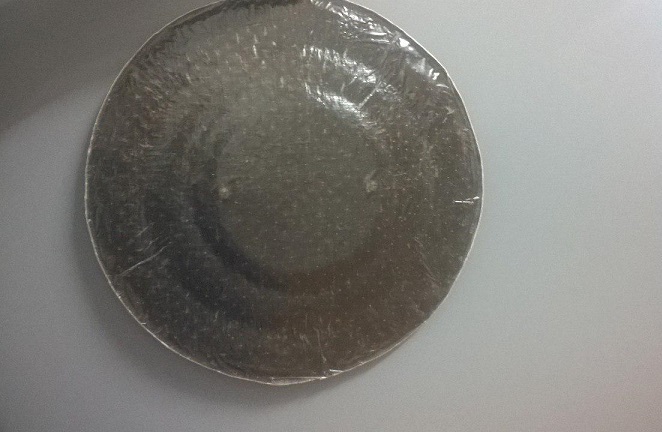
pulling out the shield
The shiled was perfect in shae having good strength.The only problem I faced was that the bolt has fixed to the mold eventhough I had appplied vaseline and I had to carefully pull
out the composite without damage.It was good and I want to apply some vinyl stickers and attach a holder to my shiled.
Shield in action
Shield in action
Group assignment
As a part of group assignment we also did a test run on various combination of composites
We took 3 layers of Jute and 2 layers of Linen to combine with Easy Cast Epoxy mixed in the ratio 100:5 of part A and B.The different combinations we took are:
1. Two layer of Linen having an angle 90 degree and 3 layer of Jute having 45 degree
2. Two layer of Linen having an angle 90 degree and middle layer of Jute having 45 degree and other two layer with 90 degree
3. Two layer of Linen having an angle 90 degree and 3 layer of Jute having 90 degree
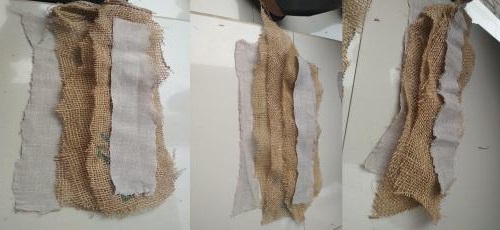
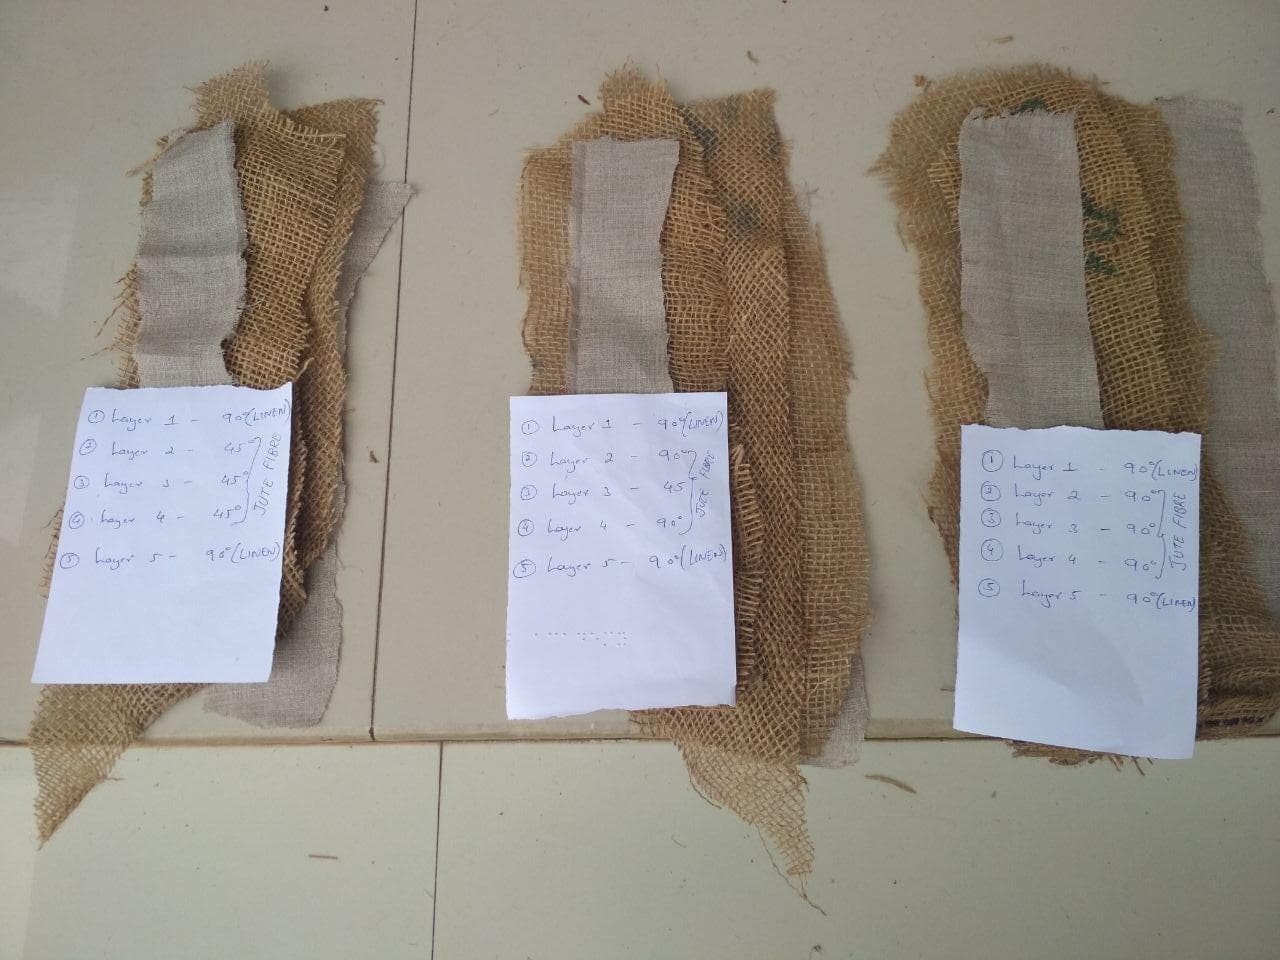
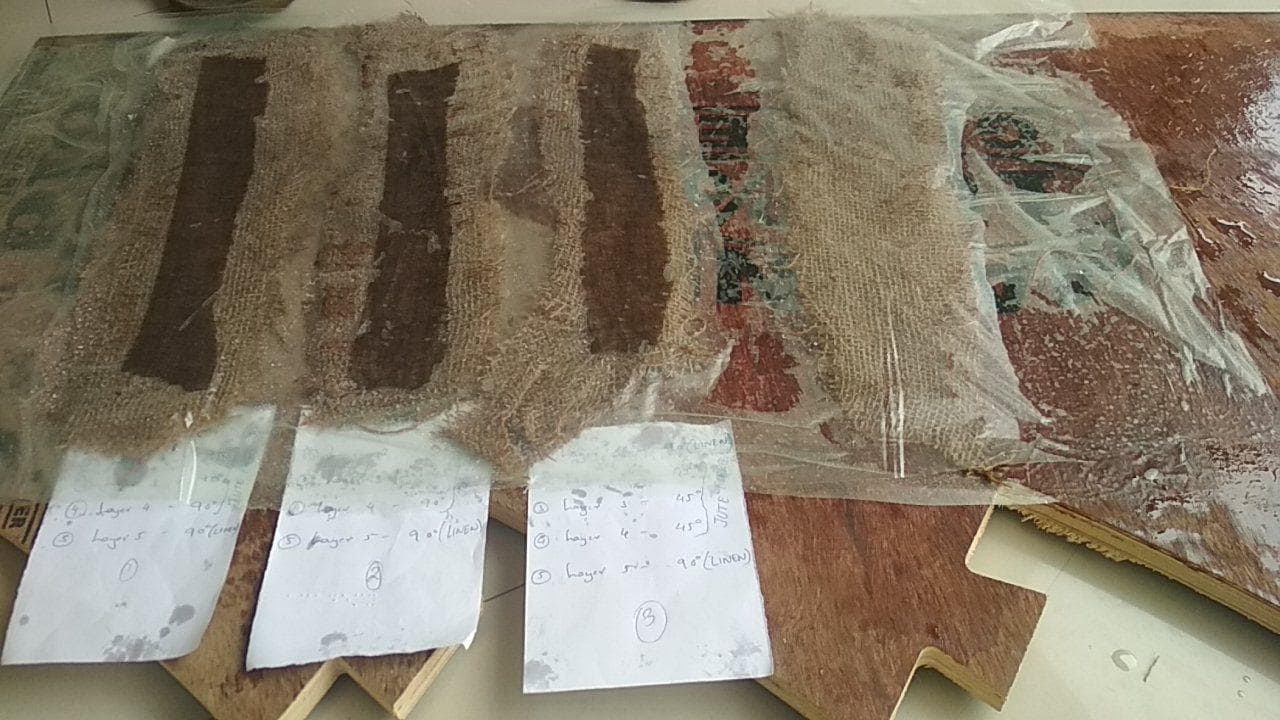
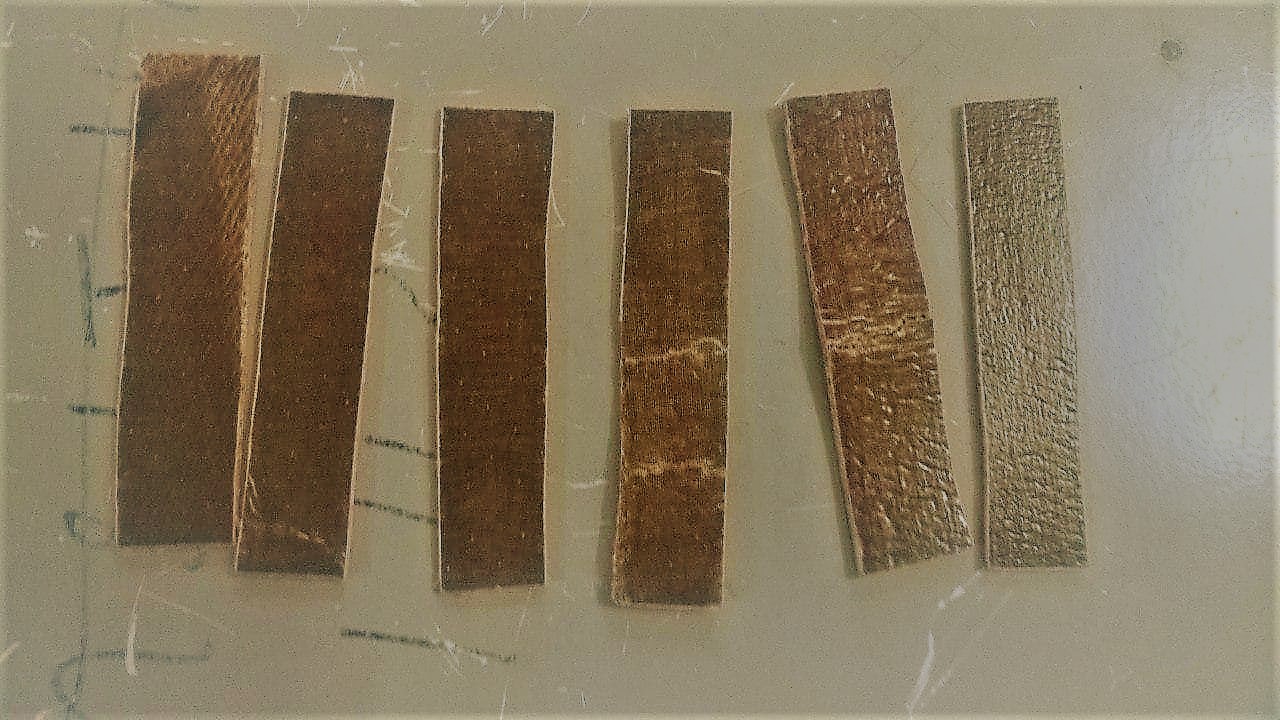
RESULT: Two layer of Linen having an angle 90 degree and 3 layer of Jute having 45 degrees has more strength among the three.