GIT AND REPOSITORIES
According to Wikipedia,Git is a version control system for tracking changes in computer files and coordinating work on those files among multiple people.
It is primarily used for source code management in software development
, but it can be used to keep track of changes in any set of files
.In FABLABS we should have the common folder where we can store
our projects files, the Git is the one which enables us to do so.Following are
steps to get working with git:
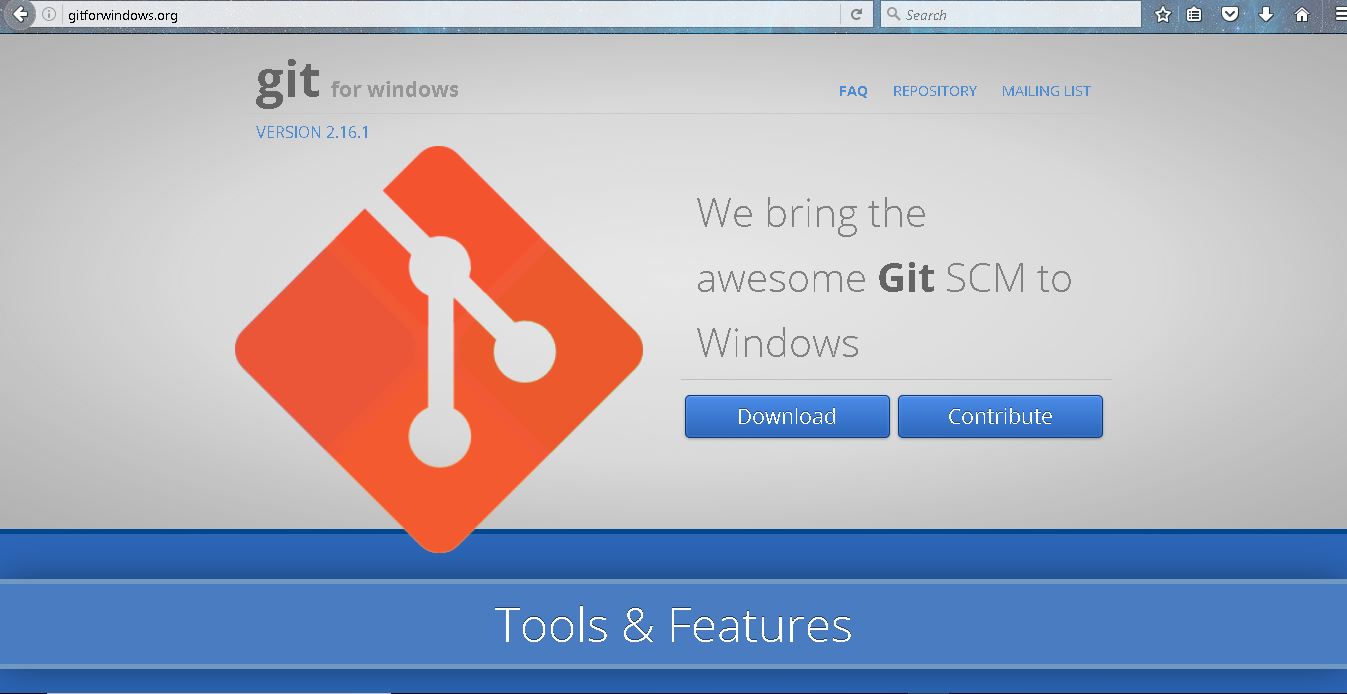
For working on the terminal window as in linux,we need to download another
software known as Gitbash for working in windows platform.
So after creating an account in gitlab and installing gitbash there are basically three main steps: GENERATION OF SSH KEY
Git allows us to work offline(locally) and then push or upload our work to server.For this
SSH keys are to be generated for our pc with which we work locally.SSH key has two seperate keys,
A public key (which you can share freely with any SSH server) and a private key which should be known only to you.For creating SSH key use the following command after opening gitbash. t refers type of encryption while creating the key pair. rsa -b 4096 refers bit algorithm. Now the SSH keys are generated.
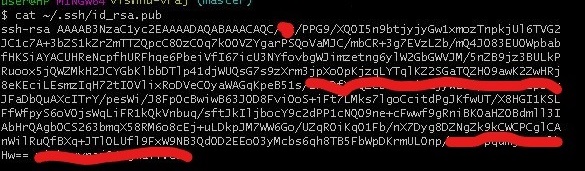
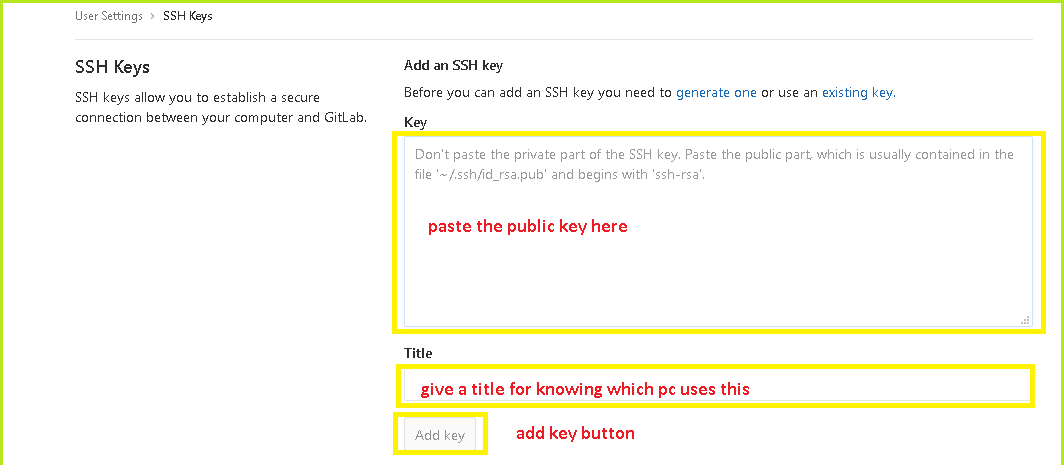
Extract your public key by the following command Copy the above key and paste the public key in the tab at gitlab account >settings >SSH keys and press add key Now the git lab and git are configured. ClONING THE REPOSITORY In Cloning we are creating a copy of the repo on our pc to work locally. Firstly open gitbash at our local folder directory and specify our username and password
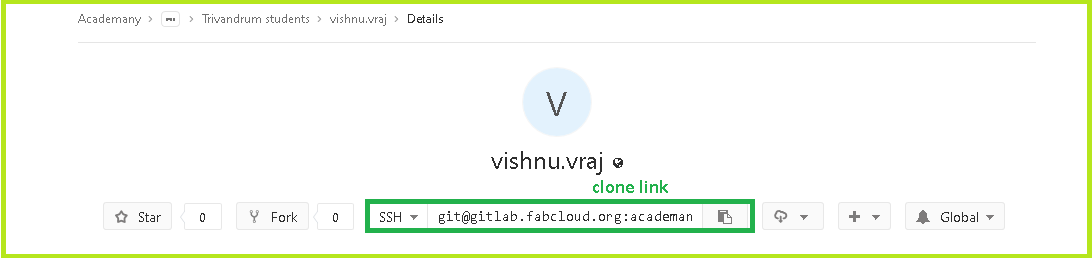
Now clone our repo to the local folder directory by the using following command
git clone ssh link or HTTPS link
This link is available in our gitlab page
PUSHING FILES
Now make some changes in the readme files and try to push a file to the repository
the steps are as follows:
git pull to get the latest files from git repository
git add --all will add all the files
git commit -m "comment" to commit the changes
git push -u origin master to input committed changes to git repository.
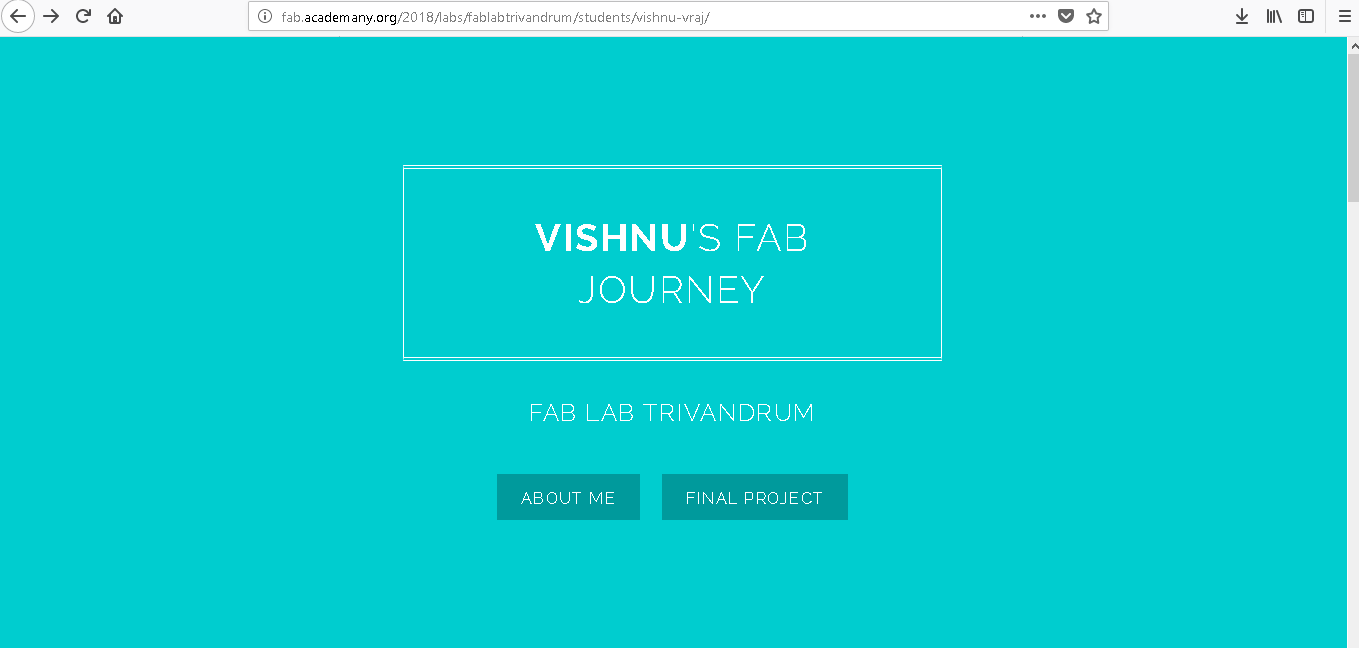
WEBSITE CREATION
To get an idea of what my site would look like I went to the Fab Academy Student Archives in order to have a look of what others have done
and used the random student button.Since I am new in webdesigning i shall start with basic html web page from "w3schools" .
From my collegue,I came to know about atom ,
where we can see the preview of our changes on real-time so I downloaded atom and started my web page designing using it.Further working i ust say atom is a very
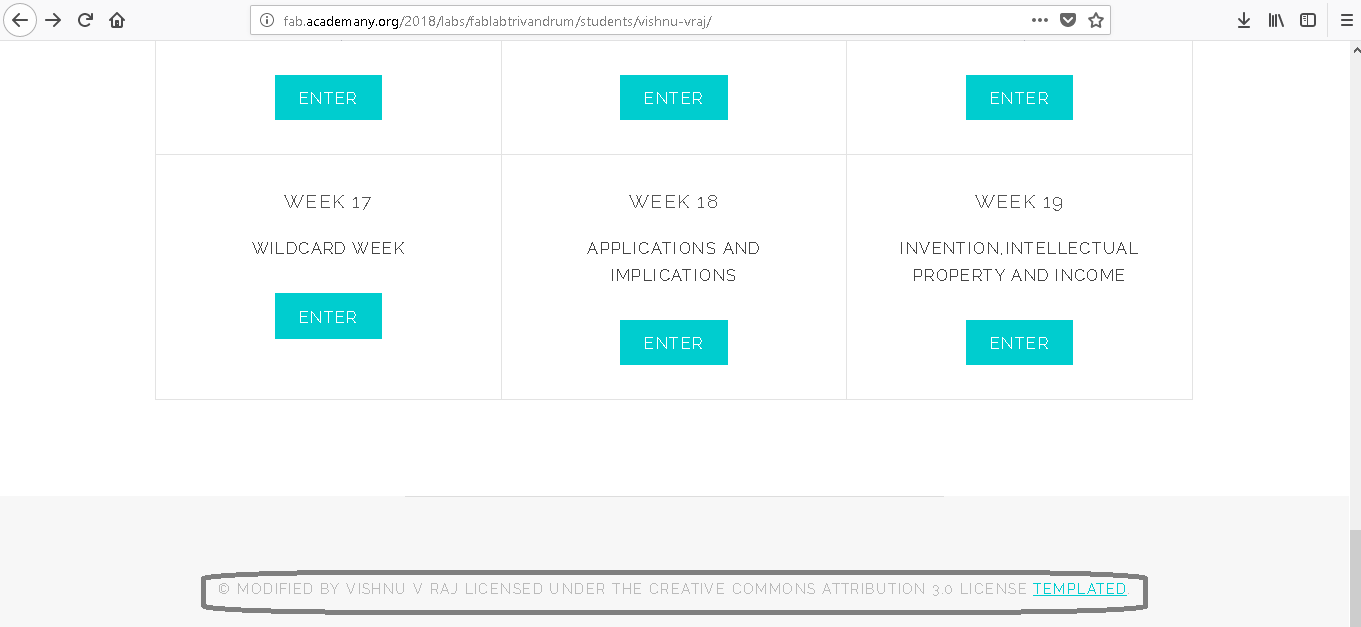
useful software for beginners.I can view the live preview so I can make corrections at the same time . Later after some weeks working with atom and learning about websites I downloaded,edited a website template and decided to use that as my home page.
1)Generation of SSH key
2)Cloning the repository
3)Pushing files
git config --global user.email email@email.com

git status to see the lists of locally changed files.

Following are some screenshots of my working experience with atom:
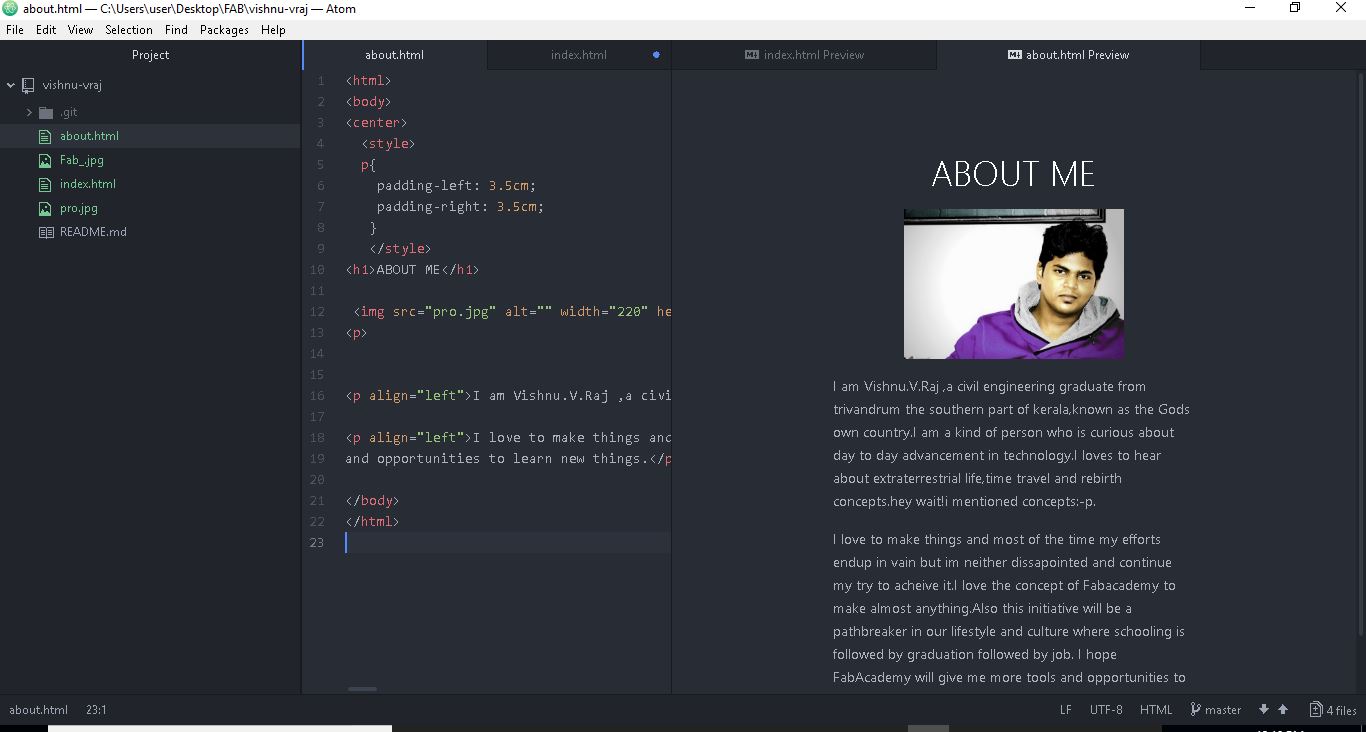
about me page
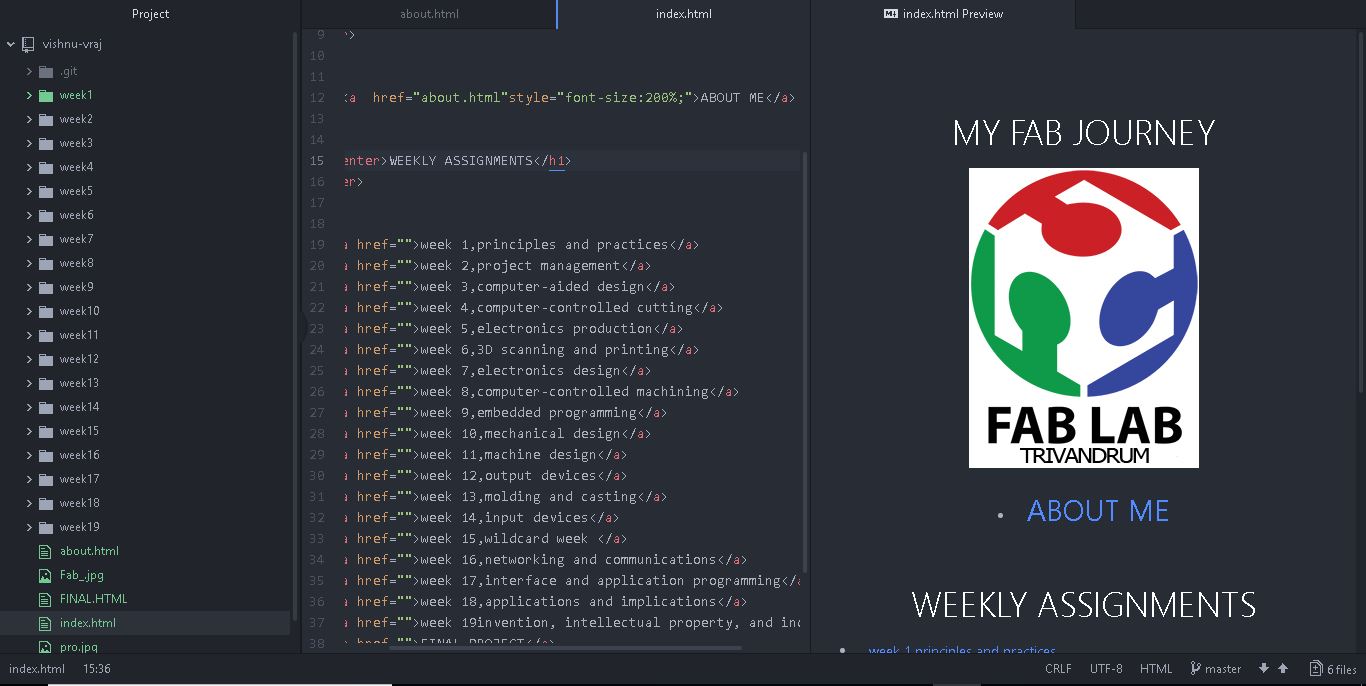
home page