Week06 - 3D Scanning and Printing
1-Testing 3D Printers
|
We did the group project which helped to understand the different settings used in 3D printing. I was surprised when i learned that printers are in fact capable of printing overhangs! I didn't know that, apparently the safe maximum angle is 45 Degrees, but people actually can go over that by doing tricks or just tweaking cooling settings! This was amazing to learn! There are test pictures of several overhang bridges with 45 Degree angles at the group page, we printed those to also test how accurate are the printers, with different materials/settings, pretty accurate if you ask me. 2-3D PrintingThere are some 3D prints that subtractively are almost impossible to create like this below. 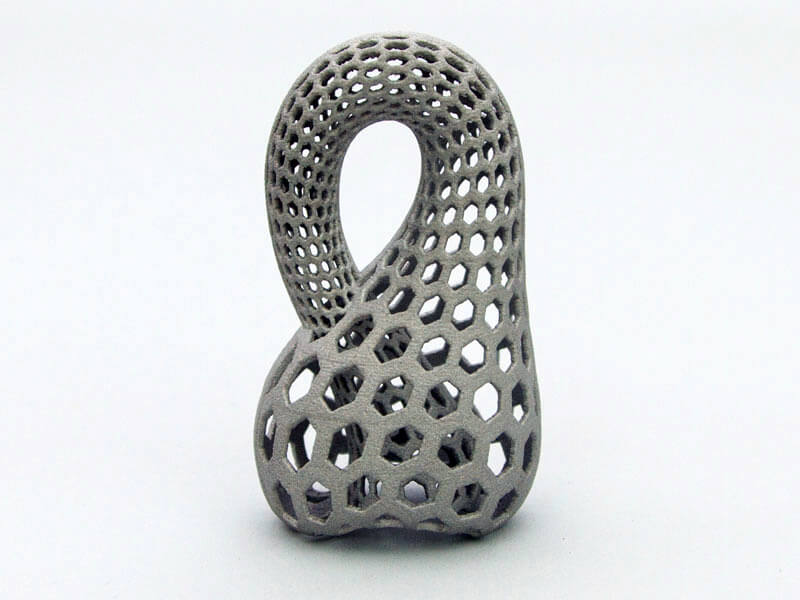
Reference link here. For my assignment i thought i wanted to create something that i might use for my final project and so i needed a something that is also additive only, a clamp using screws to hold came to my mind. 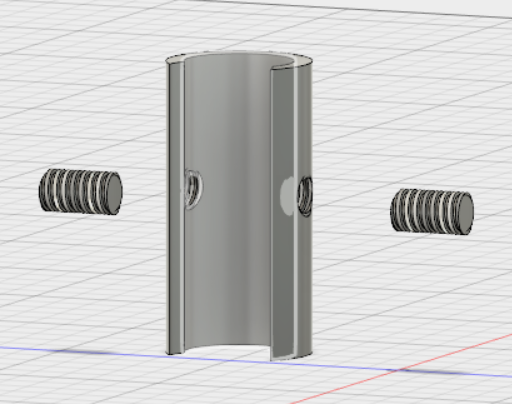
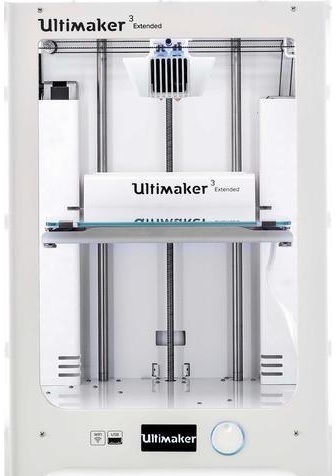
I used the Ultimaker 3 Extended printer for this week's assignment.
Although we did do tests in the group project to find best settings for certain shapes, I honestly didn't see anything wrong with the default print settings in cura, The only thing i changed was the Infill to 100%, that is because i wanted it to be really strong to clamp things tighter. I also used PLA material for my print. 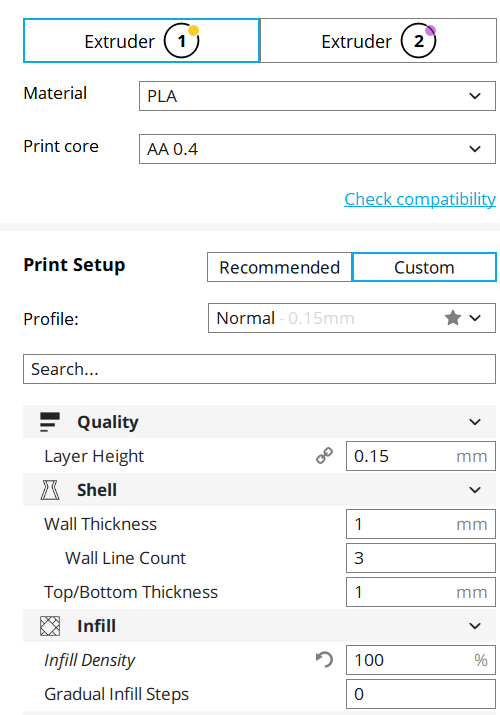
You alter layer height when you care about the resolution of the object printed, 0.06mm layer height means how high the extruded material is, so that's really tiny which means more time and better quality. Altering the Wall Thickness will alter the wall line count by default, making it to 2mm will make the wall line count 7, it automatically calculates them and considers a line to be 0.35mm so 3 for 1 mm means 1.05mm wall, however if you alter the wall line count directly, the wall thickness text field will grey out, that is because it wouldn't matter what you put in the wall thickness since you want a specific wall count number. Top/bottom thickness ensures a higher value on top and bottom layers and this means no gaps in there. all of these are in a shell category because it is the shell of the print, basically you change the print wall thickness which controls how sturdy is your print and how leak proof is it. 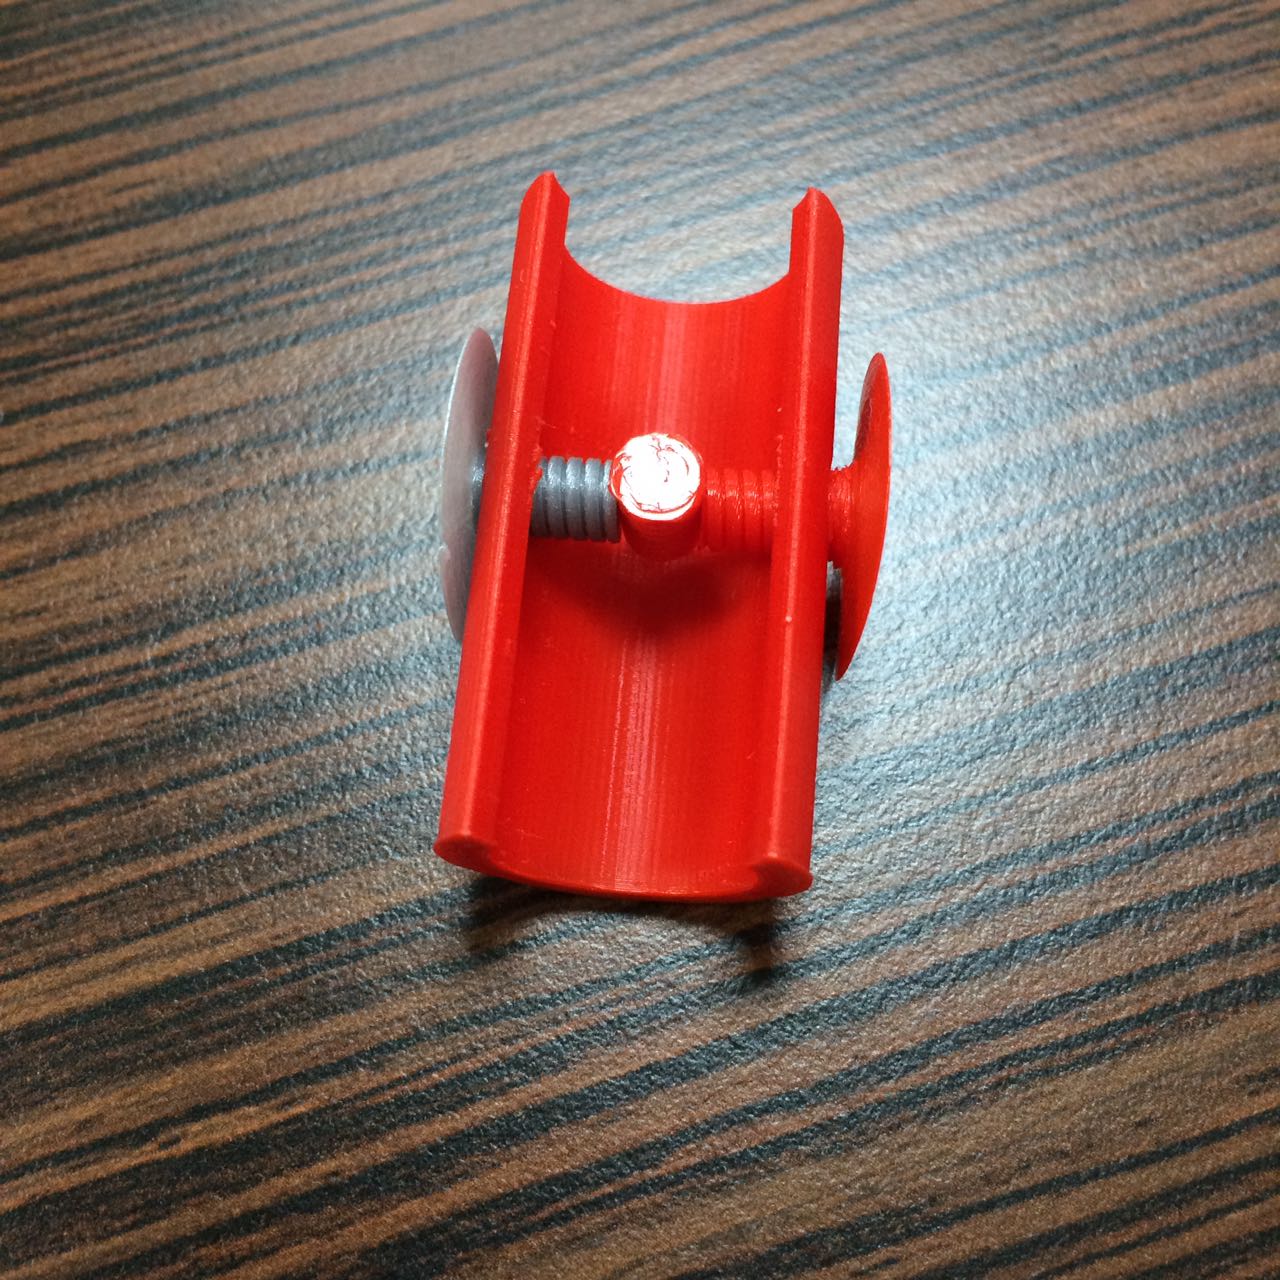
This is actually the final print. First of all i wanted to get the screw to work, so i tested. 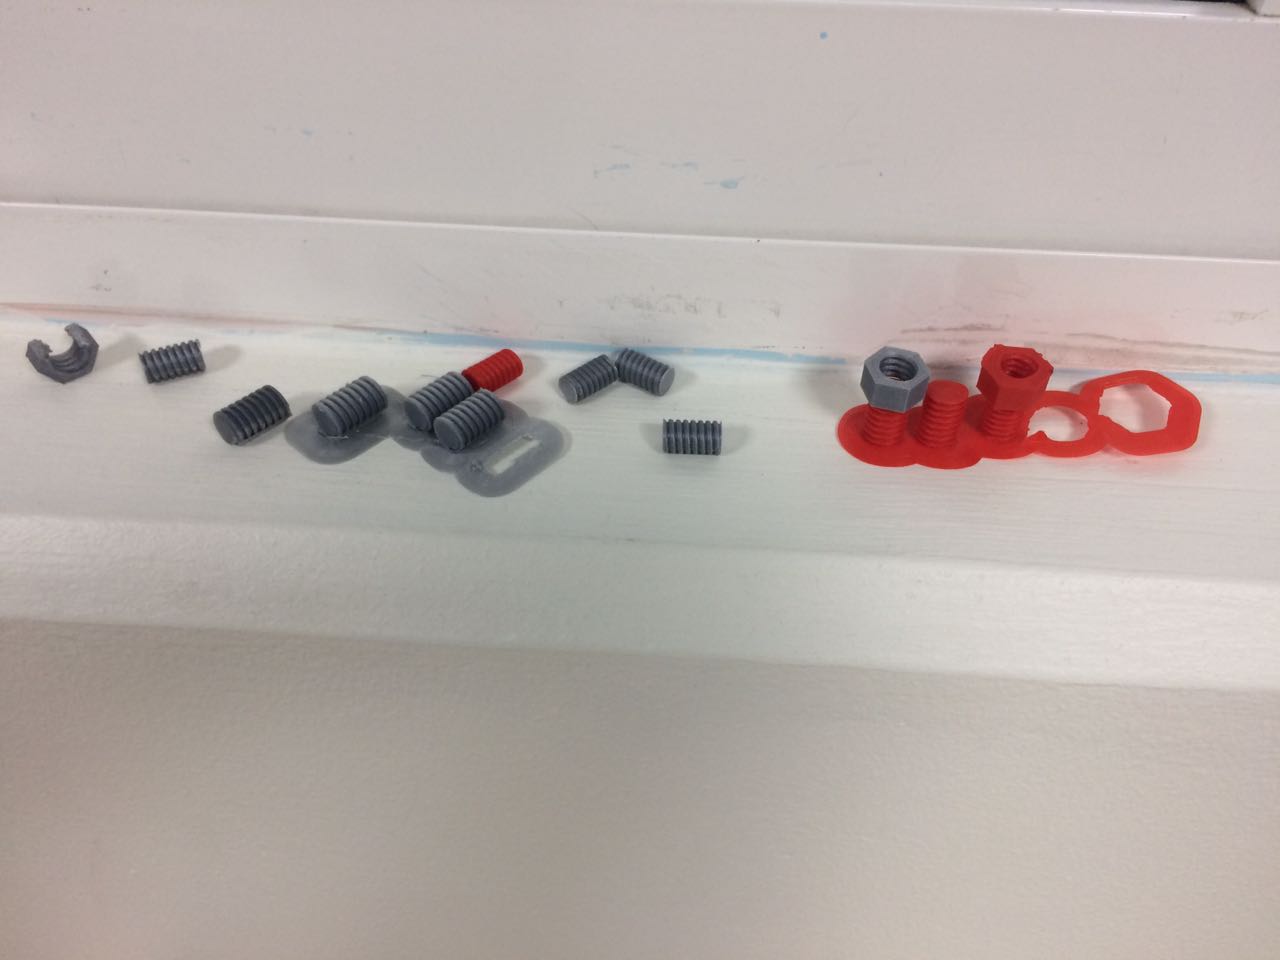
It was hard for me to get it right and i had problems as well, its mostly design issues, didn't quite understand how to modify threads, but when i did. 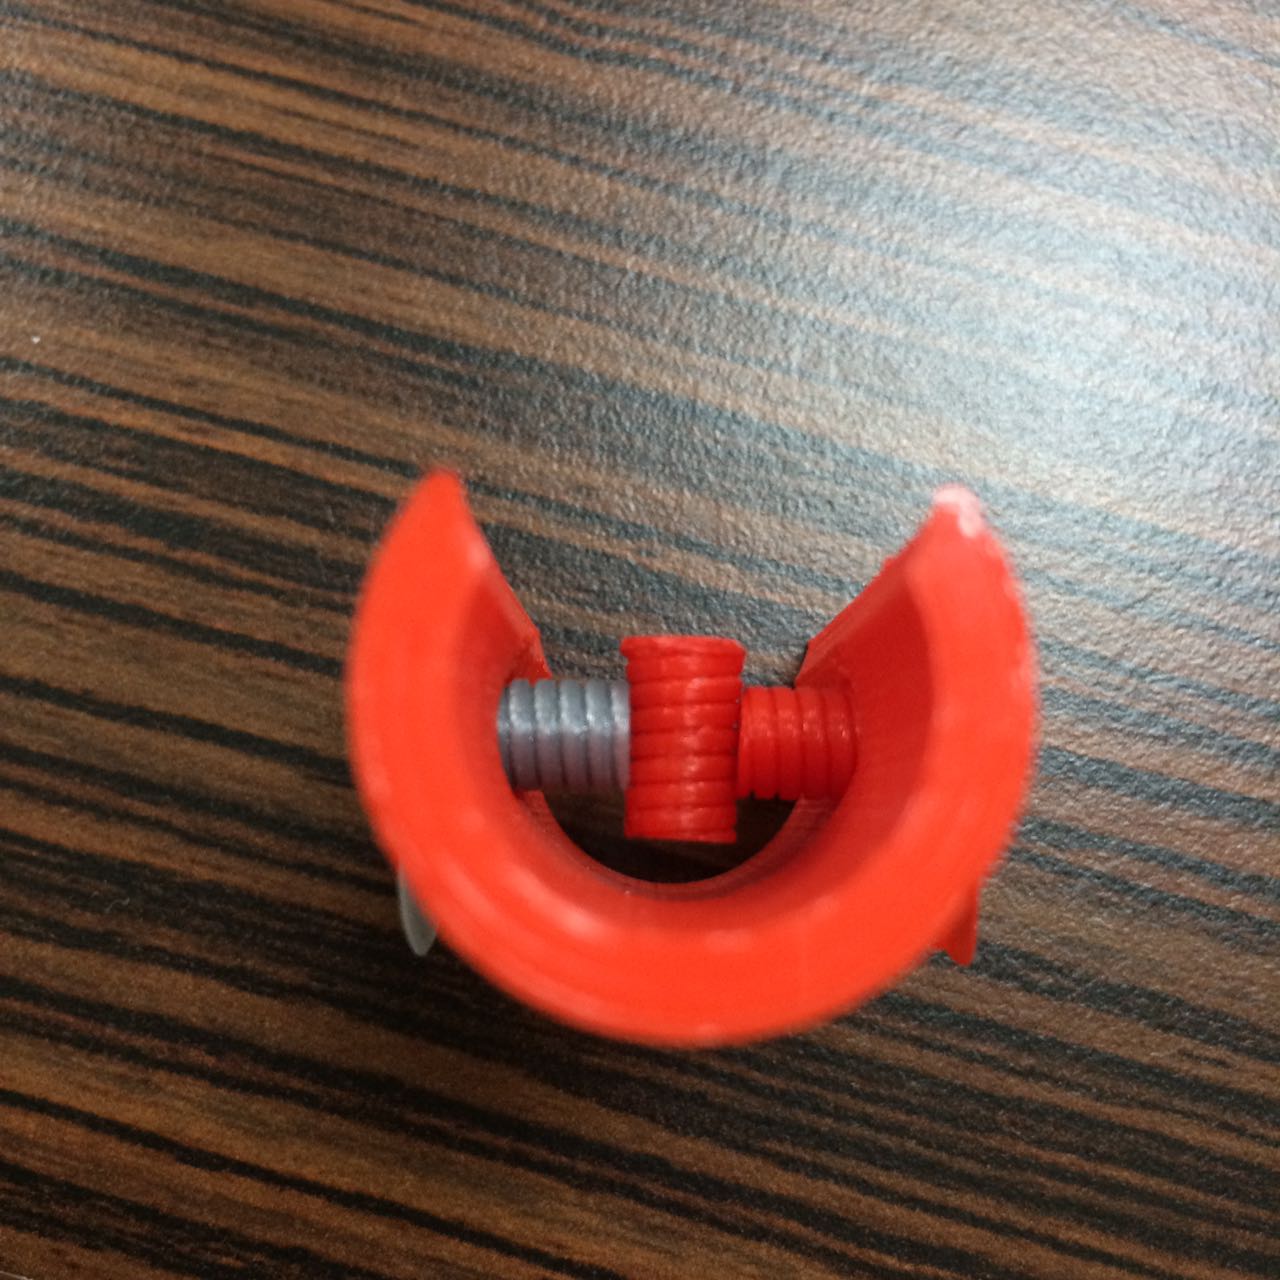
I got it to work, and then i needed to make sure i got the right amount of space between threads, or you could say the difference between the screw and the threaded clamp holes Update 18-May-2018I feel that i am missing some information and with this edit, i will explain the missing parts. To create this object, i used Fusion 360, created a cylinder and had it open as shown above, just to get a better view since am testing it. Now before doing the cylinder holes, it is much easier to actually start making the screws. and so that's what i did, created a cylinder with the length i wanted, and created threads around it. 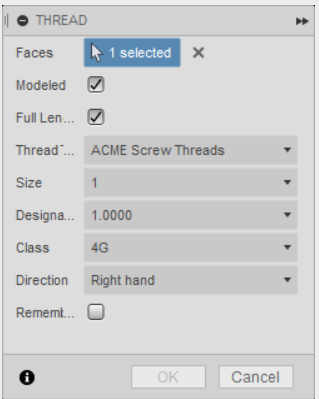
if you like, choose the same settings i chose, but the main thing you will need for sure is the Modeled Checkbox checked. That is because it actually creates them on your cylinder. other than that i guess the rest is optional, depending on what you want. Now you have to scale the screw down, because those settings scale your design up. and so that's what i did, i made the size to 25% of its original after the Thread setting. 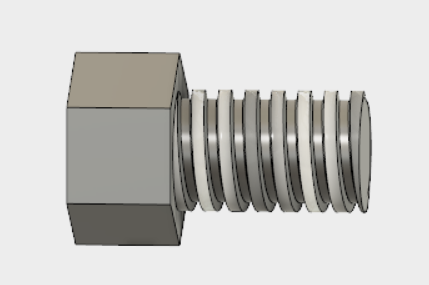
And you would get those threads just like the above screw. Now comes the easy part! Threading the holes. 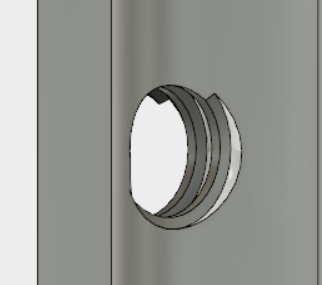
I just used the Splitting tool, and used the screw as the splitting tool to split the other body, then i just pulled the new splitted body created in that hole! Aaaaand then you get the above picture. 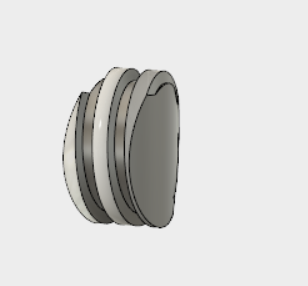
Above is the excess splitted body that you just move away. 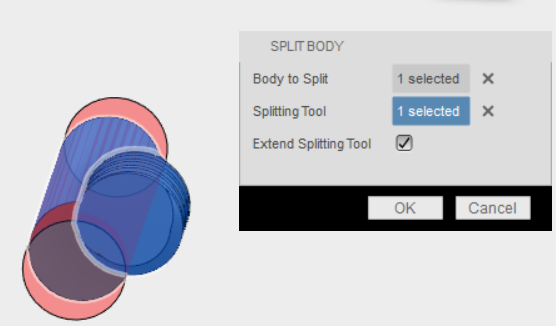
Above here is the Split Body tool menu i used, this is basically how you use it. Later on you actually have to play with scaling the screws you created on the printer software, i used Ultimaker so Cura is my software. And 85% worked best for me, after a couple of tests. The reason why you have to do that on the printer software is because modifying from the printer software is so much faster for you, you don't want to save another STL every couple of minutes to find your correct size. Of course you can change that in fusion later on, but i didnt, i feel i want it to be at the same size. We need to modify the screw because it is always different on different printers and different materials. The threads are so small in my case and it really matters how much you scale it down. I don't see a way to avoid that at the moment and i feel it is necessary. 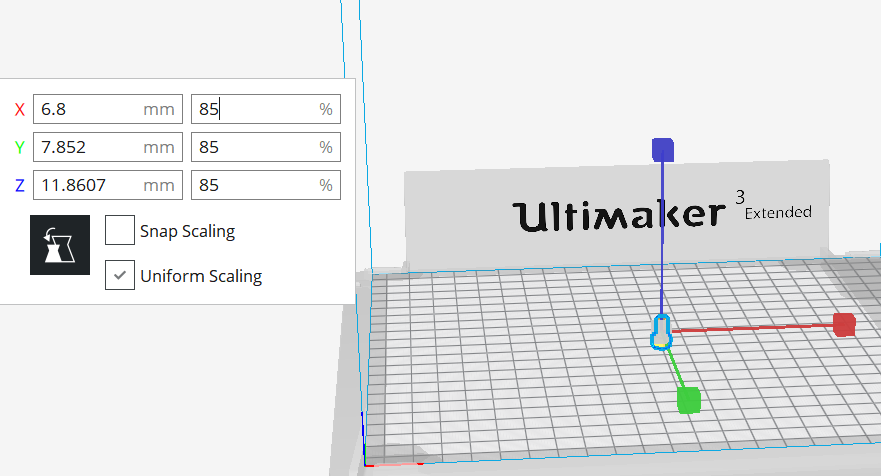
For more info you can actually go to Week15, because i think i did a better job explaining there than here. but overall it's the same process i did. Download the STL files here. 3-ScanningFor the scanning part, we used a scanner called "Sense" from 3D Systems to scan objects. 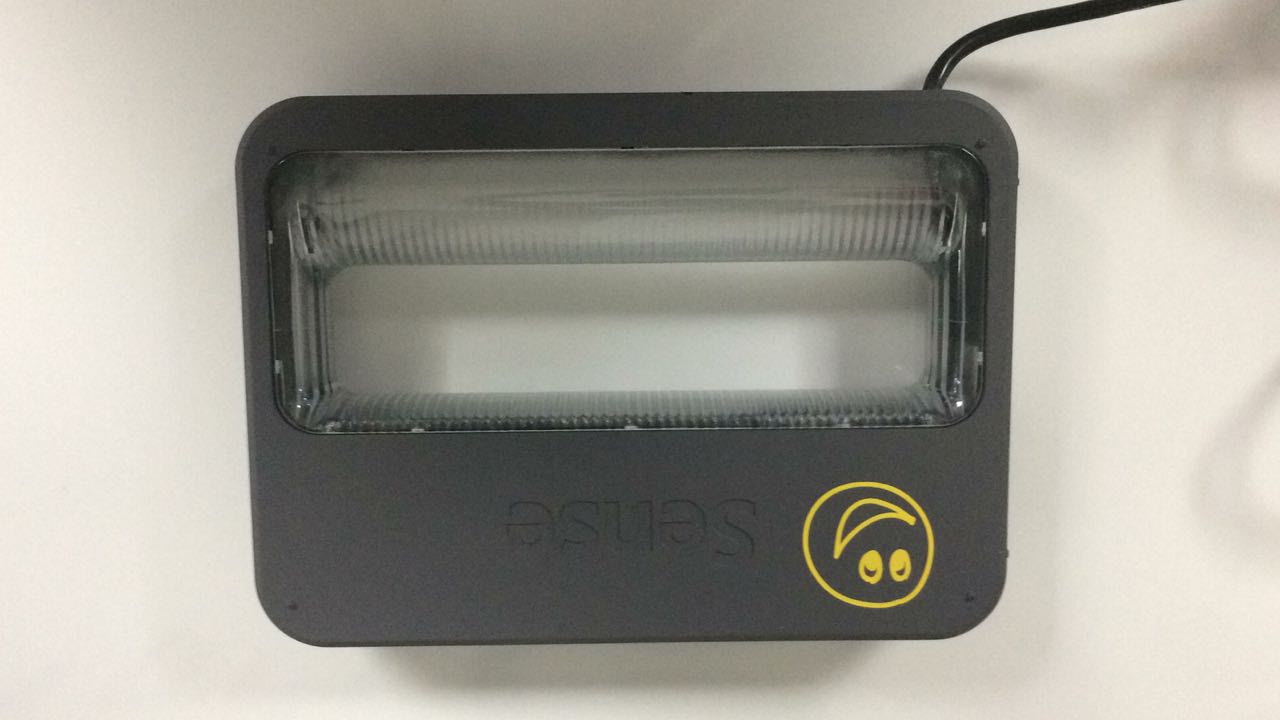
We scanned lots of objects and got fun results, but it didn't really feel like something i would ever do to create complex or accurate objects. That aside I actually got scanned for this part. The result is Majestic! 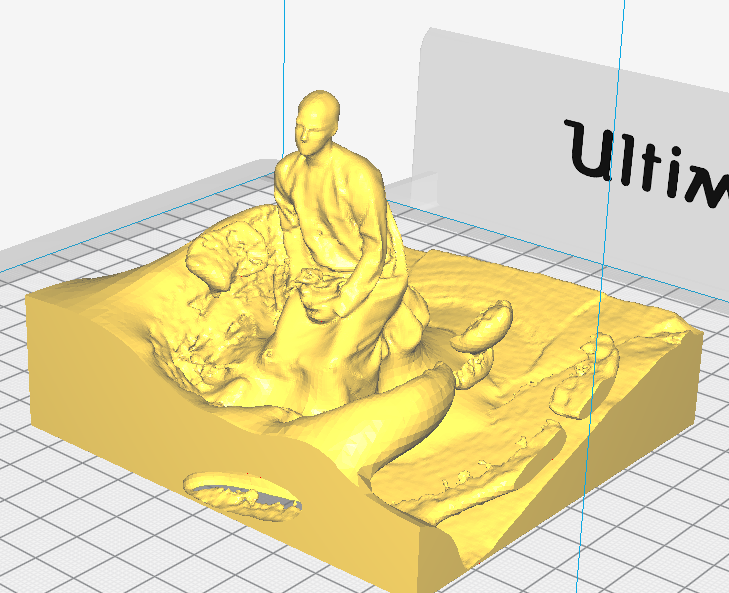
here is a close up. Scanned by Darshan. 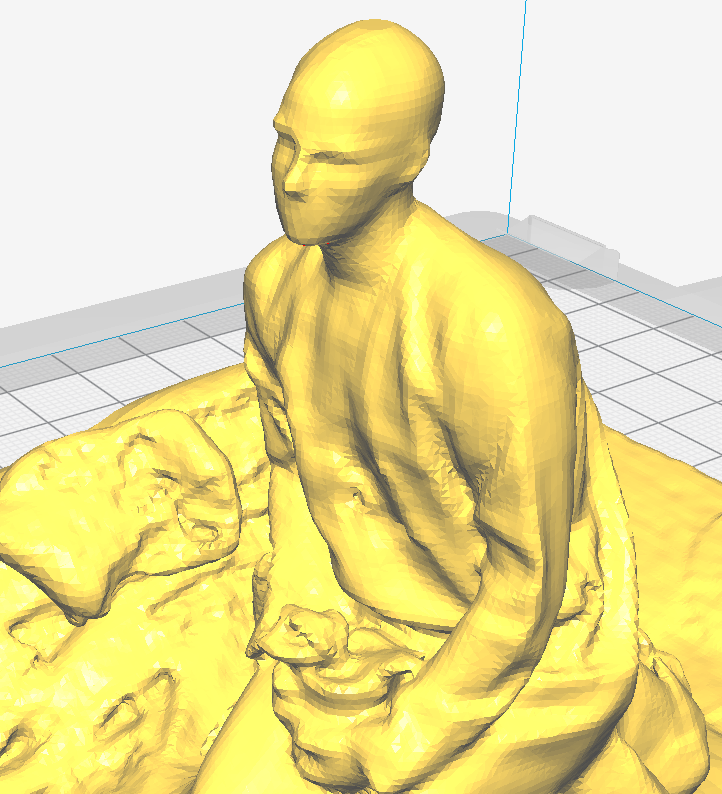
Download STL file here. The Sense 3D Scanner software didn't have many options to pick from, its either people or objects and there are some more options like small,medium or large object maybe. and then you just get started and when you are done scanning you pause the scan and next next next.. Done! it's a simple wizard really. Here is a pic showing the main process of scanning, you see that green rectangle around my "Naa'al" (Sandal in Arabic), that means it understands that whatever in that rectangle is your object to scan. This is where you would want to start scanning your object. 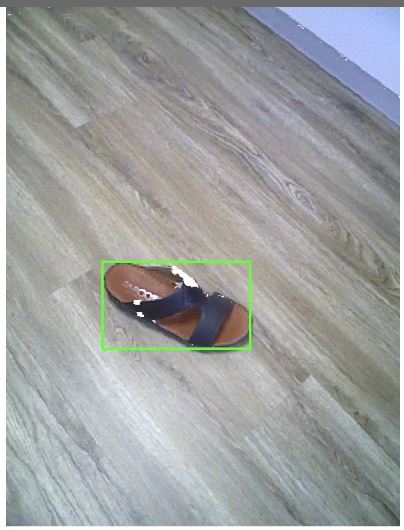
Then slowly move around the object to scan it, later you click next and then you can do some editing to make it look better aaaand you get this. Download STL here. Problems and FixesI had problems doing the threads on my own actually, i didn't know at first why screws didnt work, but i saw this YouTube video and then i tried his tip on Press and Pull, i talked about that in week15 by the way, and it worked like magic! End of Update. |