Week17 - Wildcard Week
Embroidary MachineIt is called Memory Craft 15000, it sounds like a futuristic machine from the 80s-90s family movies. 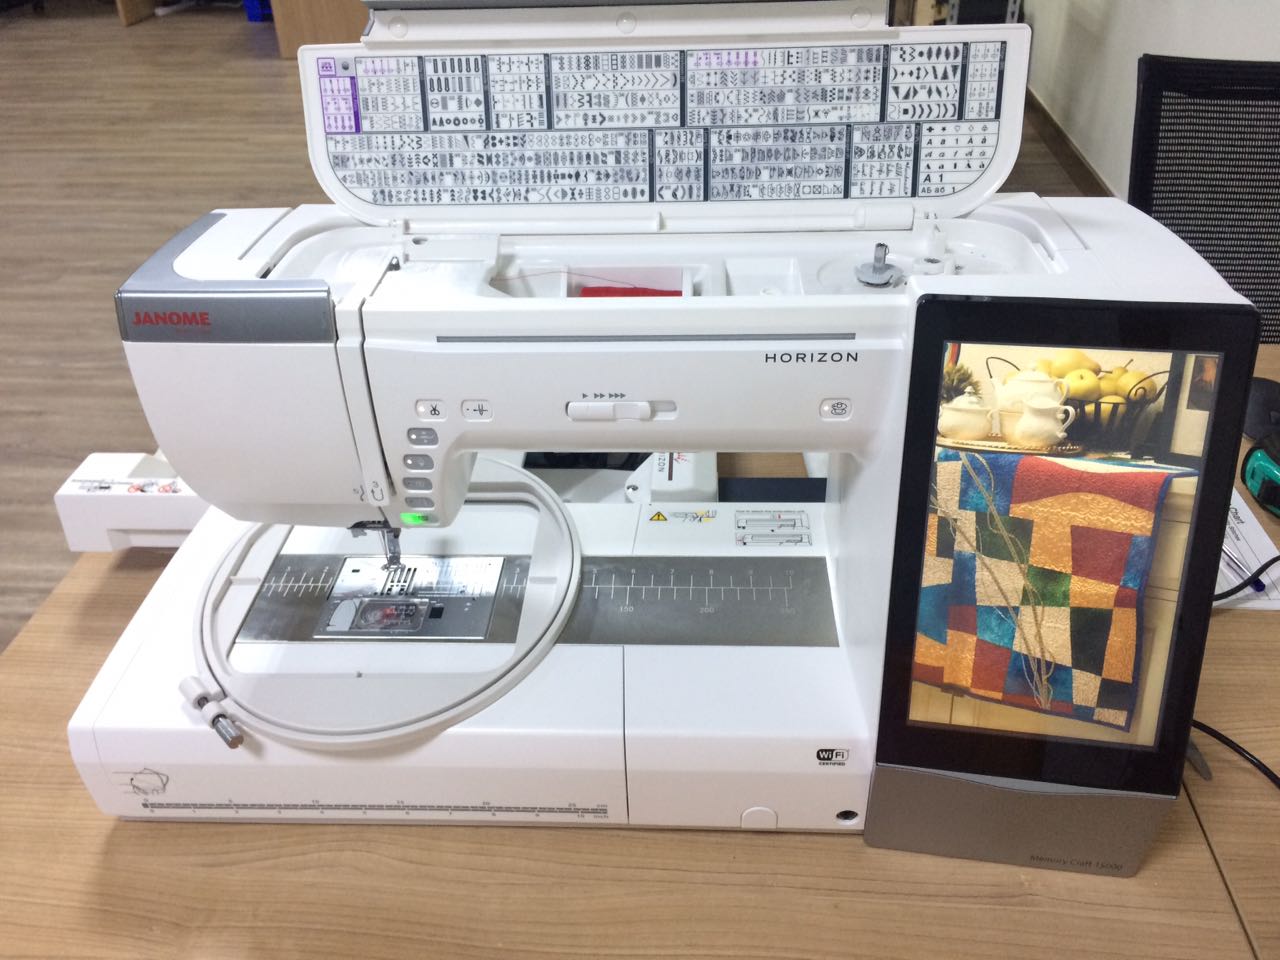
The basic things you will need are. 1-SoftwareSoftware is called Digitizer V5, my first impression was that it looks old, as in Windows 9x old, it felt rusty to use. This is what it looks like. 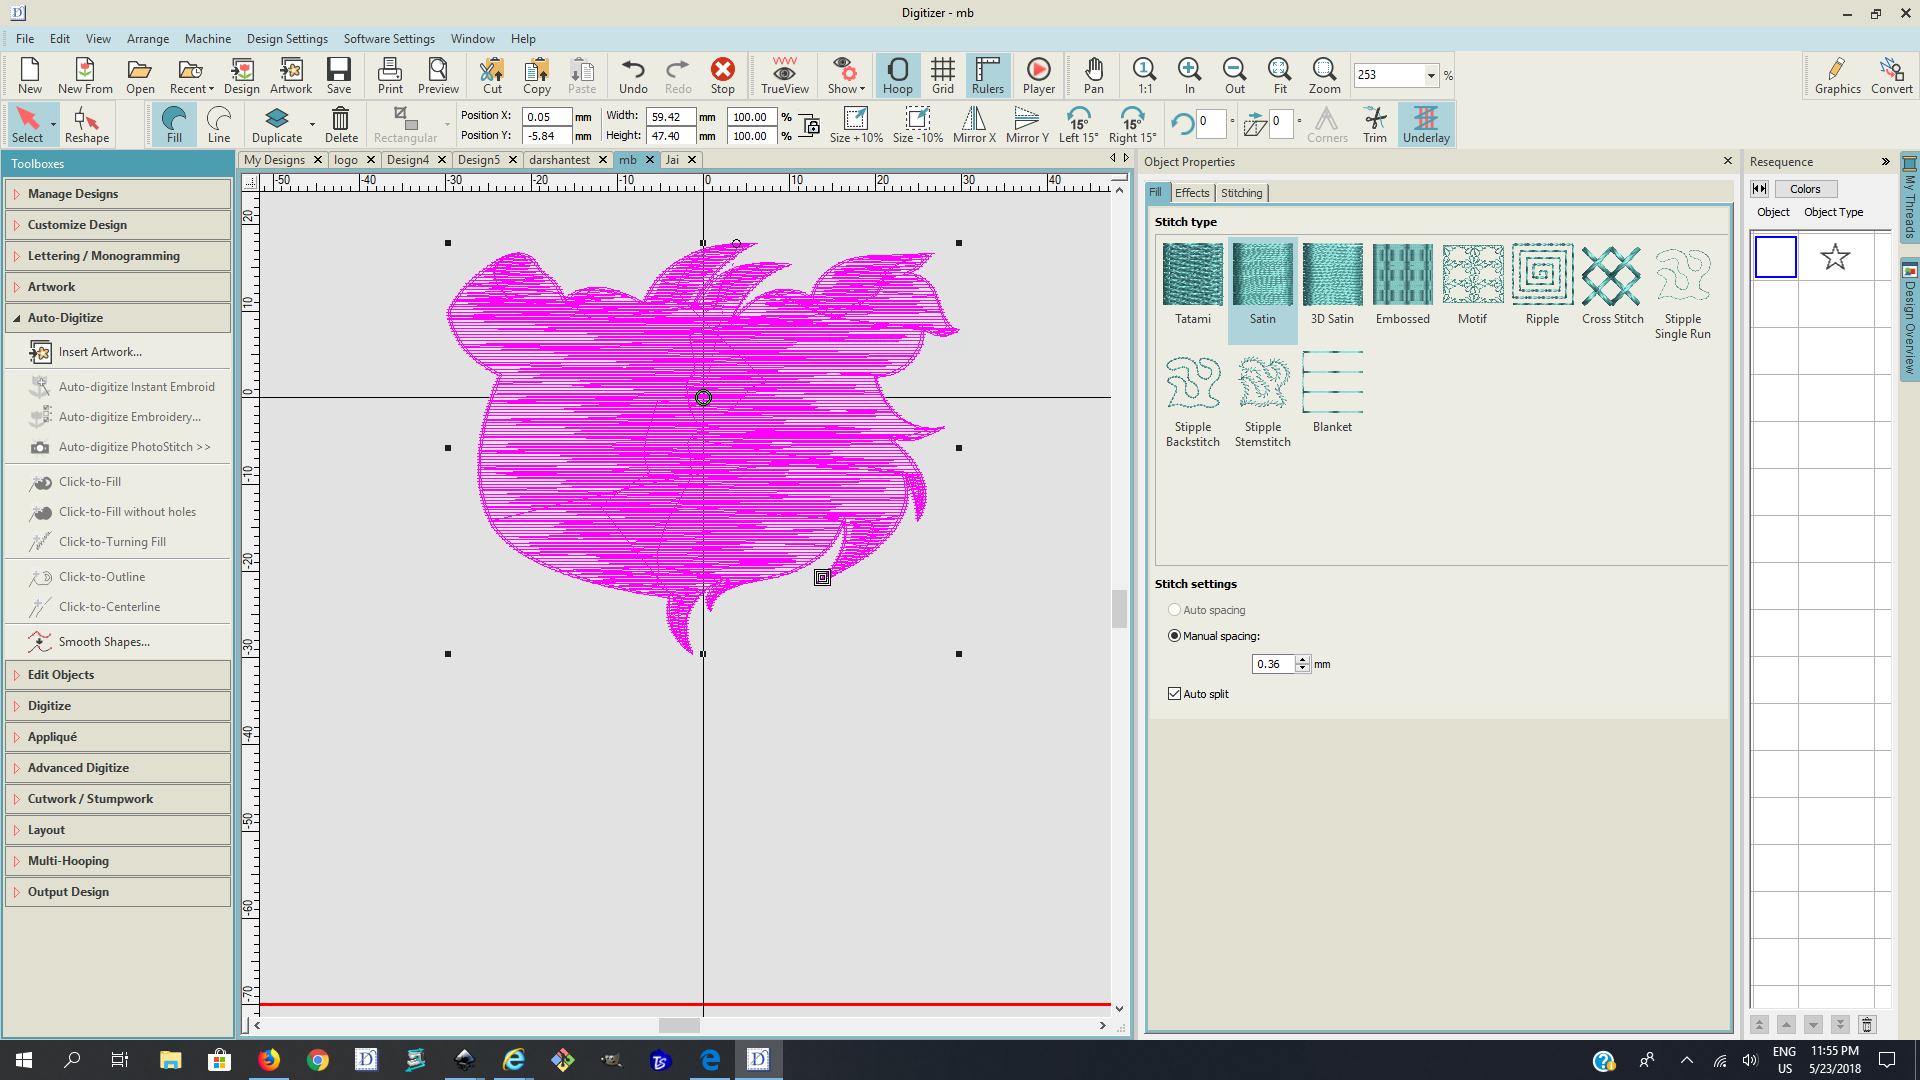
There is a software guide as well, i went through it and i didn't really feel it was that useful 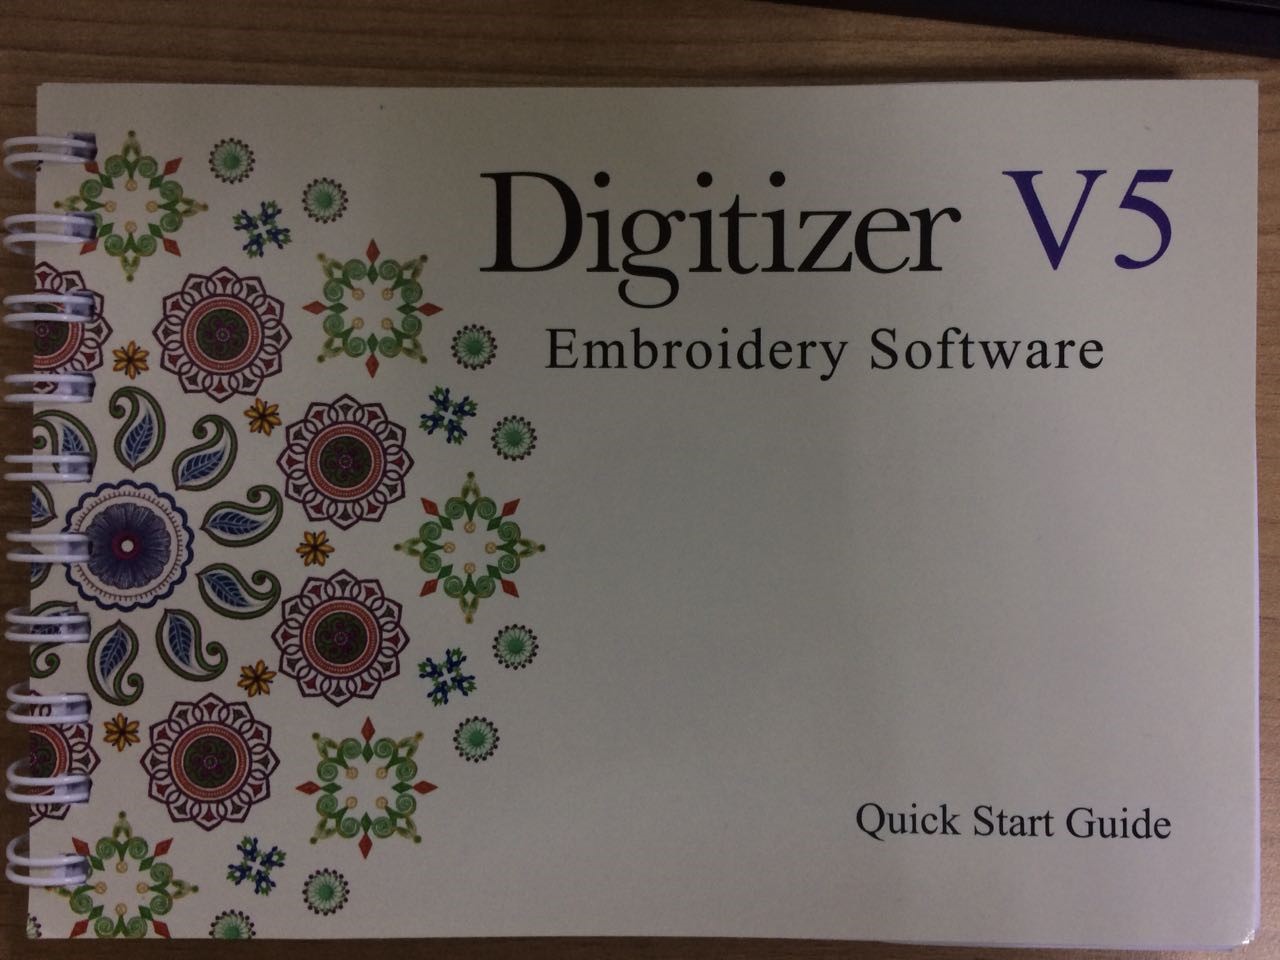
Salama Al-Timimy and Darshan Shah actually help me to get started with the software. In order to get started you have to know what you want to do, and so i traced this logo again, i wanted to stitch this logo. I used Inkscape for doing the trace. 
Download SVG file here. I then switched to the digitizer software and clicked on "Insert Artwork..." button in the Auto-Digitize section. This allowed me to insert the trace i did earlier. There is another option under it called "Auto-digitize instant Embroid", this allows the software to understand the trace, the software does that based on vector drawings and separates different colors, as individual areas or objects to stitch, so the options I had for the trace were the border and fill. 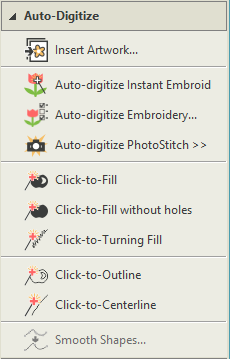
When you click on the object after you auto digitize, you get to choose the stitch types, there is the fill and the border stitches, for the border i chose Single Run. 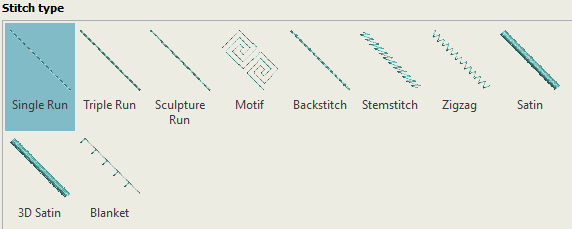
I chose Satin for the fill, I wanted something for a smoother fill. 
You also have to select which machine you are using, ours is the "Memory Craft 15000" so I chose that. 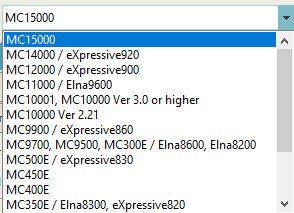
Download DST file here. 2-MachineYou must get familiar with 3 things at least in order to get started. How to wind thread, What is and how to wind a the bobbin thread, how to use the hoop. There is an Instruction Manual which i find extremely useful.I actually learned how to wind the bobbin thread using the manual, and serveral few things i will mention below. 
If you want to do what i am doing, which is stitching, then you will need to use a hoop, the hoop is attached to the embroidery machine, so that the machine moves the hoop accordingly. 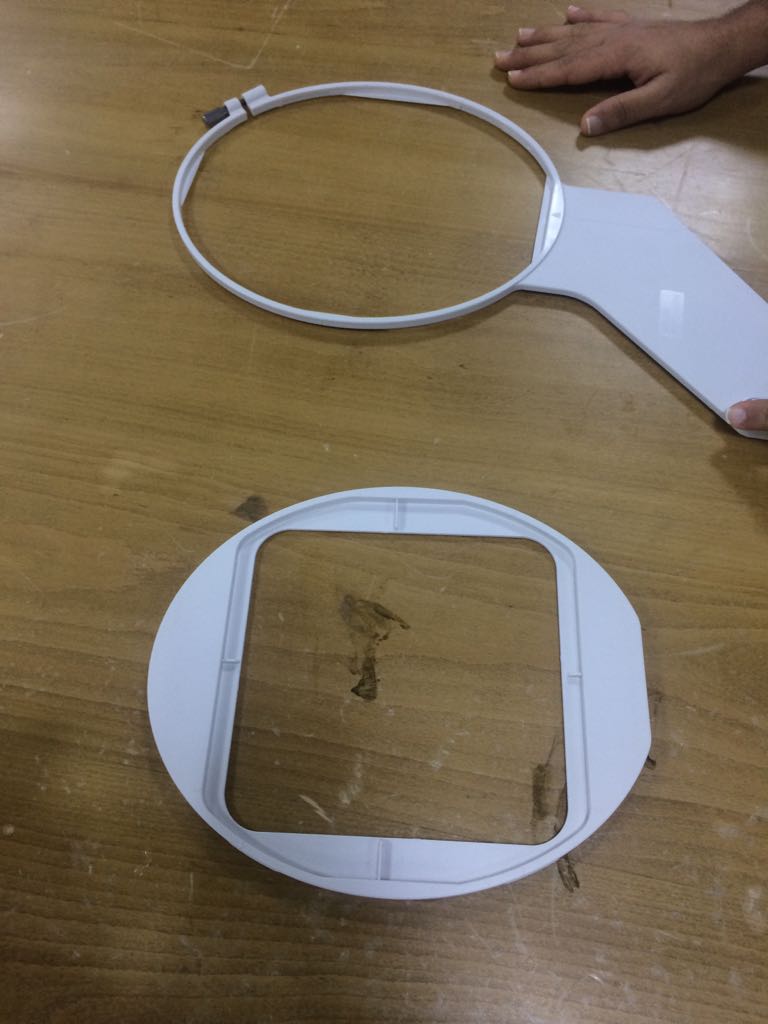
There are instructions that talks about stabalizing the fabric in the manual. 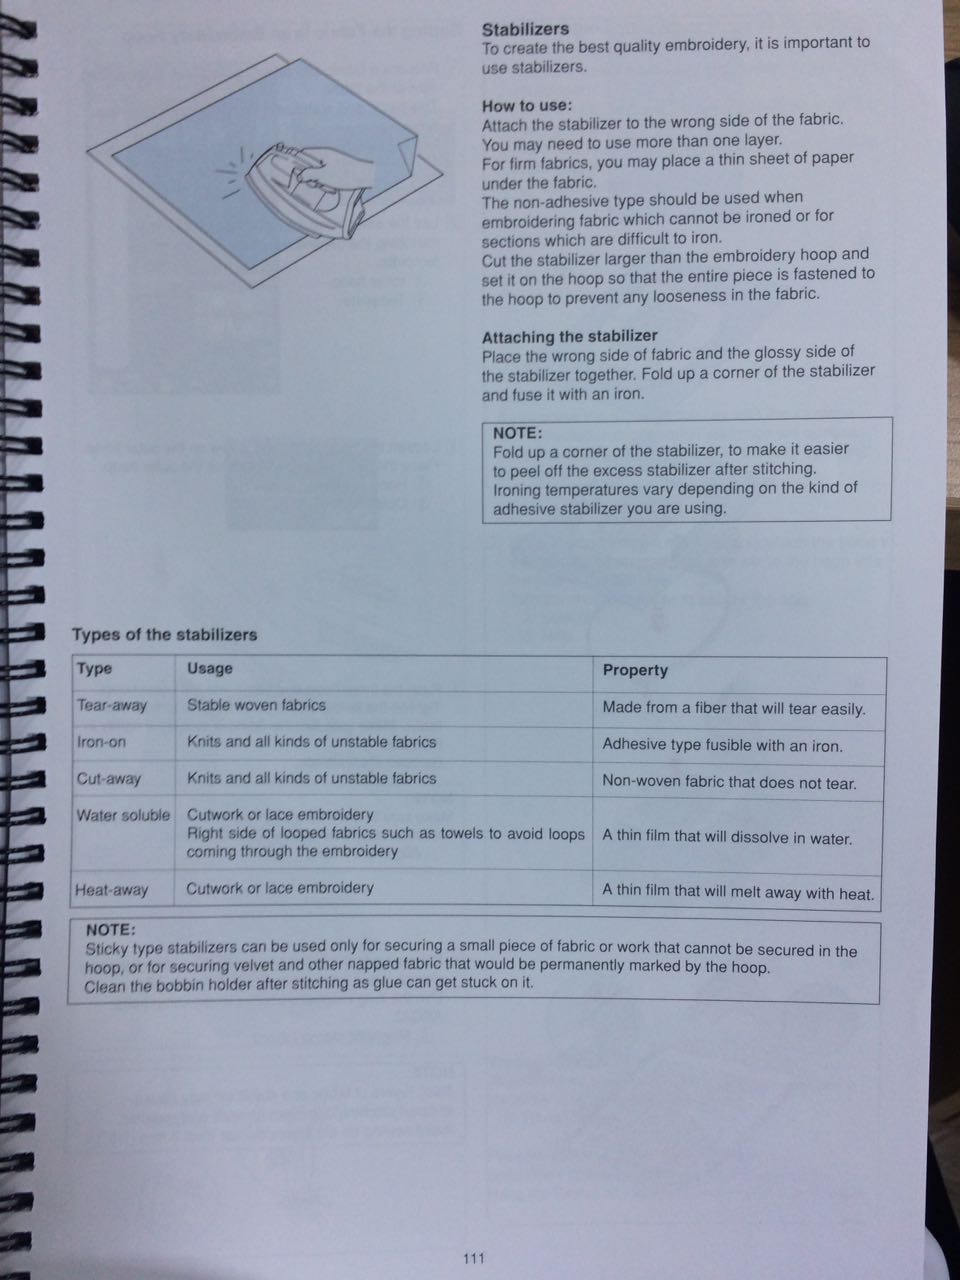
I used a thick fabric so i only had one sheet of paper under the fabric to set up in the hoop. that was enough to get it to stabalize. The reason for a stabalizer is because you dont want a fabric to stretch or move around while the machine is stitching, having a couple of paper sheets under the fabric helps it stabalize. 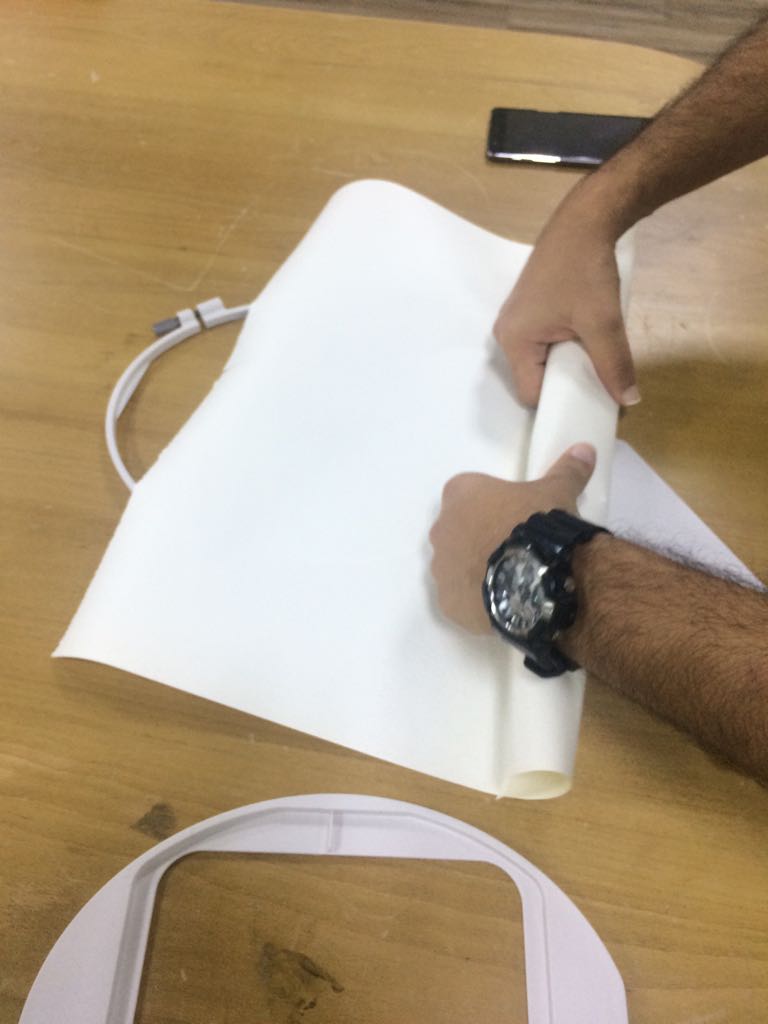
In the Instruction Manual, it also shows us how to rewind the bobbin thread using the spool, thread the machine spool and bobbin and insert the thread in the needle. 
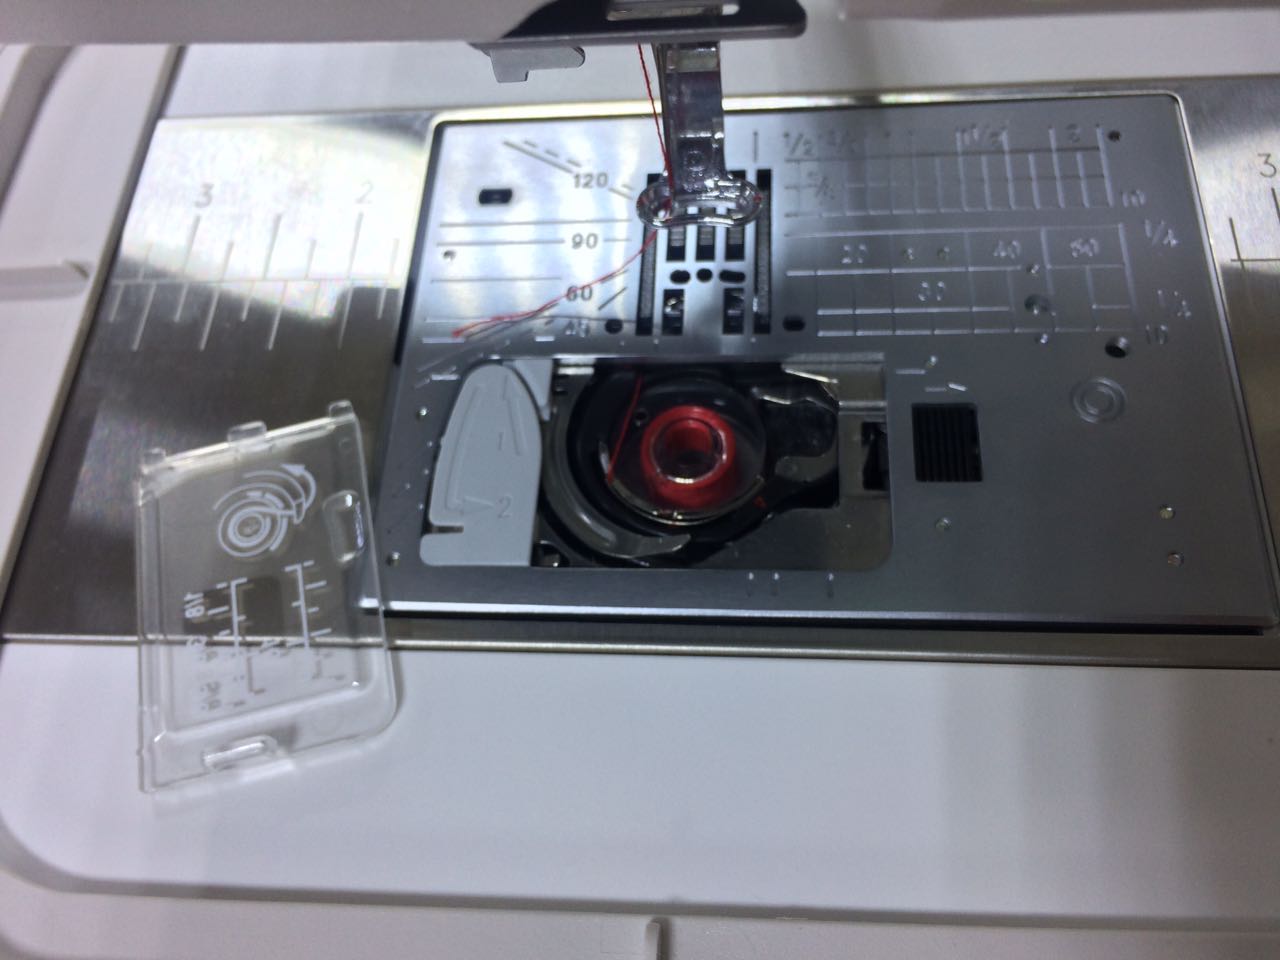
I actually came to know about the bobbin spool existance because it was fully used and i had to rewind it. The warnings on the Touch Screen were very informative and they were availble on most scenarios, the thread is not in the needle, bobbin thread is empty, etc.. 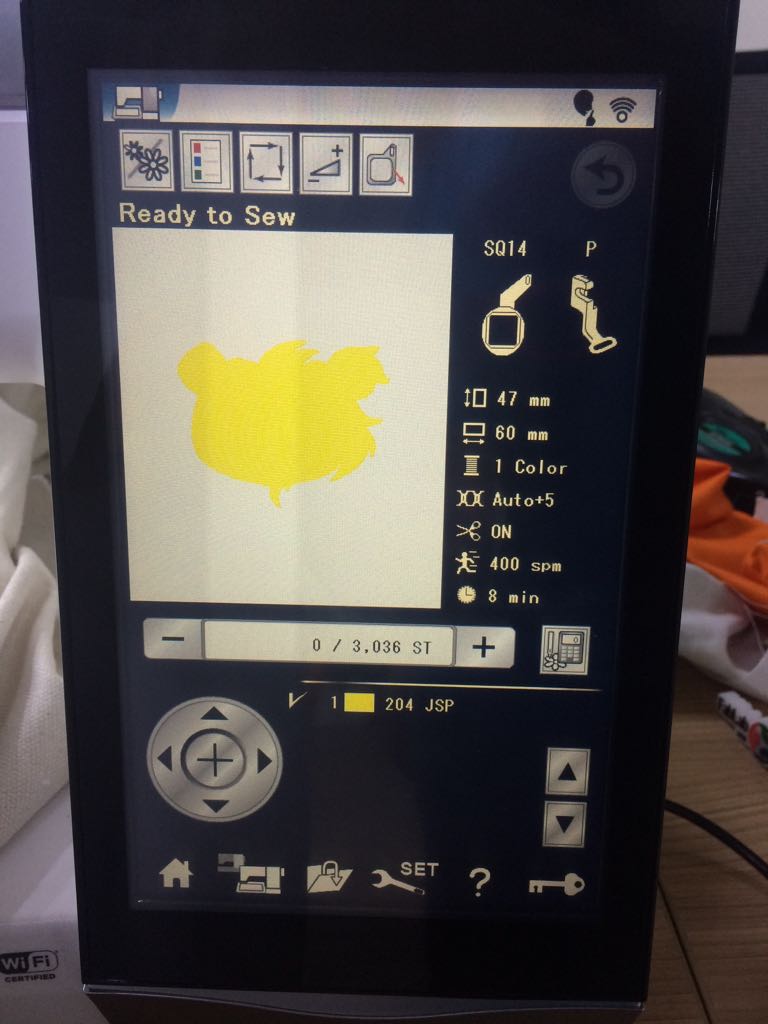
To start the stitching, you need to make sure you did all the steps above and have everything set in place. I used a USB to transfer the ERD file to the machine, there are other ways, but once you are done with the steps above you are ready to start stitching. Find the file on the machine touchscreen and Start! Below is the finished stitch, you can see some purple threads coming out of it, that is because the bobbin thread had purple thread in it, later i changed it midway. The machine is great at resuming from where it started, it occasionally pauses for several reasons depending on how large is the job, sometimes you need to rewind the bobbin thread several times if your stitch is too large, you also need to reinsert the thread in the needle because sometimes it does get cut during the process several times. 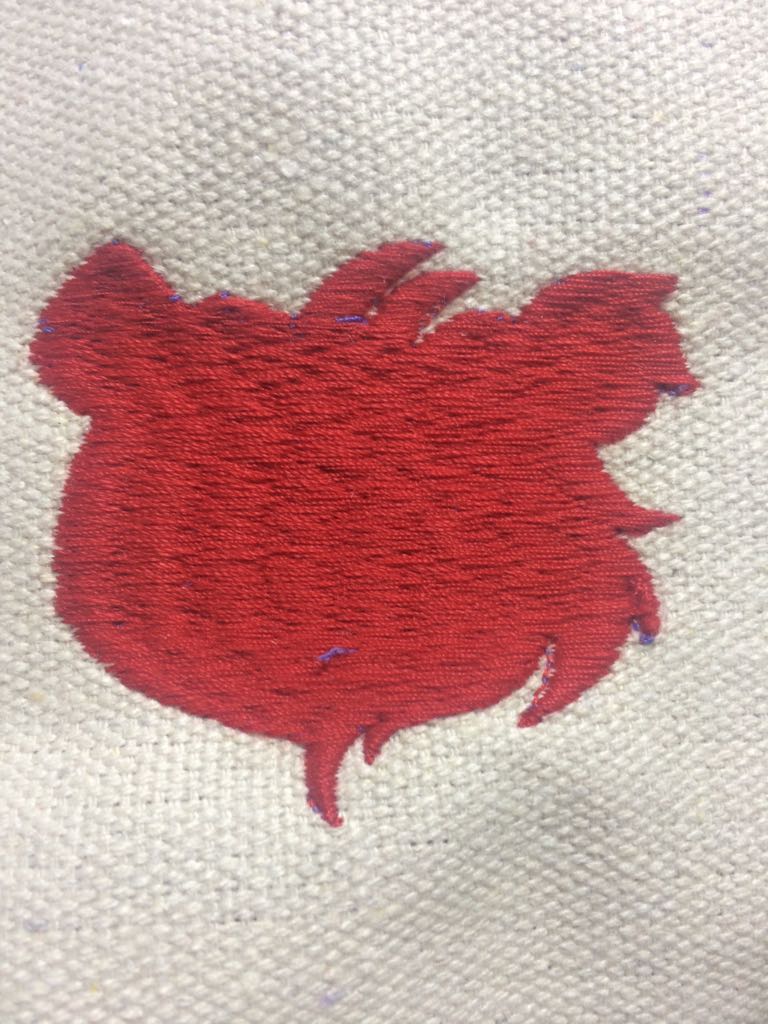
ProblemsThe bobbin thread rewinding was my first problem to face, it went really good solving it, i imediatly went through the Instruction Manual, i didnt even go through the table of contents, i just flipped the pages until i reached a possibly frequently used page, it works. Another problem was the needle threading, the places you need to put your thread into and around are really tiny, i forgot a step and tried several times without it, then went through the manual and found out what i was missing. It works. I actually lost the SVG file, and so i improvised, found this DST to SVG online converter. 
I had to go through the digitizer software and delete the stitches from the DST file i already had and i ended up with something i can fix within the inkscape software, this here is the DST file after edit. Download SVG file here |