computer aided design
● My add-on responsibility was to interview Hashim Al Sakkaf - the "FABBER", student from the previous batch of Fab Academy at FabLab UAE, his background from electrical engineering and specializing in power resulted in him selecting the Solar FAB rover for his final project. He had been associated with EduTech organization which set-up the FabLab UAE.
● During our conversation I got to know how he used GIMP, INKSCAPE & COREL DRAW for 2D image resizing and sketch purposes, FUSION 360 & ANTIMONY for 3D Modeling. Also we discussed about how handy SKETCHFAB is for linking stl files to the webpage and viewing it online. He mentioned using AUDACITY & KDENLIVE for creating movie expressing his final project. It feels motivating to know how various tools and softwares help during the process of creating different parts for the project.
● I realized after the interview with Hashim that the most essential part of the Fab Academy is to dedicate time and make sure to learn new skills rather than getting stressed by the final project. It's the daily practice of documenting the work done and problems faced. So for me it was a very very helpful task in order to understand how diversified tools and softwares make your project achievable.
getting started
● It was indeed a very informative lecture by Neil with regards to opening me to a whole new world of possibilities in terms of Image editing, Vector software, 2D Parametric Design, 3D Modeling, Game Environment tools, also audio and video editing softwares.● So I decided to try a few of them from the following categories of Image Editing/ Manipulation, 2D Parametric Modeling, 3D Modeling and tool such as SketchFab for uploading most of my files to be presented on my web pages.
Important Announcement :) ● I don't know why but some of my images from this particular web page appear distorted in Firefox browser, at first I thought it was because I scaled them in html using brackets, but even after lot of troubleshooting they appear to be same on Firefox, but at the same time I doesn't bother me much because they all are fine on any other browser, so if you're using Mozilla Firefox by any chance for this page, I would like to request you to use an alternate browsing tool for the same. Thank you !!
Image Editing Softwares
GIMP
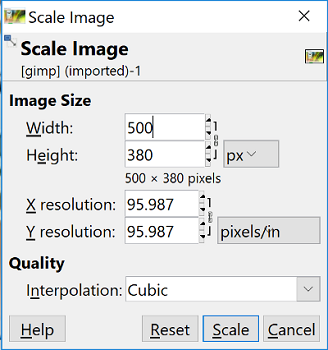
● By far the most hardworking software for me, with a wide range of tools and manipulation tricks which helps me to crop and resize images and do a lot more stuff which is to be explored by me in near future, but I did use Gimp for Electronics Design week. It really does what it says about itself, GIMP stands for GNU Image Manipulation Program. Highly recommend this software to edit, merge, resize, crop, scale and play around almost any image file.
● Check out my Electronics Design page where I used GIMP to create the (.png) from (.svg) files for Milling the board in WEEK 07
PAINT
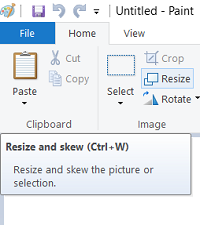
● Paint is easily one of the most comfortable tools for editing images for resizing them for webpages and other image editing applications as well. Just by selection the option of resize, I could resize the images in terms of pixels or percentage.
● I have widely used paint so far and as you proceed to my future pages, you'll see the uses of paint to create the outline traces of the .png images of the pcb boards that I design on eagle.
In my view Paint is far more suitable, faster and easier to combine multiple images, add text, label something, resize images and much more. I have been using Paint for almost each and everything related to my images.
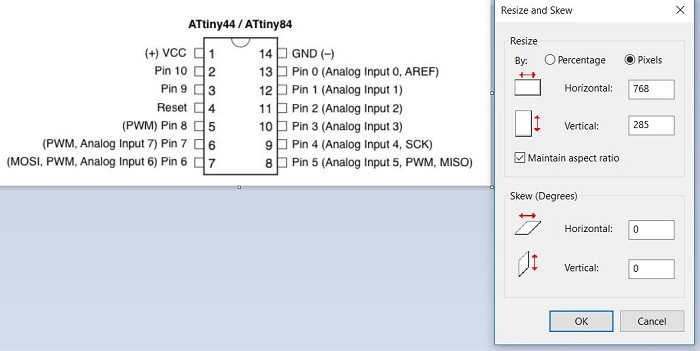
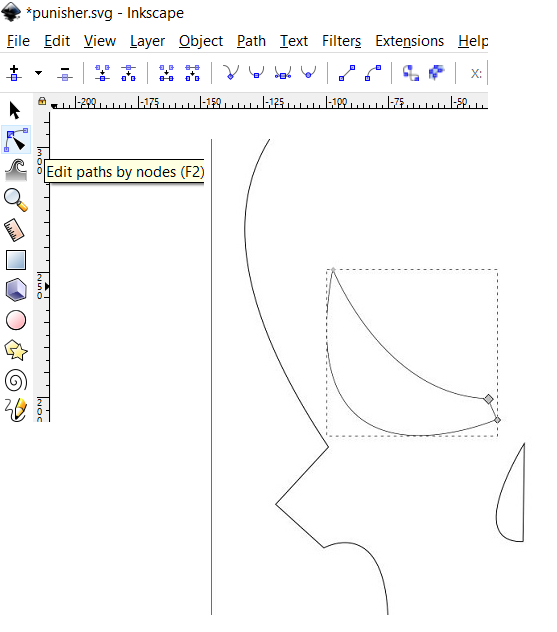
Inkscape ● I have been using Inkscape from almost a year now, but mostly to edit images or text from (.png) to (.svg) in order to 3D print them. But now I wanted to try designing something in 2D and cut on vinyl cutter. ● Using the bezier curve and line tool I wanted to create the design of the punisher (Marvel character), only because I wore a Punisher T-shirt that day.
● I started to edit the nodes according to the design of the face of the punisher and I decided to just make one half of the face, because it was symmetrical and I could easily copy paste the other half and then connect the nodes.
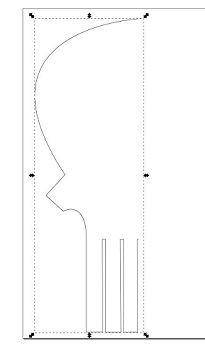
● Here, I was ready with one half of the face, which does look quite similar to the actual design of the character on my T-Shirt.
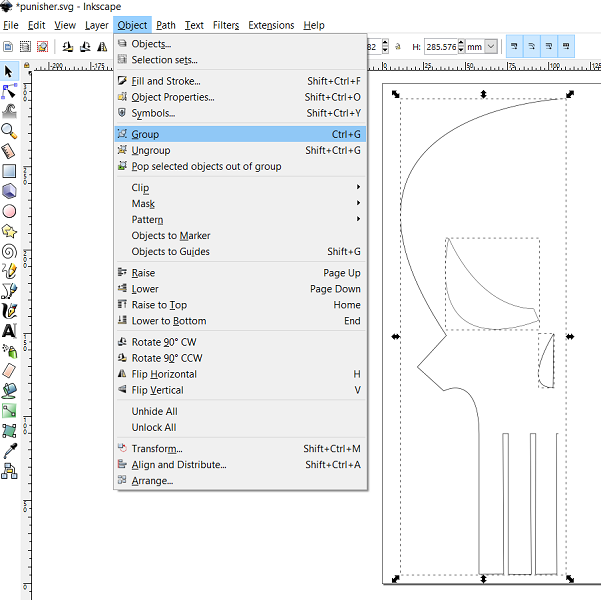
● Moving on, I selected all the objects in the design and applied group object option as shown below.
● I copied the entire grouped design so that I could get the other half of the face.
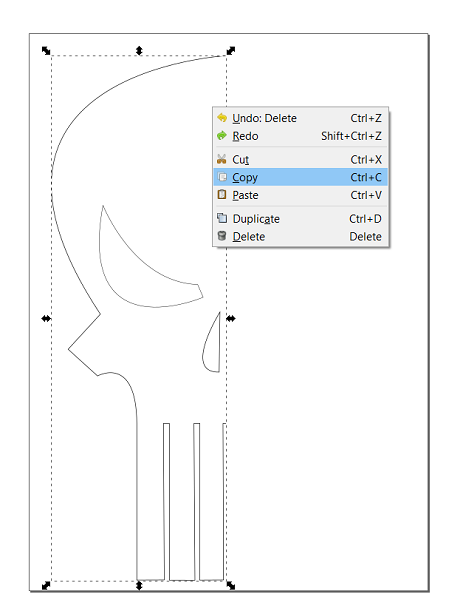
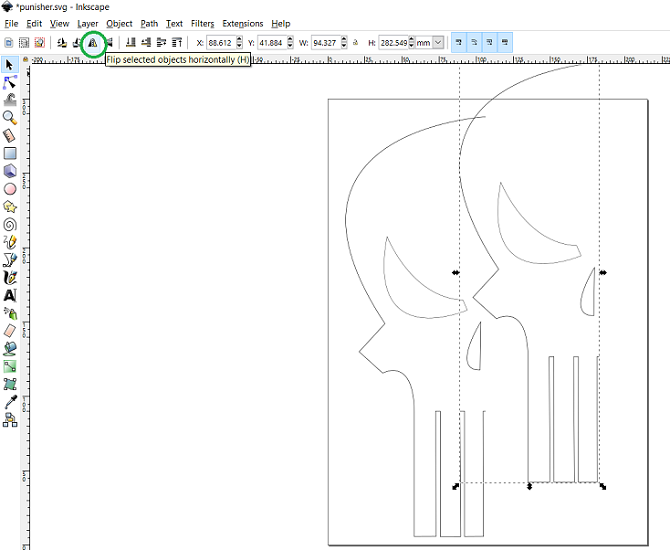
● I pasted the design and used the flip vertical tool as shown in the image below. This actually looks impressive , and it has been quite easy to use the basic functions in Inkscape.
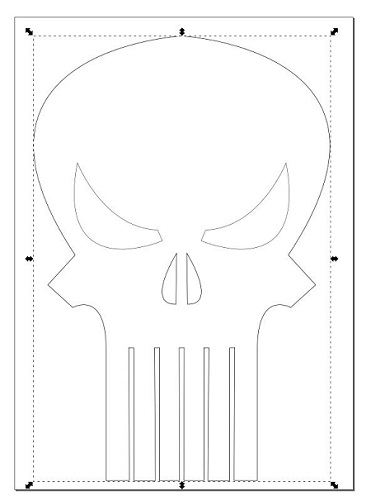
● Looks neat, And the Punisher is ready to Punish. hahaha
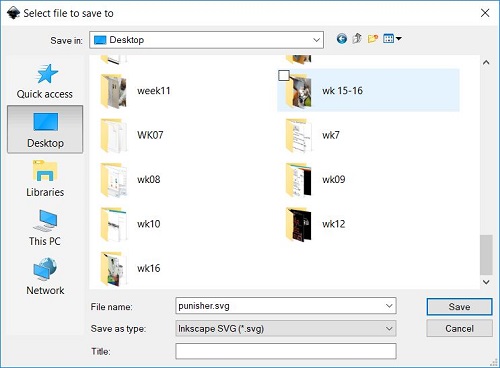
● I saved the file in the (.svg) format.
● Download the (.svg) file for Punisher HERE
● Check out the Punisher Vinyl cut sticker for Week 04 HERE
● Check out my 2D Design on Inkscape for Wildcard Week HERE
also
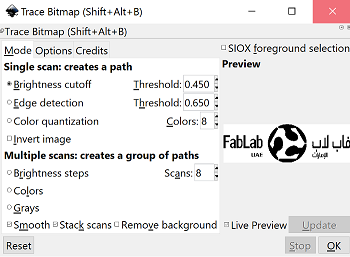
● Open any image file and select the entire image then use the path tool to convert the image from object to path. Then using trace the bitmap option on path tool you an easily trace the map of the image which would change the color to black and white.
● I have been using inkscape before to convert 2D images to 3D model by converting the selected object to path and tracing the bitmap for a clear transformation, which then can be exported in the form of scalable vector graphics format(.svg) so that I could import the same in a 3D modeling software such as Blender, convert the plane into a mesh and extrude the same for a 3D model of the 2D image.
● Irrespective of what the 2d Image is, inkscape does help a little bit for it turn into a 3D. I quite recommend this software if anyone would like to convert some logos from google into any kind of products via 3D printing. Do give it a try !!!
● I have extensively used Inkscape for my fab academy assignments, for converting the .svg files to .png file for electronic design, input and output device week. We as a group for out Machine Making assignment used Inkscape and an extension for converting texts and 2d images to .gcode format in order for the machine to recognize through universal gcode sender and plot the same.
● Visit my page, where I used Inkscape for converting (.png) to (.svg) for Vinyl Cutting in Week 04 HERE
2d parametric design softwares
FUSION ● Fusion 360, I one of the most efficient softwares in the market to create (Almost) anything, honestly speaking it was a little challenging for me to get used to the tools and techniques of Fusion on how to create either a 2D parametric model or a 3D model for that matter.
● The best part was, most of the students were new to this, and all of us helped each other in some way or the other to understand the software better.
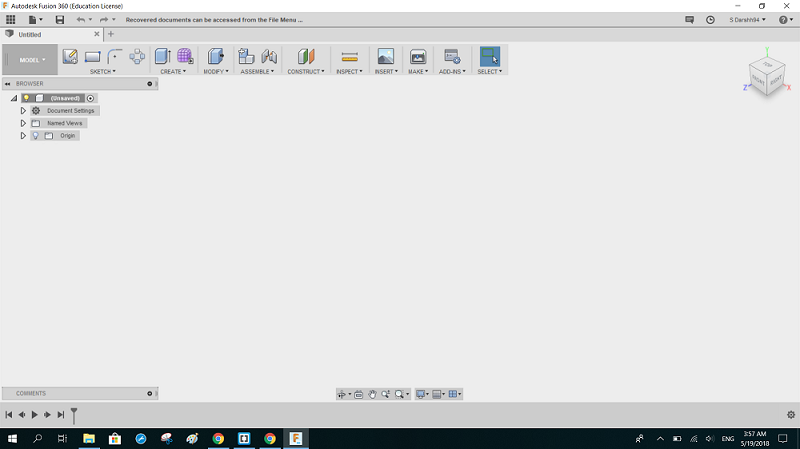
● For me, it has been a super amazing experience to try Fusion and I am pretty sure that I will be using it for most of my projects in future as well.
● The basic idea to get going for any software is to practice and that is how I learned Fusion, by giving it sometime and trying to create just something.
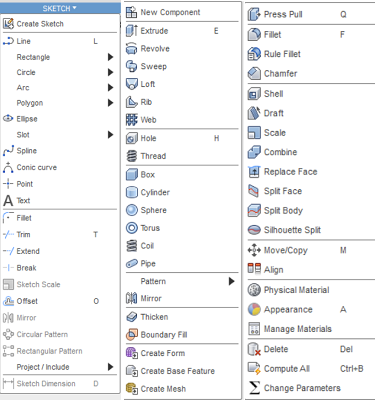
●The most widely used options from Fusion all fall under these categories of Sketch, Create and Modify.
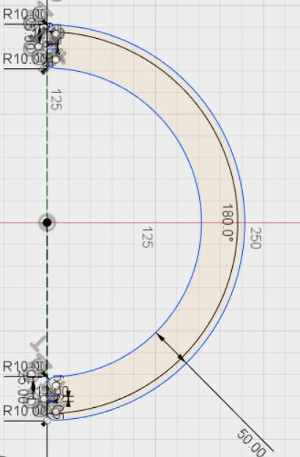
● Worked on creating a Parametric Model on Fusion 360. It is really productive and intuitive in terms of creating a 2d parametric design by modifying the parameters.
● The most interesting aspect in Fusion for me was the modify parameters tools where a user could set a parameter for a range of slots, holes or any such thing and just modify the parameter to achieve all the slots and holes in the same size, instead of modifying each one of them manually.
● The following commands are the most useful tools in fusion for parametric modeling as well as 3d modeling.
● Fillet
● Extrude
● Mirror
● Project
● Chamfer
● Sculpt
● Loft
● Offset
● Combine
● The following images are a basic parametric test design I created for Week 08

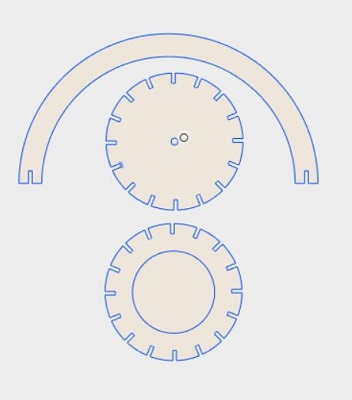
● Download the (.dxf) file for Lamp test HERE
● I got really comfortable with Fusion 360 especially for practicing 2D parametric modeling for couple of assignments namely, laser cut and make something big.
Do check out my Fusion 360 Files for the following weeks:
● Visit my WEEK 04 PAGE to see my progress with Fusion for Press Fit kit.
● Visit my WEEK 08 PAGE to check out my Shopbot Week Lamp.
3d modeling softwares
3D builder
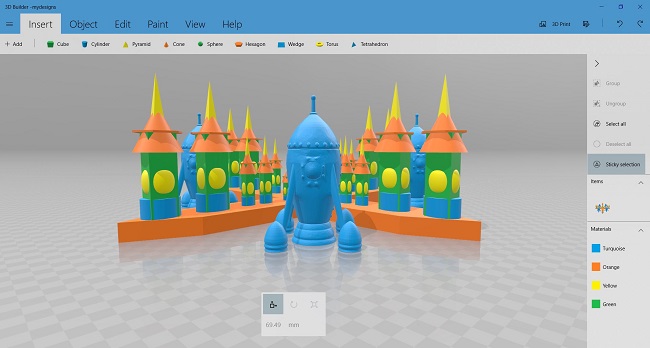
● I started trying my hand on 3D Builder software, which is quite easy to understand for a beginner. I had nothing in mind of what to design, so I started playing around with all the shapes it had to offer. The following image shows the tool box to add, edit, paint view and other essential options.

● The below image shows the toolbox at the right side of the screen on the software to select some processes like select, deselect, group and ungroup. I used all of them while I was trying to create a 3D Model and all the tools helped in each of their application for my final object. It also shows the different shapes I have selected for my model.
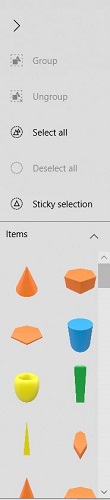
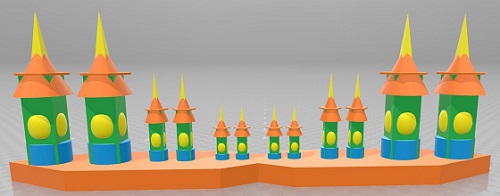
●These are all the shapes I selected just to see what i can create out of them, by just placing them above or beneath and combining them in some way.
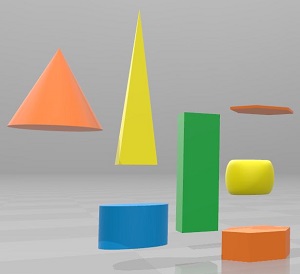
It was fun playing with all these colors and shapes
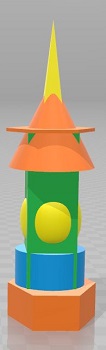
●And finally I thought I created something which merely looked like a post box in my sense (LOL), but I still don't know what it actually is, I am trying something really abstractly weird stuff here. hahahaha.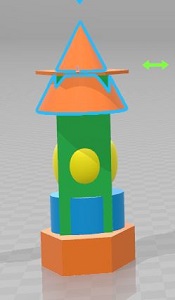
●I decided to just select all and copy paste and scaling the object down and again selecting them for another smaller scale model of the same original design.
●As you can witness, the colors are floating all over the place, somehow I found this technique really helpful in my case of learning a new software.
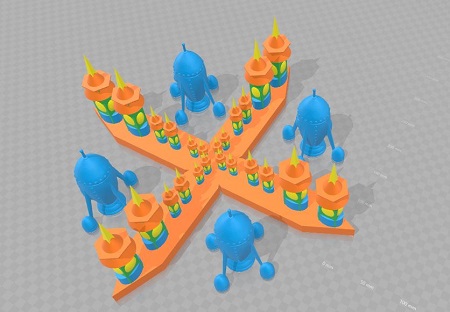
●Moving on I made an entire terminal of my single model and for no reason I was smiling looking at the same. 3D Builder has been quite fun in my experience so far.
●The software also has some pre loaded models to choose from if a user wants to try some of them in their design, I found this spaceship and just decided to place them at the four sides.
● The software like most of the softwares has the option(view) in x-ray, grid and layer as well.

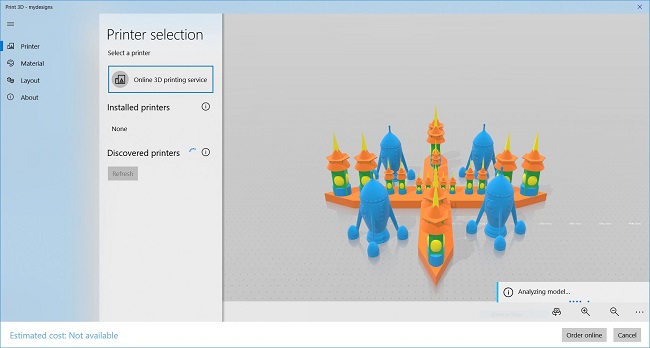
● Proceeding to launch my space journey, I chose to save the in (.3mf) format, it also has these amazing 3D printability tool window where a user can check the model and run the print command from the software itself if it is connected to the specified 3d printers.
● Download the 3D Builder (.3mf) file HERE
Tinkercad
● After working on Fusion and 3D Builder I was looking forward to try some online cad tool, and Yessss, I found it. ● So apparently, TinkerCAD, a product of Autodesk, is an online cad software to design 3D models from your browser, user only needs to sign-in, which obviously I did for Fusion 360, being an Autodesk product. ● Moving on it has an interesting user interface which does not make one feel that he/she is working from a browser, it is fresh experience for me to try the same. ● I did not have any particular design in mind to start, as usual, I did not know where to start and what to do.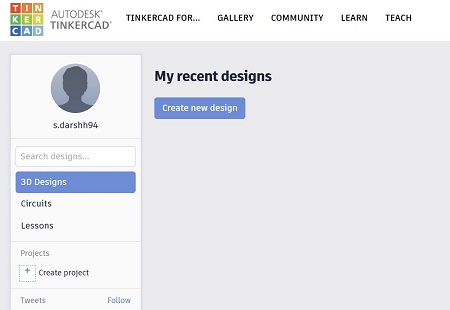
● So, I began to look for more shapes and stuff and wanted to see what the software offers. It is indeed quite similar to 3D Builder in the way that both the software offer a wide range of shapes to play with and both are really user friendly.
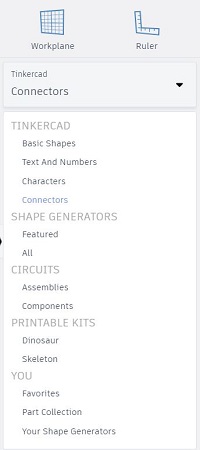
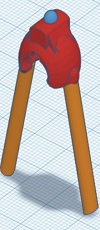
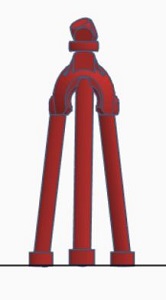
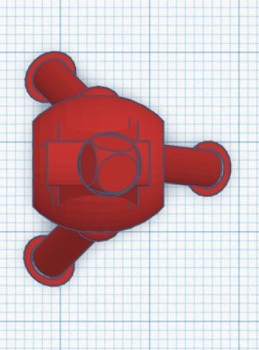
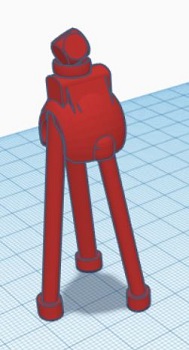
● I decided to select a socket along with a normal sphere and planned on making a tripod with the available shapes It has to offer, my idea was to just use those shapes and without much editing (like I used 3D Builder) just scaling and copying the shapes to make something.
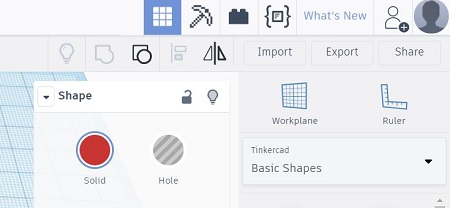
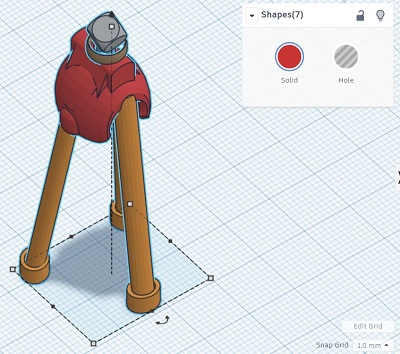
● The software also had tools such as group, ungroup flip, etc as essential tools for creating the model.
● Moving on, I selected a rod shape, as the pod for the tripod and place them accordingly, once I knew the size and shape with regards to the socket I copied the same rod in 2 more quantities and place them in the form of a tripod.
● Then, for the movable piece for the tripod I selected on using a dice and really looked like a tripod for me.
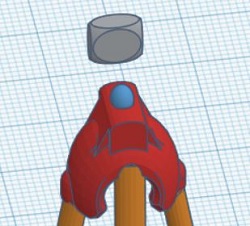
● I found a ring which i thought, would be a good addition between the dice and the socket.

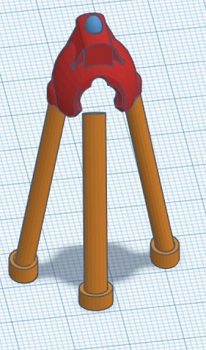
● Till this point, I felt much confident about the model I created and decide to group all the objects for a complete 3D Model.
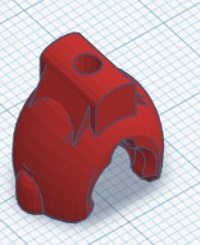
● The following images shows the different views and I actually enjoyed working on TinkerCAD, it offered a really comfortable working atmosphere for first time user.
● I was actually amazed to see that apart from an option to export the file, how the software offered a direct window to print the .stl file on a connected printer from the list of 3D Printers.
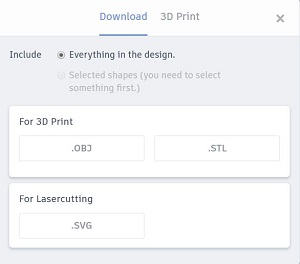
● Download the TinkerCAD file (.stl) HERE
SKETCHUPSketchUp ● Look a lot more pro software according to me more suitable for architects and civil engineers obviously. It's about getting to know the correct tools for the right purpose and shortcut keys for the modeling and editing.
SOLIDWORKS ● I really couldn't do much on solidworks, it is really advanced in terms of its application and usability. Also gives a feel of industrial purpose with all its additional tools for simulation and things like that. But I'm sure it would help me in certain aspects of my project whenever I feel the need.
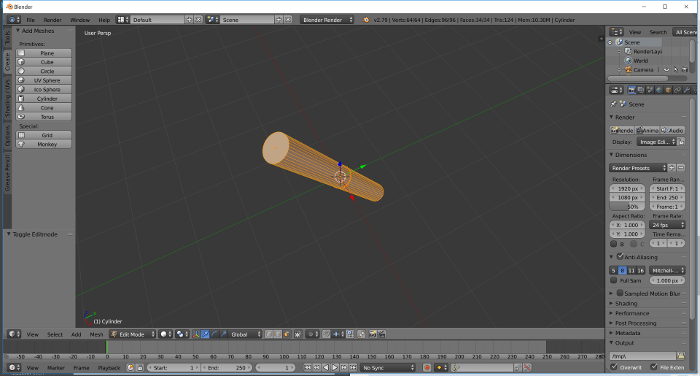
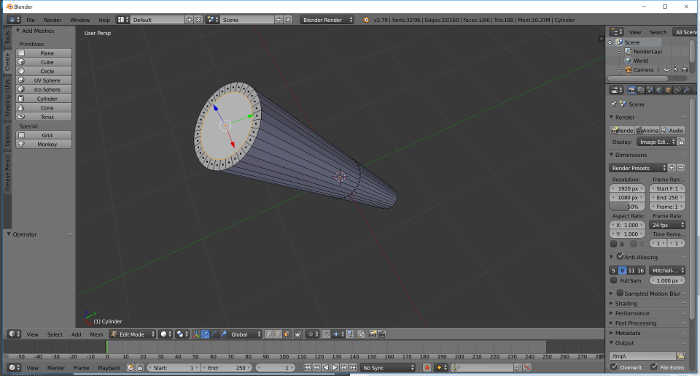
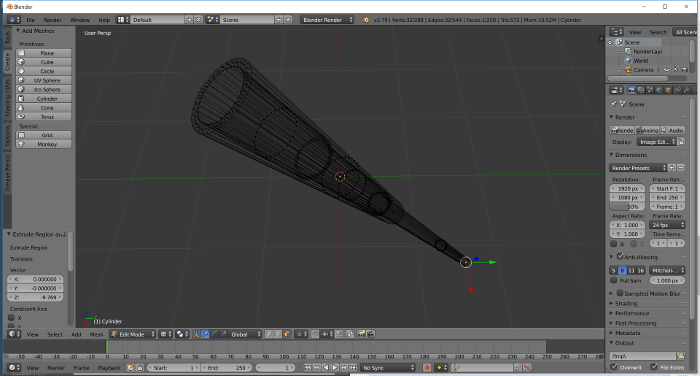
BLENDER ● Here you can see I was trying to create a sort of a telescope in Blender, like a small start on designing random stuff and using basic commands such as extrude, scale, rotate, grab also editing with different variables such as vertices, faces and edges. Again Highly Recommended !!!
The important shortcuts for Blender are:
● S - Scale objects
● E - Extrude
● R - Rotate
● X - Delete
● Q - Change views
● Do check out my Blender 3D Modeling Files for the following weeks:
● Visit my WEEK 06 PAGE for additive manufacturing assignment.
● Visit my WEEK 10 PAGE to check my 3D mold for molding and casting assignment.
Links / resources
INFORMATION SOURCE FOR essential softwares & Tutorials.
GIMP TUTORIAL
This is a great deal of help in order to crop, edit & resize the images, highly recommended for scaling the images !!
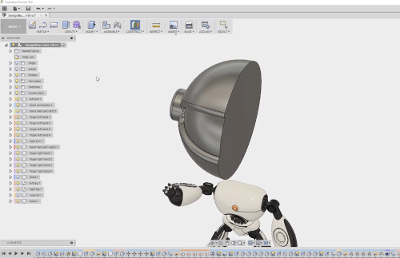
FUSION 360 TUTORIAL
This tutorial helped me get used to the tools and software interface for better understanding. It's always recommended to have a look at the tutorial, because this practice does make your task less challenging, and trust me on this !!
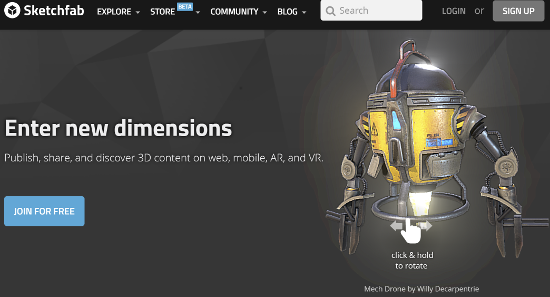
SKETCHFAB
This is an online tool for publishing, sharing and discovering 3D content on web, mobile, AR & VR. I will be using Sketchfab for sharing my stl files rather than adding large files on the archive, it has provision for 360° render views.
my personal progress
● I'll be practicing a lot more and adding more steps to be followed and instructions for everyone in the coming weeks. It's been an exciting week and in terms of my progress I really feel there's an abundance of tools and softwares to go through in order to fulfill my commitment towards the project.
● I haven't tried any of the gaming softwares but I'll make it a point to give it a look in my free time the coming weekend and just do some crazy things with them.
learning outcomes
● I learned a great deal of tips and tricks from hashim the fabber on how to make sure you utilized the optimum resources during the course and express myself in maximum output. dedicating most of time and effort to learn new stuff will take me a long way in terms of professional growth.
● It's been a crazy week in terms of trying to figure out different 2d, 3d and other tools to learn what they offer, because I have been using blender for 3d modeling from past couple of years. softwares such as
I quite liked fusion 360 and would probably be my chosen software for this course.
● Softwares such as sketchfab for online stl viewing is a great deal of help, also audacity, kdenlive in terms of audio and video for movie making, which shall be used for my final project slide and video.
● I also liked 2d softwares such as gimp and inkscape which are free, user friendly and very handy for quick editing of some images and sketches. also the tutorials very quite helpful for fast learning.
● One of the most important aspects of this week was to try different tools, softwares and review most of them, to efficiently suit some of your purpose to create a model or a project.