getting started
● The Pacman: Started to design a sketch to understand design, dimensions etc as per the mill bit tool which will be used for cutting so that I achieve the mold as per my requirement. Also the idea was to keep it simple so that the mold is cut rapidly and I could proceed to molding and casting as soon as possible.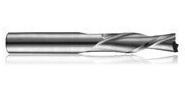
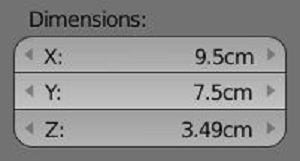
I decided to use the 6/22 mm (dia/length) mill bit so it passes through all parts of the design and as it is a big tool, the cutting was done at a very rapid rate, because I did not have much time this week as I was travelling back to India for the break. The below image shows the dimensions of the mold and the spaces of the gaps and other essential specified in order to cut using the machinable wax.

● Then proceeding to the 3D model of the mold using blender software for 3d Modeling. I used the basic tools in blender and started to design the Pacman mold using create a circle tool and cut into half as only a semi-circle was needed to create the bottom of the pacman. Then I used the duplicate tool to create such 5 circle and created the entire bottom design. I had specified the dimension of the circle at 9mm dia.
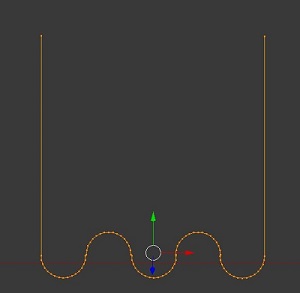
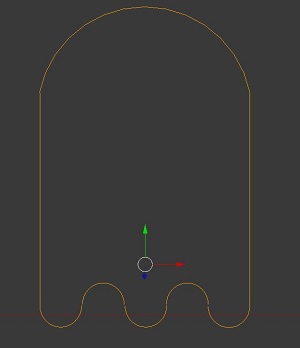
● Accordingly I started creating the upper half of the design and also created the eye slots for the pacman. Actually surprisingly circle was the only geometrical shape I used to create the pacman design.
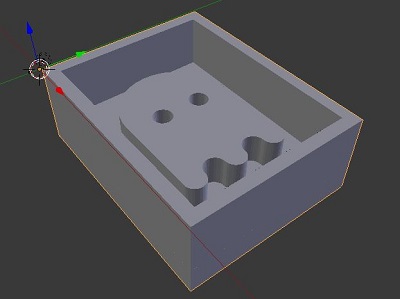
● Then moving on to create a mold and placing the pacman inside was a bit challenging but Francisco sir guided me on how to do it in terms of keeping in mind the spaces to be kept and also the height. So below image shows the entire mold of pacman which looks neat and the dimension for the same to cut it on the Roland SRM-20 using the machinable blue wax.
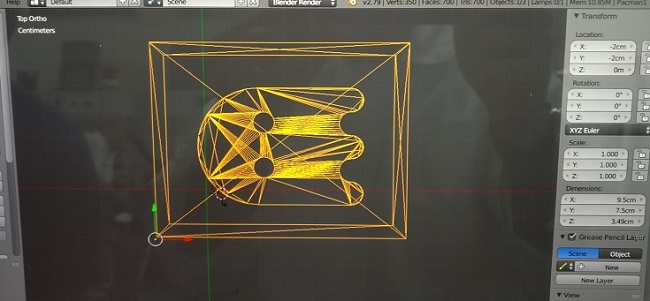
● This image shows the wireframe mode on the blender software in order to understand the placement of the pacman inside the mold.
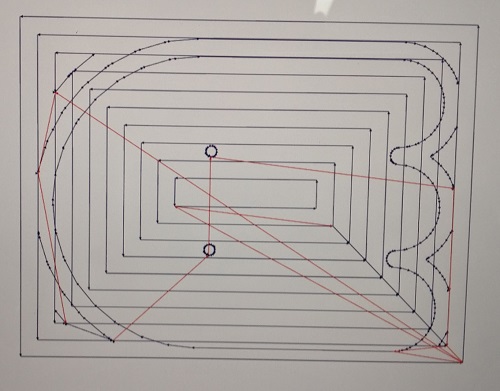
● I used the fab modules website to select the tool, machine... which took some time creating the file in order to get the .rml file of the mold. The image shows the cutting paths and patterns.
● Download the .stl file for Pacman mold HERE
● I used the highly recommended double sided tape to place the was piece tightly on the machine bed so it makes no movement during the cutting process.
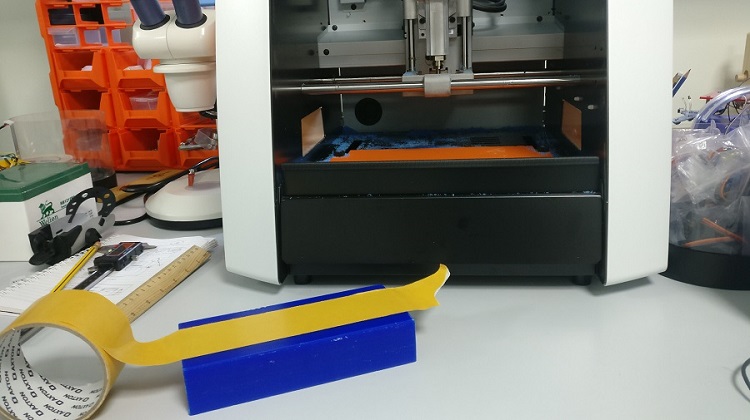
● The below image shows how the tape looks, to be stuck beneath the cutting surface of the wax and stick it to the bed.
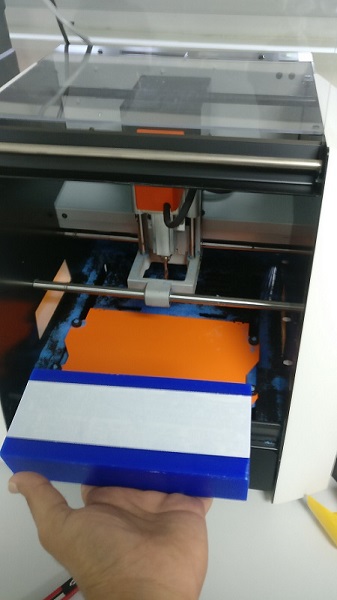
● Then I placed the wax and checked if it was stuck properly so that I can proceed to cut the same.
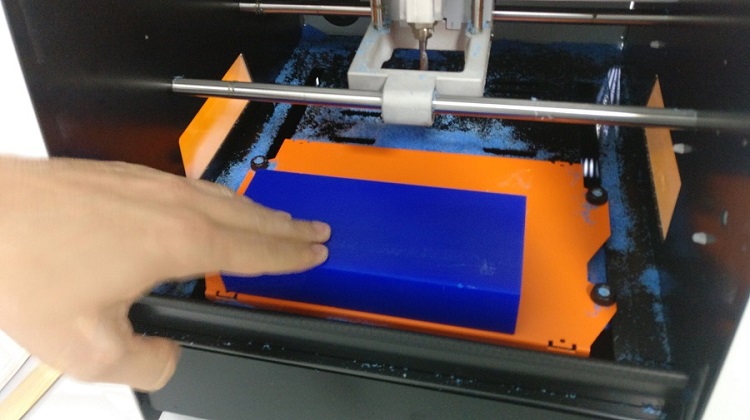
● The below image shows the Challenge I faced during the cutting, maybe because of using fab modules the machine could not recognize the center of the wax to cut the mold, then the solution was to manually shift the wax piece in order to get the center right. I tried a couple of times and finally found closest to the center.
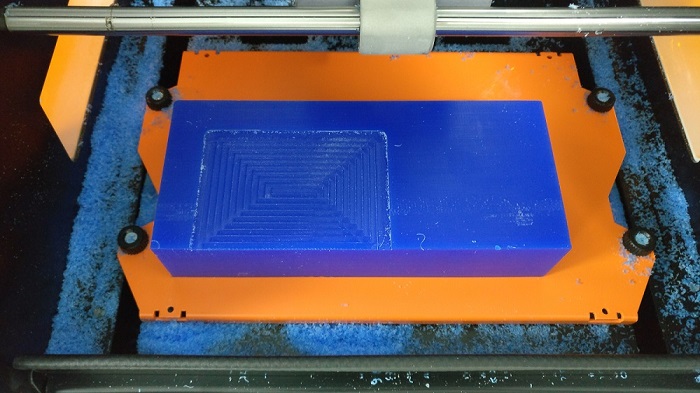
● The below image shows the cutting process which lasted around 15 mins and the mold was ready.
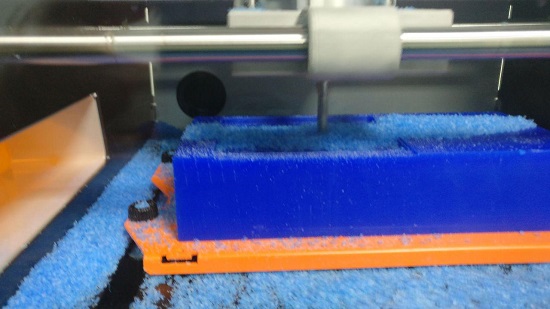
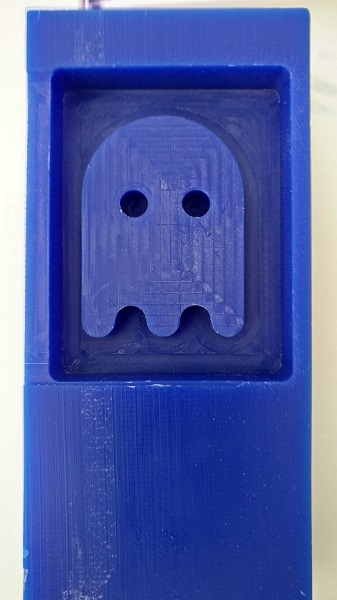
● This is how the pacman looked once the machining was carried out. It was quite satisfying to reach this stage and proceeding to the next step of pouring the Dragon Skin liquid rubber material.
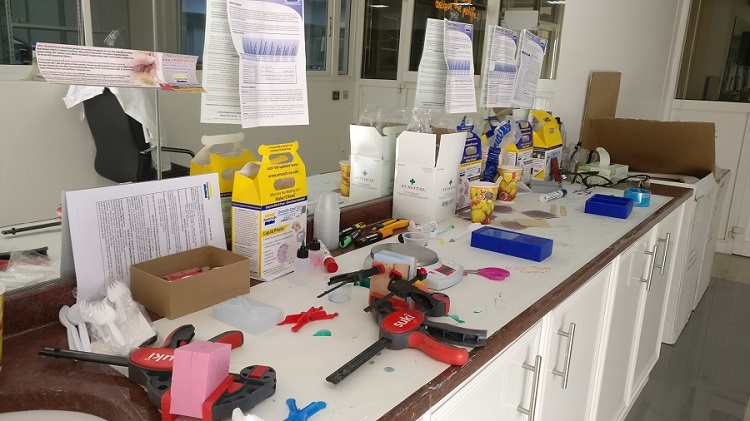
● The below image shows the wonderful work station for molding and casting by prof. Wendy also the safety equipments and the datasheets of the respective material.
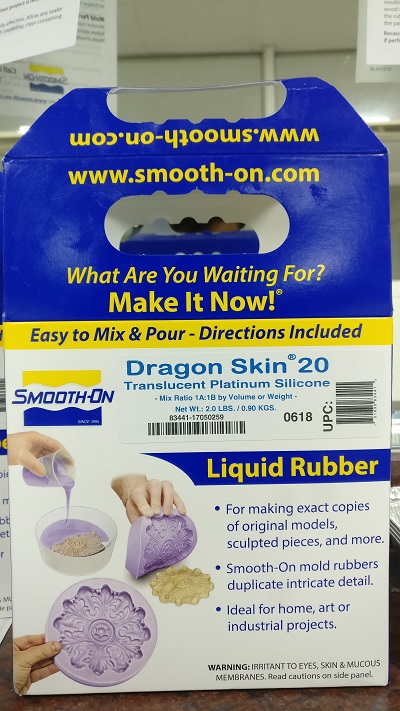
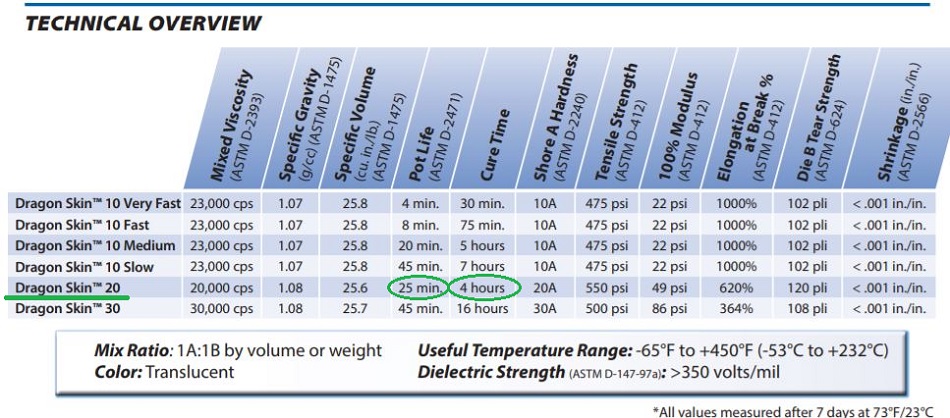
● The image below represents the liquid rubber that most of us used for our parts and create the mold for casting. The technical datesheet of the material helped us understand the curing time which was 4 hours and the mix ratio 1:1 of the same. We start with part B and then mix the part A to get as per specifications. Most important were PPE- personal protective equipment which had to be worn at all times and we used keep the door open leading to the open area outside the lab, for fresh air ventilation.
Safety Data Sheet

● CAUTION: NOT FOR HOME USE. THIS PRODUCT IS FOR INDUSTRIAL USE ONLY. Proper ventilation, A NIOSH Approved Respirator and Protective Clothing (gloves and long sleeves) are required to minimize the risk of inhalation and dermal sensitization. If breathing is affected or a dermal rash develops, immediately cease using this product and seek medical attention. Read SDS before using. Product Website
● Dragon Skin® silicones are high performance platinum cure liquid silicone compounds that are used for a variety of applications ranging from creating skin effects and other movie special effects to making production molds for casting a variety of materials. Because of the superior physical properties and flexibility of Dragon Skin® rubbers, they are also used for medical prosthetics and cushioning applications. Dragon Skin® rubbers are also used for a variety of industrial applications and have a service temperature range of a constant -65°F to +450°F (-53°C to +232°C).
● Features
Time Tested, Versatile Special Effects Material – Soft, super-strong and stretchy, Dragon Skin® is used around the world to make spectacular skin and creature effects. An infinite number of color effects can be achieved by adding Silc Pig® silicone pigments or Cast Magic® effects powders.
● Easy To Use – Dragon Skin® silicones are mixed 1A:1B by weight or volume. Liquid rubber can be thinned with Silicone Thinner® or thickened with THI-VEX®. Rubber cures at room temperature (73°F/23°C) with negligible shrinkage. Vacuum degassing is recommended to minimize air bubbles in cured rubber.
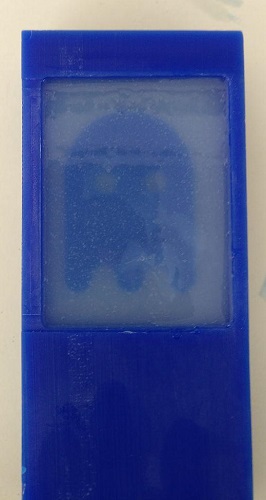
● The image below shows how the part looks just after the liquid rubber was poured with the highest of my concentration abilities and some sweat during the tiring statue pose pouring process.
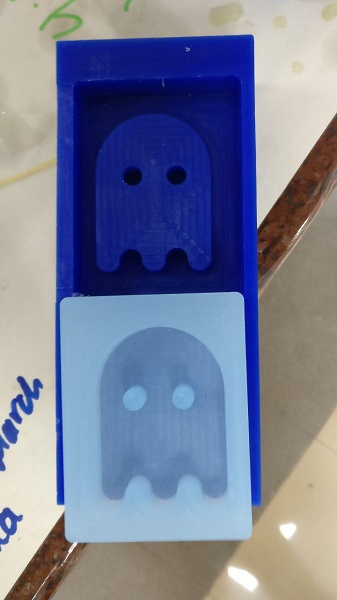
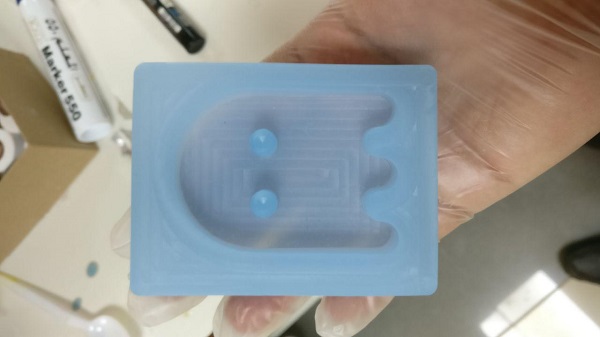
● The below image shows the part ready and is quite tidy with minimum bubbles, i guess. Fortunately I could easily remove the part without the help of draft angle and also much trouble.
● I did not add a draft angle mainly because my design was not that complex with many holes so the poured material could be easily removed otherwise usually, a draft angle of 1½ to 2 degrees is required for most parts. This rule of thumb applies to parts with mold depths of up to 2 inches. At this size, draft as low as 1½ degrees will allow for an easy, non-damaging release from the mold when the expected shrinkage of the thermoplastic material occurs.
● Then we used the Smooth Cast Liquid Plastic in order to achieve the final casted product.
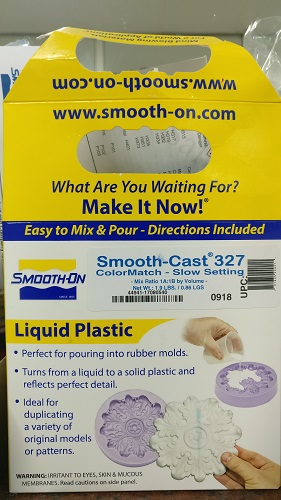
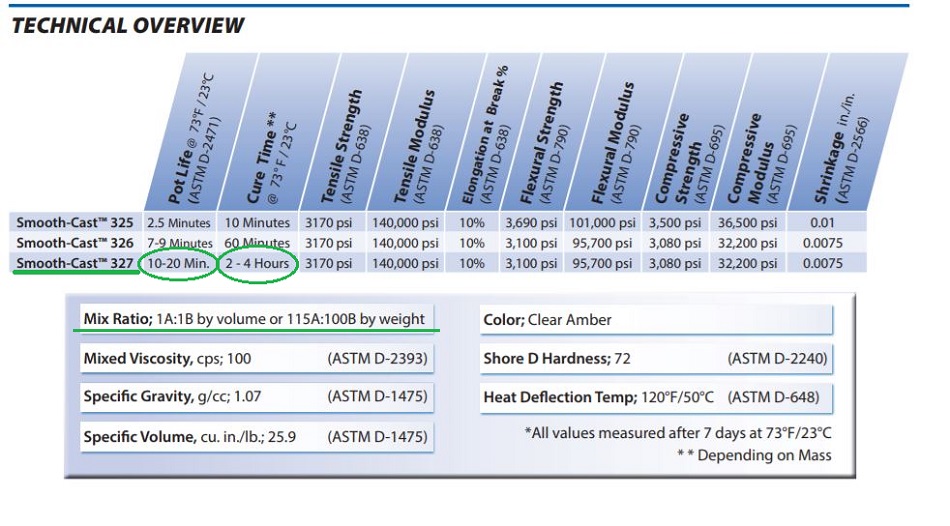
● The Smooth-Cast® 325, 326 & 327 ColorMatch® Seriesplastics are fast-cast resins that were developed specifically for adding color pigments and fillers to achieve true color representation or filler effect. The ColorMatch® Series is formulated “color neutral”. Small amounts of pigment will yield accurate, vivid colors from cured castings using So-Strong® tints or Ignite® color pigments. The ColorMatch® Series offers the convenience of a 1A: 1B mix ratio by volume and has a very low viscosity. Demold times range from about 10 minutes to 2-4 hours (depending on product, mass and mold configuration).
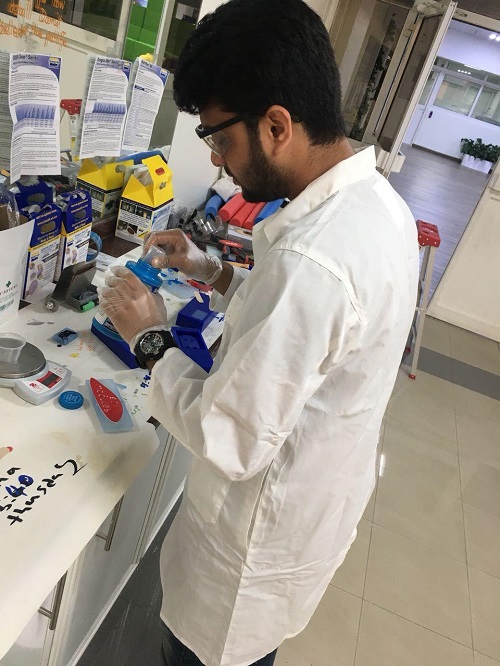
● Safety - Materials should be stored and used in a warm environment (73° F / 23° C). These products have a limited shelf life and should be used as soon as possible. All liquid urethanes are moisture sensitive and will absorb atmospheric moisture. Mixing tools and containers should be clean and made of metal, glass or plastic. Mixing should be done in a well-ventilated area. Wear safety glasses, long sleeves and rubber gloves to minimize contamination risk.
● Stir or shake both Part A & Part B thoroughly before dispensing. After dispensing equal volumes of Parts A and B into mixing container (115A:100B by weight) and mix thoroughly. Stir deliberately making sure that you scrape the sides and bottom of the mixing container several times. Be careful not to splash low viscosity material out of the container.
● Pouring - For best results, pour your mixture in a single spot at the lowest point of the containment field and let the mixture seek its level. This will help minimize air entrapment. Post Cure - Castings will reach “full cure” faster and achieve maximum physical properties if post cured. Allow material to cure for recommended cure time at room temperature followed by 4 - 6 hours at 150°F/65°C. Allow casting to come to room temperature before handling.
● Again following the process of mixing the part B and the part A with the help of the datasheet provided.
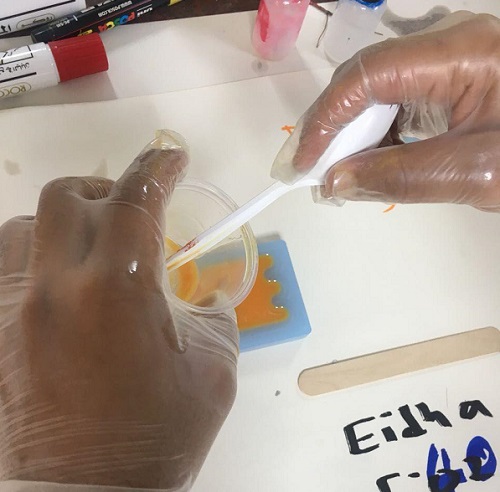
● The below image shows the data sheet for the colorant which will be used, as specified they are quite concentrated which also resist the UV- violet light. A small amount will color a proportionally large amount of liquid urethane material. So I added a tinge of colorant using the end of a plastic spoon, which resulted in a good mix and a bright orange color.
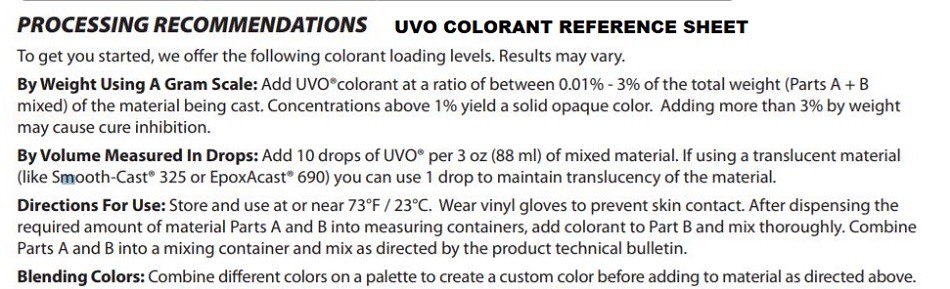
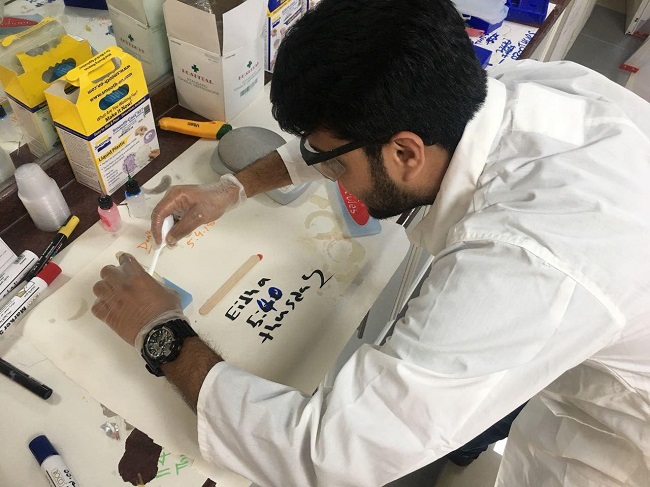
● The below image shows how I stir and mixed the two parts and also added a hint orange color to make it look nice.
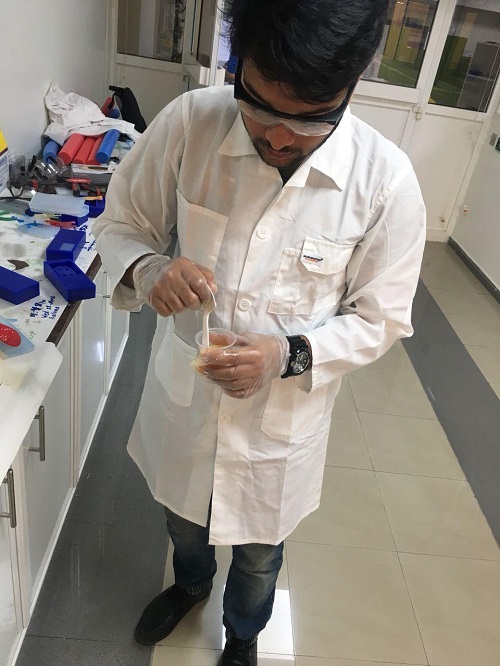
● Then again the concentration pouring part was the most interesting part of this assignment and also the most important aspect in order to get a satisfying looking product.
● We used a plastic cup and spoon to pour the liquid plastic slowly steadily with the technique that prof. wendy showed us, and which was very helpful as well.
● It was important to not down the time in order to make sure the time duration taken for th liquid plastic to set.

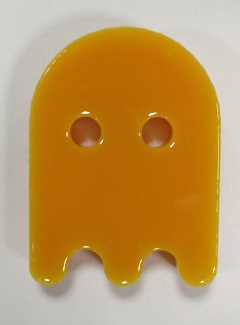
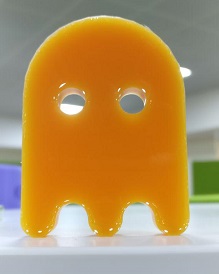
And finally the PACMAN was ready !!!
● And after some patience and let the material do its job of setting, I achieved the result of the colorful pacman Staring at Me.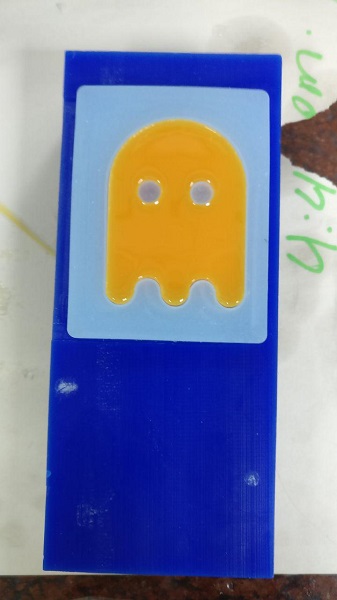
learning outcome
● I learned how to design a 3d model mold using blender and also to make sure of all the important parameters while considering the dimensions to make the 3d model.● I also learned that it is important to consider the the cutting tool at the first place at then design the 3d mold accordingly so that if the model of the mold is complex then you have to choose the tool accordingly.
● Also learned a thing or two about the machinable wax, which can be reused and it was great to handle the same.
● It was my very first time to experience the material used for molding & casting such as the liquid rubber and liquid plastic, also how to mix, stir, pour and the to go through the technical datasheet and safety sheet for the respective materials as well.
● I learned a lot about the material and the process involved and this week will definitely help in future, where it will be less challenging for me to carry out the same job.